
Learn / DaVinci Resolveupdated for DaVinci Resolve 21.0.3 (July 2026)
How to Create a Photo Slideshow With Ken Burns in DaVinci Resolve
Quick answer
To create a photo slideshow with the Ken Burns effect in DaVinci Resolve, add your photos to the timeline, select a clip, turn on Dynamic Zoom in the Inspector, and drag the green start box and red end box in the Viewer to set the pan and zoom. No manual keyframing needed.
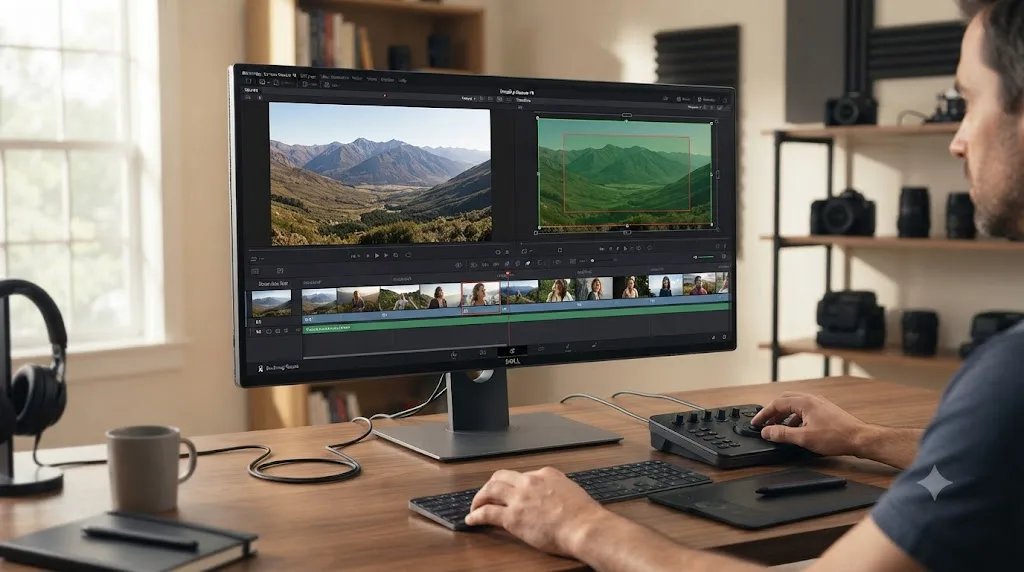
I get asked some version of this question constantly in our 100,000+ member DaVinci Resolve editing community: someone has a folder of wedding photos, or a client's product shots, or twenty years of family pictures, and they want them to move instead of just sitting there for five flat seconds each. The answer is always the same feature, and it's built into the free version of DaVinci Resolve. You don't need a plugin. You don't need Resolve Studio. You need Dynamic Zoom, and about ten minutes to understand it properly.
This guide covers the whole build, start to finish. How Dynamic Zoom works and where the green and red boxes live, when to reach for manual keyframes instead, how far you can actually push a zoom before a photo turns to mush, how to fix the black bars that show up the moment your photos don't match your camera footage, how to build the same slideshow for a vertical feed, how to sync the whole thing to music, how to apply the same move to fifty photos without repeating yourself fifty times, and which Deliver page settings actually matter once the animation is done. As of August 2026, the current release is DaVinci Resolve 21.0.3, and everything in this guide reflects that version.
What is the Ken Burns effect, and where did the name come from?
The Ken Burns effect is a slow pan and zoom applied to a still photo, used to imply motion and draw the eye toward a specific detail instead of leaving a static image sitting dead on screen. In DaVinci Resolve, it's built from the same Zoom and Position parameters used to animate anything else on the Edit page, just applied to a photo instead of a video clip.
The technique is much older than the name. The 1957 National Film Board of Canada documentary City of Gold, directed by Wolf Koenig and Roman Kroiter, used an animation camera to pan and zoom across archival photographs of the Klondike Gold Rush, and Ken Burns has credited that film as a direct influence on his own work decades later, according to Wikipedia's entry on the Ken Burns effect. Burns himself first used the move deliberately during production of his 1981 documentary Brooklyn Bridge, holding a 33-second zoom into a portrait of the bridge's engineer, John Roebling. The technique existed for decades before it carried anyone's name, and Ken Burns didn't invent it, he just used it long enough and well enough that Steve Jobs decided to name a button after him.
That naming happened in 2002. Jobs called Burns to ask permission to name a new iMovie feature after him, and per CineD's account of the story, Burns initially told Jobs he didn't do commercial endorsements. Jobs got the permission anyway, and Apple built the pan-and-zoom tool into every Mac running iMovie, cementing the name for a technique editors had already been using for half a century. Burns has talked about the aftermath with some amusement. In a 2014 Reddit AMA, quoted on Wikipedia's Ken Burns effect page, he described it this way:
"[Jobs] asked my permission. I said yes. And six billion saved wedding, bar mitzvahs, vacation slideshows later, it's still going."
That's the exact use case this guide is built around: a slideshow, whether it's a wedding, a memorial video, a product reel, or a family archive, given movement it wouldn't otherwise have. Burns has also spoken about why the effect works at all, beyond just looking nicer than a static photo. Per CineD's reporting, his underlying philosophy is that "meaning accrues in duration," and he's explained the idea further: "Just because you can physiologically read that tree, doesn't mean it has any meaning." The zoom isn't decoration. It's a way of making an audience actually look, and look long enough for the image to register as something more than wallpaper between cuts.
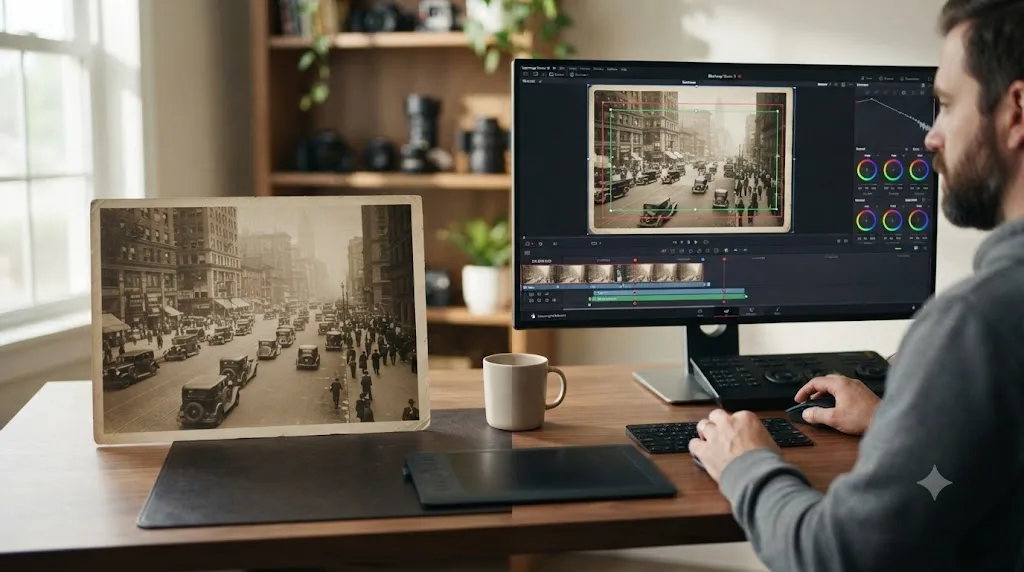
How do you build a basic photo slideshow in DaVinci Resolve before adding any effect?
Drag your photos onto a timeline in the order you want them to play, and DaVinci Resolve gives each one a default duration you can adjust before or after you add any movement. That flat, un-animated sequence is your foundation, and it's worth getting right before you touch Dynamic Zoom at all.
Here's the setup sequence:
- Import your photos into the Media Pool. Drag the files in from Finder or Explorer, or use File > Import Media. DaVinci Resolve reads standard formats like JPEG, PNG, and TIFF without any special handling.
- Check your Standard Still Duration before you drag anything onto the timeline. Open Preferences, go to the User tab, and select Editing. Per Blackmagic Design's own manual, this setting "defines the duration of stills that you import such as TIFF, PNG and other supported graphic file formats, in Seconds or Frames," and its default value is 5 seconds. If you already know your slideshow needs faster or slower pacing, changing this now saves you from adjusting twenty clips individually later.
- Drag your photos onto a video track in your intended order. Each one lands on the timeline at whatever duration Standard Still Duration specified.
- Trim individual clips as needed. Drag a clip's edge to shorten or lengthen it, the same way you'd trim any video clip, if a particular photo deserves more or less screen time than the rest.
- Reorder by dragging. Photos aren't locked to their import order once they're on the timeline.
That's the whole foundation, a sequence of still images with no motion at all. A DaVinci Resolve slideshow is just a timeline of still-image clips, and Dynamic Zoom is an optional layer on top of that foundation, not a separate mode you have to build into. Everything covered in the rest of this guide, the zoom, the transitions, the music sync, gets added to this same basic structure.
If you're building this slideshow from RAW camera files rather than finished JPEGs or PNGs, DaVinci Resolve 21's new Photo page, covered in more depth later in this guide, lets you develop and grade those RAW files first and pass the finished stills straight into this same Edit page timeline, per CineD's coverage of the DaVinci Resolve 21 release.
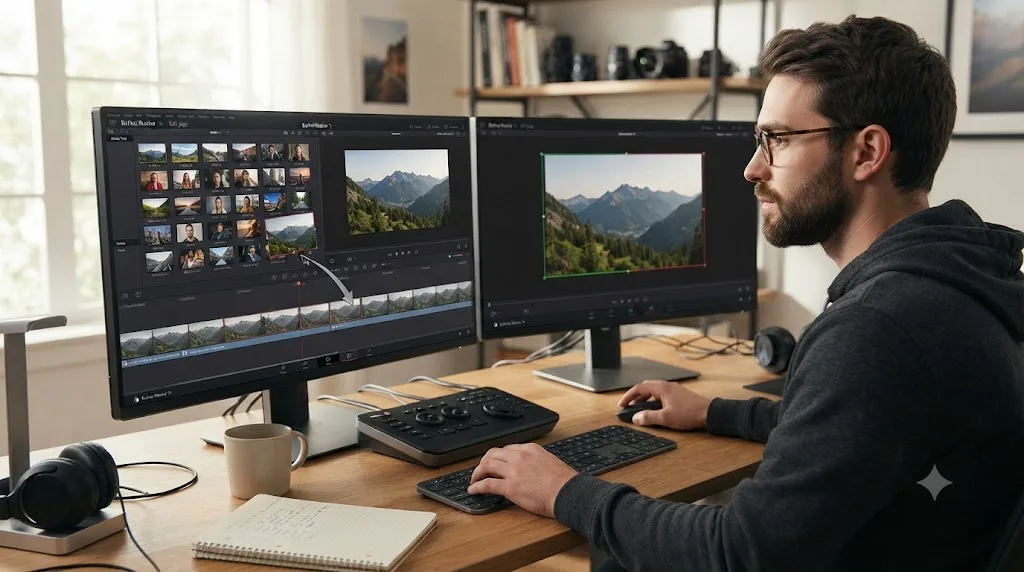
How do you add the Ken Burns effect to a photo using Dynamic Zoom?
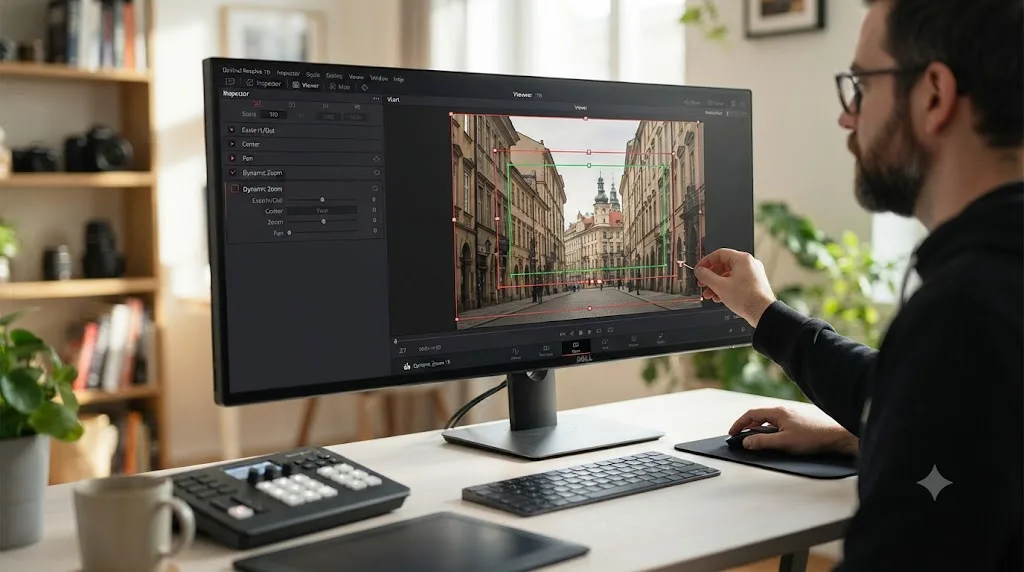
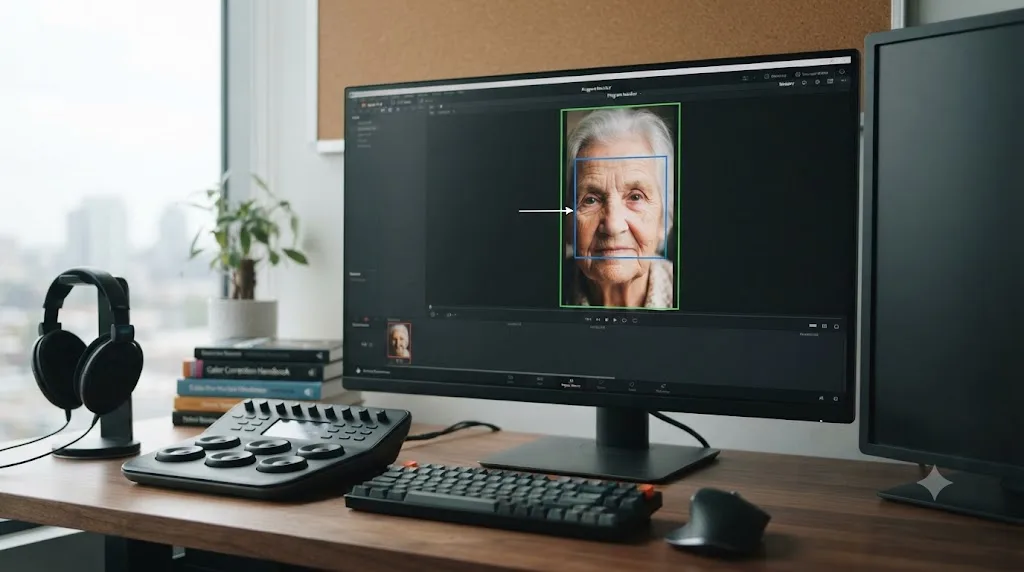
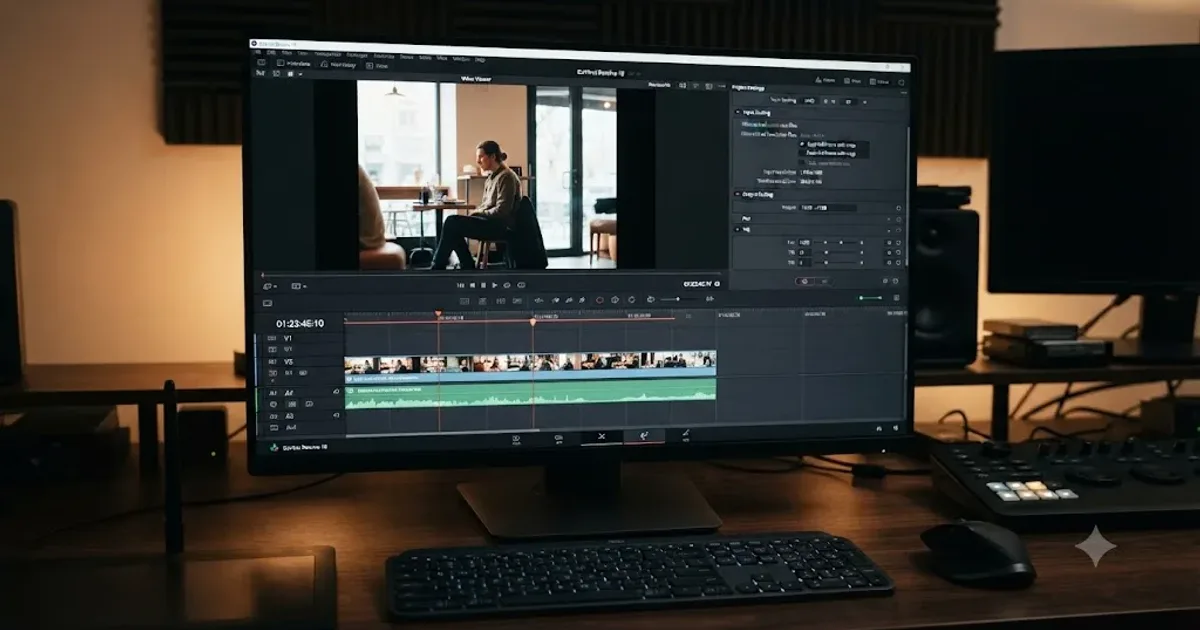
Select the photo clip, open the Inspector's Video tab, and turn on Dynamic Zoom. Two boxes appear directly in the Viewer, a green one marking your starting framing and a red one marking your ending framing, and DaVinci Resolve automatically animates a smooth move between them.
This is the fastest, and for most slideshows the only, tool you need. Per Blackmagic Design's manual entry on Dynamic Zoom, the feature exists specifically to "make it fast and easy to do pan and scan effects to zoom into or out of a clip," which is precisely the Ken Burns move, packaged as a one-click Inspector toggle instead of a multi-step keyframing process.
Here's the full walkthrough:
- Select your photo clip on the timeline.
- Open the Inspector and click the Video tab. Find Dynamic Zoom near the top of the panel and check its box.
- Switch the Viewer to Dynamic Zoom mode, either from the Viewer's tool dropdown or the onscreen controls button beneath the picture.
- Adjust the green box. This is your starting composition, the framing visible the instant the photo appears on screen. Drag its corner handles to resize it, and drag inside it to reposition it.
- Adjust the red box. This is your ending composition, where the photo should have arrived by the time the clip ends. A tighter red box than green box means the photo pushes in over time; a wider red box means it pulls back.
- Choose an Ease mode from the Dynamic Zoom Ease dropdown. Per the manual, this control "lets you choose how the motion created by these controls accelerates," with four options: Linear, Ease In, Ease Out, and Ease In and Out. Ease In and Out is the default choice for most Ken Burns moves, since it starts gently, holds a steady middle pace, and settles rather than snapping to a stop.
- Use the Swap button if you want to reverse direction. Per the manual, it "reverses the start and end transforms that create the dynamic zoom effect," instantly flipping a push-in into a pull-out without you re-dragging either box.
- Preview by scrubbing, then render the section before judging the timing, since Resolve's real-time interpolation preview can occasionally stutter on a fresh, unrendered animation.
Dynamic Zoom is a single Inspector checkbox that automatically keyframes Zoom and Position together, which is exactly what a Ken Burns move needs and nothing it doesn't. You never touch the diamond-shaped keyframe buttons at all unless you specifically want to. That's the entire appeal: two boxes, one ease dropdown, done.
One detail worth knowing if you're importing an old Final Cut Pro X project into DaVinci Resolve: the manual notes that clips already carrying an FCPX Ken Burns effect get their "Dynamic Zoom parameters... populated with an equivalent animated effect" automatically on import, so a slideshow you started building somewhere else doesn't need to be rebuilt from scratch.
How do you build a Ken Burns move by hand with manual keyframes instead?
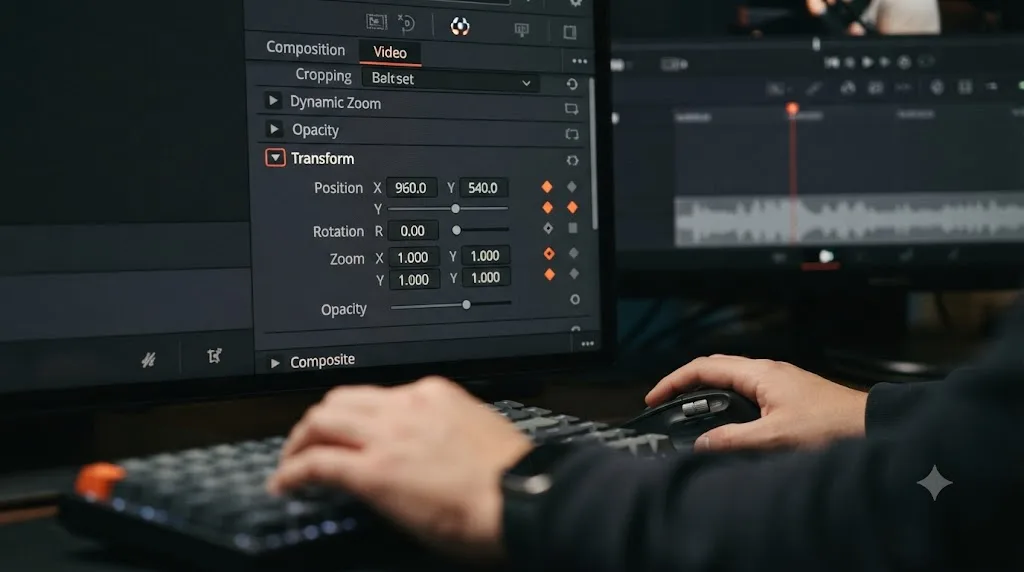
Manual keyframing does the identical job Dynamic Zoom does, just without the shortcut, by setting the diamond-shaped keyframe buttons next to Zoom and Position in the Inspector at two different points in time. Reach for it when a two-point move isn't enough for what you're building.
The steps mirror the general keyframing process covered in our full guide to keyframing effects in DaVinci Resolve, applied specifically to a still photo:
- Frame your starting position using the Inspector's Zoom and Position sliders under Transform, with the playhead parked at the very first frame of the clip.
- Click the diamond keyframe buttons next to Zoom and Position. Both turn orange, locking in your starting framing.
- Move the playhead to the last frame of the clip.
- Change Zoom and Position to your ending framing. Resolve automatically creates a second keyframe for both parameters at this new point.
- Right-click each keyframe and apply Ease In and Out so the move starts and stops gently rather than at a constant mechanical speed.
So when does manual keyframing actually beat the Dynamic Zoom shortcut? A few genuine reasons:
- You need more than two points. A photo that pushes in, holds, then pulls back out within a single clip needs three or more keyframes, something Dynamic Zoom's simple start-and-end model doesn't directly support.
- You want to combine the pan and zoom with a different animated parameter on the same clip, like an Opacity fade or a Rotation tilt, layered on top of the same timeline of keyframes.
- You're copying the exact same numeric Zoom and Position values across a specific set of clips and want to type precise numbers rather than eyeball two boxes in the Viewer.
- You're already deep into a Fusion composition and building the move as part of a larger node-based animation rather than a standalone Edit page clip.
For a standard slideshow, none of those conditions usually apply, and Dynamic Zoom gets you there faster with visibly identical results. The two tools produce the same underlying keyframed animation on Zoom and Position, so picking one over the other is a question of workflow speed, not capability. Save manual keyframing for the specific photos in your slideshow that need a more elaborate move than a simple push or pull.
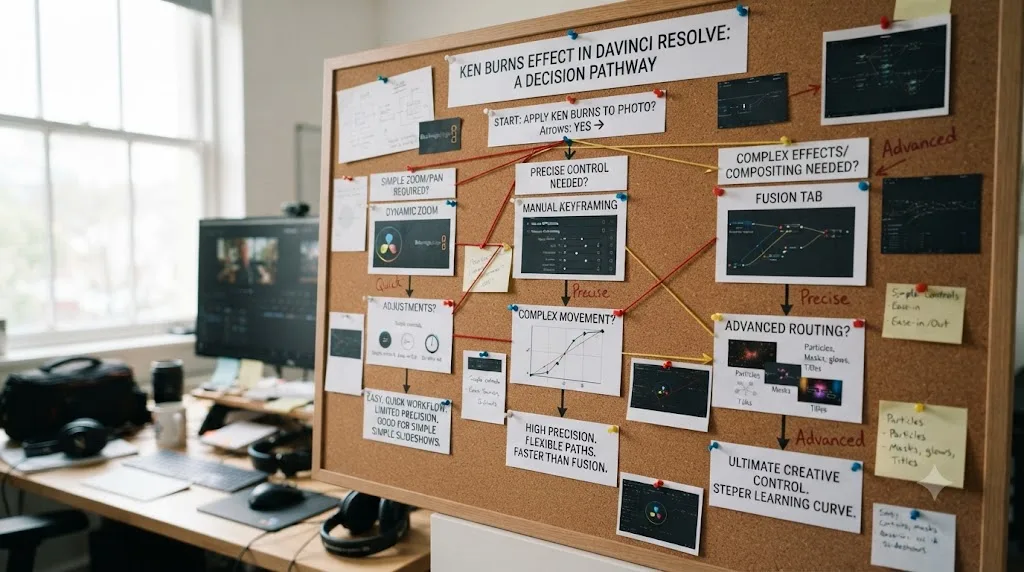
Dynamic Zoom vs manual keyframing vs Fusion: which should you use for a slideshow?
Three tools in DaVinci Resolve can all produce a Ken Burns move, and picking the wrong one for the job just costs you time. Here's an honest breakdown of when each one actually earns its place.
| Tool | Where it lives | Best for | Requires Studio? |
|---|---|---|---|
| Dynamic Zoom | Edit page Inspector | A standard two-point push or pull, the large majority of slideshow photos | No |
| Manual Zoom/Position keyframes | Edit page Inspector | A move with three or more points, or combined with another animated parameter | No |
| Fusion (Transform node, Krokodove) | Fusion page | A custom composite, parallax layering, or motion graphics built around the photo, not a straightforward pan and zoom | Krokodove specifically is Studio-only; the base Fusion page and its Transform node are free |
For the overwhelming majority of slideshow work, Dynamic Zoom is the right default. It's not a lesser tool that trades power for convenience, it produces the exact same Zoom and Position keyframes manual keyframing would, just set through two draggable boxes instead of typed numbers. Reach past it only when a specific shot's needs actually outgrow a simple two-point move, not as a default habit.
How far can you push the zoom before a photo looks soft or pixelated?
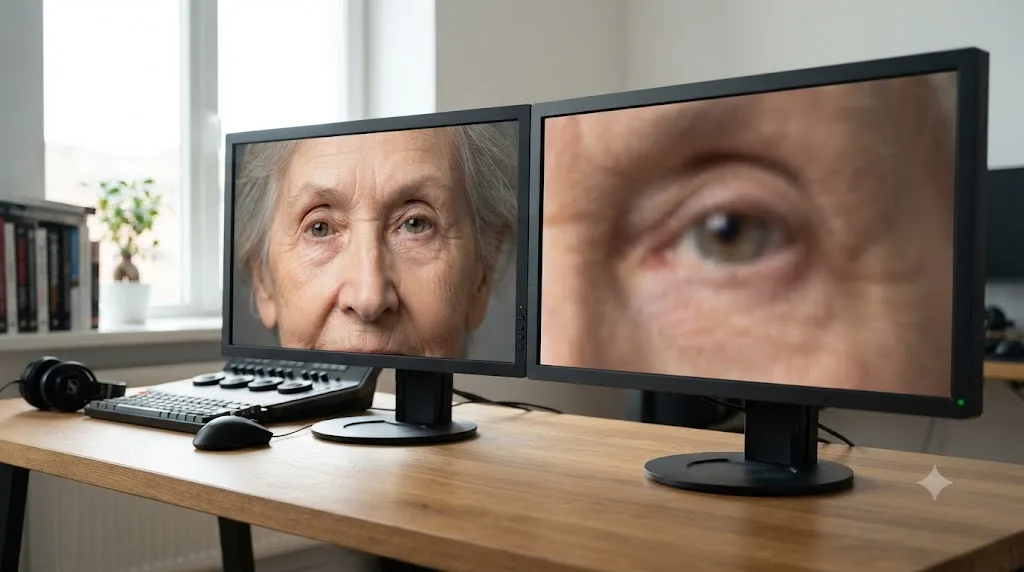
A Ken Burns push enlarges pixels that already exist in your photo file, the same fundamental tradeoff as the Transform page's Zoom parameter on video. Push too far relative to your source photo's resolution, and the enlargement runs out of real detail to show you.
Editor and trainer Larry Jordan describes the visual side effect of any digital zoom this way, in a passage about DaVinci Resolve's keyframing tools that applies directly to Dynamic Zoom:
"What you are seeing is an artifact of how digital media zooms. When starting with a wide shot, the zoom is moving across a large number of pixels, which makes the move feel 'slow.' Then, as it gets closer, it is moving across a smaller and smaller number of pixels, making the move feel faster."
Larry Jordan, Add and Modify Keyframes in DaVinci Resolve 20
That unevenness is a visual side effect. The sharper concern is resolution, and it comes down to simple math: how many real pixels does your source photo have, compared to your delivery timeline. Frame rate plays a smaller but real role too: the same push on a 24fps timeline covers noticeably fewer intermediate frames than the identical move on 30fps or 60fps, so a slow drift can read as slightly steppier at 24fps, especially once you've pushed in far enough that individual pixels are already large on screen.
| Photo resolution | Approximate megapixels | Common source | Safe zoom headroom on a 1080p timeline |
|---|---|---|---|
| 4000 x 3000 | 12 MP | Older phone cameras, entry-level DSLRs | Comfortable, roughly 1.5x to 2x push before softness shows |
| 6000 x 4000 | 24 MP | Most modern mirrorless and DSLR bodies | Generous, well past 2x before you notice a difference |
| 8256 x 5504 | 45 MP | High-resolution mirrorless bodies | Very high, a zoom this aggressive would rarely be needed on a 1080p delivery |
| 1920 x 1080 | 2 MP | A web-resized or screenshot-sourced image | Almost none, any meaningful push starts to soften immediately |
The pattern holds regardless of exact numbers: a Ken Burns push on a modern camera photo has plenty of resolution headroom, but the same push on a web-downloaded or screenshot-sourced image runs out of real pixels almost immediately. If your slideshow mixes a client's professional camera photos with a handful of images pulled from a phone screenshot or a social media download, expect the low-resolution images to soften noticeably at the same zoom percentage that looks perfectly clean on the camera originals.
A practical rule that holds up across most slideshow work: keep your push modest, something in the range of a 10 to 20 percent zoom over the clip's duration, rather than a dramatic 50 percent or more. A subtle, barely-registering drift almost always reads as more natural and more professional than an obvious, heavy-handed zoom, and it happens to be the safer choice for resolution too.
If your photos need reframing rather than just zooming, the same crop-versus-zoom distinction covered in our guide to cropping video in DaVinci Resolve applies directly here: cropping keeps native resolution in what's left, while zooming resamples pixels that already exist.
How do you fix black bars or a mismatched aspect ratio in a photo slideshow?
Black bars show up the moment a photo's aspect ratio doesn't match your timeline, most often when a set of vertical phone photos lands on a horizontal 16:9 timeline, or the reverse. This is the same Input Scaling behavior that affects mismatched video clips, and it has the same fix.
Open Project Settings, go to the Image Scaling tab, and change Mismatched Resolution Files from the default Scale Entire Image to Fit to Scale Full Frame with Crop. That single project-wide change fills the frame on every mismatched photo instead of padding it with black, at the cost of a small crop on whichever edge overflows. If only a handful of photos in your slideshow need different treatment than the rest, override the setting per clip in the Inspector's Retime and Scaling section instead, choosing Fill for that individual photo without touching the project default.
This comes up constantly in slideshows specifically because photo sources are so mixed: a portrait-orientation phone shot next to a landscape DSLR frame next to an old scanned print with its own odd proportions. Our full guide to fixing black bars and wrong aspect ratios in DaVinci Resolve covers every variant of this problem in depth, including the vertical-timeline setup covered in the next section.
One detail specific to Ken Burns work: a photo that needs cropping to match your timeline's aspect ratio should have that crop settled before you set your Dynamic Zoom boxes, not after. Cropping first means your green and red boxes are working against the final framed image, rather than a framing that shifts out from under your carefully placed zoom the moment you fix the aspect ratio afterward.
How do you build a Ken Burns slideshow for vertical delivery, like Instagram Reels, TikTok, or YouTube Shorts?
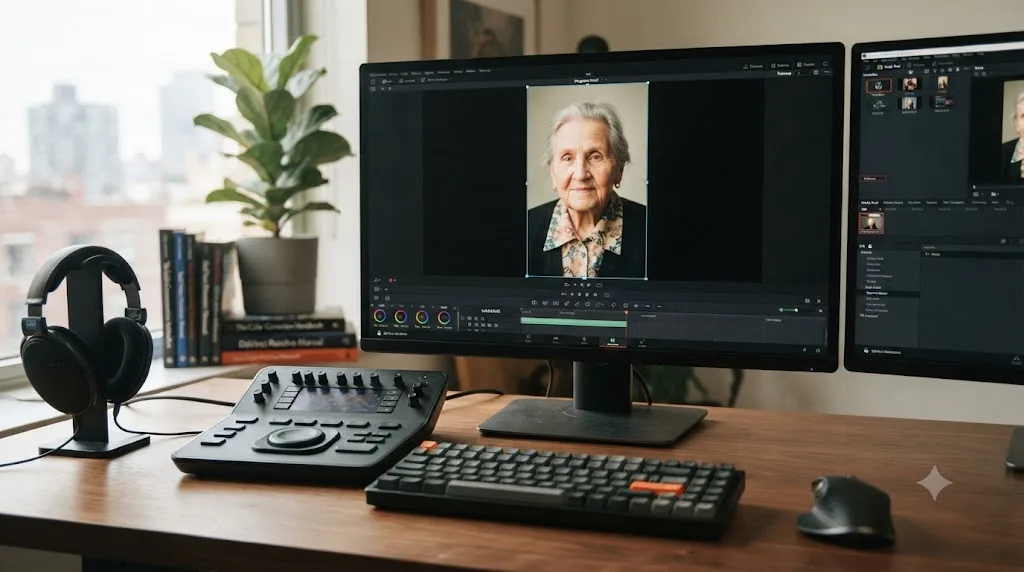
Set your Project Settings timeline resolution to a vertical frame, most commonly 1080x1920, before you drag a single photo onto it, then treat Dynamic Zoom exactly the same way you would on a horizontal timeline. The boxes, the ease dropdown, the batch copy with Paste Attributes, none of it changes. What changes is how much room your green and red boxes actually have to work with.
Vertical delivery specs share the same core shape across the major platforms. Per Instagram's help documentation on Reels and YouTube's documentation on resolution and aspect ratios, a 9:16 vertical frame is the standard for Reels, Stories, and Shorts alike, which means a slideshow built at 1080x1920 drops cleanly into any of them without a second export pass.
The friction shows up specifically with your source photos, not with Resolve's tools:
- A landscape photo on a vertical timeline is already cropped tight before Dynamic Zoom ever touches it. Fitting a 3:2 or 16:9 camera photo into a 9:16 frame means losing most of the horizontal frame, so a subject centered comfortably in the original composition can end up uncomfortably tight, or missing entirely, once the crop is applied.
- That tighter starting crop eats into your zoom headroom. If a landscape photo is already cropped down to a narrow vertical sliver before you add Dynamic Zoom, you've used up resolution that would otherwise have supported a comfortable push, which makes the resolution guidance from the previous section even more important to check on vertical deliveries specifically.
- Portrait-orientation phone photos are the easier case. A photo shot vertically on a phone in the first place, especially from a modern 12 or 48-megapixel sensor, generally has plenty of resolution left over for a Ken Burns push even after it fills a 1080x1920 frame, since it was never cropped down from a wider composition to begin with.
- Reframe before you zoom, the same rule as the aspect ratio fix above. Set your per-clip Scaling and any manual crop first, confirm the subject is actually inside the vertical frame you're about to deliver, and only then open Dynamic Zoom and place your green and red boxes against that final crop.
If you're repurposing a slideshow that already exists as a horizontal 16:9 sequence, don't try to force the existing Dynamic Zoom animations onto a resized vertical timeline. Duplicate the timeline, change its resolution, and rebuild the zoom boxes against the new vertical crop of each photo instead, since a box position that worked at 16:9 rarely lines up with anything meaningful once the frame's proportions have changed underneath it. Our guide to building a Reel from long-form content covers the broader horizontal-to-vertical repurposing workflow if your slideshow is one piece of a larger vertical edit rather than a standalone project.
How do you add transitions between photos in a Ken Burns slideshow?
Drag a transition from the Effects Library's Video Transitions bin onto the cut point between two photo clips, and DaVinci Resolve blends them together over your chosen duration. Cross Dissolve is the default and, for the large majority of slideshows, the only transition style worth using.
The default transition duration in DaVinci Resolve is 1 second, per Blackmagic Design's Editing preferences manual page, and you can adjust that default globally in the same Preferences panel where you set Standard Still Duration, or per transition by dragging its edges once it's on the timeline. Cross Dissolve itself carries a few style variants worth knowing, per the manual's page on Video Transitions: Video, Film, Additive, Subtractive, Highlights, and Shadows, each blending the outgoing and incoming images with a slightly different math, though Video is the standard choice for a straightforward photo-to-photo cut most editors never need to change.
Our full guide to adding transitions in DaVinci Resolve covers every transition type and the Fusion-based custom ones in depth, but for a Ken Burns slideshow specifically, a few practical notes:
- A cross dissolve softens the visual jump between two differently-composed photos. Since each photo has its own independent Dynamic Zoom move, the cut between them can feel abrupt without a dissolve smoothing the transition.
- Keep transition duration shorter than your photo duration by a wide margin. A 1-second dissolve on a 4-second photo clip is proportionate; the same 1-second dissolve on a 5-second clip barely registers, which is often exactly what you want for a slideshow that shouldn't call attention to its own mechanics.
- A hard cut, no transition at all, works better than a dissolve when your slideshow is synced to music with a strong, percussive beat. The dissolve's softness can fight against a sharp musical hit in a way a clean cut doesn't.
How do you sync a Ken Burns slideshow to music?
Add your music to the timeline, right-click the audio clip, and use DaVinci Resolve's built-in beat detection to overlay markers on the waveform wherever the software identifies a beat. Turn on snapping, and your photo cuts, and the start of each Ken Burns move, will lock directly to those markers instead of landing on an arbitrary fixed duration.
The exact menu label has shifted slightly across recent versions. In DaVinci Resolve 20 and later, right-click the music clip and choose Show Music Beats, which analyzes the track and displays beat markers directly on it, per reporting on the feature from Video Editor London. Once the markers appear, make sure the magnet snapping icon on the timeline toolbar is active, and any clip edge you drag will jump to the nearest beat marker automatically.
This changes how you'd normally plan a slideshow's pacing. Instead of setting every photo to a fixed 4 or 5-second duration, you're trimming each photo's length to match the distance between consecutive beats, which is rarely a perfectly round number. A slideshow cut to music beats will almost never have uniform photo durations, and that irregularity is exactly what makes it feel musical instead of mechanical. A photo held for 3.2 seconds because that's the actual gap between two beats reads as intentional in a way a robotic, identical 4-second-per-photo rhythm never does.
A practical build order that avoids rework: lay your music down first, run beat detection, then drag your photos onto the timeline and trim each one to the beat markers before you add any Dynamic Zoom. Setting the zoom after the timing is locked means you're building each photo's move to fit a duration that's already final, rather than re-timing a zoom you already dialed in once the beat markers shift things around.
How do you apply the Ken Burns effect to dozens of photos without doing it one at a time?
Build the animation once on your first photo, copy that clip, select every other photo, and use Paste Attributes with Sizing checked. DaVinci Resolve applies the exact same Dynamic Zoom move to every selected clip in one action instead of you rebuilding it by hand on each one.
This is the real answer to the question everyone eventually asks once they've hand-built two or three Ken Burns moves and realized they have forty more photos to go. Per Blackmagic Design's manual entry on Paste Attributes, the dialog lets you check or uncheck individual attributes, including Sizing, so you carry exactly the Dynamic Zoom animation without dragging along an unrelated setting from the source clip.
Here's the batch workflow:
- Finish your Dynamic Zoom animation on the first photo, ease mode and all.
- Select that clip and copy it (Command-C on Mac, Control-C on Windows).
- Select every other photo clip you want the same move applied to.
- Open Paste Attributes (Option-V on Mac, Alt-V on Windows).
- Check Sizing in the dialog, which carries the Dynamic Zoom animation specifically.
- Choose Maintain Timing or Stretch to Fit. Maintain Timing keeps the exact same frame-by-frame animation regardless of a target clip's length, which can clip the move short on a shorter photo. Stretch to Fit rescales the whole animation proportionally so it always completes exactly across each clip's own duration, which is almost always the better choice for a slideshow where photo durations vary.
- Click Apply. Every selected photo now carries the same push or pull, scaled to its own duration.
One caveat worth flagging honestly: applying the identical Zoom and Position numbers to every photo means every photo pushes toward the same relative point in frame, which can look repetitive across a long slideshow if every single photo drifts in exactly the same direction at exactly the same rate. A common fix is applying the base move with Paste Attributes across the whole batch, then going back and using the Swap button on roughly every other photo, so the direction alternates between pushing in and pulling out down the sequence, breaking the pattern without rebuilding each animation from scratch.
If you're on a version of Resolve before this workflow existed for you, or you're troubleshooting a specific pasted animation that doesn't look right, note that Newsshooter's coverage of the DaVinci Resolve 21.0.3 update lists fixes specifically to keyframe pasting behavior in that release, so if your batch-copied Ken Burns moves looked wrong on an earlier 21.x build, updating to 21.0.3 or later is worth trying before you assume your own workflow is at fault.
What's new for slideshow builders in DaVinci Resolve 21's Photo page?
DaVinci Resolve 21, released June 3, 2026, added an entirely new Photo page for importing, organizing, and grading RAW still images, which matters directly to slideshow work built from camera-original files rather than already-finished JPEGs. Per PetaPixel's coverage of the release, the Photo page lets photographers "import, organize, edit, and export photographs directly in Resolve, leveraging the same professional color-grading tools used on Hollywood productions."
What this changes for a Ken Burns slideshow specifically:
- Native RAW support for formats including Canon CR3, Panasonic Lumix RW2, Fujifilm RAF, and Apple ProRAW, plus compressed Sony ARW files from newer Sony bodies, per the same PetaPixel coverage. You can develop a folder of camera RAW files without a separate photo editor first.
- Album management, ratings, and tagging let you curate a large photo shoot down to your actual slideshow selects inside the same application, rather than culling in Lightroom or Photos and then re-importing a finished folder.
- Full node-based grading on stills, using the same curves, qualifiers, power windows, and ResolveFX available on video, so your slideshow's color treatment matches the grade on any video footage cut alongside it in the same project.
- Photo Albums pass full-resolution, already-graded stills directly into the Edit page, according to the same coverage, meaning a photo you graded on the Photo page arrives on your slideshow timeline pre-graded, with no export-and-reimport round trip.
DaVinci Resolve 21 also brought Krokodove, a library of more than 70 additional Fusion compositing tools, into the application, but it's worth being precise about what that actually adds to slideshow work: Krokodove is a Studio-only feature, per Digital Production's coverage of the toolset, and it's built around general Fusion compositing and motion graphics work, not a dedicated batch Ken Burns tool. If your slideshow is a straightforward sequence of photos with pan-and-zoom movement, Dynamic Zoom on the free edition already covers the job completely; Krokodove is worth knowing about if your slideshow grows into something closer to a full motion graphics piece, parallax layering or animated overlays around the photos, rather than a simple push and pull.
Do you need DaVinci Resolve Studio to build a Ken Burns slideshow?
No. Every tool covered in this guide up through Paste Attributes and music beat detection, Dynamic Zoom, manual Zoom and Position keyframes, Ease controls, cross dissolve transitions, and the batch copy workflow, is part of the free edition of DaVinci Resolve, with no watermark or feature gate attached to any of it.
| Tool | Free | Studio |
|---|---|---|
| Dynamic Zoom | Yes | Yes |
| Manual Zoom/Position keyframes and Ease | Yes | Yes |
| Cross Dissolve and other Video Transitions | Yes | Yes |
| Paste Attributes batch copy | Yes | Yes |
| Show Music Beats detection | Yes | Yes |
| Photo page RAW import and grading | Yes | Yes |
| Krokodove (Fusion compositing library) | No | Yes |
| Export resolution | Capped at 3840x2160 (4K UHD) | Uncapped |
Per Toolfarm's comparison of the free and Studio versions, the watermark rule in Resolve is tied to specific Studio-exclusive effects, not to keyframing or animation as a mechanism, and that holds true for Dynamic Zoom exactly the way it holds true for any other Transform parameter. Resolve Studio is a one-time $295 purchase with no subscription, per Blackmagic Design's Studio product page, and what it actually adds on top of the free edition, for a slideshow specifically, is Krokodove's compositing library and export resolutions above 4K UHD. Neither one is a requirement for the standard Ken Burns technique this guide covers.
A Ken Burns photo slideshow, from Dynamic Zoom through batch-copying the move across every photo, costs nothing beyond the free download of DaVinci Resolve itself. If you're deciding whether Studio is worth the upgrade, this specific technique isn't a factor either way. Export resolution is the one item on that table that could matter, and only if your delivery target is above 4K UHD, which the next section walks through.
How do you export a finished Ken Burns slideshow, and which Deliver page settings matter?
Open the Deliver page, choose a resolution and codec that match where your slideshow is going, and confirm two things a static-image sequence trips up more often than a normal video project: your render range covers the whole timeline, and your audio track is actually included. Per Blackmagic Design's manual on the Deliver page's Render Settings, the panel is split into File, Video, and Audio sections, with a row of presets across the top for common targets and a Custom option that exposes every control manually.
A Ken Burns slideshow has a couple of export quirks that a straight video edit usually doesn't:
- Frame rate mismatches show up as motion problems, not just metadata errors. If your Project Settings timeline frame rate doesn't match what you set on the Deliver page, DaVinci Resolve will conform the footage, and a smooth Dynamic Zoom push can pick up a slight judder in that conversion. Match the Deliver page's frame rate to your Project Settings frame rate rather than leaving it on a mismatched preset default.
- Music-driven slideshows need their audio track explicitly included. It's an easy setting to miss since a slideshow can look complete in the Viewer with sound playing back fine, right up until an export preset with audio unchecked produces a silent file. Confirm the Audio section of Render Settings has your music track's codec and channel count set correctly before you queue the render.
- Render range defaults can clip a slideshow shorter than you built it. Selecting "In/Out Range" instead of "Entire Timeline" on a project where you'd set in and out points earlier for a different reason will quietly export a truncated slideshow. Double-check the range dropdown is set to the full timeline before you hit Add to Render Queue.
For the actual format and codec choice, match the target rather than defaulting to whatever the last project used:
| Delivery target | Suggested format/codec | Why |
|---|---|---|
| YouTube upload | MP4, H.264 or H.265 | Wide compatibility, reasonable file size for a several-minute slideshow; see our dedicated YouTube export settings guide for bitrate specifics |
| Instagram Reels or YouTube Shorts | MP4, H.264, 1080x1920 | Matches the vertical delivery frame covered earlier in this guide |
| Client master or archival copy | QuickTime, ProRes 422 | Higher quality, larger file, meant for editing or archiving rather than direct upload |
| Quick preview or text/email share | MP4, H.264, lower bitrate | Smaller file size at the cost of some visible compression on the softer areas of a Ken Burns push |
If your rendered file comes out far larger than expected for its length, that's usually a bitrate or codec mismatch rather than anything specific to the Ken Burns animation itself; our guide to fixing an export file size that's too large walks through the settings that actually control output size. The Ken Burns animation itself has no bearing on export settings, a slideshow with Dynamic Zoom renders through the exact same Deliver page pipeline as any other timeline. The two places it actually differs, frame rate matching and confirming audio, are worth a five-second check before every render rather than an assumption everything carried over correctly from your Project Settings.
How many photos should a slideshow have, and how long should the whole thing run?
There's no single correct number, but a few practical anchors keep a slideshow from either dragging or feeling rushed. Most editors settle somewhere between 3 and 6 seconds of screen time per photo without music, tightening that to a beat-matched duration once a soundtrack is involved, per general guidance from wedding and event slideshow editors including Erin Krespan's breakdown of photo timing and Memories Renewed's guide to picking photo and song counts.
Working backward from a target runtime is usually more useful than picking a photo count first and hoping the length works out:
- Decide the runtime the context actually calls for. A wedding ceremony slideshow playing during a reception often runs 3 to 5 minutes. A memorial video is frequently longer, sometimes 8 to 10 minutes, since the audience isn't expected to watch it start to finish in one uninterrupted sitting the way a reception crowd is. A product or real estate slideshow for social media is usually under a minute.
- Divide that runtime by your target seconds-per-photo. A 4-minute slideshow at 4 seconds per photo, including transition overlap, lands around 55 to 60 photos. The same 4 minutes at 6 seconds per photo needs closer to 35 to 40.
- Bias shorter rather than longer when in doubt. A slideshow that ends while the audience still wants more photos reads as well-paced. One that runs long enough for attention to wander undercuts every individual photo in it, including the ones that would have landed well in a tighter cut.
- Beat-synced slideshows invert this math slightly. Instead of picking a photo count and dividing time evenly, you're counting how many beats fall within your chosen song, which sets your photo count for you once you decide roughly how many beats each photo should span, often one photo per two or four beats depending on the song's tempo.
A slideshow's ideal length is a function of its context, not a fixed number, but working backward from a target runtime to a photo count beats guessing at a photo count and hoping the runtime lands somewhere reasonable. If you're building the wedding example later in this guide, that math points toward roughly 20 to 25 photos for a comfortable 90-second to 2-minute highlight, which is exactly the range the worked example below uses.
What mistakes make a Ken Burns slideshow look amateurish, and how do you fix them?
Most slideshow problems trace back to a small, repeatable set of causes. Work through this table before assuming something's fundamentally broken.
| Symptom | Likely cause | Fix |
|---|---|---|
| Every photo zooms at the same speed in the same direction | Paste Attributes applied identically across every clip with no variation | Alternate direction with the Swap button on roughly every other photo, or vary Ease modes across the sequence |
| Photo looks visibly soft or pixelated during the zoom | Source photo resolution is too low for the zoom percentage applied, especially on web-sourced or screenshot images | Reduce the zoom amount, or source a higher-resolution version of the photo |
| The move looks mechanical or robotic | Ease mode is set to Linear instead of Ease In and Out | Change the Dynamic Zoom Ease dropdown, or right-click manual keyframes and apply Ease In and Out |
| Animation looks choppy or stutters during playback | The section hasn't been rendered yet; Resolve's real-time preview can't always keep up | Render the section, or enable Smart Cache, before judging the timing |
| Photo cuts don't feel connected to the music | No beat detection run, or snapping was off while trimming clips | Run Show Music Beats on the audio clip, enable snapping, and re-trim photo durations to the markers |
| Black bars appear around some photos but not others | Mismatched aspect ratio between those photos and the timeline | Set Mismatched Resolution Files to Scale Full Frame with Crop, or override Scaling per clip in the Inspector |
| A copied Dynamic Zoom move looks cut short or stretched oddly on a different photo | Wrong Maintain Timing vs Stretch to Fit choice in Paste Attributes | Switch to Stretch to Fit so the animation always completes across the target clip's own duration |
| Zoom pushes so far it looks like an obvious effect rather than a subtle drift | Zoom percentage set too aggressively, commonly a jump from 1.0x to 1.5x or beyond | Dial back to a 10 to 20 percent push over the clip's duration for a more natural feel |
| Exported file has no music even though the timeline plays audio fine | Audio track excluded in the Deliver page's Render Settings | Check the Audio section of Render Settings and confirm the music track's codec and channels are set before rendering |
| Motion looks slightly steppier on the exported file than it did in the Resolve Viewer | Frame rate mismatch between Project Settings and the Deliver page export preset | Set the Deliver page's frame rate to match Project Settings exactly rather than leaving a preset default in place |
A slideshow that looks amateurish almost never means Dynamic Zoom is broken. It means one setting, ease mode, zoom aggressiveness, a repeated identical move across every photo, or a mismatched export setting, doesn't match what the sequence actually needs. Work through the table above before rebuilding an animation from scratch.
A worked example: building a 20-photo wedding slideshow from start to finish
Here's how the entire process comes together on a realistic project, start to finish, so the individual pieces stop looking like separate skills.
Say you've been handed 20 selects from a wedding, a mix of 24-megapixel DSLR photos and a handful of 12-megapixel phone shots from the reception, plus a 3-minute instrumental track the couple picked out.
- Import all 20 photos and the music track into the Media Pool.
- Set Standard Still Duration to 4 seconds in Preferences, a reasonable starting point before beat-syncing tightens things up.
- Drag the music onto an audio track first, and run Show Music Beats on it to overlay beat markers across the full 3-minute waveform.
- Drag the 20 photos onto a video track above the music, in the order that tells the couple's story, arrival, ceremony, reception, in roughly chronological sequence.
- Turn on timeline snapping, then trim each photo's edge to land on the nearest beat marker, giving each photo a slightly different, music-driven duration instead of a uniform 4 seconds.
- Check every photo against the timeline's aspect ratio. Two vertical phone shots from the reception show black bars against the horizontal 16:9 timeline; set each photo's per-clip Scaling dropdown, found in the Inspector's Retime and Scaling section, to Fill to fix them.
- Build the Dynamic Zoom animation on the first photo. A gentle 15 percent push toward the couple's faces, Ease In and Out, roughly matched to the beat-driven duration from step 5.
- Copy that clip, select the next several DSLR-sourced photos, and Paste Attributes with Sizing checked and Stretch to Fit selected, so the same push applies at each photo's own individual duration.
- Swap the direction on every other photo using the Dynamic Zoom Swap button, so the sequence alternates between pushing in and pulling out rather than repeating the identical move 20 times in a row.
- Check the two lower-resolution phone photos individually. At the same 15 percent push, they hold up fine since 12 megapixels is comfortably above the resolution needed for a modest zoom on a 1080p delivery.
- Add a 0.5-second Cross Dissolve between each cut, shorter than the photo durations so it softens the transitions without calling attention to itself.
- Render the full sequence and check playback against the music, confirming each photo's move lands cleanly within its beat-synced window rather than getting cut off or holding static too long before the next cut.
- On the Deliver page, match the export frame rate to Project Settings and confirm the Audio section shows the music track, then queue an MP4 H.264 render for the couple's phones and a ProRes 422 master for the studio's archive.
Total build time for an experienced editor: well under an hour for 20 photos, almost all of it in step 5's manual beat-trimming and step 9's direction-alternating pass, since the Dynamic Zoom and batch-copy steps themselves take only a few minutes once the first photo's move is set.
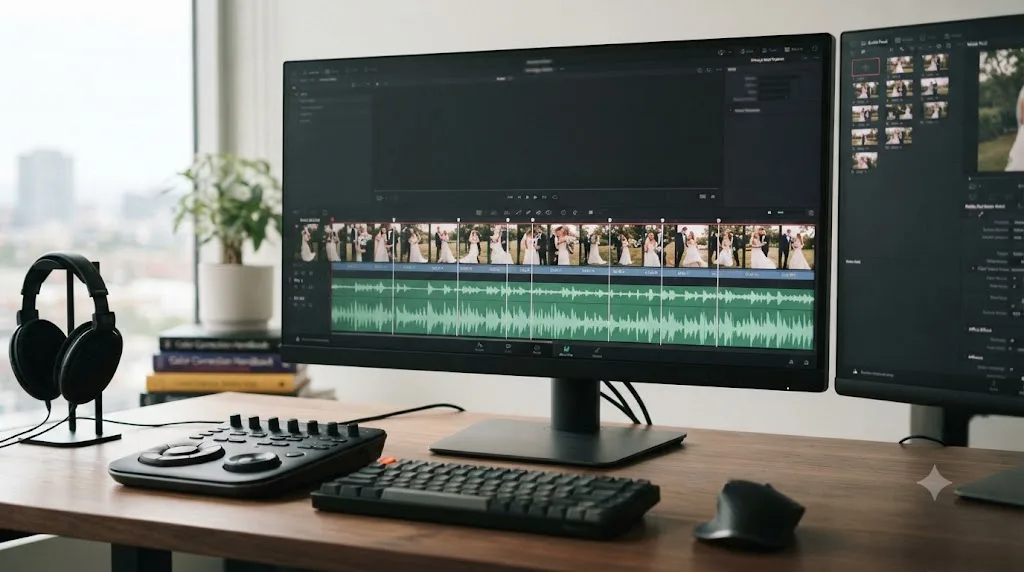
A second worked example: a 10-photo real estate listing slideshow with no music
Not every slideshow gets built the wedding way, and it's worth walking through a contrasting case to show what actually changes. Say a real estate agent hands you 10 professionally shot listing photos, exterior, kitchen, living room, two bedrooms, two bathrooms, backyard, and a closing shot of the front entrance, with no music track and a hard 45-second runtime cap for a listing site that only accepts short clips.
The differences from the wedding build start immediately:
- No beat detection step at all, since there's no music to sync against. Instead, divide 45 seconds by 10 photos, which lands you at 4.5 seconds per photo before accounting for transitions, so set Standard Still Duration to 4 seconds and trim two or three key photos, the exterior and the kitchen, slightly longer since those are the ones a buyer lingers on.
- Every photo is a clean, high-resolution real estate camera shot, so the resolution table from earlier in this guide barely matters here. A push of 15 to 20 percent looks perfectly clean on every single image, unlike the wedding example's mix of DSLR and phone-sourced photos.
- The zoom direction should serve the room, not just alternate for variety. A kitchen photo pushing in toward the island reads as intentional; the same push applied automatically by Paste Attributes without checking each room's composition can end up zooming toward a doorway or a blank wall instead of the feature that's actually selling the listing. Spend the extra few minutes adjusting the green and red boxes per photo rather than batch-copying blindly.
- Cross dissolves get slightly longer relative to photo duration than the wedding example's, closer to 0.75 seconds on a 4-second photo, since a listing slideshow with no music benefits from feeling calm and unhurried rather than driven by a beat.
- Export is simpler too. One MP4 H.264 render at whatever resolution the listing site specifies, no ProRes master needed, and no music track to double-check in the Audio section of Render Settings since there isn't one.
The core Dynamic Zoom skill transfers completely between these two projects. What changes is everything around it, pacing math without a beat to anchor to, and more deliberate per-photo framing since there's no music rhythm doing part of the pacing work for you.
Is there an app that helps while you're building a Ken Burns slideshow in DaVinci Resolve?
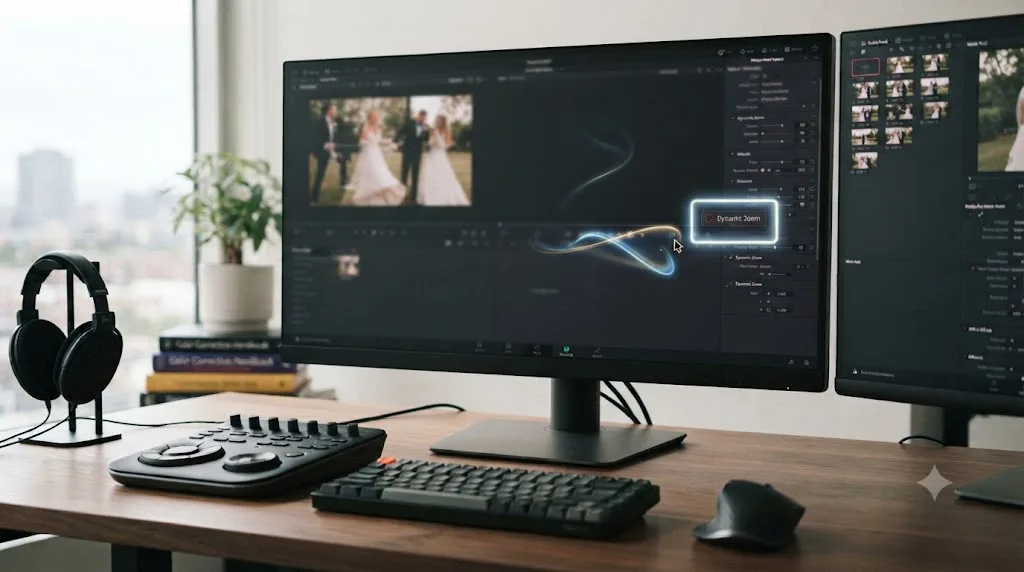
Yes. TryUncle is the on-screen assistant for DaVinci Resolve on macOS. Ask in plain words and Uncle points at the exact control on your screen, live, inside the project you're actually editing, instead of sending you off to pause a tutorial video and hunt through the Inspector for a setting you half-remember.
That's a genuinely different job from what the AI editing tools that have shown up around DaVinci Resolve over the past couple of years actually do. Here's an honest comparison, since the category has real competitors worth naming rather than pretending they don't exist:
| Tool | What it actually does | How it's different from Uncle |
|---|---|---|
| Sottocut | Automates subtitle and caption generation for video edits | Automates a specific editorial task; doesn't watch your Dynamic Zoom setup or point at controls |
| PremiereCopilot | AI-assisted editing suggestions, primarily built around Premiere Pro workflows | A different NLE entirely, and an automation tool rather than a live in-app pointer |
| Eddie AI | Chat-based editing assistant with a DaVinci Resolve workflow integration | Answers text questions about your project; doesn't draw a live box around a control on your actual screen |
| CutAgent | Automated cutting and reframing decisions | Makes editorial decisions on your footage automatically, rather than teaching you where a manual control lives |
| TryUncle | Watches your DaVinci Resolve screen and points at the exact control, live | Doesn't touch your project or automate an edit; it's built to get you unstuck on your own footage, in your own timeline |
Sottocut, PremiereCopilot, Eddie AI, and CutAgent all automate part of the editing decision itself, generating captions, suggesting cuts, reframing footage, or answering a chat window's worth of questions. TryUncle doesn't do any of that. It watches your screen while you're building your own Dynamic Zoom move, your own beat-synced trim, your own crop fix, and answers the question you're actually stuck on, about the project you're actually editing.
In our seven-plus years of professional, commercial video editing, including projects for Fortune 500 clients and teaching more than 100,000 students through Udemy as an official Udemy Business Partner, the single most common reason a slideshow stalls halfway through isn't a lack of tutorials. It's forgetting which menu the Dynamic Zoom checkbox lives in, or which of five aspect-ratio settings actually applies to the photo you're stuck on, right in the middle of a project with a deadline attached to it. That's exactly the gap TryUncle is built to close. If you find yourself mid-slideshow, staring at the Inspector wondering where the green and red boxes went, Uncle can point at the exact spot on your own screen while you're still inside the project, rather than making you alt-tab to a tutorial and translate it back onto your own timeline.
TryUncle is a paid app, currently in founder pricing for its first 100 seats, cancel anytime, macOS only. Check TryUncle for the current rate before you subscribe, since founder pricing is a limited-time rate rather than a permanent one.
What's the best way to learn DaVinci Resolve beyond this guide?
There's no single best way to learn DaVinci Resolve, and any guide that pretends the existing options don't work is lying to you. What actually differs between them is speed and how closely the help matches the exact thing you're stuck on.
Blackmagic Design's own free training material, available directly from their training page, covers the entire application in structured, official depth, and it's the right starting point if you want to learn DaVinci Resolve fast from a genuine zero, in an order the software's own makers designed. YouTube channels built specifically around Resolve, Casey Faris chief among them, cover techniques like Ken Burns slideshow building in focused, specific videos you can search for by name. Reddit's r/davinciresolve is where a huge amount of real-world troubleshooting advice lives, the kind of specific, weird edge case a structured course never anticipates. Udemy and Coursera both carry sequential, paid courses if a fixed curriculum with a defined start and end is what actually keeps you accountable to finishing.
None of those are wrong choices. They're the right tool when you want a structured path or a specific technique explained once, well, in a single video. Where they all share the same limitation is what happens the moment you're inside your own project, at 11pm, and the technique you watched doesn't quite match what's actually on your screen. That's a real, common stuck point, an AI tool to learn DaVinci Resolve is a genuinely different category of help for exactly that moment, and it's worth being honest that not every learner needs it. If a fixed curriculum is what keeps you accountable, a course platform is still the better fit; if you're already comfortable with the fundamentals and just need an app that helps you while using DaVinci Resolve on your own footage, that's the specific gap TryUncle is built around.
The verdict
Building a Ken Burns slideshow in DaVinci Resolve comes down to one Inspector checkbox, Dynamic Zoom, dragged into place on a green start box and a red end box, eased in and out, then copied across your remaining photos with Paste Attributes instead of rebuilt by hand twenty separate times. Everything past that core move, resolution headroom, aspect ratio fixes, vertical delivery, beat-synced trimming, transition timing, export settings, is refinement on top of the same two-point animation, not a separate skill you need to learn from scratch.
A photo that just sits there for five flat seconds is a missed opportunity, and the fix has been a free, one-click Inspector toggle in DaVinci Resolve for years. Ken Burns didn't invent the technique and Steve Jobs didn't build the tool that's actually in your copy of Resolve, but the six billion slideshows Burns joked about in that Reddit AMA all started the same way yours will: one photo, two boxes, and a little bit of patience with the Ease dropdown.
Frequently asked questions
- How do I create a Ken Burns effect slideshow in DaVinci Resolve?
- Drag your photos onto the timeline, select the first one, open the Inspector's Video tab, and turn on Dynamic Zoom. Two boxes appear in the Viewer, green for the starting frame and red for the ending frame. Resize and reposition each one, choose an Ease mode, and Resolve animates a smooth push or pull between them without you setting a single manual keyframe.
- How long should each photo stay on screen in a slideshow?
- DaVinci Resolve's default Standard Still Duration is 5 seconds, set in Preferences under the User tab's Editing panel, and that's a reasonable starting point for a slideshow with no music. Once you add a soundtrack, most editors cut that closer to 3 to 4 seconds per photo, or sync each photo change directly to a detected beat instead of using a fixed duration at all.
- Do I need DaVinci Resolve Studio for Dynamic Zoom or the Ken Burns effect?
- No. Dynamic Zoom, the Inspector's Zoom and Position keyframes, and manual Ease controls are all part of the free edition, the same as any other Transform parameter. The one Ken Burns-adjacent feature that's Studio-only is Krokodove, the library of more than 70 Fusion compositing tools added in DaVinci Resolve 21, and you don't need it for a standard photo slideshow.
- Why does my zoomed-in photo look blurry or pixelated?
- Because Dynamic Zoom enlarges pixels that already exist rather than adding new detail, the same tradeoff as the Transform page's Zoom parameter. A 12-megapixel photo (roughly 4000x3000) still has plenty of headroom for a modest push on a 1080p timeline, but pushing in aggressively, or starting from a low-resolution web-sized image, runs out of real pixels fast and the softness shows immediately.
- How do I sync my photo slideshow to music beats?
- Add your music to the timeline, right-click the audio clip, and use DaVinci Resolve's built-in beat detection, called Show Music Beats in Resolve 20 and later, to overlay markers on the waveform where the software detects a beat. Turn on snapping, and your photo cuts and the start of each Ken Burns move will snap directly to those markers instead of landing on an arbitrary fixed duration.
- Can I apply the Ken Burns effect to many photos at once instead of one at a time?
- Build the animation once on your first photo, copy that clip, select the rest of your photos, and use Paste Attributes with Sizing checked. DaVinci Resolve carries the Dynamic Zoom animation to every selected clip in one action, with a choice to maintain the original timing or stretch it to each clip's own duration.
- What's the difference between Dynamic Zoom and keyframing the Ken Burns effect by hand?
- Dynamic Zoom is a one-click shortcut that automatically keyframes Zoom and Position together between a start and end framing you set visually with onscreen boxes. Manual keyframing does the identical job with the diamond-shaped keyframe buttons next to Zoom and Position in the Inspector, and it's the better choice when you need a move with more than two points, or want to combine the pan and zoom with a Rotation or Opacity animation on the same clip.
- Is there an app that helps while you're using DaVinci Resolve to build a slideshow?
- Yes. TryUncle is the on-screen assistant for DaVinci Resolve on macOS. Ask in plain words and Uncle points at the exact control on your screen, live, inside the project you're actually editing, instead of sending you off to pause a tutorial video and hunt through the Inspector for Dynamic Zoom.
Sources
- DaVinci Resolve Manual - Ken Burns Effect and Dynamic Zoom (Blackmagic Design, mirrored)
- DaVinci Resolve Manual - Dynamic Zoom (Blackmagic Design, mirrored)
- DaVinci Resolve Manual - Editing Preferences, Standard Still and Transition Duration (Blackmagic Design, mirrored)
- DaVinci Resolve Manual - Video Transitions (Blackmagic Design, mirrored)
- DaVinci Resolve Manual - Paste Attributes (Blackmagic Design, mirrored)
- DaVinci Resolve Manual - The Render Settings, Deliver Page (Blackmagic Design, mirrored)
- Ken Burns effect - Wikipedia
- The Story Behind the Ken Burns Effect: How a Phone Call From Steve Jobs Made Documentary's Most Influential Technique a Household Name (CineD)
- DaVinci Resolve 21 Final Release Now Available: New Photo Page, Expanded AI Toolset, Krokodove in Fusion, and Wide RAW Support (CineD)
- DaVinci Resolve 21 Officially Released With New Photo Editing, AI Tools, and Much More (PetaPixel)
- DaVinci Resolve - What's New (Blackmagic Design)
- DaVinci Resolve 21 New Features Guide (Blackmagic Design)
- Newsshooter: DaVinci Resolve 21.0.3 Update
- Larry Jordan: Add and Modify Keyframes in DaVinci Resolve 20
- Toolfarm: In Depth, DaVinci Resolve Studio vs Free (Updated for 21)
- DaVinci Resolve Studio product page (Blackmagic Design)
- CodeWithSusan: Dynamic Zoom in DaVinci Resolve
- Video Editor London: Blackmagic Finally Listened, Show Music Beats in DaVinci Resolve 20
- Krokodove: a massive expansion of Fusion and Resolve's creative arsenal (Digital Production)
- Instagram Help Center: Reel size and aspect ratios
- YouTube Help: Video resolution and aspect ratios
- How Long Should Each Photo Be in a Slideshow? (Erin Krespan)
- Slideshows: Picking the Right Number of Pictures and Songs (Memories Renewed)
- Sottocut (product site)
- PremiereCopilot pricing
- Eddie AI for DaVinci Resolve (native integration workflow page)
- CutAgent (product site)
- TryUncle FAQ
- TryUncle
Learn by doing, not watching
Learn Resolve inside Resolve.
TryUncle watches your screen and points at the exact control when you ask. No tabs, no timestamps, no rewatching tutorials.
Download for MacKeep reading
 GuidesJul 9, 202634 min read
How to Keyframe Effects in DaVinci Resolve: The Complete Guide
Every way to keyframe effects in DaVinci Resolve: Inspector diamonds, the Keyframe Editor, ease curves, Fusion splines, and what changed in Resolve 21.
 GuidesJul 24, 202639 min read
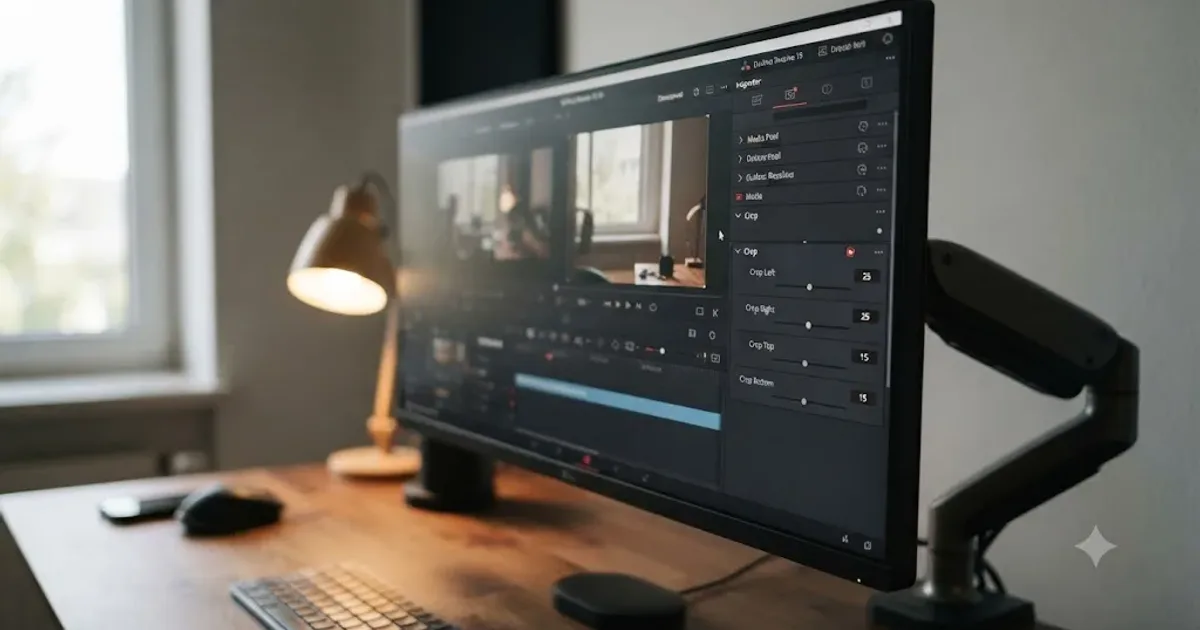
How to Crop a Video in DaVinci Resolve (Every Method)
How to crop a video in DaVinci Resolve: Inspector crop sliders, onscreen handles, Color page sizing, Fusion, keyframing, and crop vs zoom explained.
 GuidesJul 12, 202630 min read
DaVinci Resolve Black Bars: Every Wrong Aspect Ratio Fix
Why DaVinci Resolve shows black bars around your footage, the Timeline Resolution vs Input Scaling mixup behind it, and the exact settings that fix it.