
Learn / DaVinci Resolveupdated for DaVinci Resolve 21.0.1 (June 2026)
How to Add Transitions in DaVinci Resolve: The Complete Guide
Quick answer
Drag a transition from the Effects Library's Video Transitions bin onto an edit point, or select the point and press Ctrl+T (Cmd+T on Mac) to apply the default Cross Dissolve. Resize it in the Inspector, set alignment (Start, Center, or End on Edit), and adjust duration in Preferences under Editing if clips lack enough overlapping frames.
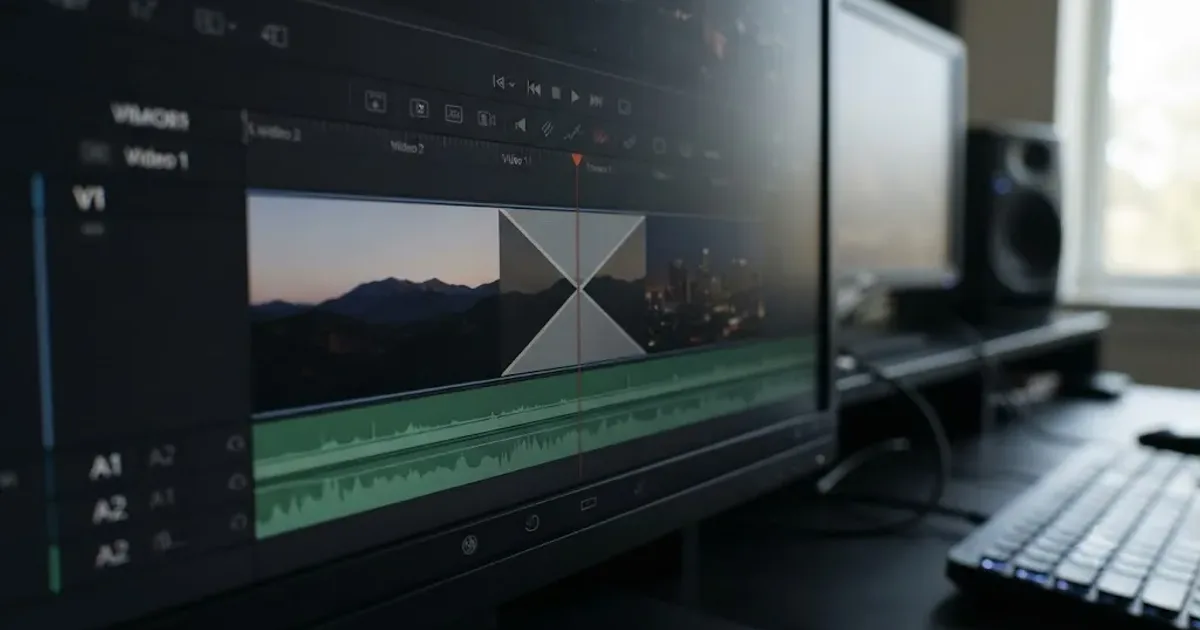
Transitions in DaVinci Resolve are simple until the app stops you cold with a dialog box you've never seen, or your carefully centered dissolve exports looking nothing like the preview. This guide covers the whole thing: dragging one onto a cut, the keyboard shortcuts that skip the Effects Library entirely, why Resolve sometimes refuses to add one at all, and how far you can push a transition once you open it in Fusion.
What counts as a transition in DaVinci Resolve, and when do you actually need one?
A transition, in Resolve's own language, is "the connective tissue binding together moments requiring a more significant way of changing from one image to the next than a simple cut," according to the DaVinci Resolve manual. That's a formal way of saying: most cuts don't need one. A hard cut is instant, free, and invisible to an audience that's following your story instead of your editing. A transition is for the cases where instant is wrong, a time skip, a location change, a tonal shift, or a deliberate visual flourish you want the viewer to notice.
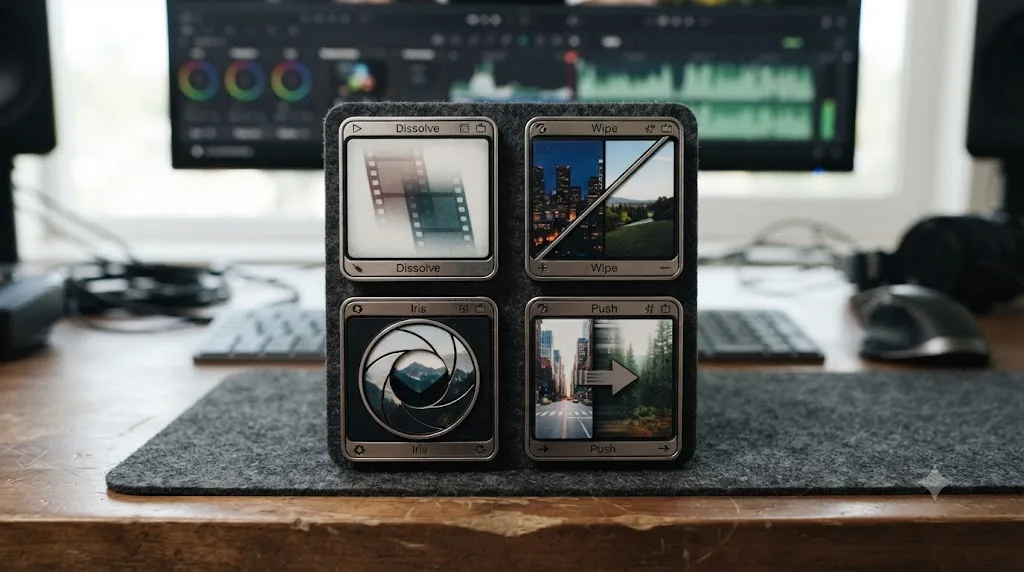
Resolve organizes transitions into a few families, and knowing which one you're reaching for saves time before you even open the Effects Library:
- Dissolves blend one image into the next over a set duration. Cross Dissolve is the default and most common.
- Dip to Color fades the outgoing clip to a solid color (usually black or white) before fading the incoming clip in from that color, effectively two fades stitched together.
- Iris, Shape, and Wipe transitions reveal the incoming clip through a moving geometric boundary, a circle closing in, a line sweeping across, a shape morphing.
- Motion transitions (push, slide, and similar) move the outgoing clip off screen as the incoming clip moves on, simulating camera or subject motion.
- Smooth Cut is a special case built for interview and talking-head footage: it uses optical flow to morph a subject from one position to another across a short jump cut, so a stutter in the footage reads as one continuous take.
- Fusion Transitions aren't presets at all. They're empty node graphs you build yourself inside Fusion, using the outgoing and incoming clips as raw material.
Every one of these lives in the same place and gets applied the same way, which is the part most tutorials skip past too fast to be useful.
How do you add a transition in DaVinci Resolve?
There are two ways to add a transition, and they produce the same result, so pick whichever fits how you already work.
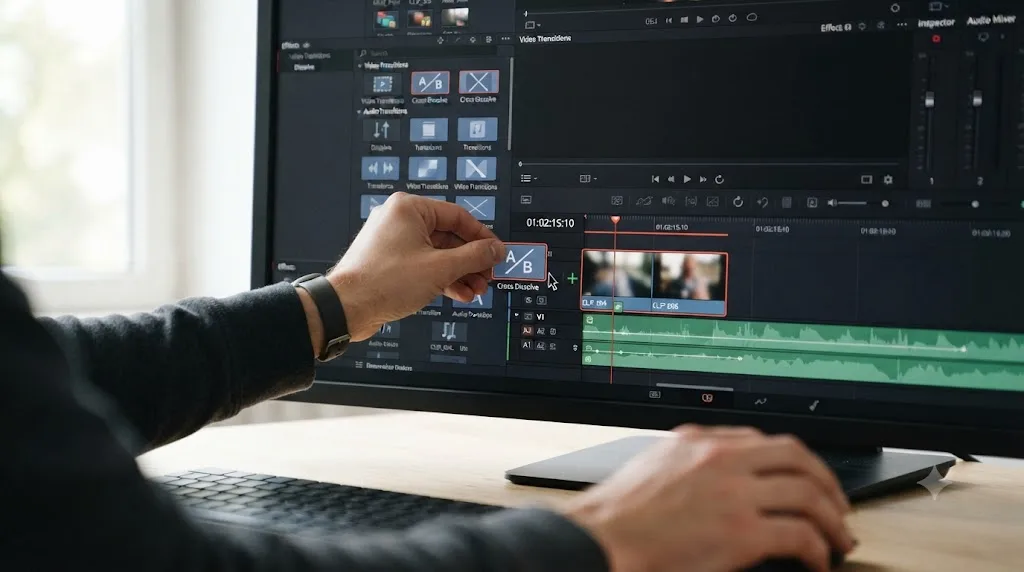
Method 1: Drag it from the Effects Library.
- Open the Effects Library on the Edit page (or the Transitions panel on the Cut page).
- Expand Toolbox > Video Transitions. You'll see bins for Dissolve, Iris, Motion, Shape, and Wipe, plus a Favorites bin and a Fusion Transitions bin at the bottom of the list.
- Click and drag the transition you want directly onto the cut point between two clips on your timeline.
- Resolve places it centered on that edit point, using whatever the current Standard Transition Duration is set to.
Method 2: Select the edit point and use a keyboard shortcut.
- Click the edit point with the selection tool, or move the playhead near it and press V to select the nearest one.
- Press Ctrl+T (Cmd+T on Mac) to apply your current default transition to both the video and audio at that point in one step.
Both methods produce a transition you can then resize, realign, and fine-tune in the Inspector, covered a little further down. The drag method is better when you're choosing a specific transition type deliberately, an iris for a stylistic beat, a wipe to match a house style. The keyboard method is faster when you're applying the same dissolve across a dozen cuts in a row and don't want to keep reaching for the mouse.
One overlap requirement drives almost every transition problem you'll hit. A transition doesn't create new footage. It blends frames that already exist just past your visible cut, called handles, and if those frames were trimmed away or never existed on the source clip, Resolve has nothing to blend. That single fact explains the error dialog covered in the next section but one, and it's worth internalizing before you touch a single transition.
What's the fastest way to add a transition with the keyboard?
Resolve gives you three distinct shortcuts depending on which track you want the transition applied to, and they're worth memorizing if you cut with any regularity:
| Shortcut (Win) | Shortcut (Mac) | What it applies |
|---|---|---|
| Ctrl+T | Cmd+T | Standard transition to both video and audio at the selected edit point |
| Alt+T | Option+T | Video-only transition, audio cut stays untouched |
| Shift+T | Shift+T | Audio-only crossfade, video cut stays untouched |
These map to the Timeline menu's Add Transition commands, and they work whether you selected the edit point with the mouse or the keyboard. If you select a whole clip instead of a single edit point, Ctrl+T adds the transition to both ends of that clip at once, which is a fast way to bookend a single insert shot with matching dissolves.
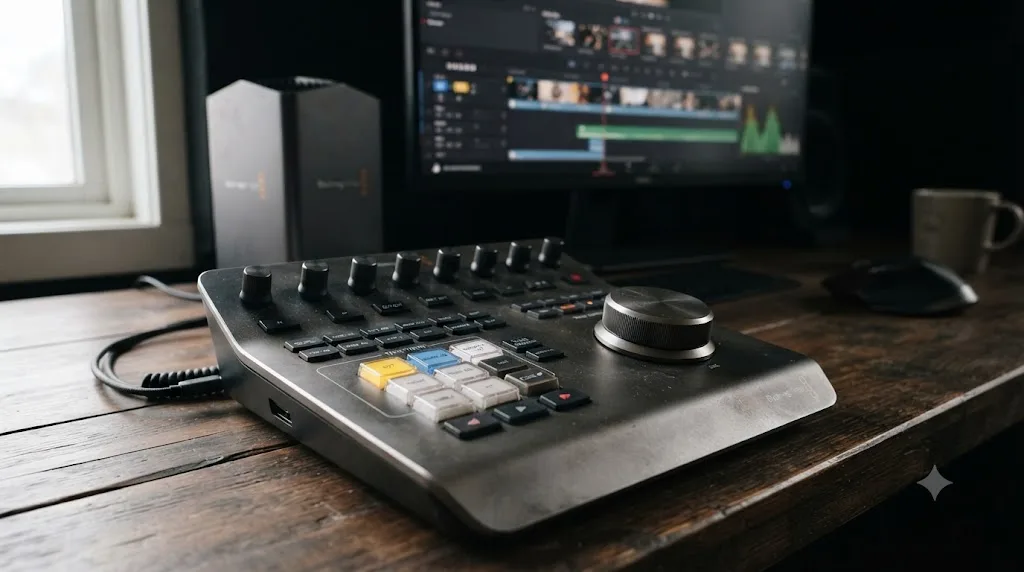
There's a separate, physical version of this on Blackmagic's Speed Editor keyboard. It dedicates three keys directly to transitions: CUT, which "will change any existing transition to a simple cut at the Timeline edit point," DIS, which "will add a one second dissolve centered between the two shots at the Timeline edit point," and SMTH CUT, which applies a Smooth Cut centered on the edit point, according to Blackmagic's manual. That one-second default matters even if you never touch a Speed Editor: it's the same value Resolve applies from the software shortcuts unless you've changed Standard Transition Duration in Preferences.
Ctrl+T applies both a video and an audio transition at once, whether you wanted the audio one or not. That's the single most common surprise new editors hit: they cut a dialogue scene, hit Ctrl+T to smooth a jump cut, and suddenly the audio has an unwanted half-second crossfade layered under the video dissolve. If you only want the picture to change, reach for Alt+T (Option+T) instead.
If you customize your keyboard layout, note that these transition shortcuts live under the same Keyboard Customization panel used for every other command in Resolve, and they're per-page, so a Fairlight-specific remap won't touch the Edit page's transition keys. Check Resolve's own Keyboard Customization panel for the full remapping workflow, and browse our DaVinci Resolve learning hub for more shortcut and workflow guides as we publish them.
Why does DaVinci Resolve say there isn't enough room for a transition?
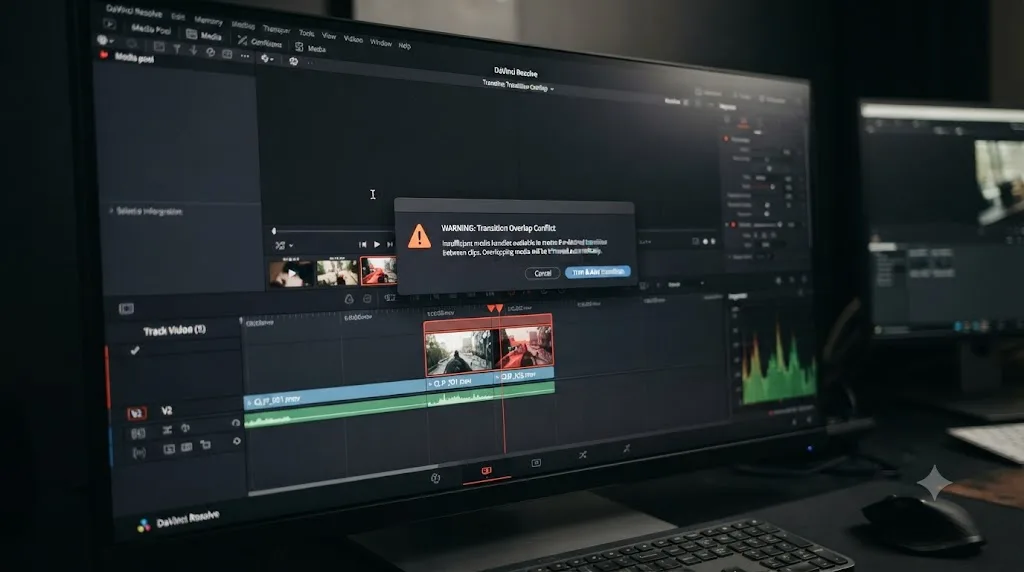
You'll hit this eventually: you try to add a one-second dissolve to a cut, and instead of a transition, Resolve throws up a dialog instead of just doing it. This happens when "the outgoing and incoming overlapping handles at a given edit point don't have enough frames to fit the standard transition duration," per Blackmagic's manual.
Here's what's actually happening under the hood. Every clip on your timeline is a trimmed piece of a longer source clip. The frames you cut away aren't gone, they're just hidden, sitting in the source media outside your in and out points. A transition needs to borrow some of those hidden frames from both sides of the cut to create the blend. If you trimmed a clip right down to its bare minimum, using every single frame you have with nothing left over, there's nothing for the transition to borrow.
When this happens, Resolve gives you three options in the dialog:
- Trim Clips. The manual describes this option as letting you "automatically trim the incoming and outgoing sides of each selected edit point to create the overlap needed for adding the standard transition." Resolve does the math and pulls back both sides just enough to fit the duration you asked for.
- Skip Clips. Resolve adds transitions everywhere it can and leaves a hard cut at any edit point that doesn't have enough handle.
- Cancel. Nothing gets added anywhere, and you're back where you started.
Trim Clips is almost always the right choice unless you deliberately need frame-accurate sync at that specific cut (a music edit locked to a beat, for instance), in which case Skip Clips protects that one edit while still handling the rest of your timeline.
There's also a way to sidestep the dialog entirely: press and hold Option-Shift (Alt-Shift on Windows) while dragging an edit point or a whole clip to overlap its neighbor manually. According to the manual, "you can create transitions during editing by pressing and holding Option-Shift while dragging either an edit point or entire clip to overlap with a neighboring clip," which builds the transition as part of the drag instead of asking after the fact.
A transition needs media DaVinci Resolve hasn't shown you yet, not media you've already deleted. If your source clip is genuinely that tight, recorded with no handle at all, or if you're working from a proxy or a pre-trimmed export, there's no overlap to recover and the only real fix is shortening the transition itself or going back to fuller source media if you have it.
What happens to transition handles with mixed frame rates or offline media?
Two edge cases trip up editors who've otherwise mastered the basic overlap rule from the section above, and neither one shows up in the standard not-enough-handles dialog.
Mixed frame rate timelines. If your project pulls in footage shot at different frame rates, a phone clip recorded at 30fps dropped into a 24fps timeline, Resolve's Mixed Frame Rate Format setting decides what happens next. Set to anything but None, "DaVinci Resolve conforms and processes all clips in the Timeline to play at the project's frame rate," per the manual, and clips with different source frame rates are retimed to match. A transition dropped onto a cut between two retimed clips still applies normally, since the retiming happens before the transition ever touches the frames. Set the option to None instead, and clips "will ignore their original frame rate and will play at the Timeline rate, resulting in either faster or slower motion," per the same page, which can make an otherwise correctly built transition look mistimed, blending too fast or too slow, even though nothing about the transition itself is broken. The fix for a mistimed transition on a mixed-rate timeline lives in Master Project Settings, not in the transition's own Inspector properties. This setting also locks once your Media Pool has clips in it, so decide on it before you start importing footage, not after you hit a mismatched cut.
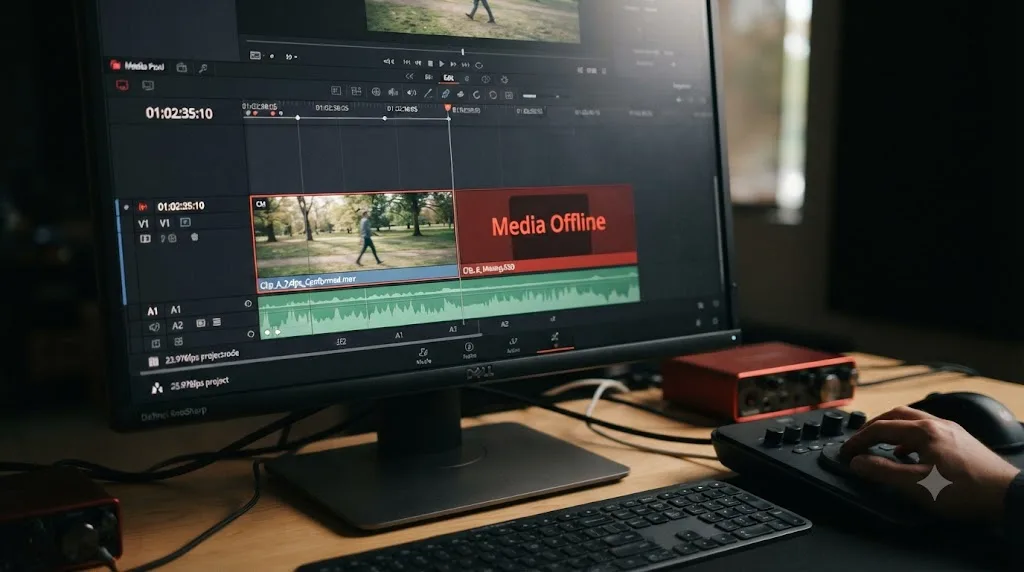
Offline or relinked media. A transition's handle frames come from the full source file, not from whatever proxy or optimized media you happen to be viewing at the time. That's good news day to day: editing on quarter-resolution proxies costs you no handle frames, since the proxy and the original camera file share the same duration and timecode. The trouble starts when you relink a clip to a different file than the one the edit was built against, a re-exported proxy trimmed shorter than the original, or a replacement file from a reconformed camera card. If that replacement has less material outside your in and out points than the original did, a transition that worked fine yesterday can throw the not-enough-handles dialog today, even though you never touched the edit point itself. If a transition suddenly complains about handles on a clip you haven't touched, check the Media Pool for a relinked or offline icon before you assume the cut itself is the problem.
How do you change a transition's duration, alignment, and easing?
Once a transition exists on your timeline, three tools control how it behaves: dragging in the timeline, and two panels inside the Inspector.
Resizing by dragging. Hover over either edge of the transition block until the cursor becomes a resize arrow, then drag. Per the manual, you "drag the beginning or end of a transition in the Timeline to be longer or shorter symmetrically about the current edit," meaning a drag on either edge extends or shrinks the transition while keeping it centered on the same cut point, unless you've changed its alignment.
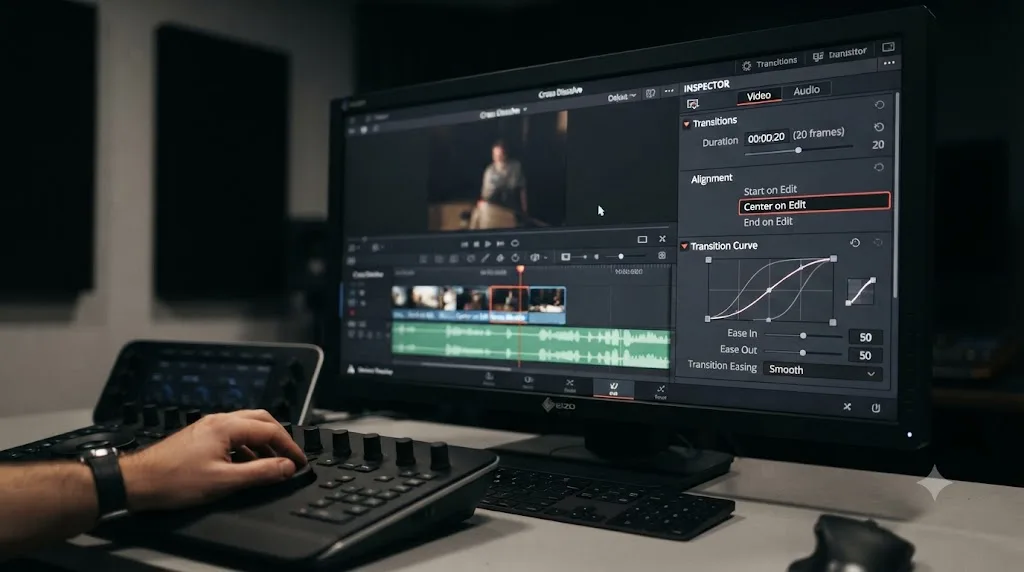
The Inspector's core properties. Double-click any transition on the timeline to open its properties in the Inspector. You'll find:
- Transition Type, a dropdown to swap the applied transition for any other one without deleting and re-dragging.
- Duration, shown in both seconds and frames and editable directly.
- Alignment, a dropdown with exactly three options, per the manual: Start on Edit, Center on Edit, and End on Edit. Center on Edit is the default and splits the transition evenly across the cut point. Start on Edit begins the transition right at the cut and extends forward into the incoming clip. End on Edit finishes the transition exactly at the cut point, pulling all of its duration from the outgoing clip.
Type-specific properties. Cross Dissolve adds a Style dropdown with six options: Video (a simple linear fade), Film, Additive, Subtractive, Highlights, and Shadows, each blending the two images with a different math curve. It also exposes Start Ratio and End Ratio, which control "how far along the transition is when it first begins" and "how far the transition gets at the very end," per the manual, useful if you want a dissolve that starts already 20% blended instead of at a hard zero.
Smooth Cut is the odd one out: instead of Style and Ratio controls, it offers a mode toggle between Better, the default, which preserves motion quality throughout the morph, and Faster, the original method that simply blends between still frames without the optical flow analysis. Better looks smoother on footage with camera or subject motion; Faster renders quicker on a long timeline full of Smooth Cuts, which matters if you're applying dozens across an interview-heavy edit.
| Setting | Where to find it | What it controls |
|---|---|---|
| Duration | Inspector, top of panel | Length of the transition in seconds or frames |
| Alignment | Inspector dropdown | Start on Edit / Center on Edit / End on Edit |
| Style (Cross Dissolve only) | Inspector dropdown | Video, Film, Additive, Subtractive, Highlights, Shadows |
| Start/End Ratio | Inspector, dissolve-family transitions | How far along the blend is at the first and last frame |
| Mode (Smooth Cut only) | Inspector dropdown | Better (quality) or Faster (render speed) |
If you want frame-by-frame control beyond what the dropdown-based Alignment gives you, Resolve also has a dedicated transition curves editor accessible from the Inspector, which lets you draw a custom easing curve instead of picking a preset. That's overkill for most cuts, but it's there if a specific dissolve needs to hang on a beat before accelerating.
Which transition type should you actually use?
This is the question that actually matters more than the mechanics, because Resolve will happily let you apply a spinning 3D cube wipe to a corporate training video, and nothing in the software will stop you. Here's a working decision table based on what each transition family communicates to an audience.
| Transition | Best for | Avoid when |
|---|---|---|
| Cross Dissolve | Time skips, dream sequences, softening a hard cut between similar shots | Cutting between unrelated angles of the same action, since it reads as sloppy rather than intentional |
| Dip to Color (black) | Chapter breaks, act endings, "time has passed significantly" | Mid-scene cuts, where it kills pacing |
| Dip to Color (white) | Flashbacks, memory sequences, dream logic | Anything meant to feel grounded and real |
| Wipe / Shape / Iris | Retro or stylized projects, montages, deliberately calling attention to the edit | Documentary, corporate, or narrative work aiming for invisibility |
| Push / Slide (Motion) | Social content, vlogs, fast-paced montages where movement matches energy | Slow, contemplative footage where the motion fights the mood |
| Smooth Cut | Interview jump cuts, removing "um"s and pauses without a visible stutter | Cutting between two genuinely different camera angles or subjects; it only works when framing and subject stay close to consistent |
| Fusion Transition | Anything the built-in set can't do: custom wipes, particle effects, brand-specific motion graphics | Quick turnaround work where a preset already does the job |
A rule of thumb that holds up across most genres: the more your audience is meant to trust what they're seeing, the plainer your transitions should be. A documentary or corporate video earns almost nothing from a shape wipe and loses credibility if the audience notices the editing at all. A high-energy social cut earns real attention from a well-timed push or a Fusion whip pan, because the transition itself becomes part of the content's rhythm.
Smooth Cut deserves a specific warning, because it's the transition most likely to be misapplied. It's built to hide jump cuts within a single continuous interview setup, same subject, same framing, same lighting, with just a pause or stumble removed. Push it onto a cut between two genuinely different shots and the optical flow engine tries to morph one image into an unrelated one, which looks worse than the hard cut it was meant to replace. Smooth Cut fixes a bad edit only when the two shots share the same subject at roughly the same size in frame.
What mistakes make transitions look amateurish, and how do you fix them?
Choosing the right transition family is only half the job. Most transitions that read as clumsy weren't the wrong type at all, they were the right type applied carelessly.
| Mistake | Why it happens | Fix |
|---|---|---|
| Every transition on the timeline runs a different duration | Editors drag-resize each one by eye instead of setting a Standard Transition Duration once | Set your preferred length in Preferences before you start cutting, then only override it deliberately, per clip, when a specific beat calls for it |
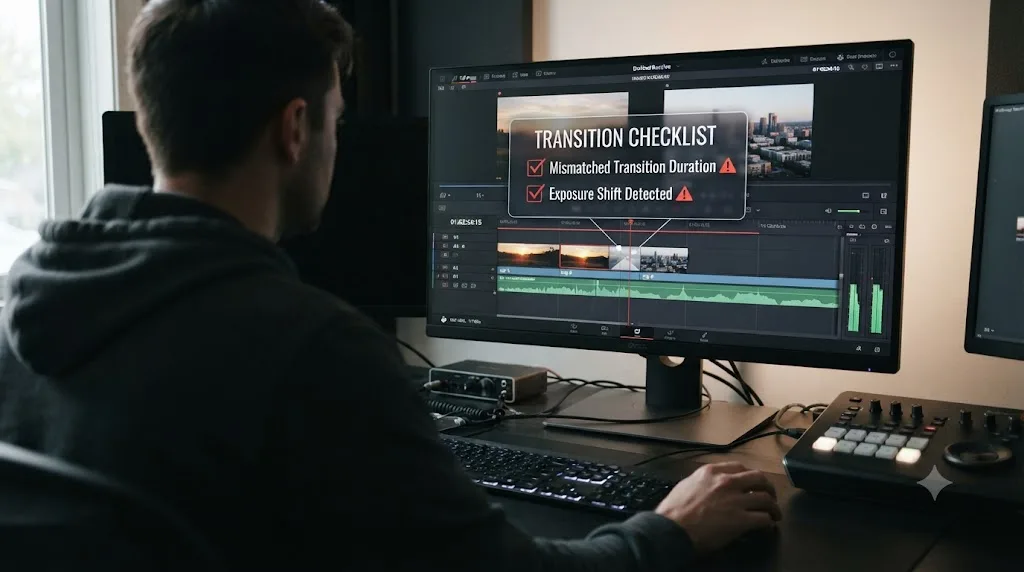
| A dissolve set to Additive or Subtractive shifts exposure noticeably | Style was left on whatever the last transition used, instead of reset to Video | Check Style in the Inspector any time a dissolve looks brighter or darker than the two clips around it |
| Center on Edit alignment lands the blend on a spoken word | Center on Edit is the default, but dialogue rarely falls exactly on the edit point | Switch Alignment to Start on Edit or End on Edit so the blend sits inside a pause instead of across a word |
| A video-only transition leaves an audio pop at the cut | Alt+T was used where Ctrl+T or Shift+T was needed | Add a short audio crossfade separately with Shift+T at the same edit point |
| A transition looks fine on the timeline but rough in the final render | Preview quality was set below the project's delivery resolution | Bump the Timeline's playback proxy or preview resolution up before judging a transition, then confirm again after a real render |
| Smooth Cut applied across two different setups | It's the only transition with its own hardware key on the Speed Editor, which makes it tempting to reach for by default | Reserve it for a genuine jump cut within one continuous shot, and fall back to a plain Cross Dissolve everywhere else |
A transition that looks wrong almost never means the software is broken. In nearly every case above, the transition is doing exactly what its settings tell it to do, and the fix is changing one of those settings rather than replacing the transition entirely.
How do you set your own default transition?
Ctrl+T ships applying Cross Dissolve, but you're not stuck with it. If your project style calls for Dip to Color Dissolve on every scene break, or you're cutting a documentary that leans on Smooth Cut across every interview, you can make that the one-key default.
- Open the Effects Library and find the transition you want as your new default under Toolbox > Video Transitions.
- Right-click it.
- Choose Set as Standard Transition from the context menu.
From that point forward, Ctrl+T, Alt+T, and Shift+T all apply your chosen transition instead of Cross Dissolve, project-wide, until you change it again. This setting lives with your user preferences rather than the individual project, so it follows you across projects on the same machine but won't travel automatically if you move to a different edit bay, unless you export and import your full preferences.
Combine this with Standard Transition Duration (Preferences > User > Editing > General Settings) and you can tune Ctrl+T into a genuinely fast, opinionated tool: a half-second Dip to Color Dissolve for a title sequence, a two-frame audio crossfade for dialogue cleanup, whatever your specific project actually needs repeated dozens of times.
How do you copy or apply the same transition across many edit points fast?
Setting a Standard Transition solves most of this problem before it starts, since Ctrl+T then applies your chosen transition and duration everywhere with no extra steps. But two related workflows come up often enough to cover on their own.
Paste Attributes doesn't reliably carry a transition between clips. Resolve's Copy Attributes and Paste Attributes commands, Ctrl+C to copy a clip and then a Paste Attributes dialog on one or more selected targets, are built for clip-level properties like color correction, sizing, and plugins. Per Miracamp's walkthrough, the dialog lets you pick "which effects you want to copy (Color Correction, Zoom, Cropping, Plugins, etc.)," and transitions aren't among the properties it's built to move. If you're trying to replicate a specific dissolve's exact Style and Ratio settings across a handful of other cuts, setting that transition as your Standard Transition and re-applying it with Ctrl+T at each point is the more reliable path than reaching for Paste Attributes.
Changing several existing transitions at once works from a multi-selection. On the Speed Editor, you can hold Command (Ctrl on Windows), click multiple transitions already on the Upper Timeline, and press one transition key to change all of them together, per Blackmagic's manual. That's documented specifically for the hardware keys. The same multi-select-then-single-command logic follows from the Edit page too, since a selection of transitions responds to the same Add Transition commands Ctrl+T drives, though only the Speed Editor version is spelled out in Blackmagic's own documentation. If you're not sure it'll behave the way you expect on a specific batch of clips, test it on two or three transitions before trusting it across an entire scene.
For batch handle problems, the fix is the same one covered earlier: select every edit point that needs a transition before you press Ctrl+T, and let Resolve's Trim Clips option solve the overlap for the whole batch in one dialog instead of one edit point at a time.
How are audio crossfades different from video transitions?
Audio and video transitions live in the same Effects Library structure but behave independently, and treating them as the same thing is where a lot of unwanted crossfades sneak into an otherwise clean cut.
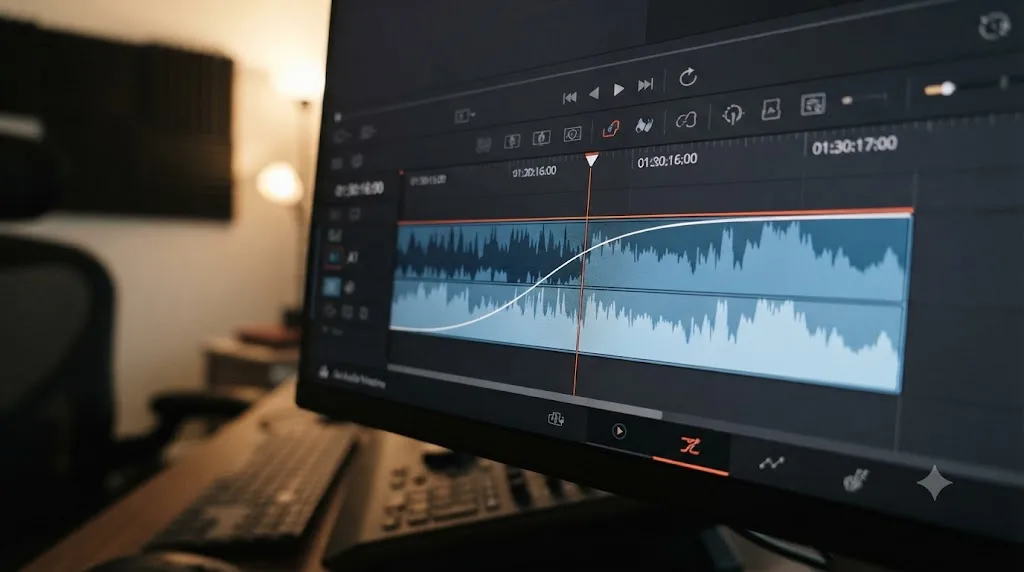
An audio transition, called a crossfade, blends the outgoing clip's audio down while the incoming clip's audio rises, over whatever duration you set. It has no visual component at all. You'll find these in the Effects Library under Audio Transitions, separate from Video Transitions, and they follow the exact same drag-onto-an-edit-point or Shift+T shortcut pattern covered earlier.
Two practical differences matter here:
Duration expectations are completely different between audio and video. A video dissolve at one second reads as smooth. An audio crossfade at one second, on dialogue, is audible as a weird double-talking blend where both clips play briefly at once. Editors commonly run audio crossfades far shorter than video transitions, sometimes just a handful of frames, purely to smooth out a click or pop at the cut point rather than to create a perceptible blend. Crossfade duration should generally scale with pacing: shorter fades suit fast-cut sequences, longer ones suit slow, deliberate scenes, per general editing guidance from Miracamp's crossfade tutorial.
The Alt+T / Shift+T split exists specifically so you don't have to choose between the two. If you cut dialogue and want to smooth an audio pop without visually dissolving the picture, Shift+T is the only shortcut that does exactly that. Conversely, a music video edit might want a video push transition with a hard audio cut underneath, matching the beat, which is what Alt+T gives you.
If you're mixing multiple audio tracks under one video edit point, apply the crossfade per track. Resolve doesn't propagate an audio transition across every track at an edit point automatically; each track's clip needs its own crossfade if you want dialogue, music, and ambience all fading together.
What can Fusion transitions do that standard transitions can't?
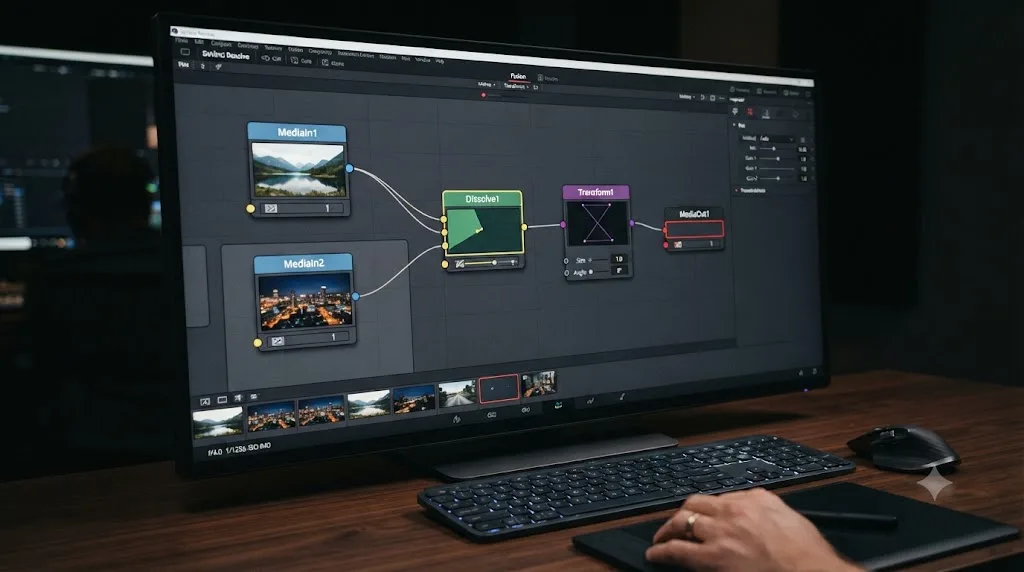
Every transition covered so far is a preset: drag it on, adjust a handful of exposed parameters, done. A Fusion transition starts from nothing.
Fusion Transitions live at the bottom of the Video Transitions bin in the Effects Library, applied the same way as any other transition, by dragging onto an edit point. What's different is what happens next: right-click the applied Fusion transition on the timeline and choose Open in Fusion Page, and Resolve drops you into a node graph containing two MediaIn nodes, one representing the outgoing clip, one representing the incoming clip, per Blackmagic's manual. From there, you build the transition yourself: masks that wipe one clip into the other along a custom shape, a particle system that dissolves the outgoing image into dust before the incoming image resolves out of it, a 3D transform that spins one clip away to reveal the next, anything the Fusion node system can produce.
A Fusion transition starts as a normal cut and only becomes a node graph once you ask for one. That's the useful part: you're not committing to compositing work up front. Drop a plain dissolve on an edit point, decide later that the scene needs something more specific, right-click, open in Fusion, and build from there without redoing the edit.
Once you've built something you like, you can save it back into the Effects Library as a reusable custom transition, so the next time a project needs the same whip-style wipe or particle dissolve, it's a drag-and-drop away instead of a rebuild.
DaVinci Resolve 21 makes this workflow noticeably less disruptive than earlier versions. Fusion effects, transitions included, can now be adjusted directly in the keyframes and curves editors on the Cut and Edit pages, according to CineD's coverage of the release, which means small tweaks to a Fusion transition's timing no longer require a full round trip into the Fusion page for every adjustment. Resolve 21 also ships Krokodove, a library of more than 70 additional Fusion graphics and motion tools folded into Fusion's toolset, expanding what's available to build custom transitions from without leaving the app or buying a plugin.
If you'd rather have something explain a specific node setup while you're actually inside your own Fusion composition instead of pausing to search a forum, TryUncle watches your Resolve session and can walk through what a given node or parameter does in the context of the project you're already working on.
Do you need DaVinci Resolve Studio for transitions?
No, and this is worth stating plainly because a lot of transition round-ups online blur the line between "transitions" and "effects" in a way that makes the free version sound more limited than it is.
The core transition set, every dissolve style, Dip to Color, every wipe and iris and shape, Smooth Cut, and the entire Fusion Transitions workflow, is part of Resolve's free tier. None of it is gated behind the $295 Studio license. What Studio adds on top is a larger library of ResolveFX effects, some of which include additional transition-adjacent looks (advanced blurs, stylized distortions), plus the DaVinci Neural Engine's AI tools, higher resolutions and frame rates, and other features unrelated to transitions specifically, per Blackmagic's Studio product page.
The one place this matters practically: if you drag a Studio-only ResolveFX onto a clip or use it inside a Fusion transition while running the free version, your export carries a watermark over that effect until you activate a Studio license. The core transitions covered throughout this guide don't trigger that watermark under any circumstances, because none of them require Studio.
| Feature | Free | Studio |
|---|---|---|
| Cross Dissolve, Dip to Color, Wipe, Iris, Shape, Motion | Yes | Yes |
| Smooth Cut | Yes | Yes |
| Fusion Transitions (custom node-based) | Yes | Yes |
| Krokodove Fusion graphics library | Yes | Yes |
| Extra ResolveFX-based transition looks | Watermarked until licensed | Yes, no watermark |
Practically: if you're learning transitions or cutting standard SDR delivery, the free version covers every technique in this guide with no asterisk.
How do transitions work differently on the Cut page and Speed Editor?
The Cut page is built around speed, and its transition workflow reflects that: fewer options, faster application. Instead of dragging from a full Effects Library, the Cut page exposes a compact Transitions panel with the most common types front and center, plus the same Ctrl+T-family shortcuts as the Edit page.
The real difference shows up if you're using Blackmagic's Speed Editor keyboard, a hardware controller with dedicated jog wheels and a row of transition-specific keys. Three keys matter here:
- CUT reverts any transition at the current edit point back to a hard cut.
- DIS applies a one-second dissolve centered on the edit point, replacing whatever was there before.
- SMTH CUT applies a Smooth Cut, also centered on the edit point, using optical flow to smooth a jump cut.
Both DIS and SMTH CUT replace an existing transition rather than stacking on top of it, so tapping between them is a fast way to audition which one reads better on a specific cut without undoing anything manually. A TRANS DUR/SET control adjusts the duration of the currently selected transition, and double-pressing it resets to the default duration, again per Blackmagic's manual.
One workflow detail worth knowing if you cut interviews regularly: you can select multiple transitions at once by holding Command (Ctrl on Windows) and clicking each one on the Upper Timeline, then pressing a single transition key to change all of them together. That turns "replace every Smooth Cut in this scene with a plain dissolve" from a repetitive manual task into one keystroke across a multi-selection.
Reviewing the Speed Editor for ProVideo Coalition, editor Scott Simmons offered a pointed caution about reaching for Smooth Cut by default just because it has its own dedicated key: "the Smooth Cut transition often doesn't work well. It's a transition you use sparingly and honestly try to avoid," he wrote, adding that a dedicated hardware button for a transition you'll mostly avoid seems like an odd design choice, and suggesting the general-purpose TRANS key might have served editors better in that slot, per his full review. It's a fair point: Smooth Cut is powerful in the narrow case it's built for, tightening a single interview take, and disappointing everywhere else, which is exactly the pattern covered in the decision table earlier in this guide.
How do transitions behave in multicam edits and compound clips?
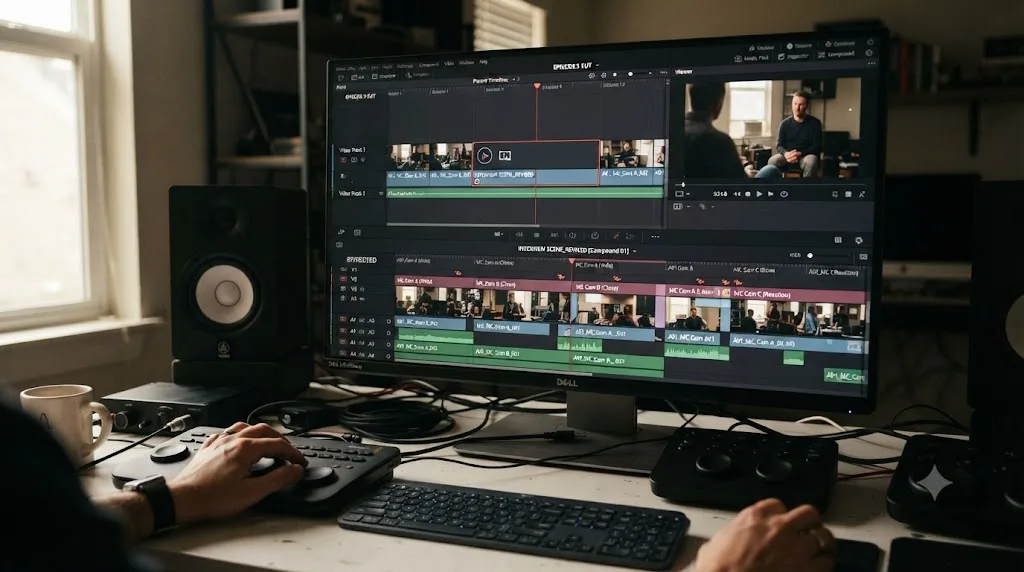
Multicam clips and compound clips both show up on your parent timeline as a single item, even though each one hides several clips or a whole nested sequence underneath. Resolve supports "multi-cam and A/V synchronized clips," representing both as compound clips on the timeline and in the Media Pool, per the manual. That single-item behavior is exactly what makes transitions on them work differently from a transition on a plain clip.
The handle rule still applies, but it applies to the whole compound clip, not to the angle you happened to be watching when you cut to it. If a compound clip fills its entire length on the parent timeline with no overlap left at either end, Resolve has nothing to borrow for a transition there, the same not-enough-handles situation covered earlier, just one level up. According to a discussion on Blackmagic's forum, the practical fixes are the same ones available for ordinary clips: lengthen the compound clip at its head or tail before you nest it, so it carries handles with it onto the parent timeline, or trim and slip the compound clip afterward to reveal overlap at the cut. The Option-Shift (Alt-Shift on Windows) drag-to-overlap method covered earlier in this guide works on compound and multicam clips exactly the way it works on ordinary ones.
Switching angles inside a multicam clip has no effect on a transition applied where that clip meets its neighbors. The parent timeline only sees the compound clip as one block; whichever angle is active inside it is invisible to the transition sitting at its outer edge. If you want a transition between two different camera angles within the same multicam sequence, that has to happen inside the multicam clip's own nested timeline, opened separately from whatever transition exists where the whole clip meets the rest of your edit. Treat the two as entirely independent sets of transitions: one set lives inside the compound clip, the other lives on the parent timeline around it, and editing one never touches the other.
What changed with transitions in DaVinci Resolve 21?
Nothing about the fundamentals moved. Ctrl+T still applies the standard transition, the Inspector's Alignment options are unchanged, and the not-enough-handles dialog behaves exactly as it has for several major versions. Two changes are worth knowing if you're upgrading from Resolve 20 or earlier specifically for transition work:
Fusion effects, including transitions, are editable directly from the Cut and Edit page keyframe and curves editors, according to CineD's release coverage. Previously, any adjustment to a Fusion transition's animation curve meant a full trip into the Fusion page. Now, minor timing tweaks can happen without leaving the edit timeline, which matters most on projects with dozens of custom Fusion transitions where round trips add up fast.
Krokodove landed inside Fusion, adding more than 70 new motion graphics tools and elements to build custom transitions from, available in both the free and Studio versions with no separate license gate. It's not transitions-specific software, it's a graphics library, but it directly expands the raw material available when you're building a Fusion transition from scratch rather than relying on the built-in dissolve and wipe presets.
Everything else covered in this guide, the keyboard shortcuts, the Inspector properties, the handle overlap requirement, carries forward unchanged from Resolve 20 and, in most cases, from several versions before that. If you're following an older tutorial for the mechanics of adding and resizing a transition, it still applies to 21 without modification.
Worked example: building a whip pan transition from scratch
Preset transitions cover most needs, but a whip pan, the fast blurred swipe you'll see in a lot of run-and-gun and social content, isn't one of Resolve's built-in options. Here's how to build one using a Fusion transition, step by step.
- Apply a Fusion Transition as your starting point. Drag Fusion Transitions > Fusion Transition (the plain, unstyled entry) from the Effects Library onto your edit point, the same way you'd apply any other transition.
- Open it in Fusion. Right-click the transition block on the timeline and choose Open in Fusion Page. You'll land in a node graph with two MediaIn nodes already wired to a merge and output.
- Add a Directional Blur node to the outgoing clip's branch. Set the angle to match the direction you want the "pan" to swipe, most whip pans read left-to-right or right-to-left rather than vertically. Push the blur length high enough that the last few frames of the outgoing clip are nearly unrecognizable streaks.
- Mirror the same Directional Blur setup on the incoming clip's branch, but animate the blur amount from maximum down to zero across the first several frames, so the incoming clip resolves out of the blur instead of appearing sharp instantly.
- Keyframe a Transform node on both branches to physically slide the frame in the blur direction during the transition, reinforcing the sense of camera motion rather than relying on blur alone.
- Add a touch of motion-matched exposure flicker, a brief brightness pulse timed to the peak of the blur, using a Brightness/Contrast node with two or three keyframes. Real whip pans often catch a flash of overexposed light mid-swing, and that small detail sells the effect more than the blur itself does.
- Trim the overall duration short. A whip pan reads as fast and energetic; anywhere from 6 to 12 frames usually looks right, far shorter than a typical one-second dissolve. Adjust in the Inspector's Duration field after returning to the Edit page.
- Save it as a custom transition once you're happy with it: right-click the Fusion transition on the timeline (or in the Effects Library, if you dragged it into a bin), and save it for reuse across the rest of your project or future edits.
This is the kind of build where a decent starting handle length matters more than usual, since Directional Blur draws on frames outside your visible cut to avoid a hard visual snap at either end of the transition. If Resolve throws the not-enough-handles dialog while you're applying the initial Fusion Transition, use Trim Clips before you start building, rather than fighting a transition that's already too short for the blur to breathe.

Worked example: building a film-look light leak transition
A light leak, that warm wash of overexposed color that seems to bleed in from the edge of frame, reads as nostalgic and analog, and it's a second useful Fusion build once you've got the whip pan technique down. There are two ways to source the leak element itself, and which one you use depends on what footage you already own.
- Apply a blank Fusion Transition and open it in Fusion, exactly as in the whip pan build above.
- Choose your light leak source. If you own a licensed light leak video element, add it with a Loader node feeding into the composite. If you don't, build one procedurally instead: a Fast Noise node feeding a Glow node produces a soft, organic streak of light with no external footage required, and it's fully yours to reuse across every future project without licensing questions.
- Composite the leak over the cut using a Screen or Add merge mode, not Normal. Screen and Add both let bright pixels punch through while leaving dark areas of the underlying footage untouched, which is what makes a light leak look like it's washing over the image rather than sitting on top of it as a flat overlay.
- Keyframe the leak's opacity or brightness from zero, up to a brief peak, back to zero, timed so the peak lands exactly on your cut point. At the peak, the leak should nearly whiteout the frame for a handful of frames, which is what hides the join between your two clips.
- Warm the leak's color with a Color Corrector node, pushing it toward amber or gold. A leak that's pure white or blue-white reads as a lighting error rather than an intentional stylistic choice; warming it ties the effect to the look of actual light leaking onto film stock.
- Match the leak's timing to the cut, not to a fixed duration. Unlike the whip pan, which wants to be short and punchy, a light leak transition often reads better slightly longer, somewhere around 15 to 25 frames, since part of its appeal is the lingering wash rather than a snap cut.
- Save it as a custom transition the same way as the whip pan, so it's available from the Effects Library on future projects without rebuilding the node graph.
The procedural route in step 2 is worth defaulting to unless you have a specific licensed element you want to match. It skips any question of usage rights entirely, and a Fast Noise plus Glow combination is flexible enough to retint, resize, and retime for a completely different look the next time you need one.
How many transitions is too many?
There's no fixed number, but there's a reliable test: if you can name every transition in your last five minutes of footage without rewatching it, you're probably using too many for anything other than a highlight reel or a montage explicitly built around movement.
The best transition in most sequences is a hard cut, because the audience never notices it. That's not a knock on dissolves, wipes, or Smooth Cut. It's a reminder that transitions carry a cost: every one that isn't a plain cut asks the viewer, even for a fraction of a second, to notice the edit itself instead of what's being edited. That's occasionally exactly what you want, a stylized transition can be part of a video's identity, especially in social and branded content where the cutting style is part of the appeal. But it's a deliberate choice, not a default.
A practical guideline that holds up across genres: reserve transitions for actual structural boundaries, a scene change, a time jump, a chapter break, and use hard cuts for everything happening within a continuous scene or sequence. If you find yourself reaching for a dissolve just because two adjacent clips don't quite match in framing or lighting, that's usually a sign the cut itself needs work, not that it needs a transition to paper over the seam.
Smooth Cut sits in its own category here, since its entire purpose is to hide an edit rather than announce one. Used correctly, on a genuine jump cut within a single interview setup, nobody should notice it fired at all. That's success. If a viewer can spot exactly where a Smooth Cut kicked in, it's being pushed past what optical flow can convincingly cover, usually because the two shots differ too much in framing or motion for the algorithm to bridge convincingly.
How do you fix a transition that looks wrong after exporting?
A transition that looked right in the Resolve viewer but wrong in the exported file almost always traces back to one of a small set of causes. Work through this table before assuming something's broken.
| Symptom | Likely cause | Fix |
|---|---|---|
| Transition plays as a hard cut in the export | Render Cache or a proxy was active and didn't regenerate before export | Clear the render cache for that section (right-click > Clear Render Cache) and re-export |
| Transition looks jerky or stutters | Smooth Cut applied across two shots with different framing, or the transition duration is shorter than the source frame rate can render smoothly | Shorten to a plain Cross Dissolve, or verify the timeline frame rate matches the source clip's frame rate |
| Transition color looks different than expected | Style set to Additive or Subtractive instead of Video, exaggerating brightness during the blend | Switch Style to Video in the Inspector for a neutral linear dissolve |
| Transition duration reverted after reopening the project | Standard Transition Duration was changed after the transition was applied, but the transition itself wasn't manually re-set | Re-check the individual transition's Duration in the Inspector; the global preference only affects new transitions |
| Transition missing entirely after a round trip through Fusion | The Fusion composition was reset or the transition was accidentally converted back to a standard type | Right-click the transition and confirm it still shows Fusion Transition as its type; reopen in Fusion to verify the node graph is intact |
| Audio pops audibly at a video-only transition | Alt+T (video-only) was used where Ctrl+T (video+audio) or Shift+T (audio-only) was needed | Add a short audio crossfade separately at that edit point with Shift+T |
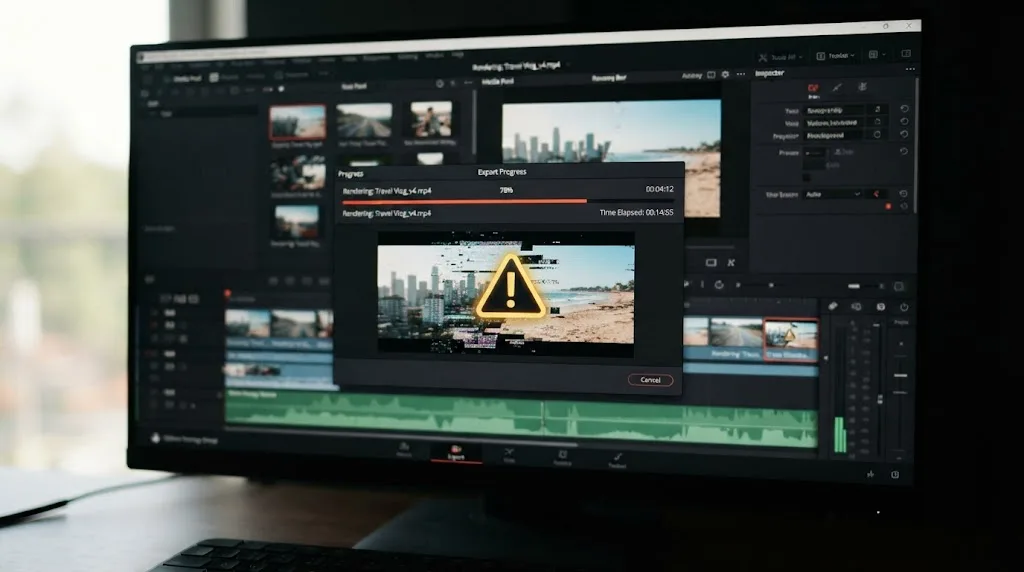
Most of these come down to one of two root causes: a mismatch between what the timeline thinks a transition's properties are and what actually rendered, usually solved by clearing cache and re-exporting, or a transition type applied to footage it wasn't designed for, usually solved by swapping it for a plainer one. If you're seeing broader export slowness unrelated to transitions specifically, dial in your render settings first. Our DaVinci Resolve export settings for YouTube guide walks through the Deliver page defaults that fix most sluggish or oversized exports, even if YouTube isn't your delivery target.
The short version
Adding a transition in Resolve takes one drag or one keystroke. Getting it right takes knowing three things: which of the three shortcuts (Ctrl+T, Alt+T, Shift+T) actually matches what you want to change, why the handle-overlap dialog shows up and how to answer it, and which transition type actually fits the cut you're covering instead of just the one you remembered from the last project. Everything past that, Fusion transitions, Smooth Cut tuning, custom whip pans and light leaks, multicam edge cases, is depth you reach for only when a specific shot demands it, not a checklist to run through on every cut.
Every transition you add needs frames the timeline was already hiding, not frames it has to invent. Keep that one fact in mind and most of the confusing dialogs and mismatched exports in this guide stop being confusing at all.
Frequently asked questions
- What is the keyboard shortcut for adding a transition in DaVinci Resolve?
- Select an edit point and press Ctrl+T on Windows or Cmd+T on Mac to add the standard transition to both video and audio at once. Option+T (Alt+T on Windows) adds a video-only transition, and Shift+T adds an audio-only crossfade, so you can target just the track that needs one.
- Why does DaVinci Resolve say there isn't enough media for a transition?
- Because a transition needs extra frames beyond your visible cut, called handles, and your clip ran out of trimmed footage before the transition's duration was covered. When this happens, Resolve offers to automatically trim the adjoining clips to create the overlap, skip that edit point, or cancel the whole operation.
- How do you change the default transition length in DaVinci Resolve?
- Open DaVinci Resolve > Preferences > User > Editing and change Standard Transition Duration, set in seconds or frames. This only affects transitions you add after the change; ones already on your timeline keep whatever length they already have.
- How do you crossfade audio in DaVinci Resolve without adding a video transition too?
- Select the audio edit point and press Shift+T, which adds an audio-only crossfade and leaves the adjoining video cut untouched. You can also drag a transition from the Effects Library's Audio Transitions bin directly onto the audio edit point instead.
- What's the difference between a Fusion transition and a regular transition in DaVinci Resolve?
- A regular transition is a preset effect, like a dissolve or wipe, with a handful of adjustable parameters in the Inspector. A Fusion transition opens the two adjoining clips as MediaIn nodes on the Fusion page, where you can build a fully custom transition with masks, particles, or any other node in Resolve's compositing toolset.
- Do you need DaVinci Resolve Studio to use transitions?
- No. Core transitions, dissolves, wipes, irises, Smooth Cut, and Fusion transitions all work in the free version. Studio adds extra ResolveFX-based effects on top of that library, and using a Studio-only effect in the free version renders a watermark on export until you activate a license.
- How do you remove a transition in DaVinci Resolve?
- Click the transition on the timeline to select it, then press Delete. The two clips snap back to a hard cut at that edit point, and any handle frames you trimmed to create the transition stay trimmed unless you manually extend the clips back out.
- Can you use Premiere Pro or Final Cut Pro style transitions in DaVinci Resolve?
- Not the plugin files themselves, but the transition types they represent, like cross dissolve, dip to black, and wipes, are already native to Resolve's Video Transitions bin. Third-party OpenFX transition plugins, from vendors like Boris FX, install into Resolve's OpenFX section and work alongside the built-in set.
Sources
- DaVinci Resolve manual: Using Transitions (Blackmagic Design, mirrored)
- DaVinci Resolve manual: Adding Transitions When There's Not Enough Handles (Blackmagic Design, mirrored)
- DaVinci Resolve manual: Adding Transitions By Dragging to Create Overlap (Blackmagic Design, mirrored)
- DaVinci Resolve manual: Transition Properties in the Inspector (Blackmagic Design, mirrored)
- DaVinci Resolve manual: Dissolve (Blackmagic Design, mirrored)
- DaVinci Resolve manual: Editing and Removing Transitions (Blackmagic Design, mirrored)
- DaVinci Resolve manual: Using Fusion Transitions (Blackmagic Design, mirrored)
- DaVinci Resolve manual: Transition Keys, Speed Editor (Blackmagic Design, mirrored)
- DaVinci Resolve manual: Mixed Frame Rates (Blackmagic Design, mirrored)
- DaVinci Resolve manual: About Nested Sequences and Compound Clips (Blackmagic Design, mirrored)
- Blackmagic Forum: Dissolve on Compound Clip
- Review: DaVinci Resolve Speed Editor, Part 1, by Scott Simmons (ProVideo Coalition)
- Add Transitions with Keyboard Shortcuts in DaVinci Resolve (benonistudio)
- How to Crossfade Video in DaVinci Resolve (Miracamp)
- How to Copy Effects Between Clips in DaVinci Resolve (Miracamp)
- DaVinci Resolve 21 Final Release: New Photo Page, Expanded AI Toolset, Krokodove in Fusion, and Wide RAW Support (CineD)
- DaVinci Resolve product page (Blackmagic Design)
- DaVinci Resolve Studio product page (Blackmagic Design)
Learn by doing, not watching
Stop translating tutorials to your timeline.
TryUncle stays beside Resolve on Mac and Windows. When you ask, Uncle sees your screen and points at the exact control you need. No hunting through tabs, timestamps, or mismatched tutorials.
Meet TryUncleKeep reading
 GuidesJul 7, 202632 min read
DaVinci Resolve Export Settings for YouTube (Copy These Exactly)
The exact DaVinci Resolve export settings YouTube recommends: codec, bitrate, resolution, audio, and the Deliver page steps that avoid soft uploads.
 FixesOct 10, 202631 min read
DaVinci Resolve Audio Disappears After Reopening Project? Fix It
Fix DaVinci Resolve audio that disappears after reopening a project. Diagnose missing media, moved drives, bins, proxies, timelines, and playback routing.
 GuidesOct 10, 202623 min read
DaVinci Resolve: Change Clip Speed Without Changing Audio Pitch
Change a clip's speed in DaVinci Resolve while keeping its audio pitch steady. Learn the Pitch Correction setting, linked audio steps, and fixes.