
Learn / DaVinci Resolveupdated for DaVinci Resolve 21.0.1 (June 2026)
How to Sync Audio in DaVinci Resolve, Every Method
Quick answer
Select your video and audio clips in the Media Pool, right-click, and choose Auto Sync Audio, picking Based on Waveform if you have no matching timecode or Based on Timecode if your devices were jam-synced before the shoot. Resolve aligns them automatically; for multicam footage, drop the same clips into a Sync Bin instead.
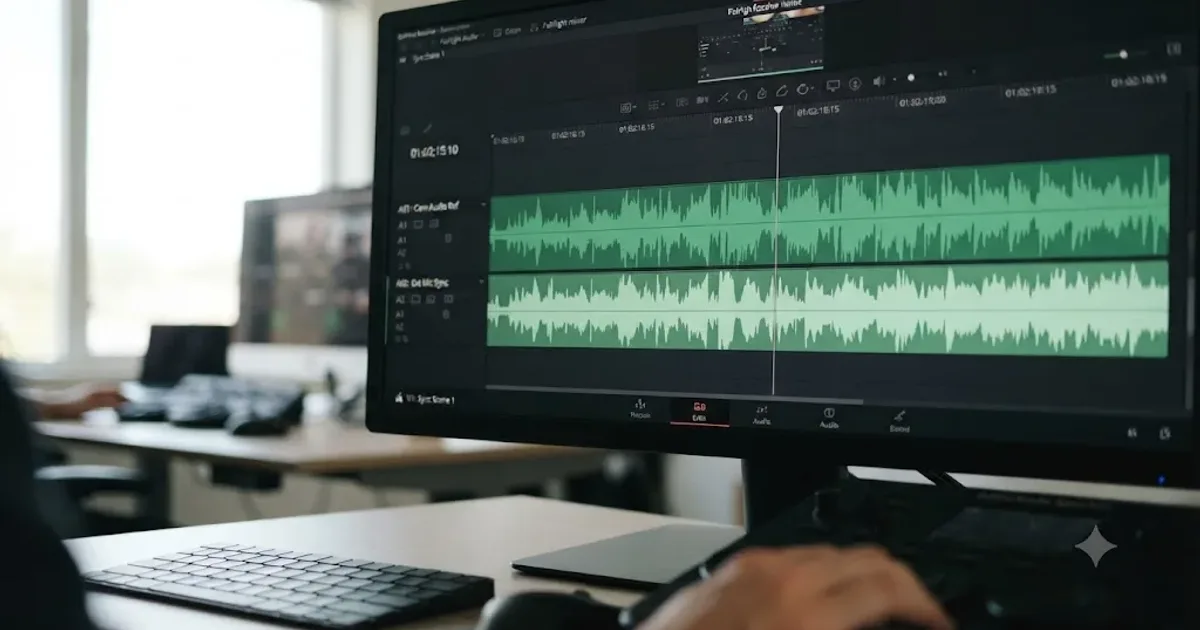
I've watched more than one editor lose an afternoon to audio sync because they didn't know DaVinci Resolve already had a button for it. It does. Two buttons, actually, and a bin that does the work for multicam without you touching either one.
This guide covers all of it: the automatic waveform and timecode methods, jam syncing on set so Resolve barely has to think, the Sync Bin for multicam, the manual clap-and-eyeball method when you forgot your slate, and what to do when a perfectly synced clip drifts apart by the end of a long take. Free version or Studio, Mac or Windows, single camera or eight, this is every path to synced audio in Resolve 21.
If you're looking for the rest of our DaVinci Resolve workflow guides beyond audio, the full DaVinci Resolve library is a good place to browse next.
What does "syncing audio" actually mean in DaVinci Resolve?
Most cameras record sound. Almost no camera records sound well. The internal mic picks up handling noise, the lens motor, the wind, and whoever's standing three feet to your left having a conversation about lunch. So you record real audio separately: a shotgun mic into a recorder, a lav into a wireless transmitter, a mixer feeding a multitrack recorder, or an entirely separate camera angle that needs to line up with the others.
The problem is that "separately" also means "not synchronized." The camera starts its clock when you hit record. The recorder starts its own clock a half second earlier, or later, or on a different device entirely with its own internal timekeeping. Without something tying those two clocks together, the audio and video are two unrelated files that happen to be about the same event.
Syncing audio in DaVinci Resolve means replacing or supplementing a camera's scratch audio with a separate, higher-quality recording, then locking the two to the same moment in time. Resolve gives you three ways to find that moment: matching timecode, matching waveforms, or your own eyes and ears. Which one you use depends entirely on what you did, or didn't do, before you started recording.
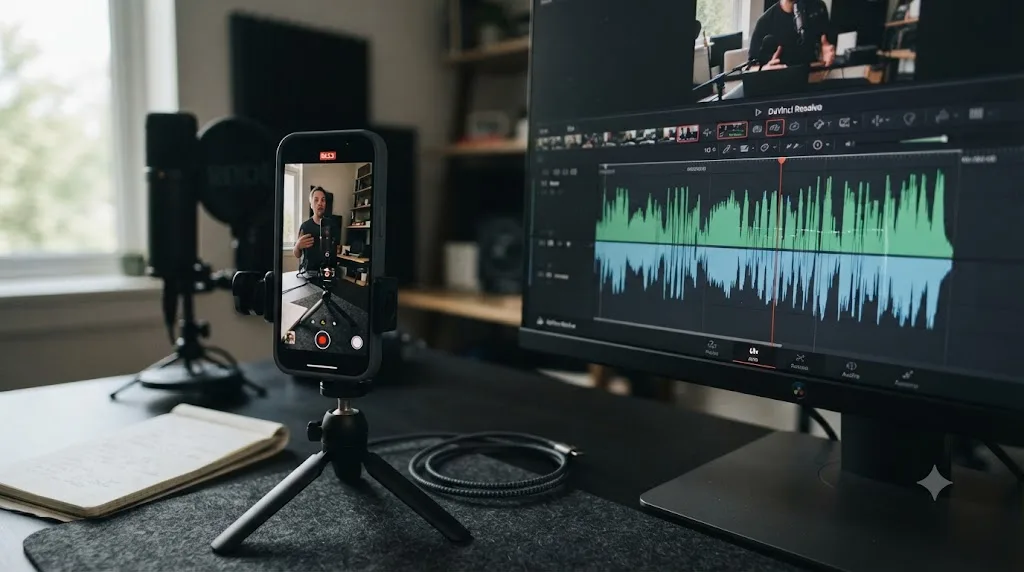
This isn't unique to narrative shoots with slates and a sound mixer. You'll hit the exact same problem syncing a podcast video camera to a separate multitrack recorder, syncing a screen recording to a voiceover you recorded after the fact, syncing four cameras in a multicam interview, or syncing a phone video to a wireless lav that was running the whole time in someone's pocket. The tools in this guide apply to all of it.
How do you sync audio and video automatically with Auto Sync Audio?
This is the method you'll use most often, and it's built into every version of Resolve, free included. It lives in the Media Pool, works before you ever build a timeline, and handles both the timecode and waveform methods from the same menu.
- Import both the video clip and the separate audio recording into the Media Pool.
- Select the video clip, then Cmd-click (Mac) or Ctrl-click (Windows) the matching audio file so both are highlighted together.
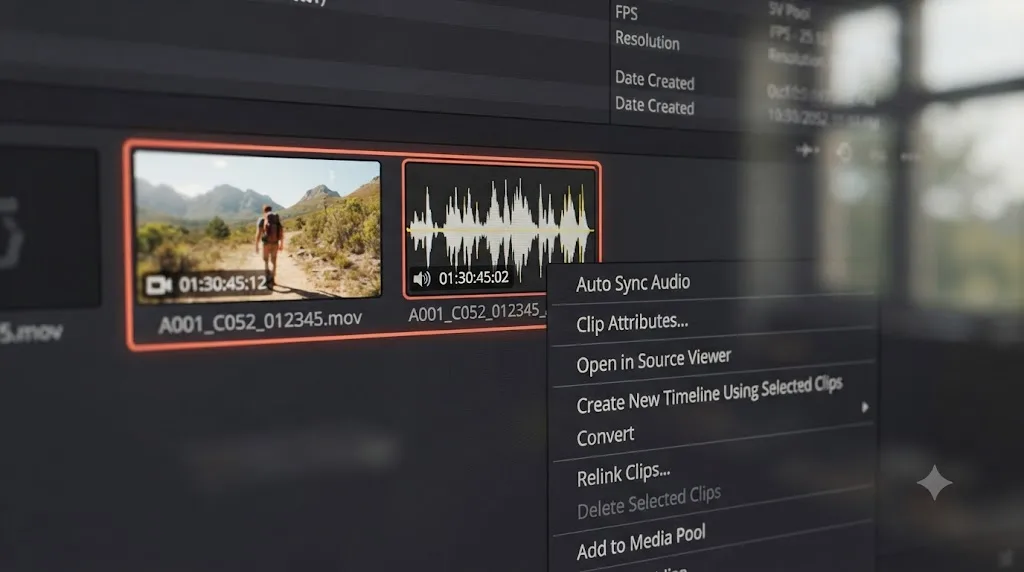
- Right-click either clip and choose Auto Sync Audio from the contextual menu.
- Pick one of four options, according to the DaVinci Resolve manual: Based on Timecode, Based on Timecode and Append Tracks, Based on Waveform, or Based on Waveform and Append Tracks.
- Resolve analyzes the clips and shifts the audio into alignment.
- Right-click the result, open Clip Attributes, then the Audio tab, and confirm the new channels are attached.
The distinction between the plain options and the "Append Tracks" versions matters more than it looks. The plain versions replace the video clip's existing audio channels outright, which is fine if the camera's built-in mic is garbage and you never want to hear it again. The Append Tracks versions keep the original camera audio on its own channel and add the newly synced audio next to it, so you still have a scratch reference (and a backup) if the external recording turns out to have a problem you didn't catch on set. I'd default to Append Tracks nearly every time; disk space is cheap and a silent backup track has saved more than one editor's week.
Auto Sync Audio in DaVinci Resolve compares either timecode metadata or the shape of the waveforms themselves, then shifts the audio clip until the two line up to the frame. That's true whether you're syncing one interview or fifty setups at once, since you can select entire batches of matching pairs and run Auto Sync Audio on all of them in a single pass, as long as your file naming is consistent enough for you to select the right pairs.
If you've done sound-for-picture work in other applications, this will feel familiar. What's specific to Resolve is that the sync happens at the Media Pool level, before editing starts, which means every instance of that clip on every timeline in the project inherits the synced audio automatically. Sync once, use everywhere.
Should you sync by waveform or by timecode?
Both options live under the same Auto Sync Audio menu, and Resolve won't stop you from picking the wrong one for your footage. It'll just take longer, or fail outright, if you do. Here's how to choose.
| Based on Timecode | Based on Waveform | |
|---|---|---|
| Speed | Near instant | Slower, has to analyze the full waveform |
| Accuracy | Frame accurate, if timecode was set up correctly | Frame accurate for a clear, matching sound event |
| Requirement | Camera and recorder shared a timecode source before recording (jam sync) | None, works with any two files that share audible sound |
| Fails when | Devices weren't jam-synced, or timecode drifted mid-shoot | Both tracks are too quiet, too noisy, or don't overlap in time |
| Best for | Multi-camera narrative and doc shoots with dedicated sound gear | Run-and-gun, interviews, anything where you didn't jam sync on set |
Timecode sync is instant and exact, but only if every device on set shared the same timecode before you hit record. If you're not sure whether your gear was jam-synced, waveform sync is the safer default, because it doesn't care what your cameras and recorders were doing before you pressed the button. It only cares whether both files captured the same sound.
The tradeoff runs the other way too. Waveform sync needs something to compare: dialogue, a hand clap, footsteps, anything with enough transient detail in both recordings. A silent room with two people mouthing lines for a rehearsal take won't give the algorithm anything to grab onto. Timecode sync doesn't have that problem, since it's reading numbers, not sound.
If you've got the hardware and the workflow discipline to jam sync on set, timecode is worth the setup time. If you're a solo shooter running a camera and a clip-on recorder with no way to link their clocks, waveform sync is the entire reason you don't need to buy that hardware at all.
How do you jam sync timecode on set so Resolve aligns clips instantly?
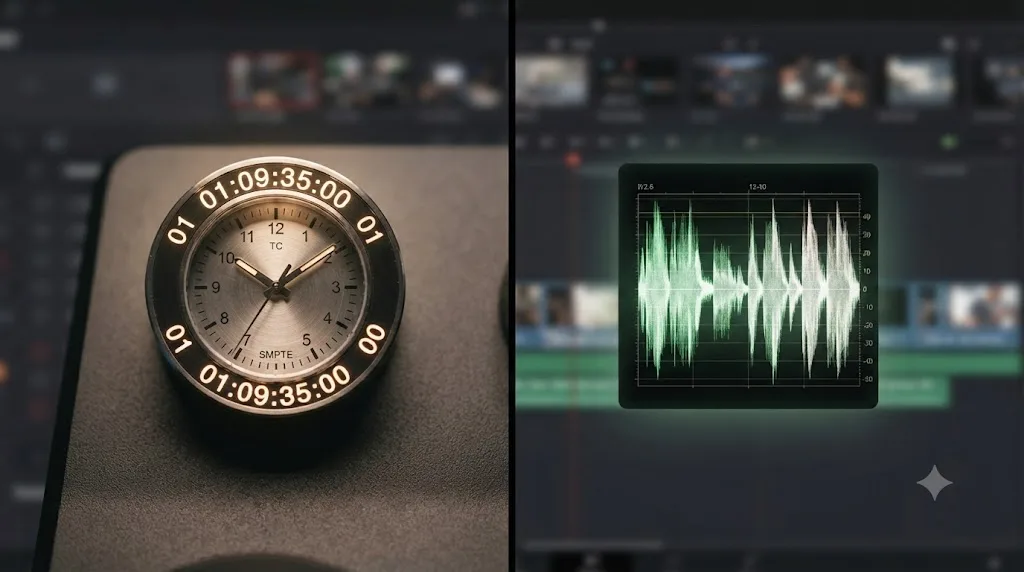
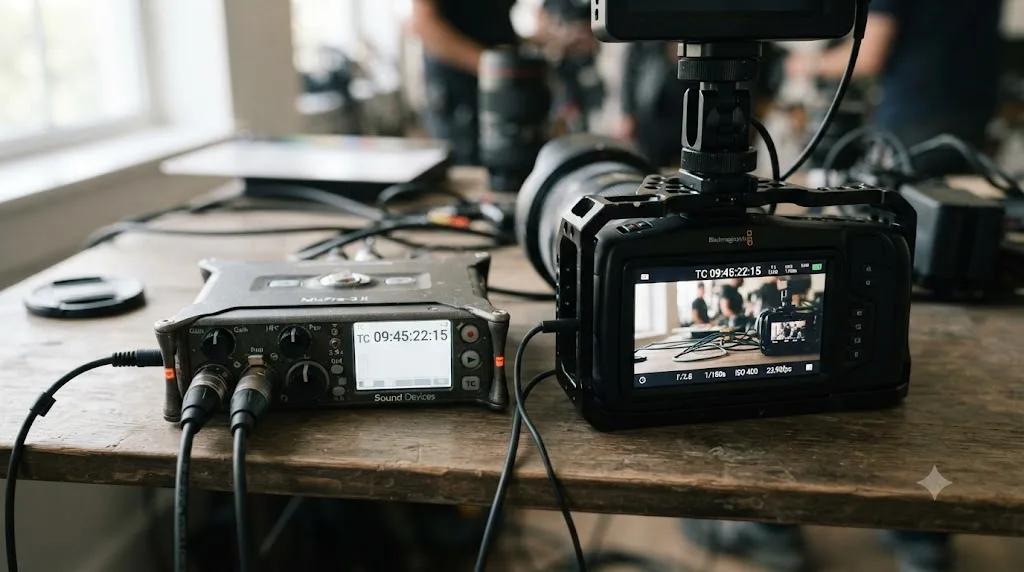
Jam syncing means setting every camera and recorder on your shoot to the same timecode value before you start rolling, so their internal clocks all count up from the same starting point. Do it correctly and Resolve's Based on Timecode option becomes almost instant, because it's just matching numbers instead of analyzing sound.
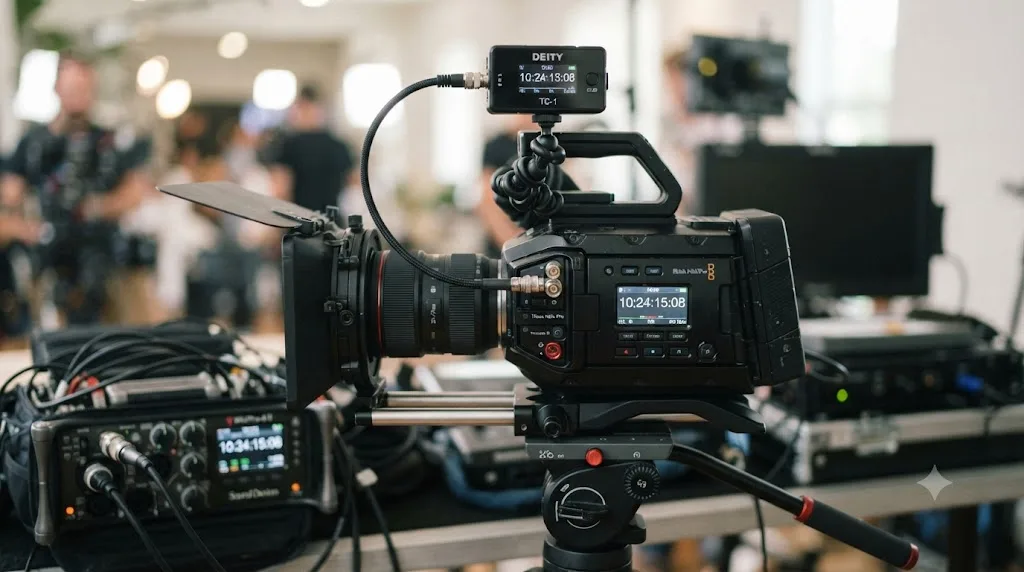
The most common way to jam sync today is with dedicated timecode hardware: small boxes that generate a shared timecode signal and either broadcast it wirelessly or connect by cable to every camera and recorder on set. Devices from Tentacle Sync and Deity are common examples, and some wireless mic systems now generate and distribute timecode on their own. One shoot documented by DVResolve.com used Deity TC-1 boxes to link two cameras and a separate multitrack recorder, all fed from the same timecode source before recording started.
However you generate it, the same rule applies across every method: you can sync timecode that is stored both via metadata or audio track, and if a slate with a visible timecode readout is on camera at the start of a take, you can even type the value in by hand as a last resort.
A few things break jam sync that are worth checking before you assume the workflow failed:
- Frame rate mismatch. Timecode counts frames, so a camera shooting 23.976fps and a recorder generating timecode at 25fps will drift apart even though both started from the same number. Match frame rates across every device before you jam sync, not after.
- Drop-frame versus non-drop-frame. Broadcast-standard 29.97fps has both a drop-frame and non-drop-frame timecode format, and mixing the two produces timecode that looks right but counts wrong over a long take.
- Timecode drift on cheaper hardware. Even after a correct jam sync, some consumer timecode boxes drift by a frame or more over a long shooting day if they aren't re-jammed periodically. Professional timecode generators are built to hold sync far longer.
- A device that lost power or got reset mid-shoot. If a recorder's battery died and you swapped it without re-jamming, its timecode resets to zero or to the device's internal clock, and every clip after that point is on its own again.
If any of those happened, don't panic and don't assume the whole day is unusable. Fall back to Based on Waveform for the affected clips. It doesn't care what the timecode says, and it will still find the sync point from the actual audio.
What hardware makes jam syncing unnecessary in the first place?
Everything in the previous section assumes you're adding timecode to gear that doesn't generate its own. A growing tier of field recorders skip the add-on box entirely because they build a stable timecode generator into the recorder itself.
The Zoom F6 is a common example at the accessible end of professional gear. According to Zoom's own F6 product page, the recorder uses a Temperature Compensated Crystal Oscillator rated to hold timecode accuracy within 0.2 parts per million, whether the unit is powered on or off, and it includes a dedicated timecode input and output jack for linking to a camera. In practice, that stability means you can jam sync the recorder to a camera once at the start of the day, power the recorder down between setups to save battery, and its internal clock still lines up with the camera hours later without a fresh jam.
A recorder with a built-in, temperature-compensated timecode generator typically only needs to be jam-synced once per shoot day, not once per setup. That's the practical difference from a bare audio recorder paired with a separate timecode box: you're paying for the clock's long-term stability, not just for the presence of timecode.
| Setup | What it needs | Typical re-jam frequency |
|---|---|---|
| Consumer recorder, no timecode hardware | Waveform sync only; jam sync isn't an option | Not applicable |
| Recorder plus a separate timecode box (Tentacle, Deity) | A cable or wireless link to the camera before each setup | Every few hours, depending on the box's own drift |
| Recorder with a built-in TCXO generator (Zoom F6 and similar) | One jam sync at the start of the day | Rarely, if ever, during a normal shooting day |
| Full sound cart with a dedicated timecode generator | Wired or wireless distribution to every camera on set | Continuous; the generator never stops running |
None of this hardware is required to sync audio in Resolve. Every method in this guide, waveform included, works with zero dedicated timecode gear at all. What better hardware buys you is speed and certainty: less time spent scrubbing waveforms in post, and no risk of a missed clap on the one take where nobody remembered to do one.
How do you sync multicam footage with the Sync Bin?
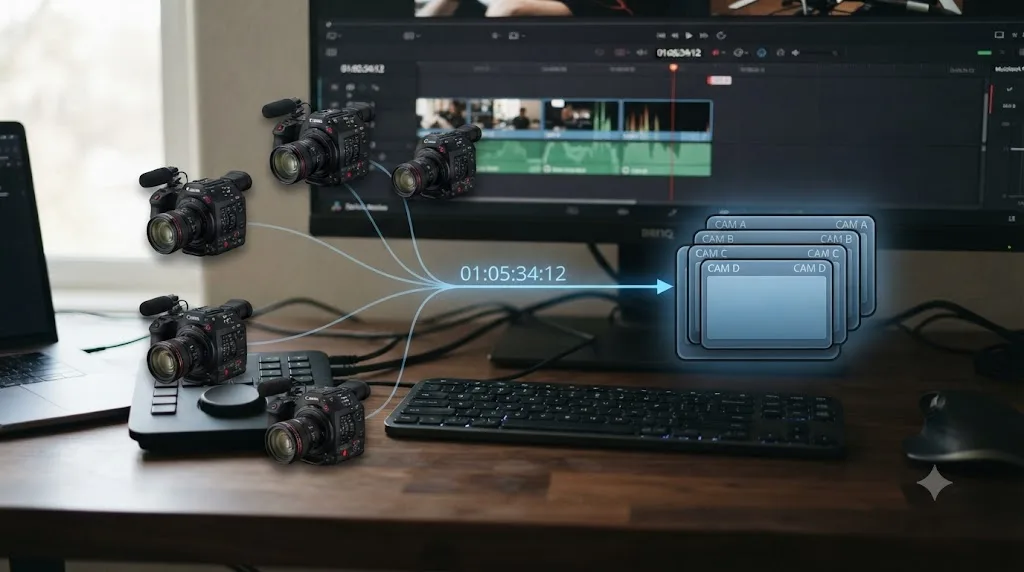
Auto Sync Audio handles one video-and-audio pair at a time (or a batch of pairs). When you've got multiple camera angles of the same event that all need to line up with each other and with a separate audio recording, the Sync Bin is the faster tool.
On the Cut page, drop your camera clips into a Sync Bin. According to editor Charles Haine, writing for the Frame.io blog, "the sync bin, viewable in the 'cut' page, automatically syncs video with timecode when you put video in that bin." Each camera needs a unique filename and matching timecode for this to work cleanly.
You're not limited to the Cut page workflow. From anywhere in Resolve, select your camera and audio clips, right-click, and choose Create New Multicam Clip Using Selected Clips. In the dialog that appears, set the Angle Sync method:
| Angle Sync method | Use when |
|---|---|
| Timecode | Every camera and recorder was jam-synced before the shoot |
| Sound | No shared timecode, but every angle recorded usable audio |
| In and Out Points | You manually marked a shared in point on each clip, such as a clap |
Editor and instructor Larry Jordan describes the Sync Bin's core behavior plainly: "When working with media clips with matching timecode, the Sync Bin will automatically sync them, then display all matching angles simultaneously." That's the entire value proposition in one sentence: drop clips in, get a synced multicam clip out, no manual alignment required.
Once the multicam clip exists, it behaves like any other clip on your timeline. Drop it down, switch to the Multicam viewer, and cut between angles in real time while the audio (usually taken from your best boom or lav track) stays locked under every angle automatically. The Sync Bin only needs matching timecode to build a multicam clip; it does not need the cameras to have started recording at the same instant. As long as the timecode overlaps somewhere, Resolve finds it.
A version note worth knowing: multicam source syncing in current Resolve versions can build its alignment from audio waveforms, timecode, or in and out points, a flexibility that's expanded gradually across Resolve 17 through 21. If you're on an older release and a menu option in this section doesn't match what you see, check your version number before assuming something's broken.
How do you manually sync audio without a clapperboard or timecode?
Sometimes you show up without a slate, your timecode gear failed, and Auto Sync Audio can't find a strong enough match on its own. You're not stuck. You're doing manually what the waveform algorithm does automatically: finding one shared moment in both recordings and lining them up by hand.
- Import both clips and place them on adjacent tracks in the timeline, or side by side in the Fairlight page.
- Zoom the timeline in far enough that you can see individual waveform peaks, not just a general shape.
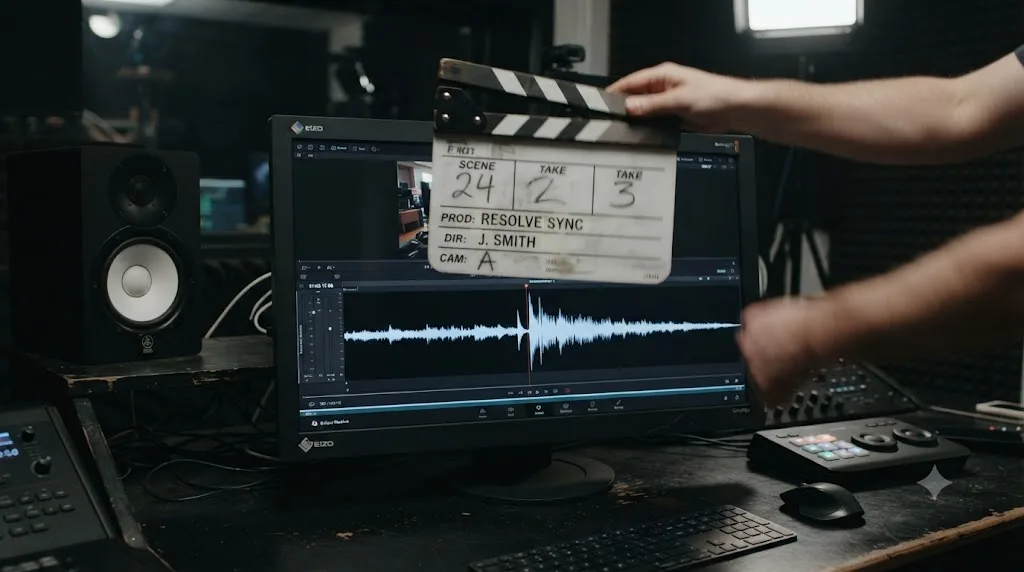
- Find a sharp, sudden sound that shows up clearly on both tracks: a door closing, a hand clap, footsteps hitting a hard floor, or a word with a hard consonant.
- Drag the audio clip left or right until that spike lines up exactly with the same spike on the other track.
- Zoom back out, play the full clip, and listen for drift. If dialogue and mouth movement stay matched from start to finish, you're synced.
If nobody clapped and there's no obvious door slam, listen for plosive consonants in dialogue instead. As Creative Tools Hub explains in its guide to manual audio sync, words starting with a hard "P," "B," or "T" require the speaker to close their lips completely to build pressure before the sound releases, and that release "creates a distinct, sharp spike in the audio waveform." A single plosive consonant, the hard "p" or "b" sound in speech, shows up as a sharp spike in both waveforms and works as well as a clapperboard when you forgot to bring one.
This is also the technique to reach for when you're syncing footage that was never meant to be synced in the traditional sense: dropping a voiceover onto a rough cut, matching a music track's kick drum to an edit point, or lining up ADR with the original production dialogue it's replacing. Anywhere you can identify one precise, shared moment in time between two audio sources, manual sync works, no camera or slate required.
Why does Auto Sync Audio fail, or say the clips don't match?
Auto Sync Audio isn't magic. It's an algorithm comparing signal, and a handful of very ordinary situations will defeat it. Work through these in order before you assume something's broken.
The waveform channel reference is wrong. When you choose Based on Waveform, Resolve gives you a channel selection, defaulting to "Auto," which picks the channels it thinks are best suited for comparison. On a multichannel recording where the useful audio isn't on the first channel, Auto can guess wrong. Manually select the channel that actually carries the loudest, clearest signal on both files.
One or both tracks are too quiet. A lav buried under three layers of clothing or a boom that was pulled too far back produces a waveform with almost no usable peaks to match against. If you can barely hear the recording played back at normal volume, the algorithm can barely see it either.
Background noise swamps the shared sound event. Wind, traffic, or a generator running in the background can bury the actual dialogue or clap the algorithm needs. If waveform sync keeps failing on a specific clip, try isolating a shorter, quieter section around your sync point rather than feeding it the entire noisy clip.
The clips don't actually overlap in time. If your audio recording started five minutes before the camera rolled and the shared moment isn't within the portion Resolve is analyzing, there's nothing to find a match against. Trim both clips roughly around the shared event first.
The audio codec isn't decoding correctly. Rare, but it happens with unusual multichannel formats or older camera codecs. Confirm the audio file plays back cleanly on its own, with correct speed and pitch, before troubleting the sync itself.
Multiple similar sound events confuse the match. If your audio has several nearly identical spikes close together, like a rapid series of hits or a metronome, the algorithm can lock onto the wrong one. Trim the clip down to a section with one clear, unique event.
None of these mean you're out of options. Every cause above has a waveform-sync workaround, and if all of them fail, manual sync using the technique from the previous section always works as a fallback, since it only requires your own ears instead of an algorithm's confidence threshold.
Why does audio drift out of sync over a long clip, and how do you fix it?
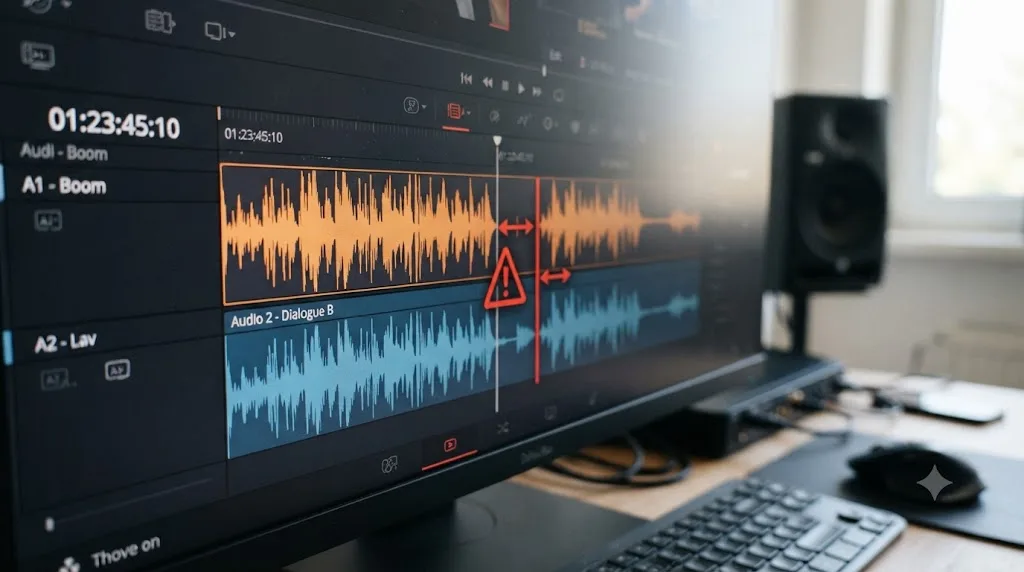
This is the sync problem that's the most frustrating, because it doesn't show up right away. The first thirty seconds look perfect. By the ten-minute mark, the mouth movement and the dialogue are visibly off. By thirty minutes, it's unwatchable, and you're left wondering how a "synced" clip could possibly have broken itself.
As Creative Tools Hub puts it, "sync drift is the subtle, creeping nightmare of the long-form editor", and in its guide to manual audio sync, the site attributes it to two causes: "mismatched sample rates (44.1 kHz vs. 48 kHz)" and "the drifting internal clocks of consumer-grade hardware." Both are worth understanding, because the fix is different for each.
Sample rate mismatch happens when your camera records audio at one sample rate, commonly 48 kHz, and your external recorder captures at a different rate, commonly 44.1 kHz. Every second of audio on the two devices is measured out in a slightly different number of samples, so even though both files start in sync, they diverge more with every second that passes. Sample rate drift is silent at the start of a clip and gets worse the longer the clip runs, which is why short clips can look synced when they are not. The fix is prevention: set every recording device, camera included, to the exact same sample rate before you shoot, and check that setting matches your DaVinci Resolve project's Fairlight timeline sample rate too.
Clock drift is a subtler problem. Even two devices set to the identical sample rate don't run on perfectly identical internal clocks. Consumer-grade hardware, especially budget recorders and camera audio circuits not built for precision timekeeping, drift by tiny fractions of a percent relative to each other. Over a few seconds that's imperceptible. Over thirty minutes it compounds into something you can see and hear.
If you're stuck with a clip that's already drifted and reshooting isn't an option, the fix lives on the Fairlight page: the Elastic Wave tool. According to the official DaVinci Resolve manual, Elastic Wave is a keyframe-based way to dynamically retime audio, stretching or squeezing sections of a waveform while holding pitch constant. Right-click the drifted audio clip, enable Elastic Wave, and drag the right edge to gradually stretch or compress the clip until its total length matches the video again. For dialogue specifically, the manual notes that Elastic Wave includes a processing mode option called Voice, described as "focused on human speech or singing" and explicitly not recommended for other material, alongside a General Purpose mode better suited to music and sound effects.
For smaller amounts of drift, a lighter fix works too: adjust the clip's playback speed by a fraction of a percent, nudging it to something like 100.05% or 99.95%, just enough to close the gap across the full length of the clip without an audible pitch or tempo change. It's a blunter tool than Elastic Wave, but it's fast, and fast matters when you've got a deadline and one drifted interview standing between you and delivery.
The real fix, though, happens before you ever start editing. Set your project's Fairlight timeline sample rate correctly in Project Settings before you import media, match every recording device's sample rate on set, and jam sync timecode whenever your gear supports it. An ounce of prevention here saves an editing session's worth of Elastic Wave keyframing later. If audio vanishes entirely rather than drifting, that's a separate problem with its own set of checks; our DaVinci Resolve no audio troubleshooting guide walks through the mute, I/O Engine, and sample rate settings that cause silent playback specifically.
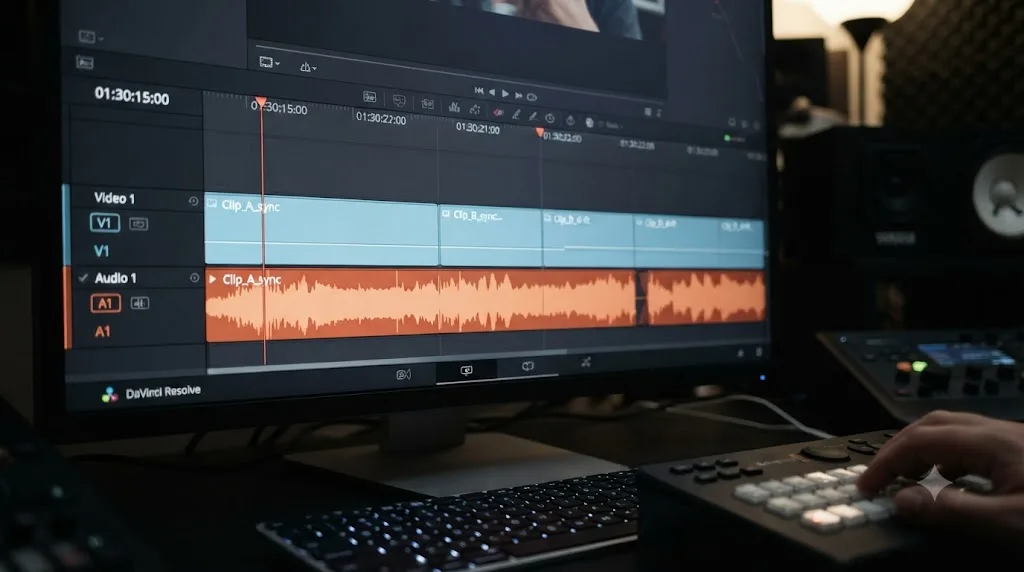
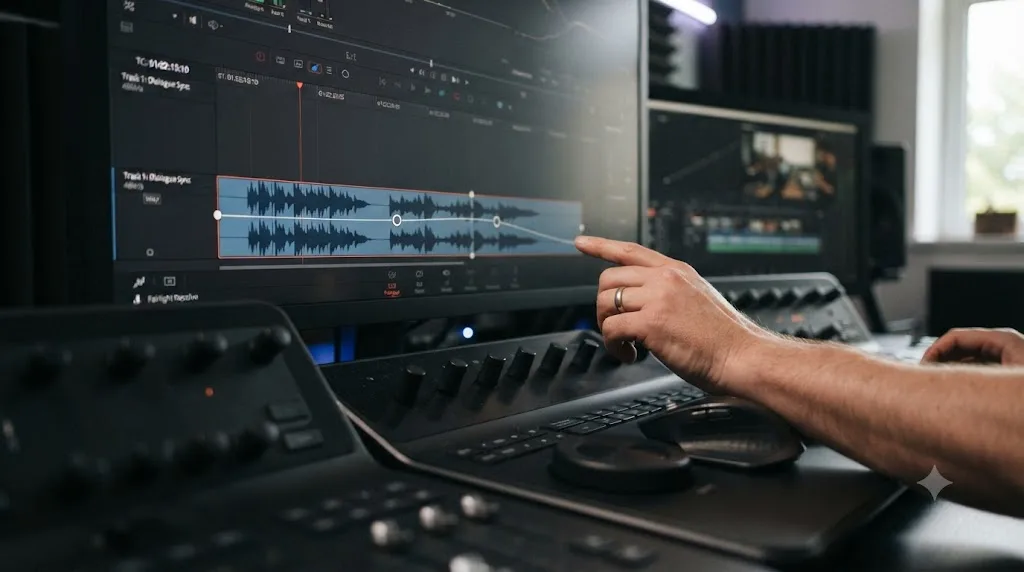
Does synced audio survive a frame rate conform or a deliberate speed change?
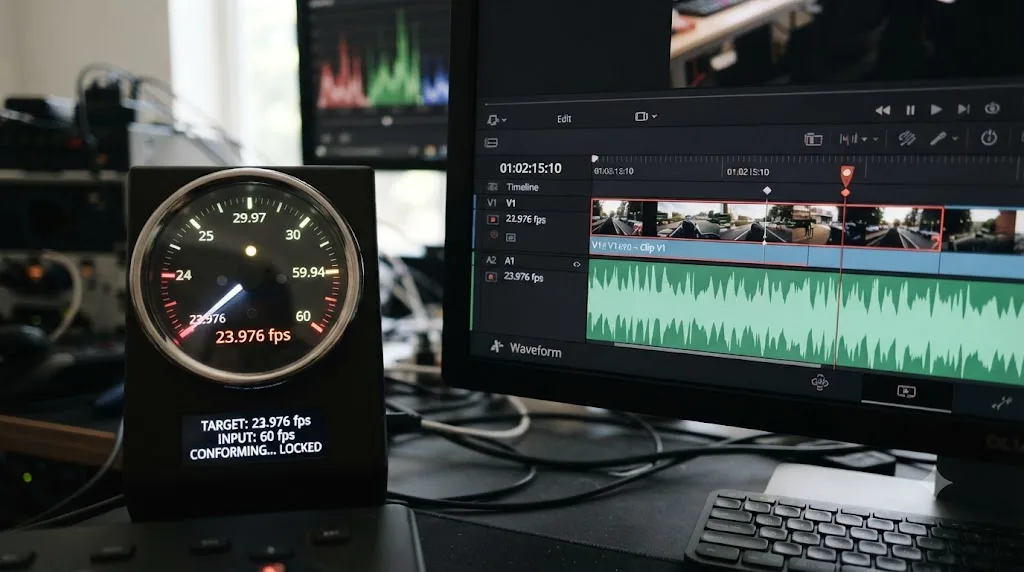
Sometimes the timeline itself needs to change speed after everything's already synced: a delivery house wants a 25fps PAL conform of a 23.976fps NTSC shoot, or you deliberately slow a shot down for a dramatic beat. Both operations move the video's frame rate, and neither one touches audio the same way, which is exactly why a previously perfect sync can fall apart during finishing.
A frame rate conform changes how many frames represent one second of video, and unless the audio speed changes by the identical ratio, a sync that held on the original timeline breaks on the new one. Converting 23.976fps to 25fps for PAL delivery, for instance, is roughly a 4.3% speed change if it's done as a true conform rather than a duplicate-frame conversion. Audio that isn't retimed by that same amount will drift across the length of the piece exactly like the sample rate mismatch described above, just for a different underlying reason.
If you're delivering to a different frame rate than the one you edited and synced in, don't drop the finished timeline onto a new frame rate and hope. Resolve's Project Settings offer distinct conform options: dropping or duplicating frames for a small transport-standard adjustment (29.97 to 30, for instance), versus a genuine speed-change conform for a true film-to-video-standard conversion. Check which one your delivery actually needs before you commit. A "duplicate frames" conform doesn't retime audio at all, while a full speed conform typically does need the audio retimed alongside it, matched in pitch or not depending on the delivery spec.
A deliberate creative speed change, like a Retime Curve slowing a clip to 50% for a slow-motion moment, is a different case with the same underlying lesson: retiming a clip's video speed does not automatically retime any separate audio that was synced to it before the retime was applied. If you synced external audio first and then applied a speed ramp to the clip, check whether Resolve's retime settings are set to also affect linked audio, or you'll get a slow-motion picture playing against normal-speed sound. The cleanest order of operations is almost always sync first, retime second, then re-verify by ear, since checking a ten-second slow-motion shot for drift takes seconds and catches the problem before it reaches a client cut.
How do you sync multicam footage when the cameras recorded at different frame rates?
A multicam shoot with mixed gear, a cinema camera locked at 24fps alongside a DSLR shooting 30fps b-roll, or a phone recording 60fps for a slow-motion cutaway, adds a wrinkle the Sync Bin doesn't fully solve by itself. Angle Sync can still align the clips to a shared moment using timecode, waveform, or in and out points, but a mismatched frame rate between angles causes exactly the kind of drift described in the section above once you play more than a few seconds of that angle.
The practical fix is deciding your timeline's frame rate before you build the multicam clip, then conforming every angle to it rather than after the fact. If your primary angle and your project are both 24fps, a 30fps secondary camera needs to be conformed, not just dropped in, or its own scratch audio track, if it's carrying one alongside the synced multitrack audio, will drift across a long angle exactly like a variable frame rate phone clip would. Resolve's Clip Attributes panel lets you set a clip's frame rate interpretation manually; check that every angle reports the frame rate you expect before assuming Angle Sync's alignment will hold for the full length of a take, not just its first few seconds.
A multicam clip can look correctly synced at the cut point and still drift within an angle if that angle's native frame rate doesn't match the timeline's, since Angle Sync aligns a moment in time, not a running frame rate. This is the same root problem as the sample rate drift and frame rate conform issues covered above, just triggered by mismatched camera settings on set instead of a finishing decision made later.
The higher frame rate angle, the 60fps cutaway in the example above, is usually intended for a deliberate slow-motion moment anyway, which means it isn't meant to play at its native speed inside the multicam cut in the first place. Sync it and conform it to your timeline's frame rate for playback purposes during the multicam edit, then apply your intentional slow-motion retime as a separate step once you've cut to that angle and pulled it out of the multicam clip, following the same "sync first, retime second" order of operations from the section above.
How do you sync audio for interviews, podcasts, and voiceover-only edits?
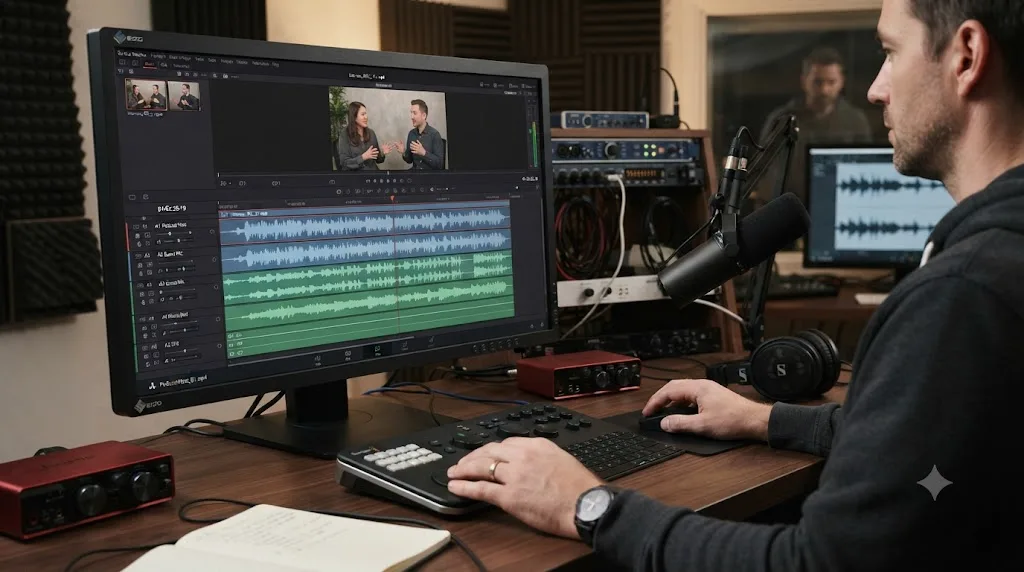
Interview and podcast shoots have their own version of this problem, usually with more audio tracks than video ones. A typical two-person podcast recorded on video might have a camera per person, a shared room mic, and two individual lav channels, all feeding into a separate multitrack recorder. That's up to four or five audio channels that all need to sync against two video sources.
The good news is that Auto Sync Audio doesn't care how many channels are on a single file, only that the file as a whole shares a matching moment (or matching timecode) with the video clip. Sync your multitrack recording against the primary camera the same way you would a single-channel file. Once synced, all of its internal channels arrive already aligned relative to each other and to the video, since they were captured on the same recorder at the same time.
For voiceover-only work, like syncing a narration track to a screen recording or a rough cut, you're usually working without any shared production audio at all, which rules out waveform matching entirely. This is where manual sync earns its keep: mark an obvious cue point in both the video (a scene change, an on-screen action) and the voiceover (the sentence that corresponds to it), and align them by ear and by eye rather than by algorithm. It's slower per clip, but for a single narration track against a locked picture edit, it's usually a five-minute job, not a technical problem worth reaching for specialized tools over.
A practical tip for interview shoots specifically: have your subject clap once, on camera, at the very start of every setup, even if you've also got timecode gear running. It costs three seconds and gives you a waveform-sync fallback for free if the timecode fails for any reason. Redundancy here is nearly free and saves entire setups when hardware misbehaves, which it eventually will.
How do you sync multiple video clips to one continuous guide track, like a montage or a music video?
Everything covered so far assumes one audio file syncing against one video clip. Montages, music videos, and highlight reels flip that structure: one continuous audio file, usually a music track or a single guide voiceover, needs several separate video clips placed against it at specific points, not synced as a pair.
This isn't really an Auto Sync Audio problem, because there's no waveform or timecode match between the music and any of the video clips; they were never recorded together. It's a placement problem, and the tools for it live on the edit timeline rather than in the Media Pool.
- Drop the music or guide track onto its own audio track first and treat it as the timeline's spine. Don't move it again once picture editing starts.
- Use the Fairlight page or the mini waveform view on the Edit page to mark specific beats, lyrics, or cue points you want cuts to land on, using markers directly on the audio clip.
- Edit video clips into place against those markers using three-point editing: set an in and out point on each source clip, then edit it to start exactly at the next marker on the timeline.
- For music specifically, cutting on the beat rather than near it is what makes a montage feel intentional. Zoom in far enough to see the transient spike of the beat itself, the same kind of sharp waveform peak used for manual clap syncing earlier in this guide, and cut precisely on it rather than eyeballing the general vicinity.
- If the guide track is a scratch voiceover rather than music, mark the start of each sentence or beat of narration instead of a musical hit, and cut video changes to land just after each marked point so the edit doesn't fight the narration's own rhythm.
A montage doesn't need Auto Sync Audio at all, because the audio and video were never a matching pair to begin with; the task is deliberate placement against markers, not automatic alignment. The skill that transfers from clap-syncing dialogue is the same skill: finding a precise point in a waveform and cutting exactly on it, just applied to music transients or narration beats instead of a hand clap.
Why does audio drift out of sync from a phone shot at a variable frame rate?
Phone footage introduces a sync problem that professional cameras mostly don't have: variable frame rate, or VFR. Many phones, particularly iPhones recording in certain modes, don't record a fixed number of frames per second. They record a target rate but let it fluctuate slightly based on lighting, processing load, and thermal conditions. A file that claims to be 30fps might genuinely vary between 29.7 and 30.3 fps throughout its length.
That's invisible to the eye in normal playback, but it wreaks havoc on audio sync, because both the waveform and timecode matching methods in Resolve assume a stable, predictable relationship between frame count and elapsed time. A VFR file that drifts in frame rate over its length will drift out of audio sync in exactly the same pattern described in the sample rate drift section above, even if the audio itself was perfectly captured.
The fix is to normalize the frame rate before you sync. Bring the VFR clip into DaVinci Resolve, then either use Resolve's built-in conversion during import, or run the file through a transcode pass that locks it to a fixed frame rate matching your project. Once the video file itself has a stable, consistent frame rate, Auto Sync Audio behaves normally against it. Trying to sync directly against unconverted VFR footage is the single most common cause of "it was synced but now it's not" reports from phone-shot projects, and no amount of Elastic Wave retiming fully fixes a video track that's internally inconsistent.
If you're shooting on a phone specifically for a project where audio sync matters, the better fix happens before you press record: check your phone's camera app for a setting that disables variable frame rate, sometimes labeled something like "locked" or "cinematic" frame rate, and use it. A stable frame rate at the source avoids this problem completely instead of requiring a conversion pass to correct it after the fact.
How do you sync audio from a wireless mic like a DJI Mic or Rode Wireless?
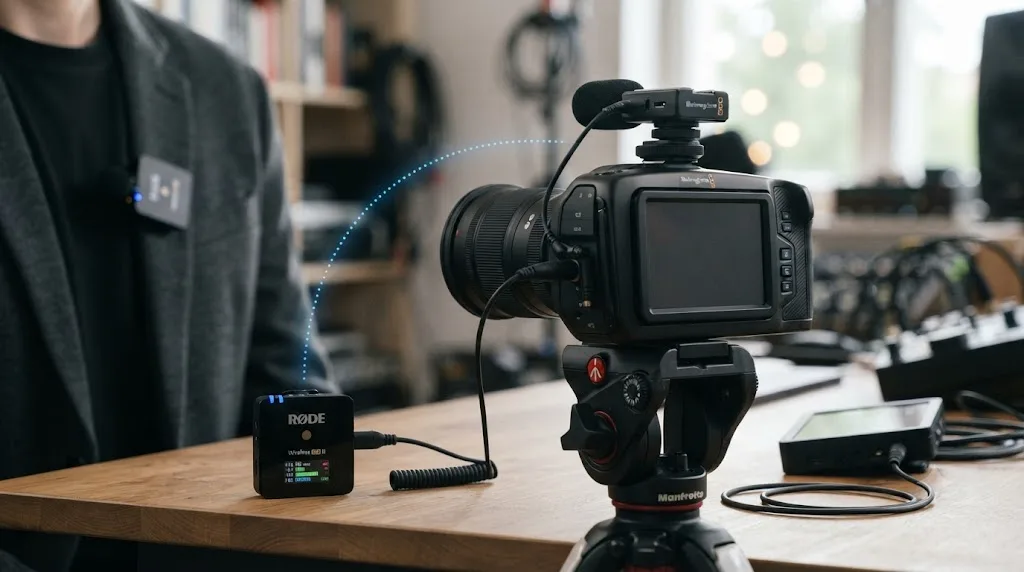
Wireless lav systems have become the default for run-and-gun and solo shooting, and most current models record a backup file directly onto the transmitter itself, independent of whatever the receiver sends to your camera. That backup file is what you'll usually sync in post, since it avoids any wireless dropout or interference the live camera feed picked up.
The workflow is identical to any other separate audio recording: import the transmitter's backup file into the Media Pool alongside your video, select both, and run Auto Sync Audio. Because most consumer wireless mic systems don't generate the kind of professional timecode used by dedicated sound gear, Based on Waveform is usually your method here, not Based on Timecode, unless you're using a higher-end system that specifically advertises timecode jam sync support.
A few wireless-specific issues worth watching for:
- Automatic gain control smoothing out your sync spike. Some wireless systems apply aggressive automatic level control to the backup recording, which can soften a hand clap or plosive enough that waveform matching struggles. If Auto Sync Audio fails on a wireless take, check whether AGC is enabled on the transmitter and consider a manual sync using a clearer moment in the dialogue instead.
- Dropouts in the live camera feed, but not the backup file. If you're comparing the camera's recorded wireless audio against the transmitter's local backup, a dropout on the camera side can throw off waveform matching for that section specifically. Sync against the backup file, not the camera's live feed, whenever you have the choice.
- Battery-triggered restarts. If a transmitter's battery died and was swapped mid-shoot, treat the recording after the swap as a new file for sync purposes; anything it was doing before the restart, including any jam-synced timecode, is gone.
Beyond the sync step itself, wireless backup files are also usually your highest-quality audio source for the take, recorded closer to the source with less interference than what made it over the air to your camera. It's worth building "sync against the backup file" into your standard workflow even on shoots where the live wireless feed sounded fine, since you won't always know it had a problem until you're deep into the edit.
How do you batch sync dozens of clips at once without doing it one pair at a time?
A single-camera documentary shoot might generate thirty or forty separate audio-video pairs in a day. Selecting and syncing each one individually is slow and invites mistakes, so it's worth setting up the day, and the Media Pool, to batch cleanly.
Auto Sync Audio works on multiple selected pairs at once, as long as every video clip has exactly one matching audio clip selected alongside it in the same selection. Select clip 1 and its audio, then Cmd-click or Ctrl-click clip 2 and its audio, and so on, then right-click once and run Auto Sync Audio across the entire selection. Resolve processes each pair independently using whichever method you chose, so a mixed batch of some clips with matching timecode and others without still works, though you'll get more reliable results if you separate the two into distinct passes: one Based on Timecode pass for the jam-synced clips, one Based on Waveform pass for everything else.
The single biggest thing that makes batch selection fail is inconsistent file naming. If your camera clips are named A001, A002, A003 and your audio recorder's files are named 001, 002, 003 with no obvious correspondence, you'll spend as much time figuring out which audio file goes with which video clip as you would have spent syncing them one at a time. Before you import a multi-setup shoot day, rename files, or at minimum sort them into per-setup bins, so pairs are visually obvious in the Media Pool.
A few habits that make batch syncing more reliable:
- Match slate or scene numbers in file or clip names wherever your camera and recorder support custom naming, so A003 and its matching audio both carry the same identifying number even if the rest of the filename differs.
- Use Smart Bins with a rule based on a shared keyword or scene number to automatically group matching clips together, rather than hunting through one giant flat bin for the right pair.
- Sync in smaller batches per scene or setup, not the entire shoot day at once. If one pair in a batch of forty fails to match, isolating which one takes longer in a single giant selection than it does in a batch of five.
- Check the results before moving on. A batch sync that reports success on all clips can still contain one pair matched to the wrong offset if two very similar audio recordings, like two near-identical takes of the same line, got selected in the wrong order. Spot-check a handful of clips from every batch rather than trusting the whole batch blind.
None of this changes the underlying tool; Auto Sync Audio is still doing exactly what it does for a single pair. What changes is the discipline around selection and naming, which is the actual bottleneck on a multi-setup shoot day, not the algorithm itself.
Does syncing audio work differently on Mac versus Windows?
The syncing tools themselves, Auto Sync Audio, the Sync Bin, and Elastic Wave, behave identically on Mac and Windows. The menu locations, keyboard modifiers (Cmd on Mac, Ctrl on Windows), and underlying algorithms don't change between platforms. Where you can run into platform-specific friction is one level down, in how your operating system routes audio hardware to Resolve in the first place.
On Mac, Resolve uses Core Audio to talk to your interface or built-in speakers, configured through Preferences, then System, then Video and Audio I/O. On Windows, the same panel exists, but the underlying driver layer is typically ASIO for a dedicated audio interface, or WASAPI for built-in and consumer hardware. If your synced audio plays back at the wrong sample rate, distorted, or not at all, the fix is usually in that I/O panel rather than anywhere near the sync tools themselves, confirming the output device and its sample rate match what your project expects.
This distinction matters specifically for sync because a wrong output sample rate can make correctly synced audio sound wrong during playback, which some editors mistake for a sync problem when it's actually a monitoring problem. If a clip you just successfully synced with Auto Sync Audio still sounds off during playback, check your I/O settings before you assume the sync itself failed.
How does DaVinci Resolve's audio sync compare to Premiere Pro and Final Cut Pro?
If you're coming to Resolve from another NLE, the concepts translate directly even though the menu names don't match exactly.
Premiere Pro's equivalent is the Merge Clips and Synchronize commands, which offer sync by timecode, audio, or in and out points, essentially the same three inputs Resolve's multicam Angle Sync uses. Final Cut Pro built automatic waveform sync into its Synchronize Clips command years before it became a standard NLE feature elsewhere, and its multicam creation workflow works on similar principles to Resolve's Sync Bin.
What differs more between applications is where the sync step happens in your workflow and how forgiving each tool is about mismatched formats and frame rates going in. Resolve's Auto Sync Audio operates at the Media Pool level before you build anything, which means a sync error is easy to catch and fix in isolation, without unwinding timeline edits built on top of it. Some editors who've worked across all three tools consider Resolve's approach the more foolproof of the group for exactly that reason, since a bad sync stays contained to the Media Pool rather than propagating errors across a partially built timeline.
If your workflow crosses between applications, such as syncing dailies in one NLE and finishing the edit in another, be aware that synced audio relationships generally don't survive a project round trip between different applications; you'll need to re-sync (or re-verify sync) after any XML or AAF handoff, since the sync itself is usually baked into application-specific clip metadata rather than the exchange format.
Does synced audio survive switching from proxy media to full-resolution online media?
Editing with proxies, lower-resolution stand-in files that play back smoothly on modest hardware, is common on any shoot with 4K or higher camera originals. Sync happens before the edit even starts, at the Media Pool level, and a proxy is just a different resolution of the exact same clip in Resolve's database, not a separate piece of media with its own identity.
Because an Auto Sync Audio result is stored as an attribute of the clip in Resolve's Media Pool, not baked into one specific resolution of a video file, switching between proxy and full-resolution playback in Project Settings does not undo a sync. Toggle your proxy resolution setting off and back on, and the synced audio channel stays attached to the clip either way, because Resolve is switching which video file it plays back, not which clip it's referencing.
Where this can actually go wrong isn't the proxy toggle, it's relinking media after camera originals move, get renamed, or come back from an external drive with a different file path. If Resolve can't automatically relink a clip to its original file and you relink it manually to the wrong file, a similarly-named take from a different setup, for instance, the sync that was correct for the original file is now attached to the wrong footage entirely. The sync itself doesn't break; the wrong file ends up carrying synced audio that belongs to a different take.
A practical safeguard: after any relink operation on a project with already-synced audio, spot check a handful of clips the same way you would after a batch sync, scrub through and confirm picture and sound still match. It costs a minute and catches a mistake that's otherwise invisible until someone notices lip sync is wrong in a nearly-finished cut.
This also answers a related worry: transcoding your audio-synced clips to a new proxy format, or regenerating proxies after a project setting change, doesn't require re-syncing anything. Proxies are a playback convenience Resolve manages on top of the original media reference; the sync relationship lives one level below that, tied to the clip itself.
Do you need DaVinci Resolve Studio to sync audio?
No. Every tool covered in this guide, Auto Sync Audio, the Sync Bin, multicam Angle Sync, and Elastic Wave retiming, is available in the free version of DaVinci Resolve. This is a syncing workflow, not a rendering or color grading feature, and Blackmagic Design hasn't gated it behind the paid tier.
Where Studio does add value on the Fairlight page specifically is in advanced processing: certain noise reduction and restoration plugins, more extensive surround and Dolby Atmos mixing tools, and a handful of premium audio effects that go beyond what syncing itself requires. If your project is straightforward dialogue and interview syncing, the free version does everything in this guide with no functional limitation. If you're finishing a project that needs studio-grade noise reduction on a problematic recording, or a full surround mix, that's when the $295 one-time Studio upgrade becomes relevant, and our full breakdown of what Studio buys you covers that decision in detail.
What's a full worked example, start to finish?
Here's how this comes together on an actual project: a two-camera sit-down interview, each camera with its own on-board mic, plus a lav on the subject feeding a separate handheld recorder, no jam-synced timecode because it's a small crew and nobody brought the gear.
- Import everything. Both camera clips and the lav recorder's audio file go into the Media Pool, organized into a bin for the setup.
- Sync the lav against the primary camera first. Select the primary camera's clip and the lav file, right-click, choose Auto Sync Audio, and pick Based on Waveform and Append Tracks, since there's no timecode to work with. The subject's clap at the top of the take (you did have them clap, right?) gives the algorithm a clean spike to lock onto even over some room tone hiss.
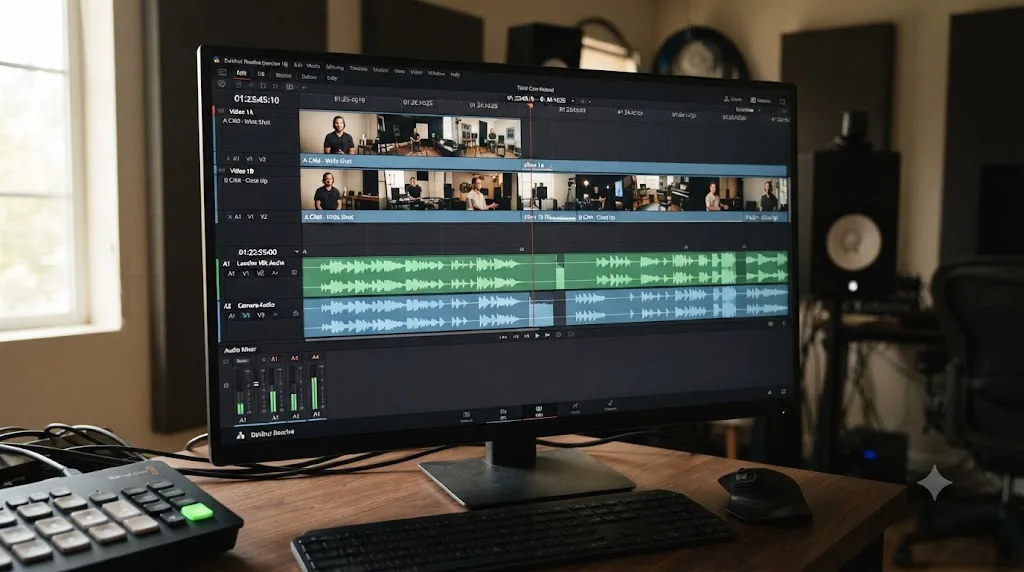
- Verify the sync. Open Clip Attributes on the result and confirm the lav's channel now appears linked. Scrub through the full clip and watch for drift; a fifteen-minute interview recorded on matched sample rates shouldn't show any.
- Create a multicam clip from both cameras. Select both camera clips (the primary now carrying synced lav audio, the secondary still on its own on-board mic) and choose Create New Multicam Clip Using Selected Clips. Since there's no shared timecode, set Angle Sync to Sound; the two cameras' on-board mics, even if lower quality, still share enough of the same room audio for waveform matching to align them.
- Drop the multicam clip on the timeline and edit. Cut between camera angles freely on the Cut or Edit page. The lav audio, carried on the primary angle, stays correctly synced under every camera cut because it was synced once, at the source clip level, before editing began.
- Watch the full cut for drift on playback, particularly toward the end of the longest continuous take, and if you spot any, apply Elastic Wave to nudge the offending section back into place rather than re-syncing the whole clip from scratch.
That's the entire workflow for a shoot with zero dedicated sync hardware: one waveform sync, one multicam creation, a verification pass, and an edit that never has to think about audio alignment again. Add jam-synced timecode to the same shoot and steps two and four both get faster, since Resolve is matching numbers instead of analyzing sound, but the fundamental structure of the workflow doesn't change.
If you're still getting comfortable with where Resolve keeps its panels and pages generally, our DaVinci Resolve for beginners guide is a good primer before tackling a multicam sync workflow like this one, and once you're syncing regularly, learning the handful of keyboard shortcuts for trimming and marking in and out points will shave real time off the manual sync method in particular. And once picture's locked, getting the actual upload settings right matters just as much as the sync did; our DaVinci Resolve export settings for YouTube guide walks through the exact codec, bitrate, and audio numbers to use on the Deliver page.
Quick troubleshooting reference
Bookmark this table. Most sync problems fall into one of these bucket.
| Symptom | Likely cause | Fix |
|---|---|---|
| Auto Sync Audio says clips don't match | Wrong waveform channel, low signal, or no overlapping time range | Manually pick the waveform channel, trim clips to overlap, or switch to manual sync |
| Sync looks perfect at the start, drifts by the end | Sample rate mismatch or hardware clock drift | Match sample rates on all devices going forward; use Elastic Wave or a speed nudge to fix existing clips |
| Timecode sync fails despite jam syncing on set | Frame rate mismatch, drop-frame/non-drop-frame mismatch, or a device reset mid-shoot | Confirm matching frame rates and timecode format; fall back to waveform sync for affected clips |
| Multicam clip's angles don't line up | Angle Sync method doesn't match what your gear actually recorded, or one angle's frame rate wasn't conformed | Try Sound instead of Timecode, or vice versa; confirm every angle's frame rate matches the timeline |
| Synced clip sounds distorted or silent on playback | Output device sample rate mismatch, not a sync problem | Check Preferences, System, Video and Audio I/O for the correct output device and rate |
| Phone footage won't stay in sync no matter what | Variable frame rate video file | Convert to a fixed frame rate before syncing, not after |
| Lip sync looks wrong after relinking media | A clip got relinked to the wrong original file | Spot-check clips after any relink; re-link the correct file and re-verify |
The verdict
DaVinci Resolve's audio sync tools are good enough that buying dedicated sync software is rarely necessary anymore, and every one of them, waveform, timecode, and Sync Bin multicam, ships in the free version. Jam sync your timecode when you have the gear for it, because it turns a several-second analysis into an instant match. When you don't, waveform sync and a simple on-camera clap cover you completely. And when a clip drifts on you hours after you thought it was fine, that's a sample rate problem with a known fix, not a reason to reshoot.
Learn these four tools once, Auto Sync Audio, the Sync Bin, manual waveform matching, and Elastic Wave, and audio sync stops being a task you dread and becomes a two-minute step you do without thinking about it. If you'd rather have something walk you through Fairlight's sync tools live, inside your own project, as questions come up, that's exactly the gap TryUncle is built to fill.
Frequently asked questions
- How do I sync audio and video in DaVinci Resolve for free?
- Auto Sync Audio and the Sync Bin are both included in the free version of DaVinci Resolve. Select your video and separate audio clips in the Media Pool, right-click, choose Auto Sync Audio, and pick either Based on Waveform or Based on Timecode. Nothing about audio syncing itself is locked behind DaVinci Resolve Studio.
- What's the difference between Based on Waveform and Based on Timecode?
- Based on Timecode reads matching timecode metadata from both files and lines them up instantly and exactly, but only works if your camera and recorder shared a timecode source before you started rolling. Based on Waveform compares the actual sound of both recordings and works with any gear, but takes longer and needs a clear, matching sound event on both tracks.
- Why does DaVinci Resolve's Auto Sync Audio say the clips don't match?
- The most common causes are picking a waveform channel with too little signal, background noise that swamps the shared sound event, clips that don't actually overlap in time, or a codec Resolve can't decode on your system. Try switching the channel reference from Auto to a specific channel, trim both clips so they share the same moment, and confirm the audio file plays back on its own first.
- How do I sync audio without a clapperboard in DaVinci Resolve?
- Find any sharp, sudden sound that appears on both the camera audio and the separate recording, such as a door closing, a hand clap, or a plosive consonant like a hard P or B in speech. Zoom into both waveforms, line up that spike, and use it as your manual sync point instead of a slate.
- Why does my audio drift out of sync over a long clip in DaVinci Resolve?
- Drift over a long take almost always comes from a sample rate mismatch between your camera and your external recorder, such as 48 kHz against 44.1 kHz, or from the slightly inaccurate internal clocks in consumer-grade recording hardware. Match both devices to the same sample rate before you shoot, or use the Elastic Wave tool to stretch the audio back into alignment afterward.
- Can DaVinci Resolve sync audio for multicam footage automatically?
- Yes. Select your camera clips on the Cut page and drop them into a Sync Bin, or select them anywhere in Resolve and choose Create New Multicam Clip. Set the Angle Sync method to Timecode if your cameras were jam-synced, or to Waveform if they weren't, and Resolve builds one multicam clip with every angle already aligned.
- Do I need DaVinci Resolve Studio to sync audio?
- No. Auto Sync Audio, the Sync Bin, and Elastic Wave retiming are all available in the free version. Studio adds things like advanced noise reduction plugins and surround mixing tools on the Fairlight page, but the core syncing workflow is identical in both versions.
- Does synced audio survive switching between proxy and full-resolution media?
- Yes. Sync is stored as an attribute of the clip in Resolve's Media Pool, not baked into one specific resolution of a file, so toggling proxy playback on or off doesn't undo it. The one thing that can break it is relinking a clip to the wrong original file by mistake, which attaches correct sync data to the wrong footage entirely.
Sources
- DaVinci Resolve Manual - Syncing Audio to Video by Matching Waveforms (Blackmagic Design, mirrored)
- DaVinci Resolve Manual - Elastic Wave Audio Retiming (Blackmagic Design, mirrored)
- DaVinci Resolve Manual - Elastic Wave Processing Mode Options (Blackmagic Design, mirrored)
- DaVinci Resolve - Fairlight product page (Blackmagic Design)
- Insider Tips: Sync Multi-Camera Footage with DaVinci Resolve's Sync Bins, by Charles Haine (Frame.io Blog)
- Use the Sync Bin for Multicam Editing in DaVinci Resolve 19, by Larry Jordan
- Syncing Audio and Video with Timecode, by Gedaly Guberek (DVResolve.com)
- 5 Things You Need to Know About DaVinci Resolve's Fairlight, by Maayan Gutterman (No Film School)
- Mastering Manual Audio Sync in DaVinci Resolve, 2026 Professional Guide (Creative Tools Hub)
- Zoom F6 Field Recorder - product page (Zoom Corporation)
Learn by doing, not watching
Stop translating tutorials to your timeline.
TryUncle stays beside Resolve on Mac and Windows. When you ask, Uncle sees your screen and points at the exact control you need. No hunting through tabs, timestamps, or mismatched tutorials.
Meet TryUncleKeep reading
 GuidesJul 7, 202632 min read
DaVinci Resolve Export Settings for YouTube (Copy These Exactly)
The exact DaVinci Resolve export settings YouTube recommends: codec, bitrate, resolution, audio, and the Deliver page steps that avoid soft uploads.
 FixesOct 10, 202631 min read
DaVinci Resolve Audio Disappears After Reopening Project? Fix It
Fix DaVinci Resolve audio that disappears after reopening a project. Diagnose missing media, moved drives, bins, proxies, timelines, and playback routing.
 GuidesOct 10, 202623 min read
DaVinci Resolve: Change Clip Speed Without Changing Audio Pitch
Change a clip's speed in DaVinci Resolve while keeping its audio pitch steady. Learn the Pitch Correction setting, linked audio steps, and fixes.