
Learn / DaVinci Resolveupdated for DaVinci Resolve 21.0 (June 2026)
DaVinci Resolve Export Settings for YouTube (Copy These Exactly)
Quick answer
Export for YouTube from Resolve's Deliver page: MP4 container, H.264 codec, your timeline's native resolution and frame rate, bitrate 8 Mbps for 1080p (12 Mbps at 60fps) or 35-45 Mbps for 4K, and AAC audio at 48 kHz. Resolve's built-in YouTube preset sets most of this for you.
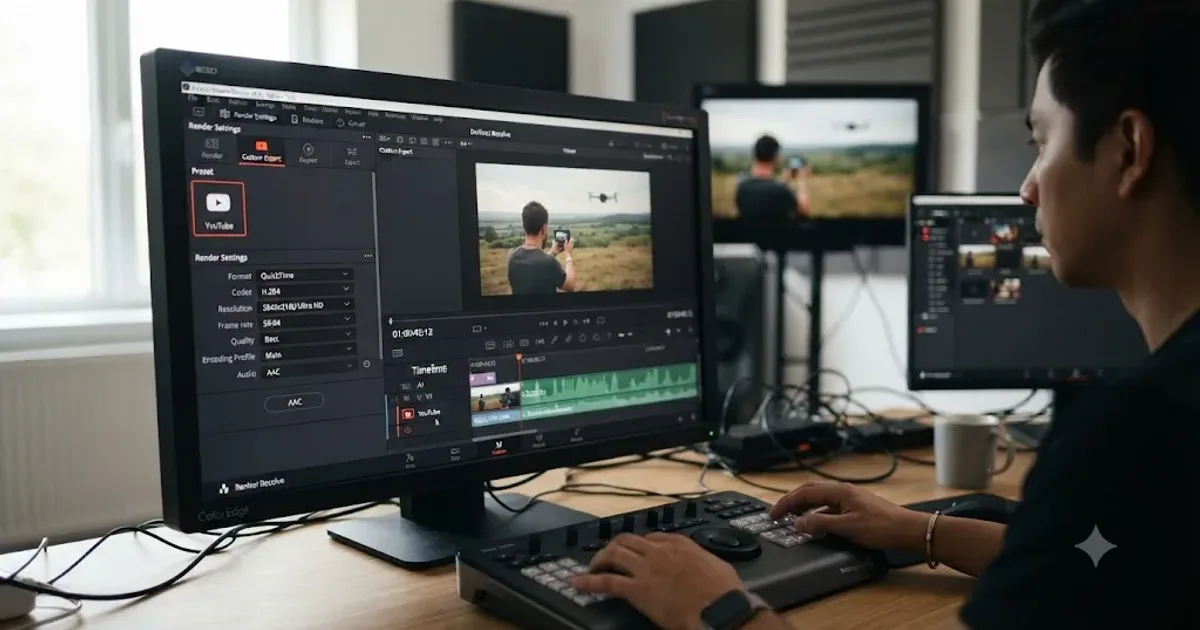
Every editor exports for YouTube, and almost every editor second-guesses the settings while the render queue sits empty. The numbers below aren't opinions: they come straight from YouTube's own upload guidelines, matched to what DaVinci Resolve's Deliver page actually offers.
Copy the table, run the steps once, save it as a preset, and never think about this again. And if your situation isn't the plain 1080p case, the sections below cover the branches: H.265, HDR, vertical Shorts, mismatched frame rates, hardware encoding, captions and chapters, platform limits, and the mistakes that quietly ruin uploads.
What export settings does YouTube actually want?
YouTube publishes its preferred upload encoding, and Resolve can hit every line of it. Here's the core specification, from YouTube's recommended upload encoding settings:
| Setting | YouTube's recommendation |
|---|---|
| Container | MP4 |
| Video codec | H.264 |
| Audio codec | AAC-LC |
| Audio sample rate | 48 kHz |
| Frame rate | Same as recorded |
| Scan type | Progressive (no interlacing) |
| Chroma subsampling | 4:2:0 |
| Color space (SDR) | Rec.709 |
And here is the full bitrate ladder for SDR uploads, straight from the same page:
| Resolution | Bitrate at 24/25/30fps | Bitrate at 48/50/60fps |
|---|---|---|
| 8K (4320p) | 80-160 Mbps | 120-240 Mbps |
| 4K (2160p) | 35-45 Mbps | 53-68 Mbps |
| 2K (1440p) | 16 Mbps | 24 Mbps |
| 1080p | 8 Mbps | 12 Mbps |
| 720p | 5 Mbps | 7.5 Mbps |
| 480p | 2.5 Mbps | 4 Mbps |
The fine print on that page matters more than most tutorials admit. YouTube asks for H.264 in High Profile with CABAC, a closed GOP of half the frame rate, two consecutive B-frames, and the MP4's index (the moov atom) at the front of the file for fast start. That sounds like a lot to configure. It isn't. Resolve's H.264 defaults already land close, you can set the Encoding Profile to High under the Advanced Settings of the Deliver page, and the Network Optimization checkbox in those same advanced settings handles the fast-start file layout.
On frame rate, YouTube's guideline is blunt: "Content should be encoded and uploaded in the same frame rate it was recorded." Don't convert 24fps footage to 30fps for upload, and don't let an export preset quietly change it.
YouTube re-encodes every video you upload, so the goal of your export is a clean master at the recommended bitrate, not the biggest possible file. Doubling the bitrate past YouTube's targets mostly buys you longer uploads for invisible gains.
How do you set this up on the Deliver page, step by step?
- Open the Deliver page (the rocket icon at the bottom of Resolve).
- In Render Settings, click the YouTube preset at the top and pick your resolution, 1080p or 2160p.
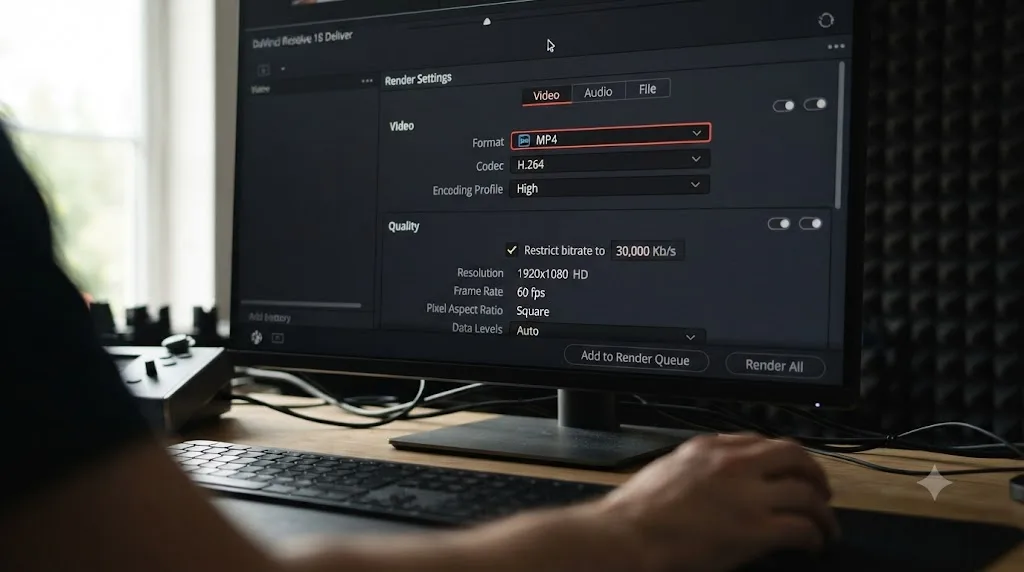
- Confirm Format: MP4 and Codec: H.264.
- Make sure Single clip is selected at the top of Render Settings, and that the range dropdown above the timeline says Entire timeline, not In/Out range. These two settings cause more botched exports than every codec option combined.
- Leave Resolution and Frame rate at your timeline's native values.
- Set Quality to Restrict and enter the bitrate from the table above, in kbps: 8,000 for 1080p, 12,000 for 1080p60, 35,000 to 45,000 for 4K.
- Open Advanced Settings, set Encoding Profile to High if it isn't already, and tick Network Optimization.
- In the Audio tab, confirm AAC at 48 kHz, exporting your main mix bus.
- Name the file, set a destination, click Add to Render Queue, then Start Render.
Per Blackmagic's product page, the Deliver page's YouTube preset can also upload straight to your channel once you've linked your account in Resolve's internet-accounts preferences. It works, but exporting a local file first gives you a master copy and a second chance if the upload fails. More on the direct-upload trade-offs further down.
Which resolution and frame rate should you export?
The ones your timeline already uses. Exports go wrong when editors second-guess this at the finish line.
Match your timeline, don't upgrade it. If you shot and edited 1080p, export 1080p. Upscaling to 4K in the Deliver page adds no detail; YouTube just re-compresses a bigger, blurrier file. The reverse is also true: if you shot 4K and built a 4K timeline, don't downgrade to 1080p to save upload time, because YouTube gives 4K uploads a noticeably higher bitrate tier after processing (35-45 Mbps versus 8 Mbps, per the ladder above).
Here's the decision in table form:
| You shot | Your timeline | Export at |
|---|---|---|
| 1080p | 1080p | 1080p |
| 4K | 4K | 2160p |
| 4K | 1080p | Consider switching the timeline to 4K, then export 2160p |
| Mixed 1080p and 4K | Whatever you set at project start | The timeline's resolution |
| Vertical phone footage | 1080x1920 | 1080x1920 |
Frame rate is stricter. Mixing frame rates causes stutter that no setting can fix afterward, which is why YouTube's documentation insists uploads keep the recorded frame rate. If your project mixes 24 and 60fps sources, the timeline setting wins: export at the timeline's rate.
What if your footage and timeline frame rates don't match?
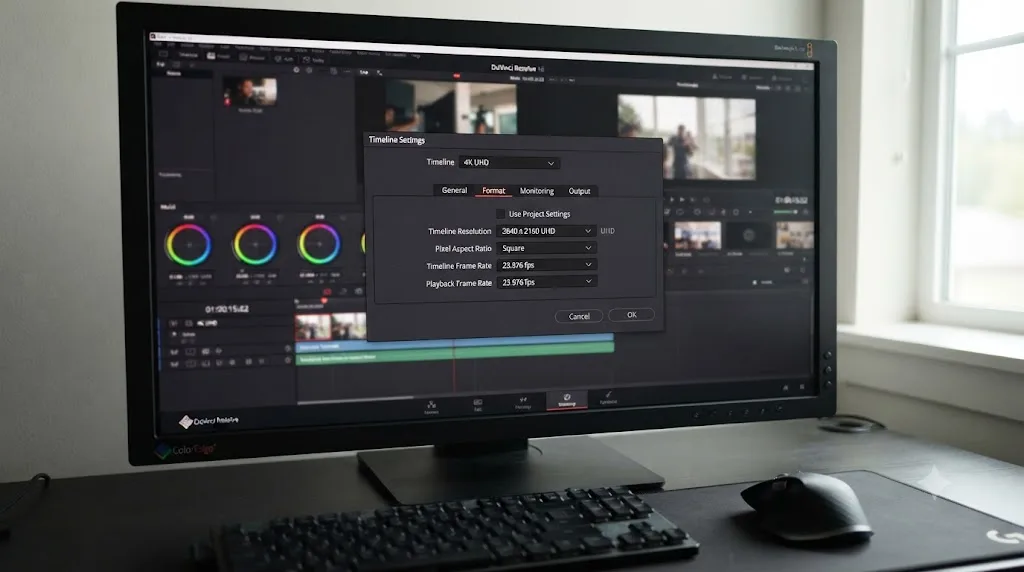
Then fix it at the project level, not on the Deliver page. The Deliver page can only export the timeline it's given, and a frame-rate problem baked into the edit survives every export setting you throw at it.
DaVinci Resolve locks the timeline frame rate the moment the first clip lands in the edit, so frame-rate decisions belong at project setup, not at export. Check Project Settings before you cut anything: once media is on a timeline, the frame-rate field grays out and your only escape is a new timeline.
A few specific cases come up constantly.
Mixed sources. A 24fps timeline with 60fps B-roll is fine. Resolve retimes the 60fps clips on playback, and they're also your slow-motion pool: retime one to 40 percent and every recorded frame gets used. Export at the timeline's 24fps and YouTube is happy.
23.976 versus 24. Both are fine. YouTube's encoding page lists 24, 25, 30, 48, 50, and 60 as common rates and explicitly says other frame rates are also acceptable. Upload whichever one you actually recorded; don't "round" 23.976 up to 24 in the export settings.
Interlaced footage. YouTube wants progressive uploads and says interlaced content should be deinterlaced first, giving 1080i60 to 1080p30 as the worked example. If you're cutting old camcorder or broadcast material, deinterlace in Resolve before delivery, not after the upload looks combed.
Variable frame rate. Screen recordings and some phone clips are recorded with a variable frame rate, and they're the usual culprit when audio slowly drifts out of sync across a long timeline. If a clip's audio drifts, transcode it to a constant frame rate before editing. That's an ingest fix; the Deliver page can't repair it.
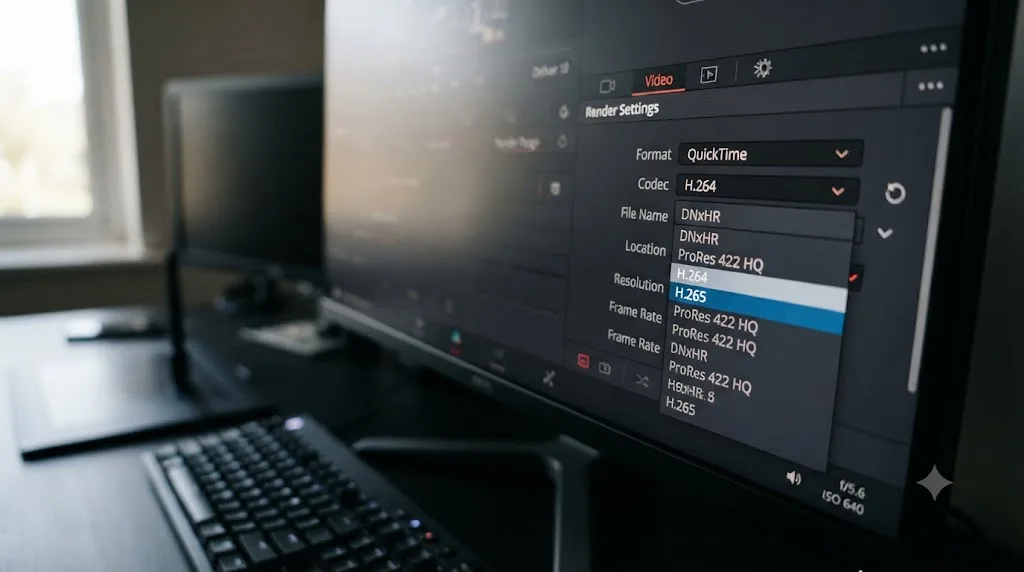
H.264 or H.265: which codec is right for YouTube?
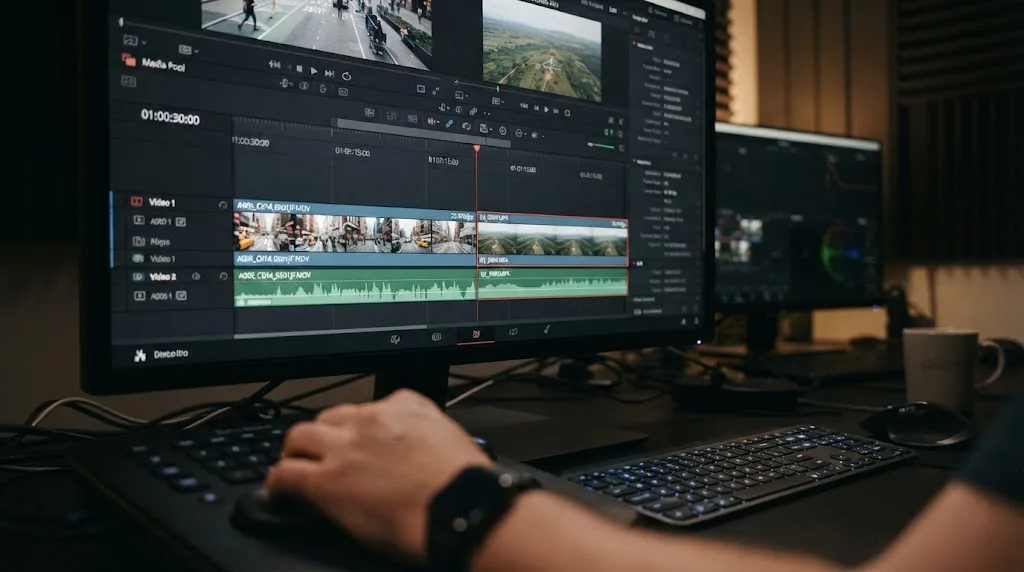
H.264, for almost everyone. It's YouTube's documented recommendation, it encodes fast, and every device plays it.
H.265 (HEVC) earns its place in two situations. The first is 4K files where upload bandwidth is your bottleneck: it produces comparable quality in smaller files, at the cost of slower encodes. The second is HDR, where YouTube's own HDR upload documentation lists HEVC among its recommended codecs while noting that 10-bit H.264 also works but requires very high bitrates to reach the same quality.
| H.264 | H.265 (HEVC) | |
|---|---|---|
| YouTube's stance | The recommended default | Accepted; recommended for HDR |
| File size at matched quality | Baseline | Noticeably smaller |
| Encode speed | Fast everywhere | Slower in software; fine with a hardware encoder |
| 10-bit and HDR | Possible but bitrate-hungry | Designed for it |
| Playback of your local master | Universal | Most modern devices |
One practical note on Resolve editions: Blackmagic reserves the fastest hardware-accelerated H.264 and H.265 encoding paths for the paid Studio edition on Windows and Linux, while on a Mac even the free edition hands both codecs to Apple's media engine. If H.265 exports feel painfully slow on your free Windows install, that's why, and H.264 remains the sane default.
| Your situation | Codec to pick |
|---|---|
| 1080p, any frame rate | H.264 |
| 4K, decent upload speed | H.264 |
| 4K, slow upload connection | H.265 |
| HDR delivery | H.265 |
| Vertical Shorts | H.264 |
Should you use hardware or software encoding?
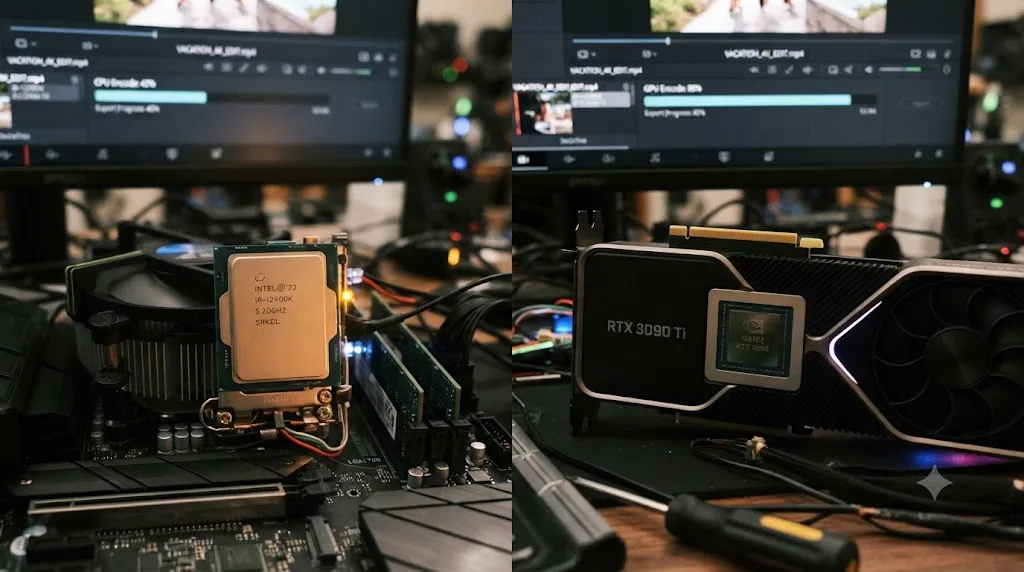
Use the hardware encoder if Resolve offers you one. For YouTube delivery, the quality argument for software encoding evaporates the moment YouTube re-encodes your file anyway.
Here's the background. When you pick H.264 or H.265 on the Deliver page, Resolve can encode on the CPU (software, sometimes labeled Native) or hand the job to dedicated silicon: NVENC on Nvidia GPUs, the AMD and Intel equivalents on their hardware, and Apple's media engine on any Apple Silicon Mac. On systems with a supported GPU you'll see an encoder choice in the video settings; on a Mac the hand-off largely happens for you.
The classic trade-off is that software encoders squeeze slightly better quality out of each megabit, while hardware encoders run several times faster. That trade matters when you're starving a stream at 3 Mbps. It stops mattering at YouTube's recommended rates, because 8 Mbps for 1080p is generous, and because the file you upload is only raw material that YouTube converts into its own streams. Any small efficiency edge from a slow software encode gets flattened in that second compression.
So my rule is simple: hardware encoder, YouTube's recommended bitrate, done. The one exception is archival masters you plan to keep for years. For those I'd rather spend render time on a high-bitrate software encode, or skip the argument entirely and archive in a production codec, since that file is the one you'll re-upload if YouTube ever offers a better processing pipeline.
Is two-pass encoding worth the extra render time?
For YouTube, no.
Two-pass encoding analyzes the whole video first, then spends its bitrate budget with that knowledge: more bits for the confetti shot, fewer for the static interview frame. It exists to make tight bitrates look good, and it roughly doubles encode time. Whether you even see a two-pass or multi-pass option in Resolve depends on your platform and which encoder is doing the work, so don't be surprised if it's not there.
Run the logic. YouTube's recommended bitrates already have headroom, YouTube re-encodes whatever you send, and the encoding guidelines themselves call for variable bitrate with no required limit. If a single-pass export at 8 Mbps shows artifacts in a fast-motion section, the cheaper fix is raising the restricted bitrate a notch, not doubling your render time hunting for a second pass. Save two-pass thinking for the day you're encoding final delivery files for a platform that won't re-encode them.
Do the free and Studio editions export differently for YouTube?
For the recipe in this guide, no. The free edition of DaVinci Resolve exports MP4, H.264, and AAC at every resolution YouTube cares about, and nothing in YouTube's published requirements sits behind the paywall.
The free edition of DaVinci Resolve exports a YouTube-ready 4K H.264 file on every platform; the paid Studio edition mostly buys encoding speed, not visible quality.
The differences that do exist cluster around speed and specialty pipelines:
| Capability | Free edition | Studio |
|---|---|---|
| MP4 H.264 export | Yes, on every platform | Yes |
| Hardware-accelerated H.264/H.265 on Windows and Linux | No, CPU encoding | Yes |
| Hardware encoding on macOS | Yes, via Apple's media engine | Yes |
| Maximum timeline and export resolution | UHD (3840x2160) | Well beyond 4K |
| Dolby Vision and HDR10+ delivery tools | No | Yes |
Two of those rows deserve a sentence each. The UHD ceiling sounds like a limitation until you notice that YouTube's 2160p tier is exactly 3840x2160, so the free edition covers 4K YouTube completely; you'd only feel the cap on an 8K delivery. The hardware-acceleration row is the one that changes daily life: on a Windows or Linux machine without Studio, H.264 exports run on the CPU, which produces an identical-looking file but takes noticeably longer on long timelines.
That frames the upgrade question honestly. Studio is worth it for render time if you export often and your machine has a capable GPU, and it's effectively required for serious HDR delivery, where the Rec.2020 pipelines and 10-bit export paths live. It will not make your standard 1080p YouTube upload look any better, because the free edition already produces the exact file YouTube asks for.
How do you export vertical video and YouTube Shorts?
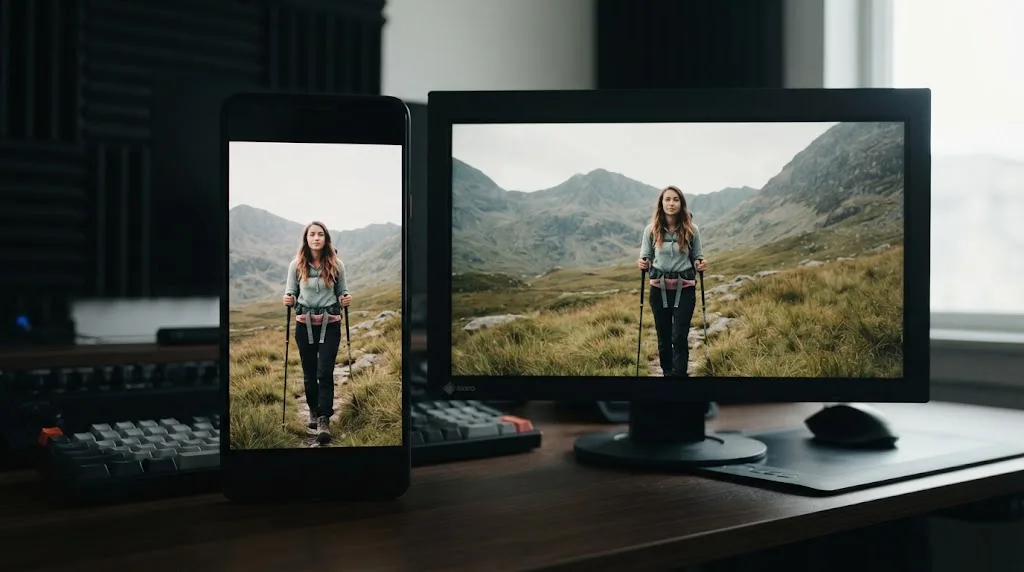
The same way, rotated. There's no separate Shorts codec, container, or preset to hunt for: a Short is a regular upload that happens to be vertical and three minutes or less.
The work happens before the Deliver page. Set the timeline itself to 1080x1920: File, Project Settings, Master Settings, then switch Timeline resolution to Custom and enter 1080 by 1920. Do it before you edit if you can, because reframing horizontal footage into a vertical frame is a creative pass, not a checkbox. On the Deliver page the YouTube preset then follows the timeline, and your checklist is the familiar one: MP4, H.264, AAC at 48 kHz, native frame rate. A 1080x1920 frame carries the same pixel count as regular 1080p, so the 1080p bitrates apply: 8 Mbps at standard rates, 12 Mbps at 60fps.
Two things not to do. Don't export a vertical video inside a 16:9 frame with black bars on the sides; YouTube's aspect-ratio documentation explains that the player adapts itself to the native shape of the video, and baked-in pillarbox bars just tell the player your video is a widescreen video that's mostly black. And don't upscale a 1080x1920 Short to 4K vertical for the algorithm; the same no-fake-detail rule from earlier applies in portrait.
What about square, ultrawide, and cinema frame sizes?
YouTube takes them all. The player adapts to whatever shape you upload, the same behavior that makes Shorts work, so the export rule stays boring: deliver the timeline's real frame, in H.264, at the bitrate tier that matches its pixel count.
The practical work is setting that frame. For a square 1:1 video, set the timeline resolution to Custom 1080x1080 in Project Settings, Master Settings. For a 2.39:1 ultrawide piece, a common choice is 3840x1608: full UHD width, cinemascope height. On the Deliver page, Resolution follows the timeline, and the dropdown offers Custom when you need to override it.
Two cautions. First, don't fake the cinema look by baking black bars into a 16:9 export. Resolve's Timeline menu has an Output Blanking option that overlays 2.39:1 bars, and it's tempting, but the bars become picture: phones show a smaller image, the encoder wastes bits on black, and YouTube's formatting guidance says uploads should never include letterboxing or pillarboxing bars. If you want the wide look, export the actual wide frame. Second, prefer UHD-family widths over cinema DCI widths. YouTube's HDR documentation is explicit that UHD sizes such as 3840x1600 give better results than DCI sizes like 4096x1716, and that preference is a safe default for SDR uploads too.
Should you upload HDR from DaVinci Resolve?
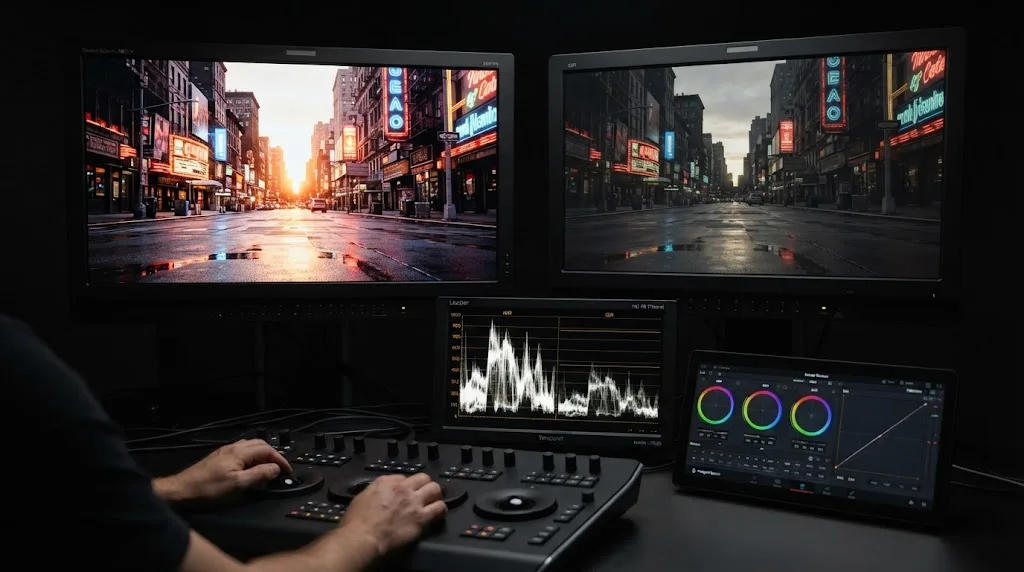
Only if you actually graded HDR. YouTube accepts HDR uploads and publishes a separate, higher bitrate ladder for them, but an SDR project exported with an HDR flag, or an HDR grade judged on an SDR monitor, is how you get the washed-out uploads that fill Resolve forums.
For standard YouTube content, stay in Rec.709 SDR end to end and use the SDR bitrates from the first table. That includes 10-bit ambitions: YouTube's encoding page warns that color primaries requiring high bit depth without a supported HDR transfer function, such as bare BT.2020, get converted down to 8-bit BT.709. Uploading "10-bit for smoother gradients" without a real HDR pipeline buys you nothing after processing.
When you do grade HDR for real, Resolve is a first-class citizen: YouTube's HDR documentation lists DaVinci Resolve by name among its HDR authoring tools. The same page is unusually direct about the pipeline: "If you're grading your video, grade in Rec. 2020 with PQ or HLG. Using a different configuration, including DCI P3, will produce incorrect results." The requirements it publishes are specific:
| HDR requirement | YouTube's specification |
|---|---|
| Color depth | 10-bit or 12-bit |
| Color primaries | Rec.2020 |
| EOTF (transfer function) | PQ or HLG (Rec.2100) |
| Resolutions | 720p, 1080p, 1440p, 2160p |
| Recommended codecs | HEVC/H.265, VP9 Profile 2, AV1 |
| Containers tested | MP4, MOV, MKV |
And the HDR bitrate ladder sits well above SDR:
| Resolution | HDR bitrate at 24/25/30fps | HDR bitrate at 48/50/60fps |
|---|---|---|
| 4K (2160p) | 44-56 Mbps | 66-85 Mbps |
| 2K (1440p) | 20 Mbps | 30 Mbps |
| 1080p | 10 Mbps | 15 Mbps |
| 720p | 6.5 Mbps | 9.5 Mbps |
So the practical Resolve recipe is: confirm your color management targets a Rec.2020 PQ or HLG output, export H.265 10-bit at the HDR bitrate for your resolution, and let YouTube generate both the HDR streams and the automatic SDR down-conversion for viewers on ordinary screens. If that automatic SDR version misses your intent on tricky material, YouTube's HDR page describes an optional workflow for embedding a Rec.709 LUT as a hint. That's advanced territory, but it's good to know the escape hatch exists before you commit a whole channel to HDR.
Why does YouTube re-encode everything, and what are VP9 and AV1?
Because YouTube can't stream your 45 Mbps master to a phone on hotel Wi-Fi. Per YouTube's formatting documentation, "YouTube always re-encodes videos to optimize their playback quality." Your upload is source material. The versions people watch are made by YouTube.
From your one file, YouTube generates a whole ladder of streams: every resolution from tiny up to your upload's, in more than one codec. H.264 is the compatibility floor. VP9 and AV1 are Google's more efficient codecs, delivering better quality per megabit to devices that support them; YouTube's encoding page notes that watching new 4K uploads in 4K requires a VP9-capable browser or device.
That structure explains a pattern every creator eventually notices: the same video can genuinely look different at the same nominal quality setting depending on which codec the viewer's device negotiated. It also explains the folk wisdom about 4K uploads looking better even for 1080p viewing. The published ladder gives a 2160p upload several times the bitrate allowance of a 1080p one, so the streams generated from it start from richer material. YouTube doesn't document exactly which uploads get which codecs or when, so treat any precise formula you read in a forum as a guess.
What you control is exactly one thing: the cleanliness of the master you feed the machine. Correct resolution, native frame rate, recommended bitrate, Rec.709 tags. Everything after Start Render belongs to YouTube.

What if your video is mostly gameplay or screen recording?
Then two things matter more than usual: frame rate and where you sit inside the bitrate range. The container, codec, and audio settings don't change at all.
Gameplay is the harder case. It combines the two things compression hates most, constant full-frame motion and fine repeating detail like foliage, particles, and grain-heavy night scenes. If you captured at 60fps, keep 60fps and use the high-frame-rate bitrate column: 12 Mbps at 1080p, 24 Mbps at 1440p, 53-68 Mbps at 4K. And sit at the top of whichever range applies. This is also the content type where the resolution-tier effect from the previous section bites hardest, so if your capture is natively 1440p or 4K, upload it at that size rather than downscaling to 1080p for convenience.
Screen recordings and software tutorials are the opposite problem. Most of the frame is static, so the recommended bitrates are more than enough, and raising them buys nothing. The enemy here is chroma subsampling. YouTube's spec is 4:2:0, which stores color at a quarter of the resolution of brightness, and that's exactly where small colored text suffers; red text on a dark interface is the classic casualty. No Deliver page setting fixes this, because 4:2:0 is what YouTube wants uploaded. The real fixes happen at the recording stage: zoom the interface so text is physically larger in the frame, record at the highest resolution your screen allows, and lean on your editor's punch-ins rather than expecting viewers to read 11-pixel labels.
Frame rate for screen content is a judgment call. Talking-head-plus-slides material is fine at 30fps and makes smaller files, while anything with scrolling or cursor-following feels smoother at 60fps. Whatever you choose, remember the variable-frame-rate warning from earlier: screen capture tools are the most common source of VFR clips, and drifting audio sync is the telltale symptom.
Why does your upload look worse on YouTube than in Resolve?
Three causes account for nearly all of it.
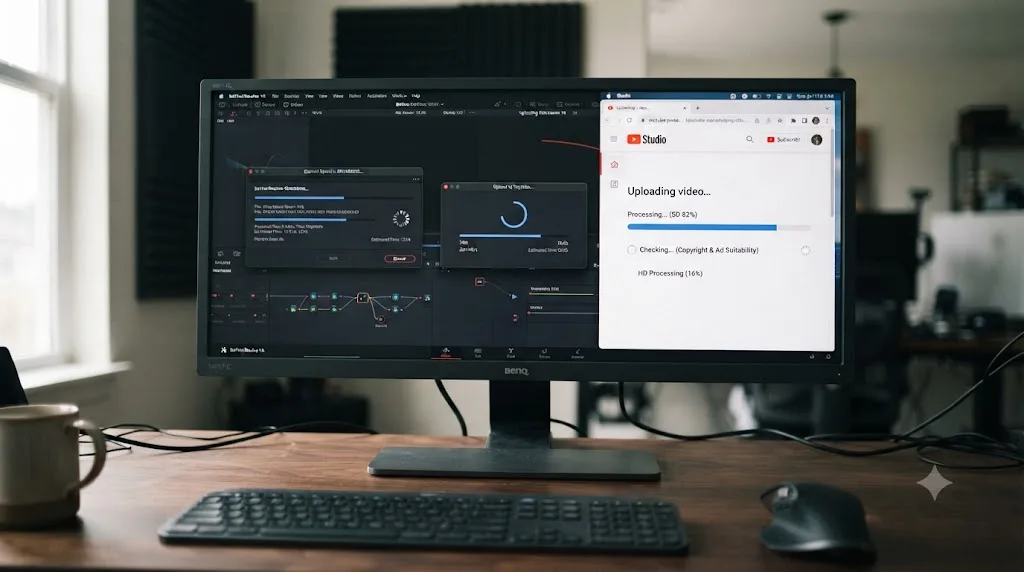
Processing time. YouTube's documentation on post-upload quality says it plainly: "When you upload a video, it will initially be processed in low quality." The low-resolution versions go live first so the video is watchable everywhere quickly, and the HD and 4K versions arrive later. Check back before you re-export anything.
Bitrate starvation on busy footage. Confetti, rain, fast camera moves, and film grain are compression's worst enemies. If your content is motion-heavy, use the top of YouTube's recommended range, and consider a 4K upload even for 1080p-destined viewing, since 4K streams get more generous bitrate from YouTube.
A color mismatch. If the exported file looks washed out or oversaturated compared to your Color page, the usual culprit is a timeline color space that doesn't match the standard YouTube expects for SDR uploads, which is Rec.709. Check Project Settings, Color Management before blaming the Deliver page. A related trap is data levels: YouTube converts full-range video to limited range, so a file flagged with the wrong levels plays back with lifted blacks or crushed shadows. Leave the Data Levels setting in Resolve's advanced render settings on Auto unless you know exactly why you're changing it.
A clean YouTube export from DaVinci Resolve is an MP4, H.264, at your timeline's native resolution and frame rate, with AAC audio at 48 kHz. Everything else is a variation on that sentence.
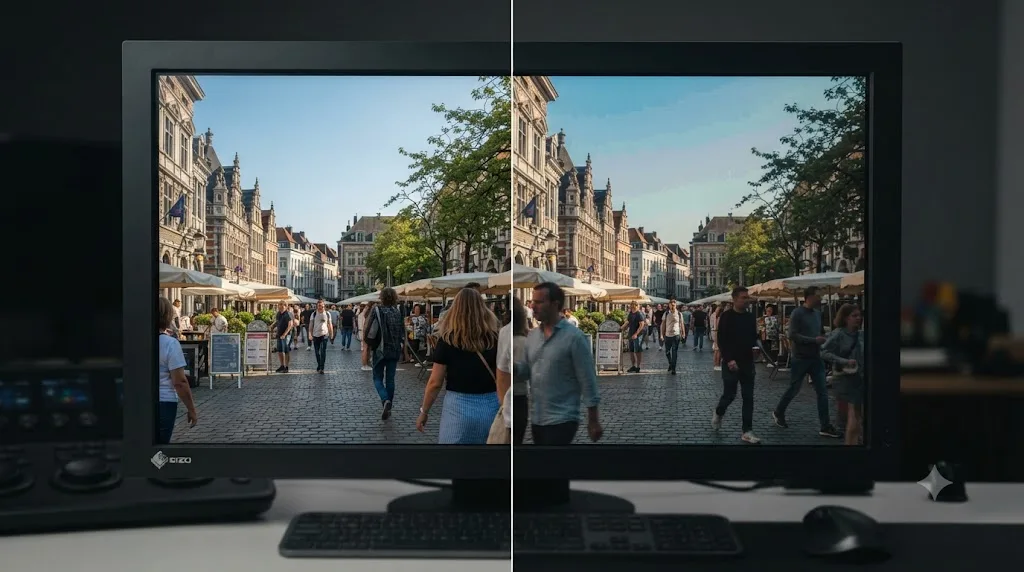
Why does the export look different in QuickTime Player than in Resolve?
Because the two programs disagree about how to display the file, not because your export is broken. This one deserves its own section because it wastes more re-render time than any real problem.
The short version of a long story: on a Mac, QuickTime Player and other ColorSync-managed apps apply their own interpretation of the gamma tags inside your file, while Resolve's viewer shows you the image through its own pipeline. The same pixels get displayed two slightly different ways, and the usual complaint is that the QuickTime version looks a touch washed out or lifted. Editors then start "fixing" a grade that was never wrong, and the fix makes the YouTube version worse.
Resolve knows about this mismatch and offers levers for it, including a Rec.709-A output tag intended to match QuickTime's interpretation on Macs, and a project option for using the Mac display's color profile in the viewers. Those are worth exploring if local QuickTime playback is genuinely part of your delivery. For YouTube work, there's a simpler policy.
Judge the export where it will live. Upload the file unlisted, let it process, and compare that against your Color page. If the unlisted upload looks right, ship it and ignore QuickTime's opinion. If it genuinely looks wrong on YouTube too, then you have a real color-management problem, and the Rec.709 and data-levels checks from the previous section are where to dig. What you should never do is nudge the grade until QuickTime looks right, because then you've graded for one Mac app instead of for the platform your viewers use.
How long should exporting, uploading, and processing take?
Longer than the render bar suggests, because the export is only the first of three waits.
The render. I can't give you one honest number here, because render time depends on your machine, your codec and encoder, and above all on what's in the timeline. A straightforward cut with a grade often renders faster than real time on a recent computer with hardware encoding. Add temporal noise reduction, heavy Fusion work, or optical-flow retimes and the same machine can crawl to several times the video's runtime. If a render seems absurdly slow, suspect the effects, not the H.264 settings.
The upload. This one you can compute. File size is roughly bitrate times duration, so a 10-minute 1080p export at 8 Mbps is about 600 MB, while a 10-minute 4K export at 45 Mbps is about 3.4 GB. Divide by your real-world upstream speed and you have your wait. That arithmetic is exactly why the H.265-for-slow-connections advice earlier exists.
The processing. After the upload completes, YouTube still has to build its streams, and its documentation sets expectations: 4K files are described as four times larger than 1080p and can take roughly four times longer before 4K playback appears, with a 60-minute 4K 30fps video taking up to 4 hours to finish high-resolution processing, longer at 60fps. For a scheduled premiere, that means uploading hours ahead, not minutes. You can check progress on the watch page: if the quality menu tops out below your upload's resolution, YouTube isn't done yet.
How long and how big can a YouTube upload actually be?
Bigger than anything a sane export will produce. Per YouTube's documentation on longer uploads, "The maximum file size you can upload is 256 GB or 12 hours, whichever is less." The same page notes that by default new accounts can only upload videos up to 15 minutes long, and that verified accounts can go longer. Verification is a free phone check in YouTube's settings, and if you're reading an export-settings guide you should do it today, before a finished 20-minute video bounces.
YouTube accepts files up to 256 GB or 12 hours, whichever is less, so sensible export settings run into upload-time limits long before they run into platform limits.
Run the ceiling against the bitrate tables and you can see how generous it is. A 12-hour file at the 4K standard-frame-rate maximum of 45 Mbps works out to roughly 243 GB, which means even a maximum-length, maximum-bitrate 4K upload just squeezes under both limits at once. More realistic long-form numbers are comfortable: a 2-hour podcast at 1080p and 8 Mbps is about 7.2 GB, and a 3-hour 4K event recording at 40 Mbps is about 54 GB.
The practical advice for long videos isn't about the limits at all. It's about the waits. Long files multiply the upload and processing times from the previous section, so schedule accordingly. And resist the urge to starve the bitrate to make a long video smaller; if size actually hurts, a 4K long-form video is the one case where switching to H.265 at a reduced rate earns its slower encode.
Should you upload directly from Resolve to YouTube?
It's convenient, and I still don't recommend it as your default.
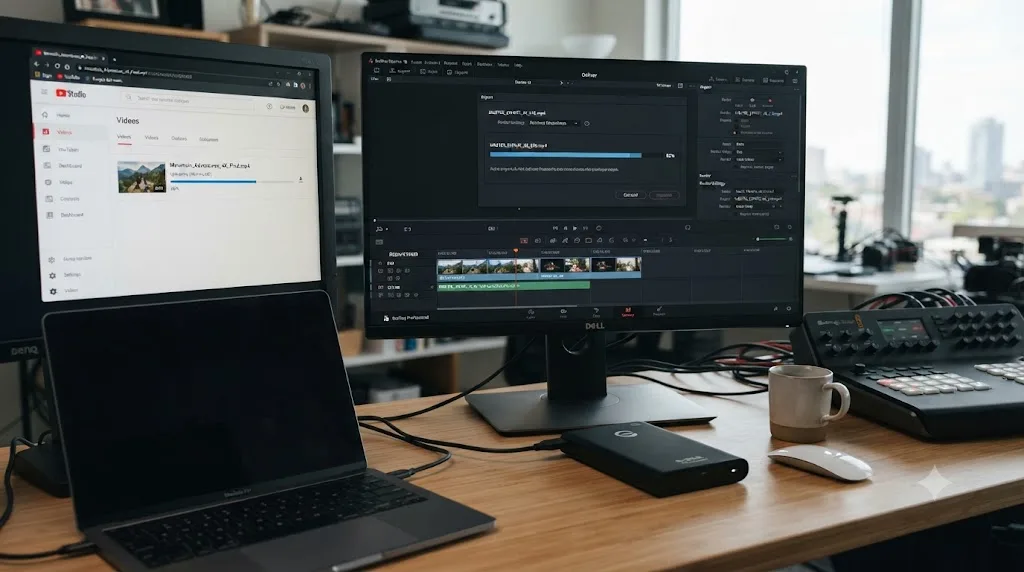
The feature itself works: link your Google account under DaVinci Resolve, Preferences, System, Internet Accounts, and the YouTube preset on the Deliver page grows an option to upload the render straight to your channel, title and basic details included. For a solo creator pushing frequent, simple videos, that's one less app in the loop.
Here's what the checkbox doesn't buy you. Thumbnails, end screens, cards, chapters, playlists, monetization checks, and scheduling all live in YouTube Studio, so you're opening Studio anyway for anything you publish seriously. An upload that starts inside Resolve also gives you no local master unless you kept one, which means a failed upload, a YouTube processing hiccup, or a last-second edit request sends you back to a full re-render.
My workflow: render to disk, keep that file as the master, upload it through YouTube Studio where the publishing tools are, and let Resolve's direct upload be the shortcut for low-stakes videos. If you do use direct upload, publish as private or unlisted first so you can finish the metadata before anyone sees it.
How do you handle captions, subtitles, and chapters?
Captions come out of Resolve; chapters never do. Knowing which side of that line each feature lives on saves a lot of menu hunting.
Subtitles first. If you've built a subtitle track in Resolve (right-click in the timeline's track header area and add a subtitle track, or import an SRT into the media pool), the Deliver page will offer to export it. Tick Export Subtitle in Render Settings and you get three formats: as a separate file, burned into the video, or as embedded captions in the file.
For YouTube, the separate file is almost always the right answer. Export the SRT alongside your video, then attach it in YouTube Studio under the video's subtitles section. You get toggleable, searchable, translatable captions, and you can fix a typo later without re-rendering anything. Burn-in is a creative choice, not an accessibility one: the big stylized captions common on Shorts are burned in on purpose, but a burned-in caption can never be turned off, translated, or corrected. Embedded captions sit in the middle and are mostly useful for broadcast-style deliveries, not YouTube.
Chapters are a different animal entirely, and this trips people up: there is no chapter export on the Deliver page, because YouTube chapters are made of description text, not file metadata. You create them by typing timestamps into the video description, and YouTube's chapter documentation spells out the rules: the first timestamp must be 00:00, you need at least three timestamps in ascending order, and each chapter must be at least 10 seconds long. A practical Resolve trick: drop timeline markers at your section boundaries while you edit, then read their timecodes off when you write the description. The markers export nowhere, but they make the typing mindless.
Can you fix a video after it's already on YouTube?
Only a little, so treat every render like it's permanent.
A published YouTube video's file can't be swapped in place; the only in-place fixes are trims and blurs in YouTube Studio's editor. YouTube Studio lets you cut sections out of a published video and blur regions of the frame without changing the URL, views, or comments. Anything beyond that, a wrong graphic, a missing shot, a bad audio mix, means exporting a corrected file and uploading it as a brand-new video, with a new URL and a counter starting at zero.
That asymmetry is why the QC habit matters more than any single setting in this guide. Before a video goes public, upload it unlisted and actually watch it: the first 30 seconds at full attention, every graphic and lower third, a spot-check of the audio on both speakers and earbuds, and the end screen region. Five minutes of watching an unlisted upload is the cheapest insurance YouTube sells, and it's free.
If you do catch a mistake after publishing, think in this order: can a trim remove it, can a blur hide it, can a pinned comment or description note correct it? Re-uploading is the last resort, reserved for errors that actually mislead or embarrass, because it throws away the video's accumulated momentum.
What about audio: is AAC at 48 kHz really all there is to it?
Almost. YouTube's encoding page does publish audio bitrate recommendations worth matching:
| Channels | YouTube's recommended audio bitrate |
|---|---|
| Mono | 128 kbps |
| Stereo | 384 kbps |
| 5.1 surround | 512 kbps |
In Resolve's Audio tab, pick AAC and set the highest bitrate it offers for your channel layout; anything in the neighborhood of those numbers is transparent for spoken word and music alike. The two audio mistakes that actually survive into finished uploads are both set outside the Deliver page.
The first is loudness. YouTube normalizes audio that comes in hotter than its playback target, so there's no benefit to slamming your master into the limiter. Mix to a sensible integrated loudness on the Fairlight page (streaming platforms hover around -14 LUFS integrated), leave a little true-peak headroom, and let the Deliver page just carry what you mixed. If your video sounds quieter than everyone else's, the fix is in the mix, not in the export bitrate.
The second is sample rate mismatches. If your project uses 44.1 kHz audio from a music library and your export is set to 48 kHz, Resolve resamples silently and correctly, but a project-wide 48 kHz setting from the start avoids any doubt. YouTube's guidelines list 48 kHz as the recommended rate, and every camera you're likely to cut records it natively.
One more branch for the ambitious: surround. YouTube's encoding page lists stereo and stereo plus 5.1 as supported channel layouts, which is why the 512 kbps recommendation exists in the table above. If you mix 5.1 on the Fairlight page, still QC the stereo version before uploading, because that fold-down is what nearly every viewer will actually hear, and dialogue that sits proudly in the center channel can come out quieter than you expect once it's summed into two speakers.
Do render cache and optimized media change the exported file?
They can, which is exactly why the Deliver page asks. In Advanced Settings you'll find a Use render cached images checkbox, and the honest rule is: leave it off for your final master unless you know your cache is trustworthy.
Here's the mechanism. While you edit, Resolve can cache heavy nodes and clips to disk in a mezzanine format you choose in Project Settings, Master Settings. With the checkbox off, the export ignores all of that and renders every frame fresh from your source media and grade at full quality; it's slower and it's the safe default. With the checkbox on, Resolve reuses the cached frames, which speeds up delivery dramatically on effects-heavy timelines. The catch is that the export can only be as good as the cache format. If that's set to a high-quality flavor of ProRes or DNxHR, reusing it is effectively lossless for YouTube purposes. If someone dropped it to a lighter format to keep playback smooth on a laptop, that quality compromise gets baked into your upload.
Proxies and optimized media follow the same logic in reverse: in a default setup, Resolve goes back to your camera originals when it renders, so editing with proxies doesn't degrade the export. The one habit worth keeping is a glance at the cache format the first time you deliver from any project that isn't yours.
What are the most common Deliver page mistakes?
After the settings themselves, most export disasters come from a handful of repeat offenders. Diagnose by symptom:
| Symptom | Likely cause | Fix |
|---|---|---|
| Export is only part of the video | Render range set to In/Out range | Set the dropdown above the timeline to Entire timeline |
| A folder of small files instead of one video | Individual clips mode selected | Switch to Single clip at the top of Render Settings |
| Washed out or oversaturated on YouTube | Color management not targeting Rec.709, or wrong data levels | Set the SDR output to Rec.709; leave Data Levels on Auto |
| Stutter on pans and motion | Frame rate changed at export, or variable-frame-rate source clips | Export at the recorded rate; transcode VFR clips to constant frame rate |
| Silent video, or the wrong mix | Wrong output track in the Audio tab | Export the main mix bus, not a solo track |
| Gigantic file size | Codec left on a production format from an earlier preset | Confirm MP4 and H.264 with a restricted bitrate |
| Blurry for the first hours after upload | YouTube still processing higher resolutions | Wait, then check the player's quality menu |
| Softer than the Resolve viewer even after processing | Normal re-encode loss, worst on motion-heavy content | Use the top of the bitrate range, or a higher-resolution upload |
| Export at the wrong resolution | A preset overrode the timeline resolution | Reset Resolution on the Deliver page to the timeline's native value |
| Fine on YouTube but washed out in QuickTime on a Mac | Apps interpreting the file's gamma tags differently | Judge the export on YouTube itself; see the QuickTime section above |
| A shot shows an old version of the grade | Stale render cache reused at export | Untick Use render cached images, or purge the cache and re-render |
One habit prevents most of these: before you click Add to Render Queue, read the filename, the resolution, the duration estimate, and the range dropdown out loud. Ten seconds of checking beats a two-hour re-render.
What do three real exports look like end to end?
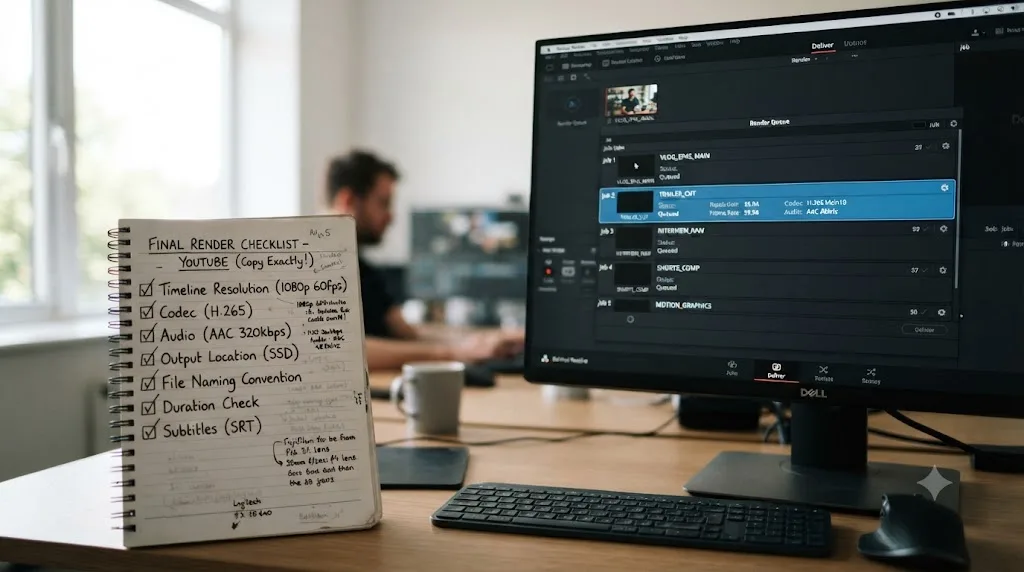
Settings tables read differently once you see them applied, so here are three complete recipes with every number filled in. The file sizes use the arithmetic from the timing section: size is roughly bitrate times duration.
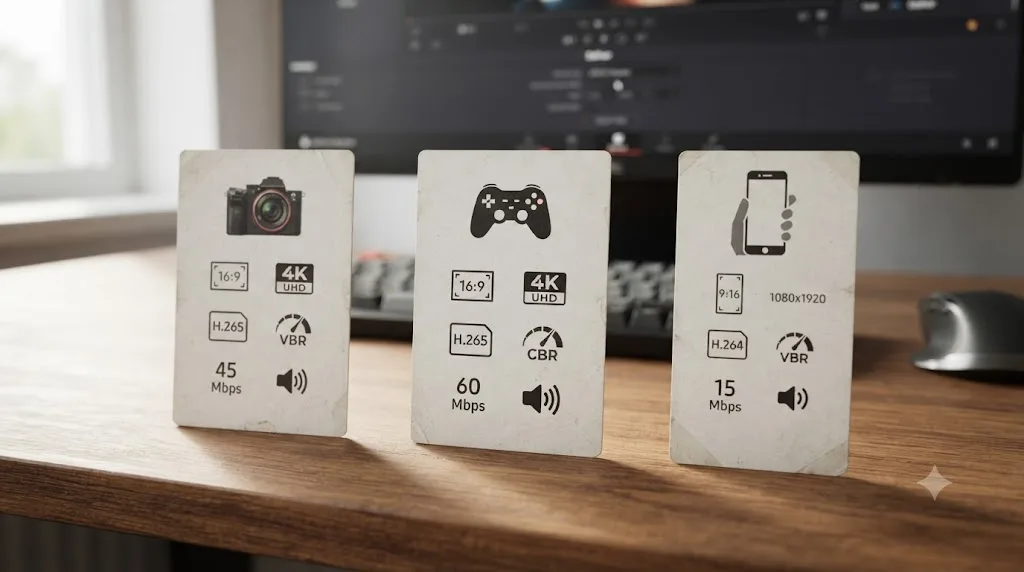
A 12-minute talking-head video, 1080p at 23.976fps. On the Deliver page: YouTube 1080p preset, Format MP4, Codec H.264, Resolution 1920x1080, Frame rate 23.976 (untouched, because that's what the camera recorded), Quality restricted to 8,000 kbps, Encoding Profile High, Network Optimization on, AAC at 48 kHz at the highest bitrate offered. Expected file: about 720 MB of video plus roughly 35 MB of audio, call it 755 MB, which uploads in around ten minutes on a 10 Mbps upstream connection. Talking heads are easy content for an encoder, so there's no reason to creep above 8,000 kbps; the render should be quick even on modest hardware.
An 8-minute gameplay video, 4K at 60fps. YouTube 2160p preset, MP4, H.264 through the hardware encoder if your GPU offers one, Resolution 3840x2160, Frame rate 60, Quality restricted to 60,000 kbps, which sits inside YouTube's 53-68 Mbps high-frame-rate band. Expected file: about 3.6 GB. This is the export where the earlier branches all converge: hardware encoding keeps the render bearable, the top-of-range bitrate defends the motion-heavy image, and if 3.6 GB is painful on your connection, this is the one recipe where switching the codec to H.265 at a lower restricted rate is worth the slower encode. Budget real processing time on YouTube's side before the 4K60 stream appears.
A 45-second vertical Short, 1080x1920 at 30fps. Timeline resolution set to Custom 1080x1920 in Project Settings before editing. On the Deliver page: MP4, H.264, Resolution matching the timeline, Frame rate 30, Quality restricted to 8,000 kbps, AAC at 48 kHz. Expected file: roughly 45 MB, which uploads in under a minute on almost any connection. The whole export takes less time than deciding the caption.
Notice what never changed across all three: the container, the codec family, the audio settings, and the rule that resolution and frame rate come from the timeline. The only real variables in YouTube delivery are the bitrate tier and how long you'll wait.
How do you save these settings so you never redo this?
Once your Render Settings are dialed in, click the three-dot menu at the top of the Render Settings panel and choose Save New Preset. Name it something like "YouTube 1080p master." From then on it's one click per project. If you deliver several formats, save one preset each: a 1080p master, a 4K master, a vertical Shorts preset. The presets carry everything, including the bitrate restriction and the audio settings, so the checklist above becomes a one-time exercise.
If you're still finding your way around the Deliver page, or Resolve in general, that's exactly what Uncle is for: it's the assistant that watches your screen and points at the control you're looking for, so a question like "where do I restrict bitrate?" gets answered on your own timeline instead of in a tutorial's. New to Resolve entirely? Our friends at davinciresolve21.com wrote a solid complete starter guide, and the rest of our DaVinci Resolve guides go deeper on each page of the app.
Export once with the tables above, save the preset, and spend your attention on the edit instead.
Frequently asked questions
- What is the best export format for YouTube in DaVinci Resolve?
- MP4 with the H.264 codec. It's what YouTube's own upload guidelines recommend, every Resolve version exports it, and the files upload fast. Use H.265 only when you need smaller files at 4K and you're willing to trade longer encode times.
- What bitrate should I use for YouTube in DaVinci Resolve?
- Follow YouTube's published targets: 8 Mbps for 1080p at standard frame rates, 12 Mbps for 1080p at 50 or 60fps, and 35 to 45 Mbps for 4K. Going far above these numbers mostly makes uploads slower, because YouTube re-encodes everything you send it.
- Why does my video look blurry right after uploading to YouTube?
- YouTube processes low resolutions first, so a fresh upload often plays in SD while the HD and 4K versions are still being generated. Give it time before judging your export, especially for 4K files.
- Should I export in 4K even if I filmed in 1080p?
- No. Upscaling adds no real detail and YouTube will simply re-compress the larger file. Export at your timeline's native resolution. The one exception: if your source footage is actually 4K and your timeline is 1080p, consider a 4K timeline instead.
- Does DaVinci Resolve have a built-in YouTube preset?
- Yes. The Deliver page has a YouTube preset at the top of the Render Settings panel. It sets the container, codec, and sensible bitrates, and it can even upload directly to your channel once you link your account in Resolve's preferences.
- How do I export a YouTube Short from DaVinci Resolve?
- Build the timeline at 1080x1920 (9:16 vertical), then export exactly like a normal upload: MP4, H.264, AAC at 48 kHz, around 8 to 12 Mbps. There's no separate Shorts format; YouTube treats vertical videos up to three minutes long as Shorts automatically.
- How long does YouTube take to process a video after upload?
- It scales with resolution, frame rate, and length. YouTube builds low-quality versions first, and its documentation says a 60-minute 4K 30fps video can take up to 4 hours before high-resolution playback is ready. Upload hours before a premiere, not minutes.
- Can I replace a video on YouTube without losing views?
- No. YouTube has no file-replacement option. You can trim sections or blur areas in YouTube Studio's editor without changing the URL, but any bigger fix means uploading the corrected file as a brand-new video.
Sources
- YouTube Help: Recommended upload encoding settings
- YouTube Help: Video quality after you upload
- DaVinci Resolve product page - Deliver (Blackmagic Design)
- YouTube Help: Upload High Dynamic Range (HDR) videos
- YouTube Help: Low video quality after upload
- YouTube Help: Video resolution and aspect ratios
- YouTube Help: Upload videos longer than 15 minutes
- YouTube Help: Video chapters
Learn by doing, not watching
Stop translating tutorials to your timeline.
TryUncle stays beside Resolve on Mac and Windows. When you ask, Uncle sees your screen and points at the exact control you need. No hunting through tabs, timestamps, or mismatched tutorials.
Meet TryUncleKeep reading
 FixesOct 10, 202631 min read
DaVinci Resolve Audio Disappears After Reopening Project? Fix It
Fix DaVinci Resolve audio that disappears after reopening a project. Diagnose missing media, moved drives, bins, proxies, timelines, and playback routing.
 GuidesOct 10, 202623 min read
DaVinci Resolve: Change Clip Speed Without Changing Audio Pitch
Change a clip's speed in DaVinci Resolve while keeping its audio pitch steady. Learn the Pitch Correction setting, linked audio steps, and fixes.
 ComparisonsOct 10, 202632 min read
DaVinci Resolve App That Explains Buttons on Screen
Compare an on-screen Resolve assistant with official training, tutorials, chatbots, and editing agents. Find the right help for the control in front of you.