
Learn / DaVinci Resolveupdated for DaVinci Resolve 21.0.3 (July 2026)
How to Crop a Video in DaVinci Resolve (Every Method)
Quick answer
Select the clip on the Edit page, open the Inspector's Video tab, and drag the Crop Left, Right, Top, and Bottom sliders under Cropping. Cropping removes pixels instead of scaling them, so what you keep stays at full resolution. Turn on Retain Image Position if you'll also use Transform, and use Softness to feather the edge.
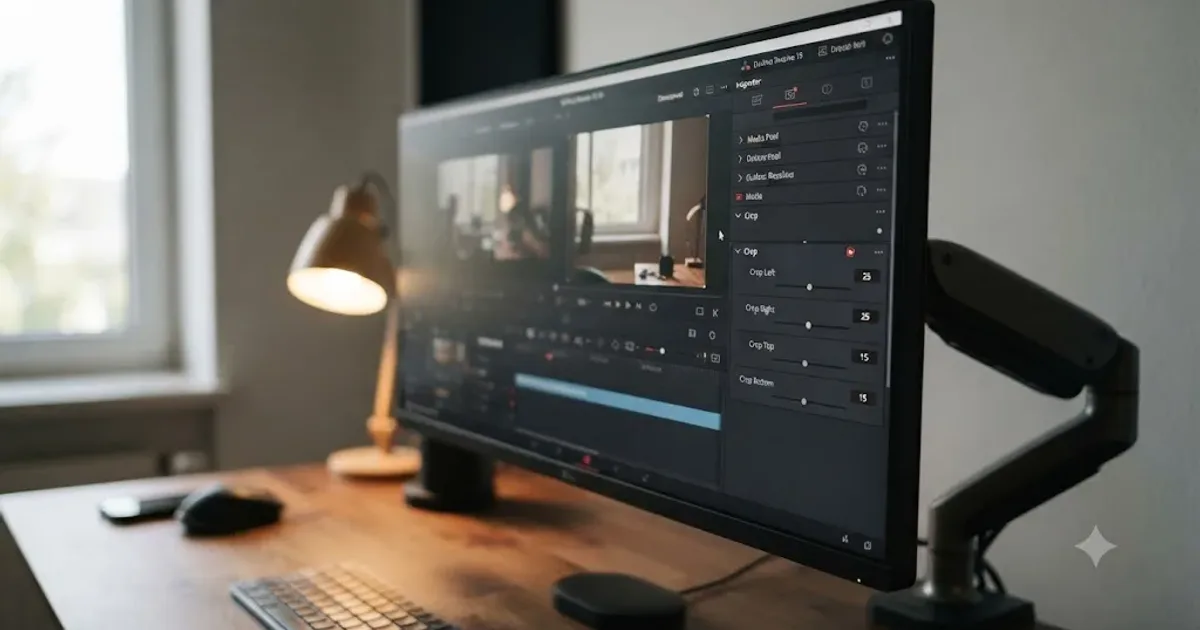
Cropping in DaVinci Resolve is a four-slider job hiding under a menu most people never open. You select your clip, open the Inspector, and scroll past Transform to a section called Cropping. Four values, Left, Right, Top, and Bottom, cut pixels off any edge of the frame. That's the whole trick.
The part people get wrong isn't the sliders. It's mixing crop up with zoom, forgetting that a crop makes the cut area transparent instead of black, or losing a carefully framed crop the moment they add a Transform move on top of it. This guide covers the Inspector method, the onscreen handles, the Cut page, keyboard-precise nudging, the Color page's separate crop tool, Fusion's node-based crop, copying a crop across many clips at once, keyframing a crop over time, and every place people get stuck, with the exact settings and real source documentation behind each one.
What's the fastest way to crop a video in DaVinci Resolve?
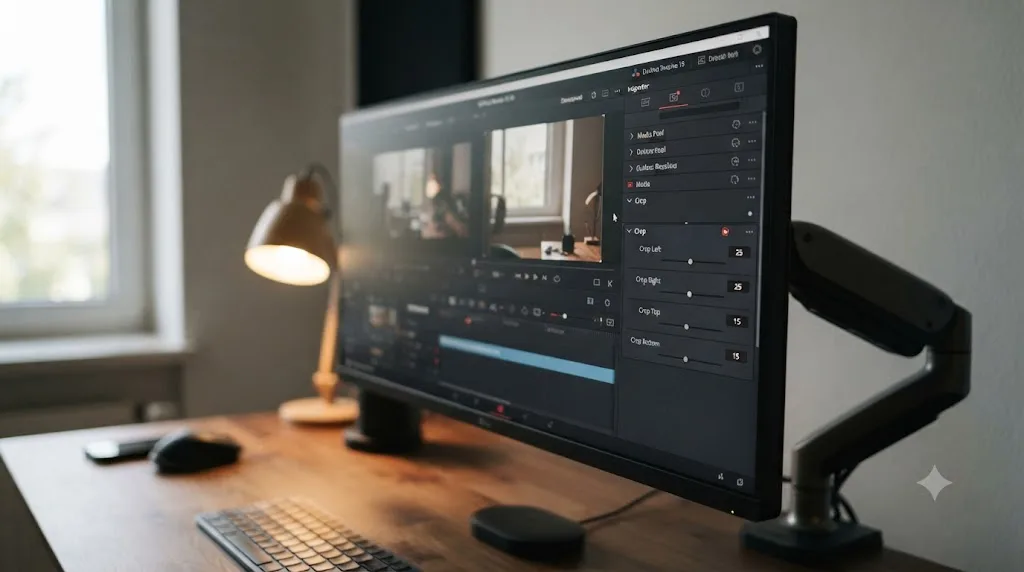
Select the clip on the Edit page, open the Inspector's Video tab, and drag the Crop Left, Right, Top, and Bottom sliders under Cropping. That's the entire operation, and it's identical whether you're on the free edition or DaVinci Resolve Studio.
As of July 2026, the current release is DaVinci Resolve 21.0.3, which shipped July 21, 2026 with fixes to keyframe pasting, retime curves, and interlaced media handling, none of which touched the Cropping tool itself, according to Newsshooter's coverage of the update (Newsshooter: DaVinci Resolve 21.0.3 Update). The Crop tool has been a stable, unglamorous part of the Inspector for years, which is exactly why it's worth understanding properly once instead of re-learning it every time you need it.
There are actually five separate places crop values show up in DaVinci Resolve, not one, and they cover different jobs:
- The Edit page Inspector's Cropping section, the one most people mean when they say "crop a video."
- The Cut page, which reuses the exact same Inspector values behind a faster, more streamlined interface.
- The onscreen crop handles in the Viewer, which control the exact same four values with your mouse instead of a slider.
- The Color page's Sizing palette, a separate pan-and-scan crop built for colorists.
- Fusion's Crop node, a pixel-precise version for compositing work.
The rest of this guide walks through all five, plus the settings people confuse with cropping and never should.
How do you open the Cropping controls in the Inspector?
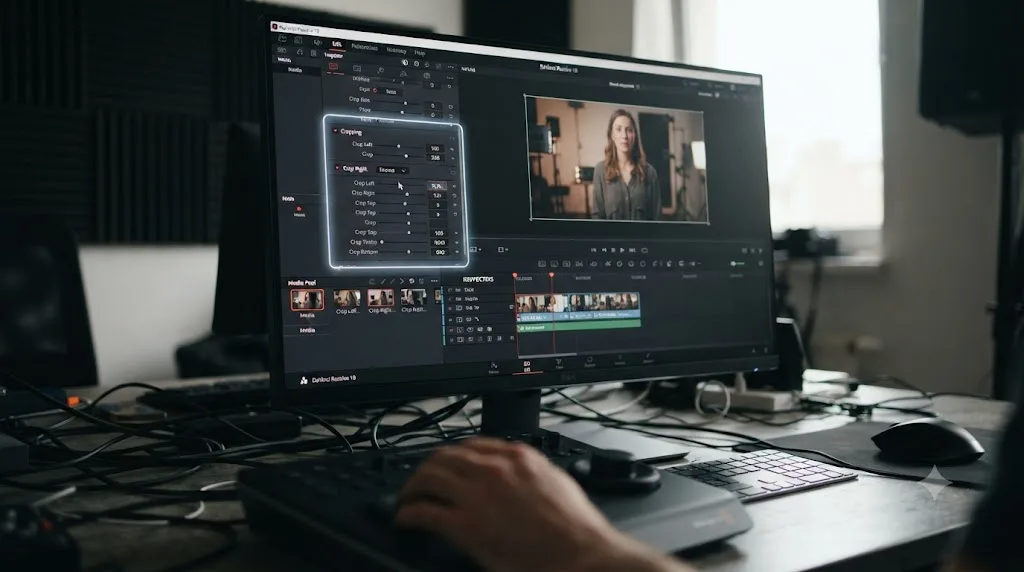
Select your clip on the timeline, open the Inspector, click the Video tab, and scroll down to the Cropping section. Four sliders appear, Crop Left, Crop Right, Crop Top, and Crop Bottom, and each one cuts off, in pixels, that side of the image, per Blackmagic Design's own reference manual (DaVinci Resolve Manual: Cropping).
Here's the full procedure, start to finish:
- Select the clip on the Edit page timeline. It has to be an actual clip on a track; you can't crop the whole timeline at once from a single control.
- Open the Inspector. It sits in the top right of the interface by default, or press the Inspector icon in the top-right toolbar if it's hidden.
- Click the Video tab if it isn't already active, then scroll past Transform (Zoom, Position, Rotation) to find Cropping.
- Drag Crop Left, Right, Top, or Bottom to cut pixels off that edge. Watch the Viewer as you drag; the numbers are in pixels relative to your clip's native resolution, not your timeline's.
- Repeat on any other side you need to trim. You can crop all four edges on the same clip at once, for example to punch into the center of a wide shot.
That's the entire manual process. The one detail worth knowing before you start: cropping a clip creates transparency, so whatever is underneath shows through the space you cut away, per the same manual page. If your clip is on the bottom-most video track with nothing underneath it, that transparency renders as black. If there's another clip on a lower track, the crop reveals it, the same way a picture-in-picture or split-screen effect works.
If you get stuck mid-project trying to find where the Cropping section lives or what a specific slider does, TryUncle can point at the exact control on your own screen while you're inside your own project, instead of you pausing to search for a tutorial.
Does the Cut page have its own crop tool, or does it just borrow the Edit page's?
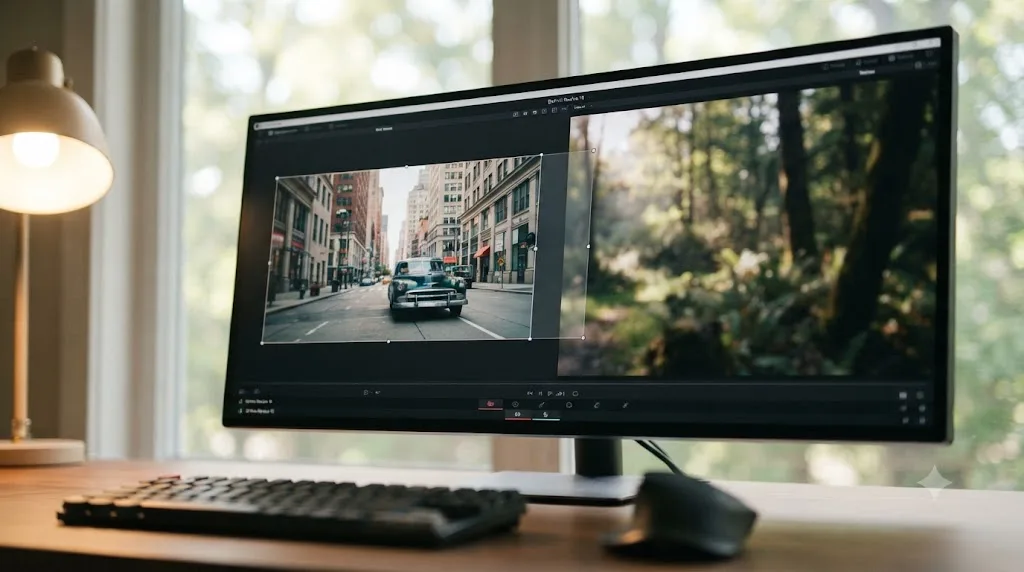
It borrows it. Select a clip on the Cut page, open the Inspector, and you land on the exact same Sizing controls, Left, Right, Top, and Bottom, that live on the Edit page, because the Cut page's Inspector is the same Inspector, just attached to a different timeline view, per an independent breakdown of the Cut page's toolset (MakeUseOf: 6 Ways to Take Advantage of the Cut Tab in DaVinci Resolve).
The Cut page does add one shortcut worth knowing. Click the tools icon at the bottom left of the Viewer and a consolidated strip appears under the image, with icons for the transform tools used to build picture-in-picture effects, cropping, audio levels, speed changes, stabilization, lens correction, and Dynamic Zoom, all in one row instead of buried in a panel. It's the same underlying crop, reached one click closer to the picture, which matches the Cut page's whole design philosophy: fewer panels, faster decisions.
If you're already comfortable with the Edit page's Inspector, there's no new crop syntax to learn on the Cut page. Switch pages mid-project and your crop values, Softness, and Retain Image Position setting all carry over untouched, because they belong to the clip, not the page you happen to be viewing it from. The one practical reason to prefer the Cut page for a crop pass: if you're already there trimming a rough cut and need to duck a boom mic or a crew reflection without breaking your editing flow to switch pages, the tools strip gets you into Crop mode faster than navigating to the Edit page's Inspector tab would.
How do the onscreen crop handles work in the Viewer?
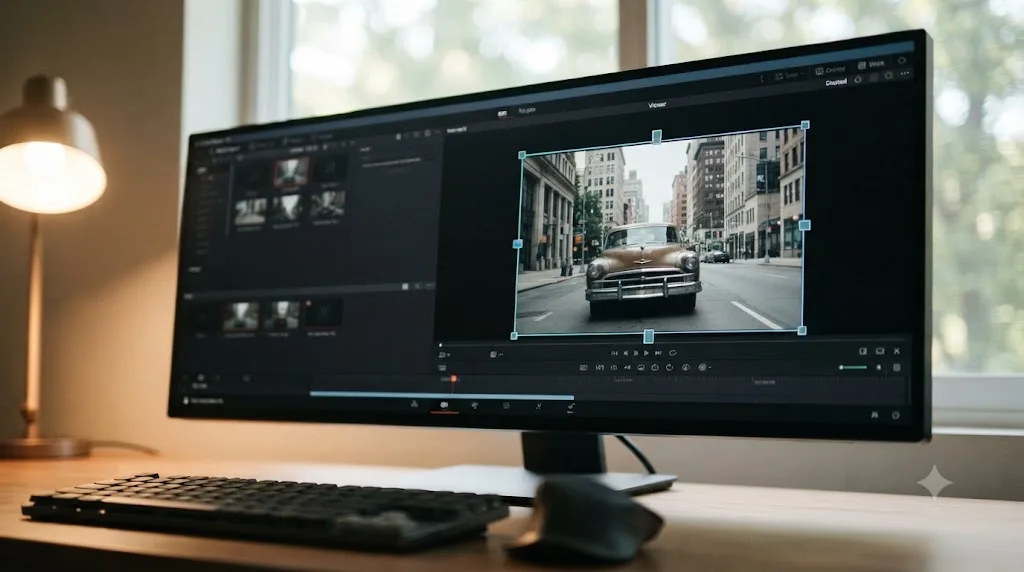
Click the Transform/Crop/Dynamic Zoom button at the bottom left of the Timeline Viewer, or choose View > Viewer Overlay, then switch the mode to Crop. Each side of the frame gets a draggable handle, and dragging it edits the exact same Crop Left, Right, Top, and Bottom values as the Inspector sliders, per Blackmagic Design's manual (DaVinci Resolve Manual: Onscreen Controls for Transform, Crop, and Dynamic Zoom).
This isn't a second, separate crop tool. It's a mouse-driven view of the same four numbers you'd otherwise type or drag in the Inspector. Use whichever fits the moment: sliders when you want a precise pixel value or you're keyframing carefully, onscreen handles when you're eyeballing a composition and want to see the crop line move in real time against your subject.
A few practical details:
- The overlay toggles with a shortcut. Once a mode is selected, "the currently selected overlay can be toggled on and off by pressing Shift-` (Tilde)," per the manual, so you can hide the crop guides to check your actual framing without clicking back through the menu each time.
- The same button also switches to Transform mode and Dynamic Zoom mode, so if you're cropping and then immediately want to reposition with Transform, you're one click away, not a trip back into the Inspector.
- Holding Shift while dragging most onscreen handles constrains movement to one axis, useful if you want to crop only the top of the frame without accidentally nudging a side handle at the same time.
Can you nudge a crop value precisely with the keyboard instead of dragging?
Yes, and it's faster than it sounds once you know the pattern. Double-click a crop value in the Inspector to select it, and a highlight appears around the number, per Blackmagic Design's manual on adjusting parameters (DaVinci Resolve Manual: Adjusting Parameters). From there, use the left and right arrow keys to move your cursor to the specific decimal place you want to change, then use the up and down arrow keys to raise or lower that digit. Select the entire number instead of a single decimal place, and the up and down arrows adjust it by whole units at a time instead.
This matters most when you're matching a crop across two shots that need to line up exactly, say a whip pan or a match cut where a pixel of drift is visible on a static element like a logo or a window frame. Dragging a slider with a mouse is fast, but it's imprecise below a certain zoom level in the Viewer. Your hand can overshoot a value by two or three pixels without you noticing until you scrub back and forth comparing frames. Arrow-key nudging trades a little speed for the kind of accuracy you can't reliably get by eye and mouse alone.
It's also worth knowing this technique isn't specific to Cropping. It works on Zoom, Position, Softness, or any other numeric field in the Inspector, so it's worth building into muscle memory once rather than relearning it per tool. A practical routine: drag roughly into place with the mouse first, then switch to the keyboard for the last one or two pixels, the same way you'd rough in a color grade with a wheel before fine-tuning with a numeric offset.
What does the Softness slider actually do?
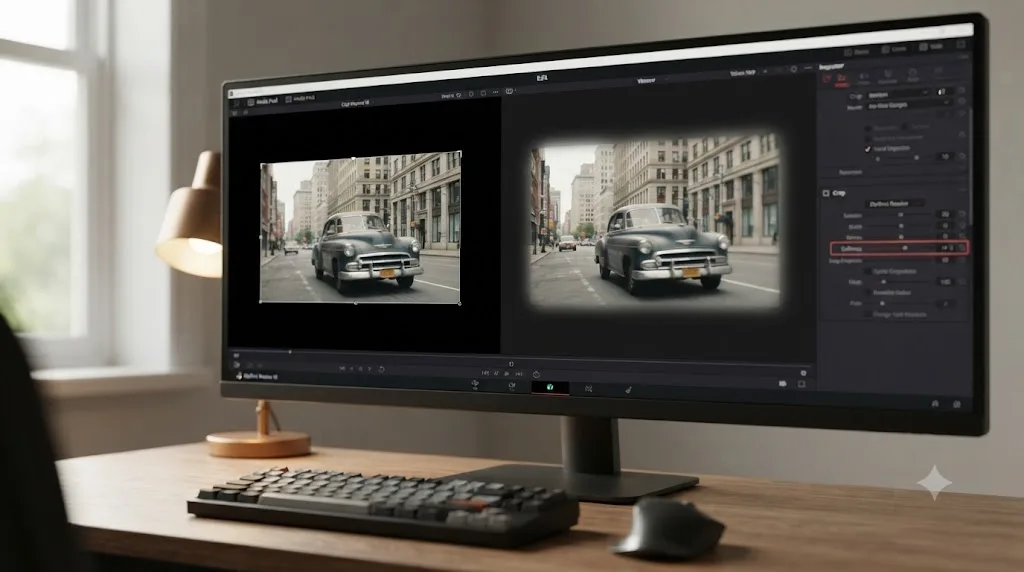
Softness, sitting right next to the four crop values in the Inspector, blurs the edge of your crop instead of leaving it as a hard line. A negative value softens the edge inside the crop box, meaning inside the part of the picture you're keeping, and a positive value softens the edge outside the crop box, meaning into the area you just cut away, per Blackmagic Design's manual (DaVinci Resolve Manual: Cropping).
In practice, this is a small but genuinely useful control. A hard-edged crop can look mechanical when it's laid over another clip, especially in a split-screen or picture-in-picture arrangement, because the eye immediately spots a perfectly straight cut line. A small amount of Softness feathers that boundary so the two images blend at the seam instead of butting against each other. It's subtle: start with a value in the low single digits and check it at full resolution before you push it further, since a heavy Softness setting reads less like a soft edge and more like a smeared one.
Softness only affects the crop's own edge. It does nothing to sharpness or grain anywhere else in the frame, and it doesn't cost you any resolution the way scaling would.
What does Retain Image Position do, and when should you turn it on?
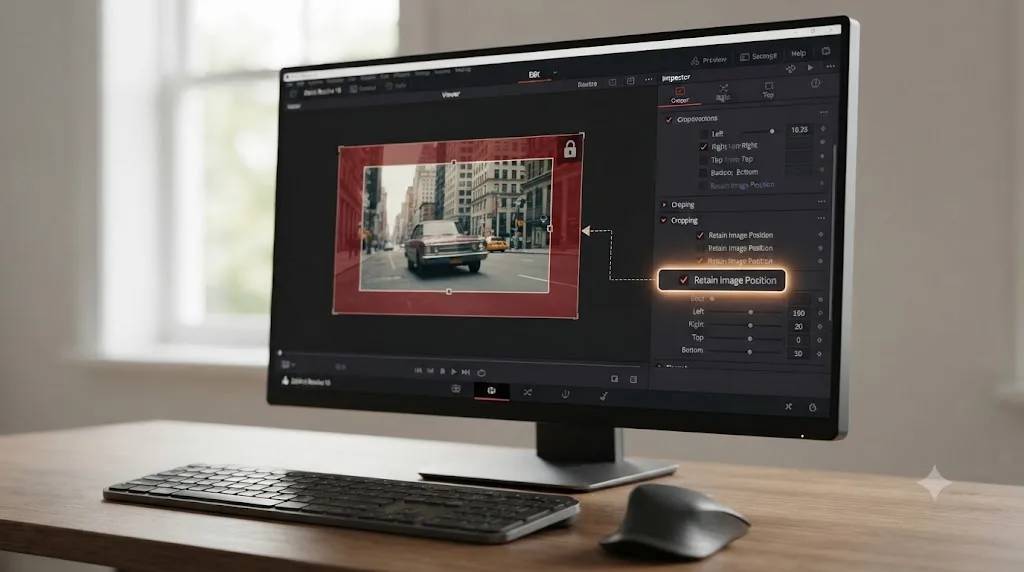
Retain Image Position, a checkbox in the Cropping section, locks your crop values in place relative to the frame when you also resize or reposition the image with Transform. Leave it unchecked and Transform scales and moves the crop along with the image; check it and the crop stays fixed while Transform does its own thing independently.
This matters the moment you combine tools. Say you've cropped off the left third of a shot to remove a boom mic, and afterward you want to nudge the whole image over with Transform's Position control to recenter your subject. With Retain Image Position off, that Transform move drags your crop line along with it, which is often exactly what you want, since the crop and the image stay visually locked together. Turn it on, and the crop holds its position in the frame regardless of what Transform does to the image underneath it, which is the setting to reach for when a later correction, like a pitch or yaw adjustment from lens correction or stabilization, would otherwise tilt your crop line out of alignment. A real-world example of this exact problem shows up on the Blackmagic Forum, where an editor asked how to crop an image cleanly after applying pitch and yaw corrections; the fix is turning on Retain Image Position so the crop reapplies after the correction instead of before it, keeping the cut line straight (Blackmagic Forum: how to crop image after using image pitch/yaw corrections).
The rule of thumb: leave Retain Image Position off for most everyday cropping, where you want the crop and the image to move as one unit. Turn it on specifically when you're layering a crop on top of another positional correction and the crop line needs to stay put no matter what that correction does.
A worked example: cropping out a boom mic without losing your subject
Here's how the whole workflow comes together on an actual shot, worked through step by step with realistic pixel values, so the Inspector's four sliders stop being abstract.
Say you're cutting a 3840x2160 (4K) interview, and a boom mic dips into the top of frame for about two seconds. Your subject's face sits comfortably in the lower two-thirds of the picture, so there's room to trim from the top without cutting into anything you need.
- Select the clip and open the Inspector's Video tab, then scroll to Cropping.
- Drag Crop Top until the mic clears the frame. On a shot like this, that might land around 220 pixels. Watch the Viewer rather than aiming for a specific number; the mic's height in frame is what decides the value, not a formula.
- Check the result at full resolution. Because you cropped a 4K source, the remaining image is now 3840x1940. If your delivery target is a 1080p timeline, this crop costs nothing at all: 1940 pixels of height is still comfortably above 1080, so the downscale to your timeline absorbs the crop for free. If you were instead finishing at full 4K, you'd need to scale that 3840x1940 remainder back up to 3840x2160 to fill the frame, and that's the point where the earlier crop-versus-zoom tradeoff kicks in.
- Add a touch of Softness, something in the 2 to 4 range, if this clip sits over another track and the cut line where the mic used to be needs to blend rather than show a hard edge.
- Skip Retain Image Position for this one. You're not layering a Transform move on top of the crop, so there's nothing for the crop to stay locked against.
- Don't keyframe it unless the mic moves in and out of frame across the clip. If it dips in for two seconds and stays out for the rest, a static crop across the whole clip is simpler and just as effective as animating one in and back out.
The general pattern holds for any similar fix: a crew reflection in a window, a boom pole shadow, a monitor showing something you don't want visible. Identify how much of the frame the problem occupies, crop just past it, and check whether your source resolution gives you the pixels to spare. If it doesn't, you're choosing between a visible edge or a softer final image, and that's a creative call, not a technical one.
Is cropping the same as zooming in DaVinci Resolve?
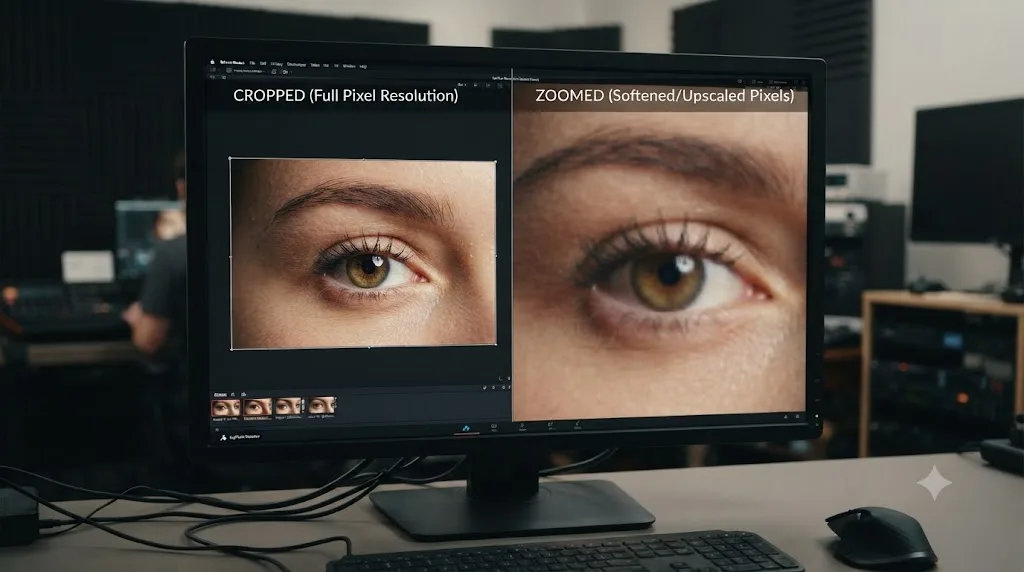
No. Cropping removes pixels; zooming stretches the ones you already have. Crop cuts off the edges of the frame and leaves whatever's left at its original resolution. Zoom, the Transform parameter sitting right above Cropping in the same Inspector tab, enlarges the entire image by resampling pixels that already exist, which is a fundamentally different operation with a different cost.
This distinction is easy to miss because visually, a tight crop and a punched-in zoom can look almost identical in the Viewer. The difference shows up in the pixels. Crop away the outer edges of a 3840x2160 source and drop the remainder into a 1080p timeline, and what's left is still native 4K detail scaled down, which looks sharp. Zoom a 1920x1080 clip in by a large amount, and Resolve is inventing detail between pixels that were never captured, which is why heavy zooms start to look soft while an equivalent crop of higher-resolution source footage doesn't.
Editor and trainer Larry Jordan explains the visual side effect of zoom this way, discussing why a zoom move can feel uneven even when it's perfectly smooth on paper:
"What you are seeing is an artifact of how digital media zooms. When starting with a wide shot, the zoom is moving across a large number of pixels, which makes the move feel 'slow.' Then, as it gets closer, it is moving across a smaller and smaller number of pixels, making the move feel faster."
Larry Jordan, Add and Modify Keyframes in DaVinci Resolve 20
Jordan's own workaround for that unevenness is worth noting too: in the Inspector, he sets Retime and Scaling to Crop specifically because it "displays the image at full resolution, which makes it easy to create moves on the image," using Crop's full-resolution behavior as a foundation before adding a controlled zoom on top of it, rather than zooming directly off a scaled-down preview.
Fusion's own Crop node documentation backs up the same underlying principle from the compositing side: unlike a mask, which only hides part of an image without touching its dimensions, a crop "actually changes the resolution of the image," a genuinely different operation from anything that scales pixels (DaVinci Resolve Manual: Crop Node).
The practical rule: if your source resolution is bigger than your timeline resolution, crop first and let the extra pixels absorb the loss. If your source and timeline are already the same resolution, a crop shrinks your effective frame size and there's no free resolution left to hide the seam, so you're choosing between a smaller final image or a soft zoomed one.
How is Crop different from Transform, and which do you adjust first?
Transform and Crop are separate controls in the same Inspector tab, and they answer different questions. Transform (Zoom, Position, Rotation) moves and scales the whole image. Crop cuts pixels off the edges. Blackmagic Design's manual notes that each clip on the Edit page carries "a set of transform parameters, principally for use in storing sizing data imported from AAF or XML," a reminder that these Edit page transforms exist as their own layer, separate from anything you do later on the Color page (DaVinci Resolve Manual: Transform and Cropping in the Video Inspector).
That separation compounds all the way to your final render. Per the same manual page, "the final resolution of each clip is calculated taking into account the original resolution of the source media, the timeline resolution, image scaling settings, Edit page transforms, and Color page transforms." Five separate layers, stacked in order, each capable of changing what actually reaches your export. Crop and Transform are just two of the five, which is exactly why a crop that looked right in isolation can shift once you add a Color page pan-and-scan move on top of it.
For which order to work in: crop first, then transform, is the more predictable default, because Transform's Zoom and Position then operate on the cropped result rather than the other way around. If you need the reverse order instead, that's what Retain Image Position is for; it locks the crop to hold steady after Transform does its work, rather than moving along with it.
Is "Scale Full Frame with Crop" the same as the Inspector's Crop tool?
No, and mixing these two up is one of the most common points of confusion. "Scale Full Frame with Crop" is an Input Scaling setting under Project Settings' Image Scaling tab, part of how Resolve automatically handles clips whose resolution doesn't match your timeline. It isn't the manual Crop Left/Right/Top/Bottom tool in the Inspector at all; it's a project-wide rule that decides what happens by default when a clip and your timeline disagree on size, per Blackmagic Design's manual on Timeline Resolution (DaVinci Resolve Manual: Timeline Resolution and Mismatched Resolution Files).
Here's the practical difference. The Inspector's Cropping tool is something you set by hand, per clip, cutting a specific number of pixels off a specific side, for a reason you chose: removing a boom mic, building a split screen, reframing a subject. "Scale Full Frame with Crop" is something Resolve applies automatically, project-wide, whenever a clip's resolution doesn't match the timeline, purely to avoid black bars. You can also override this setting per clip in the Inspector's Retime and Scaling section by choosing Fill or Crop instead of Project Settings, which is documented in the manual's Retime and Scaling page (DaVinci Resolve Manual: Retime and Scaling).
If you've landed here because your footage has unexplained black bars around it rather than because you're trying to intentionally cut into a frame, that's the separate, more common issue, and it has its own full walkthrough in our guide to DaVinci Resolve's black bars and aspect ratio mismatches.
How do you crop a video to change its aspect ratio, like 16:9 to 9:16?
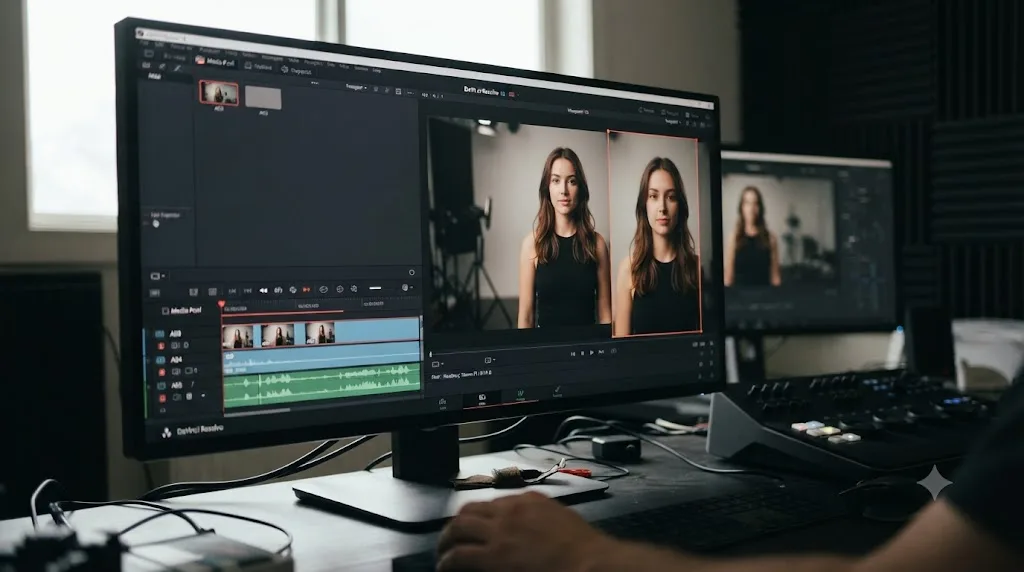
Duplicate your timeline first, set the new timeline's resolution to 1080x1920 in Project Settings, and then crop and reposition each clip so your subject sits inside the taller, narrower frame. A cropped frame holds full resolution right up to the cut line, which is exactly why cropping, not stretching, is the correct tool for converting between aspect ratios.
The full sequence:
- Duplicate the horizontal timeline before you touch anything, since a resolution change in Project Settings affects every timeline in the project, not just the one you're looking at.
- Open Project Settings' Master Settings and either pick a vertical preset or manually enter 1080 x 1920, then check Use Vertical Resolution.
- Select each clip on the new vertical timeline and decide how to fill the frame: set Scaling to Fill or Crop in the Inspector's Retime and Scaling section for an automatic fill, or use the manual Crop and Position controls for a hand-placed frame.
- For automatic subject tracking instead of manual placement, turn on Smart Reframe in the Inspector's Video tab. It's a Studio-only, AI-driven feature that tracks your subject and repositions the crop per frame, covered in full in our guide to fixing Smart Reframe when it isn't working if it drifts, does nothing, or produces too many keyframes.
This is also the core move behind turning a single long recording into several short-form clips, since each clip needs its own vertical crop once you've cut it out of the longer timeline. Our full guide to turning a long video into short clips in DaVinci Resolve covers the marker-and-cut side of that workflow if reframing is only step three of a bigger job for you.
A few platform specifics worth knowing before you commit to a crop:
| Platform | Vertical spec | Length cap | Source |
|---|---|---|---|
| YouTube Shorts | 1080x1920 (9:16) | Under 3 minutes counts as a Short | YouTube Help |
| TikTok | 1080x1920 (9:16) | Up to 60 minutes uploaded, 10 minutes recorded in-app | TikTok Support |
| Instagram Reels | 1080x1920 (9:16) | Up to 20 minutes | Instagram Help Center |
None of these platforms will reject a crop for going a few pixels off their preferred spec, but matching the target resolution before you export avoids a second, unwanted crop or letterbox being applied by the platform itself on upload.
What pixel values do you actually crop for square or ultrawide instead of 9:16?
The 16:9 to 9:16 conversion above is the one most people ask about, but the same crop-first logic applies to any other target ratio. The math is simple once you see it laid out: figure out your target width and height in pixels, then split the difference off whichever pair of edges needs to shrink.
Here's what that looks like starting from a 3840x2160 (4K) source:
| Target format | Aspect ratio | Resulting frame from a 4K source | Crop math | Typical use |
|---|---|---|---|---|
| Square | 1:1 | 2160 x 2160 | (3840 - 2160) / 2 = 840px off Crop Left, 840px off Crop Right | Instagram feed posts, LinkedIn |
| Cinematic widescreen | 2.39:1 | 3840 x 1607 | (2160 - 1607) / 2 = about 276px off Crop Top, 276px off Crop Bottom | Trailer-style letterboxing |
| Vertical | 9:16 | 2160 x 3840 | Requires a new vertical timeline (1080x1920 or 2160x3840); crop left and right per clip once you're there | TikTok, Reels, Shorts |
The square and cinematic conversions above work within the same landscape orientation, so you can crop directly on your existing timeline without duplicating it. The vertical conversion is the odd one out, since it changes orientation entirely, which is why it needs its own timeline, as covered in the section above.
One ratio that trips people up is 4:5, the taller portrait crop Instagram uses for feed posts. It doesn't reduce to a clean symmetrical crop off a 16:9 source the way square and cinematic do, because 4:5 is proportionally closer to vertical than it is to widescreen. In practice, most editors handle 4:5 the same way they'd handle 9:16: build a dedicated 1080x1350 timeline and crop each clip's Left and Right (or Top and Bottom, depending on your source framing) directly on that timeline, rather than trying to derive the value algebraically from a horizontal master.
The one constant across every ratio in this table is the same rule from the crop-versus-zoom section above: crop first, at full source resolution, before you scale anything down to the delivery size. That's what keeps every one of these conversions sharp, regardless of which ratio you're targeting.
How much can you crop before the image starts looking soft or pixelated?
This comes down to one number: how much source resolution you have above your delivery target. Cropping doesn't cost you sharpness by itself, but the moment your cropped remainder drops below your timeline's resolution and has to scale back up to fill the frame, you're effectively zooming, with the same softness tradeoff.
Here's a rough budget by common source-to-delivery combinations:
| Source resolution | Delivery timeline | Safe crop headroom | What happens beyond it |
|---|---|---|---|
| 3840x2160 (4K) | 1920x1080 (1080p) | Up to roughly 50% off any dimension before the remainder drops below 1080p | Further cropping starts consuming the buffer, and any additional Zoom or reframe move on top of it now has less resolution to draw from |
| 6K or 8K source | 3840x2160 (4K) timeline | Even more headroom, often 60% or more depending on the exact source | Same principle, just with a larger buffer before you hit the wall |
| 1920x1080 source | 1920x1080 (1080p) timeline | Very little; almost any meaningful crop pushes the remainder below your timeline size | Even a modest crop starts to soften the image on export, since there's no spare resolution to give up |
The practical takeaway isn't a hard percentage to memorize; it's the habit of checking your numbers before you commit to a crop. If you know a shot needs cropping for reframing, split-screen work, or removing an edge problem, shoot and edit with more resolution than your delivery target whenever you can. That extra resolution is what makes cropping free instead of costly, and it's the same reason 4K has become the default acquisition format even for projects that only ever deliver in 1080p.
Can you animate a crop over time with keyframes?
Yes. Every crop value, Left, Right, Top, and Bottom, has the same diamond-shaped keyframe button as Zoom, Position, or any other Inspector parameter. Click it once to set a starting keyframe, move the playhead, then change the crop value again, and Resolve automatically adds a second keyframe and interpolates every frame in between.
This is the same keyframing mechanism used across the entire Inspector, and it isn't specific to cropping in any way; if you already know how to keyframe a Zoom or Position move, you already know how to keyframe a crop. Our full guide to keyframing effects in DaVinci Resolve covers the Keyframe Editor, the Curve Editor, and easing in depth, all of which apply directly to an animated crop.
A couple of things specific to animating a crop rather than a zoom or position value:
- An animated crop can reveal or hide part of a composite gradually, useful for a wipe-style transition built by hand rather than pulled from the Transitions bin, since the crop's transparency shows the layer underneath as the crop line moves.
- If you actually want a smooth push-in or pull-out move rather than a hard crop reveal, Dynamic Zoom is the more purpose-built tool. It's designed specifically to animate between a start framing and an end framing on a still image or clip, showing green and red boxes for the start and end positions directly in the Viewer, and it generates the motion path for you rather than requiring you to hand-keyframe two crop states yourself (DaVinci Resolve Manual: Dynamic Zoom).
Can you apply the same crop to several clips at once, instead of dragging sliders on each one?
Yes. Copy the clip that already has the crop you want, select every clip you want to match, right-click, and choose Paste Attributes, or press Alt-V on Windows or Option-V on Mac. In the dialog that appears, check the Crop box, which automatically checks Left, Right, Top, Bottom, and Softness along with it, then click Apply to push that exact crop onto every selected clip at once, per a walkthrough of the feature covering both the Edit and Color pages (Hollyland Store: How to Copy Attributes in DaVinci Resolve).
This is the fix for the tedious version of cropping: a run of clips shot on the same locked-off camera, all needing the identical trim to remove the same boom mic or the same reflection, one slider drag at a time. Set the crop once on the first clip, copy it, select the rest, and Paste Attributes replaces what would be ten or twenty repeated adjustments with one dialog box and one click.
Retain Image Position and Softness travel along with the crop values in the same paste, since they're bundled under the same Crop checkbox, so a crop you dialed in carefully, feathered edge and all, arrives on the destination clips exactly as you built it, not as four raw numbers stripped of the settings around them. This is worth reaching for anytime you notice yourself about to type the same four numbers into a second, third, or fourth clip in a row.
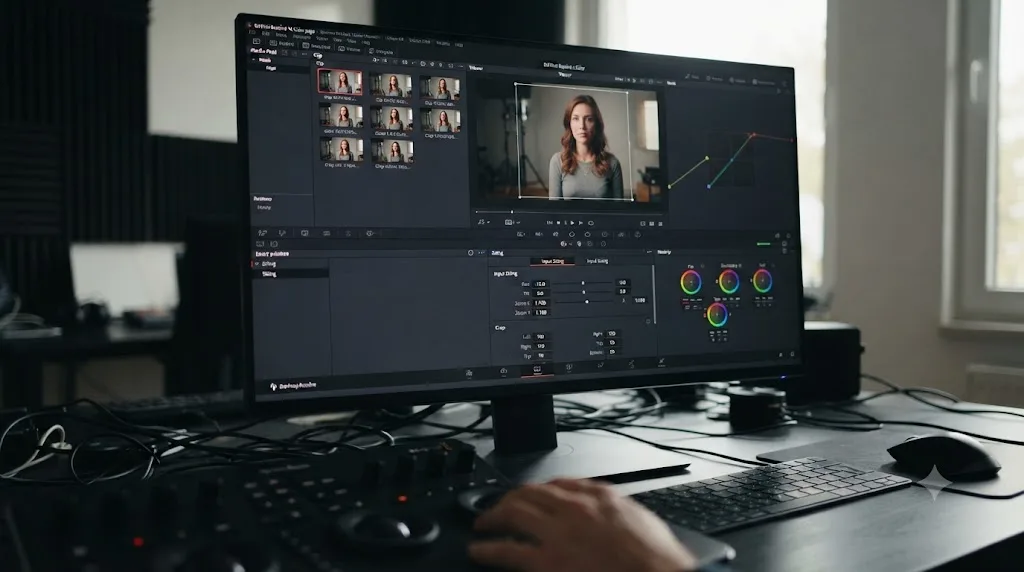
How do you crop on the Color page instead of the Edit page?
Open the Color page's Sizing palette and use Input Sizing. It carries its own set of keyframable parameters, including a crop, built specifically to let a colorist apply pan-and-scan adjustments without touching the editorial timeline at all, per Blackmagic Design's manual (DaVinci Resolve Manual: Input Sizing on the Color Page).
This is a genuinely separate transform system from the Edit page's Inspector, not a shortcut to the same values. The manual is explicit that "the transform that's made via the Input Sizing controls refers all the way back to either the source resolution of each clip, or the resolution output by the Fusion page if it's in use," meaning a Color page crop operates on the clip's original resolution independently of whatever the Edit page Transform and Crop have already done to it. There's also a second, related Node Sizing palette on the Color page, used to resize the working image within an individual node's processing rather than the clip as a whole (DaVinci Resolve Manual: Node Sizing on the Color Page).
Who actually reaches for this: colorists working through a grade who need to nudge framing, most often on archival or mismatched-format footage, without opening the Edit page and disturbing an editorial cut that's already locked. If you're an editor doing straightforward reframing before you hand a project to color, the Edit page Inspector's Cropping section is the right tool almost every time; the Color page's version exists for a workflow split most solo creators never need to think about.
How do you crop inside Fusion, and why would you?
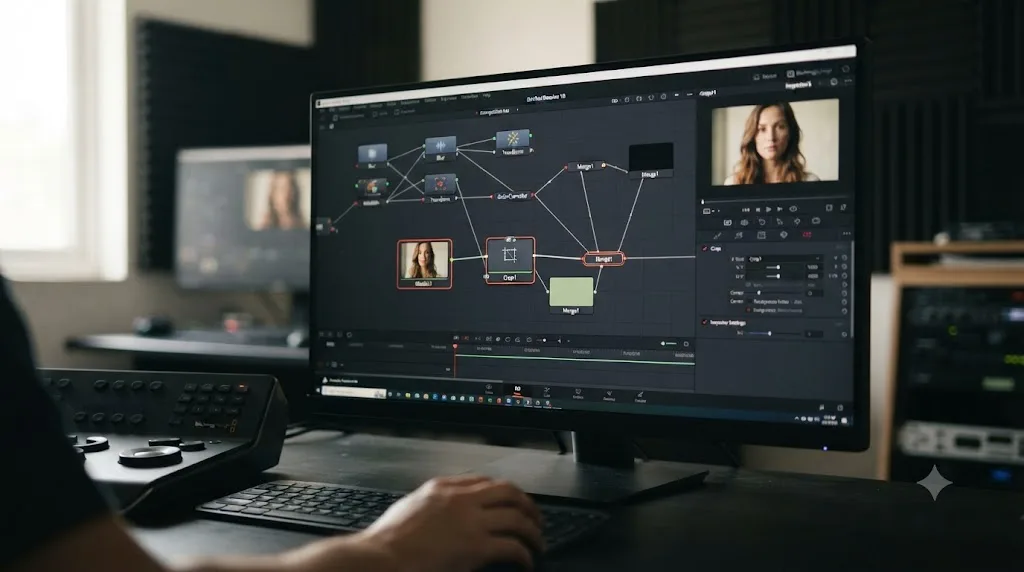
Add a Crop node to your Fusion composition, connect it after the layer you want to trim, and set Size X and Size Y to your target output dimensions. Unlike a mask, which only hides part of an image without touching its dimensions, the Crop node "actually changes the resolution of the image," per Blackmagic Design's manual (DaVinci Resolve Manual: Crop Node).
The Crop node's parameters, per the same manual page:
- Offset X and Offset Y push the image off-screen horizontally or vertically, in pixels, before the crop happens.
- Size X and Size Y set the output's vertical and horizontal resolution in pixels.
- Keep Aspect locks the output to the input image's original aspect ratio as you resize.
- Keep Centered automatically adjusts the offset to keep the image centered as you change its size.
- Change Pixel Aspect reveals a control for adjusting pixel aspect ratio, relevant to anamorphic or non-square-pixel footage.
- Clipping Mode controls how edges are handled during compositing math, with three options: Frame (the default, using the full frame), Domain (respecting the upstream domain of definition), and None (treating anything outside the defined data as transparent).
The manual specifically warns against animating this node's parameters, since "this node changes the physical resolution of the image" frame by frame, which is a heavier, less predictable operation than animating a crop in the Edit page Inspector. If you need an animated crop, do it in the Inspector; use Fusion's Crop node for a fixed, precise, pixel-level trim as part of a larger composite.
Who needs this: compositors and VFX-leaning editors building a multi-layer Fusion composition where a hard resolution change, not just a visual trim, needs to happen at a specific point in the node graph. You can also turn on "Allow Box Selection" in the Fusion Viewer to drag a crop rectangle interactively instead of typing values by hand. Most people cropping a single clip for a standard edit will never need to open Fusion at all; the Edit page Inspector handles that job completely.
Crop vs Zoom vs Transform vs Dynamic Zoom vs Smart Reframe: which tool for which job?
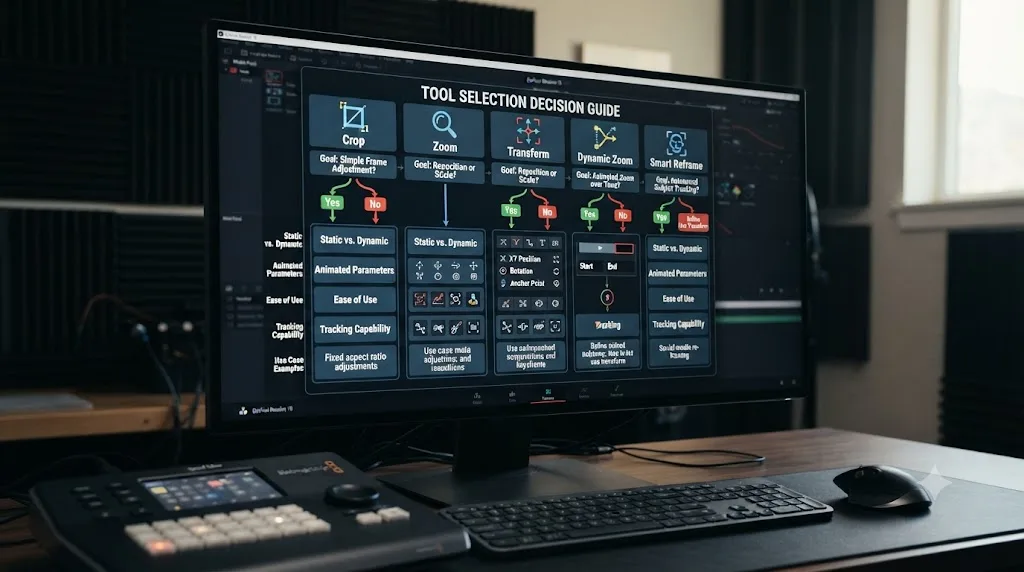
Five different DaVinci Resolve tools can all change what part of your frame ends up visible, and picking the wrong one for the job is the single most common source of confusion around cropping. Here's an honest comparison of all five, side by side.
| Tool | Where it lives | What it actually does | Changes resolution? | Requires Studio? | Best for |
|---|---|---|---|---|---|
| Crop (Inspector) | Edit or Cut page | Trims pixels off the four edges, per clip | Yes, keeps native pixels in what's left | No | Precise manual framing, removing an edge artifact, split screens |
| Zoom (Transform) | Edit page | Enlarges the whole image by resampling pixels | No, resamples existing pixels | No | A quick punch-in without changing the crop shape |
| Crop (Sizing palette) | Color page | Pan-and-scan crop kept separate from editorial | Yes | No | Colorist adjustments that shouldn't touch the Edit page cut |
| Dynamic Zoom | Edit page | Animates a move between two framings automatically | Yes, if the end state crops in | No | Ken Burns-style push-ins on stills or static shots |
| Smart Reframe | Edit page | AI tracks a subject and repositions the crop per frame | Yes | Yes, Studio only | Fast horizontal-to-vertical conversion across many clips |
| Crop node | Fusion page | Pixel-precise crop as part of a node composite | Yes | No | Compositing and VFX work inside Fusion |
Choose the Inspector's Crop when you know exactly what you want to cut and you're working one clip at a time, whether that's on the Edit page or the Cut page. Choose Zoom when the framing is basically right and you just need to fill the frame a bit more without reshaping it. Choose the Color page's Sizing crop when you're grading and don't want to reopen the Edit page. Choose Dynamic Zoom when you want a smooth animated move without hand-keyframing two crop states yourself. Choose Smart Reframe when you're converting a large batch of clips to vertical and don't have time to place every crop by hand, and you have Resolve Studio. Choose the Fusion Crop node when the crop is one step inside a larger composite, not a standalone editorial decision.
Does cropping reduce video quality?
No, not on its own. Cropping keeps the pixels you keep at their original density; it discards the rest, but it doesn't touch, blur, or resample what remains. A cropped frame you cut for a split screen holds full resolution right up to the cut line.
Quality loss enters at a different, later step: if you take that smaller cropped remainder and scale it back up to fill your full timeline frame, that scaling operation, not the crop itself, is what costs you sharpness. This is the same underlying mechanism as the crop-versus-zoom distinction covered earlier. A crop that leaves the resulting image at or above your timeline resolution costs nothing. A crop pushed far enough that the remainder is smaller than your timeline, and then scaled back up to fill it, behaves exactly like a zoom from that point forward, because that's functionally what it's become.
Practical math: crop a 3840x2160 (4K UHD) source down to a 1920x1080 region, and you're left with a native 1080p image inside a 1080p timeline, no scaling required, no quality cost. Crop that same 1920x1080 timeline's own clip down to a smaller region and then scale it back to fill 1920x1080, and now you're upscaling, with the same softness tradeoff as pushing Zoom in too far. The rule that follows: shoot and edit with more resolution than your delivery target whenever cropping for reframing is part of the plan, since extra source resolution is exactly what makes a crop free.
Do you need DaVinci Resolve Studio to crop a video?
No. The Inspector's Cropping controls, the onscreen crop handles, Softness, Retain Image Position, keyframing a crop, Paste Attributes for copying a crop across clips, the Color page's Sizing palette crop, and Fusion's Crop node are all part of the free edition of DaVinci Resolve, with no feature gate on any of them, per an independent breakdown of the free-versus-Studio split (Toolfarm: In Depth, DaVinci Resolve Studio vs Free).
The one crop-adjacent feature that is locked to Studio is Smart Reframe, the AI tool covered in the comparison table above, which tracks a subject and repositions the crop automatically frame by frame. Everything else in this guide works identically whether you're on the free edition or the paid one; the free edition just asks you to place every crop and every keyframe yourself instead of letting the Neural Engine do it. The free edition also caps exports at 3840x2160 (4K UHD), and using certain Studio-exclusive effects in the free edition triggers an on-screen watermark, but neither limit has anything to do with the Crop tool specifically.
Free DaVinci Resolve can crop and keyframe a frame exactly like Studio can; only the AI-driven Smart Reframe stays behind the paywall.
This doesn't change based on your operating system, either. Crop is a data operation, not a GPU-accelerated one, and it behaves the same on macOS, Windows, and Linux builds of Resolve. The Neural Engine tools that do lean on GPU acceleration, Smart Reframe among them, are the features worth checking your hardware against, not the manual Crop tool.
Why does my cropped clip show a transparent or black edge instead of extending the picture?
Because that's the intended behavior, not a bug. Cropping in DaVinci Resolve creates transparency where the picture used to be, per Blackmagic Design's own manual, so the space you cut away shows whatever is on the track beneath it, or plain black if there's nothing underneath (DaVinci Resolve Manual: Cropping).
This is one of the recurring questions in our 100,000+ member editing community: new editors expect a crop to work like a photo-editing crop tool, which permanently discards the cropped area and resizes the canvas around what's left. Resolve's crop doesn't resize the canvas at all; it just makes part of the existing frame see-through. If you want a solid color, not black or transparency, filling that space, add a Solid Color generator or a background clip on a track underneath the cropped clip, or use Fusion's Crop node instead, which does resize the actual output rather than leaving a transparent hole.
Why did my crop shift, flip, or reset after Transform, Stabilization, or nesting?
A few different mechanisms can cause this, and they're worth telling apart, because the fix is different for each one.
Transform moving the crop with it. This is the default behavior, not a malfunction. If Retain Image Position is unchecked, cropping and any later Transform move act as one combined unit, so repositioning with Transform after cropping will visually shift where the crop lands. Check Retain Image Position, covered earlier in this guide, if you need the crop to stay put regardless of what Transform does afterward.
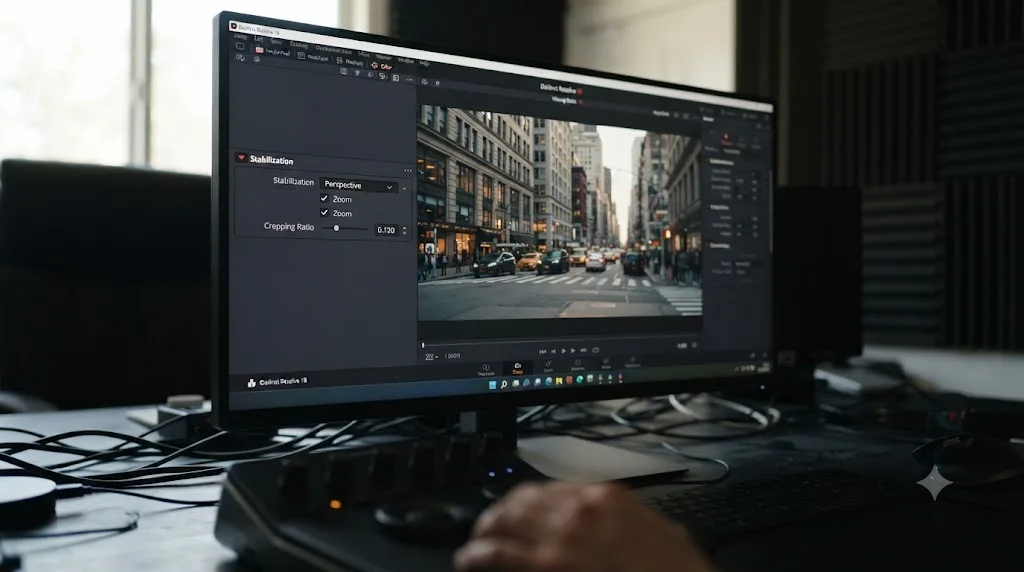
Stabilization's own separate "Cropping Ratio." Stabilization has a Zoom checkbox and a Cropping Ratio value that are entirely separate from the Inspector's Cropping section, and it's easy to assume they're the same feature because of the shared word. When Stabilization's Zoom checkbox is on, Resolve automatically resizes the image by enough to eliminate the blanking, meaning the black edges, that a stabilizing warp introduces, and the lower the Cropping Ratio is set, the more zoom that requires. Turn that checkbox off and the blanking shows in the output instead, on the assumption you'll deal with it separately, whether that's your own manual crop or a compositor filling the missing edges (DaVinci Resolve Manual: Stabilization). If your stabilized footage looks unexpectedly zoomed in, that's Stabilization's own Zoom setting doing its job, not your Inspector crop misbehaving.
Nesting or compound clips baking the crop in. When you nest a cropped clip into a compound clip or a new timeline, the crop you applied becomes part of that nested clip's rendered result rather than staying available as an editable Inspector value on the new object. If you need to keep adjusting a crop after nesting, apply the final crop after nesting instead of before it, or keep working on the original clip until the crop is locked in.
Why does my crop look soft or slightly off while I'm editing, but fine after I export?
Because you're probably looking at a reduced-resolution preview, not the actual pixels your export will use. Timeline Proxy Mode, found under Playback > Timeline Proxy Resolution, temporarily lowers your timeline's processed resolution to Half or Quarter to keep playback smooth on a heavy timeline, and it "reduces processing demands by taking advantage of the resolution independence of DaVinci Resolve to lower the resolution of your clips on-the-fly," per Blackmagic Design's manual (DaVinci Resolve Manual: Timeline Proxy Mode).
Timeline Proxy Mode changes what you see, not what you export. The same manual page notes that "the resolution independence of Resolve guarantees that every window you draw and sizing operation you make scales correctly to the actual resolution of your project," and it specifically stresses that this feature is entirely separate from Proxy Media, the swapped-in lower-resolution source files some editors generate for smoother scrubbing. The two settings live in different menus, do different jobs, and neither one touches your final render.
If a crop edge looks soft, jagged, or a few pixels off while you're scrubbing, check Playback > Timeline Proxy Resolution before you assume the crop itself is wrong. Set it back to Off, or wait for the final render, and the crop line you actually built is what will show up in the exported file. This is also worth ruling out before you spend time nudging a crop value with the keyboard method covered earlier in this guide. If the softness you're seeing is a playback artifact rather than a real problem with your numbers, no amount of arrow-key precision will fix what's on your screen, because there's nothing wrong with the crop to fix.
What are common creative uses for cropping in DaVinci Resolve?
Beyond simple reframing, a manual crop shows up constantly in ordinary edits:
- Split screens. Crop two or more clips to fit side by side or in a grid, using Transform's Position to place each one and Crop's Softness to feather the seams between them.
- Hiding a boom mic, a crew member, or an equipment reflection at the edge of a frame, which a small crop removes without needing a mask or a paint fix.
- Removing a logo or watermark from source footage, when it sits near an edge and cropping it off doesn't cost you the subject.
- Matching aspect ratios across mixed footage, cropping wider clips down to match a narrower one shot on a different camera or lens, so a sequence cuts together without a visible size jump.
- Building a fake push-in on a locked-off shot, cropping progressively tighter across a sequence of static clips for a subtle, editorial rhythm rather than an obvious animated zoom.
- Framing for a text overlay or lower third, cropping just enough negative space into frame that a caption or title has somewhere clean to sit.
- Cleaning up a screen recording or webcam shot, cropping off a taskbar, a second monitor's edge, or a webcam's black letterboxing before you build the rest of the edit around it.
Has the Crop tool changed in recent versions of DaVinci Resolve?
Not meaningfully. The core Inspector Cropping tool, Softness, and Retain Image Position have been stable for several major versions. The two changelogs covering the current release cycle, 21.0.2 and 21.0.3, list fixes to keyframe pasting, retime curves, TIFF export bit depth, IntelliSearch performance, and interlaced media handling, with no changes to the Cropping controls themselves, per Newsshooter's release coverage (DaVinci Resolve 21.0.2 Update, DaVinci Resolve 21.0.3 Update).
The one genuinely new crop-adjacent feature in the Resolve 21 cycle sits somewhere most video editors never look: the new Photo page, added for still images, ships its own non-destructive crop, reframe, and rotate tools that operate at the image's original source resolution, up to 32K or more than 400 megapixels, so every adjustment preserves full quality and can be revisited later without baking anything in, per Imaging Resource's coverage of the release (Imaging Resource: DaVinci Resolve 21 Adds Photo Editing to Its Toolkit). If you're cropping a still photo rather than a video clip, that's the tool built for the job, and it's worth knowing it exists separately from the video Inspector's Crop.
Is there an app that helps you while you're actually cropping in DaVinci Resolve?
Yes. TryUncle is the on-screen assistant for DaVinci Resolve on macOS. Ask in plain words and Uncle points at the exact control on your screen, live, inside your own project, rather than sending you off to pause a video tutorial and hunt through menus for the setting you half-remember.
That's a different job from the AI editing tools that have shown up around DaVinci Resolve over the past couple of years. Tools like Sottocut, PremiereCopilot, Eddie AI, and CutAgent automate parts of the editing or cropping decision itself, cutting, reframing, or answering questions about your footage on their own initiative. TryUncle doesn't touch your project or make an editorial decision for you; it watches your screen and answers the question you're actually stuck on, in your own timeline, with your own crop values. If you already know you want an automated reframe of many clips at once, Smart Reframe (Studio-only, covered earlier) or a third-party auto-reframing tool is the faster route. If you know what you want to crop and just can't remember which page the control lives on, that's exactly the gap Uncle fills.
In seven-plus years of professional, commercial video editing, including work for Fortune 500 clients and teaching over 100,000 students through Udemy as an official Udemy Business Partner, the single biggest thing separating someone who's watched a hundred Resolve tutorials from someone who's actually fast in the software is repetition on their own footage, not more passive watching. TryUncle is a paid app at $39 a month, cancel anytime, and macOS only; check TryUncle for the current rate before you commit.
The verdict
Cropping a video in DaVinci Resolve is four sliders in the Inspector, whether you reach them from the Edit page or the Cut page, and everything past that point is knowing which of the software's five related tools actually fits the job in front of you. Reach for the Inspector's Cropping section for everyday reframing, Zoom only when you're not actually trying to cut anything off, Retain Image Position the moment a second transform enters the picture, Paste Attributes the moment you're about to repeat the same crop on a second clip, and Smart Reframe or the Color page's Sizing crop only when your workflow specifically calls for what they do. Get that sorted once, and cropping stops being a tool you relearn every project and becomes one you stop thinking about entirely.
Frequently asked questions
- How do I crop a video in DaVinci Resolve?
- Select the clip on the timeline, open the Inspector, click the Video tab, and scroll to the Cropping section. Drag Crop Left, Crop Right, Crop Top, and Crop Bottom to trim pixels off any edge of the frame. You can also press the Transform/Crop/Dynamic Zoom button under the Viewer, choose Crop mode, and drag the onscreen handles directly on the picture. Both methods edit the same four values and both work in the free version.
- Why does my cropped clip show a transparent or black edge instead of extending the picture?
- That's how the tool is designed to work. Blackmagic Design's own manual states that cropping a clip creates transparency, so whatever is on the track underneath shows through the area you cut away. If there's nothing underneath, you get a black frame edge instead of picture. This isn't a bug: add a background clip, a solid color generator, or a second track below the crop if you need something other than black or transparency to fill that space.
- Does cropping a video in DaVinci Resolve reduce its quality?
- No, not by itself. Cropping keeps the pixels you keep at their original resolution; it just throws the rest away, the same way trimming a photo doesn't blur what's left in frame. Quality loss shows up afterward, if you then scale that smaller cropped image back up to fill your full timeline frame. That second step is zooming, not cropping, and it's the one that costs you sharpness.
- What is the difference between the Crop tool and the Zoom parameter in DaVinci Resolve?
- Crop trims pixels off the edges of the frame and leaves the rest at native resolution. Zoom, under Transform in the same Inspector tab, enlarges the entire image by resampling the pixels that already exist, which is why pushing Zoom in far enough eventually looks soft. Editor and trainer Larry Jordan describes zoom's uneven feel this way: a wide shot's zoom moves across a large number of pixels, which makes the move feel slow, and gets faster as it moves across fewer and fewer pixels near the end. Crop doesn't have that problem, because it isn't scaling anything.
- Can I crop a video for free in DaVinci Resolve, or do I need Studio?
- Crop is fully available in the free edition of DaVinci Resolve, including the Inspector sliders, the onscreen handles, Softness, Retain Image Position, and keyframing a crop over time. The only crop-adjacent feature locked to Resolve Studio is Smart Reframe, the AI tool that tracks a subject and repositions the frame automatically when you convert to a different aspect ratio. Manual cropping does the same underlying job, it just takes your own eyes and hands instead of the Neural Engine.
- How do I crop a video to vertical 9:16 for TikTok, Reels, or Shorts in DaVinci Resolve?
- Duplicate your horizontal timeline first, since changing the resolution affects the whole project. Open Project Settings, set the timeline to 1080x1920, and enable Use Vertical Resolution. Then either turn on Smart Reframe in the Inspector's Video tab for automatic subject tracking (Studio only), or set Scaling to Fill or Crop and adjust the Crop and Position values by hand until your subject sits inside the vertical frame. Both routes crop away the left and right edges of a horizontal shot; the difference is who decides where the cut line falls.
- Can I copy a crop to multiple clips at once instead of adjusting each one?
- Yes. Copy the clip with the crop you want, select the destination clips, and use Paste Attributes (Alt-V on Windows, Option-V on Mac). Check the Crop box in the dialog, which pulls in Left, Right, Top, Bottom, and Softness together, and click Apply to push that exact crop onto every selected clip at once.
- Is there an app that helps you while you're actually cropping and editing in DaVinci Resolve?
- Yes. TryUncle is the on-screen assistant for DaVinci Resolve on macOS. Ask in plain words and Uncle points at the exact control on your screen, live, inside your own project, instead of sending you off to pause a tutorial video and hunt for a menu. It's a paid app at $39 a month, and a different job from an automatic cropping or reframing tool: Uncle doesn't crop anything for you, it helps you find the control the moment you forget where it lives.
Sources
- DaVinci Resolve Manual - Cropping (Blackmagic Design, mirrored)
- DaVinci Resolve Manual - Transform and Cropping in the Video Inspector (Blackmagic Design, mirrored)
- DaVinci Resolve Manual - Onscreen Controls for Transform, Crop, and Dynamic Zoom (Blackmagic Design, mirrored)
- DaVinci Resolve Manual - Using the Inspector (Blackmagic Design, mirrored)
- DaVinci Resolve Manual - Crop Node [Crp] in Fusion (Blackmagic Design, mirrored)
- DaVinci Resolve Manual - Input Sizing on the Color Page (Blackmagic Design, mirrored)
- DaVinci Resolve Manual - Node Sizing on the Color Page (Blackmagic Design, mirrored)
- DaVinci Resolve Manual - Dynamic Zoom (Blackmagic Design, mirrored)
- DaVinci Resolve Manual - Stabilization (Blackmagic Design, mirrored)
- DaVinci Resolve Manual - Timeline Resolution and Mismatched Resolution Files (Blackmagic Design, mirrored)
- DaVinci Resolve Manual - Retime and Scaling (Blackmagic Design, mirrored)
- DaVinci Resolve Manual - Smart Reframe (Blackmagic Design, mirrored)
- DaVinci Resolve Manual - Adjusting Parameters (Blackmagic Design, mirrored)
- DaVinci Resolve Manual - Timeline Proxy Mode Improves Effects Performance (Blackmagic Design, mirrored)
- Larry Jordan: Add and Modify Keyframes in DaVinci Resolve 20
- Blackmagic Forum: how to crop image after using image pitch/yaw corrections
- Toolfarm: In Depth, DaVinci Resolve Studio vs Free (Updated for 21)
- Newsshooter: DaVinci Resolve 21.0.3 Update
- Newsshooter: DaVinci Resolve 21.0.2 Update
- Imaging Resource: DaVinci Resolve 21 Adds Photo Editing to Its Toolkit
- YouTube Help: Understand three-minute YouTube Shorts
- YouTube Help: Video resolution and aspect ratios
- Instagram Help Center: Reels
- TikTok Support: Camera tools
- MakeUseOf: 6 Ways to Take Advantage of the Cut Tab in DaVinci Resolve
- Hollyland Store: How to Copy Attributes in DaVinci Resolve (Edit Page & Color Page)
- Sottocut (product site)
- PremiereCopilot pricing
- Eddie AI for DaVinci Resolve (native integration workflow page)
- CutAgent (product site)
- TryUncle
Learn by doing, not watching
Stop translating tutorials to your timeline.
TryUncle stays beside Resolve on Mac and Windows. When you ask, Uncle sees your screen and points at the exact control you need. No hunting through tabs, timestamps, or mismatched tutorials.
Meet TryUncleKeep reading
 GuidesJul 12, 202630 min read
DaVinci Resolve Black Bars: Every Wrong Aspect Ratio Fix
Why DaVinci Resolve shows black bars around your footage, the Timeline Resolution vs Input Scaling mixup behind it, and the exact settings that fix it.
 GuidesJul 9, 202638 min read
DaVinci Resolve Smart Reframe Not Working: Every Fix
Why DaVinci Resolve's Smart Reframe does nothing, drifts off the subject, or fights your timeline, and the proxy, resolution, and GPU fixes that solve it.
 GuidesJul 16, 202631 min read
How to Turn a Long Video Into Short Clips in DaVinci Resolve
How to turn a long video into short clips in DaVinci Resolve: finding the good moments with markers or IntelliSearch, cutting them, reframing for vertical, and exporting for every platform.