
Learn / DaVinci Resolveupdated for DaVinci Resolve 21.0.2 and Instagram Reels specs as published (July 2026)
How to Build a Reel for Instagram From Long-Form Content
Quick answer
Pick one self-contained moment from your long-form video, then cut and reframe it to 9:16 in DaVinci Resolve. Package it with a cover that survives the grid crop, text clear of Instagram's UI, audio matched to what carries the moment, and a caption with the hook in its first 125 characters. Check insights before cutting the next one.
You already have the long-form video. The part that actually stalls people isn't cutting a clip out of it, it's making that clip look like it was built for Instagram instead of dumped there. This guide picks up after the cut: cover, safe zones, audio, caption, and the handful of Instagram-specific decisions that separate a Reel from a video that happens to be vertical.
What's actually different about building for Instagram specifically?
Two separate jobs, and most guides answer only the first one. Job one is editorial and technical: finding the good moment in a long recording, cutting it, and reframing it to 9:16. Job two is packaging: making that finished clip fit Instagram's exact interface, its ranking signals, and the habits of someone scrolling the Reels tab with the sound off.
If you haven't done job one yet, our full walkthrough of how to turn a long video into short clips in DaVinci Resolve covers marking moments with keyworded markers or IntelliSearch, cutting with the Blade tool, and reframing to vertical with Smart Reframe or a manual crop. That guide ends where this one begins: a finished 1080x1920 clip, ready to export, that still needs to become a Reel someone actually watches.
A technically correct vertical crop and a Reel that performs on Instagram are not the same deliverable. The crop is a DaVinci Resolve problem. Everything from here, the cover, the safe zone, the audio choice, the caption, is an Instagram problem, and Instagram's own interface and ranking signals shape every one of those decisions in ways that have nothing to do with your editor.
Do you need DaVinci Resolve Studio for any of this, or does the Free version work?
Only for one piece, and it's not the piece most people assume. Everything this guide covers after the cut, cover design, safe-zone placement, audio choice, caption writing, export, happens either inside Instagram's own app or with tools every version of DaVinci Resolve ships with. The one place version actually matters is upstream, in how you reframe the clip to 9:16 in the first place.
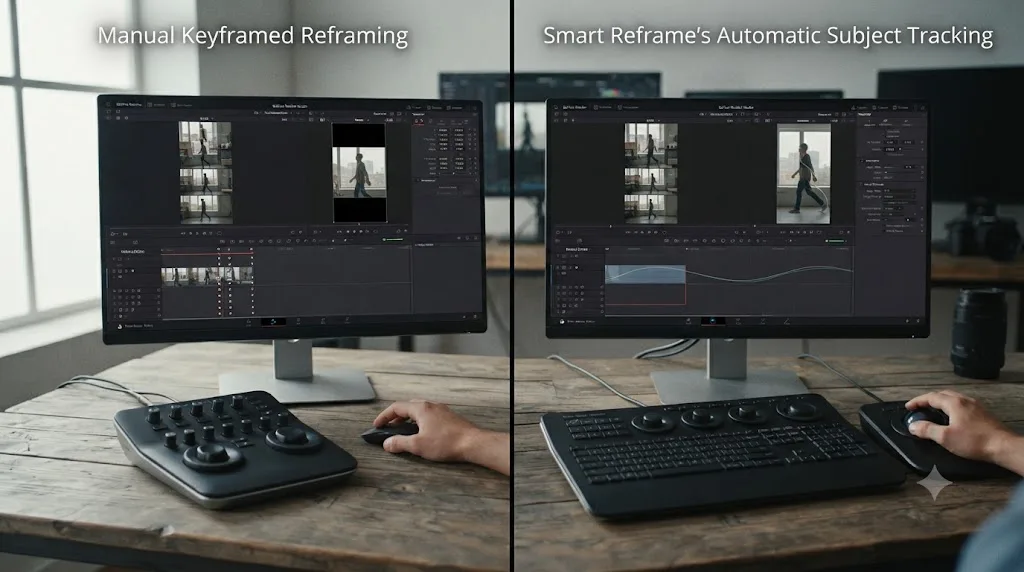
Smart Reframe, the AI tool that automatically tracks a subject and keeps it centered as you crop from a wide frame down to vertical, is part of DaVinci Resolve's AI Neural Engine, and per Blackmagic's own Studio product page, those AI Neural Engine tools are found exclusively in DaVinci Resolve Studio. The free version doesn't have it. That doesn't mean the free version can't produce a vertical Reel, it means you do the reframing by hand: set your timeline to 1080x1920, add your clip, and manually keyframe the Position and Zoom parameters in the Inspector to follow your subject across the shot, the same way editors framed vertical video before Smart Reframe existed.
For a single interview subject sitting relatively still, camera locked on a tripod, manual reframing costs you a few extra minutes per clip and looks identical to Smart Reframe's output once you're done. Where Smart Reframe actually earns its keep is a moving subject, someone pacing while they talk, a b-roll shot with camera movement, or a shot where the subject's position in frame changes enough that a single static crop clips them out of frame partway through. If your long-form source is a static two-camera interview setup, don't assume you need Studio for this workflow. If it's handheld, presentation footage with the speaker walking, or anything with real camera movement, Smart Reframe saves real time, and the free version's manual approach gets noticeably more tedious per clip, especially across a full batch.
| If your source footage is | Free version | Studio (with Smart Reframe) |
|---|---|---|
| A locked-off interview, subject mostly still | Manual crop works fine, a few extra minutes per clip | Faster, but not a meaningful quality difference |
| Handheld or presentation footage with real movement | Manual keyframing gets tedious across many clips | Meaningfully faster, especially across a batch |
| A webinar or screen-share with slides and a webcam box | Manual crop, since the subject rarely needs tracking | Smart Reframe adds little here either way |
Nothing downstream of the crop cares which version cut the clip. Instagram's own app has no way to detect which DaVinci Resolve tier exported a file, and none of its ranking or distribution behavior changes based on it. If you're only pulling a handful of Reels a month from footage that's mostly static interviews, buying Studio for Smart Reframe alone is a hard cost to justify. If you're repurposing moving, handheld, or multi-camera footage regularly, the time it saves adds up fast enough that it's worth weighing against the manual alternative.
Which moment from your long-form video should actually become the Reel?
The one that survives Instagram's own ranking signals, not just the one that felt interesting while you were watching the source recording. Per Instagram's own explanation of how it ranks Reels, the app predicts, for each viewer, "how likely you are to reshare a reel, watch a reel all the way through, like it, and go to the audio page," then weighs your own recent activity, your history with the specific creator, information about the Reel itself, and the creator's general popularity.
Translate that into a selection filter for your long-form footage. A moment that plays best when watched start to finish, rather than skipped through, and that a viewer would genuinely want to send to a friend, is exactly what that ranking description is describing. A moment that's merely informative but forgettable clears the bar for "a decent clip" but not for "something Instagram wants to show to people who don't follow you yet."
| Selection question | Why it maps to a ranking signal |
|---|---|
| Does this make sense with zero surrounding context? | Confused viewers stop watching before the completion signal fires |
| Would someone send this to a specific friend? | Sends and shares are an explicit factor in "how likely you are to reshare" |
| Is there a reason to watch it twice? | Rewatches and saves both read as a stronger, more durable signal than a single like |
| Does the audio track stand on its own? | Instagram's own explanation names the audio track specifically as content-level ranking information |
The moment you choose matters more than any setting in this guide. A perfectly reframed, perfectly captioned clip built from a forgettable ten seconds still underperforms a rougher cut of a genuinely strong moment. If you're choosing between two similar candidates from your long-form recording, pick the one you'd actually forward to someone, not the one that's merely on-topic.
How long should the Reel actually be?
Shorter than Instagram's ceiling suggests, and that ceiling itself is newer than a lot of advice assumes. In January 2025, Instagram head Adam Mosseri announced on Threads that the platform was raising its Reels length limit: "We're now supporting reels up to three minutes long on Instagram. We still are focused on short form video over long form, but hopefully this gives creators a bit more room to be creative." He was explicit that the change came from a specific complaint: "90 seconds is just too short."
Read that announcement for what it is: permission, not a target. Instagram raised the ceiling because some ideas genuinely need more than 90 seconds, not because every repurposed clip benefits from running longer. For most long-form-to-Reel repurposing, an interview answer, a podcast tangent, a webinar Q&A, the moment you picked in the previous section is usually strongest somewhere between 15 and 60 seconds, well under even the old cap, because that's roughly how long one self-contained idea takes to say once you've cut around the setup and the run-on ending.
| If your clip runs | Treat it as |
|---|---|
| Under 15 seconds | A single sharp moment, one line, one reaction, one beat. Good for feed velocity, risky if it needs any setup at all |
| 15 to 60 seconds | The sweet spot for most repurposed interview, podcast, and webinar moments |
| 60 to 180 seconds | Fine when the moment genuinely needs the room, a full story, a real explanation, but confirm it still holds attention the whole way through before publishing |
| Over 3 minutes | Not supported as a Reel at all; post it as a longer video instead, aimed at your existing audience rather than Instagram's discovery surfaces |
If you're unsure whether a specific clip needs the extra length Mosseri's change unlocked, cut it short first. A three-minute Reel that loses half its viewers by the one-minute mark ranks worse than a forty-five-second Reel that holds nearly everyone to the end, because completion rate is baked directly into the same prediction Instagram uses to decide who else sees it next.
Where exactly can you put text without Instagram's own interface covering it?
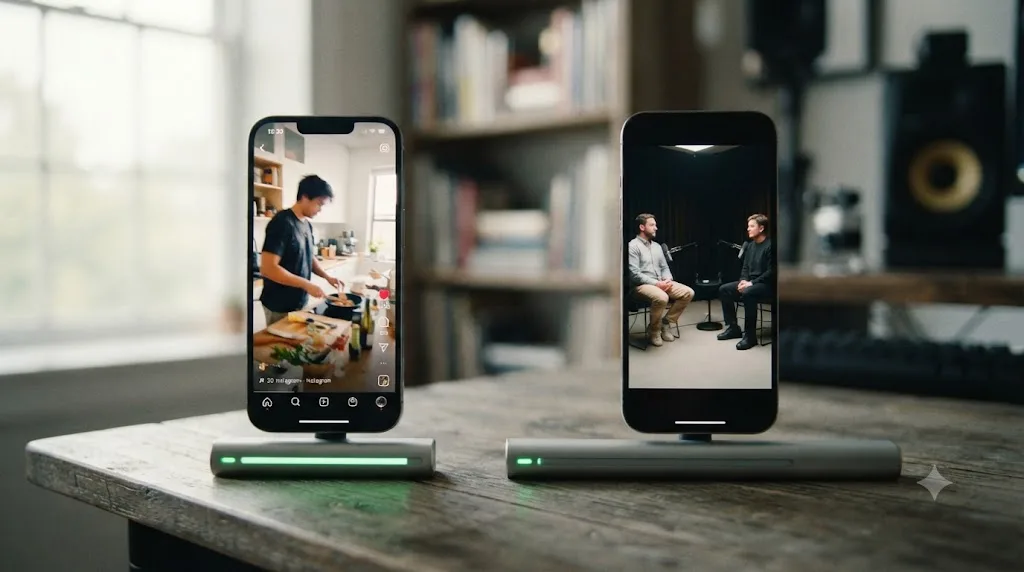
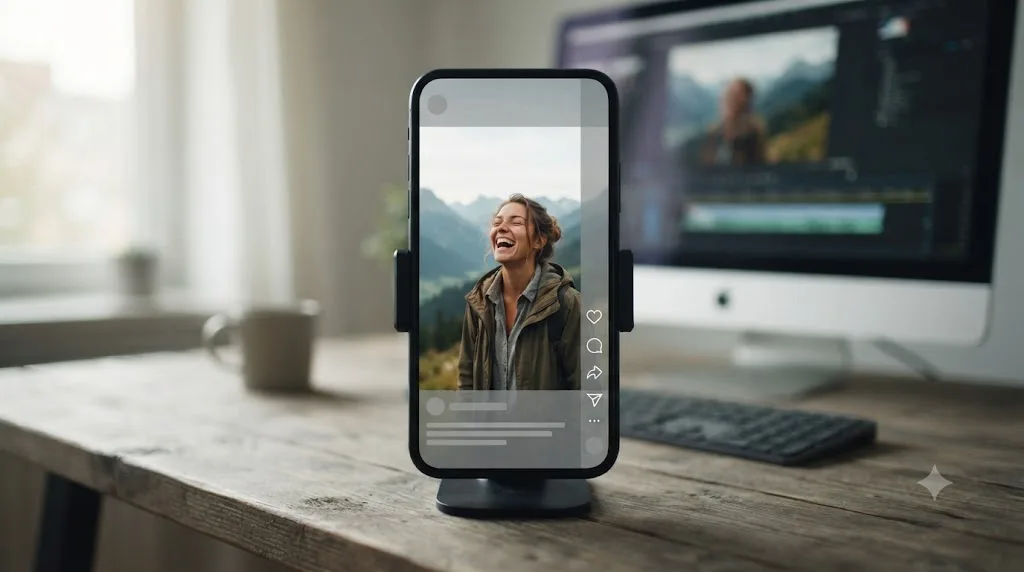
Inside a narrower box than the full 1080x1920 frame, and narrower on Reels than on Stories, because Reels stacks more interactive UI on screen at once. Meta's own guidance for Reels ad creative, published on the Business Help Center, defines a safe zone for text and logos that keeps them clear of the profile icon and caption area near the top and the like, comment, share, and audio-label stack near the bottom. That guidance is written for paid ads, but the on-screen layout it's protecting against, the same icon column, the same caption placement, is identical for every organic Reel a viewer scrolls past, which is why creative teams use the same numbers for both.
Practically, that means roughly the top 14% and the bottom 30 to 35% of your 1080x1920 frame are reserved space, plus a narrower margin on the right edge where the like, comment, share, and more-options icons sit.
| Zone | Rough range on a 1080x1920 frame | What lives there |
|---|---|---|
| Top reserved band | Roughly the top 14% (about the first 270px) | Profile photo, username, follow button |
| Center safe area | The middle band between the top and bottom reserved zones | Your subject, hook text, and any on-screen captions belong here |
| Bottom reserved band | Roughly the bottom 30 to 35% (roughly the last 600 to 670px) | Caption text, audio label, and (on some views) comment previews |
| Right-edge column | A narrow strip on the right side | Like, comment, share, and three-dot menu icons |
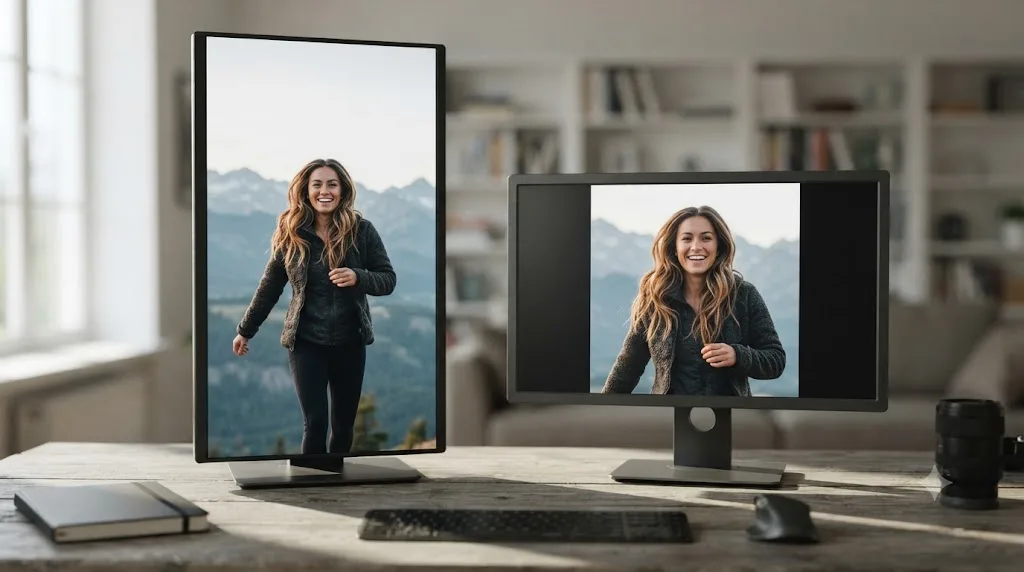
Back in DaVinci Resolve, this changes how you frame and where you place text, not how you cut. When you're setting Smart Reframe's Object of Interest or manually adjusting Position on a vertical crop, per Blackmagic's own reference manual on Smart Reframe, bias your subject toward that center band rather than centering them in the full frame. If you're burning in text or a caption style, keep it inside the same band. Our guide to adding subtitles in DaVinci Resolve covers positioning a caption track manually if the default placement lands too low.
A perfectly framed subject that Instagram's own comment icons cover for a third of the frame's height wasn't actually framed for Instagram. Check every finished Reel against the app's real interface, not just Resolve's clean viewer, before you publish it. If your export shows unexpected black bars or a crop that doesn't match what you set in Resolve, our guide to fixing black bars and wrong aspect ratios covers the Input Scaling settings that usually cause it.
How do you design a cover image that survives the grid crop?
You treat it as a second, deliberate deliverable, not whatever frame Instagram happens to land on. Instagram builds Reels covers, and displays them, at two different aspect ratios depending on where a viewer sees them: full 9:16 in the Reels tab, and a tighter crop centered on the middle of the frame on your profile grid. A cover designed only for the full-frame view can lose a subject's face, or crop out on-screen text entirely, once it shows up on your grid or in someone else's Explore feed.
The fix is the same one professional cover design for any cropped platform uses: design at the full 1080x1920 canvas, but keep every element that actually matters, faces, key text, your product, inside the central 1080x1080 square. That square survives both the full-frame Reels tab view and the tighter grid crop, since it's the shared region between the two.
You have two ways to set it, both from the same place. While posting, tap Cover on the share screen and either drag the selector across your clip's own frames to pick a strong still, or tap Add From Camera Roll to upload a separate custom image entirely. After posting, open the Reel, tap the three-dot menu, and choose Edit to change the cover without re-uploading the whole clip.
A custom cover you designed on purpose will always outperform whichever frame Instagram happened to freeze on. If your clip opens mid-motion, a blink, a gesture, a transition, the auto-selected cover is very likely to be a bad one, and Instagram doesn't pick a flattering frame for you. Budget the same two minutes for cover selection that you'd budget for a thumbnail on any other platform.
Should you use trending audio, licensed music, or your original audio?
It depends on which part of the moment is actually doing the work: the words, or the visual. Instagram's own explanation of Reels ranking names "the audio track or visuals in the video" directly as one of the signals it evaluates about a piece of content, so this isn't a purely creative call, it's one the app is explicitly reading.
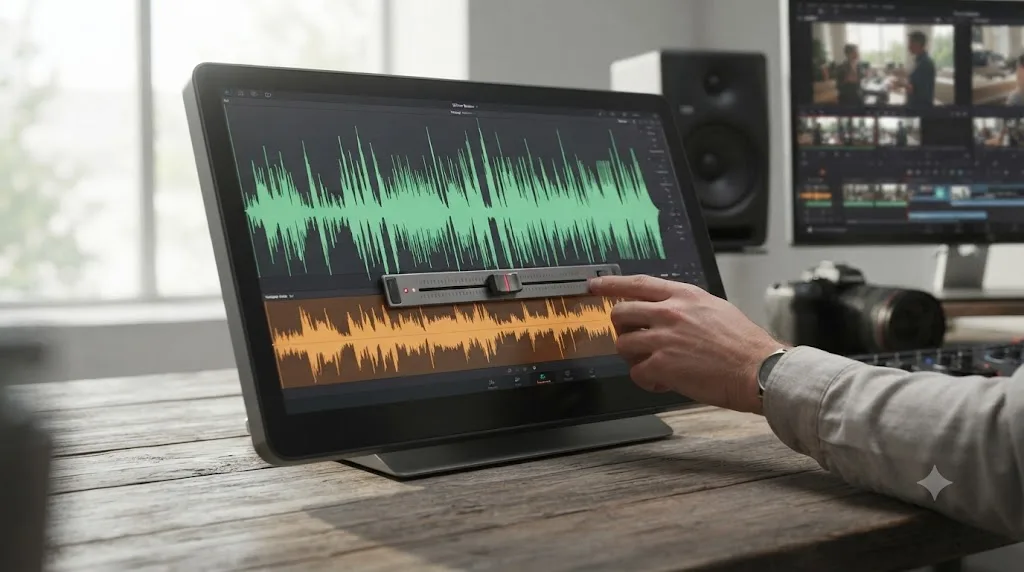
If the reason the clip exists is something someone said, muting or burying that under trending audio erases the entire point of pulling it from your long-form recording. Keep the original audio as the lead track. You can still layer trending audio quietly underneath it using Instagram's own audio mixer, per Instagram's Help Center on adding original or someone else's audio: open the music controls after selecting a track and use the sliders to bring the original audio up and the added music down until the words stay clearly intelligible.
If the clip is closer to a visual moment, a transformation, a montage, a reaction shot with little dialogue, trending audio does real work a static original track can't: it puts the clip inside a specific audio page other people are already browsing, which is a discovery path independent of your own follower count or hashtags. Instagram surfaces this through a built-in Trending tab in the music picker, and professional accounts in supported regions get curated trending-audio suggestions directly in the Professional Dashboard.
Music licensing has real, sourced limits worth knowing before you commit a whole Reel to a specific track. Per Instagram's own guidelines on including music in video, those licensing agreements apply "consistently across live and recorded video on both Facebook and Instagram, and for all types of accounts, i.e. pages, profiles, verified and unverified accounts," which means a business account gets no special exemption from the same restrictions a personal account faces. The same guidance notes a real geographic gap: "although music is launched on our platforms in more than 90 countries, there are places where it is not yet available," and if your video includes recorded music, "it may not be available for use in those locations." Practically, that means a Reel built around a specific trending song can post cleanly in the country you're in and still get muted for a viewer somewhere it isn't licensed.
| Audio choice | Best for | Real cost |
|---|---|---|
| Original audio, kept clean | Any clip where the spoken content is the reason it exists | None, but it doesn't get the audio-page discovery boost |
| Original audio, lowered under trending audio | Dialogue-driven clips that could still use a discovery boost | A short mixing pass in Instagram's own volume sliders |
| Trending or licensed audio as the lead track | Visual, dialogue-light moments (montages, transformations, reactions) | Risk of geographic muting outside the licensed region, and the audio's own popularity fading fast |
If your long-form source recording already has background music you don't hold the rights to, a podcast intro bed, licensed stock music under the original recording, don't assume it clears the same way once it's inside a repurposed Reel. Treat any music baked into your original footage with the same scrutiny you'd give a track you picked fresh inside Instagram's own library.
How do you write a caption and hashtags that actually work?
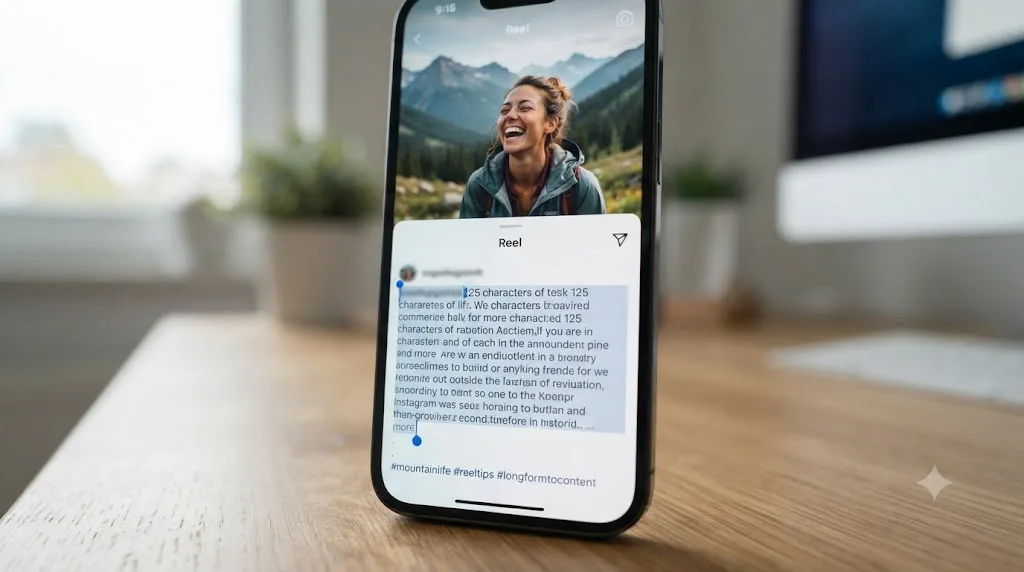
You write for the fold first, since almost nobody sees your full caption without tapping for it. Instagram's technical caption limit is 2,200 characters, but the feed only shows roughly the first two to three lines, around 125 characters, before truncating with a "more" link. Whatever you're trying to say with the caption, the hook, the context that makes the clip land, the reason to comment, needs to survive inside that first 125 characters, because a large share of viewers will never tap past it.
That constraint changes what a caption is for on a repurposed clip specifically. A caption for a Reel pulled out of context doesn't need to re-explain the whole long-form recording; it needs one sentence that either sharpens the hook already playing on screen or adds the one piece of context an out-of-context clip is missing. Save the longer version, links to the full episode, extra context, a call to action, for after the fold, where it still helps the reader who taps through without doing any work for the reader who doesn't.
Hashtags are governed by a real, documented technical ceiling and a much lower practical one. Per Instagram's own Help Center guidance on using hashtags, the platform caps hashtags at 30 total, counted across your caption and your first comment combined; push past that and the post won't publish. That ceiling exists to stop outright spam, not to suggest a target. A caption padded with two dozen loosely related tags reads as spam to a human scrolling past it long before it hits any algorithmic penalty, and it crowds out the actual words that were supposed to sell the click. Two or three specific hashtags, the kind that genuinely describe what's in the clip plus one that identifies your niche, do the job a wall of generic tags won't.
The caption's first sentence has to work before anyone knows what the rest of it says. Write that sentence last, after you've watched the finished Reel back once, so it responds to the actual clip on screen instead of the idea of the clip you had before you cut it.
How do you add captions people can read with the sound off?
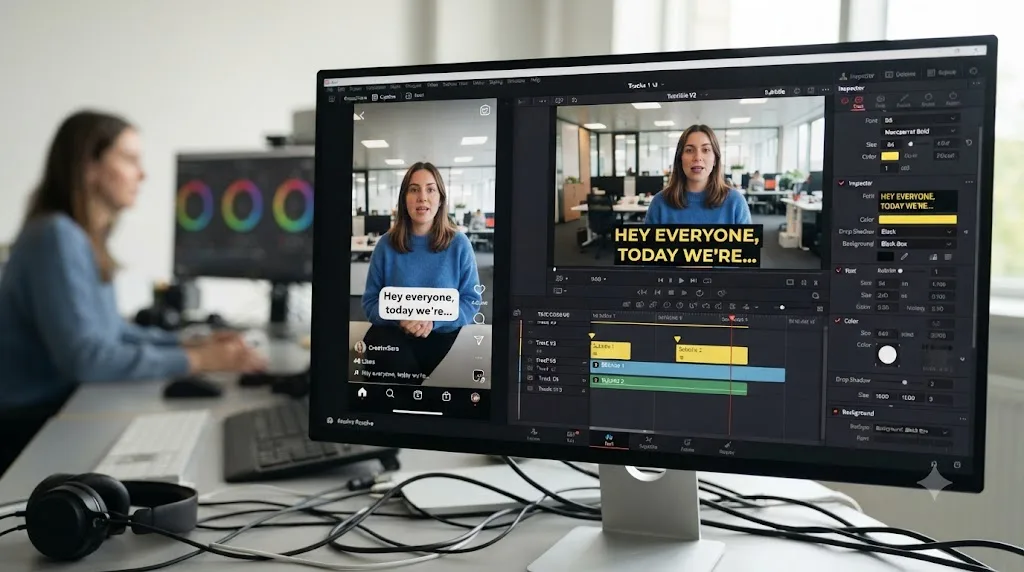
Two different options, and they're not interchangeable. Instagram has its own built-in caption sticker: during posting, open the Stickers menu and choose Captions, and Instagram auto-transcribes your clip's spoken audio and lets you pick from a handful of built-in caption styles, per Instagram's Help Center on managing reel captions. It's fast, free, and requires nothing back in DaVinci Resolve. It also supports multiple spoken languages, which matters if your long-form recording, and the audience you're repurposing it for, isn't exclusively English.
The other option is burning captions in yourself before you ever open Instagram, using DaVinci Resolve's own subtitle tools. Our guide to adding subtitles in DaVinci Resolve covers generating and styling a subtitle track on the Cut or Edit page. Burned-in captions cost you an extra pass in Resolve, but you control the font, size, position, and timing exactly, and they survive being reposted somewhere Instagram's own caption sticker wouldn't apply, a website embed, a different platform, a screen recording of the Reel itself.
For most repurposed clips, Instagram's own caption sticker is the faster, sufficient choice: a viewer scrolling with the sound off still gets the words, and you didn't spend extra time in Resolve for it. Reach for burned-in captions instead when you need exact styling control, when the clip is going out to more than just Instagram, or when you're already building a subtitle track for the long-form source and it's a small step to reuse it for the short clip.
Whichever you choose, the caption text still has to respect the same safe zone as everything else on screen. Place it inside the center band from earlier in this guide, clear of Instagram's own icons and also clear of wherever Instagram positions its own auto-caption sticker by default, which sits low in the frame and can stack awkwardly on top of burned-in text if you don't check it first.
Should you use Remix, Collab, or just post the clip solo?
Only if there's a real reason a second account or a second creator belongs in the frame. Remix and Collab solve two different problems, and neither one is the default path for a straightforward long-form repurpose.
Remix lets someone else record a new clip alongside your existing public Reel, and per Instagram's own Help Center, the two videos play side by side, in a green screen, split-screen, or picture-in-picture layout, functioning as a reaction, a duet, or a response. It's a real distribution mechanic worth knowing about mainly because it works in the other direction too: if a competitor, a fan, or a journalist Remixes your repurposed Reel, that Remix can put your original in front of their audience for free. Public accounts have Remix enabled by default, and turning it off trades away that upside for a small amount of extra control over how your clip gets reused.
Collab is a different feature entirely: it lets two accounts co-author the same post from the start, so it appears on both profiles simultaneously with shared likes and comments. That's the right tool when a long-form recording genuinely had two creators, a co-hosted podcast, an interview where both people have their own following, and you want the repurposed clip to reach both audiences at once rather than crediting one account and tagging the other.
For a solo repurpose pulled from your own long-form content, neither feature is required. Post the clip on its own unless a real second party belongs in the credit, and treat Remix less as something you actively use and more as a distribution channel that's already working for you in the background, for free, as long as you leave it turned on.
Should you cross-post the Reel to Facebook?
Almost always, since it costs one extra tap and doesn't touch how Instagram itself distributes the same Reel. Per Instagram's own Help Center on sharing reels to Facebook, you can toggle Also share to Facebook right on the Share screen before you publish, and the clip republishes as a native Facebook Reel to whichever audience your connected Facebook Page or profile normally reaches. If you'd rather not decide per post, Accounts Center has a setting under Sharing across profiles that turns automatic sharing on for every future Reel, Story, and post at once.
The two platforms' audiences overlap less than you'd guess, and Facebook Reels is a genuinely separate discovery surface with its own ranking, not a mirror of whatever happened on Instagram. For a clip you've already fully packaged, cover, safe zone, caption, audio, cross-posting is close to free incremental reach: no new export, no new caption to write, just a toggle you check before you hit publish.
The one case worth pausing on: audience-specific inside jokes or references that only make sense to your Instagram followers can land flat on a Facebook Page with a different demographic. That's a judgment call about the specific clip, not a reason to skip cross-posting by default.
Does Instagram penalize repurposed content? What actually triggers it?
It penalizes visible evidence of recycling, not the underlying fact that your Reel started life as part of a longer recording. That distinction matters, because it changes what you should actually spend time fixing.
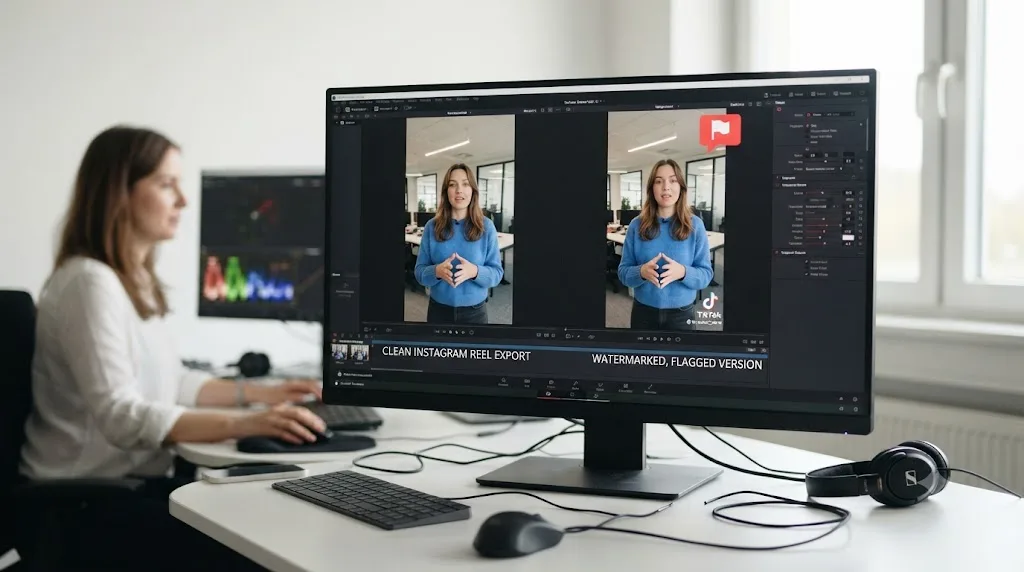
An Instagram spokesperson, Devi Narasimhan, put the reasoning behind the policy plainly to the press: "We heard in research that people have a less satisfying experience when they see content that is recycled from other apps or is blurry and low-resolution." Instagram has separately said it will limit distribution of Reels that appear "visibly recycled from other applications," specifically citing videos carrying another platform's logo or watermark as the clearest example.
Read carefully, that policy targets two things: someone else's on-screen watermark, and visibly degraded quality from repeated re-compression, not the fact that a clip was cut from a longer video. A Reel exported cleanly from DaVinci Resolve, with no TikTok or CapCut watermark baked in and no visible re-encoding artifacts, doesn't carry either of the two signals that policy is built to catch, regardless of where the footage originally came from.
| What triggers the recycled-content penalty | What doesn't |
|---|---|
| A visible logo or watermark from another app baked into the frame | Footage that originated in a longer recording, interview, podcast, or webinar |
| Visibly degraded, blurry, or heavily re-compressed video | A clean 1080x1920 export straight from DaVinci Resolve's Deliver page |
| Uploading the exact same finished clip Instagram has already indexed elsewhere with its metadata intact | Cutting a new, distinct clip from source footage you own |
The practical takeaway sits entirely inside your export step, not your editorial choices. Never route a finished clip through a third-party watermarking tool or re-export an already-compressed file a second time before uploading it. Export once, directly from your finished DaVinci Resolve timeline, at the resolution and codec your Deliver settings actually specify, and the "recycled content" concern doesn't apply to you, no matter how many separate Reels you pull from the same source recording.
What DaVinci Resolve export settings actually matter for Instagram?
Fewer than most checklists imply, because Instagram re-compresses almost everything you upload regardless of what you hand it. The Deliver page recipe for a vertical Reel starts identically to any other platform export: MP4 container, H.264 codec, your reframed 1080x1920 timeline resolution, AAC audio. Our full DaVinci Resolve export settings for YouTube guide walks through that Deliver-page recipe end to end; the only change for a Reel is the resolution field, since the encoder settings underneath don't change by platform.
Where Instagram genuinely differs is downstream of your control, not inside it. Every video you upload gets re-encoded on Instagram's own servers before anyone sees it, which is exactly why aggressive on-device compression from a screen recording tool, or a low bitrate export saved to shave file size, tends to look noticeably worse after upload than it did in Resolve's own viewer: two rounds of lossy compression compound. The practical fix isn't a magic bitrate number, since Instagram doesn't publish one, it's simply not starting from a source that's already degraded. Export at a high bitrate on Resolve's Deliver page rather than the lowest setting that technically plays, and never re-export a file that's already been through one platform's compression before sending it to Instagram.
Instagram will compress your video no matter what you feed it, so the only bitrate decision that's actually yours to make is not starting from a file that's already lossy. If you're batch-exporting several Reels from the same session, export the first one, upload it, and check how it actually looks in the app before committing the same settings to the rest of the batch. A five-minute spot check catches a bad export setting before it costs you eight re-uploads.
What if your source footage isn't a clean sit-down interview?
The workflow in this guide assumes a fairly clean case: one or two speakers, a static or lightly moving camera, landscape footage that needs reframing to vertical. Plenty of long-form source material doesn't look like that, and each variant changes one or two steps, not the whole process.
A webinar or screen-share splits your frame into two things that both matter, a speaker's webcam box and a slide or shared screen, and a straight reframe to 9:16 doesn't know which one to prioritize. Cropping in tight on the speaker alone often shrinks any on-screen text on the slide past the point of being readable once it's inside a 1080x1920 frame. Pick one of two approaches instead of trying to force both into the same crop. If the clip's value is what the speaker says, crop to the webcam box and treat the slide as something you're willing to lose, since audio plus a talking head carries most webinar clips on its own. If the slide itself is the point, a chart, a specific number, a before-and-after, cut to a full-frame still or a slow push-in on just the slide for that portion of the clip, then cut back to the speaker, rather than shrinking both down to a size where neither one reads clearly.
A multi-speaker panel has a related problem, and the fix is editorial rather than technical. Smart Reframe tracks a single subject; it doesn't know which speaker in a three-person panel to follow as the conversation moves between them. Cut on whoever's actually talking, the way a live multicam switch would, instead of trying to keep a wide shot of the whole panel in a frame where everyone ends up too small to register as a face.
Already-vertical source footage, a phone-recorded interview, a portrait webcam series, mostly skips the reframing step, but not the rest of the guide. Footage shot vertical for its own sake, without Instagram's icon layout in mind, still needs its subject and any on-screen text checked against the safe zone from earlier. A phone interview framed dead-center for a vertical YouTube upload can still put a face too close to where Instagram's caption stack or icon column sits once it's repurposed as a Reel. The one real time saving is on DaVinci Resolve's Deliver page: your timeline resolution already matches your export resolution, so there's no Smart Reframe pass and no manual crop keyframing at all. Just confirm your source is at least 1080x1920 before you rely on it directly, since anything shot smaller gets upscaled, and upscaled vertical phone footage looks visibly softer next to a properly reframed crop from a landscape camera.
| Source footage type | What changes from the standard workflow |
|---|---|
| Single speaker, static or lightly moving camera | The workflow in this guide as written |
| Webinar or screen-share with slides | Crop to the speaker alone, or cut to a dedicated slide close-up, rather than fitting both small |
| Multi-speaker panel | Cut on the active speaker instead of relying on Smart Reframe to pick one |
| Already vertical (phone-shot, portrait) | Skip the reframe, but still check the safe zone and confirm source resolution is 1080x1920 or higher |
Worked example: turning one 40-minute interview into a week of Instagram Reels
Here's the whole packaging process applied to one source recording, moment to publish, across five separate Reels instead of one.
Say you've already run the finding-and-cutting workflow from our long-video-to-short-clips guide against a 40-minute recorded interview and come out with five strong, self-contained candidate clips, each already reframed to 1080x1920 in DaVinci Resolve. Packaging them for Instagram specifically looks like this:
- Sort the five clips by strength, not by chronological order in the source recording. Your strongest moment goes first, published on the day you have the most attention to spend checking its early performance, not buried in the middle of the week.
- Design a distinct cover for each clip, choosing or uploading a frame with the speaker's face and any on-screen text sitting inside the central 1080x1080 square, so all five look intentional next to each other on your profile grid rather than like five auto-generated thumbnails.
- Decide audio per clip, not once for the batch. A clip built on a specific quotable line keeps its original audio, mixed clean. A more visual moment, a gesture, a reaction, a b-roll cutaway, gets a trending audio track layered in instead.
- Write five distinct captions, each with its own hook inside the first 125 characters, referencing what's actually in that specific clip rather than reusing one generic caption across all five, which reads as low-effort to anyone who happens to see two of them.
- Space the publishing schedule out, one Reel every one to two days rather than posting all five at once. Five Reels dropped simultaneously compete against each other for the same audience's attention and dilute your own early engagement signal instead of building on it.
- Cross-post each one to Facebook using the same-screen toggle as you publish it, at no extra editing cost.
- Check each Reel's own insights at the 24 to 48 hour mark before publishing the next one in the sequence. If clip one's watch-through rate is weak past the first few seconds, that's real information about your hook-writing for the whole batch, worth acting on before clip two goes out rather than after all five have already underperformed the same way.
| Day | Action |
|---|---|
| Day 1 | Publish strongest clip, custom cover, mixed audio, cross-post to Facebook |
| Day 2 | Check Day 1 insights; adjust hook style for Day 3's caption if watch-through is weak |
| Day 3 | Publish second clip |
| Day 5 | Publish third clip |
| Day 7 | Publish fourth clip |
| Day 9 | Publish fifth clip, informed by whichever hook style performed best across the first four |
The same staggered process works when your source isn't a single-speaker interview. Say the 40-minute recording is a three-person panel discussion instead: the moment-selection and cover-design steps stay identical, but per the multi-speaker guidance above, each clip needs to be cut on whichever panelist is actually talking during that moment rather than framed as a static wide shot of all three. Cover design gets slightly more work too, since a panel clip's cover needs to clearly show whoever's the focus of that specific clip, not a generic group shot that doesn't tell a scrolling viewer who they're about to watch.
The caption pass changes too. A single-speaker interview clip can lean on the speaker's own name and reputation to carry the hook. A panel clip pulled from a group discussion usually needs one extra clause of context, who's talking and why it's relevant, since a viewer who doesn't recognize a face from a three-person panel has less to go on than they would with your show's regular solo host.
None of that changes the publishing schedule from the table above. Stagger regardless of how many speakers are in the source recording, and let the first clip's insights, covered next, inform how you cut and caption the ones still ahead of you in the batch.
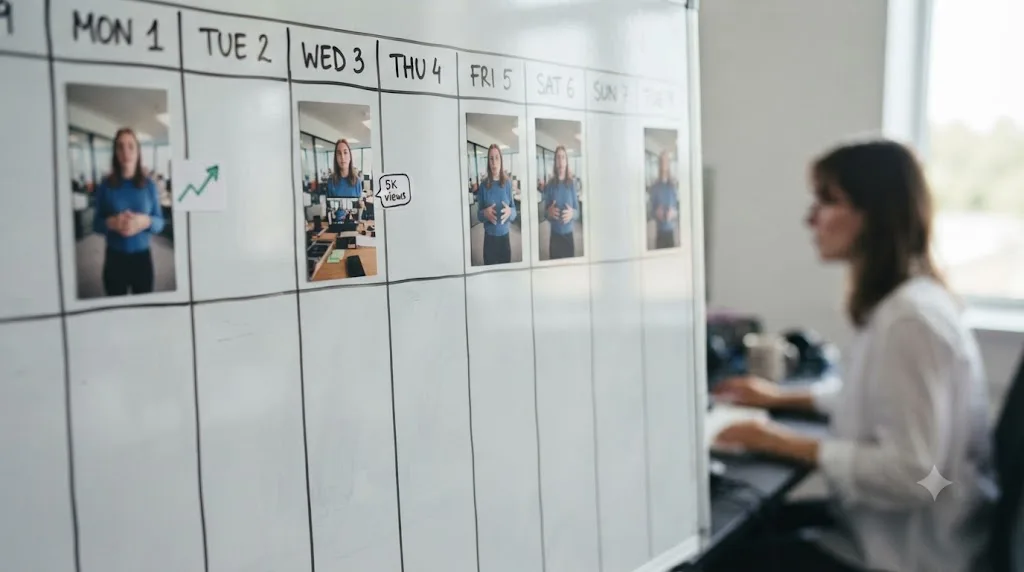
What do the numbers in a Reel's own insights actually mean?
This guide keeps telling you to check a Reel's insights before publishing the next one, so it's worth being precise about what you're actually looking at, since the terms overlap in ways that trip people up.
Plays counts every time the Reel started playing, including repeat views from the same person and views under a second long. It's the least meaningful number in the panel on its own, useful mainly as a denominator for everything else.
Accounts reached counts distinct accounts that saw the Reel at least once, which is a better read on actual distribution than plays, since one person scrolling past three times inflates plays without adding any new reach.
Average watch time, and its close cousin, the retention graph if your account has it, is the number this guide leans on most, because it's the closest proxy available to you for the completion signal Instagram's own ranking explanation names directly. A Reel where average watch time is a large fraction of total length held its audience; one where it drops off in the first few seconds lost people at the hook, exactly the failure this guide's cover and caption advice is trying to prevent.
Likes, comments, shares, and saves aren't interchangeable, even though they get grouped together in a lot of casual advice. Shares and saves are generally read as stronger signals than likes, because both require the viewer to do something more deliberate than a single tap, sending the Reel to a specific person or coming back to it later. If a clip gets likes but neither shares nor saves, that's a sign it was fine to watch but didn't clear the bar this guide set earlier: would someone actually send this to a friend.
Non-follower reach, sometimes shown as a percentage of total reach, tells you whether the Reel is doing the discovery job specifically, reaching past your existing audience into Explore and the Reels tab. A Reel with high plays but almost all of it from existing followers is performing more like a Story than a Reel, informative to people who already follow you, but not doing the work a repurposed clip is usually cut for.
| Metric | What it actually tells you | Where it can mislead |
|---|---|---|
| Plays | Raw play count, repeats included | Inflated by one person rewatching |
| Accounts reached | Distinct people who saw it | Doesn't say whether they watched to the end |
| Average watch time | How much of the clip people actually watched | Meaningless without knowing the clip's total length |
| Shares and saves | Deliberate, higher-intent actions | Easy to undercount if you only glance at likes |
| Non-follower reach | Whether the Reel reached beyond your existing audience | Can look strong even on a weak clip if one outside account reshares it |
Check average watch time and non-follower reach first, the two numbers most directly tied to whether the clip is doing what a Reel is supposed to do, rather than starting with the like count, which is the least informative number in the panel despite being the most visible one.
What goes wrong, and how do you fix it?
Most publishing problems trace back to a small set of causes specific to how Instagram handles an uploaded Reel, separate from anything that can go wrong back in DaVinci Resolve.
| Symptom | Likely cause | Fix |
|---|---|---|
| The cover shows a blurry or awkward frame nobody chose on purpose | Instagram auto-selected whatever frame the upload happened to land on | Open the cover editor while posting, or Edit afterward, and pick or upload a deliberate 1080x1920 cover |
| Text or captions look cut off by icons in the actual app, even though they looked fine in Resolve's viewer | Text was placed using the full 1080x1920 frame instead of the safe zone Instagram's own UI reserves | Reframe or reposition burned-in text to sit inside the central safe band, checked against the real app, not just Resolve's preview |
| The Reel looks soft or blocky after uploading, worse than it looked in Resolve | A low-bitrate export got compressed a second time by Instagram's own re-encoding | Re-export at a higher bitrate from the original Resolve timeline rather than re-uploading the already-compressed file |
| The audio is silent or muted for some viewers but not others | A licensed music track isn't cleared in the viewer's country | Swap to a track from Instagram's own trending or Reels-native library, or keep the clip's original audio, which doesn't carry the same geographic licensing risk |
| The Reel seems to reach far fewer non-followers than your usual posts | Possible visible-recycling signal, most commonly a watermark from another editing app baked into the export | Confirm the export came straight off DaVinci Resolve's Deliver page with no watermark, and never re-export a file that already carries one |
| A webinar clip's slide text is unreadable | Speaker and slide were cropped together into a frame too small for either to read clearly | Cut to a dedicated slide close-up instead of trying to keep both visible at once |
| A panel clip cuts to the wrong speaker or stays wide the whole time | Reframing followed a single tracked subject instead of the active speaker | Recut on whoever's talking, the same way a live multicam switch would |
| The vertical clip looks soft even though it played fine in Resolve | Source footage was shot smaller than 1080x1920 and got upscaled to fit | Confirm your source resolution before relying on already-vertical footage directly |
| You can't tell if the clip is actually working | You published and moved on without checking the Reel's own insights | Check average watch time, shares, and non-follower reach at the 24 to 48 hour mark before deciding whether the next clip needs a different hook |
| Every Reel from this recording looks and reads the same | Same cover style, same caption structure, same audio choice reused across the whole batch | Vary cover framing, caption hook style, and audio choice per clip, per the worked example above |
One habit catches most of these before they cost you a wasted post: open the finished Reel in Instagram's own app, not just Resolve's viewer, and scroll past it the way a real viewer would, sound off first, before you hit publish. That single check catches a bad cover, a hidden caption, and a muted track faster than any setting in this guide.
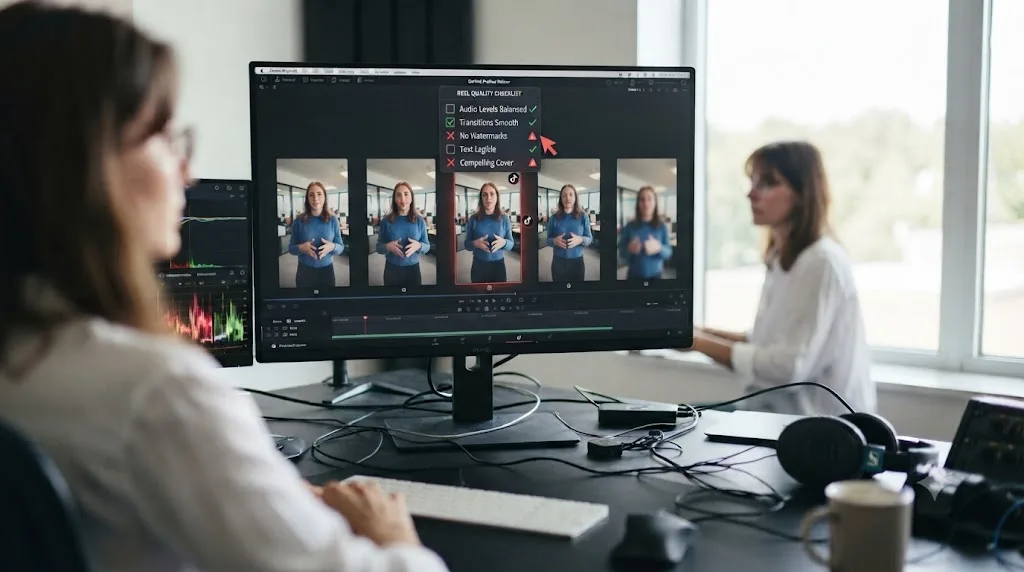
Reels, Stories, or a longer feed post: which format fits this specific clip?
Not every moment you pull from a long-form recording belongs in the Reels format at all, and forcing one into it wastes the packaging work this guide just walked through.
| Format | Best fit | Lifespan and reach |
|---|---|---|
| Reels | A tight, self-contained moment meant to reach people who don't already follow you | Permanent, and the primary surface Instagram pushes to non-followers through Explore and the Reels tab |
| Stories | Behind-the-scenes context, a teaser for the full Reel, or a moment that only makes sense to people who already follow you | Disappears after 24 hours (unless saved to Highlights); reaches mostly your existing audience |
| A longer video post | A moment that's genuinely strong but doesn't survive being cut down to Reel length, or full context your existing audience specifically wants | Lives on your profile permanently, but leans on your existing following rather than Instagram's discovery surfaces the way a Reel does |
A fast, honest test: if the moment only works with the surrounding fifteen seconds of setup and can't be tightened without losing what made it worth clipping in the first place, it's not a Reel candidate, it's better suited to a Story teaser pointing at the full long-form piece, or a longer post for people already invested enough to want the fuller version. Not every strong moment from your long-form recording is a Reel. Some are just good content in a different shape.
Do you need an AI clipping tool, or help staying oriented inside DaVinci Resolve, to do any of this?
Not to do the packaging steps in this guide, no. Everything from cover design to caption writing to the safe-zone check happens on Instagram's own app, not inside an editor, and none of it is gated behind a paid tool.
Where a dedicated tool genuinely helps is upstream, at the finding-and-cutting stage this guide assumes you've already finished. If you're regularly pulling clips from long recordings at real volume, our comparison of DaVinci Resolve against Opus Clip for short-form repurposing covers what a dedicated auto-clipping tool automates and what it costs, versus doing the marker-and-crop workflow by hand.
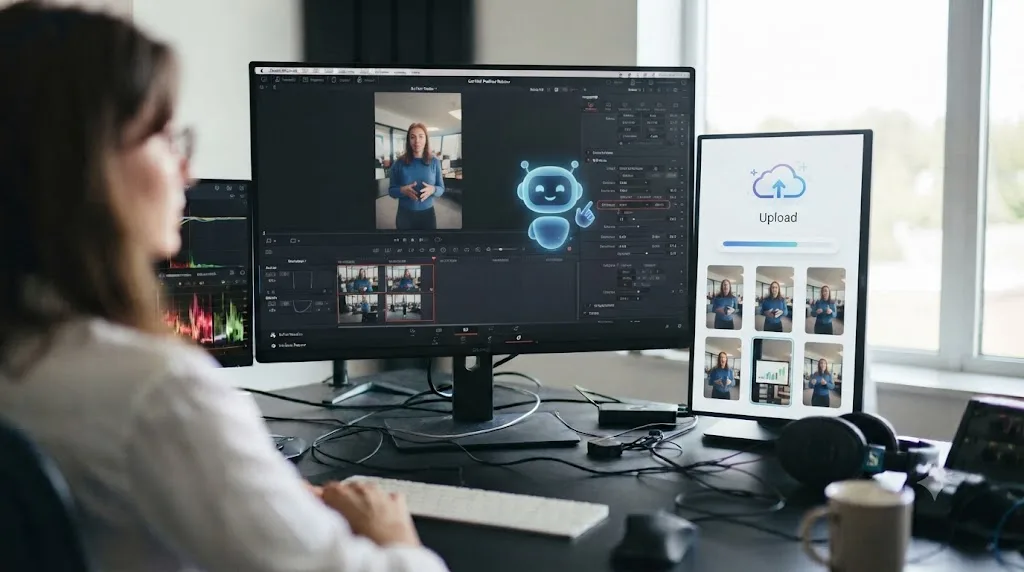
A separate, smaller kind of help is worth naming honestly, since it solves a different problem than either of the above. TryUncle is an on-screen assistant for DaVinci Resolve on macOS: ask it a question in plain words and it points at the exact control on your own screen, live, inside your own project. It doesn't touch your clip, pick your cover, write your caption, or choose your audio; every decision in this guide is still yours to make. What it's built for is the specific moment mid-session where you can't remember which Inspector tab holds the crop settings, or whether your version of Resolve even has Smart Reframe available, and a quick answer inside the app beats breaking your flow to search a tutorial tab. It's a paid subscription at $39 a month, macOS only. Check TryUncle's FAQ for the current rate before deciding it fits your workflow.
So what should you actually do first?
Pick the one clip from your long-form recording you'd genuinely send to a specific friend, not just the one that's on-topic. Everything after that, the safe zone, the cover, the audio choice, the caption's first 125 characters, is packaging work you do once you already have the right moment, and none of it saves a weak clip.
Design the cover on purpose instead of trusting Instagram's auto-selected frame, keep text inside the center band away from the app's own icons and caption stack, choose original or trending audio based on whether the words or the visual are actually carrying the moment, and write a caption whose first sentence works before the reader taps "more." Cross-post to Facebook while you're already on the share screen, since it costs nothing. Then check the Reel's own insights, average watch time and non-follower reach first, before you publish the next one from the same recording, because that's the only feedback loop this whole process actually has.
One long recording, cut with intent and packaged for the platform it's actually landing on, outperforms five identical clips dropped onto Instagram exactly the way they came out of the editor.
Frequently asked questions
- What's the ideal length for an Instagram Reel repurposed from a long-form video?
- Shorter than you think, even though Instagram's upload ceiling is generous. Instagram head Adam Mosseri raised the Reels length limit from 90 seconds to three minutes in January 2025, saying on Threads that '90 seconds is just too short' and the change was meant to give creators 'a bit more room to be creative.' That's a ceiling, not a target. Most moments pulled from a podcast, interview, or webinar are strongest between 15 and 60 seconds, because that's usually how long one genuinely self-contained idea takes to land.
- Do you need a different cover image than the video's first frame?
- Yes, almost always. Instagram defaults to whatever frame the Reel happens to land on when it finishes uploading, which is rarely your best frame. Open the Reel's cover editor, either while posting or afterward from the three-dot menu, and either drag to a stronger frame or upload a custom 1080x1920 image. Keep faces, text, and your subject inside the central 1080x1080 square, since that's the portion that survives the crop to your profile grid.
- Should you use trending audio or the original audio from your long-form video?
- It depends on what carries the moment. If the clip's value is a specific thing someone said, keep the original audio; muting it for a trending song erases the reason the clip exists. If the clip is more visual, a b-roll montage, a transformation, a reaction, trending audio can help a first-time viewer find it through the sound's own page. You can also layer trending audio under lowered original audio using Instagram's own volume mixer instead of choosing one or the other.
- Does Instagram penalize Reels that are repurposed from other platforms?
- It penalizes visible signs of recycling, not repurposing itself. An Instagram spokesperson told the press plainly that people have 'a less satisfying experience when they see content that is recycled from other apps or is blurry and low-resolution,' and Instagram has said it will limit distribution of Reels carrying another app's watermark or logo. A clip cut and reframed cleanly in DaVinci Resolve, with no TikTok or CapCut watermark burned in, doesn't trigger that penalty just because the footage started life as a longer recording.
- How do you keep text and captions from being covered by Instagram's own interface?
- Keep hook text and captions inside the central safe area and treat the top and bottom of the frame as reserved space. Meta's own guidance for Reels ad creative, which uses the same on-screen layout as an organic Reel, keeps text and logos out of roughly the top 14% and bottom 30 to 35% of the frame, plus a narrow margin on the right side where the like, comment, and share icons sit. Center your subject and keep on-screen text inside that middle band.
- Should you cross-post the Reel to Facebook?
- Usually yes, since it costs one tap and doesn't hurt Instagram's own distribution. Instagram's Share settings screen lets you toggle 'Also share to Facebook' before you publish, or turn on automatic sharing for every future Reel from the Accounts Center. It republishes as a native Facebook Reel to whatever audience your Facebook Page or profile normally reaches, which is incremental reach for zero extra editing work.
- How many hashtags should you actually use on a Reel?
- Instagram's own Help Center caps hashtags at 30 across the caption and first comment combined, and posting can fail past that. The practical number is much lower. A handful of specific, relevant hashtags reads as intentional; a caption padded with 20 to 30 generic tags reads as spam to a human scrolling past it, whatever the algorithm does or doesn't do with them. Two or three specific hashtags plus your account's own niche tag is a reasonable default.
Sources
- Meta Business Help Center: About text overlays and the Safe Zone for ads in Stories and Reels
- About Instagram: Instagram Ranking Explained
- Instagram Help Center: Reels
- Instagram Help Center: How do I remix a reel on Instagram?
- Instagram Help Center: Add your own audio or someone else's original audio in a reel
- Instagram Help Center: Share an Instagram post or reel to your Facebook Page
- Instagram Help Center: Manage closed captions for your reels
- About Instagram: Updates and Guidelines for Including Music in Video
- Wersm: Instagram Will Deprioritize Content Recycled From Other Apps
- Instagram Help Center: Use hashtags on Instagram
- Adam Mosseri on Threads: Reels up to three minutes
- DaVinci Resolve Reference Manual: Smart Reframe, Studio Version Only (Blackmagic Design, mirrored)
- DaVinci Resolve Studio product page (Blackmagic Design)
- Opus Clip (product site)
- TryUncle
- TryUncle FAQ
Learn by doing, not watching
Stop translating tutorials to your timeline.
TryUncle stays beside Resolve on Mac and Windows. When you ask, Uncle sees your screen and points at the exact control you need. No hunting through tabs, timestamps, or mismatched tutorials.
Meet TryUncleKeep reading
 GuidesJul 16, 202631 min read
How to Turn a Long Video Into Short Clips in DaVinci Resolve
How to turn a long video into short clips in DaVinci Resolve: finding the good moments with markers or IntelliSearch, cutting them, reframing for vertical, and exporting for every platform.
 ComparisonsJul 20, 202637 min read
DaVinci Resolve vs Opus Clip for Short-Form Repurposing
DaVinci Resolve edits video. Opus Clip finds and cuts short clips automatically. What each does, what it costs, and which fits your workflow.
 GuidesJul 8, 202638 min read
How to Add Subtitles in DaVinci Resolve (Manual and AI)
How to add subtitles in DaVinci Resolve: manual typing, AI auto-captions, styling, multi-language tracks, and exporting for YouTube or broadcast delivery.