
Learn / DaVinci Resolveupdated for DaVinci Resolve 21.0.2 (July 2026)
DaVinci Resolve for Travel and Vlog Creators: Where to Start
Quick answer
Start with one trip's footage. Set your project's frame rate to match your camera (usually 23.976 or 29.97, not a round 24 or 30), build one bin per shoot day for phone, GoPro, and drone clips, generate proxies, then cut on the Edit page. Learn DaVinci Resolve's pages in that order, on real footage, not all at once.
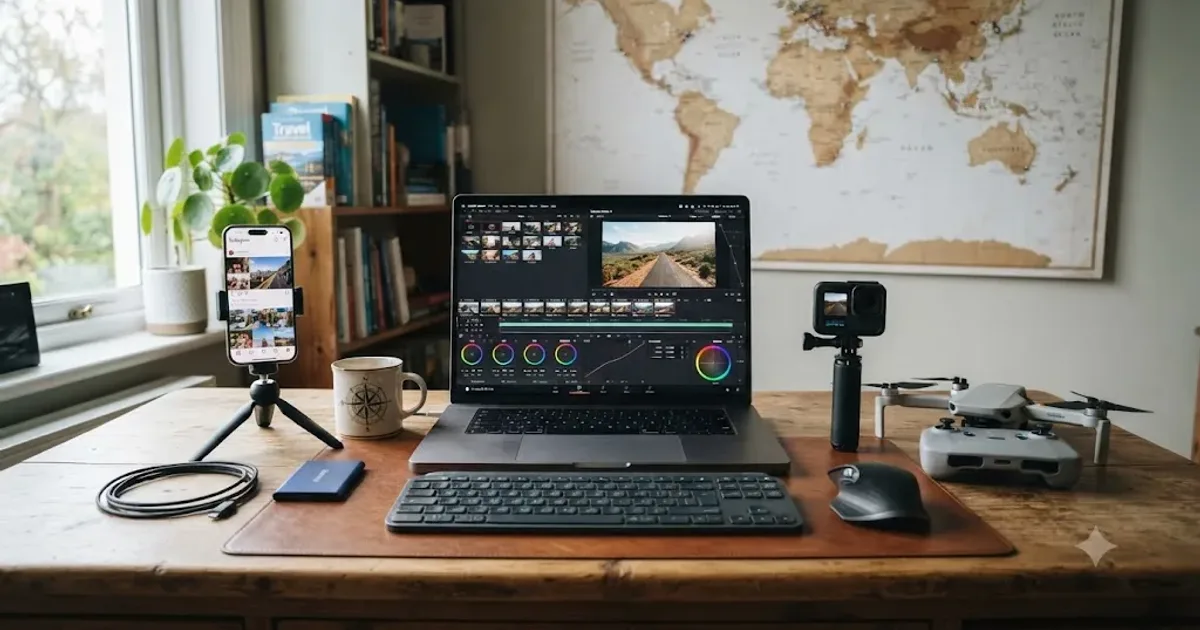
You've got four days of footage from a phone, an action camera, and a drone, no shared timecode between any of them, and a DaVinci Resolve window open with six unlabeled pages staring back at you. Nothing about a talking-head tutorial or a wedding-editing guide tells you where to start here, because none of it was shot on one steady camera in one room.
This guide is that starting point, built specifically around what makes travel and vlog footage different: mixed cameras, outdoor audio, huge clip counts, and an editor who's often still on the road while cutting. Every setting below is something DaVinci Resolve genuinely offers, sourced to Blackmagic's own documentation, camera manufacturers' specs, or a named source, not guessed at.
What makes travel and vlog footage different to edit than everything else?
Volume and mismatch, mostly. A tutorial channel shoots one camera in one room at one frame rate. A travel or vlog creator shoots a phone for run-and-gun shots, an action camera for anything that might get wet or dropped, a drone for the establishing shots, and sometimes a separate camera for sit-down segments, all on the same trip, often on the same day. None of those four sources share a frame rate, a color profile, or in most cases, a microphone.
A travel edit isn't harder because the software is different. It's harder because the inputs are. Four cameras means four sets of import quirks, four color profiles that don't match without work, and at least one audio source that needs syncing to video it was never physically attached to. A vlog editing workflow built around a single camera and a lav mic simply doesn't have a step for "conform the drone's 29.97fps drone shot to the same timeline as a 24fps cinema camera clip," because that problem doesn't exist for most creators. It exists for you.
Outdoor audio is the other constant. Wind, traffic, crowd noise, and a mic that's sometimes three feet from your mouth and sometimes thirty, all inside the same video. A studio vlogger deals with room tone. You deal with a truck horn in the middle of your best take, recorded in a country where you don't speak the language on the sign that might explain what to do about it.
| Challenge | Studio/talking-head vlog | Travel/vlog on the road |
|---|---|---|
| Camera sources | Usually one | Often three or four: phone, action cam, drone, sometimes a mirrorless |
| Frame rate consistency | Locked from the start | Varies by camera, often mismatched without you choosing it |
| Audio source | One lav or shotgun mic | Camera mic, wireless lav, drone with no mic at all, sometimes all three in one video |
| Editing location | Fixed desk, fixed hardware | Laptop, hotel Wi-Fi, whatever storage you brought |
| Footage volume per shoot | Predictable | Can run into hours per day of raw clips |
None of this means travel and vlog editing needs different software or a secret feature nobody talks about. It means the same tools, project settings, footage organization, sync, color, and export, need to be applied in an order and with settings that account for four mismatched sources instead of one clean one. That's what the rest of this guide covers.
Where do you actually start if you've never opened DaVinci Resolve?
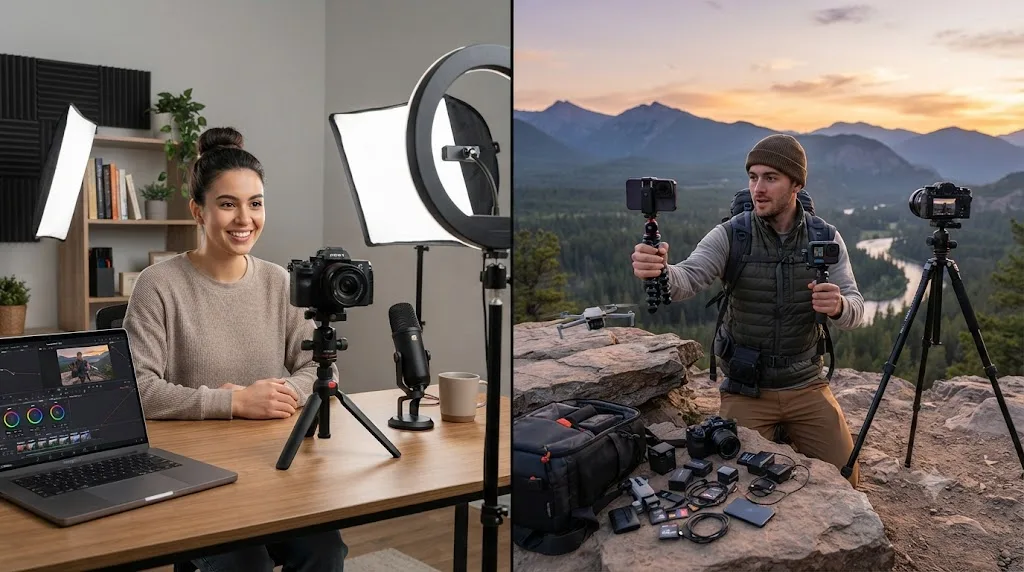
Download it, pick free or Studio based on your camera's codec, and open one trip's footage before you touch a single tutorial past the first ten minutes. DaVinci Resolve installs identically on macOS, Windows, and Linux, straight from Blackmagic Design's own site, and the free version is a genuinely complete editor, not a stripped demo.
The one decision worth making before you download anything is free versus Studio, and for travel and vlog creators specifically, that decision often comes down to your camera, not your ambition. If you shoot a GoPro Hero 13 or newer in its highest-quality modes, or an iPhone in Log or ProRes, you're producing 10-bit HEVC or ProRes footage, and the free version's HEVC decode path is limited without extra setup on Windows. If you shoot mostly standard 8-bit H.264 from a phone or an older action camera, the free version handles everything in this guide with no compromise.
Once it's installed, resist the urge to explore every page before you've cut anything. DaVinci Resolve's six pages, Media, Cut, Edit, Fusion, Color, Fairlight, and Deliver, map roughly to the stages of an edit, but you don't need fluency in all six to finish your first vlog. The DaVinci Resolve learning roadmap for beginners lays out the full page order Blackmagic's own free training follows, Cut or Edit first, then Fairlight, then Color, then Fusion, and that order holds for travel content too. The only travel-specific addition is that project setup, the very next section, matters more here than it does for most single-camera channels, because getting it wrong on day one means re-conforming every clip from every camera later.
Start with the smallest realistic project you have: one day's footage, not the whole trip. A four-day motorcycle trip or a two-week backpacking vlog produces far more raw footage than a first project should carry. Pick your best single day, import just that day's clips from all your cameras, and build a complete short edit, cut, basic color, basic audio, export, before you open the rest of the trip. Finishing one small, real edit teaches you more about DaVinci Resolve than watching an hour of tutorials about a project you haven't started. You'll hit real problems, a clip that won't import, audio that won't sync, on a scale small enough to actually solve before you're stuck with the same problems multiplied across a whole trip's worth of footage.
Is your laptop good enough to edit travel footage on the road?
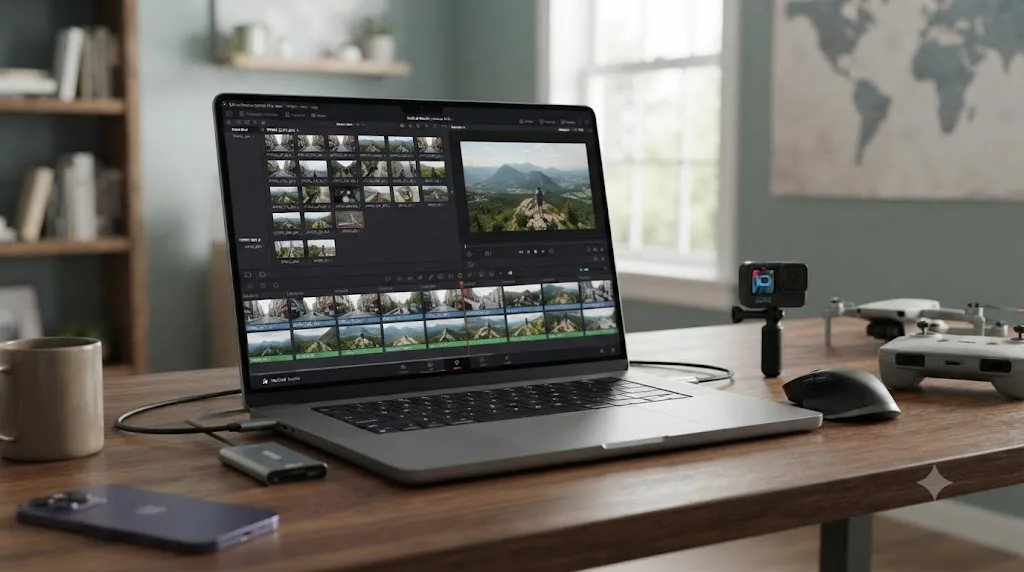
Usually, if you're willing to use proxies. Blackmagic Design's own tech specs list 16GB of system memory as the Windows minimum and recommend more for anything beyond a simple cut, with DaVinci Resolve 21 requiring an Apple Silicon Mac on macOS after dropping Intel Mac support, according to Blackmagic Design's tech specs page. That's the floor for launching the software at all, not a guarantee of a smooth 4K edit on battery power in a hotel room with spotty air conditioning.
What actually determines whether your laptop can handle a travel edit isn't the spec sheet, it's whether you're editing full-resolution 4K footage directly or working from proxies. DaVinci Resolve's own reference manual describes Optimized Media and proxy generation as the tool for exactly this problem: smaller, easier-to-decode copies of your footage that Resolve edits from instead of the full 4K or higher originals, then automatically swaps back to full resolution at render time. A modest laptop that chokes scrubbing native 4K GoPro footage will often edit the same footage smoothly once proxies are on.
| Hardware | Realistic travel-edit ceiling |
|---|---|
| Apple Silicon MacBook Air (M-series) | Comfortable proxy-based 4K edit; native 4K playback depends on codec, ProRes decodes natively, heavy HEVC may still want proxies |
| Apple Silicon MacBook Pro | Native 4K from most cameras without proxies for straightforward cuts; heavier color and Fusion work still benefits from them |
| Windows laptop, dedicated GPU, 16GB RAM | Workable with proxies; native 4K from multiple mismatched cameras will likely stutter without them |
| Windows laptop, integrated GPU only | Proxies aren't optional here, generate them for everything above 1080p |
Battery life and power access matter more on the road than they do at a desk, and this is one place a travel-specific habit pays off: generate proxies and do your rough cut on battery or a modest charger during downtime, cafes, trains, hotel lobbies, and save full-resolution color and export for whenever you have a reliable outlet and enough time not to interrupt a render. Interrupting a long export because a train arrived costs you the whole render, not just the interrupted portion.
Storage is the part travel creators underestimate more than raw processing power. A single day of 4K multi-camera footage, phone, action camera, and drone combined, can run past 100GB before you've deleted anything. The gear you actually can't replace on a trip is your original footage, not your laptop. Back up to two separate physical drives before you format any card for reuse, and if you're relying on cloud backup, confirm it finished uploading before you assume it's safe, hotel Wi-Fi in a lot of the world is not fast enough to trust blindly. A laptop can be replaced from a store. A drone shot from a location you won't return to cannot.
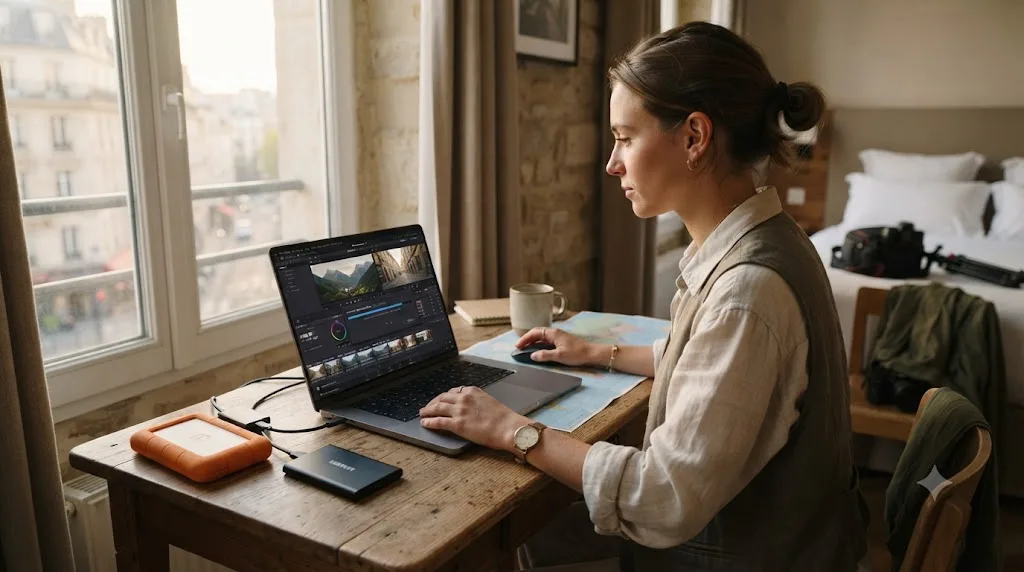
What DaVinci Resolve project settings should you use for a mixed-camera trip?
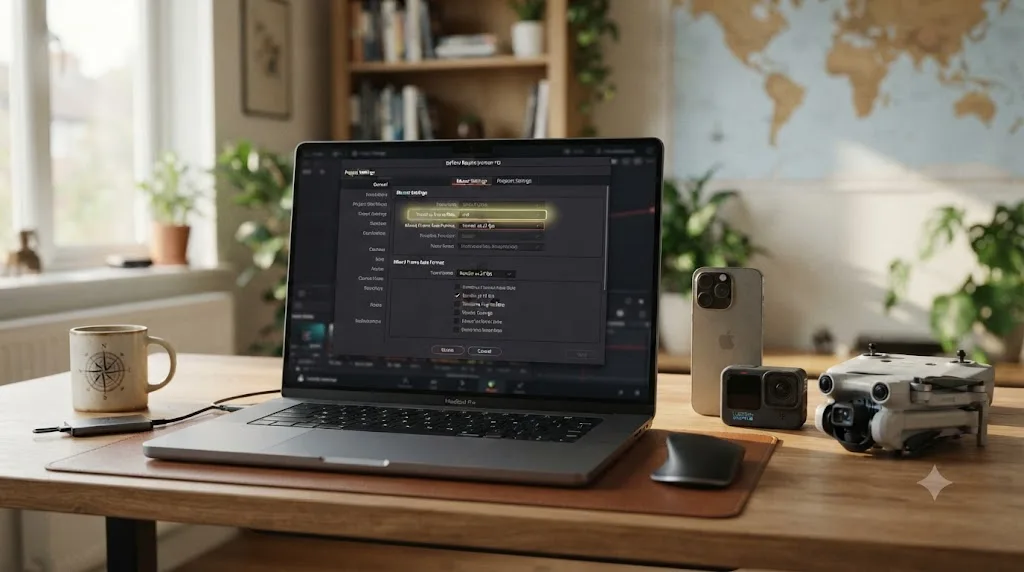
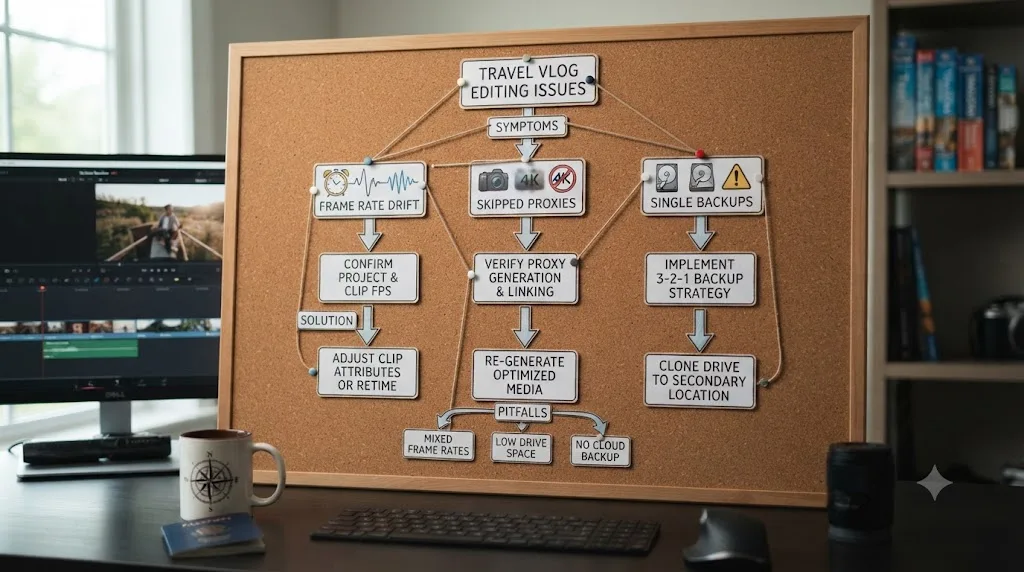
Match the timeline to whichever camera shot the most footage on the trip, then set Mixed Frame Rate Format before you import anything from the other cameras. Get this wrong and every clip from a differently-rated camera conforms to your timeline using Resolve's default Nearest retime process, which drops or duplicates frames and shows up as jitter, a problem covered in full in DaVinci Resolve mixed frame rate timeline jittery: the fix.
The detail almost every new travel editor misses: your camera almost certainly isn't shooting a clean 24fps or 30fps, even though the menu says it is. Phones, GoPros, and DJI drones nearly all default to the NTSC-standard fractional rates, 29.97fps when the setting reads "30," and 23.976fps when it reads "24," a holdover from analog color television broadcasting. Set your timeline to the round number instead of the true fractional rate, and every clip drifts against any audio recorded at a genuine integer rate, slowly enough that you won't notice until you're deep into color or audio and the sync has already fallen apart.
| Content type | Typical primary camera | Timeline frame rate | Color space |
|---|---|---|---|
| Talking-head vlog segments | Phone or mirrorless | 29.97fps (set as 30, verify true rate) | Rec.709 |
| Cinematic B-roll heavy travel edit | Mirrorless or drone | 23.976fps (set as 24, verify true rate) | Rec.709 |
| Action-forward, GoPro-primary edit | Action camera | 29.97fps or 59.94fps depending on shot mode | Rec.709 |
| Drone-heavy establishing footage | Drone | Matches whichever ground camera you're cutting it against | Rec.709 |
Set Mixed Frame Rate Format to Resolve in Project Settings before you import your first clip, per DaVinci Resolve's reference manual on mixed frame rates, unless your project genuinely started life in Premiere Pro, Media Composer, Smoke, or a Final Cut Pro edition, in which case match that setting to the app your project actually came from. This setting locks the moment media hits your Media Pool, so changing your mind after import means clearing the Media Pool and starting over, which is a bigger cost on a multi-camera trip than on a single-camera project.
Rec.709 is the correct color space for every row in that table above. You almost never need ACES or a wide-gamut workflow for travel and vlog content bound for YouTube, Instagram, or TikTok, and reaching for it by default adds a layer of complexity that doesn't pay off unless you're intentionally delivering HDR or working with a colorist on a bigger production. If your drone or action camera shot in a flat log profile for extra dynamic range, that gets corrected on the Color page later in this guide, it doesn't change your project's base color space setting now.
How do you organize footage from a phone, a GoPro, and a drone in the same project?
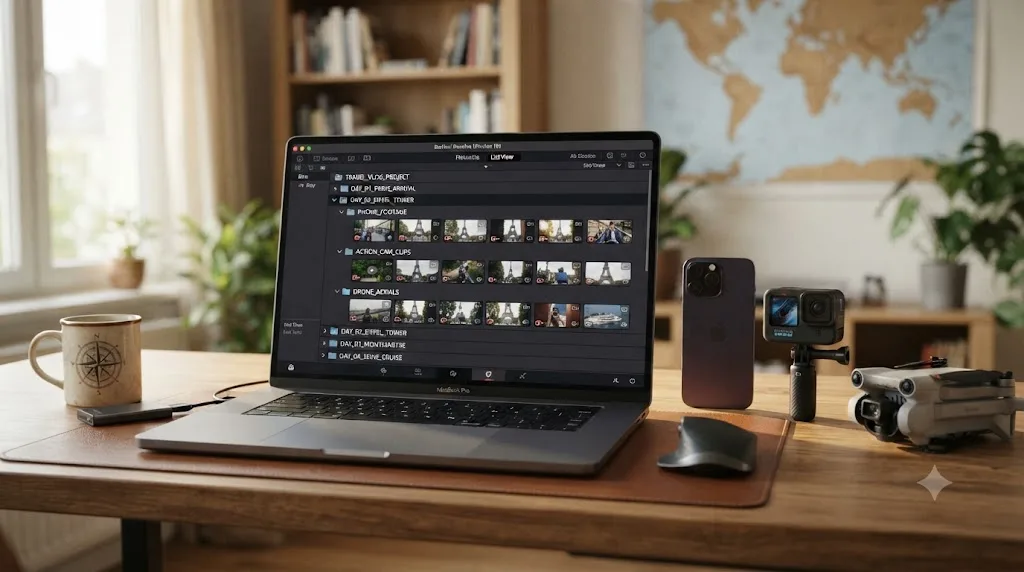
By shoot day first, by camera second, before you touch a single clip. A trip generates footage the way a single-location shoot never does, days blur together, locations repeat, and "the drone shot from the beach" means nothing three weeks later without a folder telling you which beach and which day. Build your folder structure on the drive before the footage lands: one top-level folder per day or per location, then subfolders for each camera's original files, your separately recorded audio, and any LUTs you're using.
Mirror that structure inside DaVinci Resolve with bins. One bin per shoot day works better than one bin per camera for most travel edits, because you'll be pulling clips from every camera used on a given day when you build that day's segment, and hunting across four camera-specific bins for footage from one afternoon wastes more time than the extra bins save. Inside each day's bin, subdivide by camera if the day was especially footage-heavy.
Generate proxies for anything shot above 1080p, and prioritize your action camera and drone footage first, since those are typically your highest resolution, most compressed sources and the ones most likely to stutter on scrub. DaVinci Resolve's reference manual is explicit that H.264 and H.265, the codecs most action cameras and drones actually record in, make poor proxy formats themselves, because their Long GOP compression isn't built for frame-by-frame scrubbing; ProRes proxies scrub smoothly instead, and Resolve swaps back to your originals automatically at render time regardless of what resolution you proxied at.
Keep a Power Bin open for anything reused across every video from the trip: your intro, your end card, a recurring location-title template, your color LUTs. The folder structure you build before you import a single clip is the thing that determines whether you can find "that shot" three weeks and two more trips later. A Power Bin persists across projects in the same database, so a location-title graphic built once on day one of editing gets reused for every video from the trip, instead of rebuilt from scratch each time you need it.
If two or more cameras captured the same moment, a ground camera and a drone catching the same sunset, or a phone and an action camera both rolling during a hike, drop those clips into a Sync Bin together rather than syncing pairs one at a time. How to sync audio in DaVinci Resolve covers Auto Sync Audio in full, including what to do when Resolve reports that two clips don't match, which happens often on travel footage where wind or ambient noise buries the shared sound event both clips need to align on.
How do you fix common import problems with travel gear specifically?
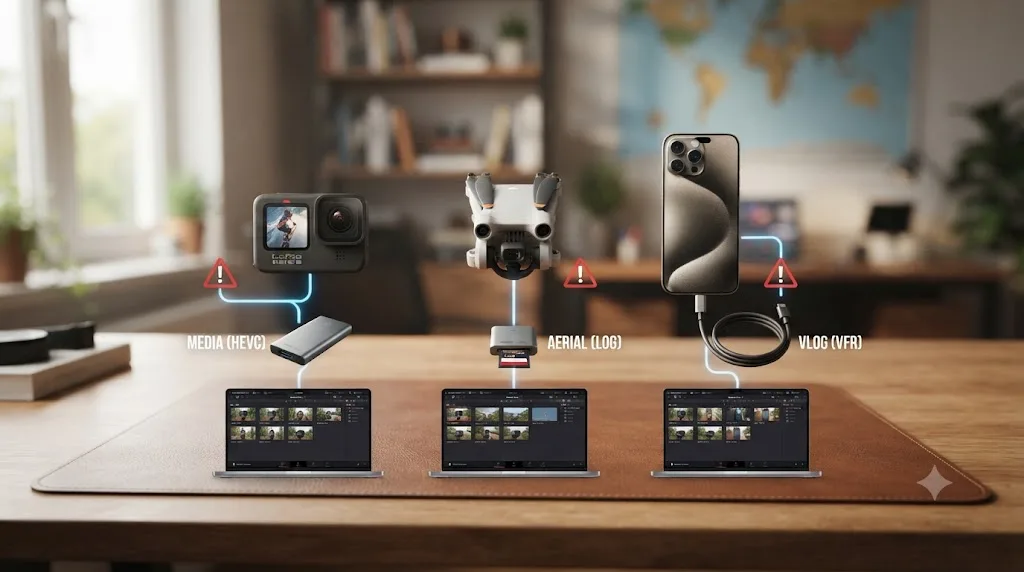
Identify which camera the broken clip came from before you troubleshoot anything, because phones, action cameras, and drones each fail to import for different reasons, and treating them as the same problem wastes time.
GoPro footage, specifically anything shot on a Hero 13 or similarly recent model in its higher-quality modes, most often fails because of HEVC decoding, not corruption. GoPro's own support documentation confirms that the Hero 13's higher-resolution and log-encoded modes record in 10-bit HEVC, and files starting with the GX prefix are always HEVC while GH-prefixed files are H.264, with both saving under the identical .mp4 extension so the prefix is your only visual clue. The free version of DaVinci Resolve can't decode 10-bit HEVC without a working system decoder on Windows or DaVinci Resolve Studio. DaVinci Resolve GoPro Hero 13 footage not importing: the fix covers this in full, including the 12GB file-chaptering boundary GoPro documents for cards formatted exFAT, which splits long recordings into multiple files you need to import and lay down in order.
DJI drone footage that seems to lose sync usually never had a real audio problem to begin with, because most consumer DJI drones record no audio at all. DJI's own Air 3 and Mavic 3 Pro spec pages don't list a built-in microphone, and the drift creators report almost always traces to a separate audio source, a DJI Mic or a ground camera, synced against drone video that splits into a new file every 4GB regardless of card format, per DJI's support documentation on timecode. Sync each split segment separately rather than assuming one long sync covers the whole flight. DaVinci Resolve DJI drone footage out of sync: the fix walks through the full diagnosis, including the fractional frame rate issue covered in the previous section.
iPhone footage usually imports cleanly, but the format you shot in changes what you're actually troubleshooting. HEVC is the iPhone's default video codec, and Apple's own support documentation confirms that recent Pro models can also record in the Apple ProRes format, in HDR, SDR, or Log encoding, through Settings, Camera, Formats. ProRes footage is easier for Resolve to decode and grade but eats roughly ten times the storage of the same shot in HEVC, a real consideration when you're managing storage on the road. If an iPhone clip won't import on Windows specifically, the same HEVC decode requirement that affects GoPro footage applies here too.
| Camera | Most common import problem | Root cause | Fix |
|---|---|---|---|
| GoPro (recent models, high-quality modes) | Won't import, or imports with audio but no picture | 10-bit HEVC decode not supported on your setup | Install a Windows HEVC extension, use Resolve Studio, or transcode to ProRes first |
| GoPro (any model, long recordings) | Recording split into multiple files | Automatic chaptering at 12GB (exFAT) or 4GB (FAT32) | Import all chaptered files and place in order; Resolve stitches with no gap |
| DJI drone | Audio drifts partway through, or "no audio" confusion | Most drones have no built-in mic; separate audio synced across a 4GB file split | Sync each split video segment separately with a matching audio segment |
| DJI drone or any camera | Slow, compounding drift over a long clip | True frame rate is 29.97 or 23.976, not a round 30 or 24 | Set true frame rate in Clip Attributes or match your timeline to it |
| iPhone (Pro models, ProRes) | Large file sizes filling storage fast | ProRes uses roughly 10x the storage of HEVC | Shoot HEVC unless you specifically need ProRes for a grading-heavy shot |
None of these are signs your footage is unusable. A clip that won't import is almost always a decode problem, not a damaged file. Genuine corruption is real but rare, and it has a specific signature: the file was recording when the camera lost power, overheated, or had its card pulled, and its header never finished writing. Everything else on this list has a known, specific fix.
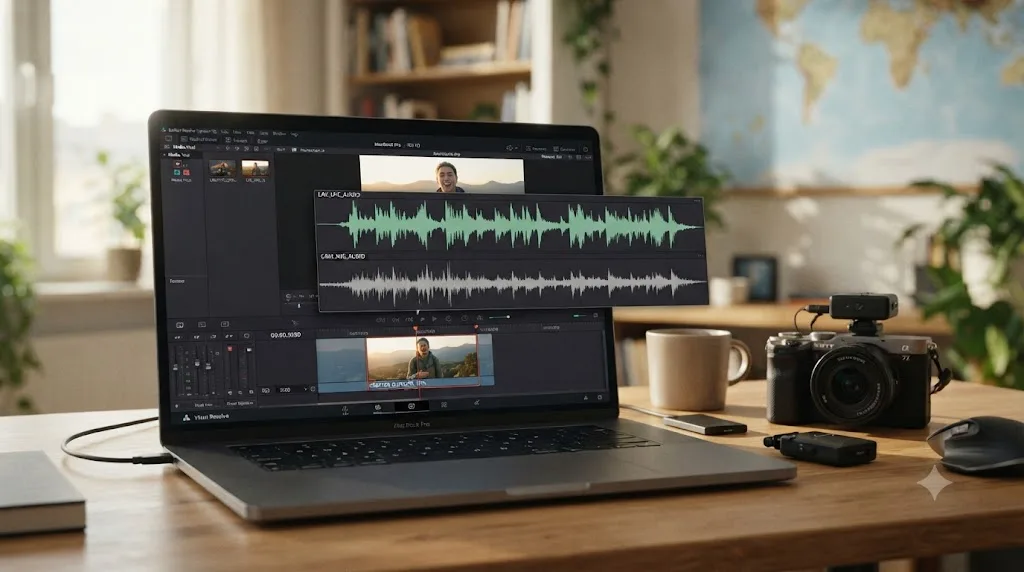
How do you sync audio from a wireless mic or DJI Mic to your vlog footage?
The same way you'd sync any separate audio, Auto Sync Audio, Based on Waveform or Based on Timecode, but travel and vlog shooting makes the waveform-matching harder than a controlled studio setup does. Wind, traffic, and ambient location noise can bury the shared sound event both your camera audio and your wireless mic need to align on, which is why "clips don't match" errors show up more often on travel footage than on a quiet interview.
Select your video clip and your separate audio clip together in the Media Pool, right-click, and choose Auto Sync Audio. Based on Timecode is instant and exact, but only works if your camera and recorder shared a timecode source before you started rolling, something most run-and-gun travel setups skip because it costs setup time you don't have between shots. Based on Waveform works with any gear and is the more realistic default for travel content, comparing the actual sound of both recordings to find the alignment point, though it takes longer and needs a clear, matching sound event on both tracks.
A DJI Mic transmitter, one of the more common wireless setups for travel vlogging, records a clean backup file locally that you still import and sync like any other separate audio recording. Reviewing the DJI Mic Mini specifically for creators shooting run-and-gun content, Imaging Resource's David Schloss wrote:
"If you're a solo creator shooting vlogs, product reviews, or run-and-gun content, the DJI Mic Mini is one of the easiest recommendations in portable audio right now."
That portability is exactly why wireless lav systems have become the default for travel creators over a boom-pole shotgun setup, but it also means you're syncing a genuinely separate audio file rather than relying on in-camera audio for reference, every single time.
If Auto Sync Audio reports that your clips don't match, How to sync audio in DaVinci Resolve covers the fix in detail: try a specific waveform channel instead of Auto, confirm both clips actually overlap in time, and check that the standalone audio file plays back correctly on its own before troubleshooting Resolve further. On travel footage specifically, add one more check: confirm you're syncing the correct segment if your camera split a long recording into multiple files, since syncing one long audio file against only the first video segment leaves every segment after it unsynced in a way that looks like drift but is actually a hard file boundary.
How do you deal with wind noise and bad outdoor audio?
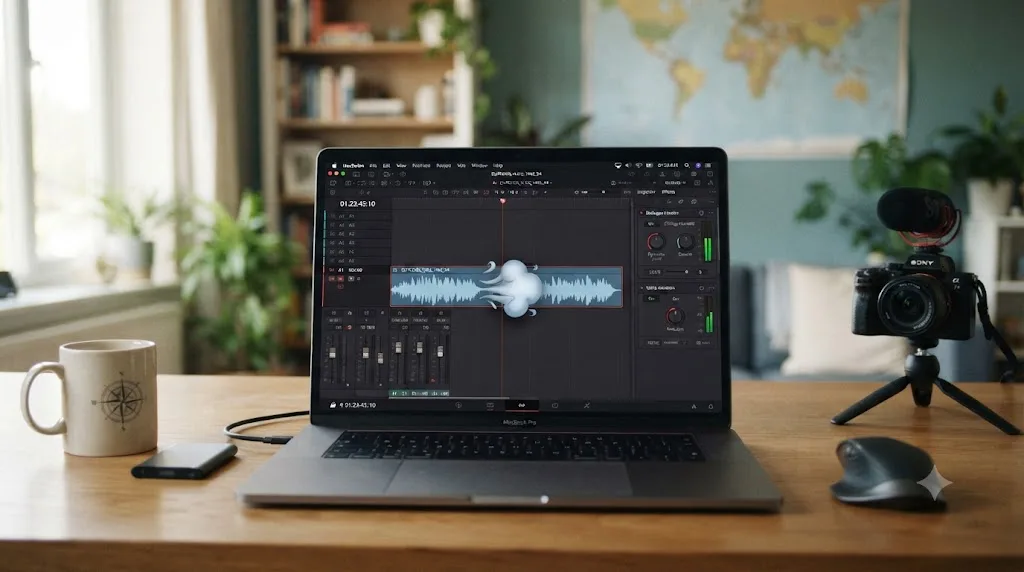
Two tools, used in the right order: the Dialogue Leveler first, for uneven volume, then Voice Isolation if you have DaVinci Resolve Studio and the wind noise itself is the problem, not just inconsistent levels. Blackmagic Design added both to the DaVinci Neural Engine in Resolve 18.1, released in November 2022. Announcing that update, Blackmagic Design CEO Grant Petty said the release added "the new DaVinci Neural Engine AI enabled voice isolation tools" alongside expanded support for vertical social formats, a pairing that wasn't a coincidence: creators shooting for TikTok and Instagram, outdoors, on the move, are exactly who both features were built for.
The Dialogue Leveler ships in both the free and Studio editions and solves the more common travel-audio problem: a voice that gets louder and quieter as you walk toward and away from your mic, or as wind gusts come and go. Enable it from the Inspector or the track FX section in the Fairlight mixer, start with the "Optimize most sources" preset, and only dig into individual module settings if the automatic result sounds obviously wrong on your specific voice and mic combination.
Voice Isolation is a Studio-only feature and solves a different problem: separating your voice from wind, traffic, or crowd noise that's baked into the recording itself, not just uneven in level. It's genuinely built for uncontrolled environments, exactly the outdoor, on-the-go conditions travel and vlog audio gets recorded in, and it can pull a usable line of dialogue out of a take you'd otherwise have to cut entirely. It isn't magic. Severe wind rumble that's clipped the microphone's input stage is a different problem than background noise Voice Isolation can separate, and no software fix recovers audio that was distorted at the point of recording.
If you're on the free version and don't have Voice Isolation available, a high-pass filter in Fairlight's EQ removes some low-frequency wind rumble, though aggressively applied it can make a voice sound thin. The best fix for wind noise is a foam windscreen on the mic during the shoot, not a plugin during the edit. Every audio tool in this section improves a bad recording. None of them replace a five-dollar piece of foam you remembered to bring.
Set your target loudness before you finish mixing any platform-bound edit. DaVinci Resolve's reference manual identifies -14 LUFS as the target loudness specification for YouTube specifically, distinct from Resolve's -23 LUFS broadcast default, set under Project Settings' Fairlight tab. Getting close to that target before you export means YouTube, and most other platforms using similar loudness normalization, won't quietly turn your mix down or up on playback in a way that changes how your final video actually sounds to a viewer.
Should you rough-cut on the Cut page or the Edit page for a vlog?
Start on the Cut page when you're facing hours of footage from a single day and need to find the usable minutes fast, then move to the Edit page the moment you need more than one track. This isn't a travel-specific rule, but it matters more here than on a single-camera channel, because travel footage volume is often genuinely large, an active shoot day across a phone, an action camera, and a drone can easily produce an hour or more of raw clips.
The Cut page's Source Tape feature turns every clip in a bin into one continuous scrollable strip, letting you review an entire day's footage as if it were one long recording instead of clicking into and out of individual clips. That's the single biggest speed advantage it has for travel content specifically, where you're often trying to remember which of forty near-identical beach shots actually had good light.
| Cut page | Edit page | |
|---|---|---|
| Best for | Fast triage of a high-volume shoot day | Layering B-roll, drone shots, and titles together |
| Source review | Source Tape, scrolls an entire bin as one strip | Standard Source Viewer, one clip at a time |
| Track visibility | Simplified, two-timeline view | Full track stack, unlimited video and audio tracks |
| Typical travel-edit use | Triaging a day's raw phone, action camera, and drone footage | Everything from B-roll and drone inserts onward |
Move to the Edit page once your rough assembly needs more than a single video track, which happens fast in travel content: a ground shot with a drone insert above it, a title card naming the location, a subtitle track for a language barrier moment you want to keep in the final cut. The Edit page's full Inspector and unlimited track stack are what the Cut page deliberately strips away in exchange for review speed, and multi-camera travel footage needs that stack back almost immediately after the first pass.
There's no rule against skipping the Cut page entirely if a given day's footage volume is modest, a short segment shot on just a phone doesn't need the Source Tape's triage speed the way a full day of mixed-camera footage does. How to edit faster in DaVinci Resolve goes deeper into removing friction from whichever page you land on, including render cache settings that matter more on travel footage's heavier codecs than on a lighter single-camera setup.
What does a realistic travel vlog editing workflow look like start to finish?
Take a concrete case: a three-day city trip, shot on a phone for talking-head segments, an action camera for anything active or wet, and a drone for two establishing shots per day, with a DJI Mic recording a wireless lav track for the talking segments. Here's how the stages in this guide actually play out on that footage, not in the abstract.
Project setup happens first: the timeline gets built at 1080p, 29.97fps, Rec.709, matching the phone's true frame rate since it shot the majority of the footage. The drone, which shot 23.976fps for its cinematic establishing shots, conforms automatically once Mixed Frame Rate Format is set to Resolve before anything imports.
Organizing and proxying comes next: three bins, one per day, each with phone, action camera, and drone subfolders. Proxies get generated for the action camera and drone footage, both 4K sources; the phone shot 1080p for most of the trip and scrubs fine natively.
Import fixes happen as problems surface, not as a separate scheduled stage: one action camera clip from day two won't import, traced to its GX file prefix confirming 10-bit HEVC, resolved by generating a ProRes transcode from a machine with a working decoder before continuing the edit on the original laptop.
Audio sync runs on every talking-head segment: the DJI Mic's backup file gets synced to each corresponding phone clip Based on Waveform, since no timecode jam-sync was set up before the trip. Two clips report a sync failure on day one, traced to heavy wind noise burying the shared sound event; switching the waveform channel reference from Auto to a specific channel resolves both.
The rough cut builds day by day rather than all at once: each day's segment gets string-out first in rough order on the Edit page, skipping the Cut page since no single day's footage volume was large enough to need Source Tape triage.
Wind noise cleanup happens on the two windiest talking segments specifically, not the whole project: the Dialogue Leveler runs on every clip with dialogue, and Voice Isolation runs on just the two clips where wind noise, not just uneven level, is the actual problem.
Color happens once the three-day cut is locked: a two-node pass per camera group, correction on Node 1, a shared warm-toned look on Node 2, applied through Color Groups so all three cameras land on a visually consistent look despite their different sensors and compression.
Chapters, thumbnail, and export follow the same pattern as any YouTube-bound edit: markers dropped during the rough cut convert into description timestamps, a freeze frame from the graded footage becomes the thumbnail, and the Deliver page's YouTube preset renders the full three-day vlog as one file.
A separate pass, after the main edit locks, pulls three fifteen-to-thirty-second moments for vertical repurposing: the best action camera clip, the strongest drone shot, and one talking-head moment with a strong hook line, each duplicated onto its own 1080x1920 timeline and reframed for Shorts, Reels, and TikTok.
Nothing about this example needed Fusion or a complicated node tree. The stages don't change between a studio vlog and a three-day multi-camera trip. What changes is how much triage, syncing, and color matching each stage actually has to do.
How do you grade footage that was shot on three different cameras?
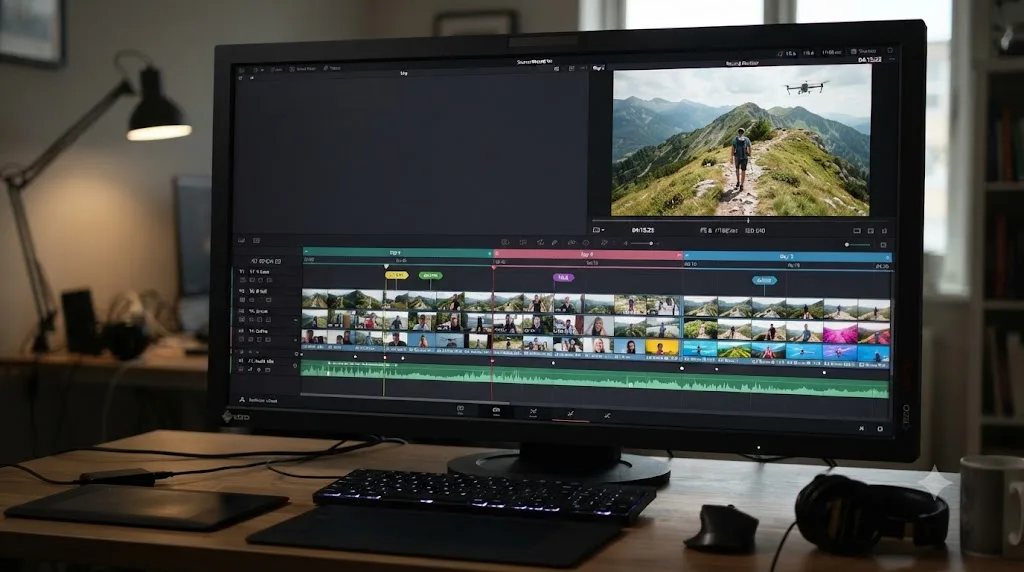
Correct each camera separately before you try to match them, then apply a shared look on top. A phone, an action camera, and a drone each carry a different sensor, a different compression profile, and often a different default color science, so a single grading node applied blindly across all three rarely lands the same way on each. Trying to force a one-size grade across mismatched sources is the single most common reason a travel edit looks visually inconsistent from shot to shot.
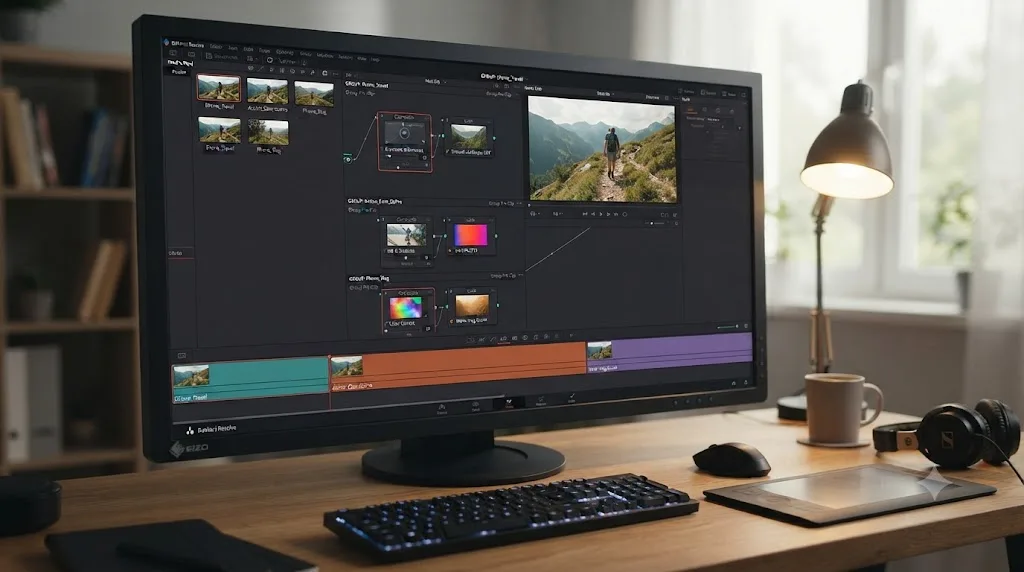
Group your clips by camera first, using Color Groups if you're working across a lot of clips, since Color Groups let you apply and adjust a shared correction across every clip from one camera without rebuilding it clip by clip. Node 1 on each group handles primary correction: balance exposure and white balance until skin tones look natural and shadows and highlights sit within a normal range for that specific camera's footage, judged against the scopes, not just your eyes, especially on an uncalibrated laptop display outdoors where ambient light throws off what you're seeing.
Once each camera group looks internally consistent, add a second node for your shared look, the same warmth, contrast, or LUT applied across all three groups. This is where mismatched footage actually starts looking like it came from one trip instead of three unrelated cameras: the correction node absorbs each camera's individual quirks, and the look node unifies what's left.
If your drone or action camera shot in a flat log profile for extra dynamic range, that footage needs a dedicated first step most phone footage skips: a base conversion from log to Rec.709 before your normal correction node does anything useful, since log footage looks intentionally flat and desaturated straight off the sensor and grading on top of it without that conversion first produces unpredictable results. Check your specific camera's documentation for its log profile's recommended input color space, since GoPro's GP-Log and most drone log profiles use different transforms and applying the wrong one shifts colors in ways a normal grade won't fully correct.
| Camera type | Typical color quirk | Fix before matching |
|---|---|---|
| Phone | Often already color-processed in-camera, less raw latitude | Usually needs the lightest correction of the three |
| Action camera (log mode) | Flat, desaturated, wide dynamic range | Apply the camera's log-to-Rec.709 conversion first |
| Drone (log mode) | Similar flat profile, plus haze/atmosphere at altitude | Log conversion first, then extra contrast to cut through haze |
Don't chase a broadcast-grade node tree for this. A YouTube or social-bound travel vlog needs a color pass that reads as consistent and pleasant, not a twelve-node breakdown built to impress other colorists. Two nodes per camera group, correction and look, gets there for the overwhelming majority of travel and vlog content, and it's fast enough to actually finish on a laptop between flights.
How do you turn a long travel vlog into Shorts, Reels, and TikTok clips?
Mark the strongest moments as you review your footage, cut each one out cleanly, then reframe and export per platform, since DaVinci Resolve has no single button that automates this decision for you. How to turn a long video into short clips in DaVinci Resolve covers the full workflow, and it applies directly to travel content, with one addition worth calling out: your best short-form source footage on a trip is often the action camera and drone material, not the talking-head segments, since a striking landscape or an action moment translates to vertical format faster than a seated conversation does.
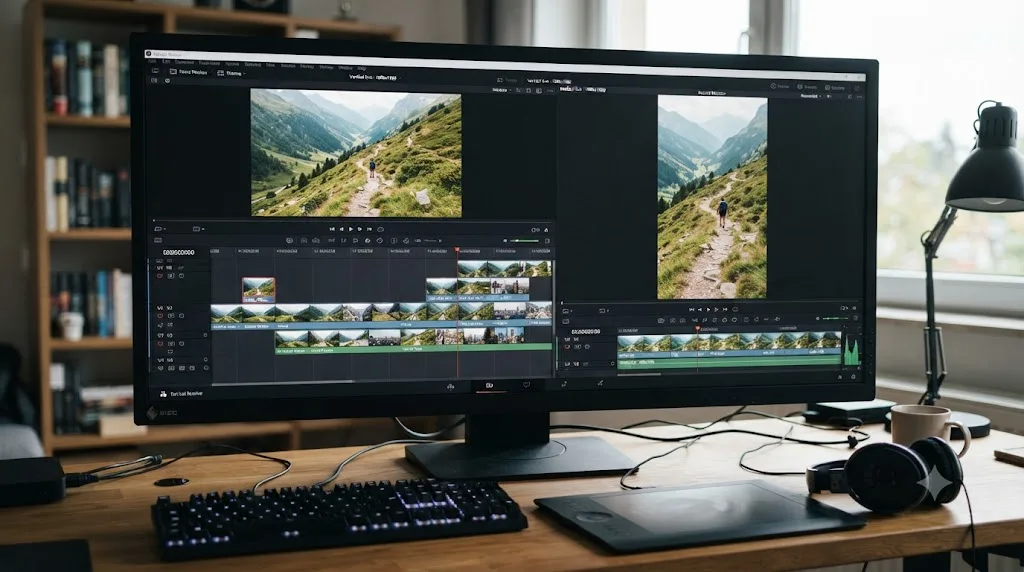
Use keyworded markers on the free version, or IntelliSearch's transcript search if you're on Studio, to flag strong moments as you review each day's footage rather than trying to remember them later across a full trip's worth of clips. Cut each marked moment out with the Blade tool to a clean start and end point, duplicate your main timeline into a new 1080x1920 vertical resolution, either through a vertical preset or by enabling Use Vertical Resolution in Project Settings, and reframe with Smart Reframe on Studio or a manual Transform crop on the free version.
Platform limits differ enough to matter when you're deciding what to cut. YouTube's own Help Center defines any vertical or square video under three minutes, uploaded on or after October 15, 2024, as a Short. TikTok allows in-app recordings up to 10 minutes and uploaded pre-recorded files up to 60 minutes. Instagram's Help Center documents Reels running up to 20 minutes on eligible accounts, though shorter clips, generally under 90 seconds, are what the platform actually favors for reach regardless of the technical ceiling.
Caption the short clip on its own vertical timeline after you've cut it out, not on the full-length master before trimming. A caption track timed for a twenty-minute vlog rarely lines up cleanly once you've extracted a 40-second section from the middle of it, and captions matter more on short-form platforms than on long-form YouTube, since silent autoplay is the default viewing mode on most feeds.
Your drone footage and action camera clips are your fastest path to short-form content, not your talking-head segments. A striking aerial shot or an action moment needs almost no context to land in a six-second scroll; a conversational clip usually needs setup a vertical crop can't provide on its own.
Do you need DaVinci Resolve Studio for travel and vlog editing?
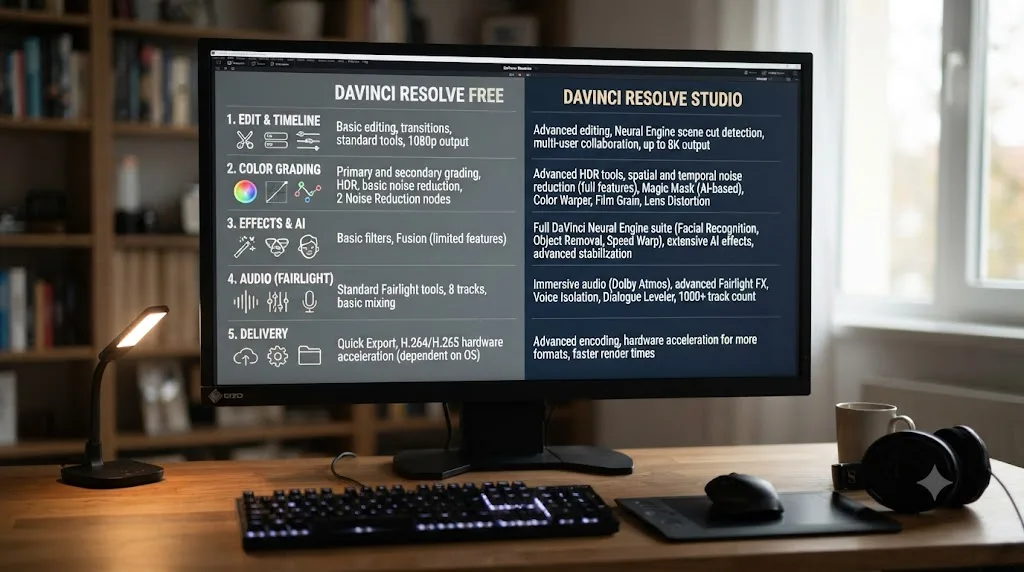
Not to finish your first vlog, but the answer changes once your gear list gets specific. Everything covered so far in this guide, project setup, proxy media, Auto Sync Audio, the Dialogue Leveler, color correction, and export to every major platform, runs fully in the free version. Studio's relevant additions for travel and vlog creators specifically fall into two categories: convenience automation, and codec support your camera might actually require.
| Feature | Free version | Studio |
|---|---|---|
| Project setup, proxies, bins, Power Bins | Included | Included |
| Auto Sync Audio, Dialogue Leveler | Included | Included |
| Color correction, Color Groups, LUTs | Included | Included |
| Export to YouTube, Shorts, Reels, TikTok formats | Included | Included |
| 10-bit HEVC decode (GoPro Hero 13, iPhone ProRes/Log) | Limited without a Windows system decoder | Included |
| Voice Isolation | Not included | Included |
| Smart Reframe (automatic vertical reframing) | Not included | Included |
| IntelliSearch transcript search | Not included | Included |
| Speed Warp (extreme slow motion retiming) | Not included | Included |
If you're shooting a GoPro Hero 13 or an iPhone Pro model in its highest-quality log or ProRes modes and editing on Windows, Studio (or a working system HEVC decoder) stops being optional the moment that footage won't import at all. If your gear shoots standard H.264 or 8-bit HEVC, and most phones and older action cameras still default there, the free version covers this entire guide with no compromise.
Beyond decode support, Studio's real value for a travel creator is time saved on repetitive, judgment-light tasks: Voice Isolation removes a manual noise-reduction pass, Smart Reframe removes manual crop keyframing across dozens of Shorts, and IntelliSearch removes manual marker logging across hours of footage. None of these unlock something the free version can't do; they remove steps a busy, on-the-road editing schedule benefits from cutting.
What's the best way to learn DaVinci Resolve as a travel vlogger just starting out?
Whatever gets you cutting your own footage fastest, and for most beginners that's a mix, not one single resource. Blackmagic Design publishes six free training guides as downloadable PDFs covering editing, color, audio, and effects, each with lesson project files and a free online exam, and they remain a genuinely solid, accurate starting point precisely because Blackmagic built the software they're teaching. Structured YouTube channels, Casey Faris chief among them for general editing and color fundamentals, cover individual pages in more depth than a PDF can, walking through decisions in real time the way a written guide can't. Reddit's r/DaVinciResolve is a reasonable place to sanity-check a specific, narrow setting question, though it's not a substitute for structured learning. Udemy and Skillshare courses exist too, and they're a fine option if you specifically want a paced, video-first curriculum with an instructor narrating decisions, though neither can see your actual project or correct your specific attempt.
| Resource | Cost | Best for |
|---|---|---|
| Blackmagic's free training PDFs | Free | Structured fundamentals, straight from the source |
| Casey Faris (YouTube) | Free | Deep, real-time walkthroughs of specific pages |
| Reddit r/DaVinciResolve | Free | Sanity-checking a specific setting or error |
| Udemy / Skillshare courses | Paid, one-time or subscription | A paced, video-first curriculum with an instructor |
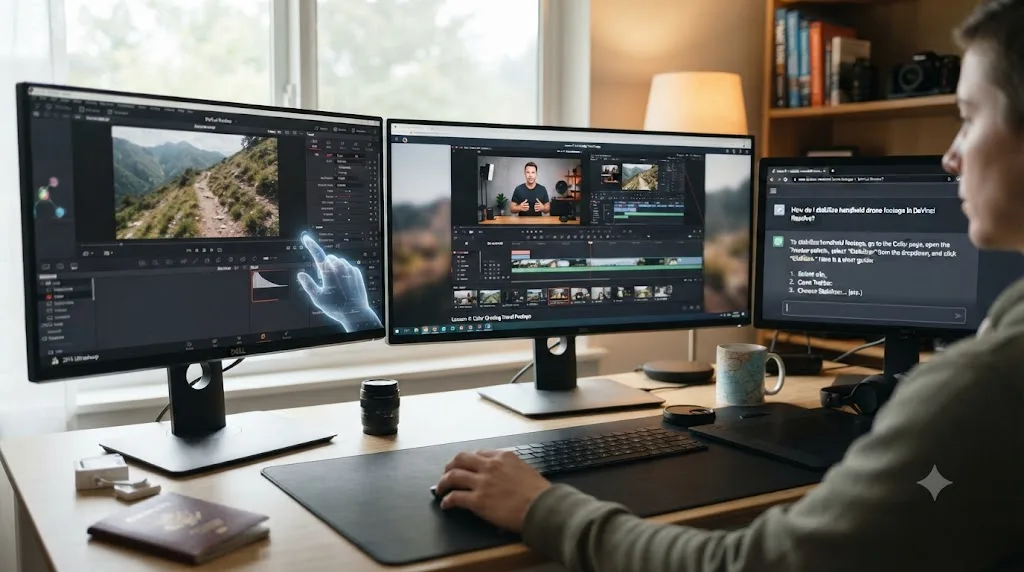
None of these close the same gap. Every one of them teaches declaratively, here's what a setting does, here's how a technique works, but none of them can see your actual project mid-edit and tell you why your specific clip isn't syncing or where a specific control lives on your specific screen. That's a different kind of help, and it's worth naming honestly: two different categories of AI tool have shown up for DaVinci Resolve users, and they solve different problems.
One category executes edits for you from a typed instruction. CutAgent, Sottocut, PremiereCopilot, and Eddie AI all fall here, you describe a cut or a silence removal, and the tool acts on your timeline directly. That's a real time saver on mechanical, repetitive travel-editing tasks, silence removal across hours of walk-and-talk footage especially, but it hands the editorial decision to the tool rather than to you, which is a fine tradeoff on some footage and a bad one on the footage where your judgment about pacing and story is the entire point of editing it yourself.
TryUncle is the on-screen assistant for DaVinci Resolve on macOS — ask in plain words and Uncle points at the exact control on your screen. It doesn't touch your timeline at all. It watches your project live, across the Edit, Color, and Fusion pages, and instead of executing an edit, it shows you where the setting, node, or button you're actually looking for lives, right when you're stuck mid-project rather than before you've started. That's the app that helps you while you're using DaVinci Resolve, not a tool that replaces the tutorial-watching stage before you sit down to cut.
Watching a course about editing travel footage is not the same as editing your own travel footage. Every resource in this section, free guide, paid course, or AI tool, gets you closer to starting. Only actually finishing a cut on your own trip's footage teaches you the specific problems your specific gear and your specific shooting style actually create.
TryUncle isn't free. It's a paid subscription at $39 a month with cancel-anytime billing, macOS only, so check TryUncle for the current rate before deciding it fits how you edit on the road.
What mistakes do new travel and vlog editors make in DaVinci Resolve, and how do you avoid them?
A handful of problems account for most of the wasted time in a first travel edit, and every one of them has a specific fix rather than a vague "start over" answer.
Setting the timeline frame rate to a round number instead of your camera's true rate. This is the single most common cause of slow, compounding drift between audio and video over a long clip, and it's invisible at first because the first few seconds of a clip look fine. Check your camera's actual recorded frame rate, usually 29.97 or 23.976 rather than 30 or 24, before you build your timeline, not after you've noticed drift three clips deep into editing.
Importing an entire trip's footage into one project on day one. This is less a technical error than a pacing one, but it costs real time: a bloated Media Pool with every camera's footage from every day makes triage slower, proxy generation take longer, and the project file itself heavier to work with. Import and cut day by day, or location by location, and combine finished segments later if you're building one long vlog from multiple days.
Skipping proxies because "it's just a phone video." Phone footage is often the smallest file of the bunch, but a mixed project with even one 4K drone or action camera clip can drag playback for the whole timeline if that one clip isn't proxied. Generate proxies for your highest-resolution sources even if most of your footage doesn't strictly need them.
Grading before the cut is locked. This holds for any editing workflow, but travel content makes the cost higher, since a three-day trip's rough cut changes more as you assemble it than a single scripted video usually does. A color pass applied to a clip that gets trimmed, reordered, or cut entirely is time spent twice.
Trusting a single backup. Formatting a card because footage "looks backed up" on one drive, with no second copy and no confirmation the transfer actually completed, is the single most expensive mistake on this list, because it's the only one that can't be fixed inside DaVinci Resolve at all once it's happened.
| Mistake | Symptom | Fix |
|---|---|---|
| Round-number frame rate | Slow audio drift, invisible at first | Match your camera's true 29.97/23.976 rate before importing |
| Whole trip imported at once | Sluggish Media Pool, slow proxy generation | Import and cut day by day or location by location |
| Skipped proxies on "just one" heavy clip | Whole timeline stutters despite most footage being light | Proxy your highest-resolution sources even in a mostly-light project |
| Grading before the cut locks | Redoing color on trimmed or removed clips | Lock the rough cut first, color last |
| Single backup, no verification | Total, unrecoverable footage loss | Two physical backups, confirmed complete, before reformatting any card |
None of these mistakes mean you're bad at this. They're the specific, predictable failure points of editing four mismatched cameras' worth of footage instead of one, and every experienced travel editor has made at least one of them once.
Where do you go from here?
Pick your best single day from your most recent trip, and run this guide's order on just that footage before you touch the rest. Project setup matched to your primary camera's true frame rate, bins organized by day, proxies on your heaviest sources, sync on any separate audio, a rough cut before any color, and export to whichever platform that day's footage is actually meant for. That one small, finished edit will teach you more about how DaVinci Resolve handles your specific gear than reading about the other three days' worth of footage still sitting on your drive.
Once that first day feels manageable, the rest of the trip is the same process repeated, not a harder version of it. What actually gets harder as your gear list grows is remembering which fix applies to which camera at two in the morning in a hotel room when a drone clip won't sync and you're not sure if it's the 4GB file split or the frame rate again. That's less a knowledge gap than a lookup problem, and it's exactly the moment an in-app assistant that can point at the right setting on your actual screen earns its keep over another tutorial watched from the beginning. Whatever gets you there, the only version of this guide that actually teaches you anything is the one you run on your own trip's footage, messy the first time, faster the second.
Frequently asked questions
- What is the best way to learn DaVinci Resolve as a travel or vlog creator?
- Start on real footage from your own trip, not a demo file. Watch one short orientation video per DaVinci Resolve page, using Blackmagic's free training guides or a YouTube channel like Casey Faris, then immediately apply it to your own clips. Reddit's r/DaVinciResolve is a reasonable place to sanity check a specific setting. None of these replace finishing an actual edit.
- Do I need DaVinci Resolve Studio to edit travel and vlog content?
- No. Project setup, proxy media, Auto Sync Audio, the Dialogue Leveler, the Cut and Edit pages, and YouTube, Shorts, Reels, and TikTok export all work in the free version. Studio adds Neural Engine automation like Voice Isolation, Magic Mask, and Smart Reframe, plus support for 10-bit HEVC footage from cameras like the GoPro Hero 13, on top of the free workflow, not underneath it.
- Why is my GoPro, DJI drone, or iPhone footage out of sync or won't import into DaVinci Resolve?
- Three separate causes get mistaken for one problem. GoPro's newer HEVC footage needs Resolve Studio or a system HEVC decoder on Windows. DJI drones have no built-in mic on most models, so drift comes from syncing separate audio against a video file that splits every few gigabytes. And nearly every camera, drone included, actually shoots 29.97fps or 23.976fps, not a round 30 or 24, which drifts against audio recorded at a true integer rate.
- Can I realistically edit a travel vlog on a laptop while I'm still traveling?
- Yes, with proxies. An Apple Silicon MacBook or a Windows laptop with a dedicated GPU and 16 to 32GB of RAM handles a proxy-based edit of mixed 4K sources on the road. The bottleneck is almost never the software, it's storage: back up original footage to two separate drives before you format a card, since a drive failure on a trip is unrecoverable.
- Is there an app that helps you while you're actually using DaVinci Resolve, not just before you start?
- Yes. TryUncle is the on-screen assistant for DaVinci Resolve on macOS. It watches your project live and points at the exact control you're looking for across the Edit, Color, and Fusion pages, instead of making you pause your edit to search a tutorial. It doesn't cut anything on your timeline for you, and it's a paid subscription, not a free tool.
- How do I turn a long travel vlog into Shorts, Reels, and TikTok clips in DaVinci Resolve?
- Mark the strongest moments with keyworded markers as you review your footage, cut each one out with the Blade tool, duplicate your timeline into a vertical 1080x1920 resolution, reframe with Smart Reframe (Studio) or a manual Transform crop, then export per platform. YouTube counts vertical video under three minutes as a Short, TikTok allows uploads up to 60 minutes, and Instagram's Reels cap runs up to 20 minutes on eligible accounts.
- What's the fastest way to learn DaVinci Resolve well enough to finish my first vlog?
- Skip the full course on day one. Watch a short orientation on project setup and the Edit page, cut your worst travel day into a rough sequence immediately, then come back for color and audio once you have something to apply them to. Editing three short real vlogs teaches this software faster than finishing one long course before you touch your own footage.
Sources
- DaVinci Resolve - Tech Specs (Blackmagic Design)
- DaVinci Resolve Training (Blackmagic Design)
- Blackmagic Design Announces DaVinci Resolve 18.1 (IF Magazine, reproducing official press release and Grant Petty quote)
- DaVinci Resolve Reference Manual: Using Proxy Media (Blackmagic Design, mirrored)
- DaVinci Resolve Reference Manual: Mixed Frame Rates (Blackmagic Design, mirrored)
- DaVinci Resolve Reference Manual: Syncing Audio to Video by Matching Waveforms (Blackmagic Design, mirrored)
- DaVinci Resolve Reference Manual: Target Loudness Level (Blackmagic Design, mirrored)
- DaVinci Resolve Reference Manual: Timeline Format and Use Vertical Resolution (Blackmagic Design, mirrored)
- GoPro Support: HERO13 Black - 10-Bit Log Encoding
- GoPro Support: HERO13 Black - File Chaptering And Naming Information
- DJI Air 3 - Specs (DJI)
- DJI Mavic 3 Pro - Specs (DJI)
- Introduction to the Use of Timecode (DJI Support)
- DJI Mic 3 - Specs (DJI)
- DJI Mic Mini Review, Imaging Resource (David Schloss)
- About Apple ProRes on iPhone (Apple Support)
- Understand three-minute YouTube Shorts (YouTube Help)
- Instagram Help Center: Reels length
- CutAgent (product site: features, pricing, FAQ)
- Sottocut (product site: features, pricing, platform requirements)
- PremiereCopilot pricing
- Eddie AI for DaVinci Resolve (native integration workflow page)
- TryUncle
- TryUncle FAQ
Learn by doing, not watching
Stop translating tutorials to your timeline.
TryUncle stays beside Resolve on Mac and Windows. When you ask, Uncle sees your screen and points at the exact control you need. No hunting through tabs, timestamps, or mismatched tutorials.
Meet TryUncleKeep reading
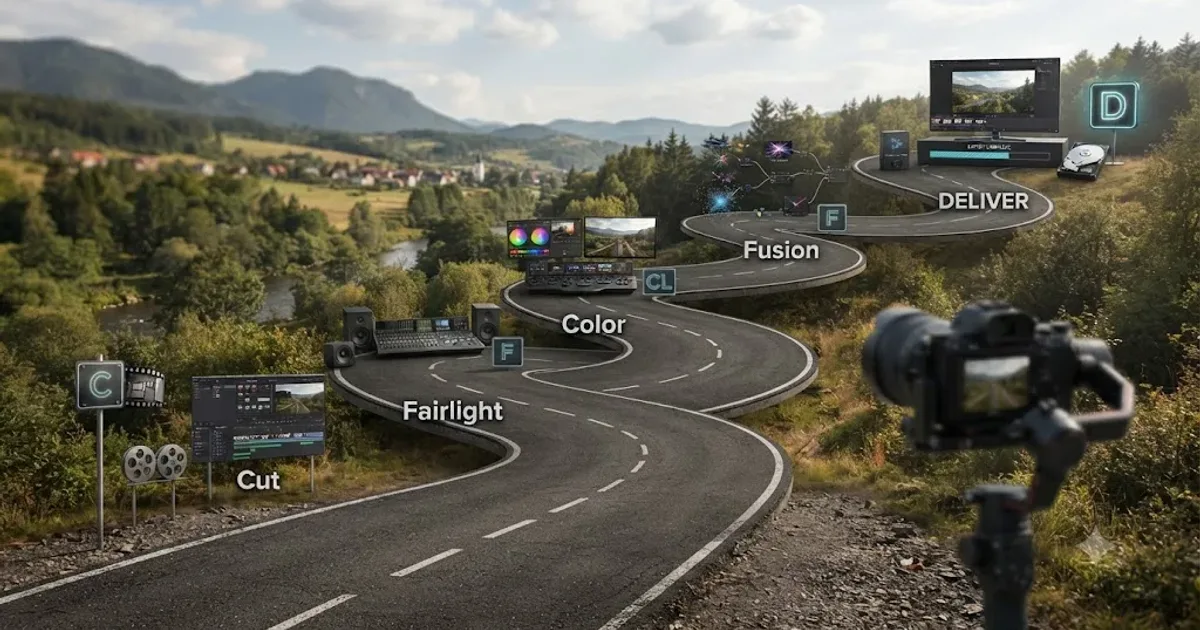 GuidesJul 15, 202639 min read
The DaVinci Resolve Learning Roadmap for Beginners
The right order to learn DaVinci Resolve: Cut or Edit, then Fairlight, Color, and Fusion, checked against Blackmagic and Ripple Training's own paths.
 FixesJul 19, 202629 min read
DaVinci Resolve DJI Drone Footage Out of Sync: The Fix
DJI drone footage out of sync in DaVinci Resolve? Most DJI drones have no built-in mic, so drift usually traces to frame rate, 4GB file splits, or DJI Mic drift.
 FixesJul 19, 202633 min read
DaVinci Resolve GoPro Hero 13 Footage Not Importing: The Fix
GoPro Hero 13 footage not importing into DaVinci Resolve? HEVC decode limits, 12GB chapter splits, and corrupt files are the real causes. Every fix here.