
Learn / DaVinci Resolveupdated for DaVinci Resolve 21, Blackmagic's free training guides, and Ripple Training's Learning Path (July 2026)
The DaVinci Resolve Learning Roadmap for Beginners
Quick answer
The DaVinci Resolve learning roadmap for beginners follows the app's page order with one flip: Cut or Edit first, then Fairlight basics, then Color grading, then Fusion compositing, then Deliver. Blackmagic's free guides and Ripple Training's paid path both teach this order; guided practice on your own footage is what makes it stick.
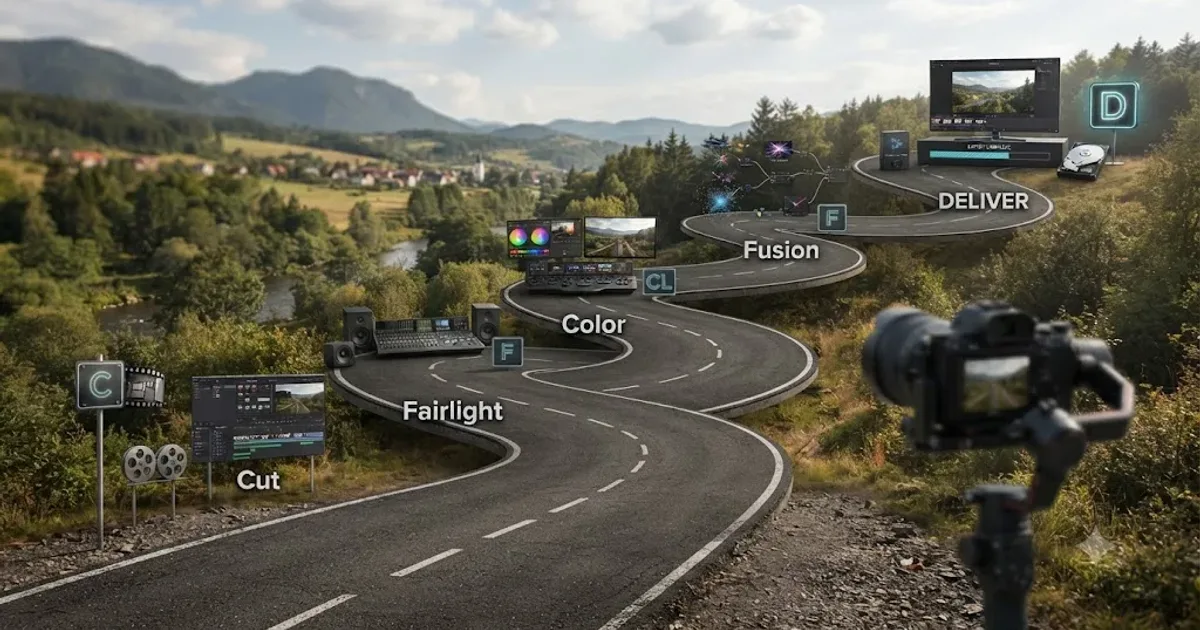
I get asked some version of "what order should I actually learn this in" more than almost anything else. Not "how do I use the qualifier." Not "what's a node." Just: where do I start, and what comes next, so I stop guessing.
That question deserves a straight answer, not a course pitch. So here's the roadmap, checked against what Blackmagic's own free training teaches, what Ripple Training's paid path charges for, and what actually happens when you try to composite an effect onto a shot you haven't graded yet.
What is the actual order to learn DaVinci Resolve in?
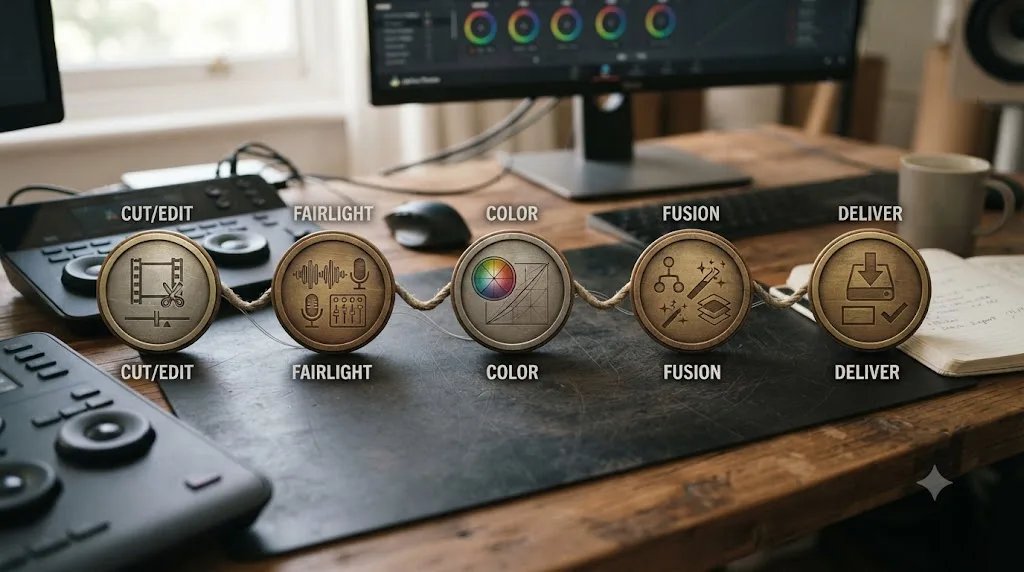
Five stages, in this order: Cut or Edit, Fairlight basics, Color, Fusion, Deliver. That's the sequence this guide argues for, and it's not a personal opinion pulled out of nowhere. It's the same order Blackmagic Design's own free training guides ship in, and it's the same order Ripple Training built its paid Learning Path around, according to Blackmagic's training page and Ripple Training's Learning Path listing. Two very different businesses, one free and one charging real money, converged on the same sequence independently, which is itself a signal worth trusting.
Here's the full roadmap in one table before we go section by section on why each stage sits where it does.
| Stage | Page(s) | Rough timeline | What you're actually training | Milestone that means you're ready to move on |
|---|---|---|---|---|
| 0 | Setup | Day 1 | Free vs Studio decision, install, first import | You can bring your own footage into a project and see it in the Media Pool |
| 1 | Cut or Edit | Weeks 1-2 | Trimming, in/out points, basic timeline assembly | You can cut a 60-90 second sequence from your own footage with clean in/out points |
| 2 | Fairlight | Week 3 | Reading a level meter, fixing clipping, basic sync | You can tell, by the meter, whether a track is peaking, and fix it |
| 3 | Color | Weeks 4-6 | Serial nodes, primary wheels, one qualifier | You can match two clips shot in different lighting using a one or two-node grade |
| 4 | Fusion | Weeks 7-9 | Node graph basics, keyframes, a simple composite | You can animate a text element with two keyframes and an eased spline |
| 5 | Deliver | Week 10 | Render presets, codec choice, matching output to destination | You can export a finished project at the correct settings for where it's going |
Notice the shape of that "what you're training" column. Every stage ends in something you did, not something you watched. A roadmap is not a talent requirement. It's a sequence, and sequence is the only thing this guide is actually arguing about. Nobody needs a special aptitude to move through these five stages. They need to attempt each one, on their own footage, and get corrected before moving to the next.
Why does Resolve's own page order put Fusion before Color, and should your roadmap follow it?
It doesn't, and no, don't follow the tab order here. This is the single most common source of confusion for anyone who reads DaVinci Resolve's interface literally and assumes the tabs at the bottom of the screen are also the recommended learning order. They're not quite the same thing, and the gap between them is worth understanding before you plan your first month.
DaVinci Resolve is built around seven pages, arranged left to right: Media, Cut, Edit, Fusion, Color, Fairlight, and Deliver, according to CalArts's 2 Pop technical support page, which describes the layout plainly: "This left-to-right layout guides you through a structured, comprehensive workflow, covering stages of post-production." Alizah Aamir, writing for Firecut, describes the same design with a more vivid metaphor:
"You move from left to right as your project progresses. Think of it like a highly optimized assembly line for your video: Media, Cut, Edit, Fusion, Color, Fairlight, and finally, Deliver."
Read that sequence closely and you'll notice something: Fusion sits between Edit and Color in the tab order, not after Color. That's the actual production pipeline for a professional VFX-heavy pipeline, where compositing sometimes needs to happen before the final grade locks in, because a colorist wants to grade the finished, composited image once, not grade a raw plate and then grade the composite separately.
For a beginner, that order works against you. Fusion sits between Edit and Color in Resolve's own tab order, but almost nobody learns it before Color, because compositing a shot you haven't graded yet is compositing on top of a moving target. If you build a Fusion composite against an ungraded, flat-looking clip, and then grade the shot afterward, your composite's colors, shadows, and highlights won't match the new grade, and you'll redo work you already finished. Learning Color first means every Fusion composite you build afterward sits on top of a look that isn't going to change out from under you.
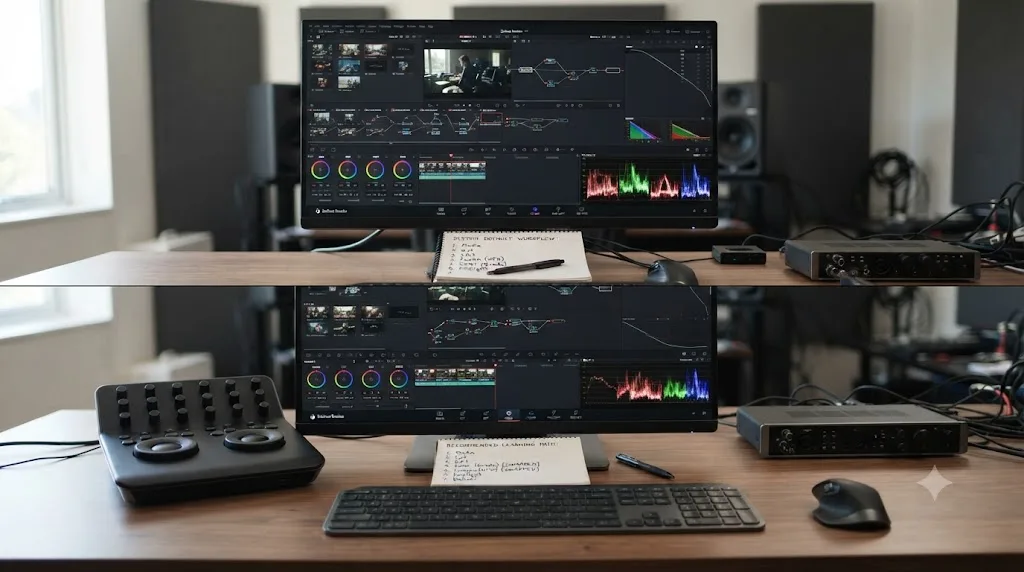
This is also the answer to why this roadmap's stage order (Cut/Edit, Fairlight, Color, Fusion, Deliver) differs slightly from the pure tab order (Cut, Edit, Fusion, Color, Fairlight, Deliver) in two places. Fairlight moves earlier because basic audio hygiene, reading a meter, fixing a clipped track, costs almost nothing to learn and saves you from building bad habits into every project going forward. Fusion moves after Color for the reason above. The Deliver page stays last in both orders, because exporting is genuinely the final step no matter which page order you use to get there.
Should you start on the Cut page or the Edit page?
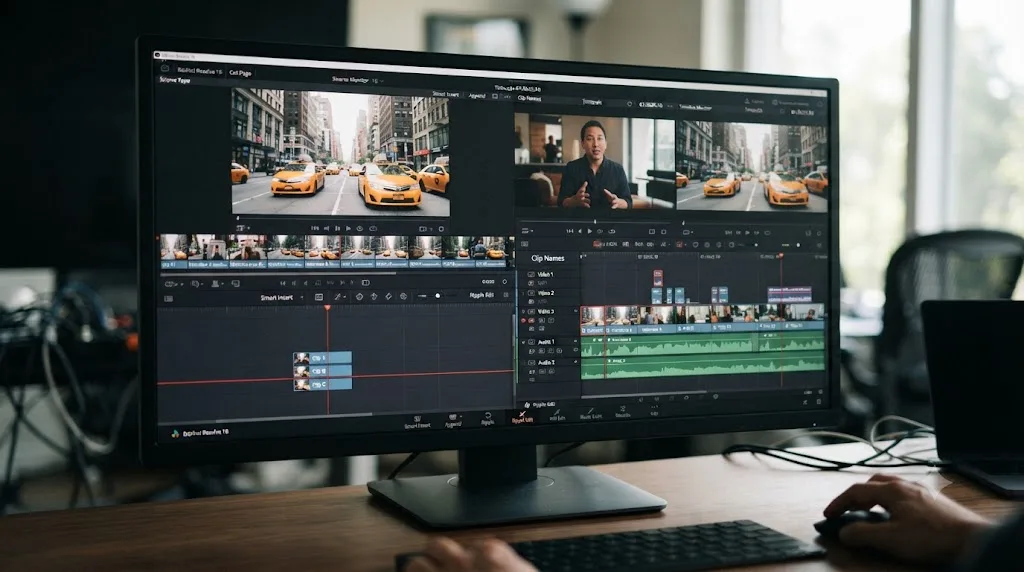
Depends on where you're coming from, and Blackmagic's own description of the two pages tells you exactly why. The Cut page is Blackmagic's attempt at a genuinely faster, more streamlined editing workflow, not a simplified beginner mode. According to Blackmagic's own Cut page description, it's "a true professional editor that's focused on introducing new innovations in speed," built for editors under real deadline pressure on episodic television, documentaries, and commercials. Tellingly, Blackmagic itself acknowledges the Cut page "can sometimes confuse experienced editors as it's a little different," precisely because its source tape browsing and single-click tools break from how every other NLE handles a timeline.
The Edit page is the traditional workspace: a Media Pool, a Timeline, an Inspector, transitions, effects, titles, the layout every other desktop NLE has trained you to expect if you've ever touched Premiere Pro, Final Cut, or even a phone editor's desktop equivalent. It's also the page Blackmagic's own free Editor's Guide teaches first, and the page nearly every DaVinci Resolve tutorial on YouTube defaults to when it says "let's start editing."
| Your background | Start here | Why |
|---|---|---|
| Never used a timeline-based editor before | Edit page | Matches almost every tutorial and the official Editor's Guide, and the traditional layout maps onto what "editing software" means to a first-timer |
| Already edit in Premiere, Final Cut, or another desktop NLE | Cut page, briefly, then Edit | Worth a day of exploration since it's genuinely different, but your actual editing habits will feel more at home on Edit's traditional layout |
| Editing under real deadline pressure, need a rough assembly fast | Cut page | Built specifically for this use case, with source tape browsing that skips a lot of bin-hunting |
| Coming from a mobile editor like CapCut or InShot | Edit page | The Cut page's speed-focused tools solve a problem, deadline pressure, that a mobile-trained editor usually hasn't hit yet |
You don't have to pick one forever. Both pages read and write the same timeline underneath, and switching between them costs exactly one click at the bottom of the screen. The practical advice that falls out of the table above: if you're genuinely new to editing, spend Stage 1 of this roadmap on the Edit page, since that's where the vocabulary this whole roadmap uses, in points, out points, ripple trim, gets taught in the same order almost every other resource teaches it. Once you're comfortable there, spend an afternoon on the Cut page just to see what a faster workflow looks like. You'll use both eventually. The question is only which one earns your first two weeks.
What do the existing "best answers" for this get right, and where do they fall short?
Two resources already rank well for a DaVinci Resolve learning roadmap, and pretending they don't exist would be dishonest. Blackmagic Design's own free training and Ripple Training's paid Learning Path are both genuinely good at what they do. Neither one is a substitute for actually opening the app, and naming exactly where each one stops is more useful than a generic "these are both fine" shrug.
Blackmagic Design's free training is the most authoritative resource on this list, because the people who built the software wrote it. According to Blackmagic's own training page, the current curriculum runs six guides deep: The Beginner's Guide, The Editor's Guide, The Fairlight Audio Guide, The Colorist Guide, The Visual Effects Guide, and Advanced Visual Effects, each downloadable as a free PDF with lesson project files attached. Every guide also links to a free, roughly one-hour, 50-question online proficiency exam, so you can benchmark yourself against a real assessment once you've finished a section, rather than just assuming you absorbed it.
The order those six guides are presented in matches this roadmap almost exactly: editing fundamentals, then editing techniques, then audio, then color, then visual effects, then advanced visual effects. That's not a coincidence. It's the same underlying logic this whole guide is built around, expressed as a publishing order instead of a stated recommendation. The honest limitation: it's still reading, or watching a fixed video, at Blackmagic's own pace, and it can't look at your specific footage and tell you whether your specific cut, grade, or composite actually works.
Ripple Training's Learning Path takes the same core sequence and turns it into paid, professionally produced video courses. According to Ripple Training's Learning Path listing, the foundational pairing is Core Training and Color Grading, sold as an Essentials Bundle delivering roughly 12 hours of video content with project media to follow along. Individually, DaVinci Resolve 20 Core Training runs $99 and covers the complete Resolve workflow from import to output, assuming no prior Resolve knowledge. Color Grading in DaVinci Resolve 20, also $99 individually, is taught by Mark Spencer and goes deeper into the node-based color tools than a general course usually does. Beyond that pairing, Ripple Training sells separate, additional courses covering Fusion compositing and Fairlight audio for editors who want to go past the essentials.
The pitch for paying is real: a professionally produced video, narrated by someone who's clearly used the software for years, walking through decisions in real time, tends to be easier to follow for some learners than a static PDF. The honest limitation is the same one that applies to every pre-recorded course on the market, free or paid: it was filmed once, against a demo project chosen because it demonstrates a technique cleanly, and it can't adapt when your own footage doesn't cooperate the way the instructor's sample clip did.
| Resource | Cost | Format | Covers Fusion? | Sees your own footage? |
|---|---|---|---|---|
| Blackmagic's free guides | Free | PDF, six books, one exam per guide | Yes, two dedicated guides | No |
| Ripple Training's Essentials Bundle | $179 (or $99 each) | Video, roughly 12 hours across two courses | Sold separately, additional course | No |
| Casey Faris's free Skool community and YouTube | Free | Video, community feedback | Yes, via his catalog | Indirectly, through community posts |
| Reddit and Facebook community advice | Free | Text threads, informal | Varies by thread | Only if you post your own project and ask |
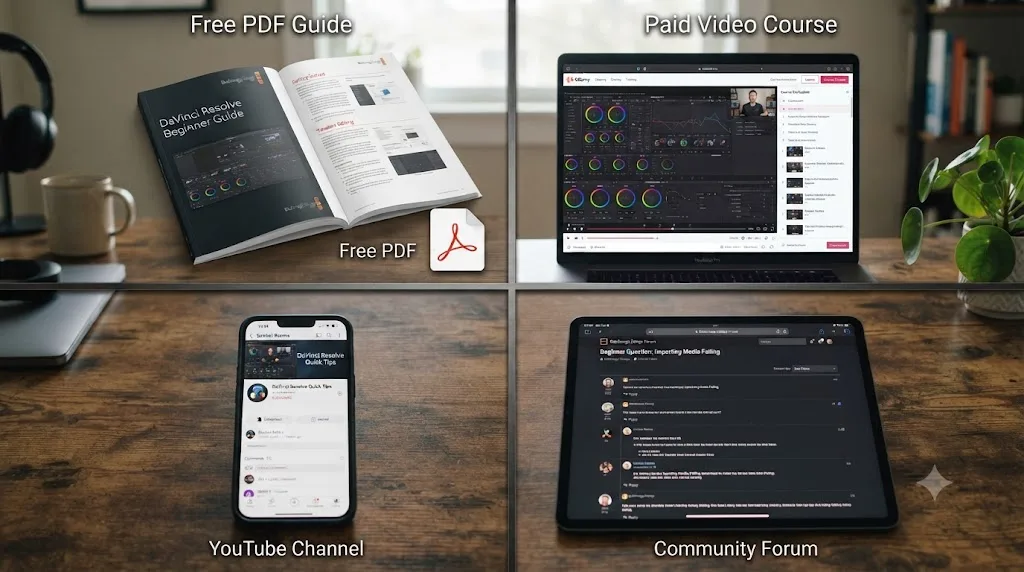
There's a third and fourth category worth naming honestly instead of pretending the roadmap question only has two paid-versus-free options. YouTube channels, most visibly Casey Faris's, have taught DaVinci Resolve to a huge audience for free over the years, and our own review of whether Casey Faris's paid courses are worth it covers exactly where his free content stops and his paid catalog begins. Community advice, on Reddit, in Facebook groups, and on forums, tends to converge on roughly the same order this guide lays out, edit fundamentals before color, color before Fusion, because that's the order that keeps coming up whenever someone posts "what order should I learn Resolve" and gets real replies instead of a course link. I run one such community myself, the DaVinci Resolve 21 Learning Group on Facebook, and the pattern holds there too: people who ask about Fusion before they've finished a real edit almost always get told to slow down and cut something first.
What none of these four resources do, free guide, paid course, YouTube channel, or community thread, is watch your specific project and correct the specific thing you got wrong on it, live, while you're still doing it. That gap is where an in-app tutor fits, and we'll get to exactly how later in this guide.
Stage 0: what do you need to decide before you open Resolve for the first time?
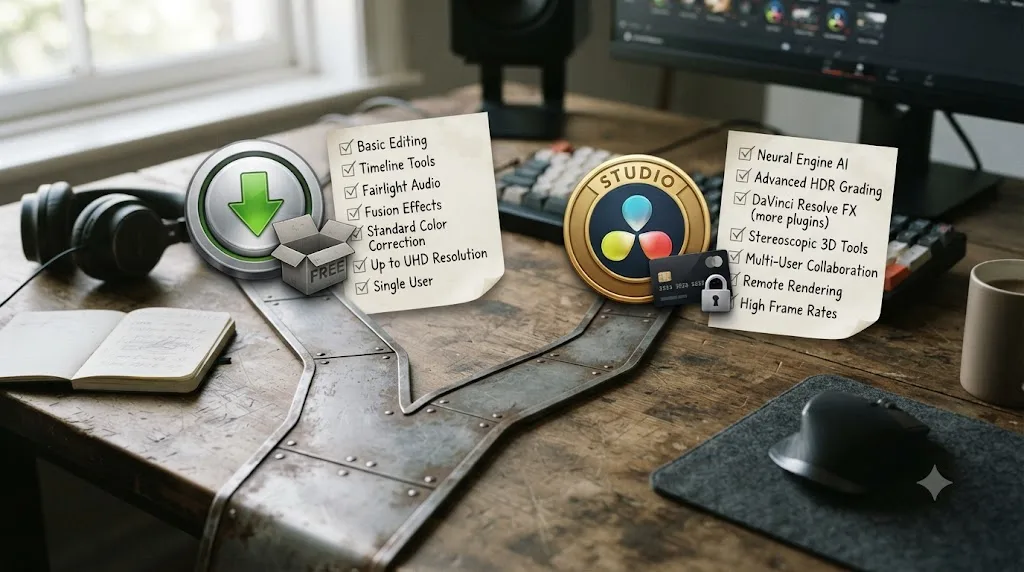
One real decision, and it's smaller than it feels: free or Studio. DaVinci Resolve ships in two editions, and according to Blackmagic's own product page, the free version supports resolutions up to Ultra HD 3840x2160 at up to 60fps, with multi-user collaboration and HDR grading included, and it's genuinely full-featured for core editing, color, Fairlight audio, and Fusion compositing. What the free version doesn't include is a specific, named set of Neural Engine AI tools, Magic Mask, Voice Isolation, Speed Warp, and Smart Reframe among them, which Storyblocks's breakdown of the free-versus-Studio split confirms are gated to Studio, currently a $295 one-time purchase with no subscription.
None of this roadmap's five stages requires those Studio-only features. Cutting a timeline, reading a Fairlight meter, building a node-based grade, animating a Fusion Transform node, and exporting through Deliver all work identically on the free version. That means the honest answer for almost every beginner reading this: install the free version, work through this entire roadmap on it, and only spend the $295 on Studio once you know, specifically, that you want one of its gated automation tools for a real project, not because a roadmap told you Studio was required. It isn't.
| Question | Free version | Studio |
|---|---|---|
| Can I cut a timeline, grade footage, and composite in Fusion? | Yes, fully | Yes |
| Can I export up to 4K at 60fps? | Yes | Yes, plus higher resolutions and frame rates |
| Do I get Magic Mask, Voice Isolation, Speed Warp, Smart Reframe? | No | Yes |
| Does this roadmap's Stage 1 through Stage 5 require Studio? | No | No |
| One-time cost | Free | $295, one-time purchase |
The one other Stage 0 decision worth a sentence: import your own footage as early as possible, even for your very first project inside the app. A curated lesson file, the kind bundled with Blackmagic's guides or Ripple Training's courses, is fine for your literal first five minutes learning where a button lives. Everything after that should touch footage you actually shot, because your own clips carry the mismatched white balance, the inconsistent audio level, and the awkward pause that a demo file was specifically chosen to avoid, and those problems are exactly what the rest of this roadmap is training you to handle.
Stage 1: how do you learn the Cut or Edit page (weeks 1-2)?
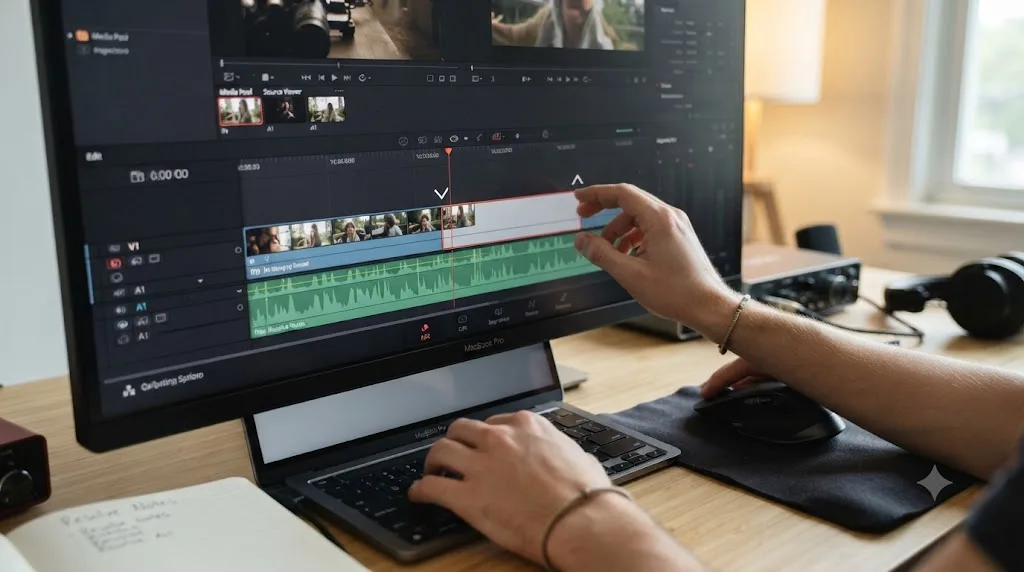
By trimming real footage until in and out points stop feeling like a guess. This stage has one job: build the muscle memory of finding the exact frame where a clip should start and end, moving clips around a timeline without leaving gaps, and assembling a sequence that reads cleanly from start to finish. Everything later in this roadmap assumes you can do this without thinking hard about it.
Don't start with a demo project. Film something small yourself, even ten seconds of your dog crossing a room, and cut it. If you want a structured set of drills instead of improvising, our guide to DaVinci Resolve practice exercises for beginners has ten of them built specifically for this stage, including a 90-second instructional edit and a ten-clip reorder drill designed to force precise trims. Both are built around a hard constraint, a clip count or a time limit, because a constraint is what turns an open-ended project into something you can actually finish and learn from.
What "ready to move on" looks like at the end of this stage: you can cut a 60 to 90 second sequence from your own footage, with clean in and out points, no dead air at the start or end of a shot, and a rough sense of when a cut should happen versus when a shot should breathe a little longer. You don't need it to be good. You need it to be finished, and you need to be able to look at it and say specifically what you'd change on a second pass.
Stage 2: why learn Fairlight audio basics before Color (week 3)?
Because bad audio habits are invisible until they're expensive, and this stage costs almost nothing to fix that in advance. Most beginners skip straight past Fairlight, assume audio is "whatever came with the clip," and don't think about it again until a client or a viewer points out that dialogue is clipping or a music bed drowns out a voiceover. By then, you've built the habit of ignoring the meter into every project you've cut so far.
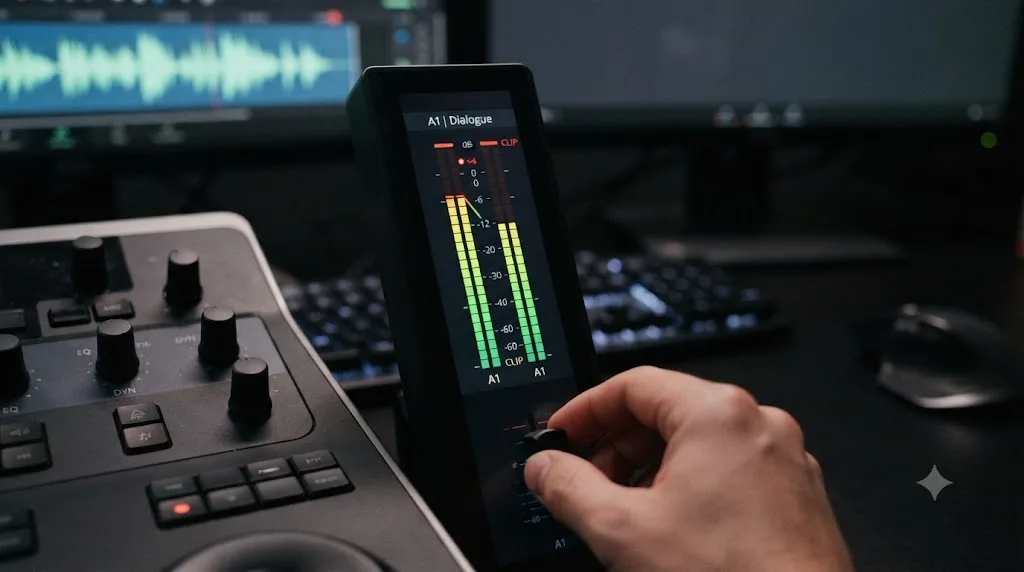
This stage is deliberately short, a few days rather than weeks, because the goal isn't audio mastery. It's three specific habits: reading a level meter and knowing what "peaking" looks like before it happens, trimming a clip so a level spike gets cut rather than left in, and syncing audio and video cleanly when they were recorded on separate devices. None of that requires Fairlight's deeper mixing and mastering tools yet, the ones covered in Blackmagic's Fairlight Audio Guide. Save those for later, once you're mixing a real multi-track project rather than checking whether a single dialogue track is clean.
The reason this sits before Color in this roadmap rather than after, unlike the app's own tab order, is practical rather than technical. Audio habits are cheap to build correctly from the start and annoying to retrofit once you've cut fifteen projects with the meter ignored. Color, by contrast, genuinely benefits from more runway, since node-based grading is a bigger conceptual jump than reading a meter. Front-loading the quick, cheap habit and saving the bigger conceptual stage for after it is just good sequencing, not a rule handed down from anywhere official.
Stage 3: how do you learn the Color page without getting lost in nodes (weeks 4-6)?
One node at a time, and not a five-node LUT stack copied from a tutorial before you understand what any individual node contributes. This is the stage most beginners either dread or rush, and both reactions come from the same mistake: treating Color as a single skill instead of a small set of tools you chain together, one adjustment at a time.
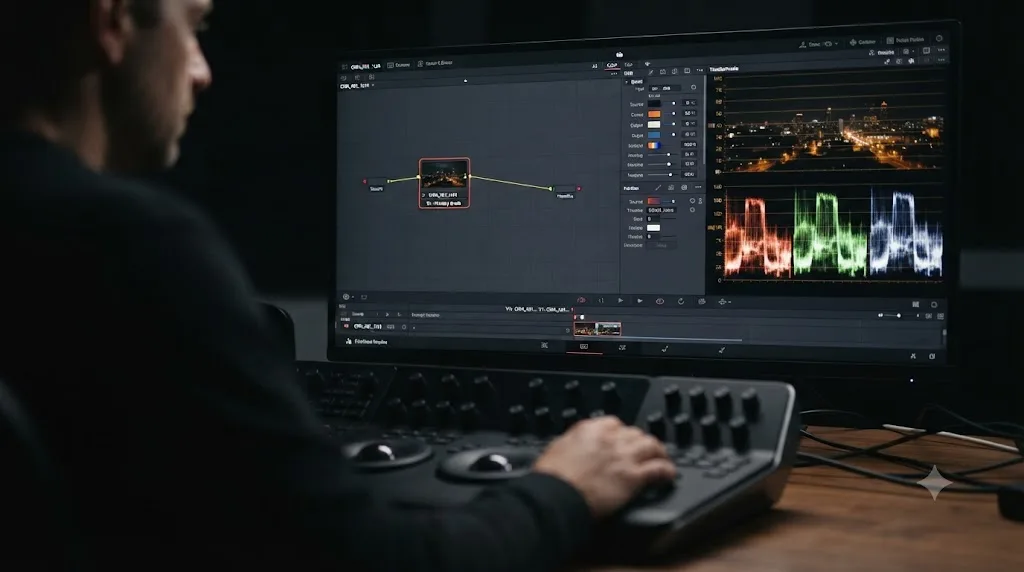
Start with a single serial node on one clip. Pull the lift wheel for your black point, gamma for midtones, gain for highlights, watching the waveform the entire time rather than trusting your monitor, since your eyes adapt to a grade the longer you stare at it. Once that single node genuinely can't get you closer to a reference frame, add a second node, usually a qualifier, to isolate the specific color range a single node can't touch. That progression, one node proving its limit before you add the next, is how Resolve's entire node system is designed to be used, and jumping straight to a complex tree skips the exact step that teaches you what each node is actually doing.
Our deeper research piece on the best way to learn DaVinci Resolve goes into the learning-science case for this in full, but the short version matters here directly: watching a colorist grade a shot on a course teaches recognition, not the judgment call you need on your own footage. Guided practice inside Resolve beats watching courses about Resolve. That's not a slogan, it's the same finding every serious study on skill acquisition converges on, and Color is the stage in this roadmap where the gap between watching and doing shows up the most starkly, because "does this look right" has no answer a manual can give you.
What "ready to move on" looks like here: you can take two clips shot in different lighting, one warm and one cool, and match them to a common reference using one or two nodes each, checking your work against the waveform rather than your eyes alone. That's a real, common editing problem, mismatched footage from two cameras or two times of day, and solving it with the simplest tool available is the entire point of this stage.
Stage 4: when are you ready for Fusion, and what should you learn first (weeks 7-9)?
Once you have a graded shot worth compositing onto, not before. This is the stage this roadmap deliberately moves later than Resolve's own tab order, for the reason covered earlier: building a Fusion composite against ungraded footage means redoing it once the grade changes the image underneath. Wait until Stage 3 is genuinely done, not just started.
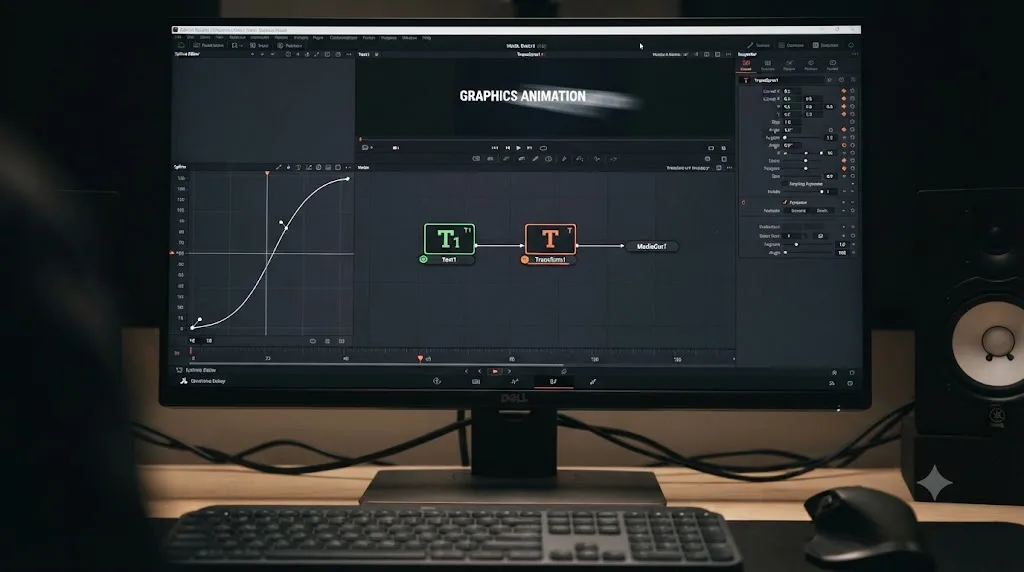
Most beginners avoid Fusion entirely because its node-based interface looks nothing like the Edit page's linear timeline, and that avoidance compounds the longer it goes on. The fix isn't a crash course in every Fusion tool. It's one small, forgiving first project: add a single Text+ node and a single Transform node, and animate the text moving from off-screen to a resting position using only two keyframes on that Transform node. Set the text's position off-frame at frame one, move the playhead forward, reposition it where you want it to land, and Resolve interpolates the motion between those two points automatically. Once that's working, open the Spline editor and adjust the tangent handles so the motion eases in rather than moving at one constant, robotic speed.
That two-node, two-keyframe project is small enough that a wrong connection is obvious and easy to undo, which makes it a safe place to build the mental model of connecting one node's output to another node's input for the first time, before you need that model for something harder, like a tracked mask or a multi-layer composite. Once that's comfortable, expand into masking a specific object with a Transform node's tracker, or building a simple particle effect, both of which lean on the same node-connection habit you just built with something much smaller.
What "ready to move on" looks like: you can animate a text or graphic element with a clean, eased motion using at least two keyframes, and you understand, without looking it up, why the node you just added needed to connect to the specific input it did. You don't need to be fast at Fusion yet. You need the node graph to stop looking like an unfamiliar wall of boxes and start looking like a chain of small, individually understandable steps.
Stage 5: what does the Deliver page actually require you to know (week 10)?
Less than it looks like, and it's genuinely the shortest stage in this roadmap. The Deliver page's job is narrow: take your finished timeline and export it at the correct resolution, frame rate, codec, and container for wherever it's actually going, whether that's YouTube, a client review, a phone screen, or a broadcast deliverable. Most of what trips beginners up here isn't a missing skill, it's a mismatch between the render settings and the destination.
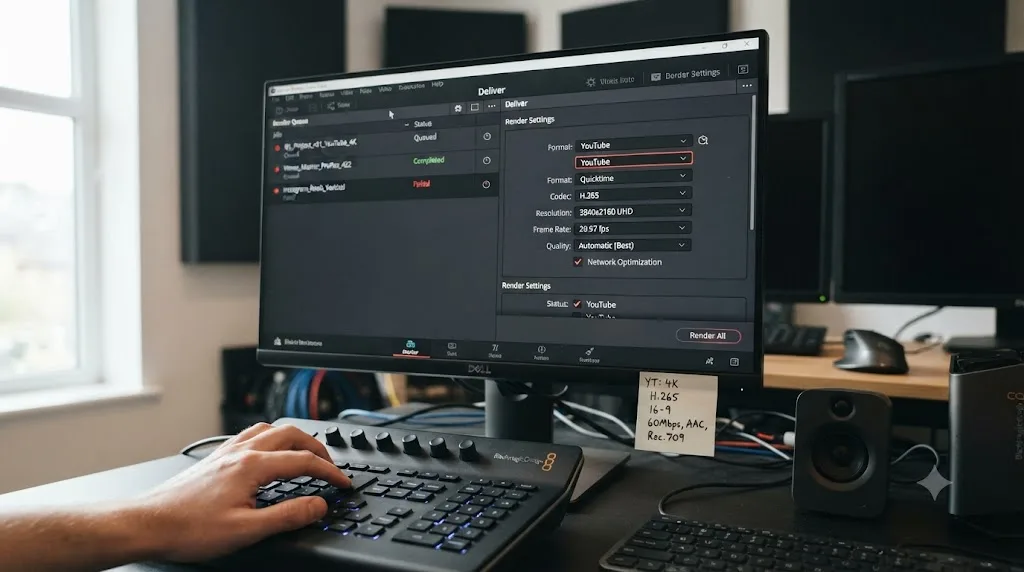
The core habit to build in this stage: before you queue a render, check three things against where the video is actually going. Resolution and frame rate should generally match your timeline's project settings unless the destination specifically calls for something different, like a vertical export for a platform that wants 9:16 instead of your 16:9 timeline. Codec and container should match what the destination platform or client actually asked for, since a technically perfect export in the wrong format is still a failed delivery. And always confirm playback of the exported file before you consider a project actually finished, since a render that completes without errors can still contain a missing effect or an audio track that didn't carry over if a page-level setting wasn't included in your delivery preset.
Run this stage under a small, real deadline if you can, even a self-imposed 10-minute timer on a project you've already finished once. Ten minutes is tight enough that you'll discover things a leisurely export never exposes, like not knowing where the "match project settings" checkbox lives, or catching a wrong resolution in the render queue before it wastes a full export cycle. That kind of pressure-tested export habit is worth building once, deliberately, in a low-stakes setting, rather than the first time it actually matters on a real deadline.
What "ready to call this roadmap finished" looks like: you can take any project from earlier in this roadmap, choose the correct export settings for a stated destination, and confirm the resulting file plays back correctly with everything, video, audio, titles, and any Fusion effects, intact.
What derails beginners at each stage, and how do you get unstuck?
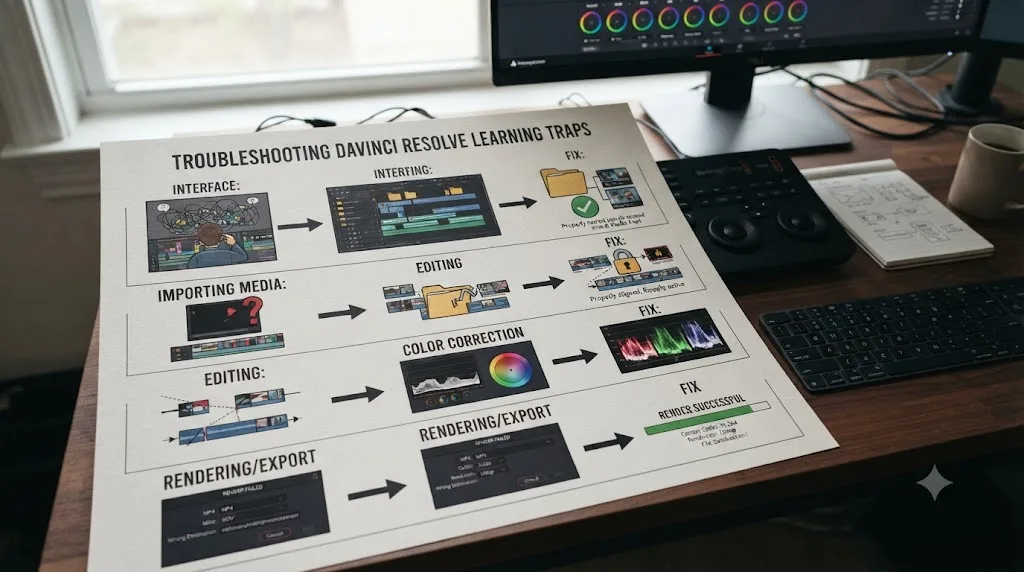
Every stage in this roadmap has a specific way it eats a beginner alive, and it's rarely the skill the stage is supposed to teach. It's something adjacent, invisible until it wastes a week. Naming the trap in advance is cheaper than discovering it yourself.
| Stage | The trap | Why it happens | The fix |
|---|---|---|---|
| 1: Cut/Edit | Playback stutters or drops frames on your own footage, and you assume you're bad at editing | Resolve plays back slowly when your GPU, CPU, storage, or render cache can't keep up with your footage's codec and resolution in real time, a hardware ceiling, not a skill problem, per Miracamp's breakdown of Resolve playback lag | Right-click your clips in the Media Pool and choose Generate Optimized Media in ProRes Proxy or DNxHR LB, turn on Playback > Proxy Mode at Half or Quarter Resolution while you edit, and set Playback > Render Cache to Smart so effects pre-render in the background |
| 2: Fairlight | You mix by ear and miss a clipping track because it didn't sound loud | Your ear adapts to volume across a session the same way your eyes adapt to a grade, and a single sharp transient can clip without ever sounding dramatic through headphones | Watch the meter's red zone, not your gut, and trim the specific spike rather than pulling the whole clip's level down to compensate for one moment |
| 3: Color | A grade that looked perfect on your laptop looks wrong on a phone, a TV, or a client's monitor | Consumer laptop panels routinely misrepresent contrast, saturation, and black level, especially at extreme screen brightness or in a dim room | Trust the waveform and vectorscope over your eyes from day one, since scopes read the actual signal instead of a panel's interpretation of it |
| 4: Fusion | A node graph goes black, or a mask does nothing, and you can't tell why | Fusion nodes carry a specific data type in and out, image, mask, 3D, and connecting the wrong output to the wrong input either refuses the connection or silently produces nothing | Keep your first composite to two or three nodes you fully understand, and if a Merge node looks wrong, check which input got Background and which got Foreground, since swapping them is the single most common Fusion mistake beginners hit |
| 5: Deliver | The render finishes with no error, but the file is missing audio or plays at the wrong frame rate | Deliver page settings live independently from your timeline settings, and Resolve will happily render a mismatch unless you explicitly correct it | Before queuing a real export, confirm render settings mirror your timeline's frame rate and resolution, and play the exported file back end to end, not just the first ten seconds, before calling the project done |
None of these five traps is a talent problem, and every one of them looks like one until someone names it. A beginner who hits Stage 1's stutter and assumes editing "isn't for them" is solving the wrong problem, because the actual fix lives three menus deep in a settings panel they've never opened. The pattern repeats at every stage: the thing that stalls you is almost never the skill you're trying to learn.
Two worked examples: how do you actually match footage and build your first composite?
Reading about a milestone and hitting it are different things, so here are two of this roadmap's milestones worked all the way through, step by step, the way you'd actually do them on your own footage.
Worked example 1: matching two clips shot in different lighting. Say you've got a scene cut together from two clips, one shot in warm afternoon window light, one shot later the same day in cooler, shaded light.
- Open the Color page and select whichever clip is closer to a neutral, correctly exposed look, treat it as your reference. Add a single serial node and use the waveform, not your monitor, to set the black point near 0 IRE and the white point near 100 IRE with the lift and gain wheels. Don't touch color yet, only contrast.
- Select the second clip, add its own first node, and repeat the same waveform-based contrast match before you touch hue or saturation at all. A clip with the wrong contrast will look wrong no matter how well you match its color afterward.
- Once both clips share a similar contrast range, compare their vectorscope traces side by side. If skin tone is visible in both shots, use the vectorscope's skin tone indicator line as your anchor, since it catches a color cast your eye has usually already adjusted past.
- Add a second node to the cooler clip and pull its color balance control warmer until its vectorscope trace lines up with the reference clip's.
- Grab a still of the reference grade from the Gallery and use Apply Grade on the second clip's node tree as a sanity check, then compare both frames with the Color page's split-screen or wipe tool.
- If one specific object, a wall, a jacket, still doesn't match after the balance pass, isolate just that color with a qualifier on a third node and nudge its hue independently, rather than fighting the whole image to fix one object.
This sequence rarely needs more than two or three nodes per clip. Stacking five or six to match two shots usually means the contrast step got skipped, and you're trying to fix a black-point mismatch with a tool that was never built for it.
Worked example 2: your first Fusion composite that actually shows over your footage. The detail that trips up most beginners on their first Fusion attempt isn't the animation. It's that a Text+ node floating in the node graph doesn't appear over your video by itself. It needs a Merge node to combine the two.
- On the Fusion page, add a Text+ node from the Effects Library, type your text, and set its size and font in the Inspector.
- Add a Merge node. Connect your footage's MediaIn node to the Merge's Background input first, then connect the Text+ node to the Merge's Foreground input second. The Background input's color has actually changed across Fusion versions, yellow in older manuals, orange in the current one, but the Foreground input has stayed green throughout, and getting the two backwards is the single most common Fusion mistake beginners hit, covered in more depth in our guide to fixing a reversed Fusion Merge node.
- Add a Transform node between the Text+ node and the Merge node, so you're animating the Transform's position rather than the Text+ node directly.
- Set the playhead to frame 1, and in the Transform's Center parameter, right-click and choose Animate to drop a keyframe with the text positioned off-frame.
- Move the playhead forward, roughly 15 to 20 frames at 24fps is enough for a title to read as an intentional move rather than a jump cut, and reposition the text where you want it to land. Resolve adds a second keyframe automatically.
- Open the Spline editor near the keyframe timeline, select both keyframes, and adjust the curve so the motion eases in and slows as it approaches its resting position, rather than moving at one constant, robotic speed.
- Connect the Merge node's output to MediaOut, and check the composite against your actual footage, not the black canvas Fusion shows by default before you've wired up a background.
That's the whole first project: five nodes, two keyframes, one eased curve. It's small enough that a wrong connection is obvious, and it's the exact chain of decisions, this output into that input, that every larger Fusion composite gets built from.
How long does this roadmap actually take?
Long enough that anyone giving you a confident single number is guessing. The honest range, for a beginner working a handful of hours a week and actually finishing projects rather than just watching material, is somewhere around 8 to 12 weeks to get comfortably functional across all five stages: a real cut, a real grade, a small real composite, and a correctly exported file. That's roughly the pace the ten-week table earlier in this guide assumes, stretched out for a realistic schedule rather than a full-time crash course.
The variable that actually predicts your timeline isn't hours logged. It's whether each session ends in something finished and corrected, rather than something watched. A University of Pennsylvania study covered by Higher Ed Dive found an average completion rate of just 4% across sixteen free online courses, and that number matters here directly: someone who finishes five small, corrected projects across five weeks will generally end up more capable than someone who watched fifty hours of tutorial content and never opened a project of their own, even though the second person logged far more total time. Our full research writeup on the best way to learn DaVinci Resolve covers the evidence behind that claim in depth if you want the studies behind it.
A roadmap tells you what order to attempt things in. It never tells you whether the thing you just attempted actually worked, and that gap is where every method on this page, free or paid, either delivers or doesn't. Blackmagic's guides can tell you the correct order. Ripple Training's videos can show you a correct example. Neither can look at your specific attempt and tell you if it landed, and that correction step, not the stage order itself, is what actually determines how many weeks this roadmap takes you.
What if you already edit in another program like Premiere or Final Cut?
Skip Stage 1, mostly, and start closer to Stage 3. This roadmap assumes zero prior editing experience by default, but a meaningful share of people reading it already know how to cut, they just learned it somewhere else. The honest split, covered in more depth in our best way to learn DaVinci Resolve research piece, is that declarative facts don't transfer between editors, but judgment does. Knowing that a cut needs to breathe, that a color decision should serve the story, that an audio level shouldn't clip, none of that resets when you switch software.
| Starting point | Where to actually start | Why |
|---|---|---|
| Complete beginner, never edited anything | Stage 1, full sequence | Nothing is assumed knowledge yet, including basic trim vocabulary |
| Editing experience in Premiere, Final Cut, or another NLE | Stage 3 (Color), after a day mapping shortcuts | Trimming and pacing judgment transfer; Resolve's node-based color page has no equivalent elsewhere |
| Comfortable editing generally, weak specifically at color or Fusion | Whichever stage covers your weak spot | No reason to rebuild skills you already have just because the software changed |
The one caution worth naming: don't skip Stage 1 entirely if you've never actually opened Resolve, even if you're an experienced editor. Spend a single afternoon there, not two weeks, mapping where your old muscle memory maps onto Resolve's specific tools and where it doesn't. The node-based color page and Fusion's node graph are the two places this roadmap assumes genuinely new ground for everyone, regardless of prior software experience, because neither has a direct equivalent in a single-timeline editor.
What if you only have a few hours a week?
Stretch the calendar, not the corners you cut. The ten-week table earlier in this guide assumes a session most days, which isn't realistic if you're fitting this in around a full-time job. That's fine. What actually matters is that each session you do have ends in something finished and corrected, not that the sessions happen back to back.
Here's a compressed version built around two sessions a week instead of daily practice.
| Week | Session 1 | Session 2 |
|---|---|---|
| 1-2 | Setup, then Cut/Edit basics on your own footage | Finish a 60-90 second edit |
| 3 | Fairlight basics, meter reading | Fix a clipping track, sync audio to video |
| 4-6 | One-node color match on a clip | Two-clip color match, different lighting sources |
| 7-9 | Fusion: single Transform node, two keyframes | Small tracked mask or simple composite |
| 10 | Deliver: match settings to a stated destination | Finish and export a full project, confirm playback |
That's roughly ten sessions across ten weeks instead of daily practice across the same span, and it covers every stage in this roadmap with the same order, just less densely packed. A slower plan you actually finish beats a faster plan you abandon in week two because the daily cadence wasn't realistic for your actual schedule.
Do you need DaVinci Resolve Studio to follow this roadmap?
No, and it's worth restating plainly since this question comes up at nearly every stage. The free version of DaVinci Resolve teaches the entire roadmap in this guide except two pages' worth of Neural Engine automation, and neither of those pages is where a beginner should be spending week one anyway. Magic Mask, Voice Isolation, Speed Warp, and Smart Reframe are genuinely useful tools once you already understand the underlying skill they're automating, masking, audio cleanup, retiming, and reframing. They're not a substitute for learning that underlying skill in the first place, and none of the five stages in this roadmap depends on them.
If you finish this entire roadmap on the free version and later find yourself wanting one specific Studio feature for a real project, that's the moment to spend the $295, not before. Buying Studio on day one because a comparison chart made it look like the "complete" version is a common, avoidable expense for a beginner who hasn't yet used enough of the free version's core toolset to know whether the gated features actually matter to their work.
What should you do once you've finished this roadmap?
Finishing five stages doesn't mean stopping. It means the roadmap's job is done, and a different kind of practice takes over.
Take Blackmagic's free proficiency exam for whichever guide you just finished. According to a breakdown of Blackmagic Design's certification program, the End User exam is open book, free, 50 randomly selected questions in 60 minutes, and requires an 85% score to pass, with two additional attempts allowed after a six-hour wait if you don't clear it the first time, and a digital certificate emailed on completion. It's open book, so the real value isn't the score. It's finding out exactly which questions you had to look up, which tells you precisely what to revisit before moving on.
Build one complete project, not another isolated exercise. Combine all five stages into a single finished two-to-three-minute piece from your own footage: a real cut, cleaned audio, a grade that holds up on more than one screen, one Fusion element, and a correctly exported file for a stated destination. That finished piece, not a certificate, is what shows a client or an employer that you can run the whole pipeline, not just describe it. This is the point where the small, isolated drills from Stage 1's practice exercises graduate into a real deliverable.
Go back to Stage 3 and Stage 4 a second time, deliberately harder. Now that the fundamentals are load-bearing, that's the moment to pick up a Fusion-specific or Fairlight-specific paid course, like the ones Ripple Training sells separately from its Essentials Bundle, since a deep dive into masking, tracking, or a full mix now compounds on something instead of replacing it.
Keep the correction habit going, even after the roadmap ends. Whether that's a community, a mentor, or an in-app tutor watching your specific project, the habit that got you through these five stages, attempt real work and get told specifically what's wrong with it, doesn't stop being the fastest way to improve once the roadmap itself is finished.
Finishing this roadmap doesn't mean you stop needing correction. It means you've earned harder things to get corrected on. The five milestones in this guide were never the ceiling. They were the floor you needed under you before a harder project stopped being intimidating and started being interesting.
What role should AI tools play in this roadmap?
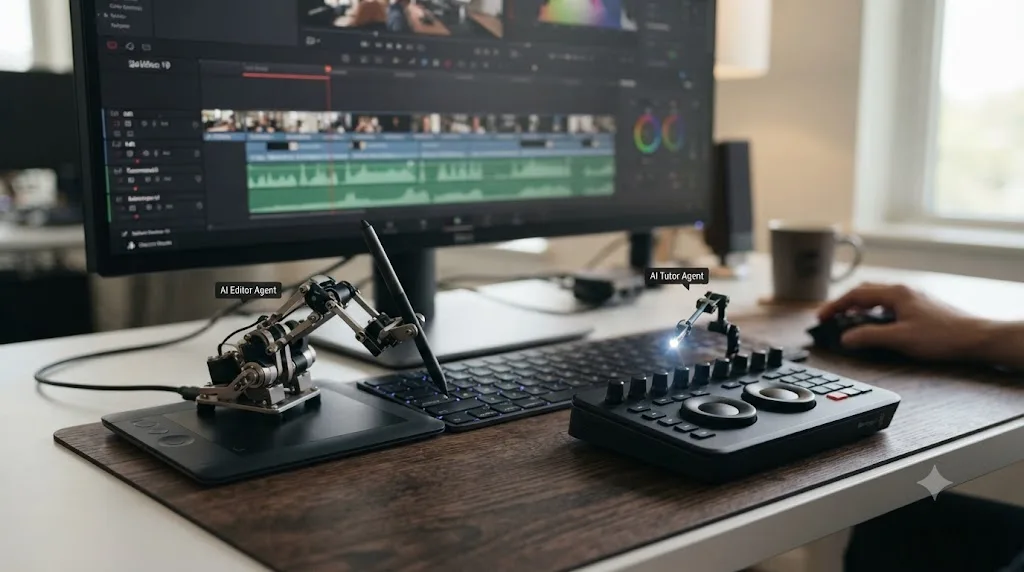
A supporting one, and the category matters more than any single tool name. Not every AI tool built around DaVinci Resolve does the same job, and conflating them is the fastest way to accidentally undercut your own practice. Our full comparison of AI tools to learn DaVinci Resolve covers this landscape in depth, but the short version matters directly here: some tools answer questions, some automate a task, and exactly one category watches your screen and points, without touching your project.
TryUncle is the on-screen assistant for DaVinci Resolve on macOS. Ask in plain words, and Uncle points at the exact control on your screen. That's a meaningfully different job than a general chatbot like ChatGPT or Claude, which can answer a declarative question but has never seen your actual project, and it's a different job again from a growing category of AI editing agents that will cut your timeline for you if you let them.
CutAgent is a macOS app that reads your active timeline and transcripts and executes cuts from a plain-language request. Sottocut and PremiereCopilot work in a similar space, automating specific editing tasks from a typed instruction. Eddie AI does the same for a native Resolve workflow, generating rough cuts and suggestions from your source footage. Every one of those tools is genuinely useful for a working editor who already knows Resolve and wants a faster rough cut. None of them belongs anywhere near a stage in this roadmap you haven't finished yourself yet, because handing "cut this footage" to an agent that does it for you isn't practicing Stage 1. It's watching the agent practice it.
| Tool | What it actually does | Fits a roadmap stage you're still learning? |
|---|---|---|
| ChatGPT / Claude | Answers typed questions, no view of your project | Partially, for declarative facts only |
| CutAgent | Executes edits from typed instructions | No, does the practice for you |
| Sottocut | Automates specific editing tasks | No |
| PremiereCopilot | Automates specific editing tasks | No |
| Eddie AI | Generates rough cuts and suggestions | No |
| TryUncle | Watches your screen, points at controls, answers questions | Yes, without touching your timeline |
An AI tool that edits your timeline for you is the fastest way to defeat the purpose of a roadmap stage, no matter how good the resulting cut looks. The value of Stage 1's trimming drill, or Stage 3's one-node color match, was never the finished output. It was the decision you made getting there, and a tool that makes that decision for you has quietly taken the one thing the stage was supposed to give you.
TryUncle isn't free. It's a paid subscription at $34.99 a month with cancel-anytime billing, macOS only, per TryUncle's own site. It's also not a replacement for the roadmap itself. Every stage above works fully without it. What it changes is how fast you get unstuck at each stage when correction has to come from somewhere and nobody happens to be around to give it.
Where does TryUncle fit at each stage of this roadmap?
As the correction step, specifically, not as a replacement for any stage itself. Since Uncle watches your DaVinci Resolve screen live (per TryUncle's FAQ), what it's useful for changes depending on which stage you're actually in, and it's worth being concrete about that instead of treating it as one generic "AI help" button.
| Stage | What you'd typically ask Uncle | What Uncle does not do |
|---|---|---|
| Stage 1 (Cut/Edit) | "Where is ripple trim, and why did my downstream clip shift" | Doesn't make the trim decision for you |
| Stage 2 (Fairlight) | "Is this track actually clipping, or does it just look loud" | Doesn't mix the track for you |
| Stage 3 (Color) | "Why is my qualifier grabbing part of the wall behind my subject" | Doesn't pull the wheels or build the node tree for you |
| Stage 4 (Fusion) | "Where do I connect this Transform node's output" | Doesn't build the composite for you |
| Stage 5 (Deliver) | "Why does my render queue show the wrong resolution" | Doesn't queue or confirm the export for you |
That pattern holds across every stage: Uncle answers "where is this" and "why is this happening" on your specific screen, live, and leaves the actual decision, the trim, the mix, the grade, the composite, the render, in your hands. That's the whole distinction between an in-app tutor and an editing agent covered in the table above, and it's the reason TryUncle can sit inside a learning roadmap without quietly doing the learning for you.
Whether it's worth the subscription for you specifically depends on how much you value getting unstuck immediately at each stage versus digging through Blackmagic's free guides or a forum thread yourself, which, per Stage 0 through Stage 5 above, works too, just slower. If you're a genuinely complete beginner deciding whether this fits your situation, our fuller guide on TryUncle for complete DaVinci Resolve beginners covers the specific first questions worth asking it before you've built any muscle memory at all.
What's the fastest way to actually get through this roadmap?
Follow the five stages in order, but spend most of each stage attempting real work rather than consuming more material about it. That's the entire method this guide has been building toward, and it holds whether you're using Blackmagic's free guides, Ripple Training's paid courses, Casey Faris's YouTube channel, or nothing but your own footage and a willingness to get corrected.
A short orientation per stage is enough. One video, one chapter of a free guide, enough to know roughly where things live and the one setting that'll break your first attempt if you don't know it exists. Then stop consuming and start attempting, on your own footage, without a tutorial paused beside you. Get corrected on the specific thing you're unsure about, whether that's a community post, a mentor, or an in-app tutor watching your screen. Finish the attempt, even badly, and move to the next stage once the milestone in the roadmap table is genuinely met, not once you feel ready in the abstract.
The fastest path through this roadmap was never about compressing the pages. It was about not skipping the correction step at every single one of them. Two people can both spend ten weeks on this roadmap and land in very different places, and the difference almost never comes down to which free guide or which paid course they picked. It comes down to whether they finished small, real projects at every stage and found out, specifically, what was wrong with each one before moving to the next.
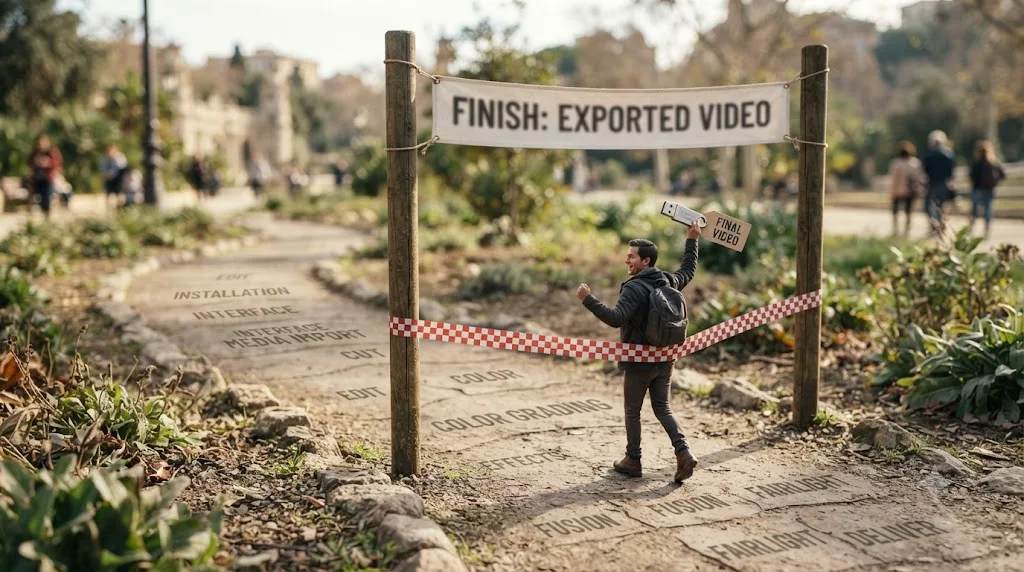
So here's the roadmap stated plainly, one more time, because it's the whole point of this guide. Cut or Edit first. Fairlight basics next, cheap and quick. Color after that, one node before the next. Fusion once you have something graded worth compositing onto, not before. Deliver last, matched to wherever the video is actually going. Blackmagic's free guides agree with that order. Ripple Training's paid courses agree with it too. The order was never really in dispute. What determines how fast you move through it is whether you're finishing real attempts at each stage and getting corrected on them, or just collecting one more resource before you're willing to open the app and try.
Frequently asked questions
- What is the best order to learn DaVinci Resolve in?
- Cut or Edit page first for trimming and timeline basics, then Fairlight for basic audio levels, then the Color page for node-based grading, then Fusion for compositing, then Deliver for export settings. That's the order Blackmagic's own free training guides ship in, and it's the order Ripple Training's paid Learning Path follows too. The one wrinkle is that Resolve's own page tabs put Fusion before Color, but almost nobody actually learns it in that order, because compositing on ungraded footage means redoing your work once the grade changes everything.
- How long does it take to learn DaVinci Resolve as a complete beginner?
- There's no fixed number, and anyone promising one is selling you something. A realistic pace for a beginner working a few hours a week is roughly 8 to 12 weeks to get comfortably functional across all five pages in this roadmap: cutting a real timeline, grading a basic look, building a simple Fusion composite, and exporting correctly. The variable that actually predicts your timeline isn't hours watched, it's whether you're finishing small projects and getting corrected on them.
- Should I start on the Cut page or the Edit page?
- Start on the Edit page if you've never used a timeline-based editor before, since it matches what almost every tutorial, including Blackmagic's own Editor's Guide, teaches first. Start on the Cut page if you already edit in another NLE and want to see what Resolve does differently, since Blackmagic built it as a faster alternative workflow, not a beginner mode. Either way, you'll end up using both, and switching between them costs one click.
- Do I need DaVinci Resolve Studio to follow this roadmap?
- No. Every page and every core skill in this roadmap, Cut, Edit, Fairlight, Color's node system, Fusion's basic compositing, and Deliver, works fully in the free version of DaVinci Resolve. Studio only gates specific Neural Engine automation features like Magic Mask, Voice Isolation, and Speed Warp, none of which this roadmap asks you to learn first.
- Is Ripple Training's DaVinci Resolve Learning Path worth the money over Blackmagic's free guides?
- It depends on what you're paying for. Blackmagic's guides are free, accurate, and cover the same page order. Ripple Training's paid courses add a structured video format with an instructor narrating decisions in real time, which some beginners find easier to follow than a PDF. Neither one can see your own footage or correct your specific attempt, which is the gap every method in this roadmap eventually runs into.
- What's the fastest way to learn DaVinci Resolve?
- Follow the page order in this roadmap, but spend most of your time finishing small projects on your own footage instead of watching more material. A short orientation video per stage, then an actual attempt, then correction on the specific thing you got wrong, moves faster than any curriculum watched start to finish without stopping to practice.
- Can an AI tool speed up this roadmap?
- Some AI tools help and some do the opposite. Chatbots like ChatGPT and Claude answer declarative questions fast but can't see your project. Timeline-editing agents like CutAgent, Sottocut, PremiereCopilot, and Eddie AI will cut your footage for you, which defeats the point of practicing a stage yourself. An in-app tutor like TryUncle, which only points at controls and answers questions without touching your timeline, speeds up the correction step without skipping the practice.
- What should I learn first if I already edit in another program like Premiere or Final Cut?
- Skip straight to the Color and Fusion stages of this roadmap, since your trimming and pacing judgment already transfers. What doesn't transfer is Resolve's node-based color page and Fusion's node graph, since neither has a direct equivalent in a single-timeline NLE. Spend a day mapping your old keyboard shortcuts to Resolve's, then start this roadmap at Stage 3.
Sources
- DaVinci Resolve Training (Blackmagic Design)
- DaVinci Resolve product page and free vs Studio comparison (Blackmagic Design)
- DaVinci Resolve - Cut (Blackmagic Design)
- DaVinci Resolve Interface and Pages (2 Pop, CalArts)
- DaVinci Resolve: Everything You Need to Know Before You Download, by Alizah Aamir (Firecut)
- DaVinci Resolve Learning Path (Ripple Training)
- DaVinci Resolve 20 Core Training (Ripple Training)
- Color Grading in DaVinci Resolve 20 (Ripple Training)
- DaVinci Resolve free vs Studio: What's included in each version (Storyblocks)
- MOOC completion rate just 4%, study says (Higher Ed Dive)
- DaVinci Resolve 21 (Learning Group) - Facebook
- Casey Faris - Instructor page (CreativeLive)
- How to Fix Laggy Playback in DaVinci Resolve (Miracamp)
- Blackmagic Design DaVinci Resolve Certification Training (Think Big Learn Smart)
- Fusion Merge Node Backwards? Fix Swapped Background/Foreground (TryUncle)
- CutAgent (product site)
- Sottocut (product site)
- PremiereCopilot pricing
- Eddie AI for DaVinci Resolve (native integration workflow page)
- TryUncle
- TryUncle FAQ
Learn by doing, not watching
Stop translating tutorials to your timeline.
TryUncle stays beside Resolve on Mac and Windows. When you ask, Uncle sees your screen and points at the exact control you need. No hunting through tabs, timestamps, or mismatched tutorials.
Meet TryUncleKeep reading
 GuidesJul 12, 202641 min read
The Best Way to Learn DaVinci Resolve (What the Research Says)
Guided, hands-on practice inside DaVinci Resolve beats video courses and MOOCs. Here's the learning-science research behind why, and how to apply it.
 GuidesJul 15, 202640 min read
10 DaVinci Resolve Practice Exercises for Beginners
Ten DaVinci Resolve practice exercises for beginners, each targeting one skill, with real sources and a 14-day plan to string them together.
 ComparisonsJul 11, 202626 min read
The Best AI Tools to Learn DaVinci Resolve in 2026
ChatGPT, Claude, Blackmagic's free training, Recut, and Resolve's Neural Engine compared for learning DaVinci Resolve, and the gap none of them close.