
Learn / DaVinci Resolveupdated for DaVinci Resolve 21.0.2 (July 2026)
How to Edit Faster in DaVinci Resolve: A Workflow Guide
Quick answer
Editing faster in DaVinci Resolve comes from removing friction, not memorizing more shortcuts: proxy or optimized media for smooth playback, Smart render cache for effects, batch tools like Paste Attributes and Color Groups instead of repeating work by hand, and enough repetition that your fingers stop hunting for buttons. Hardware controllers and AI tools help after that foundation is fixed.
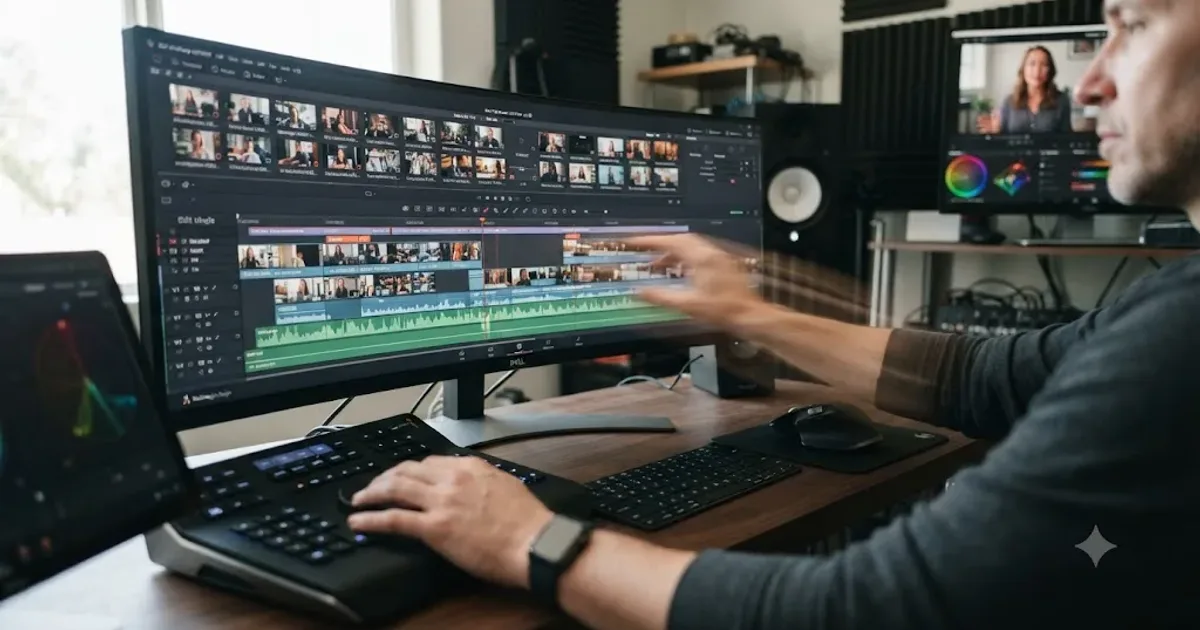
You've watched someone cut a sequence in the time it takes you to find the trim tool. It's not because they know forty shortcuts you don't. It's because almost nothing stands between what they want to happen and DaVinci Resolve doing it, while you're still fighting stuttering playback, a keyboard shortcut that means something different on the page you're on, and a color grade you're about to build from scratch for the eleventh clip in a row.
Speed in Resolve is a systems problem before it's a knowledge problem. Fix the system, in the right order, and the shortcuts you already half-know start actually working for you.
What actually makes DaVinci Resolve editing faster?
Four separate things, stacked in a specific order, not one trick. Get the order wrong and you'll spend an afternoon memorizing shortcuts that can't fire cleanly because your playback is still stuttering underneath them.
| Layer | What it fixes | Fix it before |
|---|---|---|
| Playback performance | Stuttering preview, laggy scrubbing | Anything else. A choppy timeline makes every other optimization feel pointless. |
| Render cache | Slow effects, dropped frames on color and Fusion | Learning new shortcuts, since a laggy playhead makes shortcut timing unreliable. |
| Interface friction | Hunting for tools, wrong-page shortcuts, repeating the same adjustment by hand | Buying hardware, since a control surface just relocates the same hunt. |
| Muscle memory | The gap between knowing a shortcut and using it without thinking | Everything above is already solid, or you're drilling reflexes on top of a slow foundation. |
Most advice about editing faster jumps straight to the third layer, more shortcuts, and skips the first two entirely. That's backwards. A shortcut you can't trust because your timeline is stuttering isn't a shortcut, it's a guess. The rest of this guide works through all four layers in the order that actually compounds.
Why doesn't memorizing more keyboard shortcuts make you faster on its own?
Because Resolve's shortcuts aren't fixed across the app, and your brain can't reliably hold a map that keeps changing under it. FlowKits, a company that builds Stream Deck profiles specifically for Resolve editors, names this exact problem directly: DaVinci Resolve shortcuts change meaning depending on which workspace you're in, so a key combination that does one thing on the Edit page does something else entirely on the Color page, according to FlowKits' breakdown of the problem. Their core argument is that you don't need to learn more shortcuts, you need to put the right ones where you can see them, since a control surface removes the friction between intent and the software's response.
That reframes the whole "learn more shortcuts" advice that dominates most speed-editing content. A cheat sheet with seventy entries doesn't help if you can only reliably recall six of them under pressure, and it actively hurts if half of those seventy mean something different depending on which page happens to be active. The problem was never volume. It was reliability.
Here's the practical split that falls out of that. A shortcut fired from muscle memory, without a glance at the keyboard or a half-second pause to recall it, saves real time. A shortcut you have to consciously retrieve, check against a mental map, and confirm you're on the right page for, costs you almost as much time as just reaching for the mouse would have. Most editors aren't slow because they know too few shortcuts. They're slow because the ones they do know aren't automatic yet.
This is also exactly why a shortcuts cheat sheet and a "how to edit faster" guide are different documents, even though they get conflated constantly. A cheat sheet is a reference you check. A faster workflow is a set of five or six actions that no longer need checking at all, because your hand already knows where they live.
How much time do you actually lose to interface friction, and does it add up?
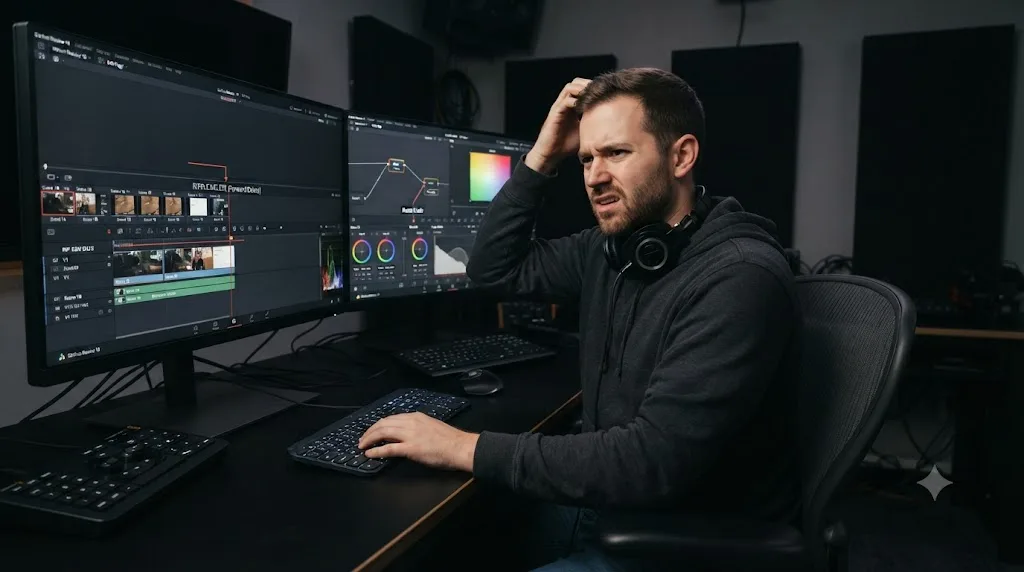
More than it feels like in the moment, and there's real research behind why a small hunt for the right tool costs more than its face value. The American Psychological Association's research on task switching, drawing on work by cognitive psychologist David Meyer, found that even brief mental blocks created by shifting between tasks can cost as much as 40 percent of someone's productive time, according to the APA's own summary of the research. The APA also notes that individual switch costs are often small, sometimes just a few tenths of a second, but they accumulate fast when you switch repeatedly, which is exactly what happens across a two-hour editing session with hundreds of tool changes, page swaps, and shortcut lookups.
Apply that directly to an editing session instead of an office task list. Every time you pause a trim to hunt for the razor tool, glance at a cheat sheet taped to your monitor, or stop to remember whether Ctrl+B does what you think it does on this particular page, you're paying a switch cost. Individually each one feels trivial, a second, maybe two. Multiply that by the hundreds of small decisions in a real editing session and the APA's research explains something every editor has felt without a name for it: a two-hour session that should have taken forty-five minutes, with nothing specifically slow about any single moment inside it.
Interface friction doesn't show up as one big delay. It shows up as a hundred small ones that never get subtracted from your sense of how the session went. That's the actual argument for fixing the friction layer before the hardware layer, and it's why a five-shortcut drill beats a seventy-entry cheat sheet: fewer switches, not more information to switch between.
There's a second, quieter cost worth naming. The two-stage process Meyer's research describes, what the APA calls goal shifting and rule activation, means your brain has to first decide to change tasks and then reload the mental rules for the new one. Reaching for the wrong tool and correcting yourself mid-trim isn't a neutral zero-cost mistake. It's a second, unplanned switch stacked on top of the one you were already paying for.
Should you use Proxy Media, Optimized Media, or Timeline Proxy Mode to speed up playback?
Depends on what's actually slowing you down: the footage itself, or the effects stacked on top of it. All three exist for a slightly different problem, and Resolve's own reference manual is specific about what each one is for.
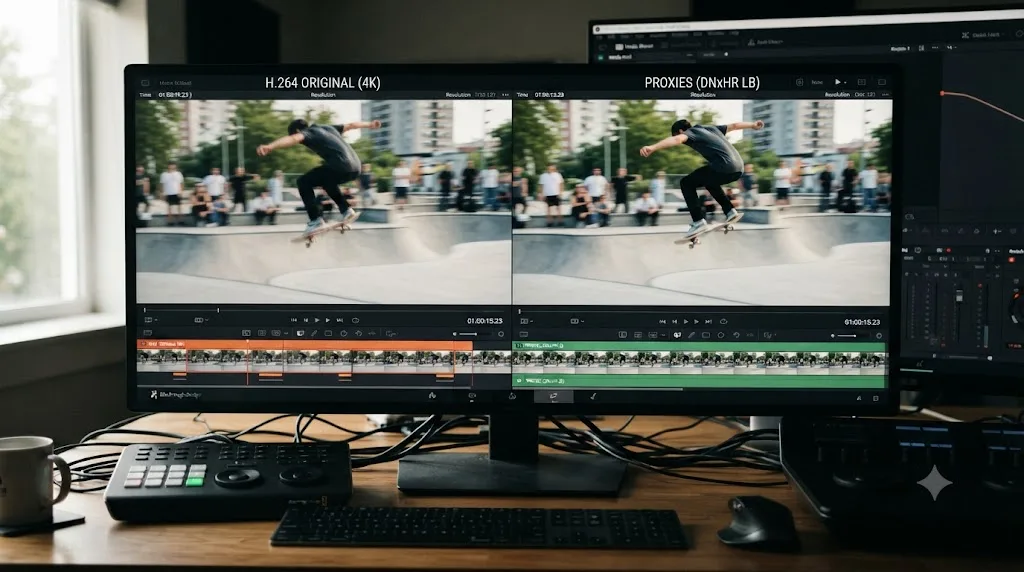
Proxy Media, per DaVinci Resolve's own reference manual, is described as "more highly compressed (and potentially lower resolution) versions of your source media that are linked to your source media in DaVinci Resolve via metadata." The manual is explicit about the payoff: proxy media gives you "lower bandwidth proxy media for increased real-time effects performance and full speed playback while editing," with the option to "easily revert back to more bandwidth and processor-intensive source media for color correction, finishing, and final output." Critically, proxy files are "fully portable, which lets you move your whole project easily from workstation to workstation, and even across the internet."
Optimized Media solves the same immediate problem, choppy playback from heavy source formats, but works differently under the hood. It's Resolve's own internally managed offline-proxy system, generated and tracked by the app itself rather than sitting as a separate portable file. It supports a wider range of source formats, including uncompressed and CineForm files, at the cost of larger file sizes and zero portability outside your own machine.
Timeline Proxy Mode is the lightest-weight option of the three. Dan Swierenga's guide on working faster in Resolve without new hardware describes it as a Playback-menu toggle that reduces incoming footage resolution to half or quarter resolution on the fly, with no permanent files generated at all, according to his write-up for Frame.io. It's the fastest to turn on and off, which makes it the right first thing to try before committing disk space to either of the other two.
| Option | Generates files? | Portable across machines? | Best for |
|---|---|---|---|
| Proxy Media | Yes, separate compressed files | Yes | Heavily compressed camera codecs (H.264/H.265), remote or shared projects |
| Optimized Media | Yes, internally managed | No | Uncompressed, raw, or CineForm sources that need a wider format range |
| Timeline Proxy Mode | No, on-the-fly resolution reduction | N/A, per-session only | A quick test, or a laptop session where you don't want to fill disk space |
Swierenga's write-up makes the underlying case for why heavily compressed footage specifically needs this: "Working with them in Resolve can lead to stuttering previews, even on expensive hardware," he writes about H.264 and H.265 camera files, because those codecs are optimized for storage size, not for the kind of frame-by-frame scrubbing an editor actually does. No amount of CPU or GPU upgrade fully solves a codec problem; it just delays when the stuttering starts.
Both Proxy Media and Optimized Media are controlled from Project Settings, where you pick a resolution (Original, Half, Quarter, Eighth, Sixteenth, or an automatic setting) and a target format (ProRes, DNxHR, H.264, or H.265) based on your available bandwidth and storage. The right proxy resolution is whatever's smooth enough to trim confidently, not the smallest file your drive can hold. Dropping to Quarter resolution when Half would have played smoothly just adds an extra generation step you didn't need.
When should you use Smart Cache versus User Cache, and does render cache actually matter for basic editing?
Yes, and it matters more the moment you add any color correction, transition, or Fusion effect to a cut that was previously just trims and hard cuts. Resolve's reference manual splits render caching into two modes: Smart Cache, which "automatically caches computationally intensive effects and timeline clips in formats judged too processor-intensive to play in real time," and User Cache, which lets you "manually choose which clips and effects to cache," according to the official manual's explanation.
You turn either one on from Playback > Render Cache, choosing Smart, User, or Off. Smart is the right default for almost everyone, since it analyzes your actual timeline and decides what needs pre-rendering without you having to flag anything manually. User Cache earns its keep only once you know specifically which clips are the problem, a heavy Fusion composite or a stacked noise-reduction node, and want to target caching there without Resolve spending cycles analyzing the rest of your timeline.
Resolve gives you a visual readout so you're never guessing whether the cache is doing its job: a blue line under a clip on the timeline means everything's cached and ready for full-speed playback, a red line means it isn't yet. Watching that line shift from red to blue after a few seconds of inactivity is Smart Cache working exactly as designed.
| Mode | How it decides what to cache | Best for |
|---|---|---|
| Smart | Automatically, based on processing load | Most editing sessions, especially with mixed effects |
| User | Manually, clip by clip | Targeting one known heavy effect without caching everything else |
| Off | Nothing cached | Simple cuts with no effects, or when disk space is critically tight |
Where you point the cache matters almost as much as which mode you pick. Cache files should live on a fast drive, ideally a separate SSD from your operating system and your source media, set from Project Settings > Master Settings > Cache Files Location. A cache writing to the same slow drive as your source footage competes with playback for the same read/write bandwidth it was supposed to be relieving.
Render cache format also has real consequences beyond speed. The three format options, Uncompressed, ProRes, and DNxHR, trade storage size for quality headroom: Uncompressed gives you the cleanest result at the largest file size, while ProRes and DNxHR trade a small amount of quality for meaningfully smaller cache files. For a working session, that tradeoff almost always favors ProRes or DNxHR, since the cache is temporary scratch data, not your final deliverable.
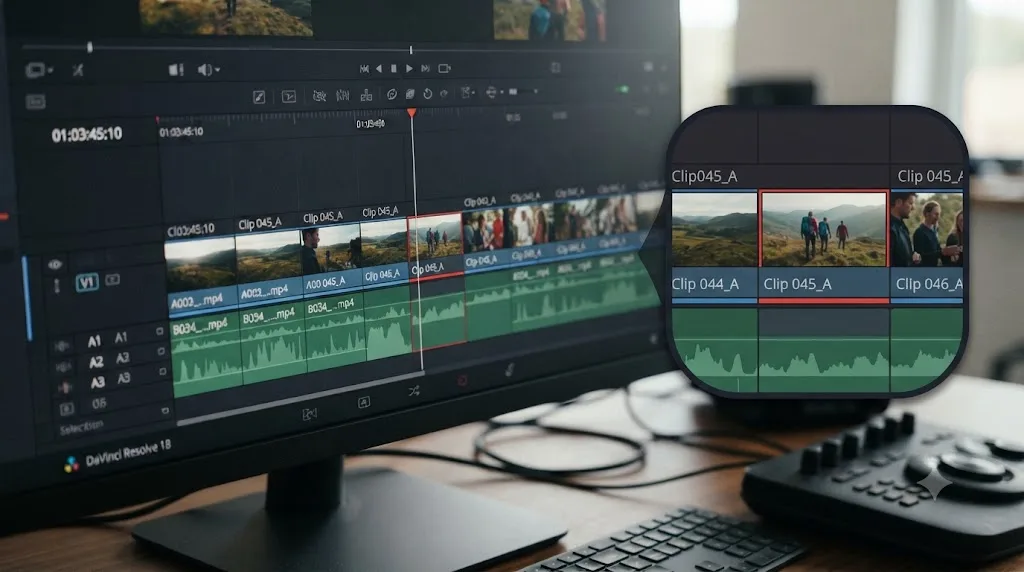
A red cache line on a timeline you're about to scrub through isn't a bug, it's Resolve telling you exactly where your next stutter is coming from. Learning to read that line is a faster diagnostic than guessing whether the problem is your footage, your effects, or your machine.
Do the Memory, GPU, and Decode Options in Preferences actually affect editing speed?
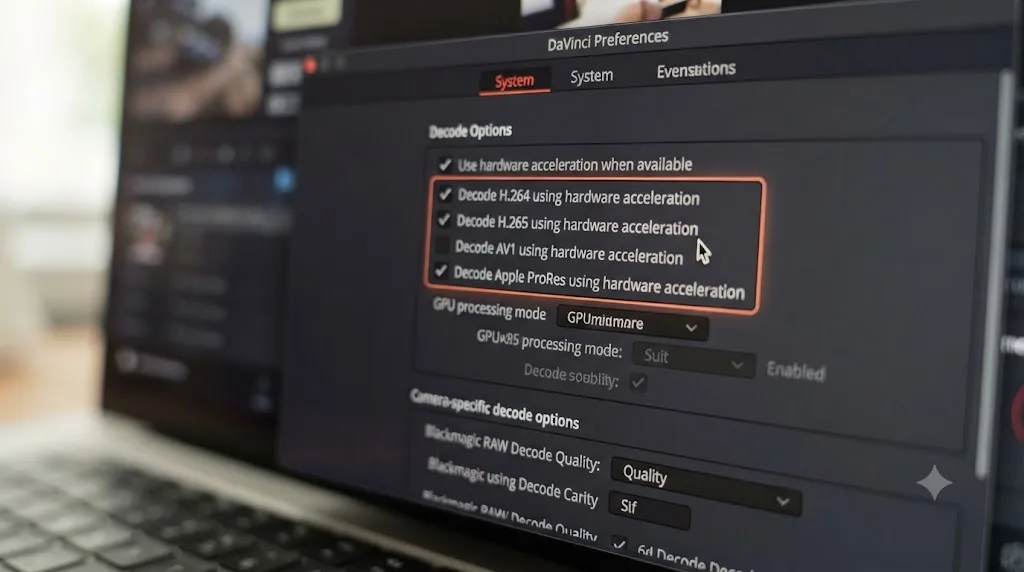
Yes, and they sit in a place most editors never open, since neither panel lives in Project Settings, where the proxy and cache controls do. Both live under DaVinci Resolve > Preferences > System, in two separate tabs: Memory and GPU, and Decode Options. Proxy media fixes a bandwidth problem, the file is too big to stream smoothly. These two panels fix a processing problem, the CPU or GPU doing the decoding and rendering doesn't have the resources it needs, or isn't configured to use the resources it already has.
The Memory and GPU tab splits into two jobs. On the memory side, a setting called Limit Resolve Memory Usage caps how much of your system RAM Resolve is allowed to claim, defaulting to a maximum of 75 percent of your total RAM so the rest stays free for your OS and anything else you're running alongside it, according to Blackmagic's reference manual. A separate Limit Fusion Memory Cache setting controls how much of that overall allocation the Fusion page's playback cache is allowed to use on its own. On the GPU side, you choose a GPU Processing Mode and which graphics processor Resolve should use, both generally best left on Auto unless you're running an eGPU or a multi-GPU workstation where Auto has picked the wrong card.
Decode Options is the more direct speed lever for anyone editing compressed camera footage. It's where you turn on hardware-accelerated decoding for H.264 and HEVC media, described in the manual as letting Resolve "decode using hardware acceleration" rather than falling back to software decode alone. The same tab carries a matching GPU decode option for Blackmagic RAW footage, and a three-way choice for RED R3D media, None, Debayer, or Decompression and Debayer, controlling how much of RED's debayering pipeline gets offloaded to your GPU instead of your CPU, per the manual's Decode Options page.
Proxy media and decode acceleration solve two different halves of the same stutter. Proxy media shrinks the file Resolve has to stream. Decode acceleration speeds up the part where Resolve turns that file into pixels on your screen. You can have fast proxy files and still stutter if decode acceleration is off, and you can have decode acceleration on and still stutter if you're feeding Resolve full-resolution camera-native files it has to shrink on the fly. Check both before you assume proxy media alone will fix a specific codec.
| Setting | Panel | What it changes | Change it when |
|---|---|---|---|
| Limit Resolve Memory Usage | Memory and GPU | How much system RAM Resolve can claim | You're running other RAM-heavy apps alongside Resolve and it's starving them |
| Limit Fusion Memory Cache | Memory and GPU | How much of Resolve's memory budget the Fusion playback cache gets | You're doing heavy Fusion compositing and only Fusion previews feel sluggish |
| GPU Processing Mode / GPU Selection | Memory and GPU | Which graphics processor handles rendering | You have more than one GPU and Auto isn't picking the fastest one |
| Decode H.264/HEVC using hardware acceleration | Decode Options | Whether compressed camera footage decodes on the GPU or the CPU | H.264/H.265 footage stutters even with proxy or optimized media already on |
| Use GPU for Blackmagic RAW decode | Decode Options | Whether BRAW files decode on the GPU | You're cutting BRAW footage and playback lags despite a capable GPU |
| Use GPU for RED Debayer | Decode Options | How much of RED's debayer pipeline runs on the GPU | You're cutting R3D footage and scrubbing feels heavier than the proxy resolution should allow |
One distinction worth knowing before you go looking for these settings: Memory and GPU and Decode Options are both app-wide preferences, not project settings. Change them once and they apply to every project you open in Resolve on that machine, unlike proxy resolution or cache location, which are set per project. If a specific project won't play back smoothly even with everything in Preferences already dialed in, the bottleneck has likely moved from processing power to bandwidth or disk speed instead, which is exactly what the proxy and cache sections above already cover.
What does stacking all of this actually look like on a real project?
Take a scenario a lot of editors will recognize. You're cutting a twenty-minute run-and-gun interview, shot handheld on a mirrorless camera in 4K H.265, and the moment you drop the footage on a timeline, playback stutters every time you scrub past a few seconds. Here's the order that actually diagnoses and fixes it, layer by layer, instead of guessing at which setting to change first.
You flip on Timeline Proxy Mode from the Playback menu first, since it costs nothing to test. If playback smooths out immediately, you've confirmed the problem is resolution and bandwidth, not something deeper, and you can decide whether to commit to real Proxy Media or just leave Timeline Proxy Mode running for this session. If it barely helps, the bottleneck isn't resolution, it's decode, so you open Preferences > Decode Options and check whether hardware-accelerated H.265 decode is actually turned on. It's a checkbox most editors never visit unless something specifically sends them looking for it.
With decode acceleration confirmed on and Proxy Media generating in the background at Half resolution, you flip Render Cache to Smart from the Playback menu and keep editing while it works behind you. A few clips in, you add a punch-in using an adjustment clip rather than nesting a compound clip for each one, since you already know you'll want the same treatment across most of the interview. You notice you're repeatedly hitting the same five actions: split, trim, swap left, swap right, and toggling the render cache view to check whether a section is ready. Those become your drill list, not the sixty-item shortcut sheet you downloaded once and never opened again.
By the time you reach the color pass, the grade you build on the first clip gets pushed to the rest of the interview with a Color Group instead of a repeated manual match, so a lighting correction you make an hour later updates every clip in the group at once instead of forty separate corrections. None of these fixes is dramatic on its own. Stacked in this order, playback, decode, cache, batch tools, drilled shortcuts, they compound, because each one removes a specific kind of friction the next one would otherwise be fighting through underneath it.
The fix that matters most is whichever layer is actually broken on your specific footage, not the first one you happen to read about. A run-and-gun interview shot in H.265 has a decode problem waiting under the proxy problem. A multi-cam grade with a dozen angles has a batch-tool problem waiting under the shortcut problem. Diagnosing which layer is actually slow, instead of assuming it's whichever one a video happened to mention most recently, is most of the work.
Is a Stream Deck or the DaVinci Resolve Speed Editor actually worth it?
Only after you've already identified the specific repeated actions costing you time, since a control surface's whole job is relocating buttons you already use, not teaching you which ones matter. Buy one before that and you'll spend a weekend configuring forty keys you'll use twice.
Blackmagic's own hardware option is the DaVinci Resolve Speed Editor, a dedicated keyboard built around a large search dial instead of a standard QWERTY layout. According to Blackmagic's own product page, the Speed Editor eliminates the full keyboard for a smaller, more portable design where the function button area includes only the controls needed for editing, connects via Bluetooth or USB, and includes a jog-shuttle-style search dial that works in conjunction with the physical keys to scrub and trim faster than a mouse-and-keyboard combination allows. It ships bundled with a DaVinci Resolve Studio activation, and retails around $295.
No Film School's coverage of the Speed Editor frames its core advantage plainly: it's built specifically to speed up the Cut page's editing model, where the search dial replaces mouse-based scrubbing for finding exact frames and the dedicated keys map directly to Resolve's fastest trim and marker commands, according to No Film School's write-up on the device. If most of your time is spent on the Cut page doing rough assembly and marker-based selects, this is the hardware built for exactly that job.
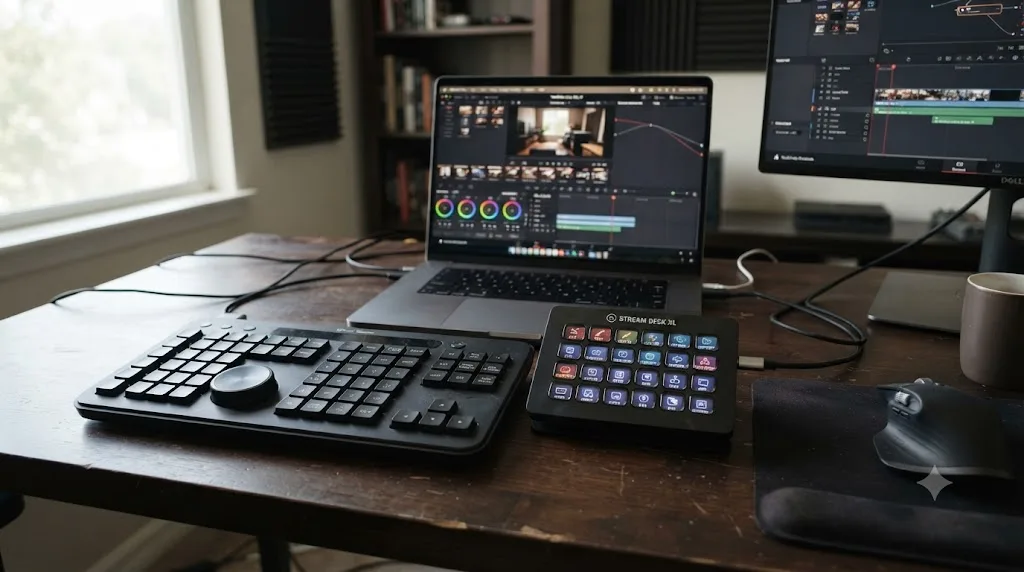
A Stream Deck, by contrast, isn't built for Resolve specifically. It's a grid of programmable buttons you configure yourself, which is both its strength and its cost. FlowKits' guide to setting one up for Resolve recommends assigning each workspace, Edit, Color, Fusion, Fairlight, Deliver, its own distinct color theme on the buttons, so a glance at the deck tells you which shortcut set is currently active without having to remember it, directly solving the workspace-dependent shortcut problem covered earlier in this guide.
| Tool | Built for Resolve specifically? | Setup time | Best fit |
|---|---|---|---|
| DaVinci Resolve Speed Editor | Yes, purpose-built | Minimal, works out of the box | Heavy Cut-page work, rough assembly, marker-based selects |
| Stream Deck | No, general-purpose | Real setup work, custom profiles | Multi-page workflows, colorists and Fusion artists who need cross-workspace shortcuts visible at a glance |
| Neither, just the keyboard | N/A | None | Anyone who hasn't yet identified their specific repeated bottleneck |
Dan Swierenga's broader point about hardware applies directly here, even though his piece is about proxy workflows and caching rather than control surfaces specifically. "Workflow is always more important than hardware," he writes in his guide to working faster without upgrading your machine, a line that holds just as true for a $295 dedicated keyboard as it does for a faster GPU. Buying a control surface before you've drilled which five actions actually eat your time is spending money to skip a diagnostic step you needed to do anyway.
Which DaVinci Resolve 21 features actually save editing time?
A handful, and most of them are organizational rather than flashy. Resolve 21's own feature list, per Blackmagic's What's New page, includes IntelliSearch, which lets you search media by people, objects, keywords spoken in dialogue, and individual faces, with results appearing as complete, ready-to-use clips directly in the Media Pool. If you've ever scrubbed through forty minutes of interview footage looking for the one moment someone mentioned a specific word, IntelliSearch turns that into a text search instead of a manual scrub.
The Cut page also picked up sophisticated Smart Bin views in Resolve 21, letting you build media pool filters based on customizable rules, Blackmagic's own example is surfacing only flagged green .braw clips, so your selects are already isolated before you touch the timeline instead of buried in a bin with everything else. Quick-access bin creation on the same page trims a few more seconds off the setup step of every new project.
Keyframing also got a real workflow upgrade. Resolve 21 adds new ease animations with loop, pingpong, and relative modes, plus the ability to make simultaneous adjustments to multiple clips at once, according to the same release notes. The advanced Curves Editor's normalized zoom mode automatically scales curves to fill the available space, and four-point Bezier easing now supports more complex retiming without leaving the keyframes panel. None of this replaces a workflow habit, but each one removes a step that used to require switching tools or pages.
| Resolve 21 feature | What it saves you from doing manually |
|---|---|
| IntelliSearch | Scrubbing raw footage to find a specific spoken word, object, or face |
| Cut page Smart Bins | Manually sorting flagged or format-specific clips into separate bins |
| Multi-clip keyframe adjustments | Repeating the same keyframe edit on each clip individually |
| Curves Editor normalized zoom | Manually resizing the curve view every time you open it |
None of these are shortcuts in the traditional sense, no key combination to memorize, but they're worth knowing before you assume the only path to faster editing runs through hotkeys. A search bar that finds the right clip in three seconds beats a perfectly memorized shortcut for scrubbing through footage that shouldn't have needed scrubbing at all.
What editing techniques save time regardless of your hardware or Resolve version?
A set of specific, learnable moves that have nothing to do with proxy files or render cache, and everything to do with not doing more clicks than the task actually needs. No Film School's roundup of speed techniques for Resolve covers several worth adopting directly.
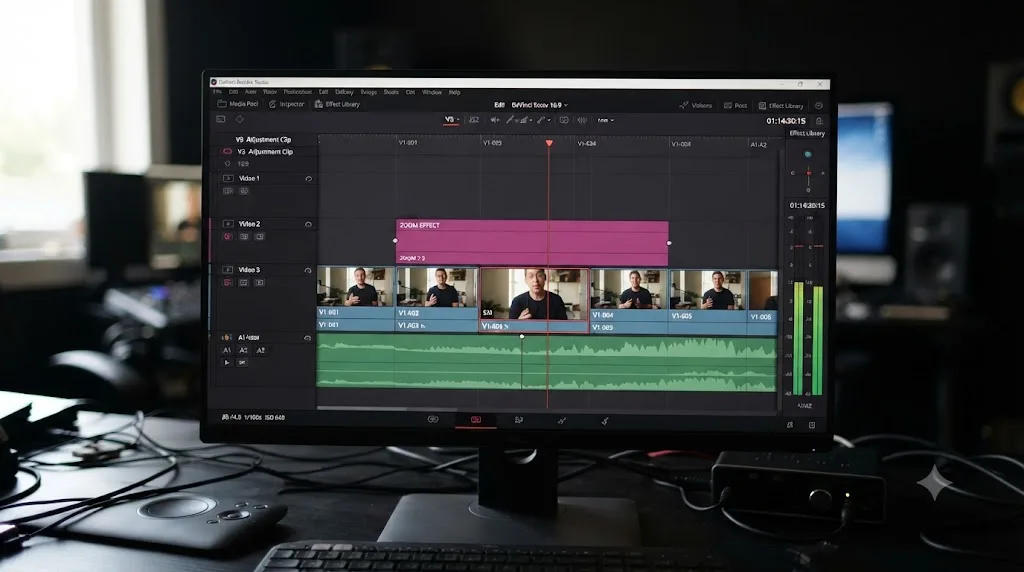
Use adjustment clips instead of nested compound clips for simple effects. An adjustment clip is an empty shell you drop above your footage on a higher video track, and any effect applied to it, a punch-in zoom, a color grade, a blur, cascades down onto every clip beneath it without you needing to open, edit, and re-render a compound clip. No Film School's coverage gives a concrete example: for a talking-head interview shot in 4K, dragging an adjustment clip above the footage and increasing its zoom value in the Inspector creates a punch-in effect that mimics cutting to a tighter lens, all without touching the underlying clips, according to the article's walkthrough.
Learn the swap-edit shortcut instead of dragging clips manually. Holding Ctrl+Shift (Cmd+Shift on Mac) while pressing period or comma swaps the selected clip left or right on the timeline in a single keystroke, no drag, no drop, no risk of accidentally overlapping two clips by a frame. This is exactly the kind of shortcut worth drilling into muscle memory, since reordering clips is a constant, repeated action in almost every editing session.
Use ripple overwrite for inserting a clip without disturbing sync. Where a standard overwrite edit punches a hole in your timeline and a standard insert edit shifts everything downstream, ripple overwrite replaces a section while keeping everything else in sync, a genuinely different operation from either of the other two that solves a specific, recurring problem: swapping one shot for another of a different length without breaking the audio sync on every clip after it.
Use Fit to Fill when cutting to a fixed music beat. Rather than manually trimming a clip's in and out points to match a specific duration, Fit to Fill stretches or compresses the clip's speed automatically to fit the exact gap you've defined, useful for cutting b-roll precisely between two beats of a soundtrack without doing the trim math by hand.
| Technique | Replaces | When to reach for it |
|---|---|---|
| Adjustment clips | Nesting a compound clip for one simple effect | A punch-in, a blanket color pass, or any effect that should apply to several clips underneath it at once |
| Swap edit (Ctrl/Cmd+Shift+period/comma) | Dragging a clip to reorder it | Any time you're reordering clips on a cut you've already roughed in |
| Ripple overwrite | Manual re-syncing after replacing a clip of a different length | Swapping one shot for another without breaking downstream sync |
| Fit to Fill | Manual trim-to-duration math | Cutting b-roll to land precisely on a music beat or a fixed gap |
None of these four techniques require new hardware, a paid upgrade, or a different version of Resolve. They're available in the free version, on any machine that can run the software at all, and every one of them saves more time the more often your specific project calls for it. Learn them in the order your own footage actually needs them, not in the order a listicle presents them.
How do you stop repeating the same adjustment across dozens of clips?
Batch it, using one of several tools built specifically for this, instead of manually re-applying the same fix to every clip in a sequence. This is one of the biggest, least-discussed speed gains in Resolve, because it's not a shortcut at all, it's avoiding the repeated work in the first place.
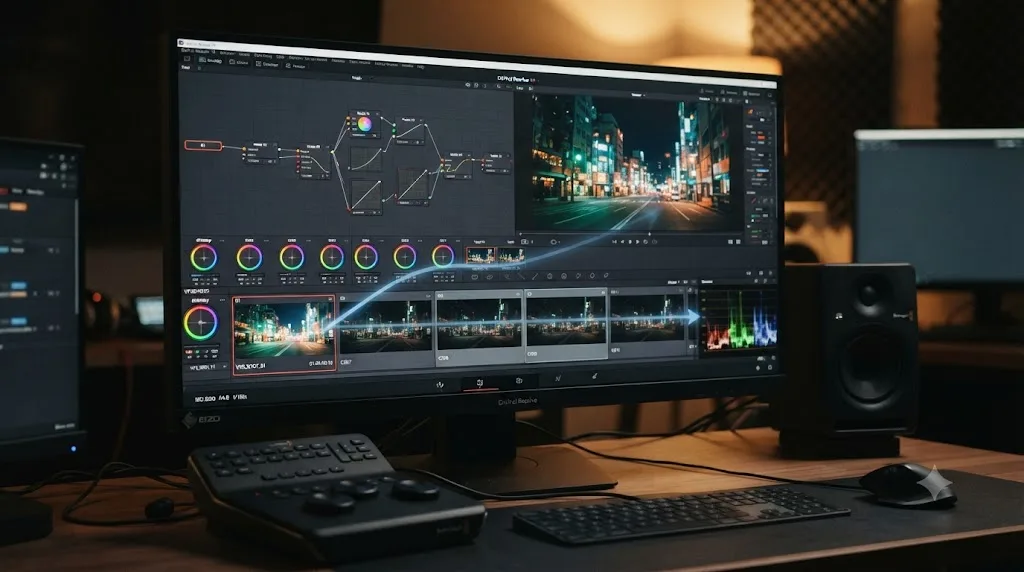
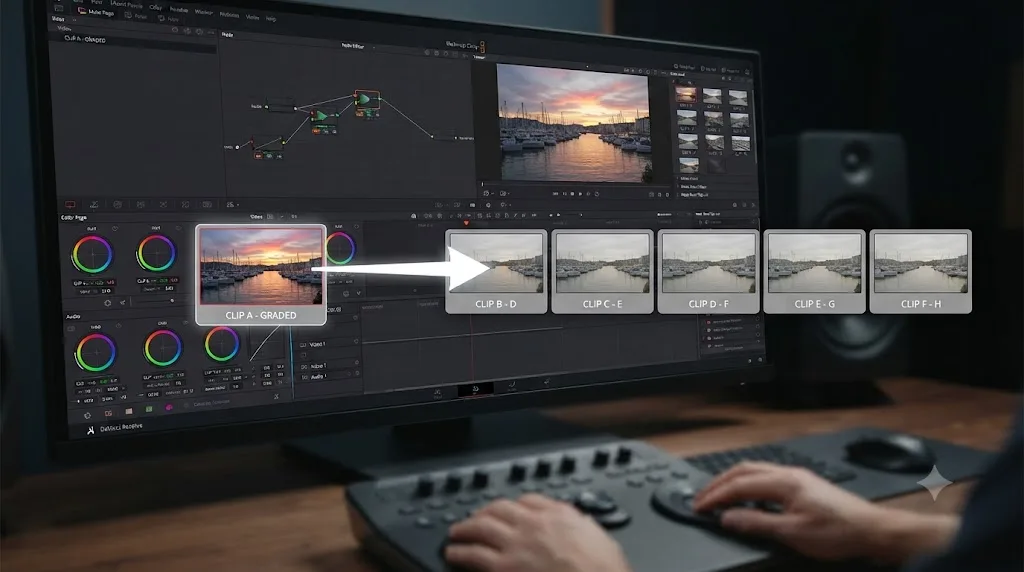
On the Color page, copying a full grade to multiple selected clips takes one paste command, one middle-click, or one Gallery still applied to a whole selection, and it carries the entire node graph, including any LUTs or ResolveFX placed inside it. Our full walkthrough of every way to copy a color grade to multiple clips in DaVinci Resolve covers copy/paste, middle-click, Gallery stills, PowerGrades, and Color Groups in detail, including which method to use when your clips mix log and already-normalized footage, a common way a batch grade quietly goes wrong if you're not careful about color space first.
On the Edit page, Paste Attributes gives you a checklist before it applies anything: color correction, sizing, audio levels, and other attributes can be selectively included or excluded, so you can carry over a specific fix, a size adjustment without the color, say, without dragging along everything else the source clip happened to have. That granularity matters the moment your batch isn't perfectly uniform, a handful of clips that need the sizing fix but already have their own separate grade, for instance.
Color Groups solve a related but different problem: ongoing consistency rather than a one-time transfer. Where copy/paste and Paste Attributes push a grade once and then leave every clip independent, a Color Group keeps every member clip linked to one shared grade, so adjusting the group's shared node updates every clip in it at once, indefinitely, useful for a multi-camera interview where you know you'll be making small corrections across the whole shoot as you go.
The fastest fix to a hundred clips is the one you only apply once. Whether that's a copied grade, a Paste Attributes pass with the right boxes checked, or a Color Group you set up before you start grading rather than after, the time saved scales directly with how many clips share the same problem.
Can AI tools actually make you edit faster in DaVinci Resolve?
Some of them, yes, but they solve two genuinely different problems, and conflating them is where most "AI speeds up editing" advice goes wrong. One category of tool executes edits for you from a typed instruction. A different category watches what you're doing and helps you do it faster yourself. Those aren't competing for the same job, and picking the wrong one for what you actually need wastes both time and money.
CutAgent is a macOS app that reads your active Resolve timeline and transcripts, then executes cuts directly from a plain-language request, genuinely removing hands-on time from a rough assembly pass. Sottocut and PremiereCopilot work in a similar space, automating specific editing tasks, like trimming to a script or generating a rough sequence, so you spend less time physically inside the timeline. Eddie AI does the same for a native Resolve integration, generating rough cuts and suggestions from your source footage before you touch a single clip.
Every one of those tools genuinely saves time for an editor who already knows Resolve and wants a faster rough cut. What they don't do is teach you anything, or help you when you're mid-session, stuck on a specific control, and just need to know where something lives right now. That's a different job entirely, and it's the gap an in-app tutor is built to close instead of automating around.
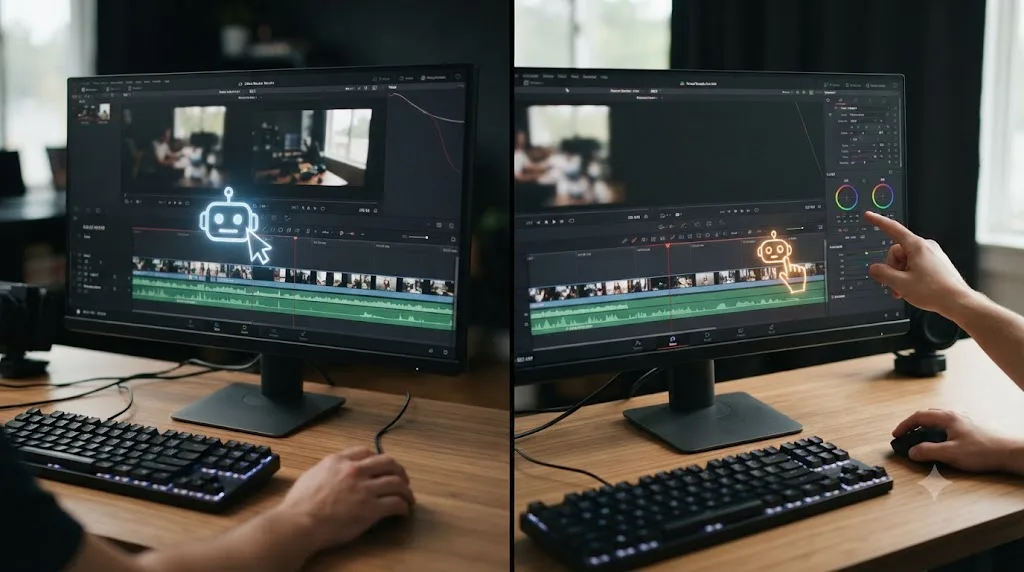
TryUncle is the on-screen assistant for DaVinci Resolve on macOS. Ask in plain words, and Uncle points at the exact control on your screen. It never touches your timeline. If you're mid-edit and can't remember where the ripple overwrite toggle lives, or you're not sure your render cache is actually running Smart mode, you ask, and Uncle shows you the control, live, inside your own project, without pausing to open a browser tab or pause a tutorial video. You still make the cut yourself. The tool just removes the seconds you'd otherwise spend hunting.
| Tool | What it does | Touches your timeline for you? | Saves editing time by... |
|---|---|---|---|
| CutAgent | Executes cuts from a typed instruction | Yes | Automating the rough assembly pass |
| Sottocut | Automates specific editing tasks | Yes | Reducing hands-on trim time |
| PremiereCopilot | Automates specific editing tasks | Yes | Reducing hands-on trim time |
| Eddie AI | Generates rough cuts and suggestions | Yes | Automating the first pass |
| TryUncle | Watches your screen and points at controls | No | Cutting the seconds lost hunting for where something lives |
Our fuller comparison of AI tools for learning DaVinci Resolve goes deeper on ChatGPT, Claude's scripting connection, and Resolve's own Neural Engine tools if you're weighing the wider landscape beyond the editing-specific tools listed here.
An AI agent that cuts your timeline for you and the assistant that points at a control are solving opposite halves of the same slowdown, and using the wrong one for your actual problem wastes the time you were trying to save. If you already know what cut you want and just want it executed faster, an automation tool fits. If you know what you want to do but can't find the control fast enough, a tutor fits better, and it's the only category here that doesn't cost you the judgment call in exchange for the speed.
TryUncle isn't free. It's a paid subscription at $34.99 a month with cancel-anytime billing, macOS only, per TryUncle's own site. TryUncle's FAQ covers the current rate and platform requirements in more detail if you want to check both before deciding it fits your workflow.
Does editing speed actually come down to muscle memory, and how do you build it?
Largely, yes, and that reframes almost everything in this guide. Knowing a shortcut exists and being able to fire it without thinking are two different skills, and only the second one shows up as speed in a real session. This tracks directly with the broader research on skill acquisition: Anders Ericsson, Ralf Krampe, and Clemens Tesch-Römer's foundational work on expert performance, revisited and confirmed in a later review, found that skill correlates with accumulated hours of a specific kind of practice, individualized, goal-directed, and corrected in real time, not with passive exposure to information.
Apply that filter to keyboard shortcuts specifically. Reading a list of seventy Resolve shortcuts once is exposure. It's closer to recognition than recall, the same failure mode covered in our research on why watching tutorials doesn't teach durable skill. Firing the same five shortcuts, deliberately, on a real timeline, until your hand reaches for the key before your conscious mind has finished forming the thought, is the version that actually becomes speed. The research doesn't support "know more." It supports "drill fewer, until they're automatic."
This is also where practicing with an actual constraint beats open-ended tinkering. Our guide to DaVinci Resolve practice exercises for beginners covers a full set of small, timed drills built around a single hard constraint each, and the same principle applies directly to speed specifically: a timed export drill under a ten-minute deadline forces you to reach for shortcuts under real pressure instead of a comfortable, unhurried pace, which is exactly the condition your muscle memory needs to actually form under.
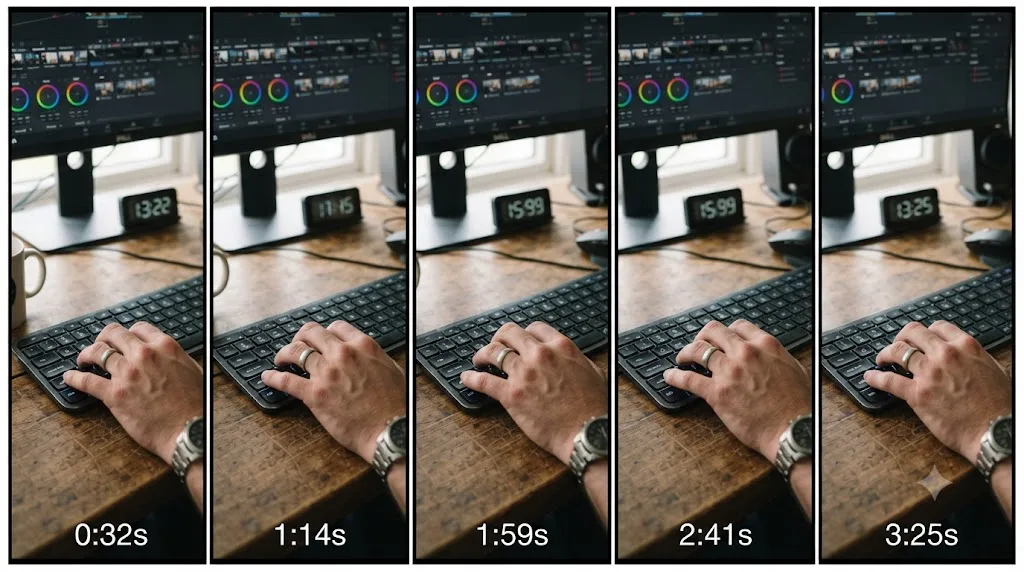
A practical way to build this without turning practice into a chore: pick your five most-repeated actions, trim, split, swap, ripple overwrite, and toggle render cache, from a real project you've already finished. Re-cut a short section of that same project from scratch, timed, using only those five shortcuts, no mouse for those specific actions. Do it again the next day. Speed isn't a fact you learn once. It's a motion your hand repeats until it stops needing your attention. That's true whether the motion is a golf swing, a scale on a piano, or Ctrl+Shift+comma on a DaVinci Resolve timeline.
What's a realistic setup to actually get faster, not just feel faster?
A short, sequenced checklist you run once, followed by a repeatable drill, rather than an open-ended list of tips you half-adopt over months. Here's the order that respects the layer stack from earlier in this guide.
- Fix playback first. Turn on Proxy or Optimized Media for any footage that stutters on scrub. If you're not sure which one fits, start with Timeline Proxy Mode since it costs nothing to test and reveals whether the problem is even the codec in the first place.
- Set render cache to Smart. One menu change, Playback > Render Cache > Smart, and point the cache location at a fast, separate drive if you have one available.
- Check Decode Options once. If footage still stutters after step 1, open Preferences > Decode Options and confirm hardware acceleration is on for your camera's codec. It's a one-time, app-wide setting, not something you'll need to revisit per project.
- Pick five shortcuts, not fifty. Look at your last real project and identify the five actions you repeated most. That's your drill list. Everything else stays a reference you check occasionally, not a memorization target.
- Learn one batch tool for your most-repeated manual task. If you grade a lot, that's Paste Attributes, PowerGrades, or Color Groups. If you're mostly trimming interviews, that's adjustment clips and ripple overwrite.
- Drill the five shortcuts on a timed re-cut. Take a short section of a finished project, re-cut it from scratch, timed, using only your five shortcuts for those specific actions. Repeat the next day.
- Only then consider hardware. A Speed Editor if you live on the Cut page, a Stream Deck if you move across multiple workspaces and want a visual cue for which shortcut set is live.
Most editors skip straight to step 7, or worse, skip everything and just start reading longer shortcut lists. The order matters more than any single item on this list, because each earlier step makes the ones after it actually pay off. A Stream Deck configured before you've identified your real five bottlenecks is forty buttons you'll use twice. The same deck configured after step 4 is a genuine speed tool.
Give this setup a real week before judging it. The playback, cache, and decode fixes pay off immediately, the first time you scrub a previously choppy timeline. The shortcut drill and batch-tool habit take longer, closer to the two weeks our practice-exercises guide recommends for building any new motor skill on top of Resolve's interface. A workflow you actually finish setting up beats a longer list of tips you read once and never fully adopted.
You did all of this and Resolve is still slow. Now what?
A handful of causes account for most of the cases where every setting in this guide is already correct and playback still isn't smooth. Work through them in order before you conclude the machine itself is the problem.
| Symptom | Likely cause | What to check |
|---|---|---|
| Proxy Media is on, but playback still stutters | Decode acceleration is off, or Resolve is still linked to full-resolution source instead of the proxy | Check Preferences > Decode Options for hardware acceleration, and confirm Playback > Proxy Mode is set to "Prefer Proxy," not "Prefer Camera Native" |
| The cache line is fully blue, but scrubbing still lags | Cache files are writing to the same slow drive as your source media | Move Cache Files Location (Project Settings > Master Settings) to a separate fast drive, ideally not shared with source footage |
| Everything is smooth until you add one Fusion effect or LUT | Fusion Memory Cache limit or overall GPU memory is maxed out | Check Preferences > Memory and GPU, raise the Fusion cache limit if system RAM allows it, or switch that one clip to User Cache |
| Multi-cam or multi-track timelines specifically lag, single clips play fine | Resolve is decoding several full-resolution streams at once, not just the active angle | Proxy every camera angle, not only the one you're currently cutting from |
| One specific project feels slow even on a machine that handles everything else fine | Too many open timelines, or stale render cache from an earlier version of the cut | Close unused timelines and clear old cache with Playback > Delete Render Cache > Unused |
| Playback is fine, but every click feels a beat late | Background apps or a nearly full drive are competing for I/O, not a Resolve setting at all | Check available disk space, since cache and proxy generation both slow down as a drive fills, and close other GPU-heavy apps running at the same time |
A few of these are worth walking through since they're not obvious from the settings menu alone.
Cache drive location is the one editors miss most often. Render Cache being fully blue tells you Resolve finished writing the cache files, not that reading them back is fast. If those files are sitting on the same drive as your source media, and that drive is a laptop's internal boot disk already running your OS, your browser, and everything else, cache reads and playback reads compete for the same bandwidth that caching was supposed to relieve. Point Cache Files Location at a separate drive from Project Settings > Master Settings and the same blue line starts meaning what it's supposed to mean.
Multi-cam timelines have a less obvious version of the same bottleneck. Even when you're only watching one active angle, Resolve typically has to keep every synced camera in that multi-cam clip decoded and ready behind the scenes so a angle switch stays instant. Proxying only your currently active camera and leaving the rest at full resolution defeats the purpose. All angles need the same proxy treatment before a multi-cam sequence plays back the way a single-camera timeline does.
And if you've checked every setting in this guide and one specific project is still slow on a machine that handles everything else fine, the cause is sometimes simpler than a setting: too many open timelines, each holding its own memory allocation, or render cache files from an earlier version of the cut that never got cleared. Playback > Delete Render Cache > Unused clears exactly that without touching your current cache, and it's worth running before you conclude the hardware itself is the problem.
What slows editors down that has nothing to do with Resolve's settings at all?
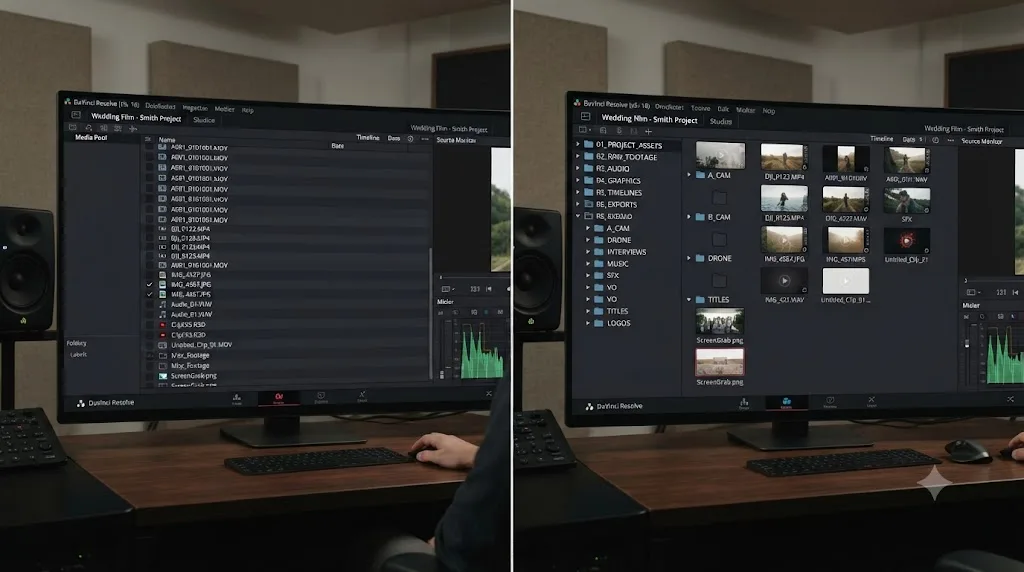
A few things worth naming honestly, since not every slowdown is a software problem, and no amount of proxy media, render cache, or decode acceleration fixes them. Disorganized source media is the most common one. If your bins aren't labeled, your footage isn't tagged by scene or setup, and you're relying on thumbnail previews to find the right clip, no shortcut speeds that up, because the delay happens before you've even opened the timeline. IntelliSearch and Smart Bins in Resolve 21 help here directly, but only once your original import is at least loosely organized enough for a search or a rule-based filter to work against.
Multiple open timelines and stale project versions quietly cost real memory and, with it, real playback smoothness, especially on a laptop. Each active timeline increases memory usage, more so if it contains nested timelines, compound clips, or Fusion effects, so keeping only your active working timeline open, and archiving or deleting old versions once you're done comparing them, is a genuine speed habit that has nothing to do with any Resolve feature specifically. If you're at the point of needing to archive a finished project properly rather than just leaving it open and bloated, our guide to archiving a DaVinci Resolve project without losing media covers doing that safely.
Decision fatigue is the least discussed slowdown, and arguably the hardest to fix with a setting. A three-hour session spent second-guessing every cut point isn't a technical problem, and no keyboard shortcut, proxy setting, or hardware controller touches it. That kind of stall needs a different fix entirely: a clear brief before you start, a specific target you're cutting toward, or a second opinion on the one decision you're stuck on, not another tool.
Editing faster isn't only about the software responding faster to you. It's also about how many decisions you're making per minute, and whether each one actually needs to be made from scratch. A well-organized bin, a single open timeline, and a clear sense of what the cut needs to accomplish remove decisions before you ever touch a shortcut key.
Is there a faster general path to learning DaVinci Resolve that also makes you edit faster?
Yes, and it's the same underlying mechanism covered throughout this guide applied one level up: hands-on practice with correction, not more videos watched. Our full research piece on the best way to learn DaVinci Resolve covers the evidence in depth, but the short version applies directly to speed specifically. Editors who build real projects, get corrected on specific mistakes, and repeat with a tighter constraint develop faster instincts than editors who watch course after course without finishing anything themselves.
That matters here because speed and skill aren't actually separate things past a certain point. A beginner who's slow because they don't yet know where the trim tool lives has a different problem than an intermediate editor who's slow because their five key shortcuts haven't become automatic yet. Both problems get solved by the same mechanism, hands-on repetition with correction, just applied to a different layer of the stack. Watching a forty-minute "editing tips" video teaches you what fast editing looks like. It doesn't build the reflex.
If you're specifically trying to compress this timeline, the fastest realistic path combines three things: Blackmagic's own free training guides for the vocabulary and page layout you don't have yet, a handful of timed practice drills like the ones in our beginner practice guide to build the actual reflexes, and something that can answer a specific "where is this control" question the moment it comes up mid-session, rather than sending you off to search for it. That third piece is exactly the gap TryUncle is built to close, and it's worth naming plainly here since it's the single most common thing that breaks an editor's flow state mid-drill: not knowing something exists, but knowing it exists and not remembering exactly where.
So what should you actually do first?
Turn on Proxy or Optimized Media, flip render cache to Smart, and give it one real session before touching anything else. That's ten minutes of setup, and it fixes the specific problem, stuttering playback, that makes every other optimization on this list feel pointless if it's still happening underneath them.
After that, resist the urge to memorize a long shortcut list. Pick five, drill them on a timed re-cut of something you've already finished, and let a batch tool like Paste Attributes or Color Groups take the repeated grading and sizing work off your hands entirely. Hardware, a Speed Editor or a Stream Deck, comes after that, once you actually know which five actions are worth putting on a dedicated button. And if you hit a specific control you can't find fast enough mid-session, that's a smaller problem than it feels like in the moment, and increasingly, it's one a tool built for exactly that moment can solve faster than a search tab ever will.
None of this makes editing itself easier. The cut still has to be right, the pacing still has to work, the story still has to hold together. What changes is how much of your session gets spent on that judgment versus lost to friction that was never doing you any favors in the first place.
Frequently asked questions
- What's the fastest way to make DaVinci Resolve run faster while editing?
- Fix playback first, not effects. Turn on Proxy or Optimized Media for heavily compressed camera files, then set Playback > Render Cache to Smart so Resolve pre-renders processor-heavy sections automatically. Those two settings solve the stuttering-preview problem that makes most editors feel slow before a single shortcut ever enters the picture.
- Do keyboard shortcuts actually make you edit faster in DaVinci Resolve?
- Yes, but only once they're automatic, and only for the handful you use every few seconds. Memorizing forty shortcuts you use once a session does almost nothing for your speed. Five or six shortcuts, drilled until your hand finds them without your eyes checking the keyboard, remove far more friction than a long cheat sheet ever will.
- Is DaVinci Resolve Studio faster than the free version for editing?
- Not for the mechanical act of trimming and arranging clips. The free version runs the same timeline, the same render cache, and the same keyboard customization as Studio. Studio's speed advantages, Speed Warp, Neural Engine tracking, and external scripting, apply to specific automated tasks, not to how fast you personally cut a sequence together.
- What's the best way to learn DaVinci Resolve fast enough to actually feel quicker?
- Small, timed practice drills on your own footage, not more tutorial videos. Speed is a motor skill before it's a knowledge problem, and motor skills only build through repetition with correction, the same research base that applies to learning any instrument or sport. Watching someone else edit fast teaches you what fast looks like, not how to do it yourself.
- Should I buy a Stream Deck or a DaVinci Resolve Speed Editor to edit faster?
- Only after you've identified the specific actions eating your time, since a control surface just relocates buttons you already use, it doesn't teach you which ones matter. A Speed Editor's jog wheel genuinely speeds up markers and rough trims on the Cut page. A Stream Deck is more flexible but needs setup work before it pays off.
- Can AI tools edit for me to save time in DaVinci Resolve?
- Some can, and that's a different job than editing faster yourself. Tools like CutAgent, Sottocut, and PremiereCopilot execute cuts from a typed instruction, which saves time but hands the decision to the tool. An in-app tutor like TryUncle points at the control you need instead of touching your timeline, so you stay the one making the cut, just with less time lost hunting for where things live.
- Is there an app that helps you while you're actually using DaVinci Resolve?
- Yes. TryUncle is the on-screen assistant for DaVinci Resolve on macOS that watches your screen while you work and points at the exact control you're looking for, live, inside the Edit, Color, and Fusion pages. It's a paid subscription at $34.99 a month, not a free tool, and it doesn't touch your timeline for you.
Sources
- FlowKits: How I Edit Twice as Fast in DaVinci Resolve (Without Learning More Shortcuts)
- No Film School: 5 Ways You Can Edit Faster With DaVinci Resolve
- No Film School: Speed Up Your Edit with the New DaVinci Resolve Speed Editor
- Dan Swierenga: Work Faster in DaVinci Resolve Without Upgrading Hardware (Frame.io)
- DaVinci Resolve Reference Manual: Using Proxy Media (Blackmagic Design, mirrored)
- DaVinci Resolve Reference Manual: Using the Smart or User Cache Improves Effects Performance (Blackmagic Design, mirrored)
- DaVinci Resolve Reference Manual: Memory and GPU Preferences (Blackmagic Design, mirrored)
- DaVinci Resolve Reference Manual: Decode Options Preferences (Blackmagic Design, mirrored)
- DaVinci Resolve Speed Editor (Blackmagic Design)
- DaVinci Resolve product page and Studio pricing (Blackmagic Design)
- DaVinci Resolve - What's New (Blackmagic Design, Resolve 21)
- American Psychological Association: Multitasking, switching costs
- The role of deliberate practice in expert performance: revisiting Ericsson, Krampe and Tesch-Romer (1993) (PMC)
- CutAgent (product site: features, pricing, FAQ)
- Sottocut (product site: features, pricing, platform requirements)
- PremiereCopilot pricing
- Eddie AI for DaVinci Resolve (native integration workflow page)
- TryUncle
- TryUncle FAQ
Learn by doing, not watching
Stop translating tutorials to your timeline.
TryUncle stays beside Resolve on Mac and Windows. When you ask, Uncle sees your screen and points at the exact control you need. No hunting through tabs, timestamps, or mismatched tutorials.
Meet TryUncleKeep reading
 GuidesJul 15, 202640 min read
10 DaVinci Resolve Practice Exercises for Beginners
Ten DaVinci Resolve practice exercises for beginners, each targeting one skill, with real sources and a 14-day plan to string them together.
 ComparisonsJul 11, 202626 min read
The Best AI Tools to Learn DaVinci Resolve in 2026
ChatGPT, Claude, Blackmagic's free training, Recut, and Resolve's Neural Engine compared for learning DaVinci Resolve, and the gap none of them close.
 GuidesJul 8, 202639 min read
How to Copy a Color Grade to Multiple Clips in DaVinci Resolve
Every way to copy a DaVinci Resolve color grade to multiple clips: copy/paste, middle-click, Gallery stills, PowerGrades, Color Groups, and more.