
Learn / DaVinci Resolveupdated for DaVinci Resolve 21.0.1 (June 2026)
How to Copy a Color Grade to Multiple Clips in DaVinci Resolve
Quick answer
Select every target clip in the Color page's thumbnail timeline (Shift or Cmd/Ctrl-click), then either paste a copied grade (Ctrl/Cmd+V), middle-click the graded clip's thumbnail, or right-click a Gallery still and choose Apply Grade. All three push the full node graph onto every selected clip in one action, unlike Shot Match, which recalculates each shot individually.
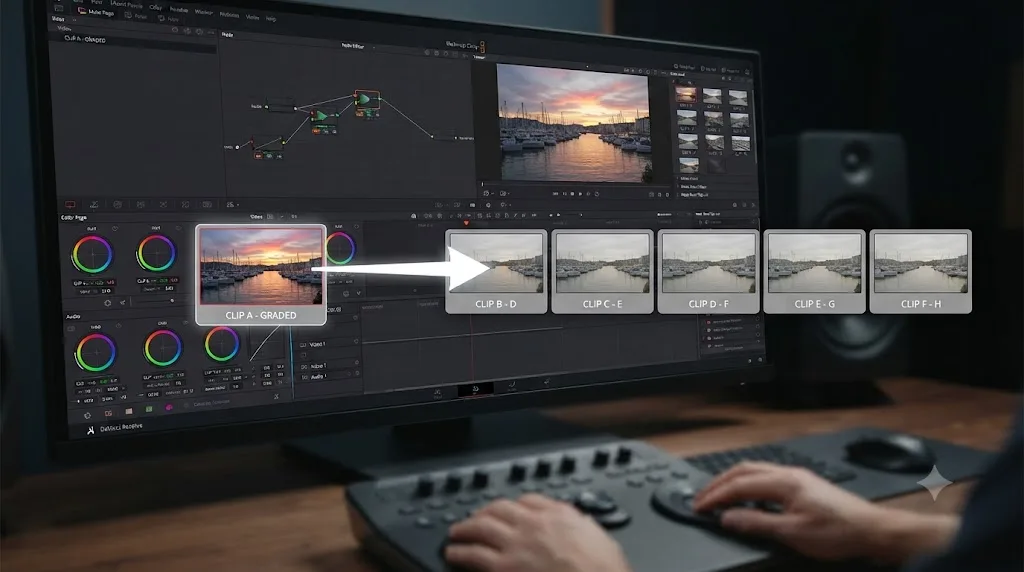
You graded one shot. Now nineteen more from the same interview need the identical look, and clicking into each one by hand is an afternoon you don't have. DaVinci Resolve has at least four separate ways to solve this, and they're not interchangeable. One is a permanent link. One is a one-time copy. One only works on the clip sitting right next to your source. Picking the wrong one for the job is how a grade you thought was finished starts drifting clip by clip.
This guide covers every method DaVinci Resolve actually has for pushing a grade onto more than one clip: copy and paste, the middle mouse button, Gallery stills, PowerGrades, Paste Attributes, Color Groups, shared nodes, grade versions, multicam angles, and remote grades. Each does a genuinely different job, and by the end you'll know which one fits the situation you're actually in.
What's the fastest way to copy a grade to multiple clips?
Select every clip that needs the grade first, then paste. That order matters more than which specific tool you use, because it's the difference between one action and twenty repeated ones.
In DaVinci Resolve, selecting your targets before you apply the grade is what turns a one-clip action into a multi-clip one. Every method in this guide, copy and paste, the middle mouse button, a Gallery still, works on however many clips you've selected in the Color page's thumbnail timeline at that moment. Select one clip and you copy the grade once. Select twenty and the same click applies it twenty times simultaneously.
The mechanics of selection are ordinary and worth stating plainly anyway, because getting them wrong is the single most common reason a "copy grade" attempt only touches one clip: Shift-click grabs a continuous run of clips between your first click and your last one, while Cmd-click on Mac or Ctrl-click on Windows adds or removes individual clips one at a time, adjacent or not. Combine them freely. Shift-click a run of eight consecutive shots, then Ctrl-click three more scattered further down the timeline, and all eleven receive the grade in the same paste.
How do you copy a grade with Ctrl+C and Ctrl+V?
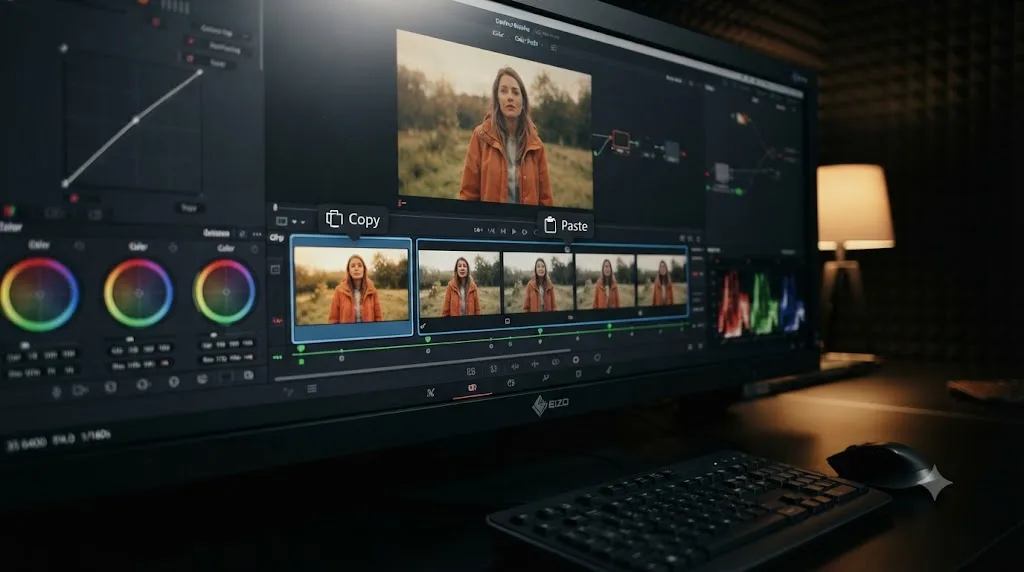
This is the method to default to. It's keyboard-only, it needs no mouse precision, and it's the one every other technique in this guide gets compared against.
- On the Color page, click the graded clip's thumbnail in the mini-timeline at the bottom of the screen.
- Press Ctrl+C on Windows or Cmd+C on Mac. Resolve copies that clip's entire node graph, not a flattened image, so LUTs, qualifiers, power windows, and keyframes all travel with it.
- Select every target clip using Shift-click and Ctrl/Cmd-click as described above.
- Press Ctrl+V (Cmd+V on Mac). The grade lands on every selected clip at once.
Copy and paste transfers a clip's full node graph, not a flattened image, so every qualifier, power window, and keyframe travels along with the primary correction. That's worth remembering the first time a copied grade looks subtly different than you expected: nothing was lost, but a power window drawn for one framing doesn't automatically make sense on a clip shot from a different angle.
One frequent point of confusion: Ctrl+C/Ctrl+V on the Color page's clip thumbnails copies the whole grade between clips. That's a different command from Ctrl+C/Ctrl+V inside the node graph itself, which copies individual selected nodes from one position in a chain to another, a tool for rearranging or duplicating a specific correction rather than transferring an entire grade. Both share the same keys. Which one fires depends on where your interface focus is when you press them, the thumbnail row or the node editor, so if a paste behaves unexpectedly, check which panel had focus first.
How do you copy a grade with the middle mouse button?
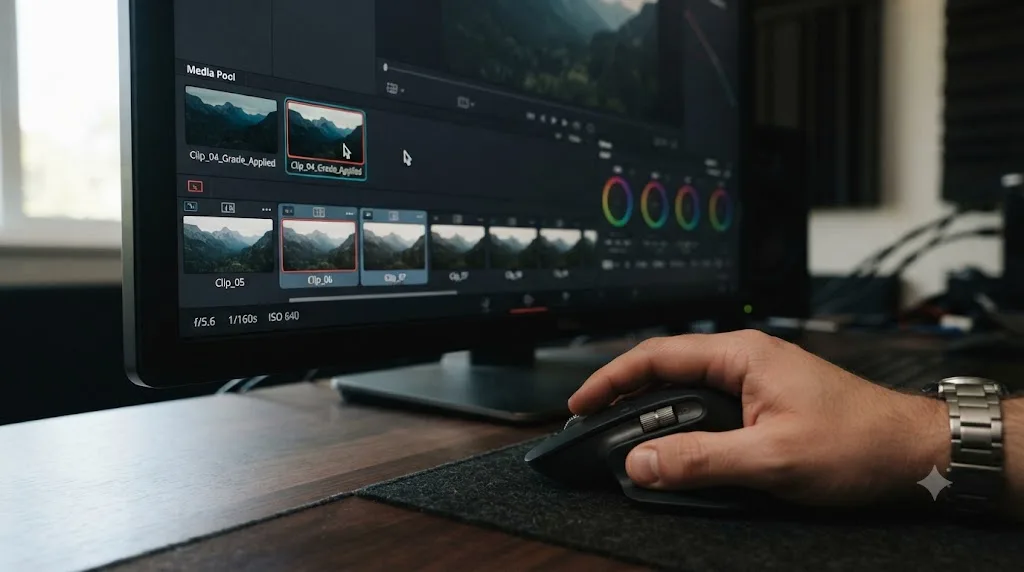
The middle mouse button skips the copy step entirely. Select your target clips first, then middle-click the source clip's thumbnail, and the grade applies immediately, no keyboard shortcut required.
- Select every target clip in the Color page's mini-timeline.
- Move your pointer over the graded source clip's thumbnail, whether that's another clip in the timeline, a still in the Gallery, or a saved memory.
- Click the middle mouse button (the scroll wheel on most mice). The grade transfers to every clip you selected in step one.
It's a one-click gesture once you've selected your targets, which makes it faster than copy and paste for a mouse-heavy workflow, at the cost of needing a three-button mouse to begin with.
That cost is real for a specific group of editors. A trackpad has no middle button, which quietly breaks one of DaVinci Resolve's fastest grading gestures for anyone editing on a laptop alone. MacBook trackpads and the Magic Mouse don't expose a middle-click by default, and per reports on the Blackmagic forum, even users with a physical middle button sometimes find the gesture stops firing after an update, at which point restarting the application is the first thing to try before assuming a hardware fault.
If you're on a trackpad full time, three workarounds fix it:
| Workaround | How | Trade-off |
|---|---|---|
| macOS trackpad settings | Some macOS versions let you assign a three-finger tap to a middle-click in Accessibility or Trackpad preferences | Free, but not present on every macOS version |
| BetterTouchTool or a similar gesture utility | Map a trackpad gesture, or a Magic Mouse button zone, to a simulated middle-click | Costs a small license fee, works reliably once configured |
| A cheap USB or Bluetooth mouse | Plug in any three-button mouse and use its middle button normally | The most reliable fix, and the one that also restores middle-click panning elsewhere in Resolve |
A BetterTouchTool community thread walks through mapping a Magic Mouse zone specifically for this use case, if you'd rather not buy a second mouse.
If none of that appeals, skip the middle button entirely. Ctrl+C/Ctrl+V and the Gallery's Apply Grade command, both covered in this guide, do the identical job with a keyboard and a left-click.
How do you copy just the previous clip's grade with Shift and a plus or minus key?
Sometimes you don't want to select anything. You're parked on an ungraded clip, the shot right before it already looks correct, and you want that exact grade with a single keypress.
Shift and the minus key copies the grade from the previous clip in the timeline onto your currently selected clip. Shift and the plus key reaches one clip further back, copying the grade from the clip before that one. Neither needs you to select a target range first, because the "target" is always whatever clip currently has focus, and neither needs a source clip selected either, because the source is always defined relative to your position in the timeline.
The trade-off is exactly that relativity. This method only ever reaches backward one or two clips, so it's built for grading a timeline in order, shot by shot, matching each new clip against the one immediately before it, not for applying one hero grade to nineteen clips scattered across a project. And it overwrites without asking: whatever grade was already on the target clip is gone the moment you press the key, the same behavior as pasting a copied grade.
Use it as a fast pass while grading front to back through a scene shot on one camera under one light. Reach for copy and paste or Gallery stills instead the moment you need to jump around the timeline rather than move through it in order.
How do you save a grade as a still and apply it to many clips at once?
Copying between two clip thumbnails works, but it only reaches clips that already exist on your timeline right now. A Gallery still solves a different problem: it's a saved reference you can apply days later, to clips that weren't even imported yet when you graded the original.
- Finish the grade on your reference clip.
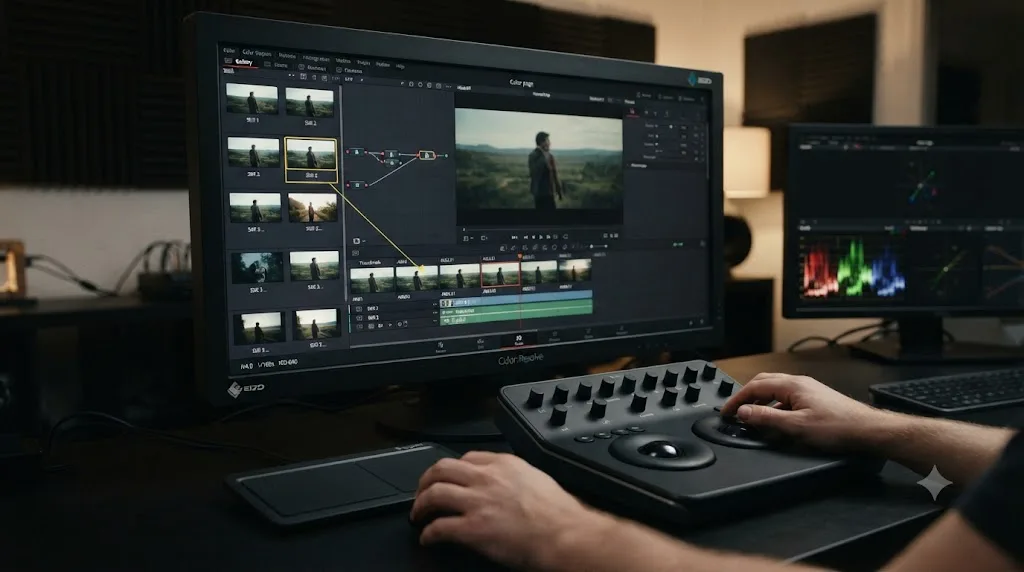
- Right-click the viewer and choose Grab Still. Resolve saves a thumbnail into the Gallery, and per the reference manual's Gallery documentation, that still stores the entire node graph behind the image, not a flattened picture.
- Select every clip that needs the grade in the Color page's mini-timeline, using Shift-click and Ctrl/Cmd-click.
- Open the Gallery, right-click the still, and choose Apply Grade. The full node graph transfers to every selected clip in one action.
A Gallery still stores a clip's complete node graph, not a picture of it, which is why applying one to a new clip gives you an adjustable grade instead of a locked-in look. That distinction matters the first time you apply an old still and expect a flattened result: you get the entire chain of nodes, editable exactly like the original, which is exactly the point.
Stills outlive the clip they were grabbed from. Delete the original clip from your Media Pool, and the still in your Gallery keeps working. That persistence is what makes this the right tool for a grade you'll want to reuse across a whole project, or reapply weeks later when new footage comes in from the same shoot.
What do the keyframe options under Apply Grades Using actually change?
If your reference grade has keyframed adjustments in it, a lighting change mid-shot, a tracked power window, applying that still to a different clip raises a question Resolve can't answer for you automatically: should those keyframes stay locked to the original clip's timecode, or shift to match the new clip's start point?
Right-click in the Gallery and open the Apply Grades Using submenu, and you'll find three options, per the reference manual:
| Option | What it does | Use it when |
|---|---|---|
| No Keyframes | Applies the grade exactly as it looked at the frame where the still was grabbed, with no animation | The reference grade had no keyframes, or you only want a static snapshot of it |
| Keyframes Aligning Source Timecode | Aligns the copied keyframes to match the target clip's own source timecode | You're reapplying a grade back onto the same source clip, or a duplicate of it |
| Keyframes Aligning Start Frames | Aligns the copied keyframes to the target clip's start frame, regardless of source timecode | You're applying the grade to a genuinely different clip |
Get this setting backward and a keyframed power window that should track a face instead sits frozen in the wrong spot, or a keyframed exposure ramp fires at the wrong point in an unrelated clip. If a copied grade with animation in it looks subtly wrong on arrival, this menu is the first place to check, before assuming the grade itself is broken.
Most grades you'll copy day to day don't have keyframes at all, in which case this setting never comes up. It matters specifically once you're tracking a window or animating an exposure ramp inside the grade you're about to reuse.
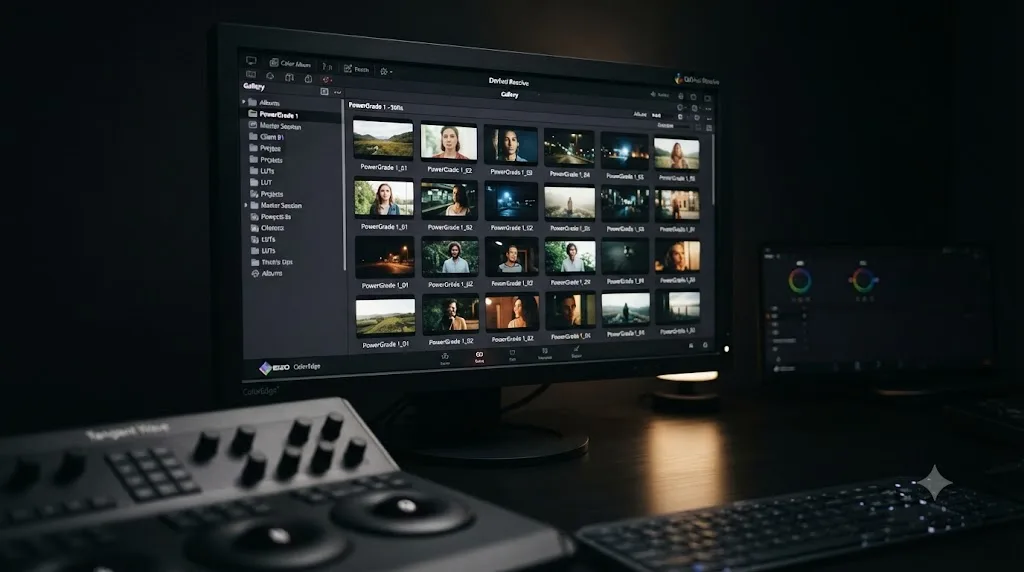
How do you build a reusable PowerGrade library for grades you'll copy again and again?
An ordinary Gallery still lives inside one project. Close that project and open a different one, and the still isn't there. A PowerGrade fixes that by living outside any single project entirely.
The Gallery's album list, on the left edge of the Gallery panel, includes a special album type called PowerGrade. A still saved into a PowerGrade album is available in every project on the same system, project after project, which makes it the natural home for a look you use constantly rather than a one-off grade built for a single shoot.
- Right-click in the Gallery's album list and choose Add PowerGrade Album, if you don't already have one.
- Grade a clip until the look is one you'll want again on future projects, then Grab Still as usual, but into the PowerGrade album specifically.
- In any project, on any clip, select your targets and right-click the PowerGrade still to Apply Grade, exactly like an ordinary still.
To hand a PowerGrade to someone else, right-click the still and choose Export. The resulting .drx file carries the complete node graph, and whoever receives it imports it into their own Gallery and applies it the same way. That's how a signature look travels between colorists without shipping an entire project file.
Build one PowerGrade album even if you only ever fill it with two or three stills: a base node layout you always start from, and the one look you're proudest of. Every project afterward starts a step ahead instead of from a blank node graph.
How do you copy just the color correction with Paste Attributes on the Edit page?
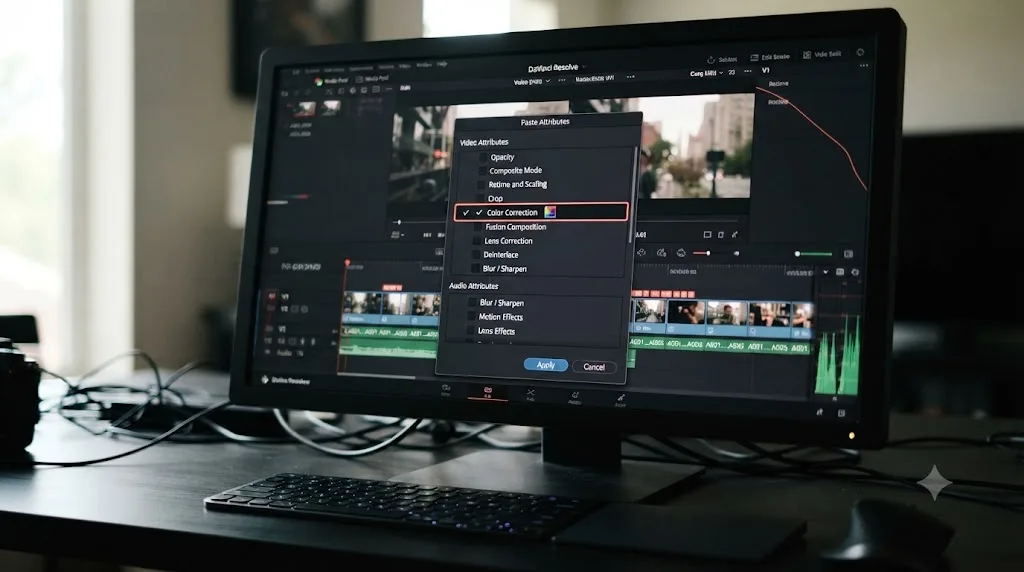
Every method so far lives on the Color page. Paste Attributes is different: it works from the Edit page, on the Media Pool or the timeline, and it's the one tool in this guide that lets you pick exactly which attributes transfer before anything happens.
- On the Edit page, select the clip whose grade you want to copy.
- Right-click it and choose Copy, or use your operating system's standard copy shortcut.
- Select every target clip.
- Right-click one of the selected clips and choose Paste Attributes, or press Option+V on Mac and Alt+V on Windows.
- A dialog opens listing the available attributes, video and audio settings alongside color correction, per the reference manual's Paste Attributes entry. Check only Color Correction if that's the one thing you want to move, and leave sizing, transitions, and audio levels untouched.
- Click Apply. The dialog also confirms the command applies to one or more selected clips simultaneously, not one at a time.
Paste Attributes is the only copy method in this guide that lets you pick exactly which attributes transfer, before anything actually happens to the target clips. That specificity is the whole reason to reach for it: everywhere else, the grade moves as a package. Here, you decide item by item, which matters when a source clip carries a crop, a speed ramp, or an audio level change you explicitly don't want riding along with the color correction.
One more detail worth knowing if your source grade has keyframed values in it: Paste Attributes offers a choice between Maintain Timing, which keeps keyframes locked to their original frame numbers, and Stretch to Fit, which rescales them to match a target clip of a different duration. Get this wrong on a speed-ramped shot and a keyframe that should land at the midpoint instead lands somewhere else entirely.
Does copying a grade carry ResolveFX and OpenFX plugins along with it?
It depends on where the plugin lives and which copying method you use, and getting this wrong is how a grade arrives looking almost right except for one missing effect.
A ResolveFX or OpenFX plugin dropped directly into a node inside the Color page's node graph, a Blur node, a Film Grain node, a Beauty node, travels with the grade under every full-node-graph method in this guide. Copy and paste, middle-click, and Gallery stills all carry it along exactly like a LUT or a qualifier, because it's simply part of the node tree being copied.
Paste Attributes on the Edit page is different, because it lets you choose. Alongside Color Correction, the dialog includes a separate option that governs plugins layered onto the clip, distinct from the underlying color correction, per a walkthrough of the Paste Attributes dialog. Leave that option unchecked and only the primary color correction moves, which is exactly what you want when a source clip has a Sharpen or Deflicker plugin that made sense for its own footage but has no business on a different clip.
The trap worth knowing about specifically: a grade that looks slightly soft, slightly noisy, or missing a texture the source clip clearly had, once copied, is rarely a broken paste. It's usually a plugin that lived in a node and traveled with a full-grade copy method when you actually wanted Paste Attributes' selective control instead, or the reverse, a Paste Attributes copy where the plugins option wasn't checked and an effect the target clip genuinely needed got left behind.
If a project relies on the same plugin, a specific noise reduction preset or a consistent film emulation LUT, across dozens of clips, a shared node is usually the better long-term home for it rather than repeatedly copying the same plugin node. Edit the shared node once, covered later in this guide, and every clip using it updates together, plugin settings included, instead of needing forty separate re-copies the next time a setting changes.
Should you use a Color Group instead of copying a grade to every clip individually?
Every method above does the same fundamental thing: it copies a grade once, and the copy stands on its own from that moment forward. Change the original later, and every copy stays exactly as it was. That's fine for a grade you're confident is finished. It's a real cost the moment a client asks for one more tweak after you've already applied the look to forty clips.
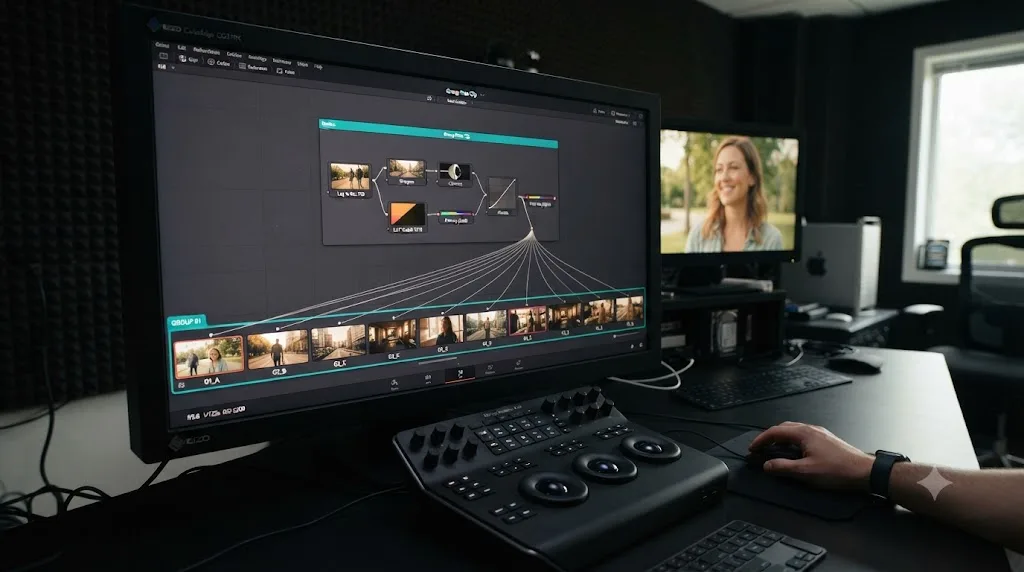
A Color Group solves that by keeping clips linked rather than copied.
- Select every clip that should share the same grade, in the Color page's mini-timeline or the Media Pool.
- Right-click the selection and choose Add to New Group. Name it something you'll recognize later, "Interview A" or "Kitchen scene."
- With the group active, open the dropdown at the top of the node editor, normally set to Clip, and switch it to Group Pre-Clip or Group Post-Clip.
- Build your grade there. Every clip in the group inherits it immediately.
A Color Group keeps every member clip linked to one shared grade, so a single edit later updates every clip in the group at once, unlike a copied grade, which stops listening the moment it's pasted. That's the entire difference in one sentence, and it's the reason to reach for a group the instant you know you're grading a batch of clips that should always move together, rather than after you've already pasted the same grade twenty separate times.
Groups give you two places to hang a grade, not one. Per the reference manual's entry on group modes, Group Pre-Clip runs before each clip's own individual grade, which is the natural home for a scene-wide normalization step everything in the group needs regardless of its own individual correction. Group Post-Clip runs after each clip's individual grade, which suits a shared creative look, a film emulation pass or a consistent vignette, applied uniformly once every clip's own balance is already handled. DaVinci Resolve 21 added group grade versions on top of this, letting you manage multiple named looks across an entire group and switch between them the same way you'd switch a single clip's local version, per Blackmagic's own release notes.
The trade-off against copying: a group is a commitment. Add a clip to the wrong group, or need one clip in the group to diverge from the shared look, and you're managing group membership and individual overrides instead of a simple, disposable copy. For a one-time batch that will never need a coordinated update, plain copying is simpler. For a scene or a whole project where "make it all a little warmer" is a request you expect to hear again, a group is the tool built for that exact moment. If you're setting up a group's base grade from scratch, our DaVinci Resolve learning hub collects the rest of our Resolve color and editing guides.
Are shared nodes the same thing as Color Groups?
No, and mixing the two up is a common source of confusion once a project grows past a handful of clips.
A shared node is one specific node, placed into more than one clip's individual node tree. It doesn't require those clips to belong to the same group, or even the same scene. Edit that shared node from any clip that uses it, and the change appears identically in every other clip's tree that also holds it, because it's not a copy of the node, it's the same node instance appearing in multiple places at once.
A Color Group, by contrast, adds an entirely new section to the node graph, Group Pre-Clip and Group Post-Clip, that every member clip inherits automatically. It's a structural addition to the graph rather than a single node reused across otherwise-separate graphs.
The two aren't rivals. Per a Mixing Light tutorial on the subject, colorists regularly combine both, using a shared node for one specific correction, a consistent skin tone adjustment, say, that should apply across clips in entirely different groups, while still using each group's own Pre-Clip and Post-Clip sections for the corrections that genuinely are group-specific.
| Tool | Scope | Best for |
|---|---|---|
| Shared node | One node, reused across any clips regardless of grouping | A single correction that must stay identical everywhere it's used, like a consistent skin tone fix across an entire project |
| Color Group | A group-wide section of the node graph, inherited by every member clip | A scene or batch of clips that should share a normalization step or a creative look, and might need that look revised as a group later |
If you've never used a shared node before, the fastest way in is right-click a node in the graph and choose Convert to Shared Node, then drag that same shared node into another clip's tree from the node editor's toolbar. Resolve marks shared nodes with a distinct icon so you can tell at a glance which ones in a chain are live links to other clips and which are local to the one you're looking at.
What are grade versions, and how do they change what gets copied?
Every clip in DaVinci Resolve can hold more than one saved grade at once, and copying a grade only ever touches whichever version is currently active on the target clip, not every version stacked behind it.
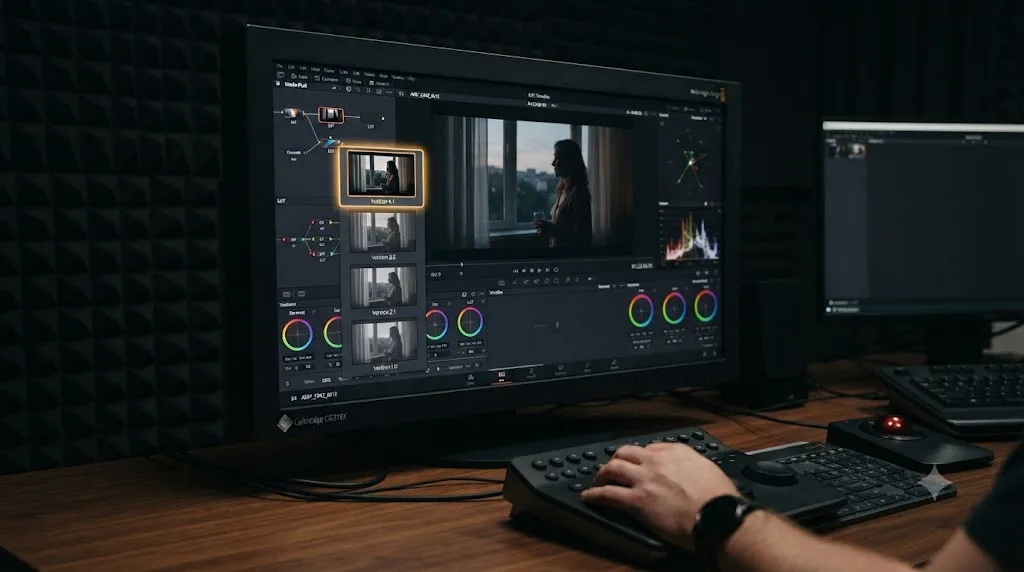
Press Command-Y (Ctrl-Y on Windows), or right-click a clip and choose Local Versions > Create New Version, and Resolve saves a fresh, named slot that starts as a copy of whatever version you had selected, keyframes and motion tracking included, per the reference manual's page on working with versions. Build three different looks on the same clip, a warm pass, a cool pass, a black-and-white pass, and each one lives in its own version, switchable from the same right-click menu without touching the others.
A copied grade only ever lands on whichever version is currently active on the target clip, so a hidden alternate version underneath it never gets touched. That's easy to forget mid-project: paste a grade onto twenty clips, and if three of them happened to be sitting on "Version 2" instead of "Version 1" when you pasted, only that active version changed. The other saved version on those three clips is untouched, waiting under the surface, which is exactly the point of versions but a real source of "wait, why does this one look different" confusion if you didn't know it was there.
Versions come in the same local-versus-remote flavor as the grades themselves. A Local Version belongs to one specific clip instance and nothing else. A Remote Version, instead, is shared automatically across every timeline instance that points back to the same source clip in the Media Pool, the moment both instances are set to use remote versions. Resolve marks a remote-versioned clip with an "(R)" next to its name when thumbnail codec labels are hidden, and draws a small "linked" badge next to the timecode of any clip that's automatically tied to another through this mechanism.
That linkage is a project-wide setting before it's a per-clip one. Open Project Settings, find the Color section under General Options, and look for "Use local version for new clips in timeline." Switched on, which is the default, every new clip you add starts on its own local version. Switched off, new clips default to remote versions and start linking to their source-mates automatically. Per the reference manual's entry on remote versions, you can also flip individual clips or a whole selection between local and remote after the fact, right from the Color page's context menu, without touching that project-wide default.
Versions aren't just for alternate creative looks. A common client-facing workflow is grading a full scene once, duplicating that version under a new name before submitting it for approval, then making revision notes on the duplicate while the original stays untouched as a fallback. Right-click any clip's version list to rename or delete a version, though deleting one is permanent, so renaming an approved version something recognizable, "APPROVED_v1," beats trusting you'll remember which numbered slot was the one the client signed off on.
The practical rule for copying grades across a batch: before you paste across a big selection, glance at whether the clips are on the version you expect. If some of your targets came from a template project, a duplicated timeline, or a colleague's cut, they may already be sitting on a version you didn't create, and a paste that looks like it "didn't work" is often a paste that worked perfectly, just onto the wrong version.
What are remote grades, and when do they replace copying entirely?
Every technique so far assumes you're actively choosing to copy a grade from one clip to others. Remote grades remove that choice from the equation, because the grade was never separate to begin with.
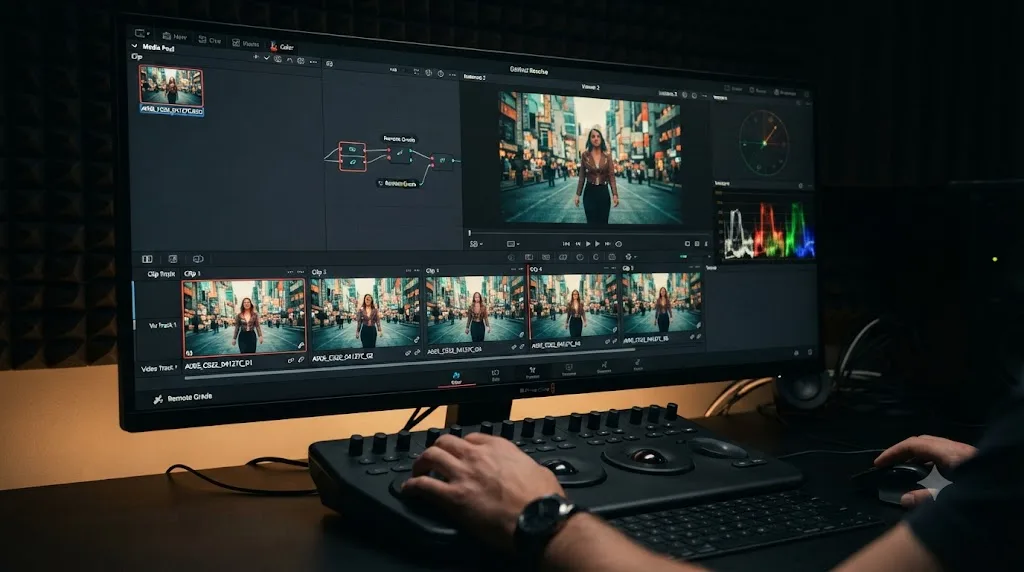
Every clip in your Media Pool comes from a single source file. Drop that same source clip onto your timeline five times, five separate edit points, and by default those five timeline instances share one remote grade tied back to the underlying source clip in the Media Pool. Grade any one of them, and per Mark Spencer's explanation on ProVideo Coalition:
"Remote grades, on the other hand, only need to be applied to a single clip and then will appear immediately on every other clip in the timeline from the same source."
A remote grade needs no copying at all, because every timeline instance of the same source clip already shares one grade by default. That's a genuinely different mechanism from every other method in this guide. Nothing gets pasted. There's no source clip and target clips, just one grade attached to the underlying media, visible through however many timeline instances reference it.
The opposite setting is a local grade, which detaches one specific timeline instance from that shared link so it can carry its own independent correction, useful the moment one appearance of a repeated shot, a cutaway reused three times in an edit, genuinely needs to look different from the others. Toggle between local and remote per clip, per filtered selection, or for an entire timeline, from the right-click context menu on a clip's thumbnail.
The practical trap: if you didn't know remote grades were the default, grading one instance of a repeated clip and watching every other instance in the timeline change along with it can look like a bug. It isn't. It's the feature working as designed, and the fix, if that instance genuinely needs its own look, is switching it to a local grade rather than fighting the shared one.
Do multicam clips copy grades the same way?
Not quite, and the difference catches people who assume a multicam clip behaves like any other clip on the Color page.
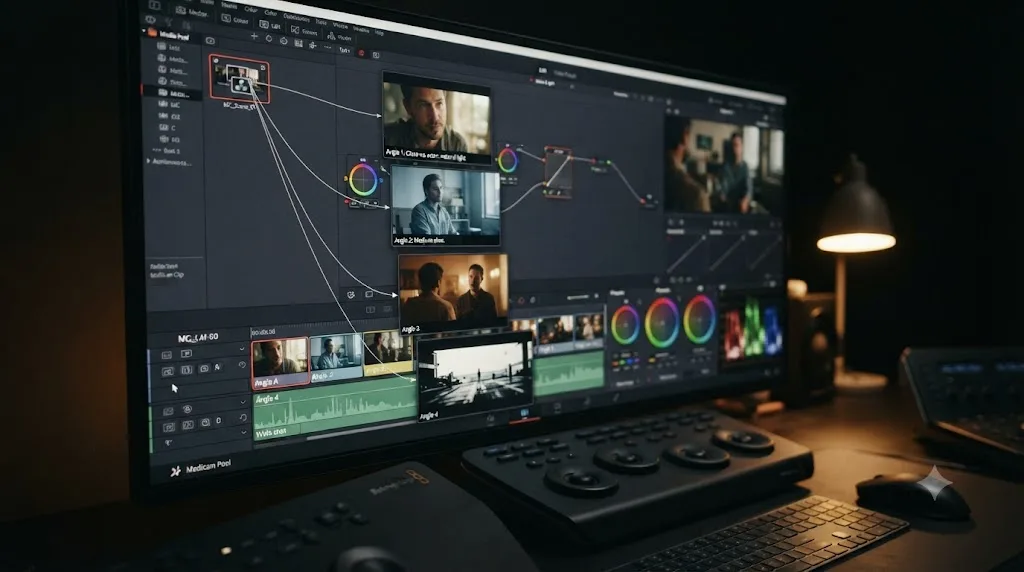
A multicam clip on your timeline is really a stack of several angles compressed into one clip icon, and each angle inside a multicam clip carries its own independent grade, even though only one of them is visible at a time. Grade a multicam clip directly from the Color page's mini-timeline, and you're only touching whichever angle happens to be the active one in that cut. The other angles underneath it, the ones you're not currently seeing, keep whatever grade, or lack of one, they already had.
To reach every angle at once, right-click the multicam clip on the Edit page and choose Open in Timeline. Per the reference manual's page on grading multicam clips, this exposes each angle as its own clip in a superimposed stack, which you can then select and grade individually on the Color page exactly like any other clip, copy and paste, middle-click, Gallery stills, all of it. Turn on Unmix in the Color page viewer while you're doing this, and Resolve shows only the one angle you're currently working on instead of the composited multicam frame, which makes it much easier to judge a single angle's exposure and color without the other cameras' framing distracting you.
This is the moment to do exactly what this guide has been describing all along: select the angles that need the same look, in the mini-timeline, and paste or Apply Grade onto all of them in one action, precisely as you would with ordinary clips. The multicam wrapper doesn't change any of the copying mechanics once you're looking at individual angles. It only changes how you get to them.
Flattening the multicam clip back down raises one more choice. When you flatten, Resolve asks whether to keep Copying Multicam Grades, which pushes the multicam clip's own top-level grade down onto whichever angle ends up as the flattened result, or Retaining Grades from Angles, which keeps each angle's individually-applied grade intact through the flatten. Pick the second option if you did the angle-by-angle grading just described and don't want it discarded the moment you flatten back to a normal clip.
Copying a grade onto a multicam clip only reaches the one angle currently exposed in that cut, not the angles hidden underneath it. If a paste or a middle-click on a multicam clip looks like it did nothing, check whether you actually needed to open the stack and grade each angle separately instead.
Is Shot Match the same as copying a grade?
No, and the difference matters more than the similar-sounding names suggest. Copying a grade, by any method in this guide, transfers the exact same node values to every target clip. Shot Match does something different: it analyzes each target clip individually and computes a new correction designed to make that specific shot resemble a reference, accounting for whatever's different about its exposure, white balance, or lighting.
Select your ungraded clips, right-click your graded reference clip, and choose Shot Match to This Clip, and Resolve builds a fresh, tailored correction for each one rather than pasting identical values everywhere. That's the right tool when several shots of the same scene were captured under slightly different exposure or white balance and need to end up looking consistent despite starting from different places. It's the wrong tool when you actually want every clip to carry the identical node graph, qualifiers and power windows included, because Shot Match only touches the primary correction and won't recreate a power window drawn for one specific framing.
Per the reference manual's Shot Match guidelines, Shot Match works best on clips that haven't already been graded. Running it on a clip that already carries node adjustments produces unpredictable results that probably won't match, so clear a clip's existing grade, or start from a fresh, ungraded copy, before handing it to Shot Match rather than layering the tool on top of manual corrections. The short version for this page: copy a grade when the clips already match and should carry the exact same correction. Reach for Shot Match when the clips don't yet match and need individually computed corrections to get there.
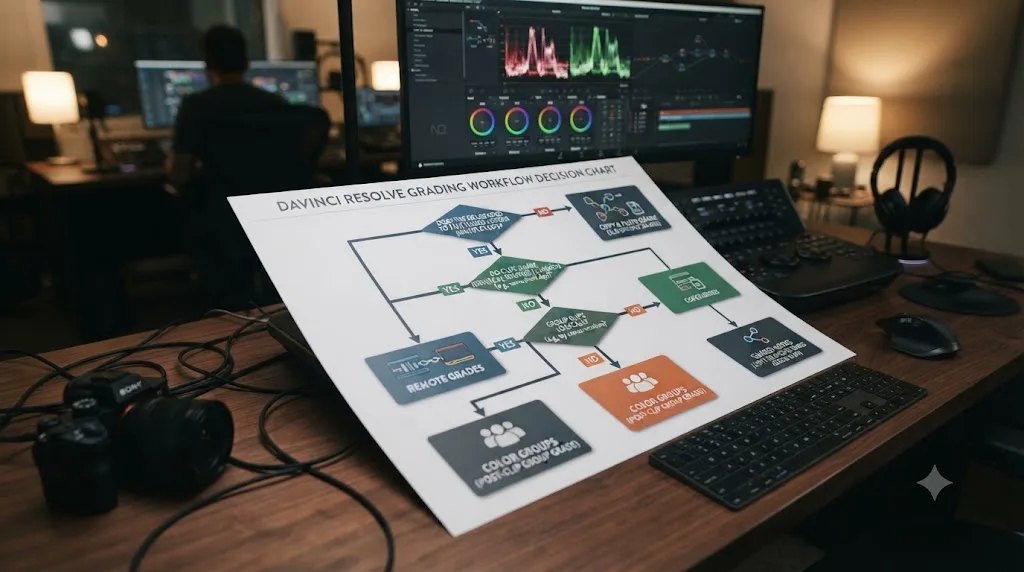
Which method should you actually use?
Here's the full comparison, side by side, for the decision you're actually facing right now.
| Method | Selects multiple targets at once? | Persists after project close? | Stays linked to the source? | Best for |
|---|---|---|---|---|
| Ctrl+C / Ctrl+V | Yes | No | No | The default, fastest choice for most one-time copies |
| Middle mouse button | Yes | No | No | Mouse-driven workflows, if your hardware supports it |
| Shift+Minus / Shift+Plus | No, one clip at a time | No | No | Grading front to back through a scene in order |
| Gallery still + Apply Grade | Yes | Within the project | No | Reapplying a grade to clips added later, or across timelines |
| PowerGrade | Yes | Across every project on the machine | No | A signature look or standard node layout you reuse constantly |
| Paste Attributes | Yes | No | No | Copying color correction alone, without sizing or other attributes |
| Color Group | Yes, and any future additions to the group | Within the project | Yes, permanently | A batch of clips that should always move together |
| Shared node | Yes, across any clips regardless of grouping | Within the project | Yes, for that one node | One specific correction that must stay identical everywhere |
| Remote grade | Automatic, no selection needed | Within the project | Yes, by default | Multiple timeline instances of the same source clip |
If you only remember one row, make it this one: copy and paste is the right default for a one-time batch, and a Color Group is the right choice the moment you expect to revise that batch together later. Everything else in this table solves a narrower problem: shared nodes for one correction that must travel everywhere, remote grades for repeated instances of one source clip, PowerGrades for a look you'll want again in a future project, Paste Attributes for picking exactly which attributes move and which don't.
Which DaVinci Resolve version added which of these tools?
Not every method in this guide has been around equally long, which matters if you're following an old tutorial, or working on a machine that hasn't been updated in a while.
| Tool | Introduced | Source |
|---|---|---|
| Copy/paste, middle-click, Gallery stills, PowerGrades | Present since early versions of the free Color page | Blackmagic's Color product page |
| Color Groups (group grading) | At least DaVinci Resolve 11 (2014), substantially revised since | Color Grading in Groups with DaVinci Resolve 11, Mixing Light |
| Shared nodes | DaVinci Resolve 15 (2018) | How To Use The Shared Node Feature In DaVinci Resolve, PremiumBeat |
| Group grade versions (multiple named looks per group) | DaVinci Resolve 21 (2026) | DaVinci Resolve - What's New, Blackmagic Design |
Copy and paste, the middle mouse button, Gallery stills, and PowerGrades are old enough that essentially every version still in use anywhere has them, so a tutorial built around any of those four ages well regardless of which Resolve release you're actually running. Color Groups reach back further than most editors expect, group grading existed in some form as far back as Resolve 11, though the Pre-Clip and Post-Clip node modes covered earlier in this guide reflect the tool's current, much more capable form. Shared nodes are the newest of the core node-graph tools, arriving in Resolve 15 alongside a broader rework of node-graph sharing.
Group grade versions are the newest addition of all, part of DaVinci Resolve 21. If you're on an older release and a tutorial or forum post mentions switching between named grade versions at the group level rather than the individual clip level, that's the feature it's describing, and it simply isn't there yet on Resolve 20 or earlier. Everything else in this guide, including plain per-clip grade versions, works identically across every recent version.
What goes wrong when you copy a grade, and how do you fix it?
Eight problems account for nearly every "the grade didn't copy right" report, roughly in order of how often they actually happen.
Only one clip received the grade. The most common cause is selecting the target clips one at a time instead of holding Shift or Ctrl/Cmd while clicking, so each new click replaced the previous selection instead of adding to it. Reselect with the modifier key held down and confirm every intended clip shows the selected-clip highlight color before you paste or middle-click again.
Middle-click does nothing at all. First, confirm you actually have a working middle button; a trackpad or a two-button mouse has none by default, and the fixes for that are covered earlier in this guide. If you do have a three-button mouse and it still doesn't fire, per the Blackmagic forum thread on this exact issue, a restart of the application resolves it more often than any settings change, which suggests the binding occasionally gets stuck rather than misconfigured.
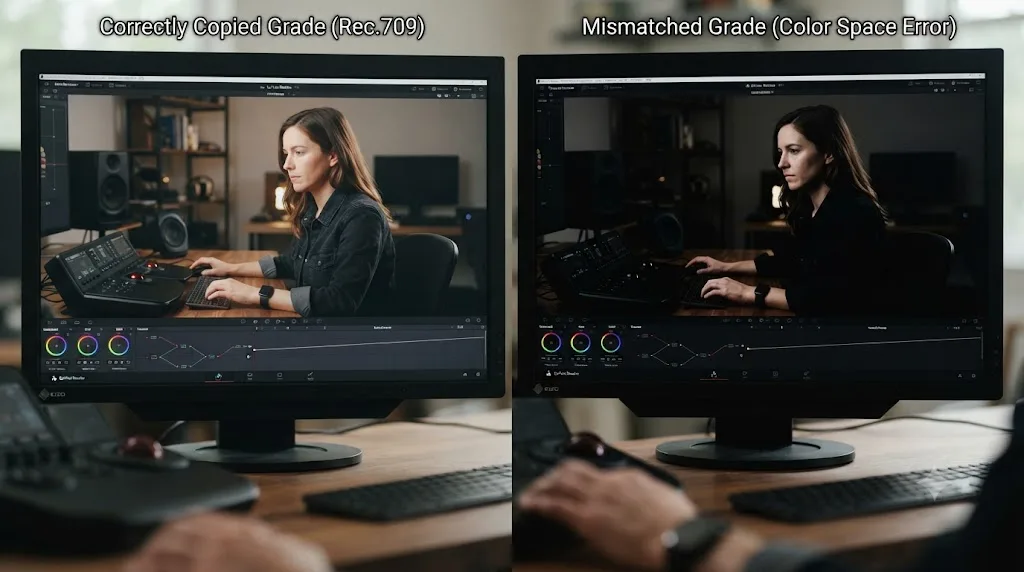
The copied grade looks wrong on the target clip, even though the source looked right. This is almost always a color space mismatch, not a broken copy. A grade built on log footage assumes the underlying log math is still present, so pasting it onto a clip that's already been normalized to Rec.709, or onto footage from a different camera with a different native color space, produces crushed shadows or blown highlights that have nothing to do with the grade itself. Normalize every clip to a consistent color space before copying grades between them, using the same Color Space Transform or color-managed workflow across the board, not as an afterthought once something looks off.
Sizing moved when you only wanted the color. Full-grade copy methods, copy/paste and middle-click, transfer pan, tilt, and zoom along with the correction by default. If a target clip has a different framing than your source and the sizing shouldn't travel, use Paste Attributes instead and uncheck Sizing in the dialog, rather than a method that moves everything as one package.
A keyframed grade animates at the wrong point on the new clip. This is the Apply Grades Using setting covered earlier, misaligned between source timecode and start frame. Check that setting in the Gallery's contextual menu before assuming the grade itself is broken.
A clip you didn't expect to change, changed anyway. This is very likely a remote grade behaving exactly as designed. If two or more clips on your timeline share the same source media, grading one changes all of them by default. Right-click the clip's thumbnail and switch it to a local grade if that specific instance needs to diverge from the others.
A multicam clip didn't take the grade you just applied. You grade the multicam clip directly, or copy a grade onto it, and it looks unaffected. Multicam clips carry a separate grade per angle, and copying onto the clip's top-level icon only reaches whichever angle is currently exposed in that cut. Open the multicam clip in a timeline of its own angles, covered earlier in this guide, and grade or copy onto the specific angle that actually needs it.
A grade landed on the clip, but it doesn't look like the version you expected to change. Every clip can hold several saved grade versions at once, and a copied grade only overwrites whichever version is currently active, not every version stacked behind it. If a target clip came from a duplicated timeline or a colleague's project, it may already be sitting on a version you didn't create. Check the clip's version list before assuming the paste failed.
One habit prevents most of these before they happen: grade one clip, apply the copy to a single test clip first, and confirm it looks right before pasting across dozens of clips at once. A wrong assumption caught on one clip costs you a few seconds. The same wrong assumption caught after applying it to forty clips costs you an afternoon of individual fixes.
Some of these overlap with a different, more basic problem: the Color page showing no footage at all rather than footage that just kept its old grade. If clips seem to vanish from the mini-timeline entirely, our guide to a blank Color page timeline covers that specific failure mode, filters, disabled tracks, and a stuck render cache among them.
Does copying a grade behave differently on Windows, Mac, Linux, or between free and Studio?
The commands themselves are identical across every platform Resolve runs on: Ctrl becomes Cmd, Alt becomes Option, and every menu name and workflow described in this guide matches one to one. That Windows-to-Mac substitution holds across every DaVinci Resolve command, not just the ones covered here.
The real platform difference is hardware, not software. A middle mouse button is a mouse feature, not a Resolve feature, so any machine using a trackpad instead of a three-button mouse, overwhelmingly laptops rather than a specific operating system, runs into the same gap covered earlier in this guide regardless of whether that laptop runs Windows or macOS.
None of the multi-clip grading tools in this guide require DaVinci Resolve Studio. Copy and paste, the middle mouse button, Gallery stills, PowerGrades, Paste Attributes, Color Groups, shared nodes, grade versions, and remote grades are all part of the free version, per Blackmagic's own product pages. What Studio adds sits elsewhere entirely: HDR grading tools, Dolby Vision and HDR10+ metadata palettes, and the DaVinci Neural Engine's AI-assisted features like Magic Mask. If you're weighing the $295 upgrade, none of these copying methods are a reason to spend it.
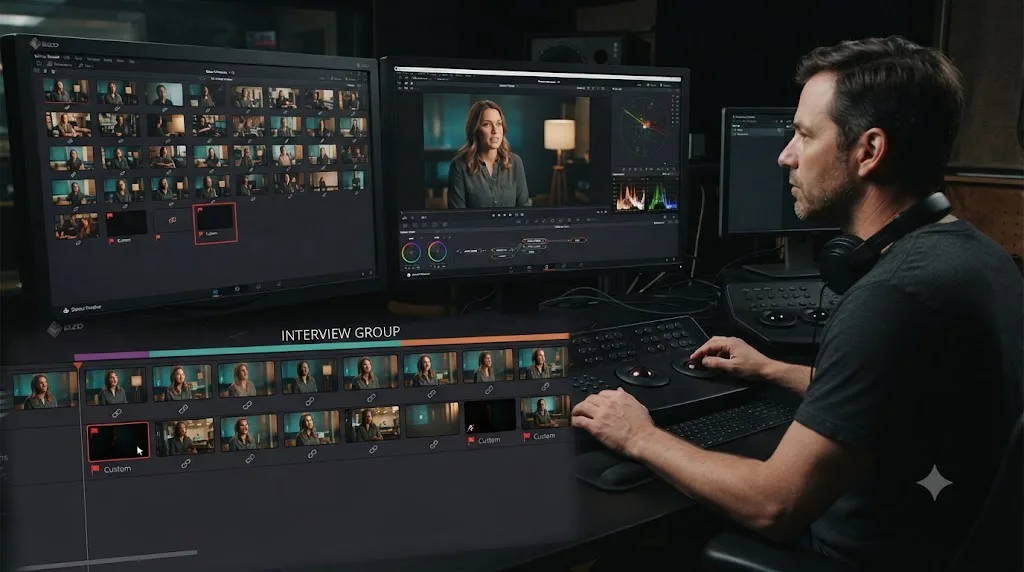
A worked example: one interview grade, forty clips
Theory holds together better with a concrete case, so here's one. Say you've cut an interview with a single subject, one camera angle, one lighting setup, forty separate clips scattered across a thirty-minute timeline because the subject paused, restarted, and got interrupted repeatedly during the shoot.
- Grade the cleanest clip first. Pick the take with the steadiest exposure and the clearest audio cue for framing, and build a full grade on it: normalize if it's log footage, balance with Lift, Gamma, and Gain, add a power window on the face if the shot needs one, and track that window so it survives the subject's small movements.
- Grab a still before you touch anything else. Right-click the viewer, Grab Still, so you have a fallback reference independent of whichever clip you graded it on.
- Group the forty clips. Select all of them in the Media Pool, right-click, Add to New Group, and name it after the interview subject. This is the moment to decide the batch should stay linked, not just copied once.
- Build the shared normalization in Group Pre-Clip. If every clip came off the same camera in the same log profile, the Color Space Transform belongs here once, not repeated forty times in forty individual clip grades.
- Apply the graded clip's still to the rest of the group with Apply Grade. Select the remaining thirty-nine clips in the mini-timeline, right-click your saved still in the Gallery, and Apply Grade. Every clip in the selection now carries the primary correction and the tracked power window in one action.
- Check three or four clips against the waveform before trusting all forty. A pause where the subject leaned closer to camera, or a restart where the lighting shifted slightly, can throw exposure off even within one continuous setup. Spot-check rather than assume uniform success.
- Fix the outliers individually, on the Clip level, not the group. A clip whose framing drifted, or whose audio cue suggests a different take entirely, gets its own local adjustment layered on top of the shared Group Pre-Clip normalization, without touching the other thirty-nine clips.
- Leave the door open for a group-wide revision. If the client later asks for the whole interview slightly warmer, that's a Group Post-Clip node addition, one edit, all forty clips updated at once, instead of forty individual pastes repeated from scratch.
Eight steps, one grade built once, applied to thirty-nine clips in a single action, with the structure in place to revise the whole batch later without redoing any of it. That's the entire value of choosing a group over a plain copy for a batch this size, and it's the same shape you'd repeat for any interview, product shoot, or single-location scene with dozens of takes sharing one setup.
A worked example: a three-camera podcast, one grade
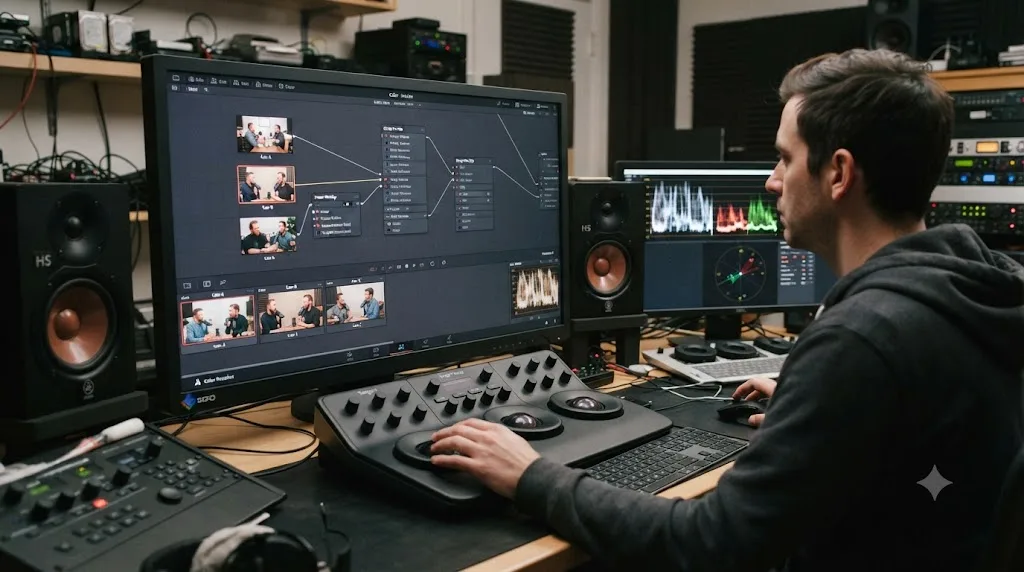
The interview example above assumed one camera and one setup. Here's the messier, more common version: three cameras, some multicam-cut episodes, and a look that needs to feel identical no matter which camera the edit happens to be on in any given second.
- Grade one angle's flattened multicam episode first, not the raw multicam clip. Open the timeline, find the widest, cleanest shot from your main camera, and build the full grade there: normalize, balance exposure and white balance across the three cameras' slightly different sensors, and add whatever creative look the show uses.
- Open the multicam clip and check each angle individually before trusting a single grade covers all three. Right-click the multicam clip, choose Open in Timeline, and step through each camera's angle with Unmix turned on. Three cameras from three different manufacturers rarely read exposure and color the same way even pointed at the same subject, so expect at least small per-angle corrections even under identical lighting.
- Group all three cameras' clips across the episode, not just one angle's clips. Select every clip from every camera in the Media Pool, or across the flattened multicam sequence, and Add to New Group. Name it after the show, not the episode, since the look should hold from week to week.
- Put the universal correction in Group Pre-Clip. Whatever every camera needs regardless of angle, a shared Color Space Transform, a base exposure normalization, belongs here once, rather than duplicated three times per camera and repeated every week a new episode comes in.
- Handle each camera's individual quirk at the Clip level, on top of the group. If Camera B consistently reads half a stop darker than the other two, that correction lives on Camera B's own clips specifically, inside the group, not in the shared Pre-Clip section that would affect all three cameras equally.
- Put the show's creative look in Group Post-Clip. A warm tone, a slight desaturation, whatever visual signature the show has, goes here, applied uniformly after each camera's individual balancing, so it reads consistently regardless of which camera is on screen at any given cut.
- Save the finished per-camera balance as a version before the next episode. Once Camera B's half-stop correction is dialed in, a Local Version named for that camera number becomes the starting point for the next episode's grade instead of a blank slate, since the camera's known quirk almost never disappears between recording sessions.
- Grab a PowerGrade of the finished Group Post-Clip look once you're happy with it. That way the show's creative look survives even if a future episode starts as a brand-new project rather than a duplicate of this one, and a different editor working the show later can pull the exact same look from your PowerGrade album instead of reverse-engineering it from an old export.
The shape of this differs from the single-camera interview example in one important way: the group here holds the show's signature look across cameras and across weeks, not just across the clips in one afternoon's shoot. Grading a multicam show once as a Group Pre-Clip and Post-Clip pair means next week's episode starts from a known, reusable baseline instead of a blank grade. That's the entire argument for reaching for groups, shared nodes, and PowerGrades together on a recurring production, rather than copying a grade fresh from scratch every time a new episode comes in.
Where do you go from here?
Pick based on whether the copy needs to stay linked, not on which method feels most familiar. A one-time batch that will never need a coordinated revision gets copy and paste, full stop, whichever input device is in your hand. A batch you expect to tweak together later gets a Color Group from the start, before you've pasted the same grade forty separate times and have to unwind that decision after the fact.
Everything else in this guide, shared nodes, remote grades, grade versions, PowerGrades, Paste Attributes, solves a narrower version of the same problem: one correction that must travel everywhere, one source clip repeated across a timeline, one saved alternate look, one look worth saving for every future project, or one attribute you need to move without dragging the rest of the grade along with it. Match the tool to the actual relationship you want between your clips, and the grade you build once will still make sense the day someone asks you to change it.
Once every clip's grade is locked and consistent, the next step is turning that timeline into a finished file. Our guide to DaVinci Resolve's YouTube export settings covers the Deliver page settings that keep the grade you just built looking the way you intended after upload.
If you get stuck mid-grade on which menu holds a specific one of these commands, TryUncle is an assistant built to look at your actual Resolve window and point straight at the control, faster than scrolling back through a guide like this one for the one command you half-remember.
Frequently asked questions
- Can you copy a color grade to multiple clips at once in DaVinci Resolve?
- Yes. Select every target clip in the Color page's thumbnail timeline with Shift-click or Cmd/Ctrl-click, then paste a copied grade, middle-click the source clip's thumbnail, or right-click a Gallery still and choose Apply Grade. All three apply the full node graph to every selected clip in a single action.
- What's the fastest way to copy a grade to many clips in DaVinci Resolve?
- Copy and paste. Select the graded clip, press Ctrl+C (Cmd+C on Mac), select every target clip, then press Ctrl+V (Cmd+V). It needs no mouse precision, works with dozens of clips selected at once, and is the only method with an undo you can trust without reopening the Gallery.
- Does copying a grade also copy sizing, LUTs, and other effects?
- It depends on the tool. Copy/paste and middle-click carry the full node graph, including LUTs and ResolveFX placed inside nodes. A separate Color/Sizing/All setting controls whether pan, tilt, and zoom come along for the ride, and Paste Attributes on the Edit page lets you check or uncheck color correction, sizing, and other attributes individually before applying anything.
- Why isn't middle-click copying grades on my Mac?
- Most Mac trackpads and the Magic Mouse have no physical middle button, so the gesture that works with a three-button mouse does nothing by default. Assign a middle-click gesture in System Settings' Trackpad options or a utility like BetterTouchTool, or skip the middle button entirely and use Ctrl+C/Cmd+V or the Gallery's Apply Grade command instead.
- What's the difference between copying a grade and using a Color Group?
- Copying a grade is a one-time transfer. The clips share nothing afterward, and a later change to the source doesn't touch the copies. A Color Group keeps every member clip linked to one shared grade at the Group Pre-Clip or Post-Clip level, so a single edit updates every clip in the group at once, indefinitely.
- Are shared nodes the same thing as Color Groups in DaVinci Resolve?
- No, though they're often combined. A shared node is one specific node instance placed into multiple clips' individual node trees, regardless of whether those clips belong to the same group. A Color Group adds a group-wide section to the node graph that every member clip inherits. You can use shared nodes across clips in different groups, or nest them inside a single group's grade.
- Does copying a grade work correctly between log and Rec.709 footage?
- Only if both clips are normalized to the same starting point first. A grade built for flat log footage assumes log math underneath it, so pasting it onto an already-normalized Rec.709 clip crushes or blows out the image. Normalize every clip to the same color space before copying grades between them, not after.
- Do you need DaVinci Resolve Studio to copy a grade to multiple clips?
- No. Copy/paste, middle-click, Gallery stills, PowerGrades, Paste Attributes, Color Groups, shared nodes, and remote grades are all available in the free version. None of the multi-clip grading tools covered in this guide are gated behind the $295 Studio license.
Sources
- DaVinci Resolve - Color (Blackmagic Design)
- DaVinci Resolve 18.6 Reference Manual: Copying Grades Using the Pointer (Blackmagic Design, mirrored)
- DaVinci Resolve 18.6 Reference Manual: Gallery Options (Blackmagic Design, mirrored)
- DaVinci Resolve 18.6 Reference Manual: Paste Attributes (Blackmagic Design, mirrored)
- 3 Ways to Copy Color Grades FAST in Resolve (Film Editing Pro)
- How to Copy Color Grade in Davinci Resolve [Step by Step] (Hollyland)
- How to Copy and Paste Color Grade in DaVinci Resolve (Miracamp)
- Using Remote Grades in DaVinci Resolve, by Mark Spencer (ProVideo Coalition)
- Combining Shared Nodes and Group Grades in DaVinci Resolve (Mixing Light)
- Blackmagic Forum: Middle Mouse Button Not Copying Grades
- DaVinci Resolve Studio product page (Blackmagic Design)
- DaVinci Resolve 18.6 Reference Manual: Creating and Managing Groups (Blackmagic Design, mirrored)
- DaVinci Resolve 18.6 Reference Manual: Using Group Modes to Control Which Grades Ripple and Which Don't (Blackmagic Design, mirrored)
- DaVinci Resolve 18.6 Reference Manual: How to Use Shot Match (Blackmagic Design, mirrored)
- DaVinci Resolve 18.6 Reference Manual: Shot Match Guidelines (Blackmagic Design, mirrored)
- DaVinci Resolve 18.6 Reference Manual: Grading Multicam Clips (Blackmagic Design, mirrored)
- DaVinci Resolve 18.6 Reference Manual: Working with Versions (Blackmagic Design, mirrored)
- DaVinci Resolve 18.6 Reference Manual: Using Remote Versions to Enable Automatic Linking (Blackmagic Design, mirrored)
- DaVinci Resolve - What's New (Blackmagic Design)
- How To Use The Shared Node Feature In DaVinci Resolve 15 (PremiumBeat)
- Color Grading in Groups with DaVinci Resolve 11 (Mixing Light)
- Copy and Paste Attributes/Effects in DaVinci Resolve (Video With Jens)
Learn by doing, not watching
Stop translating tutorials to your timeline.
TryUncle stays beside Resolve on Mac and Windows. When you ask, Uncle sees your screen and points at the exact control you need. No hunting through tabs, timestamps, or mismatched tutorials.
Meet TryUncleKeep reading
 GuidesJul 8, 202633 min read
DaVinci Resolve Color Tab Not Showing Footage: Every Fix
Why DaVinci Resolve's Color page shows an empty timeline instead of your footage, and the exact filter, track, timeline, and cache fixes that solve it.
 GuidesJul 7, 202632 min read
DaVinci Resolve Export Settings for YouTube (Copy These Exactly)
The exact DaVinci Resolve export settings YouTube recommends: codec, bitrate, resolution, audio, and the Deliver page steps that avoid soft uploads.
 FixesOct 10, 202631 min read
DaVinci Resolve Audio Disappears After Reopening Project? Fix It
Fix DaVinci Resolve audio that disappears after reopening a project. Diagnose missing media, moved drives, bins, proxies, timelines, and playback routing.