
Learn / DaVinci Resolveupdated for DaVinci Resolve 21.0.1 (June 2026)
DaVinci Resolve Color Tab Not Showing Footage: Every Fix
Quick answer
DaVinci Resolve's Color tab usually looks empty because a timeline filter, a view toggle, or a disabled track is hiding clips, not because footage is missing. Reset the Clips filter dropdown to All Clips, check the Clips and Timeline toggle icons, confirm which timeline is actually open, and rule out a stuck render cache before assuming your project is broken.
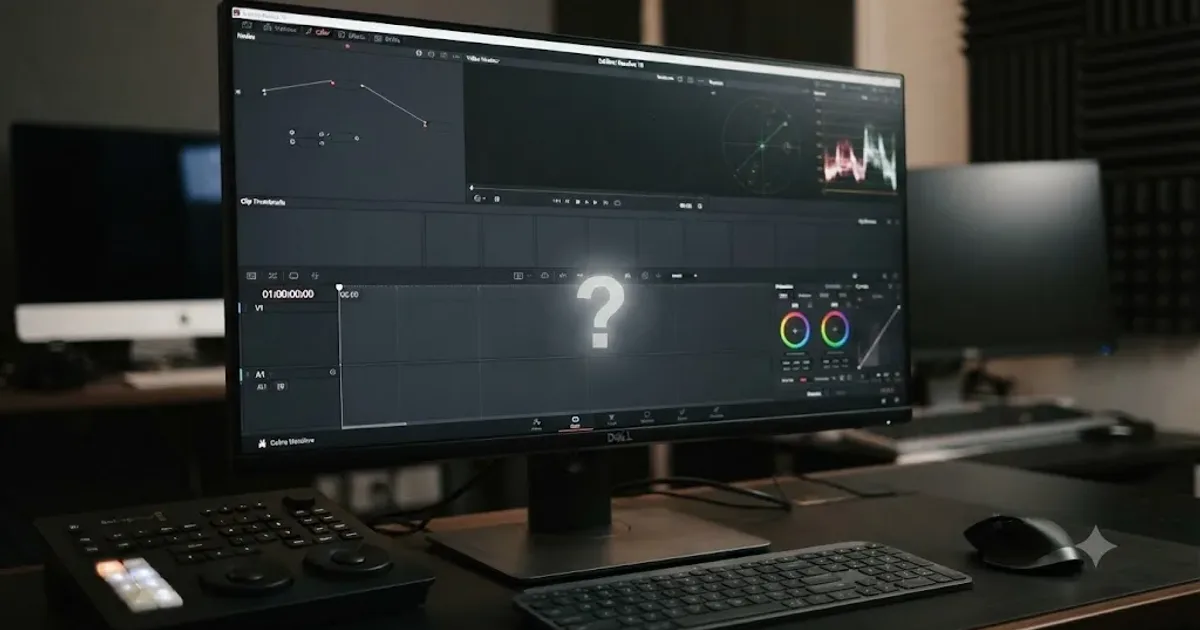
Your Media Pool is full of footage. The Edit page plays it back fine. You click over to the Color page to start grading and the timeline sits there empty, or the filmstrip shows nothing, or every thumbnail is the same flat gray. Nothing was deleted. I want to walk through why this happens and the order to check things in, because the fix is almost never "reinstall Resolve" and almost always a filter, a toggle, or a timeline you didn't realize you'd left behind.
This covers every distinct cause I could find real, documented evidence for: filters, view toggles, multiple timelines, disabled tracks, sort settings, proxy and offline media, a corrupted UI layout, Collaboration locks, render cache, GPU and bit depth quirks, and the handful of cases where this is actually a different, better-known problem wearing this one's clothes.
Why does the Color page look empty when the Media Pool is full of footage?
Here's the thing to understand before you touch a single setting: the Color page never shows the Media Pool. It shows a timeline. Specifically, it shows whichever timeline is currently open, filtered through whatever view settings you've got active on that page.
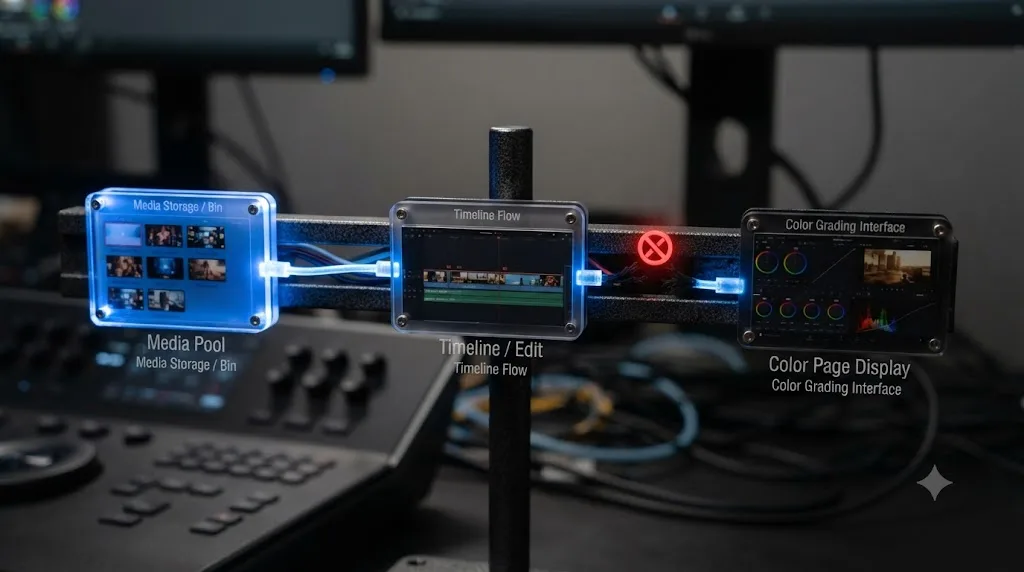
That distinction matters because it means "footage not showing on the Color page" is never really about footage. It's about the path between your Media Pool and the Color page's display, and that path has several links in it: which timeline is open, which filter is applied to it, which toggle buttons are switched on, which tracks are enabled, and whether the media behind the clip, proxy or original, is even reachable. Break any one link and the symptom looks the same from the outside, an empty or wrong-looking timeline, even though the underlying cause is completely different each time.
A DaVinci Resolve project can hold many timelines, but the Color page only ever displays one of them at a time. That's the single fact that explains most of what follows. If you're used to software where "the project" and "the timeline" are the same thing, Resolve's timeline-centric Color page takes some adjustment. Once it clicks, most of the fixes below stop feeling like magic and start feeling obvious.
Is a timeline filter hiding your clips?
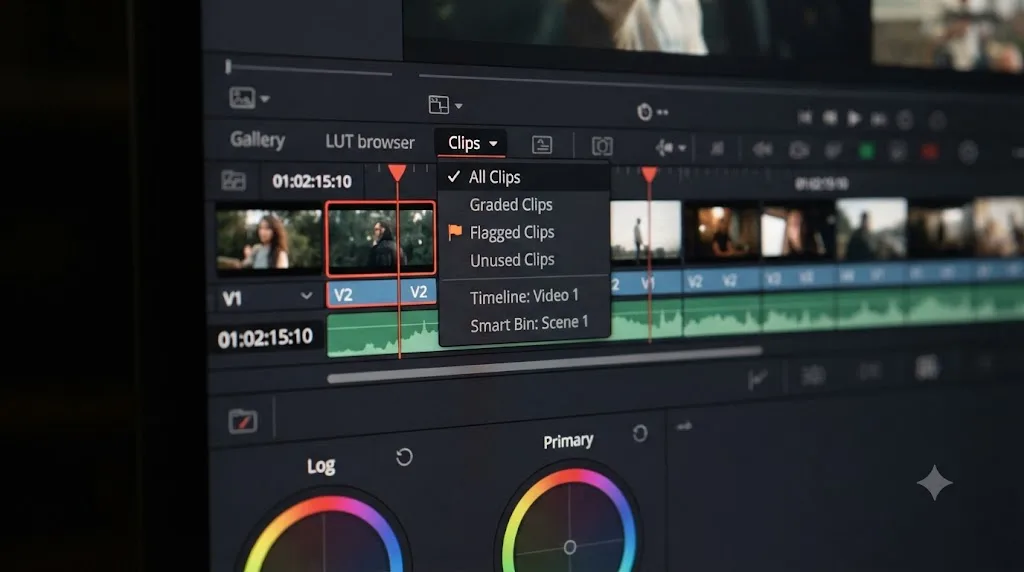
This is the single most common cause, and it's also the easiest to fix once you know where to look. DaVinci Resolve's Color page has a Timeline Filtering feature built specifically to let colorists hide everything except a subset of clips, graded ones, ungraded ones, a specific color tag, a specific flag, and so on, so they can focus without visual clutter.
The problem is that this filter persists. If you, or a template project, or a preset you loaded, left the filter set to something like "Graded Clips" and none of your clips have been graded yet, the filmstrip shows nothing. It's not broken. It's doing exactly what you told it to do, you just don't remember telling it that.
Here's how to check and reset it, according to the DaVinci Resolve manual's section on Timeline Filtering:
- Look at the top right of the Color page's interface toolbar for the Clips button and the small dropdown arrow beside it.
- Check for an orange line underneath the Clips button. That line is Resolve's only visual indicator that a filter is currently active.
- Click the dropdown and choose All Clips.
- Confirm the filmstrip repopulates with every clip on the timeline.
The manual is explicit that this feature exists to "hide all the other clips in the Timeline except for the subset on which you want to focus," and just as importantly, that switching filters "does nothing to alter the original edit." Your cuts, your grades, your node trees, none of it changes when you reset the filter. You're only changing what's visible, not what exists.
Timeline filtering in DaVinci Resolve hides clips from view without touching your edit, which is exactly why it's so easy to forget you turned one on. The built-in presets go well beyond Graded and Ungraded, too: there's Selected Clips, Unrendered Clips, Clip Color, Flagged Clips, and any custom Smart Filter you or a collaborator might have saved. If you inherited a project from someone else, or you're reopening one you haven't touched in months, this is the first place to look, not the last.
Are the Clips and Timeline toggle icons switched off?
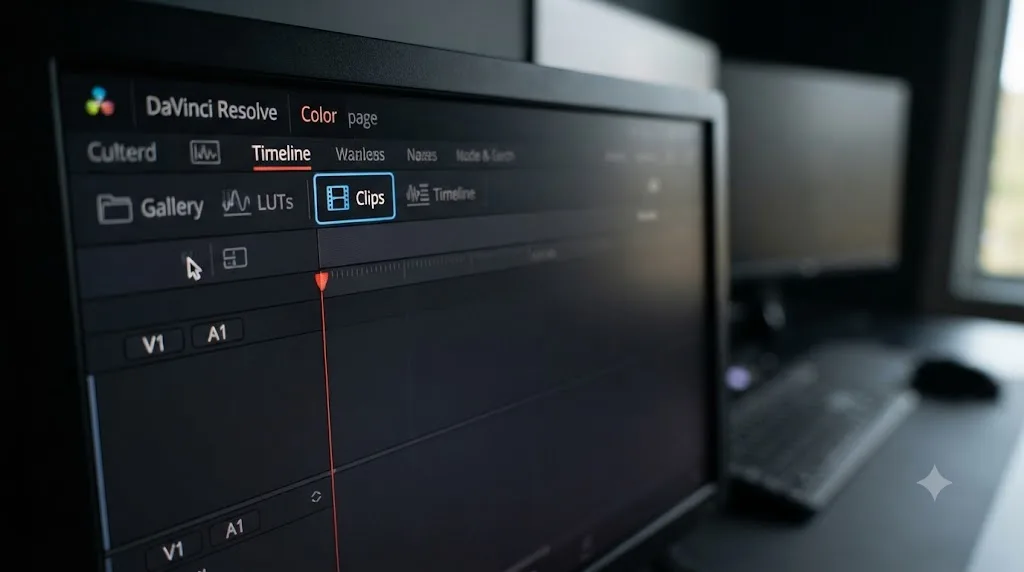
Separate from filtering, the Color page has two independent view toggles that control whether entire UI panels show up at all, not just which clips within them are visible.
Editor and instructor Larry Jordan describes the two controls plainly in his walkthrough of the Color page: "The Clips icon toggles the thumbnail timeline open or closed." A second icon does the same job for the mini-timeline below it, the strip that shows a global view of your edit with all its tracks. Click either icon off, intentionally or by accident while reaching for something else, and that entire section of the interface disappears, not just some clips within it.
This is a distinct failure mode from the filter problem above, and the two are easy to confuse because they look almost identical from a distance: an empty strip where footage should be. The difference is diagnostic. A filter problem shows an orange line under the Clips button. A toggle problem shows the button itself un-highlighted, and the whole panel, not a filtered subset of it, is gone.
One user on Creative COW's forums hit exactly this on DaVinci Resolve 12, describing the timeline as "just a strip of light blue clips" with none of the actual thumbnail images showing. The eventual self-reported fix, in the original thread, was almost anticlimactic: "found it, upper left corner, there a timeline and clips button which view and hides either." Once he found the two buttons, the fix took about two seconds.
Here's the quick comparison so you know which one you're dealing with:
| Symptom | Likely cause | Where to look |
|---|---|---|
| Orange line under the Clips button, some clips missing | Timeline Filter active | Clips dropdown, choose All Clips |
| No orange line, but the entire filmstrip or mini-timeline is gone | View toggle switched off | Clips icon and Timeline icon in the toolbar corners |
| Filmstrip shows clips but they're all flat gray or black | Thumbnail generation issue, not a hide/show problem | See the section on missing thumbnails below |
Do you actually have the right timeline open?
This is the cause that trips up people migrating from other editors the hardest, because it assumes something those tools never require: an explicit, always-open, currently-active timeline.
Older versions of Resolve made this worse by not creating one automatically. On DaVinci Resolve 10, a user named Pierre reported that after upgrading, footage appeared fine in the Media and Edit tabs but never showed up in the Color tab at all. The explanation, from a reply by Jake Blackstone in the same Creative COW thread, was direct: "In V10 there is no longer Master Timeline created by default. Create a new timeline and drag your videos into it."
Current versions of Resolve, including 21, always require you to create a timeline explicitly on the Edit or Cut page before there's anything for the Color page to show, so a brand-new project with an empty Media Pool and no timeline yet will correctly show nothing. That's expected behavior, not a bug. The actual trap in modern Resolve is subtler: you can have several timelines sitting in your Media Pool at once, and the Color page only ever follows the one that's currently open, which isn't always the one you were just working on.
A related, older mechanism still lurking in Resolve's Project Settings is worth knowing about even if you never touch it. According to the manual's page on Enabling the Use of a Master Timeline, turning on "Automatically match master timeline with media pool" in the General Options panel of Project Settings, before you import any media, creates a special timeline where clips are added and removed automatically as they enter or leave the Media Pool. It's a legacy convenience feature from a period when Resolve leaned harder on a single master timeline concept, and it can only be turned on before you import media, not after. Most modern projects don't use it and don't need it, but if you inherited a project that has it enabled, or disabled when you expected it on, that mismatch is worth ruling out.
One Creative COW user, Leonard Levy, ran into an empty Color page timeline after importing a fresh ProRes clip and simply couldn't explain it. His fix, posted as a reply to his own question, was blunt: "Well I tried creating a new timeline and now it works fine. Mystery to me." That's not a satisfying root cause, and I won't pretend it is. But it lines up with everything else in this section: something about the specific timeline he'd built had gotten into a state the Color page couldn't render correctly, and a fresh timeline, built the normal way, sidestepped whatever that was.
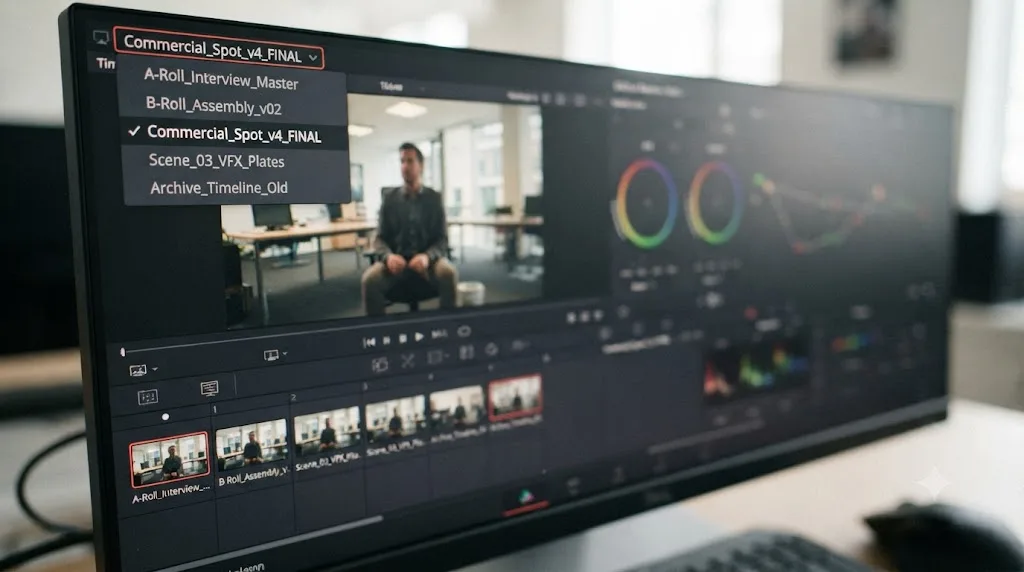
If you're not sure which timeline is open, check the Timelines dropdown at the top of the Color page viewer. It lists every timeline in the project and shows a checkmark or highlight on the active one. Switching timelines from that dropdown is instant and doesn't touch your edit on any of them.
DaVinci Resolve can hold as many timelines as your project needs, but the Color page only ever renders the single timeline that's currently open, which is a different concept than "the timeline you were just looking at." If you jump between the Edit and Cut pages working on different sequences, get in the habit of glancing at that Timelines dropdown before you assume the Color page is broken.
Is a disabled or hidden track hiding the clip you're looking for?
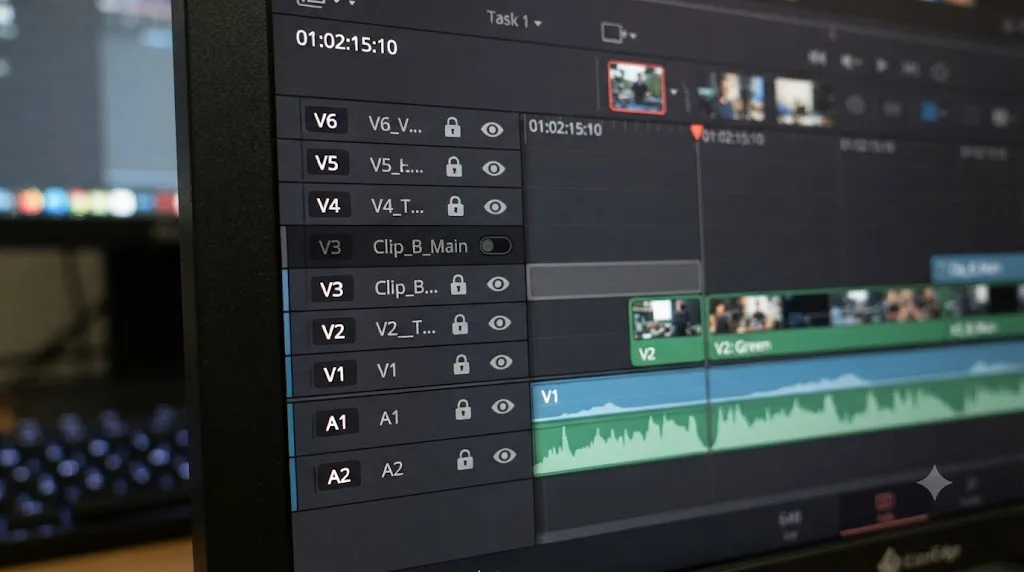
Tracks you've disabled on the Edit page stay disabled on the Color page, which is expected: a track you muted so it doesn't play back or export shouldn't suddenly reappear just because you switched pages. That said, it's an easy thing to forget you did, especially hours or days later when you're back for a color pass and the disabled track's clips just aren't there.
Resolve also gives you a second, Color-page-specific way to hide tracks that's easy to miss because it doesn't match the Edit page's track header controls. According to a discussion on the Blackmagic Forum about selecting individual tracks on the Color page, you can Alt-click (Option-click on a Mac) a track directly in the Color page's mini-timeline to hide it from the filmstrip and from clip selection, without disabling it anywhere else in the project. The track keeps rendering and exporting normally; it just stops showing up when you're clicking through clips to grade them. That's a genuinely useful feature when you're working with a dozen tracks and only care about three of them, but it's also exactly the kind of setting that survives a project handoff and confuses whoever opens the file next.
The fix for both cases is the same two-step check:
- On the Edit page, look at each track header for the eye icon that toggles a track's visibility, and confirm the track holding your missing clip isn't disabled.
- On the Color page itself, Alt-click (or Option-click) the track header in the mini-timeline to toggle Color-page-specific visibility back on if it's been hidden that way.
Both mechanisms produce an identical symptom from the filmstrip's point of view: the clip exists, plays back correctly if you scrub the disabled track's region on the Edit page, and simply isn't part of what the Color page shows you. Neither one deletes anything, which is the reassuring part. You're restoring visibility, not recovering lost work.
This exact "the track is fine, the display setting isn't" pattern shows up in other parts of Resolve too, not just video. If a subtitle track vanishes the same way a video track does here, the cause and the fix are nearly identical; our guide on how to add subtitles in DaVinci Resolve covers the subtitle-track version of this same disabled-or-hidden-track problem.
Is the Sort By setting narrowing what you see?
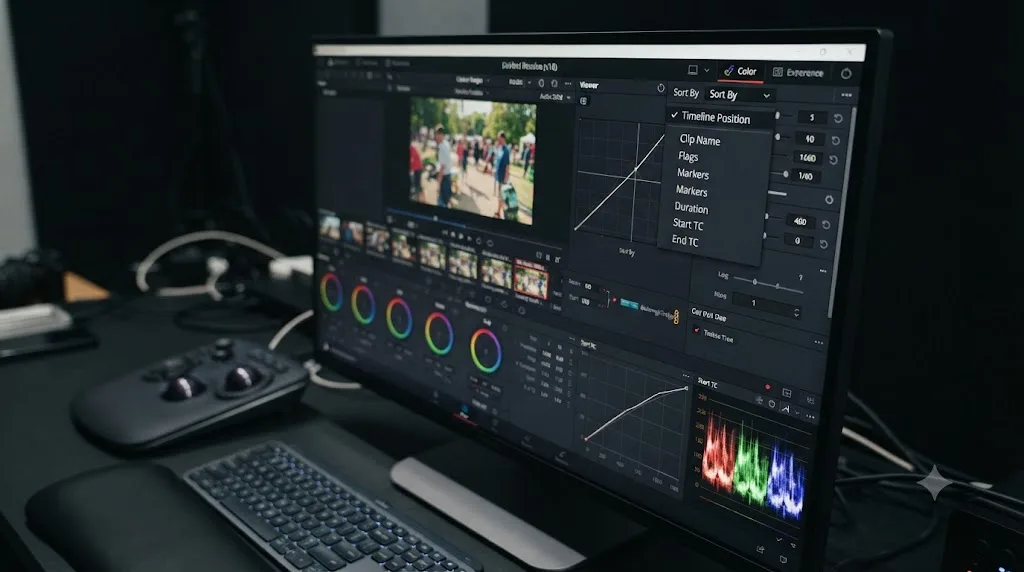
A quieter version of the filter problem shows up through the Sort By control rather than the Clips filter dropdown, and it catches people specifically because they associate "sort" with reordering, not hiding.
If Sort By is set to something metadata-dependent, like Flags or Markers, and none of the clips on your current timeline actually carry a flag or marker, the practical effect looks identical to an empty timeline: nothing to sort means nothing to show. This came up repeatedly in older Creative COW threads discussing the Color tab going blank after an otherwise uneventful import, and the fix each time was the same. Set Sort By back to something universal, like Timeline Position or Clip Name, that every clip qualifies for regardless of whether you've tagged it with anything.
This one's worth a specific mental note if your workflow leans on flags and markers heavily during editing, since you're more likely to have left Sort By pointed at one of them from a previous session. Check it right after you check the Clips filter dropdown, since they sit in roughly the same part of the interface and get confused with each other constantly, including by the forum posters describing this exact issue over a decade of Resolve versions.
Is proxy media or a missing original file confusing the display?
This cause sits in a different category from everything above it, because it isn't really a hide-or-show setting. It's a question of whether the actual media Resolve needs to draw a frame is where Resolve expects it to be.
DaVinci Resolve tracks two possible sources for any clip: the camera-original file and, if you generated one, a lower-resolution proxy. Which one it shows you depends on a single control, the Proxy Handling selector under the Playback menu, with three modes. Disable All Proxies forces original media playback only. Prefer Proxies uses proxy files and falls back to originals only if no proxy exists. Prefer Camera Originals does the reverse, preferring the full-resolution file and falling back to the proxy if the original can't be found.
The failure mode worth knowing about is what happens when the file that mode expects isn't reachable, an external drive that unmounted, a NAS that dropped off the network, a cloud-synced project opened before the media finished downloading. According to the DaVinci Resolve manual's page on switching between proxy and original media, both Prefer Proxies and Prefer Camera Originals will silently substitute whichever file is available, and "the timeline will have a purple line across it for the duration that the original clips are missing." If you're in Disable All Proxies mode instead and the original genuinely isn't there, the manual is blunter: "the clip is replaced with a Media Offline graphic."
That purple line is easy to miss if you're scanning for missing clips rather than color-coded lines, and it's easy to misread as a rendering glitch rather than a media-location problem. Here's the practical check:
- Look along the top edge of the Color page's mini-timeline for a thin purple band under any clips.
- If you see one, open Playback > Proxy Handling and note which mode is active.
- Confirm the drive or network location holding whichever file that mode needs, original or proxy, is actually mounted and reachable.
- If you only need to keep working temporarily, switch to whichever mode matches the media you do have access to right now, then switch back once the missing drive reconnects.
A purple line under a clip on DaVinci Resolve's timeline means the original media is missing, not that the clip itself is broken or gone. It's Resolve's own words for it, straight from the manual, and it's worth learning to spot on sight, because it looks nothing like the red or gray slate that Media Offline mode uses for the same underlying problem.
Could a stuck render cache be showing you a blank or stale frame?
Render cache is a slightly different animal from everything above, because it doesn't usually make clips disappear outright. What it does is show you the wrong image where the right one should be, which for a lot of people registers as "my footage isn't showing" even though, technically, some footage is showing. It's just not the current, correctly graded frame.
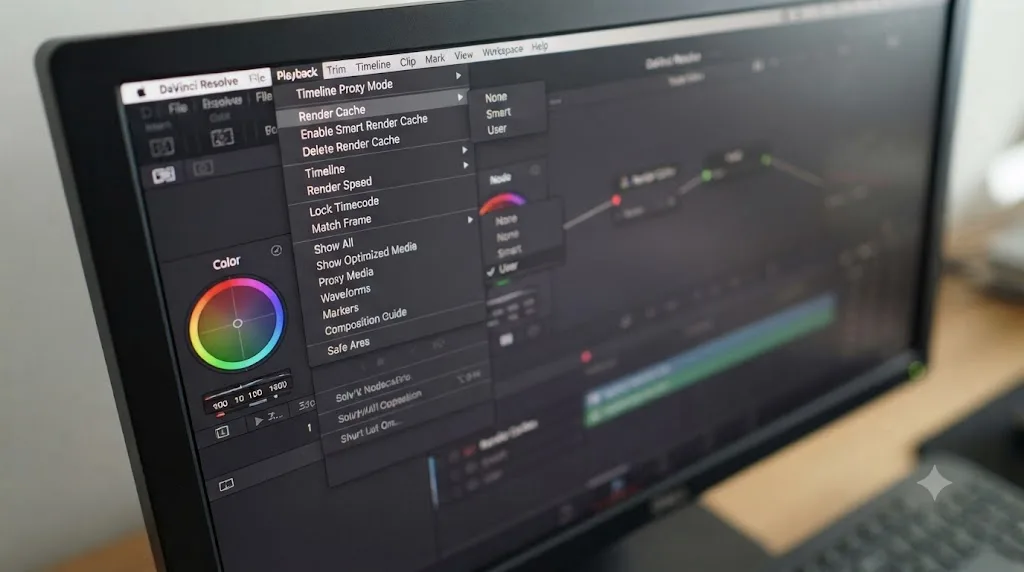
Here's the mechanism. Resolve can cache rendered frames to disk so playback stays smooth on effects-heavy timelines, controlled by the Render Cache setting (None, Smart, or User) near the top right of both the Edit and Color pages. Under normal conditions this is invisible and helpful. Under a handful of conditions, a corrupted cache entry, a change to a node that the cache didn't register, an interrupted render, the cache gets stuck showing an old or blank frame instead of rebuilding.
The fix is a deliberate reset, not a settings hunt:
- Set Render Cache to None.
- Scrub to the clip that looked wrong and confirm the live image now renders correctly.
- Set Render Cache back to Smart or User, whichever you normally use.
- Let Resolve rebuild the cache for that section of the timeline.
According to the DaVinci Resolve manual's page on manually controlling the cache, Smart cache automatically renders clips that need it based on complexity and playback demands, while User cache gives you direct control over which specific clips get cached. Neither mode is inherently more prone to getting stuck than the other, but switching a clip's cache mode, from None to Smart for instance, is often enough to force Resolve to discard whatever bad data it was holding and generate a fresh render.
A stuck render cache in DaVinci Resolve shows you an old frame instead of your current grade, which looks like missing footage but is really a display problem with a two-click fix. If toggling Render Cache to None and back doesn't help, the more thorough version of the same fix lives under Playback, in the Delete Render Cache submenu, which lets you clear cached frames for the whole project rather than one clip at a time.
Is this actually a Media Offline problem instead?
It's worth ruling this out early, because it's a genuinely different problem with a genuinely different fix, and confusing the two wastes time.
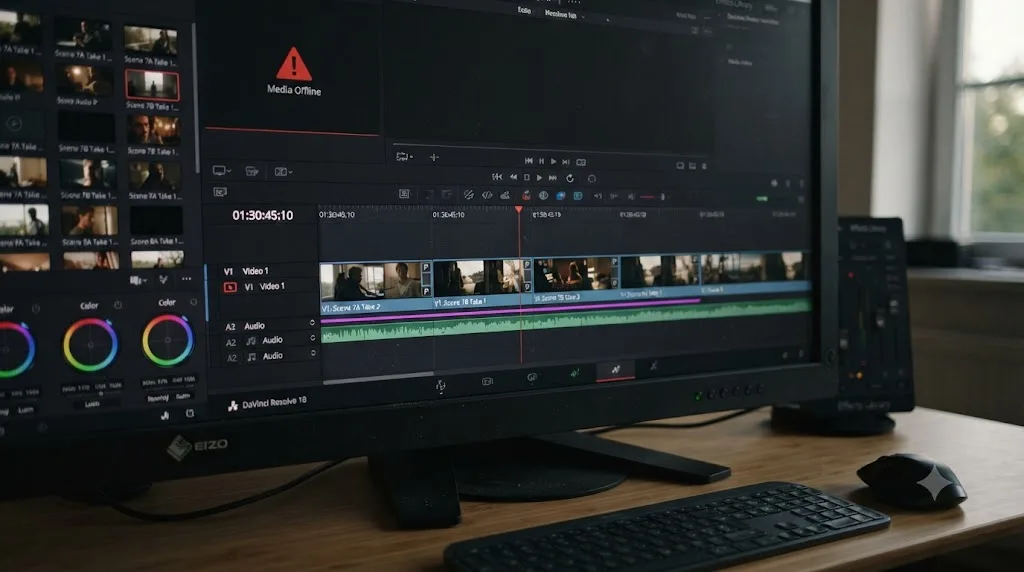
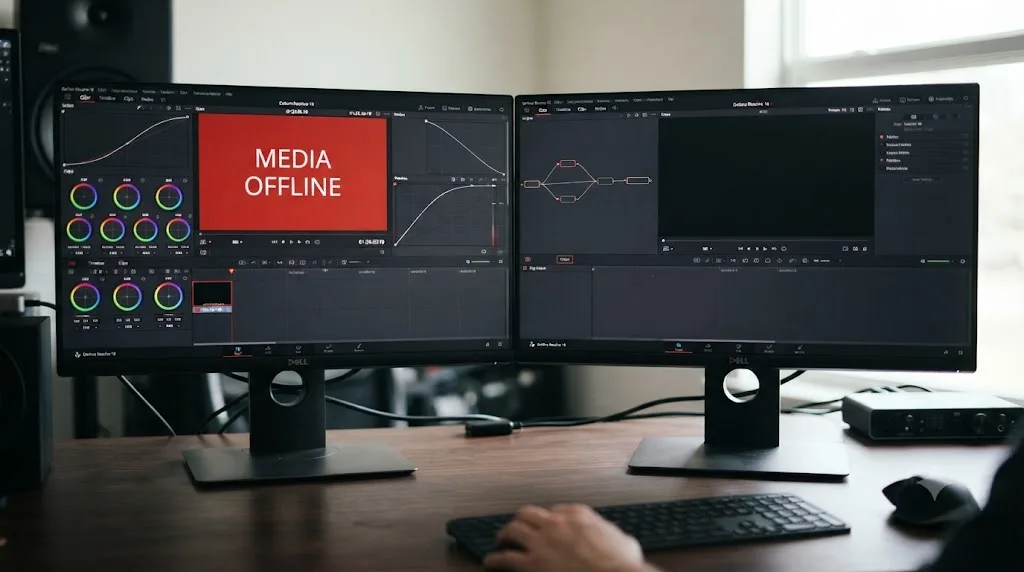
Media Offline means Resolve can't find a clip's source file on disk, whether that's from a moved drive, a renamed file, or a cloud-sync placeholder standing in for the real thing. When that happens, the clip doesn't vanish. It gets replaced with a red or gray "Media Offline" slate, visible on both the Edit and Color pages, along with a warning icon. That's the tell. A clip that's simply not appearing in the filmstrip at all, with no offline slate anywhere in your project, isn't a Media Offline problem. It's one of the filter, toggle, timeline, or proxy issues covered above.
If you do spot the offline slate, the fix lives in the Media Pool, not the Color page: right-click the affected clip, choose Relink Selected Clips, and point Resolve at the file's current location. Our full Media Offline troubleshooting guide covers every cause in detail, including the specific case of cloud-sync services like OneDrive or iCloud silently replacing local footage with online-only placeholders that Resolve can't decode.
A clip that's actually missing shows a red or gray offline slate on both the Edit and Color pages; a clip that's merely hidden by a filter or toggle shows nothing at all, not even a warning. That single distinction tells you within seconds which troubleshooting path you're on.
Could your GPU or video monitoring bit depth be blanking the page?
This one is less common than the filter and toggle issues above, and the evidence for it is more anecdotal, coming from individual forum reports rather than documented Resolve behavior. I'm including it because the reports are specific enough, and consistent enough with how Resolve's rendering pipeline works, to be worth checking if nothing above has fixed your problem, particularly if your Color page isn't just empty but renders solid black.
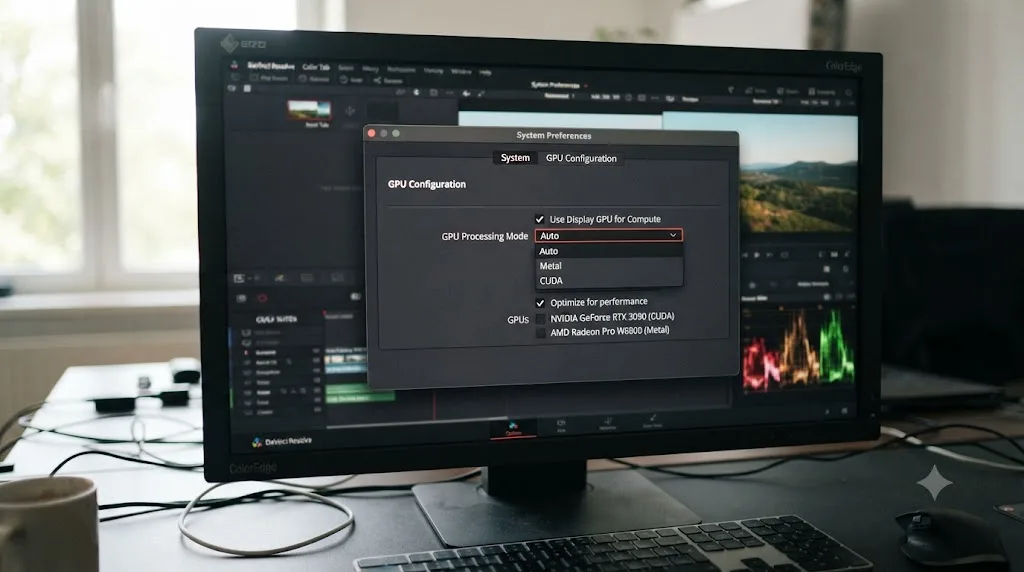
In one Blackmagic Forum thread specifically about footage not showing in the color tab, users troubleshooting a black Color page reported success after adjusting the video monitoring bit depth in Project Settings, under Master Settings, down to 8 bits. Others in the same thread found that switching the GPU processing mode explicitly to Metal, rather than leaving it on Auto, cleared up the display. Neither of these is a documented, guaranteed fix the way resetting a Clips filter is; they're community-reported workarounds tied to specific GPU and driver combinations, most relevant if you're on a Mac with an external monitoring path or a discrete GPU that Resolve is misidentifying.
Where to look, if you've ruled out everything else:
- Preferences > System > Memory and GPU. Confirm the GPU processing mode matches your actual hardware rather than sitting on Auto, especially if you have more than one GPU in the system.
- Project Settings > Master Settings > Video Monitoring. If you're using an external monitoring device, try dropping the bit depth to 8-bit as a diagnostic step. According to the manual's guidance on GPU and memory-related settings, monitoring at 8-bit trades a small risk of banding for improved real-time performance, which is a reasonable trade to test with even if you revert it afterward.
If you're chasing a genuinely full or crashing GPU rather than a display quirk, that's a separate and more common problem with its own dedicated fixes; our GPU memory is full troubleshooting guide walks through timeline resolution, driver versions, and VRAM requirements for exactly that case.
Could a corrupted UI layout or preferences file be hiding the Color page?
Everything covered so far is a targeted, single-purpose control: one filter, one toggle, one dropdown. This cause is broader, and it's the reason I've placed it further down the list rather than near the top: it's a real fix, but it's also more disruptive than anything above, so it's worth trying only after the specific checks haven't worked.
The Color page's entire arrangement, where the filmstrip sits, where the node graph and scopes live, whether the mini-timeline is docked or floating, is a saved UI layout. If that layout gets corrupted, whether from a crash, a forced quit mid-save, or a panel dragged somewhere it shouldn't be, whole sections of the page can go missing rather than just individual clips. This looks similar to the toggle-icon problem covered earlier, except toggling the Clips and Timeline icons back on doesn't fix it, because the panel itself, not just its visibility state, is the thing that's broken.
The first fix to try is non-destructive and specific to layout. According to Resolve's manual: "If you don't like the current layout and you want to go back to the default, choose Workspace > Reset UI Layout." That single command restores every page, not just Color, to its default panel arrangement, which is usually enough to bring back a panel that's gone missing, been resized to nothing, or drifted off a second monitor you're no longer connected to.
If resetting the layout doesn't help, and the problem started right around a crash, a forced update, or an unusually abrupt quit, the underlying preferences file itself may be the actual issue. Resolve exposes a direct fix for this without touching your projects. The manual's instructions are equally direct: "Click the Option menu at the upper-right corner of the Preferences window and choose Reset System Preferences." That resets the application's UI layout, render settings, and keyboard shortcuts back to factory defaults. It's worth being clear about what it doesn't touch: your project files, your Media Pool, your grades, and your render cache on disk are stored separately and aren't affected by resetting preferences.
Here's the order worth following if you get this far down the list:
- Try Workspace > Reset UI Layout first. It's reversible in the sense that you can always rebuild a custom layout afterward, and it fixes the majority of "a whole panel just isn't there" reports.
- If the Color page is still broken after that, and especially if the issue started right after a crash or an update, open Preferences, click the Option menu, and choose Reset System Preferences.
- Relaunch Resolve and reopen your project. Your grades and edits should be exactly as you left them; only the application's own interface state has changed.
Resetting DaVinci Resolve's UI layout or system preferences restores missing panels and application settings without touching your projects, grades, or media. Treat it as a broader, blunter tool than the specific filter and toggle fixes above it, reach for it once you've ruled those out, not before.
Does DaVinci Resolve's multi-user Collaboration mode change any of this?
If you're working solo on a local project, you can skip this section entirely; nothing here applies to you. It matters specifically if you're on DaVinci Resolve Studio using the multi-user Collaboration feature, where several editors and colorists share one project through a networked Postgres database rather than each working on their own separate project file.
Collaboration's whole point is to let people work on the same project at the same time without stepping on each other, and it does that partly through locking. Per Blackmagic Design's own Collaboration page, "Automatic bin and timeline locking let multiple people work without overwriting each others work." In practice, that means a bin or timeline someone else currently has open is read-only to you until they close it or you take it over, and a locked item is marked with a lock icon in the interface. If you open the Color page and the timeline looks frozen, unselectable, or refuses to reflect changes you're making, check whether that timeline or its bin is currently locked by another user before you assume anything is broken.
This can produce a genuinely confusing symptom, because "locked and read-only" doesn't always look like an obvious permissions error. One Creative COW user, Perry Trest, reported a project that appeared locked even though he wasn't in a shared workgroup environment at the time, which is a good reminder that a stale lock can outlive the session that created it. The fix, from a reply by Matt Ryan in the same thread, was as simple as the underlying mechanism: "right click on the project with the lock and select unlock."
The practical checklist, if you're on a shared Collaboration project and something looks wrong on the Color page:
- Look for a small lock icon on the bin or timeline in question, in the Media Pool or the Timelines list.
- Right-click it and check whether an Unlock option is available. If it is, you likely still hold the lock yourself, or the lock is stale.
- If someone else genuinely has it open, confirm with them directly. Collaboration's identity badges let each user set a name and color specifically so this kind of coordination is possible without guessing.
- Once the lock clears, the Color page should reflect the timeline normally again. Nothing about your grade or the underlying edit is lost while a lock is in place; it's a concurrency control, not a data problem.
This is worth knowing exists, but it's genuinely rare compared to the filter and toggle issues at the top of this guide. Most solo editors and small teams working from local projects, which is most of the readers of this guide, will never hit it.
Why do some clips show thumbnails while others stay black or blank?
A slightly different version of this problem shows up as a partial failure: most of your filmstrip populates normally, but a handful of clips sit there as flat black or gray rectangles instead of a preview image. This isn't the same bug as an empty timeline, but it's adjacent enough that it comes up in the same searches, so it's worth covering.
A few specific causes account for most of these:
Fusion generators and titles. Fusion-based generators and title clips, often marked with a small cluster of stars in their thumbnail, don't always render a preview thumbnail the same way a normal video clip does. This is a rendering quirk of how generator clips build their preview, not a sign that the clip itself is broken. If it's specifically a Text+ or Fusion Title clip going blank, rather than a video clip, that's usually a font or track problem rather than a thumbnail-rendering quirk; our guide on adding text and titles in DaVinci Resolve covers exactly why a Text+ title can go invisible and how to fix it.
A black first frame. Resolve typically pulls a clip's thumbnail from one of its early frames. If a clip fades in from black or starts on a genuinely dark frame, don't be surprised if the thumbnail looks like an empty rectangle even though the clip plays back with a full image a few frames in.
An unusual codec or format. Mixing clip types on one timeline, DV alongside ProRes, for instance, or an oddly packaged multichannel format, can produce a thumbnail generation failure specifically, even when the clip itself decodes and plays back fine. Blackmagic's own Supported Codec List is worth a check if you're mixing camera-original footage from very different sources on the same timeline and only some of it is misbehaving.
None of these three causes make a clip functionally disappear the way a filter or a disabled track does. The clip is still there, still selectable, still gradable. It just looks wrong in the filmstrip specifically, which is a cosmetic problem you can safely ignore if the actual grading workflow, clicking the clip and adjusting nodes, still works.
Does this happen differently on Mac versus Windows?
The Color page's filters, toggles, and timeline logic behave identically across Mac, Windows, and Linux; nothing in Resolve's Color page interface is platform-specific in how it decides what to show or hide. Where platform does matter is in the GPU-related branch covered above.
On a Mac, GPU processing runs through Apple's Metal framework by default, and that's typically also the only meaningful choice, since CUDA is Nvidia-specific and unavailable on Apple hardware. On Windows and Linux with a discrete GPU, you have more processing mode options, CUDA on Nvidia cards, OpenCL more broadly, and Auto, which lets Resolve pick. The anecdotal black-color-page reports tied to GPU processing mode tend to involve exactly this choice going wrong on Windows and Linux systems with multiple GPUs or unusual driver states, which is one reason that fix appears further down this list rather than at the top: it's a real but comparatively rare cause, and platform-dependent in how it manifests.
Everything else in this guide, the Clips filter, the Timeline and Clips toggle icons, disabled tracks, Sort By, proxy handling, render cache, and UI layout resets, works the same regardless of what you're running Resolve on. If you're troubleshooting on a Mac, you can skip straight past the GPU processing mode branch unless you're specifically seeing a black page rather than an empty one.
Does the free version behave differently from Studio here?
For most of this guide, no. Timeline filtering, the Clips and Timeline toggle icons, track visibility, Sort By, proxy handling, render cache, and UI layout resets are all part of Resolve's core page navigation and playback architecture, and none of them sit behind the Studio paywall. A free-version user and a Studio user hitting an empty Color page are troubleshooting the exact same set of causes with the exact same fixes.
There's exactly one exception, and it's the Collaboration section above: multi-user bin and timeline locking is a Studio-only feature, tied to Studio's networked project database, and it's simply not something a free-version user can run into, because the free version has no shared-project mode to lock in the first place. Everyone reading this on the free version can skip that section entirely and know they've covered every real cause.
Studio does diverge in features that can indirectly affect what you see once a clip is selected and graded, things like advanced noise reduction or Magic Mask, which draw more heavily on GPU memory and can contribute to the kind of GPU-related display issues covered further up. But the core mechanism behind "footage not showing on the Color page" doesn't touch anything Studio-exclusive apart from Collaboration locking. If you're on the free version and you've hit this problem, work through the same checklist as everyone else, minus one section.
What triggers this most often, and what should you check first?
Rather than working the full list top to bottom every time, it helps to notice what you were just doing when the Color page went blank. The circumstance leading up to the problem is often a strong hint about which cause you're actually facing.
| What you just did | Most likely cause | Where to check first |
|---|---|---|
| Reopened a project you haven't touched in weeks or months | An old Clips filter or Sort By setting left active from a previous session | Clips dropdown, Sort By dropdown |
| Opened a project someone else built or sent you | A filter, Sort By setting, or hidden track they configured and never reset | Clips dropdown, Timelines dropdown, track eye icons |
| Just updated DaVinci Resolve to a new version | A UI layout or preferences reset triggered by the update | Workspace > Reset UI Layout |
| Just generated or enabled proxy media | Proxy Handling mode pointing at media that isn't reachable | Playback > Proxy Handling, look for a purple line |
| Working on a shared project with a team, on Studio | A bin or timeline locked by another editor | Lock icon in the Media Pool or Timelines list |
| Just imported an XML, AAF, EDL, or opened a template project | No timeline was created automatically, or the wrong one is active | Timelines dropdown |
| Recently changed your GPU, driver, or external monitor | GPU processing mode mismatch or a monitoring bit depth issue | Preferences > System > Memory and GPU |
| Applications crashed or force-quit last session | A corrupted UI layout or preferences file | Workspace > Reset UI Layout, then Reset System Preferences if needed |
This table isn't a replacement for the full checklist above it. It's a shortcut for guessing which row of that checklist to try first, based on the one piece of context only you have: what you were doing right before the page went blank.
What's a full worked example, start to finish?
Here's how this plays out on an actual project, walking through the checks in the order they're worth trying, fastest and most common first.
A documentary editor opens a project they haven't touched in three weeks to start a color pass. The Edit page timeline looks correct, twelve minutes of cut footage across four tracks. Switching to the Color page, the filmstrip is completely empty.
- Check the Clips filter dropdown first. There's an orange line under the Clips button. The dropdown shows "Ungraded Clips" selected, left over from a previous session where they were specifically hunting for shots that still needed work. Every clip on this new pass happens to already carry a rough grade from an earlier session, so "Ungraded Clips" legitimately shows nothing. Switching to All Clips brings the entire filmstrip back instantly.
- If that hadn't fixed it, the next check would have been the toggle icons. Both the Clips and Timeline icons are already active, so this wasn't the issue here, but it's a five-second check either way.
- If the filmstrip had come back but looked wrong, wrong timeline is the next branch. The Timelines dropdown here correctly shows the twelve-minute cut as current, so this wasn't it either.
- Track and Sort By checks would come next, in this case both were already fine.
Total time from "the Color page is empty" to "the Color page is fixed": under a minute, because the very first thing checked was also the actual cause. That's the pattern worth internalizing. Most of the time, this problem is the Clips filter dropdown, not a corrupted project or a rendering bug, and checking it first saves you from working down a much longer list for nothing.
A second, less common example is worth walking through too, because it lands on a different branch of the checklist entirely. A freelance colorist working from a laptop pulls camera-original footage off a NAS drive over the studio's network, with Proxy Handling set to Prefer Camera Originals. Overnight, the NAS reboots for a scheduled update and doesn't reconnect automatically. The next morning, the colorist opens the same project, and roughly half the clips on the Color page's filmstrip show a red Media Offline slate instead of a thumbnail.
- The offline slate rules out a filter or toggle problem immediately. A hidden clip shows nothing at all; an offline clip shows the warning graphic specifically, so this branch of the checklist gets skipped entirely.
- Checking Playback > Proxy Handling shows Prefer Camera Originals is still active, and since the NAS is unreachable, Resolve has nothing to substitute for the missing originals. A purple line would normally appear here too, but with the network location fully offline rather than just missing one file, Resolve has fallen through to the full Media Offline graphic instead.
- Reconnecting the NAS and confirming the mount is live is the actual fix, not anything inside Resolve's settings. Once the drive reappears on the network, the offline slates clear on their own without touching a single Color page setting.
- As a temporary workaround while the NAS reboots, switching Proxy Handling to Prefer Proxies, since proxy files were generated locally on the laptop before the shoot, lets the colorist keep working on lower-resolution stand-ins until the network drive comes back.
Same starting symptom, "footage isn't showing right," two completely different causes, and two completely different fixes. That's the reason this guide works through causes in order rather than offering one universal answer: the first thing to rule out is never automatically the actual problem, it's just the most common one.
Quick troubleshooting reference
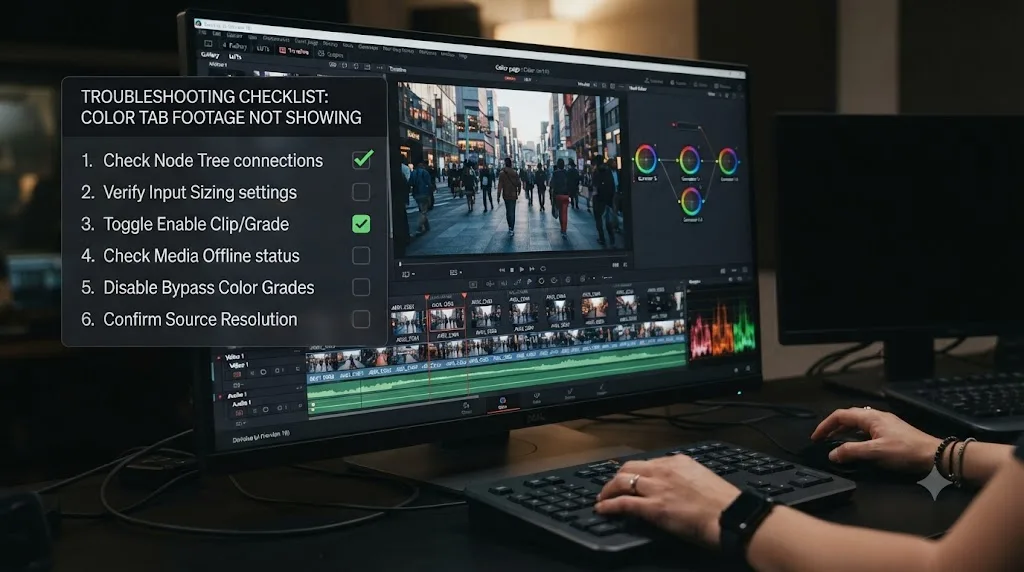
Bookmark this table. Work through it top to bottom; the causes near the top account for the large majority of reports.
| Symptom | Likely cause | Fix |
|---|---|---|
| Filmstrip empty, orange line under the Clips button | Timeline Filter active (Graded, Ungraded, Flagged, or a Smart Filter) | Open the Clips dropdown, choose All Clips |
| Entire filmstrip or mini-timeline panel missing, no orange line | Clips or Timeline toggle icon switched off | Click both icons in the Color page toolbar corners |
| Footage looks fine on Edit but wrong or empty on Color | Wrong timeline is currently open | Check the Timelines dropdown at the top of the viewer |
| One specific track's clips never show up | Track disabled on Edit page, or Alt-clicked hidden on Color page | Check the track's eye icon; Alt-click the track header on the Color page |
| Filmstrip empty despite clips existing on the timeline | Sort By set to Flags or Markers with none set | Change Sort By to Timeline Position or Clip Name |
| A thin purple line appears under some clips | Proxy Handling mode can't find the media it needs | Check Playback > Proxy Handling; confirm the drive holding the missing media is mounted |
| Image looks stale, blank, or ungraded on a clip that does appear | Stuck render cache | Set Render Cache to None, confirm, then back to Smart or User |
| Clip shows a red or gray warning slate | Media Offline, not a display issue | Relink the clip in the Media Pool |
| Page renders solid black rather than empty | GPU processing mode or video monitoring bit depth | Check Preferences > System > Memory and GPU, and Video Monitoring bit depth |
| Whole panels missing after a crash or update | Corrupted UI layout or preferences | Workspace > Reset UI Layout, then Reset System Preferences if needed |
| Timeline looks frozen or read-only on a shared project | A bin or timeline locked by another Collaboration user | Check for a lock icon; right-click and unlock, or ask the other user to release it |
| Most clips show thumbnails, a few show black rectangles | Fusion generator, black first frame, or codec mismatch | Cosmetic issue; confirm the clip still grades correctly by clicking it |
The verdict
An empty Color page in DaVinci Resolve is almost never a sign of lost or corrupted footage. In the overwhelming majority of real reports, it's one of four things: a timeline filter left on from a previous session, a view toggle switched off by accident, the wrong timeline open, or a disabled track. Work through those four first, in that order, before you touch project settings, GPU drivers, or anything more invasive.
Proxy handling, render cache, and Media Offline produce symptoms that look similar but need different fixes entirely; UI layout and preferences resets are real but blunter tools worth reaching for only after the specific checks fail; and Collaboration locking and the GPU or bit depth branch are genuine causes that only apply to a specific subset of readers, shared Studio projects and unusual hardware setups, respectively. Get familiar with where the Clips filter dropdown, the two toggle icons, and the Timelines menu live, and you'll diagnose this in seconds the next time it happens instead of minutes.
If you'd rather have something point directly at the setting that's causing your specific empty timeline instead of working through a checklist, that's exactly what Uncle is built for: the assistant that watches your screen inside your own project and tells you which button to click, live, instead of making you match your symptoms to a guide. And once your grade is actually showing and finished, our DaVinci Resolve export settings for YouTube guide covers the Deliver page settings to get it out the door correctly the first time.
Frequently asked questions
- Why does DaVinci Resolve's Color tab show a blank timeline?
- Almost always because something is filtering or hiding clips, not because they're gone. The most common culprits are the Clips filter dropdown set to something other than All Clips, the Clips and Timeline toggle icons switched off, a disabled track, or the Color page pointing at a different timeline than the one you were just editing. Work through those four before you worry about lost footage.
- How do I reset the Color page filter to show all clips again?
- Click the small dropdown arrow next to the Clips button in the top right of the Color page interface toolbar and choose All Clips. An orange line under the Clips button means a filter is active; selecting All Clips clears it without touching your actual edit.
- Why do the Clips and Timeline buttons on the Color page look empty?
- Those two buttons, in the top corners of the Color page, toggle the thumbnail filmstrip and the mini-timeline open and closed independently. If both are toggled off, the entire display area goes blank even though your timeline is intact. Click each one and confirm it's highlighted as active.
- Why does the Color page show a different timeline than my Edit page?
- The Color page always displays whichever timeline is currently open, and DaVinci Resolve lets you have several timelines in one project. If you built your edit on one timeline and then double-clicked a different one in the Media Pool, or a template project didn't ship with an active timeline at all, the Color page will look empty or wrong until you open the correct one.
- Can a disabled track make footage disappear on the Color page?
- Yes. A track you muted or disabled with the eye icon on the Edit page stays invisible on the Color page too, and Resolve also lets you Alt-click (Option-click on Mac) a track directly inside the Color page's mini-timeline to hide it from the filmstrip without disabling it everywhere else. Both behave the same way from the Color page's point of view: the clip exists, it's just not shown.
- Does render cache cause footage to disappear from the Color page?
- It causes a related but different symptom: clips show up, but the image looks stale, blank, or ungraded because Resolve is displaying a cached frame instead of a live render. Set Render Cache to None temporarily. If the correct image reappears, your cache was stuck, and switching Render Cache back to Smart or User rebuilds it.
- Is 'Color tab not showing footage' the same problem as Media Offline?
- No, and it's worth telling them apart quickly. Media Offline replaces a clip's thumbnail with a red or gray offline slate and a warning, and it shows up the same way on the Edit and Color pages. A clip that's simply not appearing at all, with no offline warning anywhere, is a filter, toggle, or timeline problem, not a broken file link.
- Can proxy media, a corrupted UI layout, or Resolve's Collaboration mode cause this?
- Yes, though less often than the four culprits above. Prefer Proxies or Prefer Camera Originals mode draws a purple line under clips whose original or proxy media is missing, which can look like broken footage at a glance. A corrupted preferences file or a mangled custom layout can hide whole panels, fixed with Workspace > Reset UI Layout or Preferences > Reset System Preferences. And in a Studio-only multi-user Collaboration project, a bin or timeline locked by another editor can look grayed out or frozen until they release it.
Sources
- DaVinci Resolve Manual - Timeline Filtering (Blackmagic Design, mirrored)
- DaVinci Resolve Manual - Creating a Master Timeline (Blackmagic Design, mirrored)
- DaVinci Resolve Manual - Switching Among Multiple Timelines (Blackmagic Design, mirrored)
- DaVinci Resolve Manual - Enabling the Use of a Master Timeline (Blackmagic Design, mirrored)
- DaVinci Resolve Manual - Manually Controlling the Cache (Blackmagic Design, mirrored)
- DaVinci Resolve Manual - Memory and GPU Preferences (Blackmagic Design, mirrored)
- DaVinci Resolve Manual - Switching Between Proxy Media and Original Media (Blackmagic Design, mirrored)
- DaVinci Resolve Manual - Resetting to the Default Layout (Blackmagic Design, mirrored)
- DaVinci Resolve Manual - Resetting Preferences (Blackmagic Design, mirrored)
- DaVinci Resolve Collaboration (Blackmagic Design product page)
- Project is Locked? (Creative COW Forums)
- Can't see timeline clips on color page (Creative COW Forums)
- Footage suddenly not showing up in Color Tab in Davinci Resolve 10 (Creative COW Forums)
- No thumbnails on timeline in color tab (Creative COW Forums)
- Footage not shown in color tab (Blackmagic Forum)
- Color page - select individual Tracks (Blackmagic Forum)
- Get Started With the Color Page in DaVinci Resolve, by Larry Jordan
- DaVinci Resolve Supported Codec List (Blackmagic Design)
Learn by doing, not watching
Stop translating tutorials to your timeline.
TryUncle stays beside Resolve on Mac and Windows. When you ask, Uncle sees your screen and points at the exact control you need. No hunting through tabs, timestamps, or mismatched tutorials.
Meet TryUncleKeep reading
 GuidesJul 7, 202632 min read
DaVinci Resolve Export Settings for YouTube (Copy These Exactly)
The exact DaVinci Resolve export settings YouTube recommends: codec, bitrate, resolution, audio, and the Deliver page steps that avoid soft uploads.
 GuidesJul 8, 202638 min read
How to Add Subtitles in DaVinci Resolve (Manual and AI)
How to add subtitles in DaVinci Resolve: manual typing, AI auto-captions, styling, multi-language tracks, and exporting for YouTube or broadcast delivery.
 GuidesJul 8, 202639 min read
How to Add Text and Titles in DaVinci Resolve
Every way to add text in DaVinci Resolve: Text, Text+, MultiText, and Fusion Titles, plus subtitles, safe area, fonts, and export, for free and Studio.