
Learn / DaVinci Resolveupdated for DaVinci Resolve 21.0.3 (July 2026)
Canon C70 Cinema RAW Light DaVinci Resolve Workflow Guide
Quick answer
Grading Canon C70 Cinema RAW Light in DaVinci Resolve needs no plugin: drop clips straight into the Media Pool. Resolve decodes every Cinema RAW Light clip as Canon Log 2 and Cinema Gamut by default, so check the Camera Raw panel's Color Space tag before you grade, then normalize with Resolve Color Management, ACES, or a Color Space Transform node.
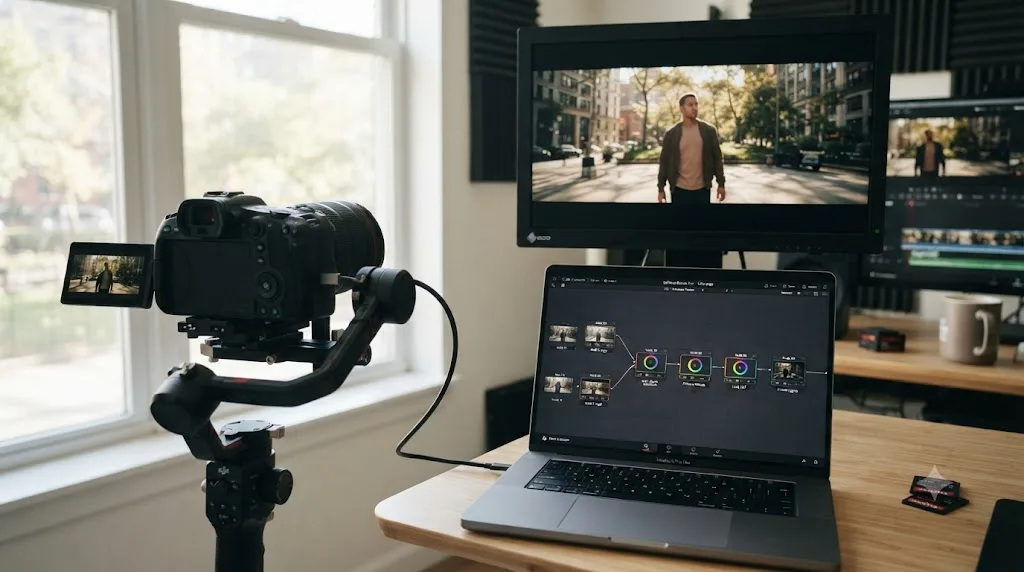
We've spent seven-plus years cutting and grading commercial video professionally, we run a video-editing community that's grown past 100,000 members, and we've taught more than 100,000 students through Udemy as an official Udemy Business Partner, including work with Fortune 500 clients. Canon's C70 comes up constantly in that community from indie filmmakers who just unlocked Cinema RAW Light and want to know what actually changes in DaVinci Resolve. The short answer: less than you'd think, and one thing more than you'd guess.
Your C70 shoots Cinema RAW Light straight to an SD card. DaVinci Resolve opens it with no plugin, no converter, no Canon software standing between your card and your timeline. But Resolve's default decode makes one assumption about your footage that's wrong often enough to matter, and if you don't check for it before you grade, you'll spend an afternoon fighting a color problem that was never really in your file.
What's the Canon C70 Cinema RAW Light workflow in DaVinci Resolve?
The workflow has four real steps: import the RAW files with no plugin, verify the Camera Raw panel's Color Space tag on an actual clip, normalize that clip into your project's working color space, then grade and deliver with Canon RAW's one hard limitation, full-resolution-only decode, built into your playback plan from the start.
As of July 2026, running DaVinci Resolve 21.0.3, that's the entire shape of it. Nothing about grading Cinema RAW Light is exotic once you know where the format's real gotcha lives. It isn't in the import. It isn't in the node tree. It's in a single dropdown menu that most editors never think to check until their skin tones look subtly wrong for no reason they can name.
A Canon C70 Cinema RAW Light file opens in DaVinci Resolve exactly like any other clip, and that's precisely why its one real gotcha catches people off guard. Nothing about the import process signals that anything needs checking, so editors who've cut delivery-codec footage for years walk straight past the one panel that actually needs their attention.
The rest of this guide covers the C70's Dual Gain Output sensor and what it changes about grading, the HQ/ST/LT quality tiers and which to shoot, Canon Log 2 versus Log 3, the exact default-decode mistake to check for, project settings, the full node tree, why you can't lower debayer resolution on this format the way you can on others, card and firmware requirements, HDR delivery, and a troubleshooting table for when something still looks wrong.
What is Cinema RAW Light, and how is it different from other RAW formats?
Cinema RAW Light is Canon's compressed cinema RAW format, recorded internally at 12-bit regardless of frame rate or quality tier, designed to give editors most of the grading latitude of full RAW at a fraction of the file size and processing cost.
The format first shipped on the Canon C200 in 2017, and the C70 gained it years later through a free firmware update rather than shipping with it from day one. Matthew Allard, reporting for Newsshooter on the day that update landed, captured just how unexpected that was: "I think a lot of people thought that the C70 wouldn't be able to record RAW internally given the fact that it uses SD media" (Newsshooter). Uncompressed cinema RAW formats from other manufacturers routinely need CFexpress or dedicated SSDs to keep up with their data rates. Cinema RAW Light was built specifically so a camera using ordinary SD cards could still shoot something that grades like RAW.
That's the core trade Cinema RAW Light makes: real compression, in exchange for a card format nearly every working editor already owns a stack of. It isn't uncompressed the way ARRIRAW is, and it isn't quite as flexible in Resolve's Camera Raw panel as R3D or Blackmagic RAW, covered later in this guide. What it is, is RAW sensor data with editable ISO, white balance, and highlight recovery, on a card that costs a fraction of what a cinema-grade SSD does.
What's different about the C70's Dual Gain Output sensor for grading?
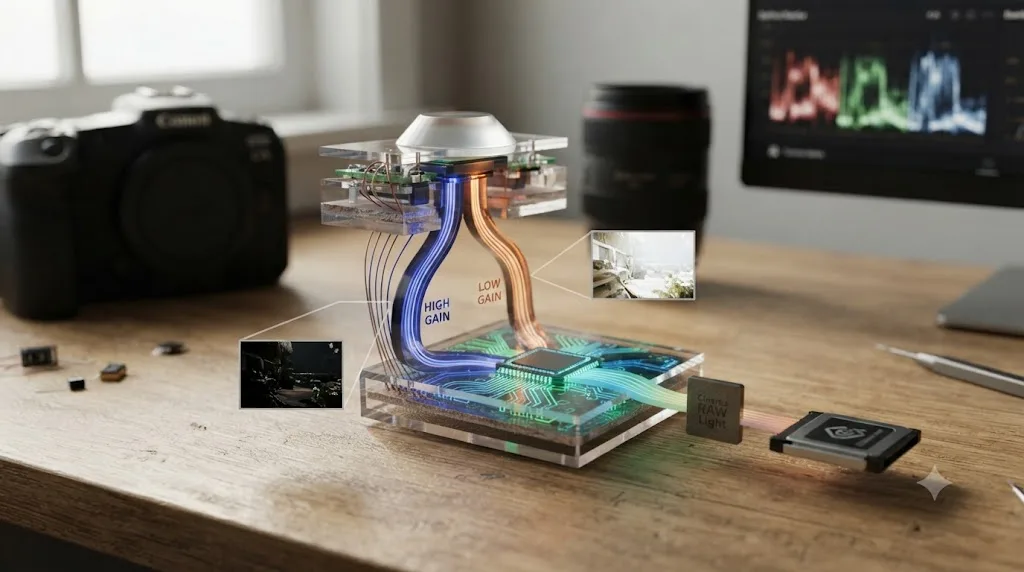
The C70 shares its Super 35mm Dual Gain Output sensor with the Canon EOS C300 Mark III, and that shared sensor design is exactly why C70 footage grades the way it does in low light, well before a single node touches the image.
Per Gunther Machu's lab test for CineD, "the camera shares the same sensor as the Canon EOS C300 Mark III" (CineD). Dual Gain Output reads every pixel at two different amplification levels at once, one tuned for shadow detail, one for highlight detail, then combines them into a single frame before the file is ever written. That's a sensor-level design decision, not something a Resolve node reproduces afterward. It's the reason C70 footage tends to hold shadow detail without the noise penalty a single-gain sensor would pay for the same exposure.
Machu's own measurements show what that design buys you in practice. Testing Cinema RAW Light LT at ISO 800 with DGO active, IMATEST measured 12.3 stops of dynamic range at an SNR of 2, and 14 stops at an SNR of 1, with a visual assessment landing around 13 stops visible above the noise floor. Switch to the camera's non-DGO high-frame-rate modes (75 to 120 fps in 4K DCI), and that figure drops by roughly a stop, since DGO itself turns off at those frame rates. Canon's own spec sheet claims considerably more: "16+ stops" of dynamic range for Canon Log 2 at ISO 800, and 14 stops for Canon Log 3 at the same ISO, per Canon's official C70 product page (Canon U.S.A.). CineD's independent lab numbers and Canon's own marketing figure don't match exactly, which is normal: a manufacturer's spec sheet and a third-party lab test rarely use identical measurement methodology, and the honest move is naming both instead of picking whichever number sounds better.
Dual Gain Output happens before debayering, before Resolve, before any node you'll ever build, which is exactly why no color grading technique reproduces what a bad exposure at the wrong native ISO throws away. The C70's dual native ISO sits at two points tuned to work with this sensor design, and shooting near one of them, rather than pushing gain digitally between them, is what actually keeps a low-light C70 shot gradeable instead of just dark with noise painted over it.
Rolling shutter tells a related story. Machu measured 15.6ms with DGO active (the camera's 25-60fps range in 4K DCI) versus 7.7ms with DGO inactive (75-120fps). That's not a grading concern directly, but it matters for anyone planning fast pans or handheld work on this camera, and it's worth knowing the number changes depending on which frame rate range you're shooting in, not just which resolution.
Which Cinema RAW Light preset should you shoot: HQ, ST, or LT?
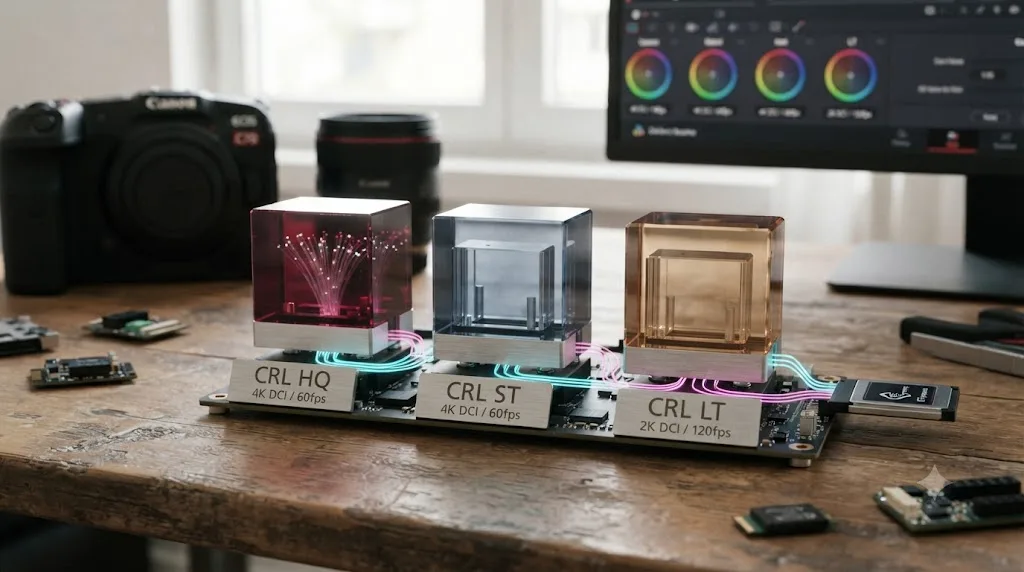
Shoot HQ or ST when you plan to grade hard, and shoot LT when you need higher frame rates or smaller files more than maximum latitude, because the three tiers trade quality and card space against each other in a way you can't undo once you're back in Resolve.
All three tiers record at 12-bit regardless of which one you pick, per the C70's firmware documentation. What changes between them is compression, and with it, how much frame rate and resolution headroom you get. In Super 35 mode at 4096x2160, Cinema RAW Light ST is capped at 29.97p, while Cinema RAW Light LT reaches all the way to 59.94p. Switch to the Super 16mm crop mode at 2048x1080, and all three tiers, HQ, ST, and LT, become available up to 60fps, since the smaller sensor readout has less data to push per frame.
| Priority | Recommended tier | Why |
|---|---|---|
| Maximum grading latitude, a narrative short or commercial | HQ or ST | Least compression, most recoverable highlight and shadow detail |
| High frame rate work in Super 35, 4K DCI | LT | Only tier that reaches 59.94p at full Super 35 resolution |
| Slow motion in Super 16mm crop | HQ, ST, or LT, all available to 60fps | Smaller sensor readout removes the frame-rate ceiling that applies in Super 35 |
| Documentary or run-and-gun, card space matters | LT | Smaller files, more record time per card, less latitude for an aggressive grade |
That frame-rate ceiling on ST is easy to miss if you're used to a different camera's RAW tiers behaving identically across the board regardless of resolution. If you plan a 4K DCI sequence at 60fps in Super 35 and set the camera to Cinema RAW Light ST out of habit, the camera simply won't let you record at that frame rate. LT is the only Super 35 tier that gets you there.
No node in DaVinci Resolve recovers detail a heavily compressed Cinema RAW Light file never captured in the first place. If you know a project needs an aggressive grade before you ever pick up the camera, that's a decision to make on the C70's menu, not one you can fix later with a Color Space Transform node or a lift in the primary wheel.
Do you need a plugin to open C70 RAW footage in DaVinci Resolve?
No. DaVinci Resolve decodes Cinema RAW Light natively, the same way it's decoded the format since it first shipped on the Canon C200 in 2017, so C70 clips drop straight into the Media Pool with nothing to install first.
That's a real point of difference from some other professional NLEs. Final Cut Pro X needs Canon's own RAW Plugin for Final Cut Pro X installed before it can read Cinema RAW Light at all, currently at version 1.2 per Canon's own support page (Canon). Avid Media Composer needs a separate Canon RAW Plugin for Avid Media Access. Resolve needs neither. Andrew Collings, documenting the same Cinema RAW Light workflow for a Canon C200 back in 2017, described exactly this experience in Resolve: the footage opens and debayers automatically, no external step required (ShareGrid).
That native support isn't unlimited, though. Collings' own account of the same workflow noted a specific limitation worth knowing before you go looking for it: "The Camera RAW settings are currently unavailable" for the format he was testing at the time, meaning Cinema RAW Light responds well to ordinary Color page grading tools and Canon-supplied LUTs, but the dedicated Camera Raw adjustment panel other RAW formats get in Resolve wasn't fully populated for this format on the version he was running. Later Resolve versions expose considerably more of that panel for Canon RAW, covered in the next two sections, but it's worth checking your own installed build rather than assuming full parity with a format like Blackmagic RAW or R3D, which have had deeper Camera Raw integration for longer.
DaVinci Resolve reading Cinema RAW Light with zero plugins is exactly the kind of workflow simplicity that gets lost in translation when editors switch NLEs mid-project. An editor moving from Resolve to Final Cut Pro X for a specific reason, a client requirement, a plugin only available on Mac, needs to budget time for that Canon plugin install before a single C70 clip loads, something that never comes up staying inside Resolve.
How does DaVinci Resolve decode Cinema RAW Light by default, and where does it get the tag wrong?
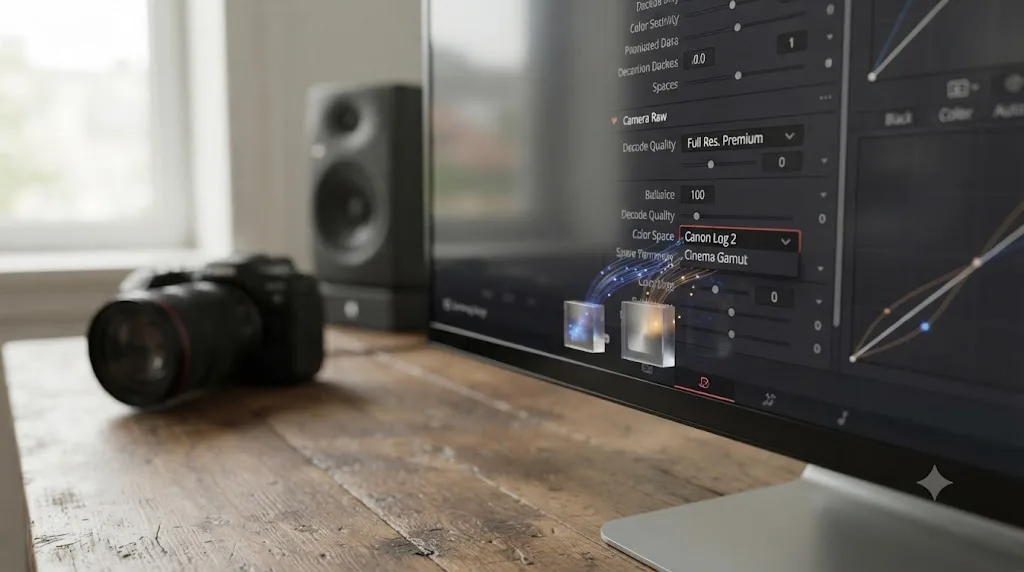
By default, Resolve debayers every Cinema RAW Light clip into the gamma Canon Log 2 with Cinema Gamut, and it does this regardless of whether you actually shot Canon Log 2 or Canon Log 3, which is the single most important thing to verify before you build a grade around it.
This isn't a rumor from one blog post. Andrew Collings' 2017 ShareGrid workflow guide states it plainly for the format generally: "By default, the footage is debayered into the gamma Canon Log 2 and Cinema Gamut" (ShareGrid). Keith Ingram, a working Glasgow-based Director of Photography who shoots on Canon Cinema EOS gear, describes the same behavior in more recent, more pointed terms: "DaVinci Resolve in particular has been reported decoding C-Log 3 (and Cinema RAW) clips as C-Log 2/Cinema Gamut by default, the image data is identical, only the tag is wrong" (Keith Ingram). His advice is direct and worth following on every C70 RAW project: "Always spot-check the reported gamma against what you set in-camera."
Ingram's explanation of why this specific mistake happens is worth understanding, not just working around. Canon Log 3 "shares its metadata tag space with Log 2, which is exactly why it's the variant most likely to get mis-read in post," per his guide. Log 2 and Log 3 aren't stored as cleanly separated formats the way, say, ProRes and DNxHR are; they share enough metadata structure that a decoder can read the wrong one under the right conditions. The pixel data captured by your sensor never changes. What changes is the label Resolve attaches to that data before handing it to your grading tools, and a wrong label means every downstream color decision, your normalizing node, your LUT, your Color Space Transform, starts from a false premise.
A mislabeled color space tag doesn't look broken. It looks like a slightly off grade you can't quite explain, which is exactly what makes it worth checking before you start troubleshooting your own color decisions instead. If a C70 shot's contrast or saturation feels subtly wrong compared to a reference monitor or a client's expectation, and you shot Canon Log 3, check the Camera Raw panel's Color Space field on that specific clip before you touch a single wheel.
To check it: select the clip, open its Camera Raw settings in the Inspector or the Color page palette, and look at what Color Space actually reads. If it says Canon Log 2 and Cinema Gamut but you know you shot Log 3, that's the mismatch. Correct it there, in the Camera Raw panel itself, before your normalizing node runs, rather than trying to compensate for a wrong input tag downstream with extra grading.
This exact category of bug has a documented history in Resolve's own release notes, which is worth knowing if you're troubleshooting an older install. A Blackmagic Design user forum thread titled "Color Management and Canon RAW in 18.5 (Fixed in 18.6)" describes a case where adding Canon RAW clips to a color-managed project misbehaved in Resolve 18.5 and was corrected in the following 18.6 point release (Blackmagic Forum). Canon RAW handling inside Resolve Color Management specifically has been touched by real bugs and real fixes across versions before, which is exactly why "spot-check the reported gamma" is advice worth following on every new Resolve version you update to, not just once.
Canon Log 2 vs. Canon Log 3 on the C70: which should you shoot for RAW grading?
Shoot Canon Log 2 when highlight protection and maximum dynamic range matter more than a quick monitor check, and shoot Canon Log 3 when you want Canon's factory-default gamma and slightly easier skin tones, knowing it's the variant Resolve is more likely to mislabel.
Per Keith Ingram's breakdown, Canon Log 2 offers "much wider dynamic range, more highlight protection for tricky or contrasty lighting," but it requires "10-bit recording and correct metadata for clean decoding," and its trade-off is that "a flatter image means less confidence checking it on a small monitor" (Keith Ingram). Canon's own spec sheet backs the dynamic range claim directly, listing "16+ stops" for Canon Log 2 at ISO 800 versus 14 stops for Canon Log 3 at the same ISO (Canon U.S.A.).
Canon Log 3, per Ingram, carries "the same wide range as Log 2 with easier default skin tones, the factory-default choice on current bodies," which is exactly why most C70 owners shooting straight out of the box are recording Log 3 without necessarily choosing it deliberately. The cost, already covered in the previous section, is that it "shares its metadata tag space with Log 2, so it's the variant most likely to get mis-read in post."
| Factor | Canon Log 2 | Canon Log 3 |
|---|---|---|
| Dynamic range (Canon's spec, ISO 800) | 16+ stops | 14 stops |
| Highlight protection | Stronger, better for contrasty or mixed lighting | Good, but less headroom than Log 2 |
| Monitor confidence on set | Lower, flatter image | Slightly higher, easier default skin tones |
| Factory default on current C70 bodies | No | Yes |
| Risk of Resolve mislabeling the Color Space tag | Lower | Higher, shares metadata tag space with Log 2 |
Canon Log 3 being the factory default on current C70 bodies is exactly why so many editors never deliberately chose a gamma at all, and it's exactly the gamma most at risk of a wrong Color Space tag in Resolve. If you've never touched this menu on your own C70 and you're seeing an unexpected color result, checking whether you're actually shooting Log 3 by default, and whether Resolve read that correctly, is a faster diagnosis than assuming a hardware or lighting problem.
Neither gamma is objectively correct for every project. A contrasty exterior with a blown sky and a dark foreground is a stronger case for Log 2's extra highlight headroom. A controlled interior interview, where you'll monitor skin tone closely and grade quickly, tips toward Log 3's easier starting point, as long as you've verified the tag Resolve actually assigned it.
What project settings should you use for a C70 Cinema RAW Light project?
Set your project's Color Science before you touch a single Cinema RAW Light clip, because that decision determines how every C70 file in your timeline gets normalized once you've confirmed the Camera Raw panel's tag is actually correct.
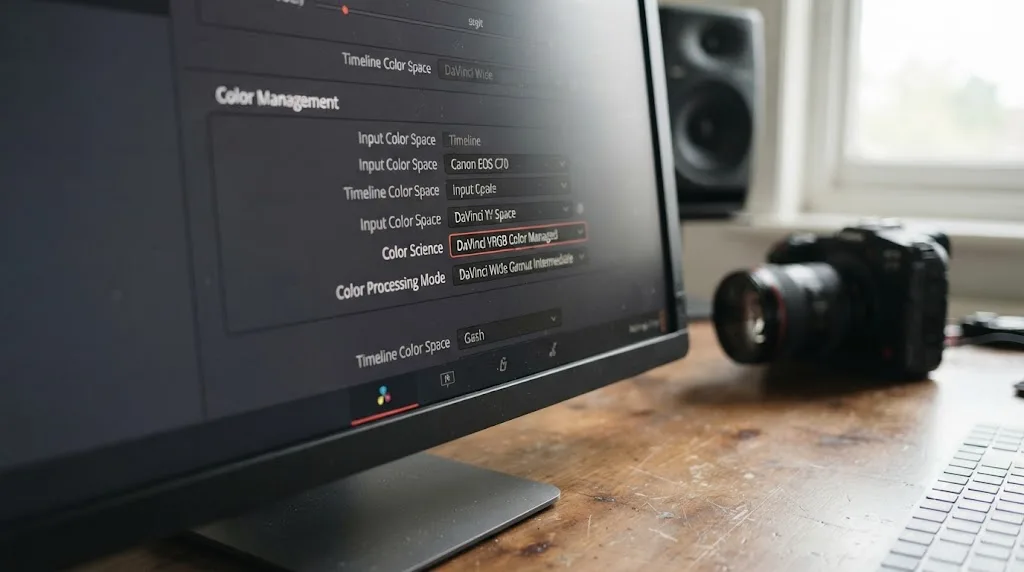
Open Project Settings, click the Color Management tab, and you'll find the same Color Science dropdown covered in more depth in our Resolve Color Management versus ACES comparison. For a C70-only project, this generally comes down to two paths:
DaVinci YRGB Color Managed, with the DaVinci Wide Gamut Intermediate preset, works as the default for most single-camera C70 projects, since Resolve Color Management handles the input conversion automatically once it has the right Color Space tag to work from. This is the simpler path, and it's the right one for a solo edit heading to web or social delivery.
DaVinci ACEScct is worth the extra setup when you're mixing C70 footage with a meaningfully different camera system on the same timeline, or when a client or streaming platform has already published an ACES-based delivery spec. ACES's per-camera Input Device Transform library closes a color-matching gap that RCM's automatic handling can't always close on its own when cameras are far enough apart in native color science.
Whichever you pick, this decision happens once, at the start of a project, not clip by clip. Switching color science after you've graded a batch of C70 clips means every one of those grades reinterprets under new math, which isn't a quick fix, it's a regrade from scratch.
Verify the Camera Raw panel's Color Space tag before you commit to a project-wide color science decision, not after. Resolve Color Management's automatic conversion is only as accurate as the tag it's reading, so a mislabeled Log 3 clip running through RCM still produces a wrong starting point, just automatically instead of manually.
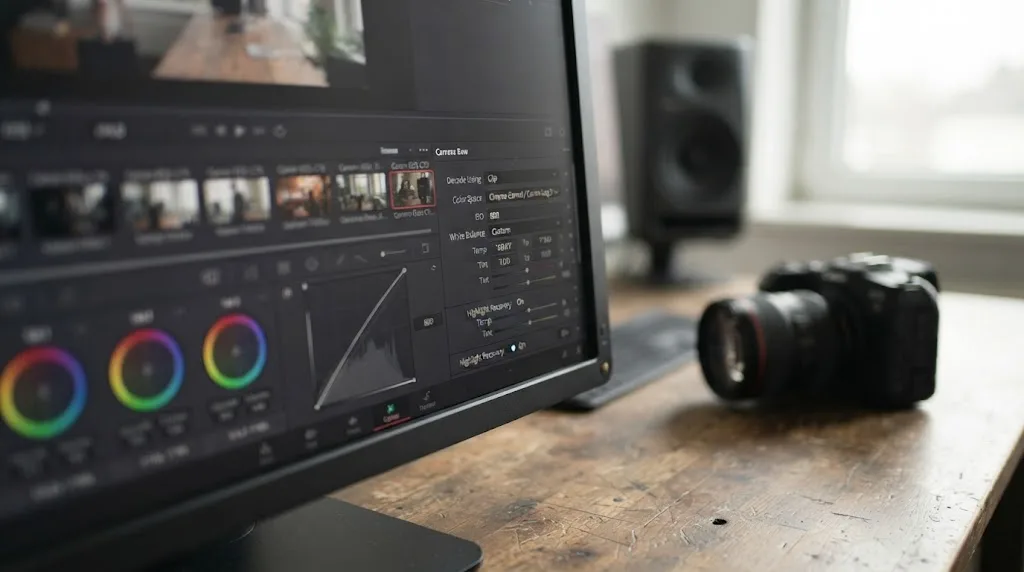
How do you configure the Camera Raw panel for C70 clips?
Open the Camera Raw panel from Project Settings for a project-wide default, or switch Decode Using to Clip on an individual shot when you need to override or verify a specific clip's settings, since that per-clip check is exactly how you catch the mislabeled gamma issue covered earlier in this guide.
Per Blackmagic's own manual, Camera Raw settings "contain groups of parameters that correspond to every camera raw media format that's supported by DaVinci Resolve," letting you "override the original camera metadata that was written at the time of recording, and make simultaneous adjustments to all camera raw media throughout your project" (DaVinci Resolve Manual). Find the Canon RAW group inside that panel, and you'll see the parameters that matter for a C70 workflow:
Decode Using: Project or Clip. Project applies one set of decode settings to every Canon RAW clip in the timeline. Clip lets a single shot override that default, which is exactly the setting you switch on before checking whether a specific clip's Color Space tag actually matches what you shot in-camera.
Color Space. This is the field to check first on every new C70 clip. Confirm it reads the gamma you actually shot, Canon Log 2 or Canon Log 3, rather than assuming it matches the rest of your footage.
ISO, White Balance, and Tint. Stored as editable metadata rather than baked into the pixels, the same as any other RAW format, letting you adjust these after the fact without a quality penalty since you're changing metadata interpretation, not pixel values.
Highlight Recovery. Useful if bright, clipping-looking areas feel pinned at white, pulling back detail the sensor captured but the default decode compressed too aggressively.
A wrong Color Space tag doesn't announce itself. It just makes every grading decision downstream slightly harder to trust, which is exactly why checking this one field is the cheapest insurance in this entire workflow. Get in the habit of opening the Camera Raw panel on the first clip from any new C70 card before you build a single node, not after your grade already looks subtly off.
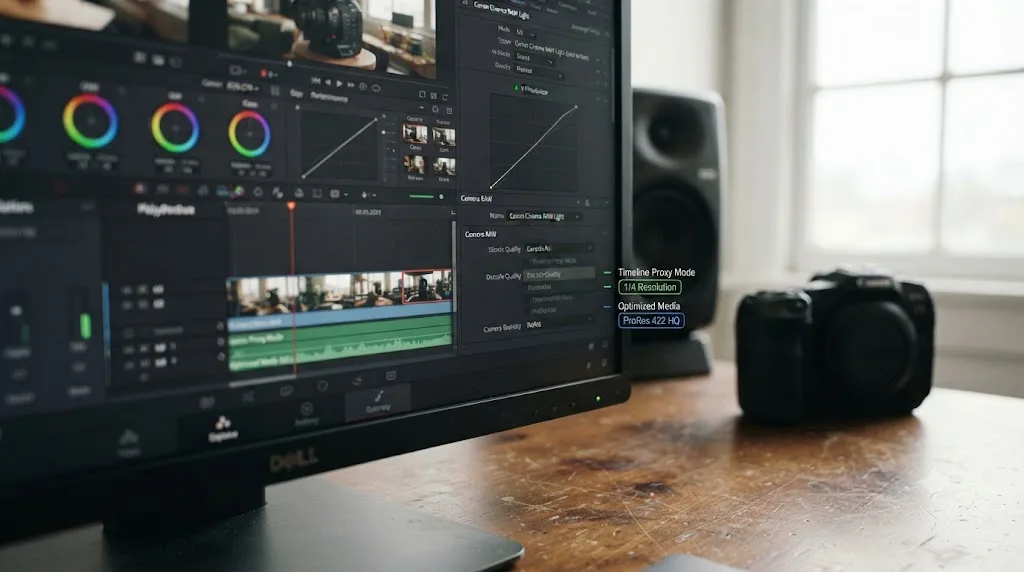
Why can't you lower the debayer resolution on Canon RAW footage, and what do you do instead?
Because Canon RAW is one of a small handful of formats Blackmagic's own manual singles out as full-resolution-only, alongside Panasonic Varicam RAW and Phantom Cine, which means there's no Decode Quality dropdown to reach for when a C70 timeline stutters.
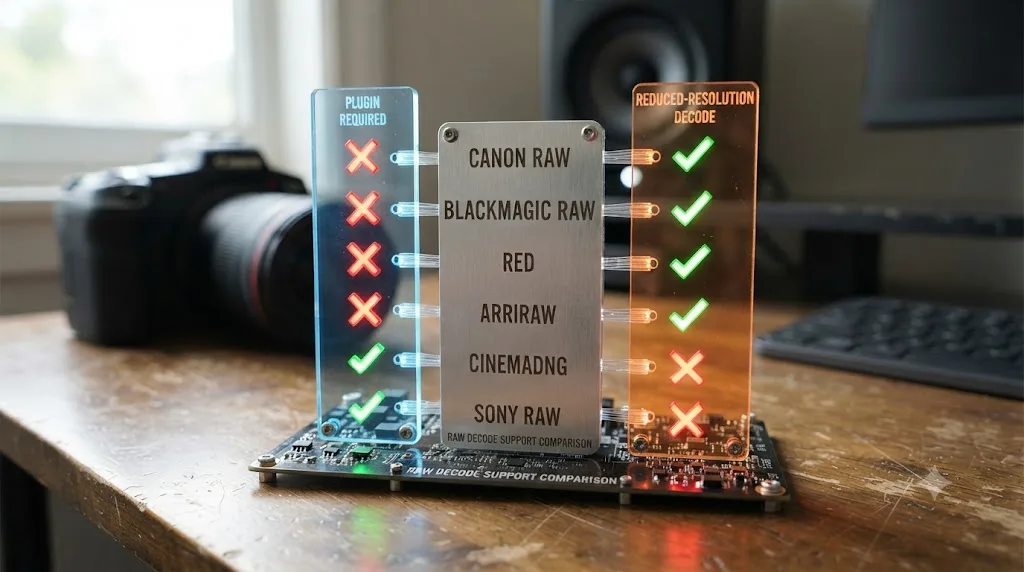
Per Blackmagic's manual: "Options for reducing resolution vary by each raw format's differing capabilities... Exceptions include the Canon RAW, Panasonic Varicam RAW, and Phantom Cine formats, which only decode to full resolution" (DaVinci Resolve Manual). RED and Sony RAW go all the way down to sixteenth resolution for smoother scrubbing on modest hardware. ARRIRAW and CinemaDNG offer half and quarter resolution. Canon RAW gives you nothing to lower, full stop.
That limitation matters more on the C70 than it might on a camera with lighter RAW files, since debayering happens before every other operation in Resolve's Color page, on every frame, whether the format lets you cut corners or not. If a Cinema RAW Light timeline stutters specifically while scrubbing on the Color page, and lowering Decode Quality does nothing because that field doesn't exist for this format, your real options are Timeline Proxy Mode, which reduces the whole timeline's processing resolution without creating new files, or Optimized Media, which generates separate lower-resolution transcodes for the clips that need it.
| Tool | What it changes | Works on Canon RAW? |
|---|---|---|
| Decode Quality (Camera Raw panel) | How much sensor data gets reconstructed at debayer time | No, Canon RAW is full-resolution-only |
| Timeline Proxy Mode | The resolution the whole timeline processes at, in real time | Yes |
| Optimized Media | Pre-generates lower-resolution transcodes for specific clips | Yes |
Our full breakdown of how Decode Quality, Timeline Proxy Mode, and Optimized Media differ, and when each one is the right tool, lives in our guide to what debayering means in DaVinci Resolve. Everything in that guide about Canon RAW's full-resolution limitation applies directly to Cinema RAW Light on the C70.
A stuttering Canon RAW timeline in DaVinci Resolve isn't a setting you missed. It's a setting that doesn't exist for this format, which means the fix has to come from somewhere else entirely. If your GPU usage looks unusually low while a C70 timeline drags specifically during grading, that's often the full-resolution debayer step saturating your CPU and memory bus, a symptom our guide to DaVinci Resolve running high GPU usage but low FPS helps you tell apart from a genuine GPU bottleneck.
How does Canon RAW compare to other RAW formats in DaVinci Resolve?
Canon RAW sits at the more restrictive end of Resolve's RAW support: no plugin required to open it, unlike Final Cut Pro X or Avid, but no reduced-resolution debayer option and thinner Camera Raw panel exposure than formats like Blackmagic RAW or R3D have had for longer.
| RAW format | Plugin needed in Resolve? | Reduced-resolution decode? | Dedicated GPU acceleration toggle? |
|---|---|---|---|
| Canon RAW (Cinema RAW Light) | No | No, full resolution only | No dedicated toggle in Decode Options |
| Blackmagic RAW | No | Yes, quarter resolution and below | Yes, on/off checkbox |
| RED (R3D) | No | Yes, down to sixteenth resolution | Yes, None / Debayer / Decompression and Debayer |
| ARRIRAW | No | Yes, half or quarter resolution | No dedicated toggle |
| CinemaDNG | No | Yes, half or quarter resolution | No dedicated toggle |
| Sony RAW | No | Yes, down to sixteenth resolution | No dedicated toggle |
Blackmagic RAW's own product page explains why it behaves differently from a format like Canon RAW under the hood: "Part of the RAW processing is moved out of software and into the camera, where it can be accelerated," which "results in significantly reduced processing on your computer" (Blackmagic Design). Cinema RAW Light does its own in-camera compression work, but it wasn't built with that same in-camera debayer head start, and it doesn't expose the reduced-resolution decode path that R3D, Sony RAW, ARRIRAW, and CinemaDNG all give you.
None of Resolve's RAW formats need a plugin, which is the one area where Canon RAW matches every other format in this table exactly. Where Canon RAW genuinely falls behind is playback flexibility on modest hardware, since there's no lower-resolution decode option to lean on the way there is for nearly every other cinema RAW format Resolve supports.
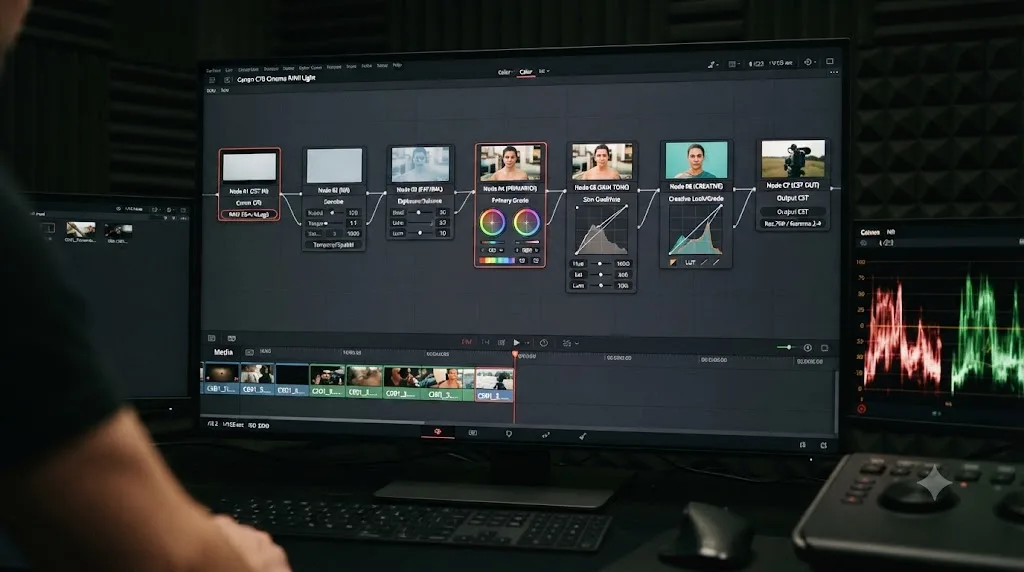
How do you build the full grading node tree for C70 Cinema RAW Light footage?
The node tree follows the same shape any RAW grading workflow does, a normalizing step first, then ordinary color work, but the normalizing step for a C70 clip only works correctly once you've verified the Camera Raw panel's Color Space tag, since a wrong tag makes every node after it start from a false premise.
- Normalizing node. Add a serial node as the very first node in your tree, before any creative adjustment. Drop a Color Space Transform effect onto it from the OpenFX panel. Per Blackmagic's manual, Color Space Transform "lets you perform the kind of color transforms that LUTs do, but instead of using lookup tables, this plugin uses the same math used by Resolve Color Management (RCM) in order to do extremely clean color transforms without clipping" (DaVinci Resolve Manual). Set Input Colorspace to Canon Cinema Gamut and Input Gamma to whichever log curve the Camera Raw panel actually confirmed, Canon Log 2 or Canon Log 3, not whichever one Resolve defaulted to.
- Primary correction node. Balance exposure, contrast, and white balance using the Color Wheels now that the image is normalized instead of flat log.
- Secondary correction nodes. Parallel or serial nodes for qualified corrections: HSL-based skin tone isolation, power windows for sky or background work, selective saturation adjustments.
- Creative grade node. Your actual look, whatever separates a technically correct image from the finished project.
- Output node. Any final adjustment specific to your delivery target, a Rec.709 gamma curve if you graded in a wider intermediate space, or a broadcast-safe clamp for a platform with legal limits.
If Resolve Color Management is already handling your project's normalization automatically, per the project settings covered earlier, you can skip the manual Color Space Transform node entirely and start straight at primary correction, as long as the Camera Raw panel's tag was correct going in. Reach for the manual node specifically when you're troubleshooting a suspected mismatch, building a reusable PowerGrade across multiple C70 projects, or working outside RCM altogether.
A normalizing node built on a wrong Color Space assumption produces a technically clean grade that's still wrong, since every downstream adjustment compounds the same original mistake. That's the entire reason this guide keeps circling back to one field in the Camera Raw panel: it's the single point in this whole node tree where a mistake is both easy to make and easy to prevent.
What card, firmware, and hardware do you need for Cinema RAW Light on the C70?
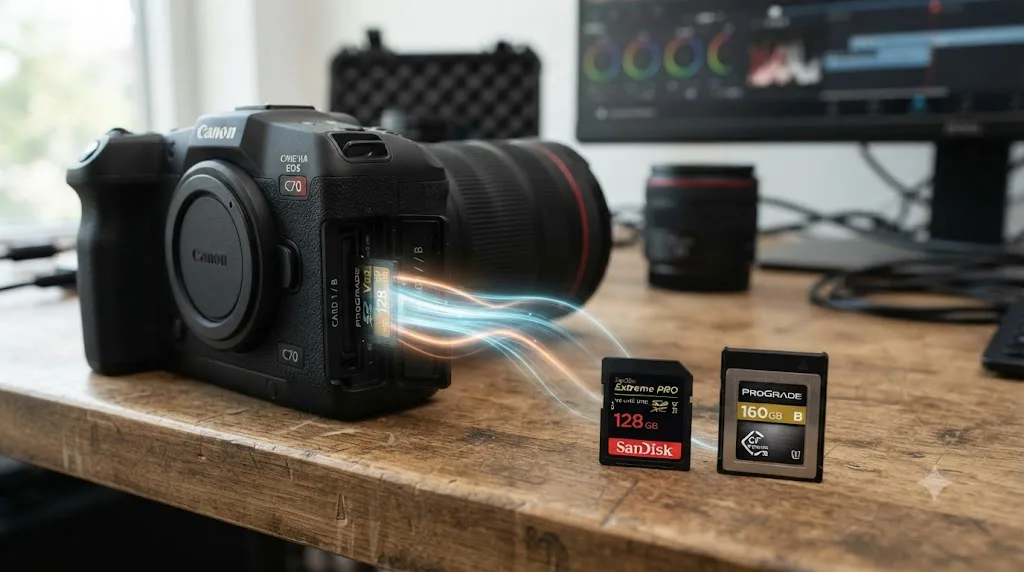
You need firmware 1.0.3.1 or later, a V90 speed class SD card at minimum, and no CFexpress slot at all, since the C70 records Cinema RAW Light to the same dual SD card slots it uses for every other format.
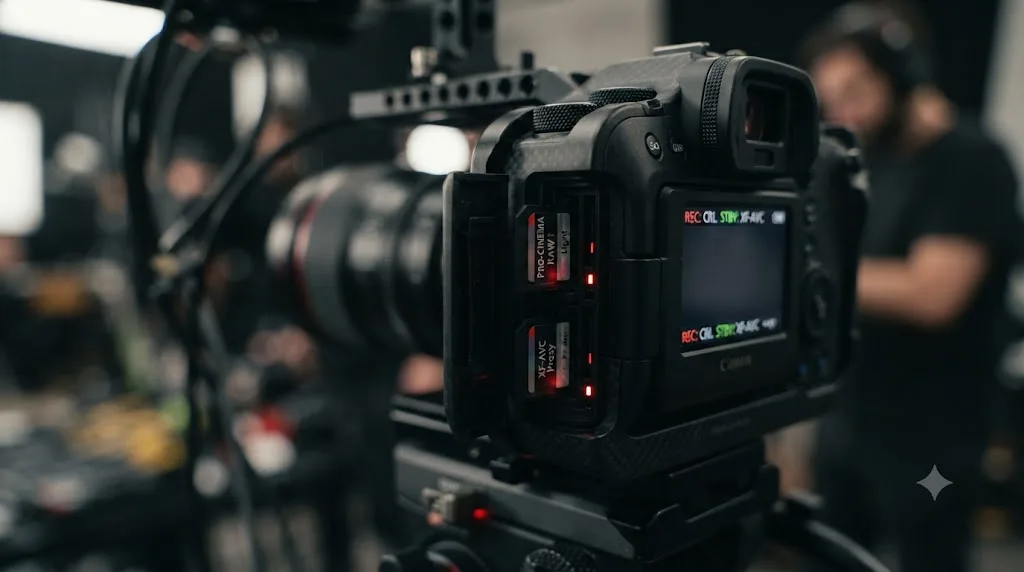
Canon released firmware 1.0.3.1 on March 23, 2022, adding 4K internal RAW recording to a camera that launched without it (Newsshooter). That update set a V90 card as the minimum requirement for internal 4K Cinema RAW Light recording, since Cinema RAW Light's data rates, while lighter than uncompressed cinema RAW, still exceed what a slower SD card can sustain. The C70's dual SD slots also let you record a compressed XF-AVC proxy on the second slot at the same time as Cinema RAW Light on the first, which is worth setting up on any project where you want an editorial-speed copy alongside your grading master from the start.
If you're coming from a camera that uses CFexpress or a dedicated SSD for its RAW format, this is genuinely good news for your budget: V90 SD cards cost a fraction of what cinema-grade CFexpress media does, and you likely already own several if you've shot on any modern mirrorless body in the last few years.
| Requirement | Minimum | Why it matters |
|---|---|---|
| Firmware | 1.0.3.1 or later | Adds internal Cinema RAW Light recording; the C70 didn't ship with it |
| Card speed class | V90 | Canon's own minimum for sustained internal 4K RAW data rates |
| Card slots | Dual SD, not CFexpress | Lets you record a proxy on slot two alongside RAW on slot one |
| DaVinci Resolve | Any Resolve version supporting Canon RAW natively | No plugin needed, unlike FCPX or Avid |
Cinema RAW Light was engineered specifically so a camera using ordinary, affordable SD cards could still shoot something that grades like RAW, and the C70's V90 requirement is the practical proof of that engineering trade-off. If you're planning a C70 purchase around this workflow and pricing out media, budget for V90 SD cards, not CFexpress, and check your camera's firmware version before your first RAW shoot, since older units need that update installed manually.
How do you match C70 footage with other cameras on a mixed shoot?
Resolve Color Management's automatic input handling closes most of the gap when you're pairing a C70 with a similarly specced camera, but a bigger mismatch, a different sensor generation or a very different native color science, is where switching to ACES for that specific project starts paying for its extra setup.
If you're intercutting a C70 with another Canon Cinema EOS body running the same Log gamma, RCM combined with a correctly tagged Camera Raw panel usually gets you most of the way to a matched look before you touch a single color wheel, since both cameras' log curves and gamut share the same underlying color science family. From there, Shot Match, a Resolve tool that computes a corrective grade per clip based on a reference frame, closes most of the remaining exposure or white balance gap.
If the mix is more extreme, a C70 alongside a drone, an action camera, or a completely different manufacturer's cinema body, ACES's per-camera Input Device Transform library tends to close that gap with less manual tuning, since those transforms were built and validated for specific camera systems rather than approximated generally. Our Resolve Color Management versus ACES guide covers exactly when that extra setup is worth it for a given project.
Once every clip is normalized into the same working space, Color Groups let you build one shared base grade and apply it across every camera on the timeline at once, layering camera-specific corrections underneath for whatever the automatic normalization didn't fully close. Our guide to copying a color grade to multiple clips in DaVinci Resolve covers the mechanics of that step in more depth.
What changed for Canon RAW in recent DaVinci Resolve versions?
Canon RAW handling inside Resolve Color Management has been touched by real, documented fixes across version updates before, which is exactly why it's worth checking your Resolve version, not just your Camera Raw settings, if a Canon RAW project behaves unexpectedly.
The clearest documented case is the one already covered earlier in this guide: a Blackmagic Design user forum thread specifically titled "Color Management and Canon RAW in 18.5 (Fixed in 18.6)" describes Canon RAW clips misbehaving inside a color-managed project on Resolve 18.5, corrected in the following point release (Blackmagic Forum). That's not the mislabeled Log 2/Log 3 gamma issue covered in this guide's earlier section, that gotcha appears to be a longer-running, format-level behavior rather than a single version's bug, but it's a concrete example that Canon RAW's integration with Resolve Color Management specifically has shifted between versions before, and can shift again.
DaVinci Resolve 21's point releases so far have focused their Canon-specific fixes on still-image RAW rather than Cinema RAW Light. CineD's coverage of DaVinci Resolve 21 Public Beta 4, reported by Nino Leitner, describes a fix specifically for Canon CR2 and CR3 still photo files, where bright areas "could appear darker than expected," corrected to "more accurate highlight representation" (CineD). That fix is worth knowing about if you shoot C70 stills alongside video, but it's a separate RAW pipeline from Cinema RAW Light video, Resolve's Photo page handles CR2 and CR3 stills differently from the Camera Raw panel that decodes Cinema RAW Light clips on your timeline, so don't expect it to change anything about your video workflow.
None of this means Canon RAW support in Resolve is unstable. It means RAW format support is exactly the kind of detail that shifts between point releases, which is why checking your version number belongs in the same troubleshooting habit as checking your Camera Raw panel's tag. Before assuming a Canon RAW quirk on your C70 project is a permanent limitation, confirm you're on the current DaVinci Resolve 21.0.3 build rather than an older 21.x release that predates a relevant fix.
How do you deliver C70 Cinema RAW Light footage for HDR?
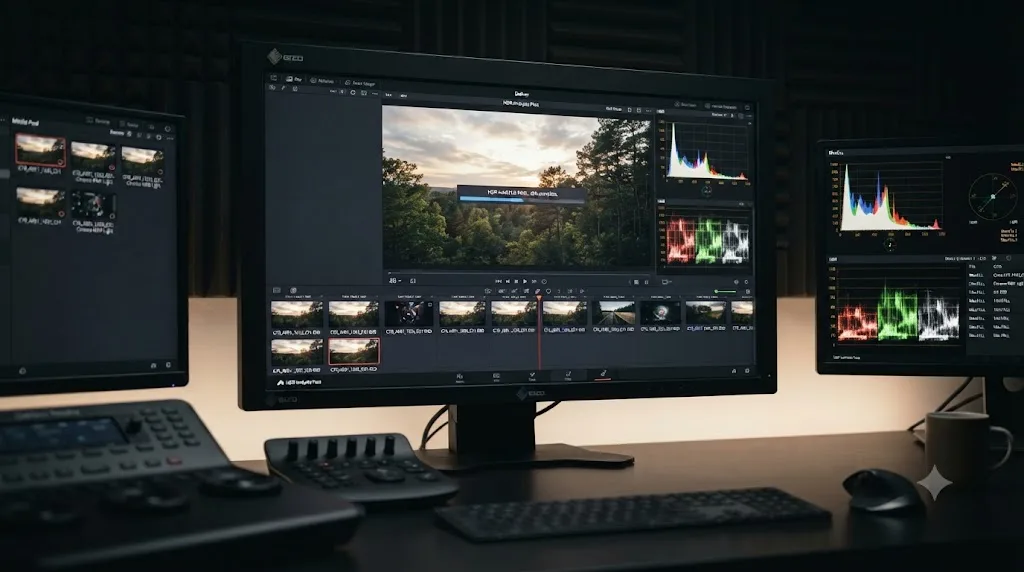
Nothing about the Camera Raw decode changes for HDR delivery. Color Space, ISO, and highlight recovery all work exactly the same whether your final master is Rec.709 or HDR. What changes is everything downstream of your normalizing node: your Output Color Space, your grading tools, and your Deliver page settings.
For a practical C70 HDR pass, three things shift from the standard Rec.709 workflow covered throughout this guide:
- Output Color Space moves from Rec.709 Gamma 2.4 to an HDR target, ST.2084 (PQ) for Dolby Vision and most streaming HDR10 delivery, or HLG for broadcast-style HDR that needs to stay watchable on SDR displays too.
- Grading tools shift to HDR-aware controls. Instead of grading against a single Rec.709 target, you're working against a much wider luminance range, since the C70's DGO sensor and its dynamic range headroom, whichever figure you trust between CineD's lab measurement and Canon's own spec claim, have real range to use in HDR that a Rec.709 delivery throws away entirely.
- A Dolby Vision or HDR10+ analysis pass runs on the Deliver page after your creative grade, generating the metadata that tells an HDR display how to map your master to its own peak brightness.
Since Canon RAW decodes only at full resolution regardless of delivery target, an HDR pass on a C70 project carries the same playback consideration covered earlier in this guide: manage timeline performance with Proxy Mode or Optimized Media, since there's no Decode Quality dropdown to fall back on if your machine struggles with the added grading complexity of an HDR pass.
A C70's dynamic range headroom is exactly the kind of asset an HDR delivery is built to use, and exactly the kind of asset a Rec.709 delivery throws away by design. If a client asks for an HDR master from C70 footage you've only ever delivered Rec.709 from before, the sensor already captured more range than your current delivery has ever shown anyone.
Quick troubleshooting table: which fix matches which symptom?
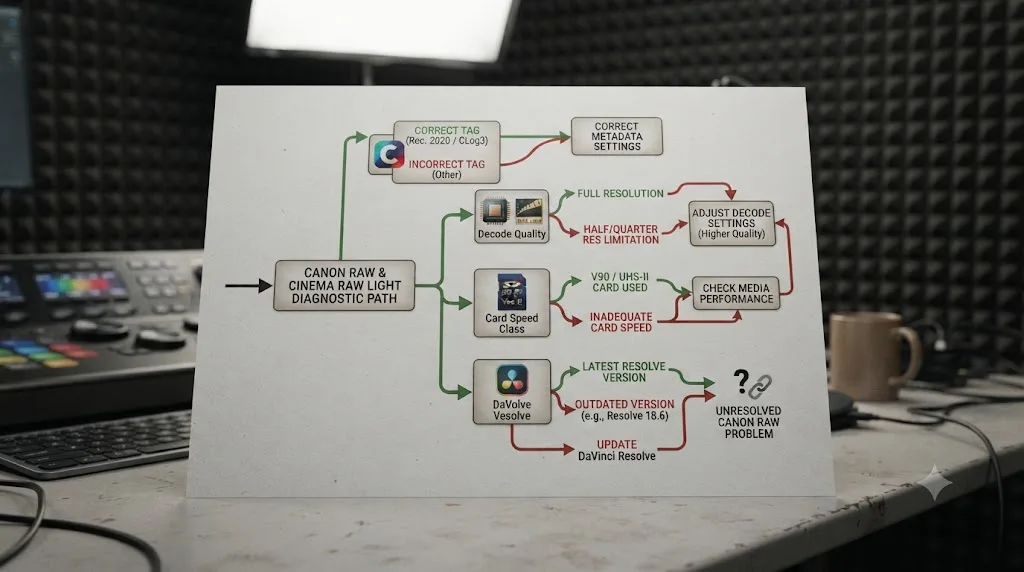
Everything in this guide funnels down to one of a small number of actual fixes. Match your symptom to the row below before you go hunting through menus.
| Symptom | What to check first | Where to find it |
|---|---|---|
| Grade looks subtly wrong despite a normal-looking node tree | Camera Raw panel's Color Space tag, especially on Log 3 footage | Camera Raw palette or Inspector, Decode Using: Clip |
| Timeline stutters specifically on the Color page | Nothing to lower in Decode Quality, Canon RAW is full-res only | Timeline Proxy Mode or Optimized Media instead |
| Clip won't record at the frame rate you want | Cinema RAW Light tier, ST caps at 29.97p in Super 35 | Camera menu, switch to LT for higher frame rates |
| Import fails or Resolve doesn't recognize the file | Resolve version and Canon RAW decode support | Help > Check for Updates |
| Color mismatch between C70 shots that should look identical | Whether both clips actually share the same verified Color Space tag | Camera Raw palette, compare clip by clip |
| Card can't sustain recording, or recording stops | Card speed class below V90 | Replace with a V90-rated SD card |
| Final render looks softer or differently colored than expected | Whatever settings were active in Camera Raw and Color Management when you hit render | Deliver page, review before every final export |
Nine times out of ten, a Canon RAW problem in DaVinci Resolve traces back to one of two things: a Color Space tag nobody checked, or a Decode Quality expectation carried over from a different RAW format that doesn't apply here. Bookmark this table. The next time a C70 timeline misbehaves, it saves you the trip through the reasoning and takes you straight to the fix.
Is there an app that helps while you're actually building this workflow?
Reading this guide explains the concept. It doesn't tell you, mid-grade, whether the color mismatch you're staring at right now on your own C70 timeline is the mislabeled Log 2/Log 3 tag covered earlier, a genuine lighting difference between two shots, or something else entirely.
TryUncle is the on-screen assistant for DaVinci Resolve on macOS. Ask in plain words and Uncle points at the exact control on your screen, whether that's the Camera Raw panel's Color Space field for a specific C70 clip, the Color Space Transform node's Input Gamma menu, or the Force Debayer to Highest Quality checkbox on the Deliver page before a render you can't afford to redo.
In our own 100,000-plus member professional video-editing community, a mismatched color grade between two clips from the same camera is one of the most recurring stuck points we see, and on Canon RAW footage specifically, it traces back to a wrong Camera Raw Color Space tag more often than to an actual lighting or exposure problem. After seven-plus years of professional, commercial editing and color work, including projects that mixed Canon Log 2 and Log 3 footage on the same timeline, that specific confusion is one we've walked people through more times than almost any other RAW workflow question.
This sits in a different category from most tools people reach for when they search for an AI tool to learn DaVinci Resolve. Sottocut and cutagent.ai automate specific editing tasks directly on your timeline, cutting or reformatting footage, rather than helping you diagnose a settings mismatch buried in a Camera Raw panel. heyeddie.ai and general chat assistants can explain what Canon Log 2 versus Log 3 means in the abstract, roughly the way this guide does, but they have no view of your actual project and can't confirm what Color Space tag your specific clip is currently carrying. PremiereCopilot targets a different NLE's workflow entirely. TryUncle's Uncle watches your DaVinci Resolve screen while you work and can point at the Camera Raw panel's Color Space field on your actual clip, which is what makes it useful for a diagnostic problem like a mislabeled gamma tag, not just for learning a new effect. Our fuller comparison of AI tools to learn DaVinci Resolve covers where each of these actually fits.
Guided practice inside your own project beats guessing whether a color mismatch on your timeline is a lighting problem or a mislabeled Camera Raw tag. That's true of a Color Space field buried in a Canon RAW clip's Camera Raw settings, and it's just as true of any other RAW-workflow detail nobody explained the first time you saw it. If the mislabeled tag covered earlier in this guide is what's on your screen right now, that's a reasonable moment to have something point at the actual field instead of re-reading a guide from memory.
TryUncle is a paid subscription, currently at founder pricing, first 100 seats, cancel anytime; see TryUncle for the current rate. It's macOS only, and it needs an internet connection to work.
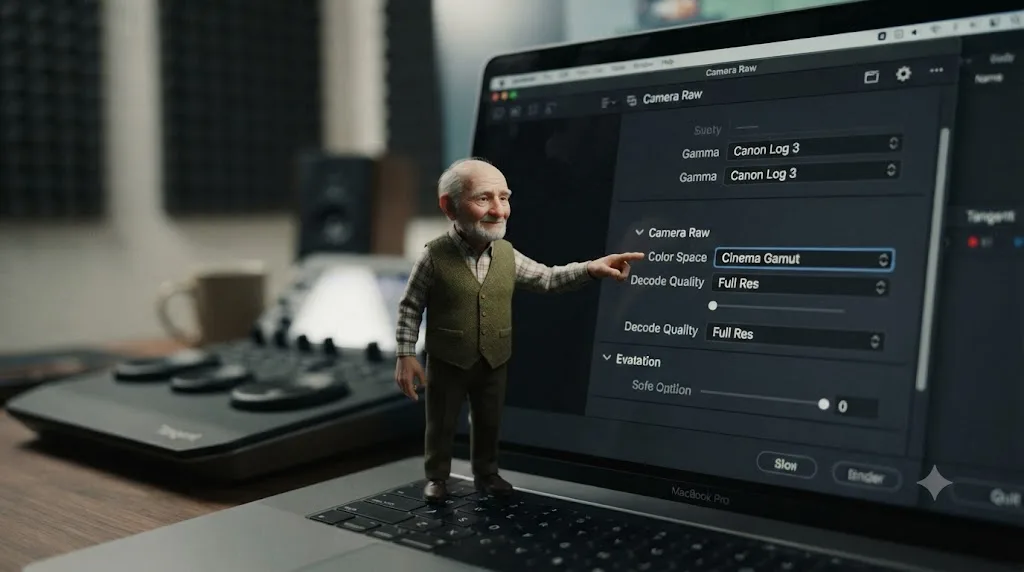
The short version
A Canon C70 shooting Cinema RAW Light opens in DaVinci Resolve with no plugin required, unlike Final Cut Pro X or Avid Media Composer, both of which need a separate Canon-supplied plugin first. That's the easy part. The part worth remembering is that Resolve's default decode tags every Cinema RAW Light clip as Canon Log 2 with Cinema Gamut, whether you actually shot Log 2 or Log 3, and Canon Log 3, the factory default on current C70 bodies, is exactly the variant most likely to carry a wrong tag into your grade.
Shoot HQ or ST when a project needs real grading latitude, and LT when you need the C70's higher Super 35 frame rates or smaller files. Verify the Camera Raw panel's Color Space field on an actual clip before you build your normalizing node, whether that's Resolve Color Management running automatically or a manual Color Space Transform node you build yourself. Remember that Canon RAW decodes at full resolution only, so a stuttering C70 timeline needs Timeline Proxy Mode or Optimized Media, not a Decode Quality setting that doesn't exist for this format. Keep your firmware current for Cinema RAW Light itself, at least version 1.0.3.1, and your SD cards rated at least V90.
None of this is trivia you only need once. It's the difference between a C70 RAW workflow that grades exactly as clean as the camera's Dual Gain Output sensor and Cinema RAW Light format were built to allow, and one where a single unchecked dropdown quietly undermines every color decision you make after it.
Frequently asked questions
- Do I need a plugin to open Canon C70 Cinema RAW Light files in DaVinci Resolve?
- No. DaVinci Resolve has decoded Cinema RAW Light natively since the format launched on the Canon C200 in 2017, so C70 clips drop straight into the Media Pool. That's different from Final Cut Pro X, which needs Canon's own RAW Plugin for Final Cut Pro X installed first, and Avid Media Composer, which needs the Canon RAW Plugin for Avid Media Access.
- Why does my Canon C70 RAW footage look wrong or untagged in DaVinci Resolve?
- Because Resolve's default Camera Raw decode tags every Cinema RAW Light clip as Canon Log 2 with Cinema Gamut, even when you shot Canon Log 3. The pixel data is correct either way, but the color space label Resolve hands your grading tools is what's wrong, so check the Camera Raw panel's Color Space field on a real clip before you build a normalizing node around an assumption.
- Should I shoot Cinema RAW Light HQ, ST, or LT on the C70?
- Shoot HQ or ST for anything you plan to grade hard, a narrative short, a commercial, footage with mixed or difficult lighting. Shoot LT when you need the C70's higher frame rates, since ST tops out at 29.97p in Super 35 while LT reaches 59.94p, or when card space and offload time matter more than maximum grading latitude.
- Why won't DaVinci Resolve lower the debayer resolution on my C70 clips?
- Because Canon RAW is one of the formats Blackmagic's own manual lists as full-resolution-only, alongside Panasonic Varicam RAW and Phantom Cine. There's no Decode Quality dropdown to lower for Cinema RAW Light, so a stuttering C70 timeline needs Optimized Media or Timeline Proxy Mode instead, not a debayer setting that doesn't exist for this format.
- Canon Log 2 or Canon Log 3 for a Cinema RAW Light grading workflow?
- Canon Log 2 keeps more highlight protection and a wider dynamic range, which matters most in contrasty or mixed lighting, at the cost of a flatter image that's harder to judge on a small monitor. Canon Log 3 is Canon's factory-default gamma on current bodies and grades a little easier for skin tones, but it shares metadata tag space with Log 2, which is exactly why Resolve sometimes reads a Log 3 clip's tag wrong.
- What SD card do I need for Cinema RAW Light on the C70?
- A V90 speed class SD card is the minimum Canon set for internal 4K Cinema RAW Light recording when the format landed via firmware 1.0.3.1 in March 2022. The C70 uses dual SD card slots, not CFexpress, and can record a compressed proxy alongside the RAW file on the second slot at the same time.
- What's the best way to learn a RAW grading workflow like this one instead of just watching a tutorial?
- Watching a tutorial shot on someone else's camera teaches recognition. Grading your own C70 footage, checking your own Camera Raw panel's Color Space tag, building your own normalizing node, is what actually builds recall you can use on a deadline. That's true of any DaVinci Resolve workflow, not just a RAW-specific one.
- Is there an app that helps while I'm actually building this workflow in DaVinci Resolve?
- Yes. TryUncle is the on-screen assistant for DaVinci Resolve on macOS. Ask in plain words and Uncle points at the exact control on your screen, whether that's the Camera Raw panel's Color Space field for a specific clip or the Color Space Transform node's Input Gamma menu. It's a paid subscription, founder pricing, cancel anytime, and it doesn't touch your project files or render anything on your behalf.
Sources
- Canon EOS C70 Firmware Version 1.0.3.1 that adds 4K Internal RAW now available (Matthew Allard, Newsshooter)
- Canon EOS C70 Lab Test with the RAW update: Rolling Shutter, Dynamic Range and Latitude (Gunther Machu, CineD)
- Canon EOS C70 Cinema Camera (RF Mount) - Now $1,300 Off at B&H (Alexandra Thompson, CineD)
- Canon EOS C70: Cinema Camera product page (Canon U.S.A.)
- Specifications & Features - EOS C70 (Canon Europe)
- EOS C70 - 4K Super 35mm DGO Sensor (Canon Central and North Africa)
- Canon EOS C70 Can Now Record in Cinema RAW Light (4K Shooters)
- The Canon C200 RAW Light Workflow in 5 Steps (Andrew Collings, ShareGrid)
- Canon LUTs Guide (Keith Ingram, Director of Photography)
- At the Bench: Canon Cinema RAW Light in Premiere Pro and FCPX (Jem Schofield, AbelCine)
- Canon RAW Plugin 1.2 for Final Cut Pro X (Canon)
- Blackmagic Forum: Color Management and Canon RAW in 18.5 (Fixed in 18.6)
- DaVinci Resolve Manual: Camera Raw Decoding Explained (Blackmagic Design, mirrored)
- DaVinci Resolve Manual: Adjusting Performance Mode (Blackmagic Design, mirrored)
- DaVinci Resolve Manual: Camera Raw Project Settings (Blackmagic Design, mirrored)
- DaVinci Resolve Manual: All Other Render Settings for Output (Blackmagic Design, mirrored)
- DaVinci Resolve Manual: Color Space Transform [CSt] (Blackmagic Design, mirrored)
- Blackmagic RAW product page (Blackmagic Design)
- What Is Debayering in DaVinci Resolve? RAW Decoding Explained (TryUncle Learn)
- Blackmagic Pocket Cinema Camera Color Grading in DaVinci Resolve (TryUncle Learn)
- Resolve Color Management vs. ACES: Which Should I Use? (TryUncle Learn)
- DaVinci Resolve High GPU Usage But Low FPS (TryUncle Learn)
- AI Tools to Learn DaVinci Resolve (TryUncle Learn)
- TryUncle
Learn by doing, not watching
Learn Resolve inside Resolve.
TryUncle watches your screen and points at the exact control when you ask. No tabs, no timestamps, no rewatching tutorials.
Download for MacKeep reading
 GuidesJul 26, 202639 min read
What Is Debayering in DaVinci Resolve? RAW Decoding Explained
What debayering means in DaVinci Resolve, where to control decode quality, and why RAW footage plays back slower than ProRes or H.264.
 GuidesJul 29, 202639 min read
Blackmagic Pocket Cinema Camera Color Grading in DaVinci Resolve
How to color grade Blackmagic Pocket Cinema Camera footage in DaVinci Resolve: project settings, Camera Raw decoding, Gen 4 vs Gen 5, and node setup.
 ComparisonsJul 12, 202630 min read
Resolve Color Management vs. ACES: Which Should You Use?
DaVinci Resolve Color Management and ACES both fix scene-referred color, but they solve different problems. Here's which one fits your project.