
Learn / DaVinci Resolveupdated for DaVinci Resolve 21.0.3 (July 2026)
Blackmagic Pocket Cinema Camera Color Grading in DaVinci Resolve
Quick answer
Grade Blackmagic Pocket Cinema Camera footage in DaVinci Resolve by setting Color Science to DaVinci YRGB Color Managed or ACES, decoding Blackmagic RAW clips in the Camera Raw panel with the correct Gen 4 or Gen 5 color space and gamma, then building a normalizing node before your creative grade. No LUT purchase or third-party plugin is required.
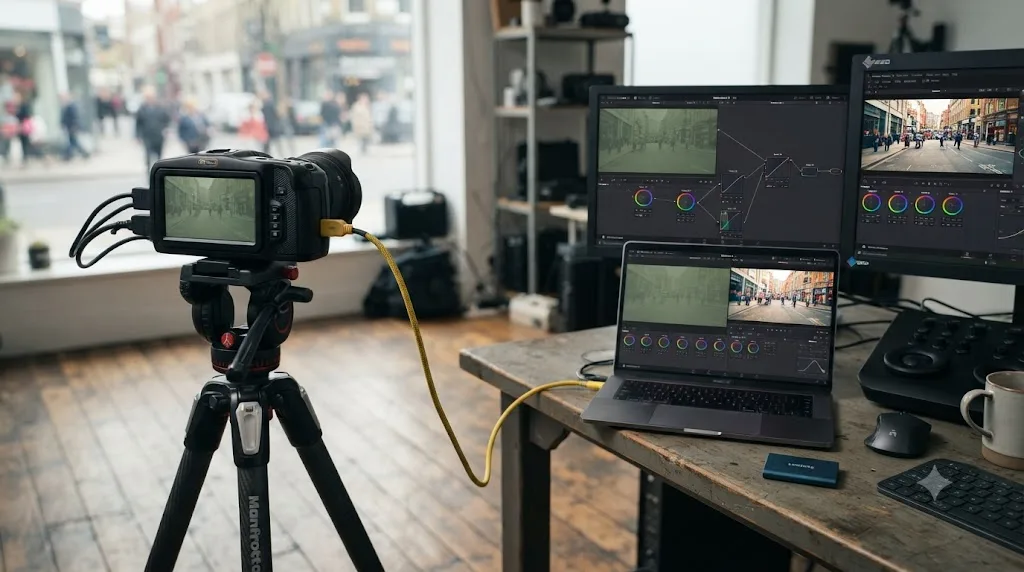
We've spent seven-plus years cutting and grading commercial video professionally, including years running a video-editing community that's grown past 100,000 members, and we've taught more than 100,000 students through Udemy as an official Udemy Business Partner, working with Fortune 500 clients along the way. Grading Blackmagic RAW footage from a Pocket Cinema Camera comes up constantly in that community, because Blackmagic pairs its own camera with its own grading software and still manages to leave editors confused about which settings actually matter.
Here's the short version. Your Pocket Cinema Camera shoots Blackmagic RAW, a flat, log-encoded file that needs decoding before it looks like anything. DaVinci Resolve decodes it, normalizes it into a working color space, and hands you a starting point for a creative grade. Get the Camera Raw panel and your project's color science set up correctly first, and everything after that is ordinary color grading. Get it wrong, and you'll spend an afternoon fighting a color cast that was never really there.
What's the DaVinci Resolve color grading workflow for Blackmagic Pocket Cinema Camera footage?
The workflow runs in four stages: decode the Blackmagic RAW file with the right color science generation, normalize it out of its flat log state into a working color space, grade it with ordinary Color page tools, then deliver it. Every Pocket Cinema Camera, the 4K, the 6K G2, and the 6K Pro, ships with a DaVinci Resolve Studio activation key in the box, according to Blackmagic's own tech specs page, so the software half of this pairing costs nothing extra beyond the camera itself.
That's the entire pitch behind Blackmagic selling a camera and an editor together: no LUT pack to buy, no third-party plugin to license, no separate raw processor to learn. The camera records Blackmagic RAW, and Resolve was built by the same company specifically to decode it. Per Blackmagic's own workflow page, "Blackmagic RAW was used so that the original camera image quality could be maintained throughout post with DaVinci Resolve," which is a fair description of the whole point of owning both halves of this pipeline from one manufacturer.
A Blackmagic Pocket Cinema Camera and DaVinci Resolve are built by the same company specifically to work together, and every camera in the lineup already includes the Resolve Studio license that unlocks the software's full color toolset. That single fact removes an entire category of decision other camera-plus-editor pairings force you to make: which raw processor to buy, and whether the free tier of your editing software is even good enough. Here, it already is.
The rest of this guide walks through each stage of that four-part workflow in enough depth to actually use it on your own footage, plus the version deltas, camera-generation differences, quality-preset tradeoffs, HDR delivery, and troubleshooting branches that trip up editors moving from a consumer camera or a different manufacturer's raw format.
Which Blackmagic Pocket Cinema Camera models shoot Blackmagic RAW, and how do they differ?
Four cameras carry the Pocket Cinema Camera name, and only three of them shoot Blackmagic RAW. The original 2013 Pocket Cinema Camera recorded CinemaDNG and ProRes 422 on a Super 16 sensor at 1920x1080, according to its Wikipedia entry, and predates Blackmagic RAW as a format entirely. If you're grading footage from that original camera, everything in this guide about Blackmagic RAW decoding doesn't apply; you're working with CinemaDNG instead, a different raw format with its own settings group in the Camera Raw panel.
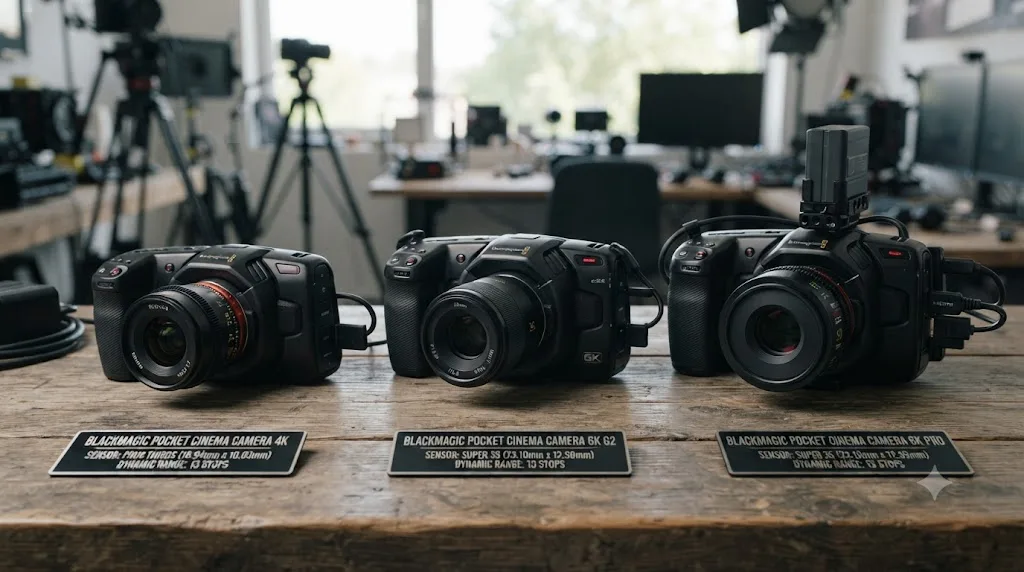
The three current models all shoot BRAW, and their specs, drawn from Blackmagic's tech specs page, differ enough to matter for a grading workflow:
| Model | Sensor | Resolution | Dynamic range | ISO | Mount | Price |
|---|---|---|---|---|---|---|
| Pocket Cinema Camera 4K | Four Thirds (18.96mm x 10mm) | 4096 x 2160 (4K DCI), up to 60 fps | 13 stops | Dual native, 400 / 3200 | Active MFT | $1,139 |
| Pocket Cinema Camera 6K G2 | Super 35 (23.10mm x 12.99mm) | 6144 x 3456 (6K), up to 50 fps | 13 stops | Dual native, 400 / 3200 | Active EF | $2,269 |
| Pocket Cinema Camera 6K Pro | Super 35 (23.10mm x 12.99mm) | 6144 x 3456 (6K), up to 50 fps | 13 stops | Dual native, 400 / 3200 | Active EF | $2,835 |
All three record 12-bit Blackmagic RAW at your choice of constant bitrate ratios, options like 3:1, 5:1, 8:1, and 12:1, or constant quality presets from Q0 through Q5, and all three also record 1920x1080 HD up to 120 fps for slow motion, per the same tech specs page. The 6K Pro's one hardware difference that actually touches your grading workflow is its built-in four-position ND filter, clear, 2-stop, 4-stop, and 6-stop, letting you hold a wider aperture in bright daylight without stacking screw-on filters that can shift color temperature. That matters at the grading stage because a clean, unfiltered exposure gives the Camera Raw panel more accurate metadata to work from than footage shot through a stack of variable ND glass with its own color tint.
Which Blackmagic RAW quality preset should you shoot for a grading-heavy project?
Pick your quality preset before you ever open DaVinci Resolve, because this is a capture decision, not a post decision. Every current Pocket Cinema Camera records Blackmagic RAW at one of two encoding families: constant bitrate, at 3:1, 5:1, 8:1, or 12:1 ratios, or constant quality, at presets Q0 through Q5.
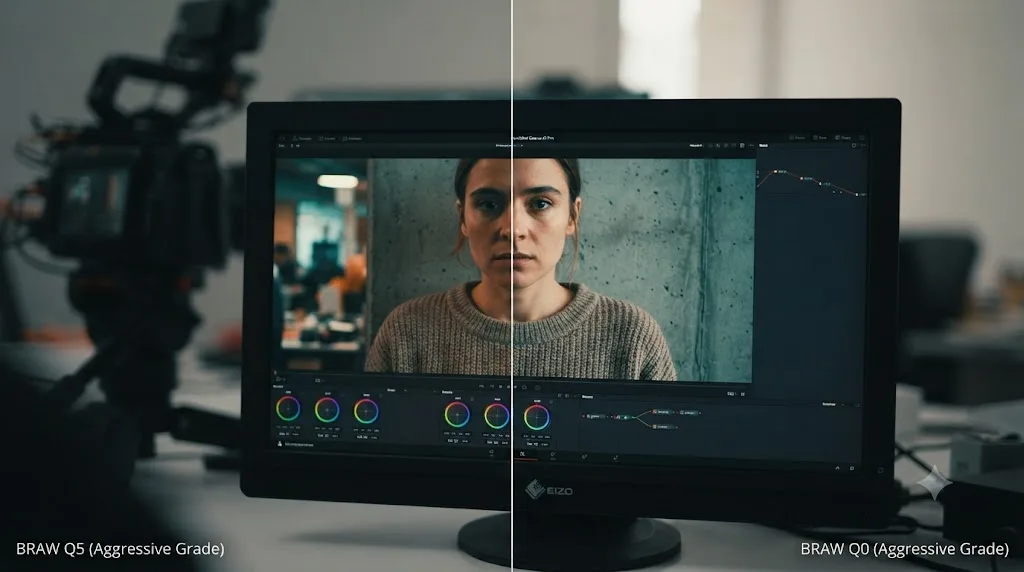
Per Blackmagic's own Blackmagic RAW page for the Pocket Cinema Camera, "the constant bitrate variations are designed to give you the best possible images with predictable and consistent file sizes." Constant quality works differently: "Blackmagic RAW Q0 has minimum quantization and yields the highest possible quality, while Blackmagic RAW Q5 uses moderate quantization for more efficient encoding and a smaller file size." The same page notes that constant quality "preserve[s] image quality by completely removing the upper data limit," which means a genuinely complex frame, heavy foliage, fine texture, a shot full of fast motion, gets more data thrown at it automatically instead of getting clipped to a fixed ceiling.
That distinction matters for grading specifically because it decides how much genuinely usable detail survives compression before the Camera Raw panel ever touches the file. A heavily compressed 12:1 file gives your primary correction node less shadow and highlight information to pull back before noise and banding show up. A Q0 or 3:1 file gives you far more room to push exposure, recover a blown sky, or dig into a shadow without the image falling apart. A documentary shoot spanning a full day of mixed daylight and interior lighting benefits from 5:1 over 12:1 for exactly this reason: the extra headroom gives white balance and exposure corrections room to work without banding showing up in a shifted sky or a window-lit interior with a five-stop gap between highlights and shadows.
| Priority | Recommended preset | Why |
|---|---|---|
| Maximum grading latitude, VFX or heavy color work | Q0 or 3:1 | Highest quality ceiling, most recoverable detail in extreme pushes |
| Balanced professional production | Q1 or 5:1 | Strong quality with meaningfully smaller files than Q0/3:1 |
| Documentary or long-form, storage matters | Q3 or 8:1 | Efficient without giving up usable grading range |
| Maximum record time, storage-constrained shoot | Q5 or 12:1 | Smallest files, least headroom for an aggressive grade |
No setting inside DaVinci Resolve's Camera Raw panel or Color page can restore detail a heavily compressed Blackmagic RAW file never captured in the first place. If you know a project is grading-heavy before you shoot it, a documentary with mixed lighting, a narrative short with a stylized look, a corporate piece with a difficult window-lit interview, choose Q0, Q1, 3:1, or 5:1 over the smaller-file presets. Card space is a budget line. A blown highlight you can't recover isn't.
What project settings should you set before grading BMPCC footage?
Set Color Science in Project Settings before you touch a single node, because that one dropdown decides how every Blackmagic RAW clip in your project gets normalized before grading even starts.
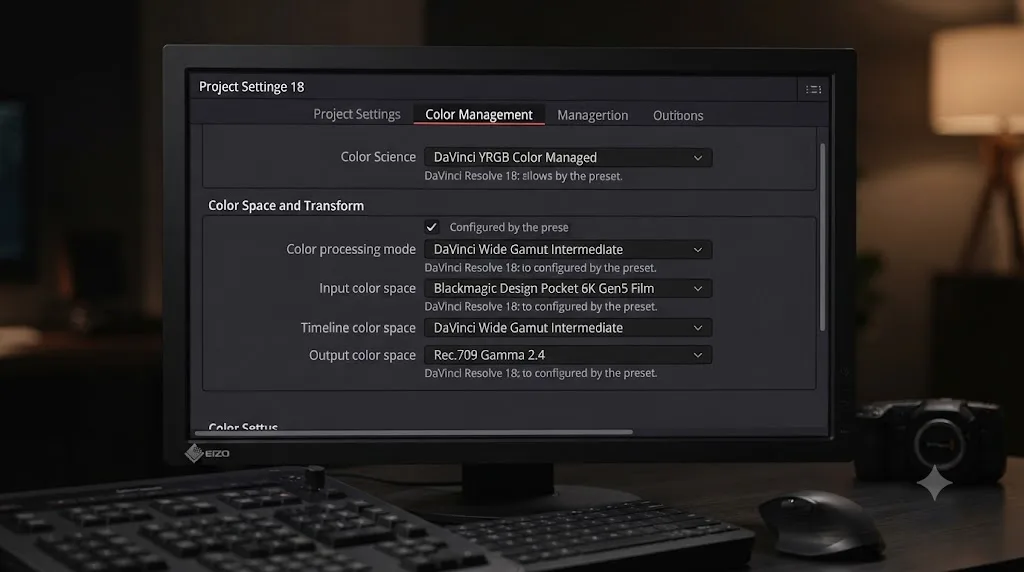
Open Project Settings, click the Color Management tab, and you'll find the same Color Science dropdown covered in more depth in our guide to Resolve Color Management versus ACES. For a Pocket Cinema Camera project, the decision usually comes down to two options:
DaVinci YRGB Color Managed, with the DaVinci Wide Gamut Intermediate preset, is the right default for almost every BMPCC project: a single-camera short, a YouTube channel, a documentary, a wedding film, anything that isn't intercutting with a completely different camera system or heading to a studio's own delivery spec. Resolve Color Management automatically converts Blackmagic RAW's native color space into its working space, and per Blackmagic's own information note on the feature, DaVinci Wide Gamut is built wider than Rec.2020, wider than ARRI Wide Gamut, and wider than ACES itself, so nothing gets clipped or crushed converting into it no matter how saturated your footage came out of camera.
DaVinci ACEScct is worth switching to if you're mixing BMPCC footage with a different camera brand on the same timeline, especially one with a meaningfully different color science, or if you already know the project is headed to a VFX facility or a streaming platform with a published ACES-based delivery spec. Our full comparison of the two systems covers exactly when that tradeoff is worth the extra setup.
Whichever you pick, the practical setup for a BMPCC-only project is short:
- Project Settings, Color Management tab.
- Color Science set to DaVinci YRGB Color Managed.
- Color Management Preset set to DaVinci Wide Gamut Intermediate.
- Output Color Space set to your actual delivery target, Rec.709 Gamma 2.4 for most web and social delivery.
- Confirm Blackmagic RAW clips are landing correctly in the Media Pool with no manual input color space tagging needed; RCM handles RAW formats automatically in the overwhelming majority of cases.
Picking Resolve Color Management or ACES is a project-wide decision you make once, at the start, not a setting you revisit clip by clip. Switching color science after you've already graded dozens of BMPCC clips means every one of those grades reinterprets under the new math, which isn't a quick fix, it's a regrade.
How do you configure the Camera Raw panel for Blackmagic RAW clips?
The Camera Raw panel is where Blackmagic RAW actually gets decoded, and it lives in three places: Project Settings for a project-wide default, the Inspector on the Media, Cut, and Edit pages for quick access, and the Camera Raw palette on the Color page for grading-time adjustments. Per Blackmagic's own manual, these settings "contain groups of parameters that correspond to every camera raw media format that's supported by DaVinci Resolve," letting you "override the original camera metadata that was written at the time of recording, and make simultaneous adjustments to all camera raw media throughout your project."
Open Project Settings, click Camera Raw, and find the Blackmagic RAW group. The controls that matter for a BMPCC workflow:
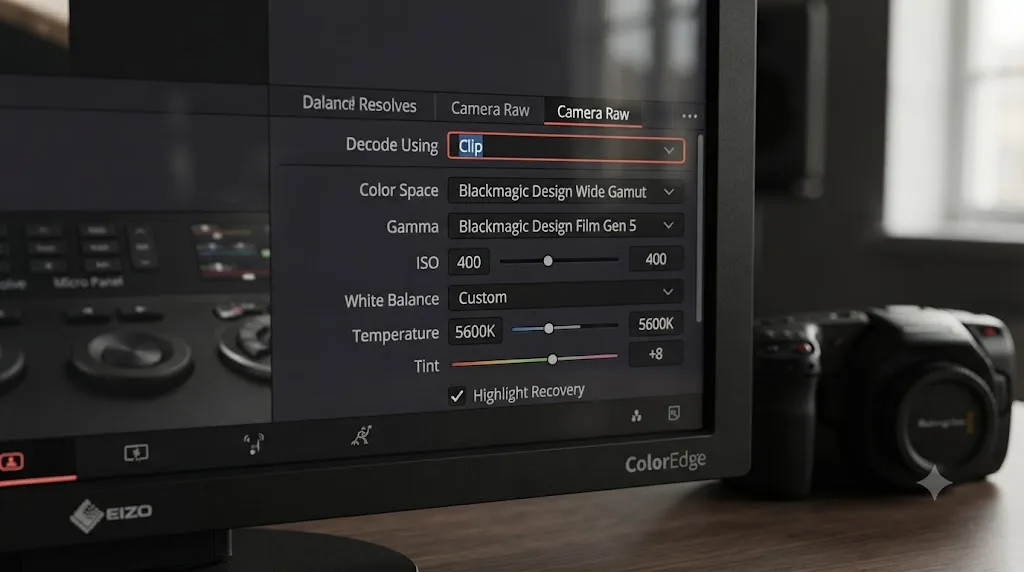
Decode Using: Project or Clip. Project applies one set of decode settings to every BRAW clip in the timeline. Clip lets an individual shot override the project default, useful when one setup was shot at a different ISO, under different white balance, or on a different camera generation than the rest of your footage.
Color Space and Gamma. These two dropdowns are the actual debayer target, telling Resolve which color science and gamma curve to decode the raw sensor data into. For Blackmagic RAW specifically, you'll see Blackmagic Design as an option alongside Rec.709 and DaVinci Wide Gamut / DaVinci Intermediate, depending on which color management mode your project is running.
ISO, White Balance, and Tint. Blackmagic RAW stores these as editable metadata rather than baking them into the pixels, which is the entire point of shooting raw instead of a delivery codec. Tick the boxes to bring the camera's recorded ISO and color temperature into your project, then adjust white balance and tint freely without any quality loss, since you're changing metadata interpretation, not pixel values.
Highlight Recovery. Turn this on if hot, clipping-looking highlights feel like they're pinning at white; it pulls back detail the sensor actually captured but that the default decode compressed too aggressively.
Exposure. A non-destructive ISO-equivalent adjustment applied at the raw decode stage, before your primary grading node even sees the image, which matters because an exposure correction made here has more highlight and shadow information to work with than the same correction made downstream on an already-decoded image.
Cullen Kelly, a senior colorist writing for Frame.io Insider, makes a distinction worth remembering here: the RAW decode settings answer "how do you want to unpack or debayer this particular RAW format into an RGB space," a completely different question from the color grading decisions that happen afterward on the node graph. Confusing the two is one of the most common mistakes editors make moving from a delivery-codec camera to a raw-shooting one for the first time: they try to "fix" a color problem by grading harder on the Color page, when the actual issue was a wrong Color Space or Gamma selection back in the Camera Raw panel.
Blackmagic Design Gen 4 versus Gen 5 color science: which does your footage use?
This is one of the recurring questions in our 100,000-plus member editing community, and it trips up editors specifically because the answer depends on which camera you own and when you last updated its firmware, not on anything in DaVinci Resolve itself.
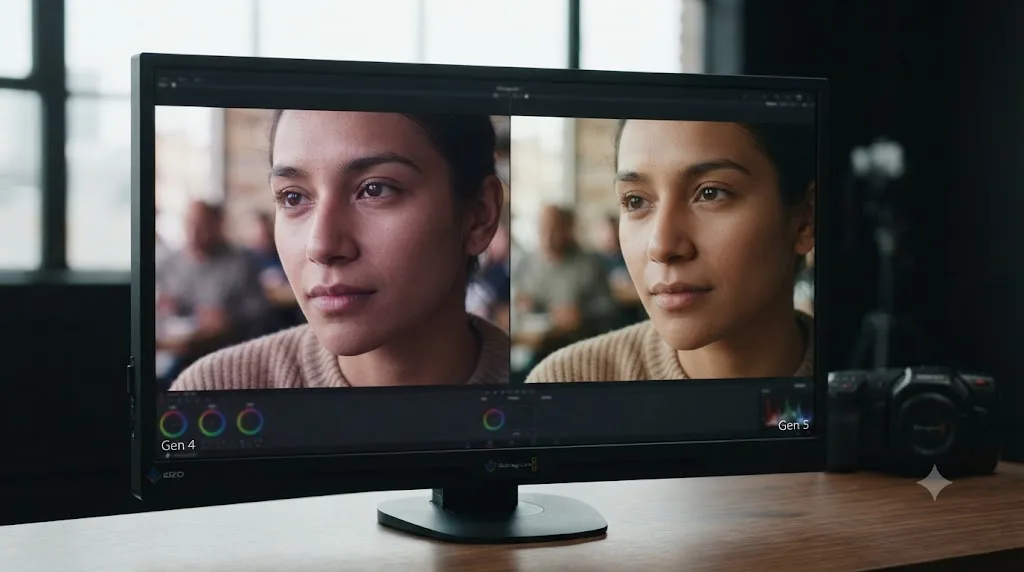
Generation 5 color science first shipped on the URSA Mini Pro 12K and was built into the Pocket Cinema Camera 6K Pro from launch. The original Pocket Cinema Camera 4K and 6K (sometimes called the 6K "G1" to distinguish it from the later 6K G2) launched running Generation 4 color science instead, and stayed that way until Blackmagic released Camera 7.3, a free firmware update, on April 26, 2021. Per Nino Leitner's report for Newsshooter and a matching writeup from CineD, that update brought Gen 5 color science to the 4K and 6K models, added new Q1 and Q3 Blackmagic RAW quality presets, and gave the 6K model full 4K DCI BRAW recording it hadn't had before.
What that means practically: if you shot footage on a 4K or original 6K before April 2021 and never re-transcoded it, that footage is tagged Gen 4 in its metadata, even though your camera might be running Gen 5 firmware today. Newer clips shot after updating carry Gen 5. The 6K Pro and the 6K G2 ship with Gen 5 as the default from day one.
| Camera | Default color science | Gen 5 available? |
|---|---|---|
| Pocket Cinema Camera 4K, pre-April 2021 firmware or older footage | Gen 4 | Yes, after Camera 7.3 update, per-clip |
| Pocket Cinema Camera 4K, current firmware, new footage | Gen 5 | Yes |
| Pocket Cinema Camera 6K (original / "G1"), pre-April 2021 | Gen 4 | Yes, after Camera 7.3 update, per-clip |
| Pocket Cinema Camera 6K G2 | Gen 5 | Yes, from launch |
| Pocket Cinema Camera 6K Pro | Gen 5 | Yes, from launch |
To check which one a specific clip actually uses, select it, set Decode Using to Clip in the Camera Raw settings, and look at the Color Space dropdown; it will read something like Blackmagic Design (Gen 4) or Blackmagic Design (Gen 5), rather than leaving you to guess from the shoot date. A forum thread on Lowepost, with input from user Merlin Jahn, walks through matching a Color Space Transform node's Input settings to whichever generation a clip actually carries, recommending an input of "WG Gen 4/5 & Film Gen 5" matched against the appropriate output for your delivery target.
Mixing Gen 4 and Gen 5 clips on the same timeline without checking each one first is the single most common cause of an unexplained color mismatch between two shots from the exact same Pocket Cinema Camera. The camera didn't change between shots. The color science decoding that footage did. If two clips from your own 6K look subtly different in skin tone or saturation for no obvious reason, this is the first thing to check, before you assume a lens, a filter, or a lighting change is responsible.
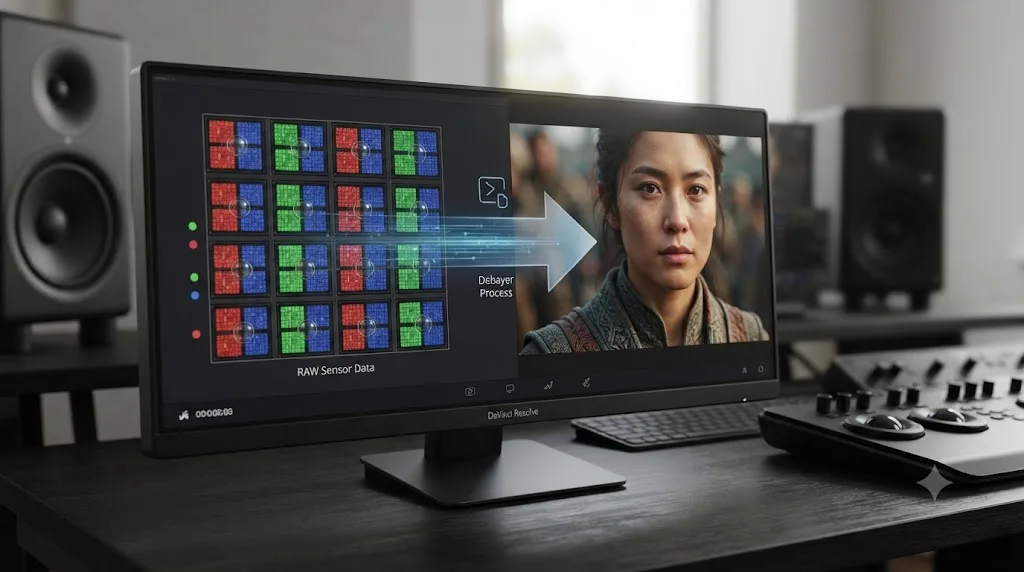
Debayering, the actual process that turns a Bayer-pattern sensor readout into a usable image before any of this color science gets applied, gets its own full explanation, decode quality, GPU acceleration, and per-clip overrides included, in our guide to what debayering means in DaVinci Resolve.
Does this same DaVinci Resolve workflow apply to other Blackmagic cameras?
Yes, with one caveat worth naming plainly: everything in this guide about Camera Raw decoding, Gen 4 versus Gen 5 color science, and the Color Space Transform node applies identically to any camera shooting Blackmagic RAW, not just the Pocket Cinema Camera line. That includes the URSA Mini Pro series, the URSA Cine range, the Blackmagic Cinema Camera 6K, and the URSA Broadcast. Blackmagic RAW is a format, not a camera-specific pipeline, and Resolve decodes it the same way regardless of which Blackmagic body recorded it.
The caveat is generational. Camera Raw's Decode Using: Clip setting will show you whichever generation of Blackmagic Design color science a specific camera shipped with or was updated to, and that generation number, not the camera model, is what actually determines the decode math. A Blackmagic Cinema Camera 6K and a Pocket Cinema Camera 6K Pro shooting Gen 5 footage decode through identical color science, even though they're different camera bodies at very different price points. What doesn't carry over between camera lines is physical spec: sensor size, rolling shutter behavior, dynamic range headroom in extreme cases, and mount options are all camera-specific, even when the RAW decoding and color science underneath are shared.
That shared pipeline is exactly what let colorist Hideto Miki describe grading the Blackmagic Cinema Camera 6K in terms any Pocket Cinema Camera 6K Pro owner would recognize instantly, covered in more detail later in this guide: low noise in low light, smooth performance during grading, and Neural Engine tools that speed up retouching work. None of that is specific to one camera body. It's Blackmagic RAW and Resolve's color science working the way they're designed to work, across the entire camera lineup that shoots the format.
How do you build the first Color Space Transform node for BMPCC footage?
If your project runs Resolve Color Management, this step happens automatically and you can skip straight to grading. If you're working with a manual color pipeline, or you want direct control over the exact transform math, build it yourself with a Color Space Transform node.
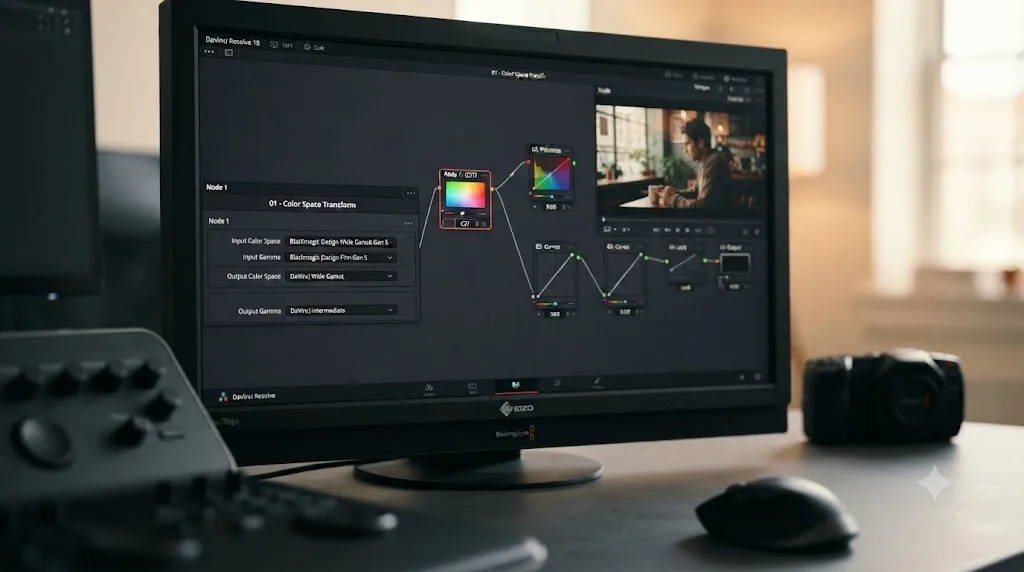
Per Blackmagic's own manual entry on the tool, Color Space Transform "lets you perform the kind of color transforms that LUTs do, but instead of using lookup tables, this plugin uses the same math used by Resolve Color Management (RCM) in order to do extremely clean color transforms without clipping." It exposes four pop-up menus, Input Colorspace, Input Gamma, Output Colorspace, and Output Gamma, plus a Swap button for quickly reversing a conversion.
For a BMPCC clip, the setup looks like this:
- Add a serial node as the very first node in your tree, before anything else.
- Drop a Color Space Transform effect onto that node from the OpenFX panel.
- Set Input Colorspace and Input Gamma to match your footage's actual color science, Blackmagic Design Gen 4 or Gen 5, whichever the clip's Camera Raw metadata confirms.
- Set Output Colorspace and Output Gamma to match your project's working space, DaVinci Wide Gamut / DaVinci Intermediate if you're staying inside a Resolve-native pipeline, or Rec.709 Gamma 2.4 if you're grading directly to a web delivery target with no intermediate stage.
- Turn on the DaVinci tone mapping option if this timeline mixes BMPCC footage with a different, wider-gamut camera; the manual describes it as applying "a smooth luminance roll-off in the shadows and highlights, and controlled desaturation of image values in the very brightest and darkest parts of the image," and notes it's "particularly useful for wide-gamut camera media and is a good setting to use when mixing media from different cameras."
A Color Space Transform node does the exact same conversion math that Resolve Color Management runs automatically, so building one manually is never about getting a "better" result, it's about needing to see and control that conversion directly instead of trusting it to run invisibly. Most single-camera BMPCC projects never need this node at all, since RCM's automatic handling covers the same ground with less setup. Reach for it when you're troubleshooting a color mismatch, working outside RCM entirely, or building a reusable PowerGrade you want to apply consistently across projects.
What's the full node tree for grading Blackmagic Pocket Cinema Camera footage?
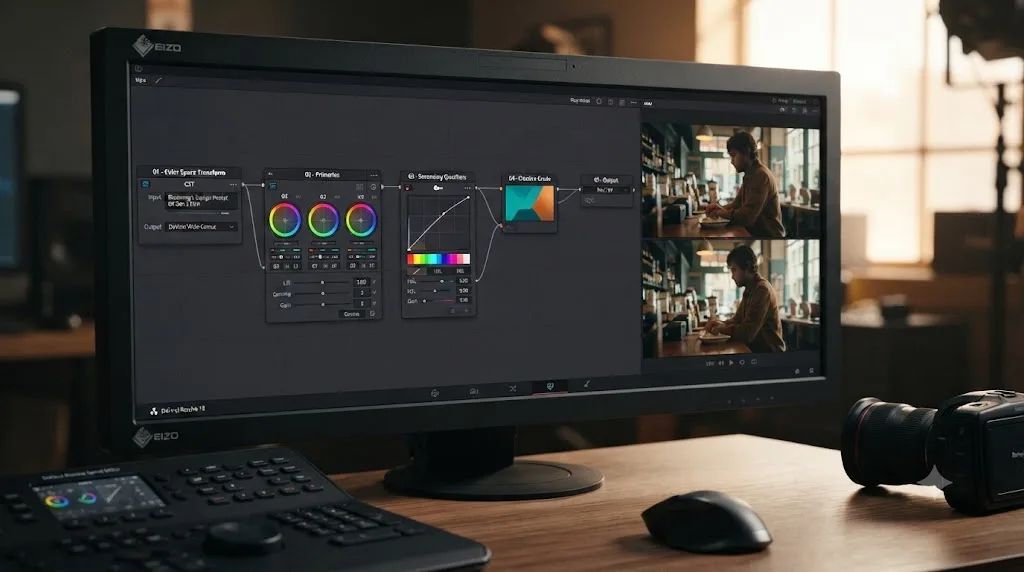
A working BMPCC grading node tree has a predictable shape, whether you built it manually or RCM assembled the equivalent conversion for you invisibly. Here's the practical order, node by node:
- Normalizing node. Either RCM's automatic conversion or a manual Color Space Transform node, converting the flat Blackmagic Design Film image into your working color space. Nothing creative happens here.
- Primary correction node. Balance exposure, contrast, and white balance using Lift/Gamma/Gain or the Color Wheels, now that you're working with a normalized image instead of a flat log one. This is where most of the heavy lifting of "make it look like a normal photograph" happens.
- Secondary correction nodes. Parallel or serial nodes for qualified corrections: skin tone isolation with an HSL qualifier, sky replacement or enhancement with a power window, selective saturation adjustments.
- Creative grade node. Your actual look: a film emulation, a specific color palette, whatever separates this project's grade from a straightforward "correct" image.
- Output node. Any final adjustments needed specifically for your delivery target, a Rec.709 gamma curve if you graded in a wider intermediate space, or a broadcast-safe clamp if you're delivering to a platform with legal limits.
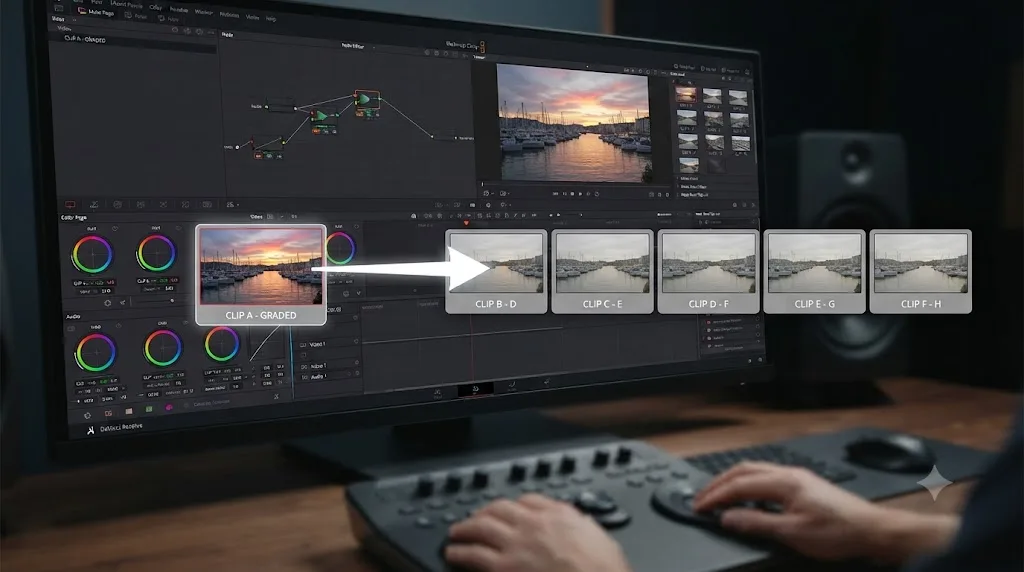
If you're grading several clips from the same BMPCC setup, an interview series or a multicam shoot using two Pocket Cinema Cameras, our guide to copying a color grade to multiple clips in DaVinci Resolve covers copy/paste, middle-click, Gallery stills, and Color Groups, all of which apply to a BMPCC node tree exactly the same way they'd apply to footage from any other camera, once the normalizing node has already accounted for Blackmagic RAW's specific color science.
How do you check a BMPCC grade with scopes instead of trusting your eyes?
Your eyes are the least reliable tool in the room, and that's true for every colorist, not just editors new to Blackmagic RAW. Laptop screens crush shadows, cheap monitors shift color temperature, and a bright room makes a properly exposed image look flat by comparison. DaVinci Resolve's scopes, free in both the paid and free versions, tell you what's actually in the file regardless of what your display or your surroundings are doing to your perception of it.
On the Color page, open the Waveform, Parade, Vectorscope, and Histogram from the scopes panel and keep at least one visible while you grade. After your normalizing node runs, whether that's Resolve Color Management working automatically or a manual Color Space Transform node, check the Parade scope: a correctly normalized BMPCC clip shouldn't show crushed blacks pinned at zero or highlights already clipping at the top, since the whole point of that first node is converting a flat log image into a usable range without losing information at either end.
Once you're grading skin tones on your primary node, the Vectorscope earns its keep. Most vectorscopes display a skin tone indicator line, and healthy skin tones from most ethnicities cluster near that line regardless of the subject's actual skin color, since it tracks hue rather than brightness. If your BMPCC footage's skin tones sit noticeably off that line after your primary correction, that's a faster, more objective signal than staring at a monitor and guessing whether a face looks "right."
The Histogram is worth a glance too, especially right after the Camera Raw panel's Exposure adjustment, since it shows you the raw decode's tonal distribution before any node-based grading touches it at all. A histogram bunched hard against one edge after decoding usually means the ISO or Exposure setting in Camera Raw needs a look before you blame the grade. The same scopes carry over into HDR work covered later in this guide; an HDR grade just reads against a different reference range on the waveform, since PQ and HLG target far higher peak brightness values than Rec.709 ever does.
A monitor you haven't calibrated will lie to you about a Blackmagic RAW grade in ways a scope never will. This matters more for BMPCC footage than for a delivery-codec camera specifically because Blackmagic Design Film gamma packs so much dynamic range into the file that small monitor inaccuracies get amplified once you start pushing contrast and saturation back into it. If you only have a laptop screen to grade on, lean on the scopes harder, not less.
How do you handle mixed footage from a BMPCC and another camera on one timeline?
Resolve Color Management or ACES both handle this, but the practical difference shows up in how much manual matching you'll still need to do after the automatic conversion runs.
If you're intercutting a Pocket Cinema Camera with one or two similar cameras, another BMPCC, a similarly specced mirrorless body shooting a comparable log profile, RCM's automatic input detection combined with DaVinci Wide Gamut's oversized working space usually gets you most of the way to a matched look before you touch a single color wheel. From there, Shot Match, a separate Resolve tool that computes a corrective grade per clip based on a reference frame, closes most of the remaining gap in exposure or white balance between camera bodies.
If the mix is more extreme, a BMPCC alongside a drone, an action camera, or a phone for crash-cam coverage, each with meaningfully different native color science and dynamic range, ACES's per-camera Input Device Transform library, covered in full in our Resolve Color Management versus ACES guide, tends to close that gap with less manual tuning, since those transforms were built and validated for each specific camera system rather than approximated generally.
Either way, once every clip is normalized into the same working space, Color Groups let you build one shared base grade and apply it across every camera on the timeline at once, then layer camera-specific corrections underneath for whatever the automatic normalization didn't fully close.
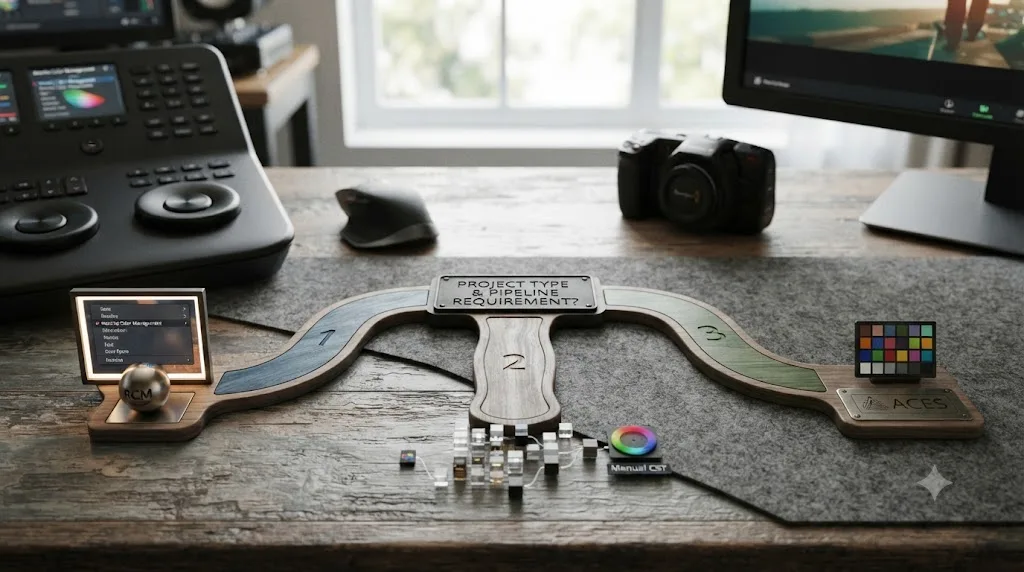
Should you use RCM, manual CST nodes, or ACES for BMPCC footage?
There's no single right answer here, only a right answer for what your specific project actually needs.
| Scenario | Best fit | Why |
|---|---|---|
| Single BMPCC camera, solo edit, web or social delivery | RCM (DaVinci Wide Gamut Intermediate) | Automatic, minimal setup, matches how the Color page has always worked |
| BMPCC plus one similar second camera | RCM, with Shot Match for fine matching | RCM's automatic handling covers most of the gap already |
| BMPCC plus several very different camera systems | ACES | Per-camera IDT library built for exactly this kind of mismatch |
| Troubleshooting a color mismatch, or building a reusable PowerGrade | Manual Color Space Transform node | Direct control and visibility over the exact conversion math |
| Delivering to a studio or streaming platform with a published ACES spec | ACES | Matches the delivery format they already expect |
None of these three approaches requires DaVinci Resolve Studio, and neither does grading Blackmagic RAW footage at all. RCM, ACES, and the Color Space Transform node all ship in the free version of Resolve. Since every Pocket Cinema Camera already comes bundled with a Studio license anyway, this distinction matters less for BMPCC owners specifically than it would for someone shooting on a camera with no software bundled, but it's still worth knowing that nothing in this guide's core grading workflow is gated behind a paid tier.
How do you grade Blackmagic Pocket Cinema Camera footage for HDR delivery?
Nothing about the Camera Raw decode changes for HDR. Gen 4 or Gen 5 color science, ISO, white balance, all of it works exactly the same whether you're delivering Rec.709 or HDR. What changes is everything downstream of your normalizing node: your Output Color Space, your grading tools, and your delivery settings.
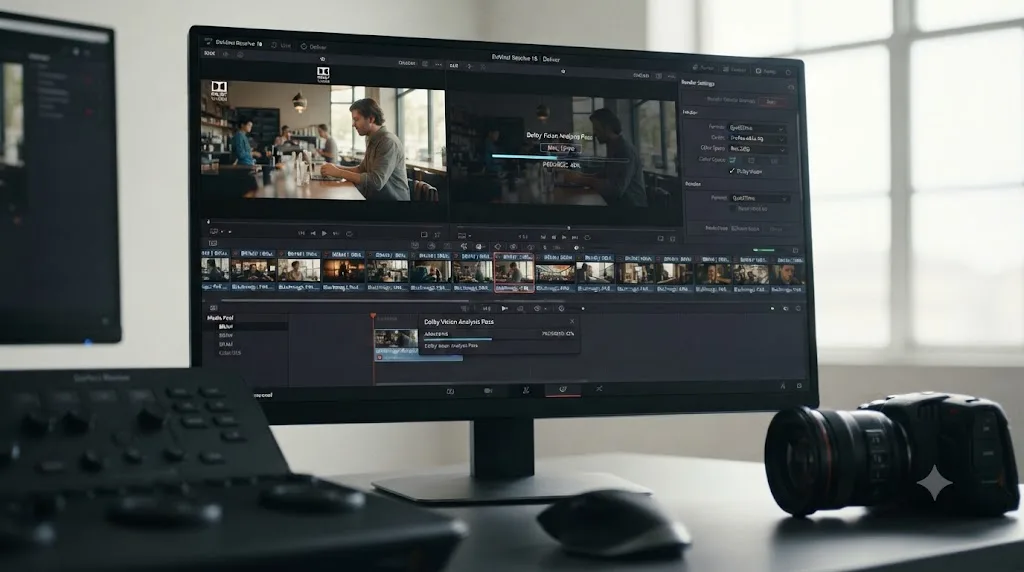
Every Pocket Cinema Camera's bundled Studio license matters directly here, because Dolby Vision and HDR10+ grading and delivery are Studio-only features. Per Blackmagic's own Resolve Studio product page, the software "includes Dolby Vision and HDR10+ grading and rendering," and for delivery specifically, Studio "adds support for... advanced HDR delivery in Dolby Vision and HDR10+ formats, digital cinema packages, or DCP, for theatrical distribution and more." Dolby Vision support in Resolve Studio "includes a GPU accelerated version of the Dolby Vision CMU, content mapping unit, and free Dolby Vision grading controls," according to the same page, with advanced trim controls gated behind a separate Dolby license beyond Resolve itself.
For a practical BMPCC HDR pass, the setup changes in three places from the standard Rec.709 workflow covered earlier in this guide:
- Output Color Space moves from Rec.709 Gamma 2.4 to an HDR target, ST.2084 (PQ) for Dolby Vision and most streaming HDR10 delivery, or HLG for broadcast-style HDR that needs to stay watchable on SDR displays too.
- Grading tools shift to HDR-aware controls. Instead of grading against a single Rec.709 target, you're working with wheels and curves built around a much wider luminance range, since a Pocket Cinema Camera's 13 stops of dynamic range have real headroom to use in HDR that a Rec.709 delivery simply throws away.
- A Dolby Vision or HDR10+ analysis pass runs on the Deliver page after your creative grade, generating the metadata that tells an HDR display how to map your master to its own peak brightness, before you export the final file.
Source footage matters here too. A clip shot at Q0 or 3:1, the highest grading-latitude presets covered earlier in this guide, gives an HDR pass more genuinely usable highlight and shadow detail to work with than a heavily compressed 12:1 or Q5 file, since HDR grading is specifically about using dynamic range a Rec.709 delivery would have thrown away.
Because Studio already ships free with every Pocket Cinema Camera, an HDR delivery pass costs nothing extra beyond the time it takes to learn it, unlike camera systems where Dolby Vision tools sit behind a separate paid tier. That's worth knowing if a client asks for an HDR master and you've only ever delivered Rec.709 from this camera before: the software already on your machine can do it.
How do you match skin tones and grade low-light BMPCC footage?
Blackmagic RAW's dual native ISO design, 400 and 3200 on every current Pocket Cinema Camera model per Blackmagic's tech specs, is what makes low-light footage from these cameras grade cleanly instead of just looking dark with noise painted over it. Shooting at the camera's second native ISO instead of pushing gain digitally from the first one keeps the noise floor lower going into the raw file, which means the Camera Raw panel's decode has more genuinely usable shadow detail to work with before you even open the Color page.
That difference shows up directly in how colorists describe working with this footage. Hideto Miki, a colorist at Kadokawa Daiei Studio, graded a short film shot on the Blackmagic Cinema Camera 6K, a related camera sharing the same Blackmagic RAW pipeline and Generation 5 color science as the Pocket Cinema Camera 6K Pro, and described his first impression plainly in an interview reported by FilmInk: "It was my first time grading footage from the Blackmagic Cinema Camera 6K, and I was amazed at how little noise there was in night scenes shot in low light." He added that "compared to footage from other cinema cameras, Blackmagic RAW didn't feel heavy during grading and had smooth performance."
For skin tone matching specifically, especially on a film heavy with close-ups, Miki noted a workflow shift that's directly relevant to BMPCC editors doing similar retouching work: "For films like this one with many close ups, I often get requests to retouch the skin. Previously, I had to create a mask and adjust each shot, but now, with AI tools in DaVinci, I can analyze and correct images with the push of a button, which is very helpful." That AI-assisted retouching lives in DaVinci Resolve Studio's Neural Engine tools, already included with your Pocket Cinema Camera purchase.
Dual native ISO exists specifically so that low-light footage arrives at the Camera Raw decode stage with a cleaner noise floor, which is what actually makes a night scene gradeable instead of just dark. If your BMPCC low-light footage still looks noisy after grading, check whether it was shot near the camera's second native ISO of 3200 rather than pushed digitally past 400, since that decision happens at capture time and can't be fully undone afterward.
Why does BMPCC footage play back slowly or choke your GPU while grading?
Debayering a Blackmagic RAW frame, especially at 6K resolution, is real computational work, and it happens before every color node in your tree gets a chance to run. That's the direct explanation for a specific, common frustration: a BMPCC timeline that scrubs smoothly at quarter resolution can stutter badly the moment you switch to full resolution on the same machine, even with no grade applied yet.
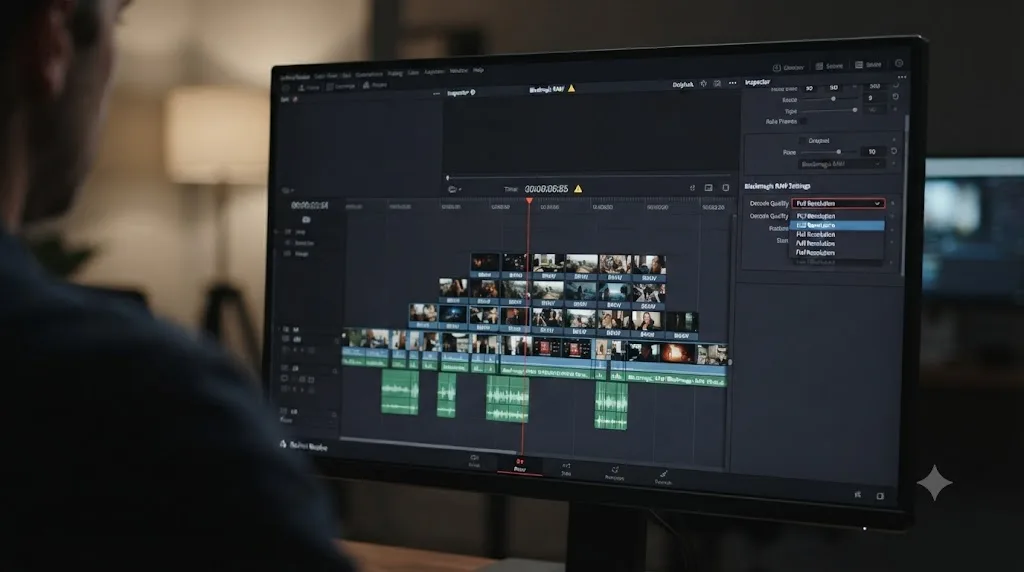
Two levers fix most of this, and they're different levers for a reason. First, Decode Quality in the Camera Raw panel, covered fully in our guide to what debayering means in DaVinci Resolve, lets you drop from Full Resolution to Half or Quarter Resolution while editing and grading, cutting the reconstruction workload per frame directly. Second, Blackmagic RAW has a dedicated GPU acceleration toggle in Preferences under Decode Options, separate from the general GPU compute work your color nodes rely on, so confirming that toggle is on matters specifically for BRAW footage rather than RAW formats generally.
If you're seeing high GPU usage alongside low playback frame rates specifically, that's a different, related symptom worth diagnosing on its own terms. Our guide to DaVinci Resolve running high GPU usage but low FPS covers how to tell a genuine compute bottleneck, your GPU actually maxed on real debayer and grading work, apart from a decode-engine bottleneck that a different codec or setting can fix, using per-engine GPU graphs rather than a single aggregate percentage.
Whatever you lower during the edit, remember to reverse it before your final render. Set Decode Quality back to Full Resolution, or check Force Debayer to Highest Quality in the Deliver page's Advanced render settings, a checkbox that exists, as Blackmagic's manual puts it, precisely for "saving you from forgetting to manually change the debayer setting back when setting up a render at 3am."
Whatever Decode Quality is set to at the moment you hit render is what gets baked into your final export, so a BMPCC timeline left at Quarter Resolution for editing convenience renders at quarter resolution unless you catch it first. This single missed step accounts for more soft, low-resolution BMPCC deliverables than any actual limitation of the camera or the codec.
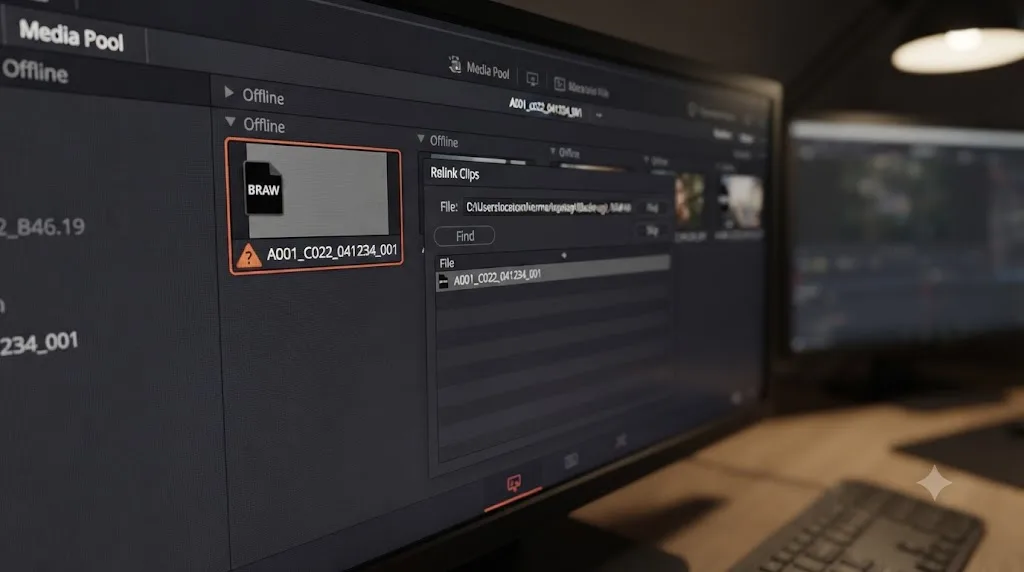
What do you do when a Blackmagic RAW clip shows as offline in DaVinci Resolve?
An offline clip mid-grade is one of the more panic-inducing moments in an edit, and Blackmagic RAW has one quirk worth understanding before you start troubleshooting blind. Every BRAW clip can carry an optional .sidecar file next to it, a JSON metadata file storing exactly the kind of settings this guide has covered: Color Space, Gamma, ISO, white balance, tint. Per Blackmagic's own manual on the feature, a sidecar file "always takes precedence over the embedded metadata for purposes of decoding," but "if there's no .sidecar file, decoding of the .braw file falls back on the embedded metadata." Lose or move the sidecar and your clip still plays, it just reverts to whatever decode settings were embedded at capture instead of whatever you adjusted afterward. Lose or move the actual .braw file, and that's a genuine offline clip.
The fix is the same general Resolve relinking workflow that applies to any offline media, BRAW included. In the Media Pool, on either the Media or Edit page, look for the relink icon: it "changes from gray to orange when media is offline," as JayAreTV's relinking guide puts it. From there:
- Click the orange relink icon, or right-click the offline clip and choose Relink Selected Clips, or Relink Clips for Selected Bin to fix an entire bin at once.
- Point Resolve at the new location of your Blackmagic RAW files, whether that's a renamed folder, a different drive, or a reconnected external SSD.
- Let Resolve run its fast search first; if that doesn't find a match, use the comprehensive search option instead of giving up.
- Once relinked, check that your Camera Raw settings, Decode Using, Color Space, Gamma, came back the way you left them. If a clip suddenly looks different in color right after relinking, check for a missing sidecar file before assuming the media itself is damaged.
A missing sidecar file and a genuinely offline clip look similar in the moment but need completely different fixes, and confusing them wastes time. One is a metadata problem that reverts your decode settings to camera defaults. The other is a file-path problem that needs an actual relink. Check which one you're facing before you start moving drives around.
What are common BMPCC color grading mistakes and how do you fix them?
Most of the frustration editors report grading Blackmagic RAW footage traces back to one of these, and every one has a specific, checkable fix.
Trying to grade a flat, log-encoded image without normalizing it first. Blackmagic Design Film gamma looks intentionally gray and low-contrast straight out of camera. Grading directly on top of that flat image, instead of running it through RCM's automatic conversion or a manual Color Space Transform node first, produces a grade that looks wrong the moment anyone views it in a properly color-managed space.
Assuming a color cast between two BMPCC clips is a lighting or lens problem when it's actually a Gen 4 versus Gen 5 mismatch. Covered in full earlier in this guide, this is specifically common on footage shot before and after a Camera 7.3 firmware update on the same camera body.
Leaving Decode Quality lowered for editing convenience and forgetting to raise it before the final render. The single most common cause of a soft, unexpectedly low-resolution BMPCC export.
Switching Color Science in Project Settings mid-project after grades already exist. Every clip you've already graded interprets differently the moment the underlying color science changes; this isn't a settings toggle, it's a regrade of everything you've done so far.
Not checking whether the ISO and white balance metadata boxes are ticked in the Camera Raw panel. Blackmagic RAW stores this metadata specifically so you can adjust it freely in post, but Resolve only pulls it into your project if the corresponding checkboxes are enabled; leave them off, and you're grading against a default that ignores what your camera actually recorded on set.
Grading a BMPCC clip in isolation on a solo monitor, then discovering it doesn't match once cut against footage from a different camera. Always check a grade against the full timeline context, not a single clip in a vacuum, especially on a multicam project where RCM or ACES is doing normalization work you need to verify rather than assume.
Shooting a grading-heavy project on Blackmagic RAW 12:1 or Q5 to save card space, then discovering in the grade that the highlight or shadow detail you need just isn't there to recover. That's a capture decision that can't be fixed in post; match your quality preset to how hard you plan to push the grade before you press record.
Assuming a missing .sidecar file and a genuinely offline clip are the same problem, then wasting time hunting for missing media that was never actually offline. Check the relink icon's color first; a reverted decode setting and a broken file path need different fixes entirely.
A worked example: grading a single-camera BMPCC 6K Pro short film
Concrete steps hold together better than abstract rules, so here's a full pass for a common case: a short film shot entirely on one Pocket Cinema Camera 6K Pro, delivering to a festival submission and a YouTube upload, both expecting standard Rec.709.
- Set Color Science to DaVinci YRGB Color Managed with the DaVinci Wide Gamut Intermediate preset. One camera, one color science generation, Gen 5 by default on the 6K Pro, means RCM's automatic handling covers the entire normalization step with no manual input needed.
- Set Output Color Space to Rec.709 Gamma 2.4. That single setting satisfies both the YouTube upload and the overwhelming majority of festival submission specs.
- Confirm every clip's Decode Using and Color Space in the Camera Raw panel matches Gen 5, since the 6K Pro ships that way from launch and there's no earlier-generation footage to reconcile.
- Build your node tree: a primary correction node for exposure and white balance, secondary nodes for skin tone and any power windows the scene needs, then a creative grade node for your final look.
- Use the 6K Pro's built-in ND filter setting recorded in the clip metadata to spot-check any exposure inconsistencies between scenes shot at different ND stops; a jump between clear and 6-stop ND mid-scene is a common source of an unexpected exposure or subtle color shift worth catching before it reaches the final grade.
- Export at Full Resolution decode, having confirmed Force Debayer to Highest Quality is checked on the Deliver page regardless of what you used for editing playback.
Six steps, no manual color science transform, no ACES terminology, and a result that's exactly as accurate as a more elaborate pipeline would have produced for a project with no multi-camera mismatch and no external delivery spec to satisfy.
A worked example: grading a two-camera BMPCC and DSLR interview shoot
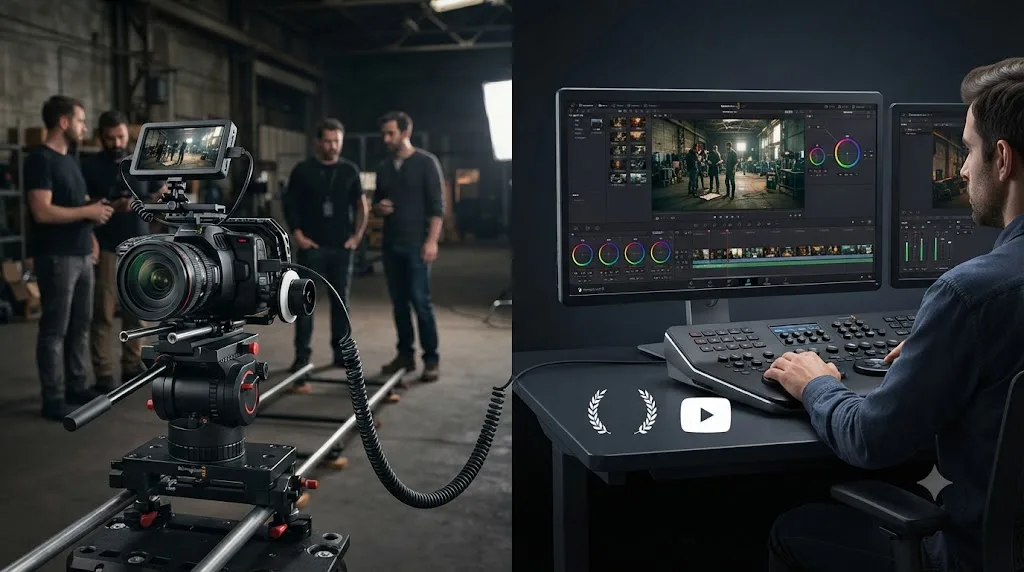
Now a messier, more common case for documentary and corporate work: an interview shot with a Pocket Cinema Camera 6K G2 for the main angle and a consumer DSLR for a wider second angle, cutting between the two throughout.
- Set Color Science to DaVinci YRGB Color Managed with DaVinci Wide Gamut Intermediate, since two reasonably similar cameras, both shooting a log-style profile, rarely justify the extra ACES setup for a single-facility documentary or corporate edit.
- Confirm the DSLR's log profile is correctly assigned as its input color space in the Media Pool; unlike Blackmagic RAW, most DSLR log formats need this tagged manually since RCM's automatic detection is strongest on RAW and Blackmagic's own formats specifically.
- Grade the BMPCC angle first, building your normalizing, primary, and secondary nodes as covered earlier in this guide.
- Use Shot Match to bring the DSLR angle into line with the graded BMPCC look, since the two cameras' native color science and dynamic range won't match automatically the way two identical BMPCC bodies would.
- Build a Color Group covering both cameras' clips once the base match is close, so a later adjustment to the overall look updates every clip from both angles at once instead of requiring you to touch each camera's grade separately.
- Spot-check skin tone consistency across both angles on the same interview subject, since a mismatch here is the fastest way for an audience to notice a camera switch they shouldn't consciously register at all.
If this interview series involves several subjects across multiple sessions all using the same two-camera setup, our guide to copying a color grade to multiple clips covers applying one matched base grade across every session efficiently, rather than rebuilding the match from scratch each time.
What changed for BMPCC grading in DaVinci Resolve 21?
DaVinci Resolve 21 shipped in June 2026 as, per CG Channel's report, one of the largest updates in the software's history, adding a new Photo page that brings the same node-based color tools to still images, alongside a wide set of Neural Engine AI additions. None of that changes the core Camera Raw decoding or color science mechanics this guide covers; the Decode Using setting, the Color Space and Gamma dropdowns, and the Color Space Transform node all work the same way they have across recent Resolve releases.
What has shifted, in small point releases since the 21.0 launch, is raw decoding quality and stability specifically. As of this guide's writing, the current point release is DaVinci Resolve 21.0.3, and the version history since 21.0 has included targeted raw-decoding fixes on that path, alongside broader stability and keyframe improvements. If you're troubleshooting a BMPCC-specific playback or decode issue and you're not running the latest 21.0.x point release, updating is worth trying before assuming the problem is your footage or your settings.
Resolve 21's headline features, the Photo page and its new AI tools, sit alongside the Blackmagic RAW decoding pipeline rather than replacing any part of it, so a BMPCC workflow you learned on an older Resolve version still applies almost unchanged today. The camera-and-editor pairing that makes this whole workflow simple in the first place hasn't needed a redesign; Blackmagic keeps extending it around the edges instead.
Is there a faster way to learn this workflow than trial and error?
Plenty of people learn this exact workflow the slow way, one confused forum post at a time, and it's worth naming the resources that genuinely work before suggesting anything else. Blackmagic Design's own free training guides, downloadable PDFs covering color grading specifically, are a solid structured starting point with lesson files and a free online exam. Casey Faris's YouTube channel is widely regarded in the color grading community for practical, footage-driven tutorials rather than abstract theory. Reddit's colorist and Blackmagic-specific communities are genuinely useful for troubleshooting a specific camera generation or firmware quirk, precisely the kind of Gen 4 versus Gen 5 confusion covered earlier in this guide.
None of that changes what actually builds recall on a deadline, though: reading about a Color Space Transform node teaches recognition, and dragging one onto your own BMPCC clip and watching the image change is what makes the setting stick. That gap between watching a tutorial shot on someone else's camera and applying it to your own footage is exactly where most editors get stuck.
TryUncle is the on-screen assistant for DaVinci Resolve on macOS. Ask in plain words and Uncle points at the exact control on your screen, whether that's the Decode Using dropdown in the Camera Raw panel for your specific Pocket Cinema Camera footage, or the Input Gamma menu on a Color Space Transform node you just added. It's a different category of tool than a chatbot like ChatGPT or Claude, which can explain what Decode Using means in the abstract but has no view of your actual project, and it's a different category than automation tools like Sottocut, PremiereCopilot, heyeddie.ai, or cutagent.ai, which cut edits or answer chat questions about your footage rather than watching your screen and pointing at the control you're actually looking for, live, inside Resolve.
TryUncle is a paid macOS subscription, currently in founder pricing, cancel anytime, and it doesn't touch your project files or render anything on your behalf, it only reads your screen when you actually ask it a question. Check TryUncle for the current rate. If you'd rather learn this workflow by watching a full curriculum first, Blackmagic's free training is the right starting point. If you're mid-grade on your own BMPCC footage right now and can't remember which dropdown holds the Gen 5 override, that's the moment this kind of assistant actually earns its keep.
Where do you go from here?
Set your project's color science, confirm which Gen your footage actually carries, and build one normalizing node before you touch a single color wheel. That's the entire workflow this guide covers, and everything past those first three steps is ordinary color grading, no different for a Pocket Cinema Camera than for any other camera once the Blackmagic RAW-specific decoding is handled correctly.
If your grade is holding up and you're ready to deliver, the settings that matter next live on the Deliver page, not back in Camera Raw. And if you hit a mismatch between two BMPCC clips that looks like a lighting problem but isn't, check Gen 4 versus Gen 5 in the Camera Raw panel before you touch a single power window; that one setting resolves more unexplained BMPCC color casts than anything else in this guide.
If you're staring at your own Pocket Cinema Camera footage right now and can't find the exact control this guide is describing, Uncle can point at it directly on your screen while you work through your own project instead of a screenshot in an article.
Frequently asked questions
- What's the best DaVinci Resolve color grading workflow for Blackmagic Pocket Cinema Camera footage?
- Shoot Blackmagic RAW, decode it in Resolve's Camera Raw panel with the correct Gen 4 or Gen 5 color space and gamma for your camera, choose DaVinci YRGB Color Managed (or ACES for multi-camera work) in Project Settings, then build a normalizing node before layering your creative grade. Every Pocket Cinema Camera ships with a DaVinci Resolve Studio license key, so nothing extra needs buying to run this workflow end to end.
- Do I need DaVinci Resolve Studio to grade Blackmagic RAW footage from a Pocket Cinema Camera?
- No, and you already own it either way. Every Pocket Cinema Camera model, the 4K, the 6K G2, and the 6K Pro, ships with a DaVinci Resolve Studio activation key included in the box, according to Blackmagic's own tech specs page. The free version of Resolve grades Blackmagic RAW footage identically; Studio adds the Neural Engine's AI tools, extra ResolveFX, and HDR delivery formats, none of which the core color grading workflow in this guide depends on.
- Should I use Resolve Color Management or manual Color Space Transform nodes for BMPCC footage?
- Resolve Color Management (RCM), set to DaVinci YRGB Color Managed with the DaVinci Wide Gamut Intermediate preset, is the simpler default for most Pocket Cinema Camera projects, since it handles Blackmagic RAW's input conversion automatically. Reach for a manual Color Space Transform node instead when you need to mix BMPCC footage with a camera RCM doesn't recognize well, or when you want to inspect and adjust the exact transform math yourself.
- Why does my Blackmagic Pocket Cinema Camera footage look flat, gray, or washed out before I start grading?
- That's Blackmagic Design Film gamma doing its job, not a broken camera or a wrong setting. Blackmagic RAW is captured log-encoded on purpose, packing 13 stops of dynamic range into a flat-looking image so a colorist has room to shape contrast and saturation later instead of having decisions baked in at capture. A Color Space Transform node or Resolve Color Management's automatic conversion is what turns that flat file into a normal-looking starting point.
- What's the difference between Gen 4 and Gen 5 color science on my Pocket Cinema Camera?
- Generation 5 color science, which first shipped on the URSA Mini Pro 12K, reproduces skin tones and saturated colors more accurately than Generation 4 and was built into the Pocket Cinema Camera 6K Pro from launch. Blackmagic's free Camera 7.3 firmware update, released April 26, 2021, brought Gen 5 to the original 4K and 6K models too, so older footage you shot before updating may still be tagged Gen 4 in the Camera Raw panel's Decode Using: Clip setting.
- Why does DaVinci Resolve stutter or run hot when I scrub Blackmagic RAW footage from my Pocket Cinema Camera?
- Debayering a 6K Blackmagic RAW frame in real time is genuinely heavy computational work, and it happens before every other step in Resolve's image pipeline. Lower Decode Quality to Half or Quarter Resolution in the Camera Raw panel while you edit and grade, generate Optimized Media, or enable the GPU acceleration toggle for Blackmagic RAW in Preferences, then remember to set decode quality back to full, or check Force Debayer to Highest Quality on the Deliver page, before your final render.
- What's the best way to learn DaVinci Resolve color grading fast if I just bought a Pocket Cinema Camera?
- Start with Blackmagic's own free training PDFs for a structured curriculum, then grade your own BMPCC footage instead of only watching tutorials shot on a different camera. Reading about a Color Space Transform node teaches recognition; dragging one onto your own 6K BRAW clip and watching the image change is what builds recall you can use on a deadline.
- Is there an app that helps while I'm actually grading Blackmagic RAW footage in DaVinci Resolve?
- Yes. TryUncle is the on-screen assistant for DaVinci Resolve on macOS. Ask in plain words and Uncle points at the exact control on your screen, whether that's the Decode Using dropdown in the Camera Raw panel for your specific Pocket Cinema Camera footage, or the Color Space Transform node's Input Gamma menu. It's a paid subscription, cancel anytime, and it doesn't touch your project files or render anything for you.
Sources
- Blackmagic Pocket Cinema Camera: Workflow (Blackmagic Design)
- Blackmagic Pocket Cinema Camera: Tech Specs (Blackmagic Design)
- Blackmagic RAW product page (Blackmagic Design)
- Blackmagic RAW for Blackmagic Pocket Cinema Camera (Blackmagic Design)
- DaVinci Resolve Manual: Camera Raw Decoding Explained (Blackmagic Design, mirrored)
- DaVinci Resolve Manual: Camera Raw Project Settings (Blackmagic Design, mirrored)
- DaVinci Resolve Manual: BRAW Sidecar Metadata Files (Blackmagic Design, mirrored)
- DaVinci Resolve Manual: Color Space Transform [CSt] (Blackmagic Design, mirrored)
- DaVinci Resolve 17: Wide Gamut Intermediate (Blackmagic Design information note, PDF)
- DaVinci Resolve Studio product page (Blackmagic Design)
- How to Manage RAW Footage Using Nodes in DaVinci Resolve, by Cullen Kelly (Frame.io Insider)
- Relink Offline Media in DaVinci Resolve, by JayAreTV
- Blackmagic Pocket Cinema Camera (Wikipedia)
- Blackmagic Camera 7.3 Update Adds Gen 5 Color Science to 6K and 4K Pocket Cameras, by Nino Leitner (Newsshooter)
- Blackmagic Camera 7.3 Update Released, New Features for BMPCC 4K, 6K and 6K Pro (CineD)
- Blackmagic pocket gen5 color space transform (Lowepost forum, Merlin Jahn)
- WOWOW's Yours Shot and Graded with Blackmagic Cinema Camera 6K and DaVinci Resolve Studio, quoting colorist Hideto Miki (FilmInk)
- What H.264 and H.265 Hardware Decoding is Supported in DaVinci Resolve Studio?, by Matt Bach (Puget Systems)
- Blackmagic Design Releases DaVinci Resolve 21.0 (CG Channel)
- What Is Debayering in DaVinci Resolve? RAW Decoding Explained (TryUncle Learn)
- TryUncle
Learn by doing, not watching
Learn Resolve inside Resolve.
TryUncle watches your screen and points at the exact control when you ask. No tabs, no timestamps, no rewatching tutorials.
Download for MacKeep reading
 GuidesJul 26, 202639 min read
What Is Debayering in DaVinci Resolve? RAW Decoding Explained
What debayering means in DaVinci Resolve, where to control decode quality, and why RAW footage plays back slower than ProRes or H.264.
 ComparisonsJul 12, 202630 min read
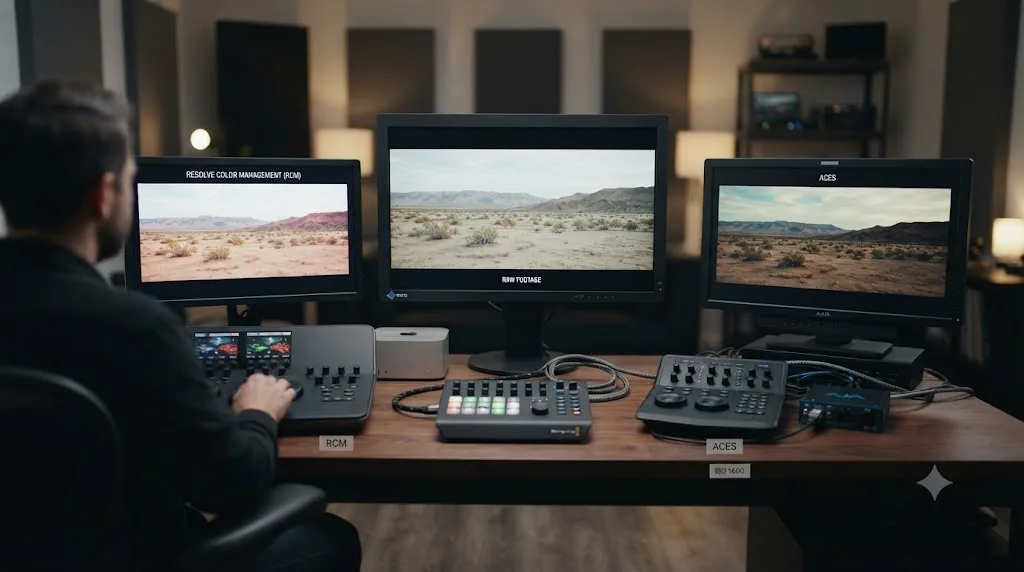
Resolve Color Management vs. ACES: Which Should You Use?
DaVinci Resolve Color Management and ACES both fix scene-referred color, but they solve different problems. Here's which one fits your project.
 GuidesJul 8, 202639 min read
How to Copy a Color Grade to Multiple Clips in DaVinci Resolve
Every way to copy a DaVinci Resolve color grade to multiple clips: copy/paste, middle-click, Gallery stills, PowerGrades, Color Groups, and more.