
Learn / DaVinci Resolveupdated for DaVinci Resolve 21.0.1 (June 2026)
Resolve Color Management vs. ACES: Which Should You Use?
Quick answer
Use DaVinci Resolve Color Management (RCM) for YouTube, corporate, and single-editor projects: it's simpler and stays inside Resolve. Use ACES for narrative features, HDR masters, or any project handed to a VFX facility, colorist, or studio like Netflix that also runs ACES, since it standardizes color across different software and facilities.
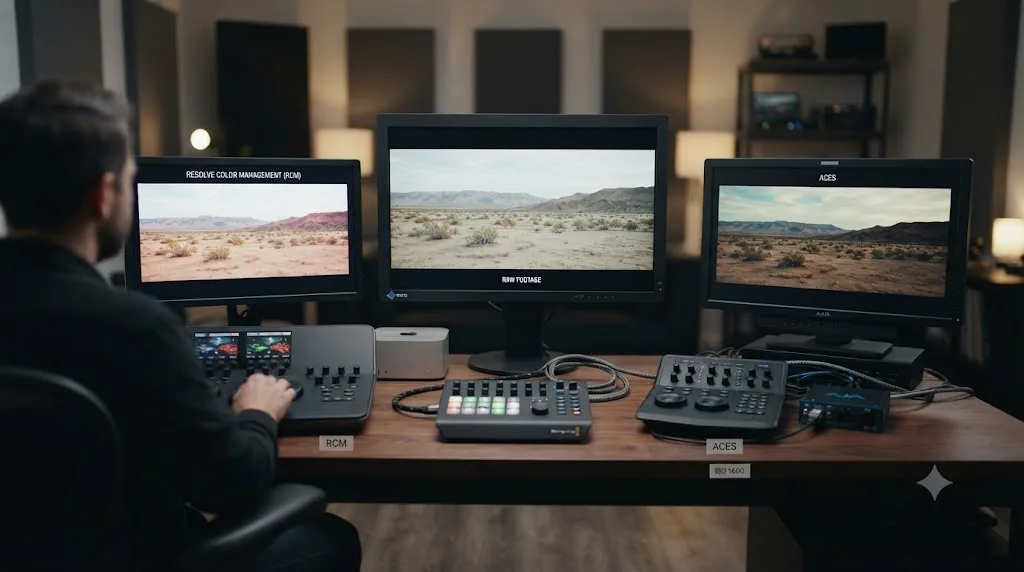
You open Project Settings, click the Color Management tab, and find a dropdown with more options than you expected: DaVinci YRGB, DaVinci YRGB Color Managed, DaVinci ACES, DaVinci ACEScc, DaVinci ACEScct. Half of those say ACES. None of them explain what you're actually choosing between.
Here's the short version. DaVinci Resolve Color Management and ACES are two different answers to the same question: how do you take footage from a dozen different cameras and make it behave predictably under one set of grading tools. They're not a beginner setting and a professional setting. They're not old and new. They're two separate systems built by two separate organizations, and picking the wrong one for your project doesn't break anything, it just makes your life harder than it needed to be.
What's the actual difference between Resolve Color Management and ACES?
Both are scene-referred color management systems. That phrase does a lot of work, so here's what it means in practice: instead of treating every pixel as a fixed brightness value between black and white, a scene-referred system treats pixel values as a record of how much light actually hit the camera sensor, with no upper limit. A cloud that's twice as bright as your subject's face gets a pixel value twice as large, even if that value is far outside what a normal display can show. Nothing gets clipped or squeezed until the very last step, when the image finally gets mapped down to a specific display.
Resolve Color Management, usually shortened to RCM, is Blackmagic Design's own implementation of that idea, built into DaVinci Resolve and tuned to feel like the Color page controls colorists already know. ACES, the Academy Color Encoding System, is a separate standard built and maintained by the Academy of Motion Picture Arts and Sciences, the same organization that runs the Oscars. Blackmagic Design is an official member of the ACES project, and DaVinci Resolve fully supports the standard, according to a technical breakdown from Dehancer's ACES guide. That's why you find ACES options sitting right next to Resolve's native color management in the same dropdown: Resolve implements both, as two entirely separate engines.
DaVinci Resolve Color Management and ACES solve the exact same problem, mapping scene light into a display, using two different color science engines, so they will never produce an identical image from identical source footage. Cullen Kelly, a Los Angeles-based senior colorist writing for Frame.io Insider, demonstrated this directly by configuring both systems with matching input and output settings on the same clip. The result: "The image changes a bit, doesn't it? Even though our color management frameworks are set up identically, we are getting two different visual reproductions." That's not a bug in either system. It's proof that RCM and ACES aren't the same math wearing different labels.
The rest of this guide walks through how each one actually works, then gets specific about which one fits your project, based on what kind of work you do and who else touches your footage before it reaches a screen.
What problem is a color management system actually solving?
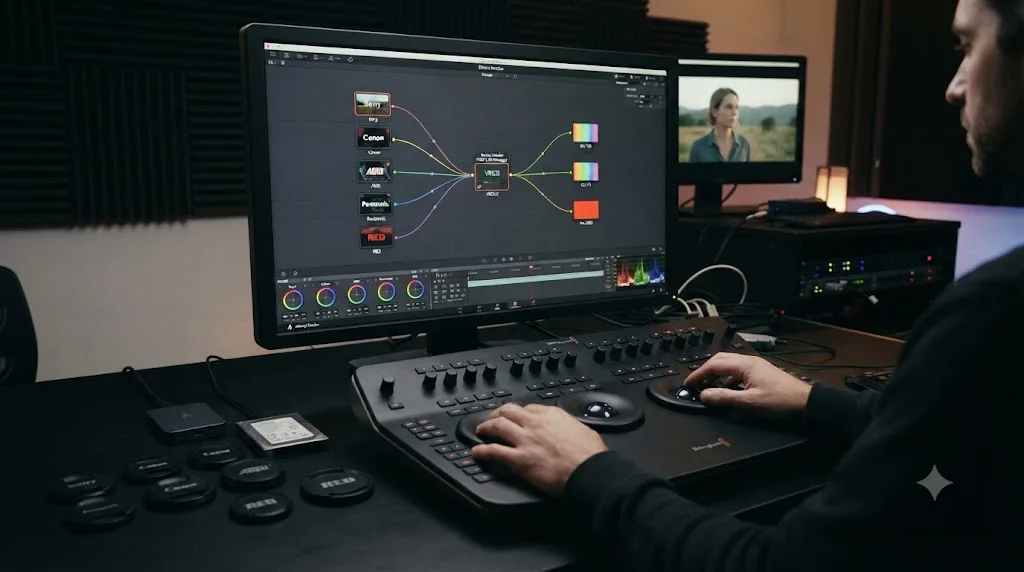
Before RCM or ACES existed, colorists dealt with camera-native color spaces directly. A Sony camera shot in S-Log3, an ARRI camera shot in LogC, a RED camera shot in Log3G10, and each one needed its own manual LUT or curve to look right, applied clip by clip, camera by camera. Mix five camera bodies on one timeline, and you had five different color recipes to keep straight, none of which talked to each other automatically.
A color management system fixes that by adding a translation layer. Every clip, regardless of what shot it, gets converted on the way in to one shared internal working space. You grade inside that shared space, where the tools behave consistently no matter which camera the footage came from. Then, on the way out, the system converts everything one more time to whatever the delivery format actually needs, a Rec.709 file for YouTube, a P3 file for a digital cinema package, an HDR file for a streaming platform.
That input-timeline-output structure is the same shape in both RCM and ACES. Per the DaVinci Resolve reference manual's entry on Resolve Color Management, RCM's three stages are the Input Color Space, which identifies each clip's native color science, the Timeline Color Space, the shared working space everything gets normalized into, and the Output Color Space, which defines the final monitoring and delivery format. ACES uses the same three-stage shape with different names: an Input Device Transform (IDT) converts camera-native footage into the ACES working space, a Reference Rendering Transform (RRT) processes that data into standardized image information, and an Output Device Transform (ODT) converts it to whatever display or delivery format you need.
Both systems exist to solve the same multi-camera consistency problem, converting every clip into one shared working space before grading and back out to a delivery format afterward, which is why they look structurally similar even though their internal math isn't. If you've ever wondered why RCM and ACES both ask you to pick an "input" setting per clip and an "output" setting once per project, this is why. It's the same architecture, implemented twice.
How does DaVinci Resolve Color Management actually work?
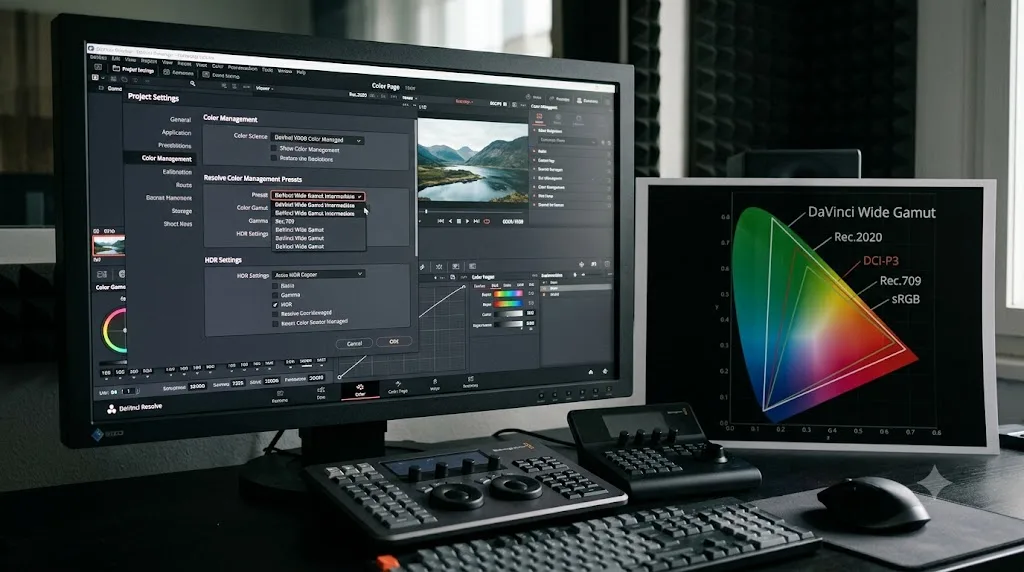
Turn on RCM in Project Settings, under the Color Management tab, by setting Color Science to "DaVinci YRGB Color Managed." A second dropdown appears called Color Management Preset. For nearly every project, the right choice there is DaVinci Wide Gamut Intermediate, Blackmagic's own internal working color space.
That working space is deliberately oversized. Per Blackmagic's own information note on the feature and a technical breakdown from cinapex, DaVinci Wide Gamut is built wider than Rec.2020, wider than ARRI Wide Gamut, and wider than even ACES itself. DaVinci Wide Gamut, Resolve's own working color space, is built wider than Rec.2020, ARRI Wide Gamut, and even ACES, so converting footage into it never throws away color or brightness information no matter what camera it came from. That headroom is the entire point: it means the automatic input conversion Resolve performs for you almost never clips highlights or crushes saturated colors, regardless of how exotic the source camera's own color space is.
Once footage lands in that shared space, you grade normally. Every tool on the Color page, Lift/Gamma/Gain, curves, qualifiers, power windows, behaves the way colorists who've used Resolve for years already expect, because RCM was built to approximate that familiar feel rather than introduce a new one. At the end of the pipeline, the Output Color Space setting converts your graded timeline to whatever you're actually delivering, Rec.709 Gamma 2.4 for most web and broadcast work, P3-D65 for digital cinema, Rec.2100 PQ or HLG for HDR streaming.
RCM isn't only useful on the Color page either. The reference manual notes that RCM "can be easier for editors to use in situations where the source material is log-encoded," because it automatically normalizes flat, low-contrast log footage to a properly exposed Rec.709 preview the moment it's assigned an input color space in the Media Pool, letting an editor cut against footage that actually looks right without ever opening the Color page.
Here's the practical setup, step by step, for a typical RCM project:
- Open Project Settings and go to the Color Management tab.
- Set Color Science to "DaVinci YRGB Color Managed."
- Under Color Management Preset, select "DaVinci Wide Gamut Intermediate" unless you have a specific reason to choose a narrower preset.
- Set the Timeline Color Space, which usually defaults to match the preset automatically.
- Set the Output Color Space to match your actual delivery target: Rec.709 Gamma 2.4 for most SDR web delivery, or an HDR preset if that's what you're finishing for.
- In the Media Pool, select your clips and assign the correct Input Color Space for each camera or format if Resolve doesn't detect it automatically. RAW footage is usually handled without manual input, per the reference manual's page on setting the input color space, while non-RAW log footage generally needs an explicit input tag.
- Grade normally on the Color page. The tools behave as they always have; RCM is working invisibly underneath.
That's the whole setup. No IDT libraries to browse, no version number to pick, no separate transform plugin to place in a node. Which is exactly the case Cullen Kelly makes for RCM as the default: if you're not already committed to an ACES-driven pipeline, RCM gives you the benefits of scene-referred color management "while approximating the feel that the DaVinci Resolve Color page controls have always had."
How does ACES actually work inside DaVinci Resolve?
ACES asks more of you upfront, and it's honest about why: it's designed to standardize color handling across facilities, software packages, and years, not just across cameras inside one project.
Set Color Science in Project Settings to "DaVinci ACEScc" or "DaVinci ACEScct," then pick an ACES version. Per Dehancer's technical guide, Resolve has offered ACES versions 1.0.3 through 1.3, and as of DaVinci Resolve 20, per a deep dive from cubiecolor, it added comprehensive support for ACES 2.0 as well, which carries forward into Resolve 21. ACEScc and ACEScct are two flavors of the same working color space; ACEScct adds a small roll-off at the toe, meaning it lifts the darkest shadow values slightly, which most colorists find behaves more like film stock and is gentler to grade against than ACEScc's harder cutoff.
The three-stage pipeline works like this. Raw footage from cameras that shoot RAW formats gets debayered automatically straight into the ACES working space, no manual step required. Non-RAW formats, ProRes, DNxHR, XAVC, and similar delivery codecs, need a manually assigned Input Device Transform (IDT) that matches the camera and color profile the footage was actually shot in, something like "Sony SLog3 SGamut3CINE" or an ARRI LogC3 profile. Get the IDT wrong and the footage still displays an image, but the color and exposure math underneath it is describing the wrong camera, which shows up as subtly wrong skin tones or contrast that never quite resolves no matter how you grade it.
On the output side, you pick an Output Device Transform (ODT) that matches your actual delivery target: Rec.709 for standard web and broadcast SDR, P3-D65 or DCI-P3 for cinema, Rec.2020 or a PQ/HLG variant for HDR streaming. ACES ships with a wide library of camera-specific IDTs and display-specific ODTs, covering ARRI, RED, Sony, Canon, Panasonic, and most other professional camera systems, which is part of what makes it attractive on a shoot mixing several camera brands: someone else has already built and validated the math for translating each one.
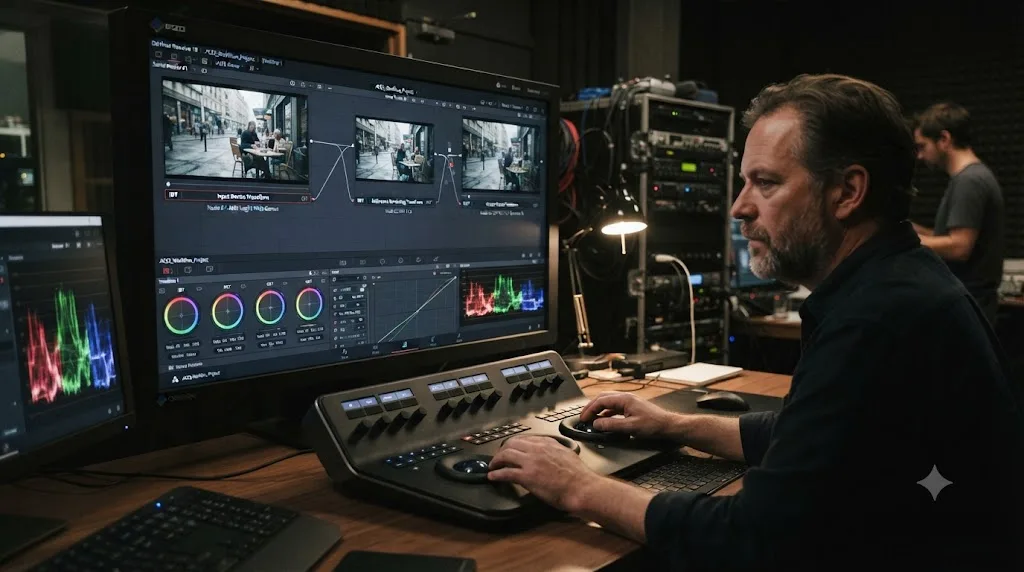
ACES exists to solve a handoff problem: getting the same color reproduction on a colorist's suite, a VFX facility's render farm, and a studio's QC room, none of which necessarily run DaVinci Resolve. That's the case Oliver Peters, an editor and colorist writing for ProVideo Coalition, makes plainly: "any serious colorist working with Resolve should spend a bit of time learning and getting comfortable with ACES," in part because, as he puts it, there's "no downside in adopting an ACES pipeline now for all of your Resolve Rec.709 projects" once you already know how it works.
Setup, step by step:
- Open Project Settings and go to the Color Management tab.
- Set Color Science to "DaVinci ACEScct" for most work, or "DaVinci ACEScc" if you specifically want the harder toe cutoff.
- Under ACES Version, select the latest supported version unless a facility you're delivering to specifies an older one for compatibility.
- Set the ACES Output Device Transform to match your monitoring and delivery target, Rec.709 for SDR web delivery, or a P3 or PQ/HLG variant for cinema and HDR work.
- For RAW camera footage, confirm Resolve is debayering directly into ACES; this usually needs no manual input.
- For non-RAW footage, assign the correct Input Device Transform per clip or per camera in the Media Pool, matching the camera and log profile it was actually shot in.
- Grade on the Color page as usual. Consider the ACES Transform OFX plugin, found under OpenFX in ResolveFX Color, for any additional manual ACES conversions inside a node, since it uses the Academy's own mathematically precise transforms rather than an approximation.
That's meaningfully more setup than RCM, and it stays that way for the life of the project: every new camera format that shows up needs its own correctly matched IDT, not an automatic detection.
Should you use RCM for a documentary, corporate video, or YouTube channel?
Yes, almost every time. This is the case where the decision is closest to obvious.
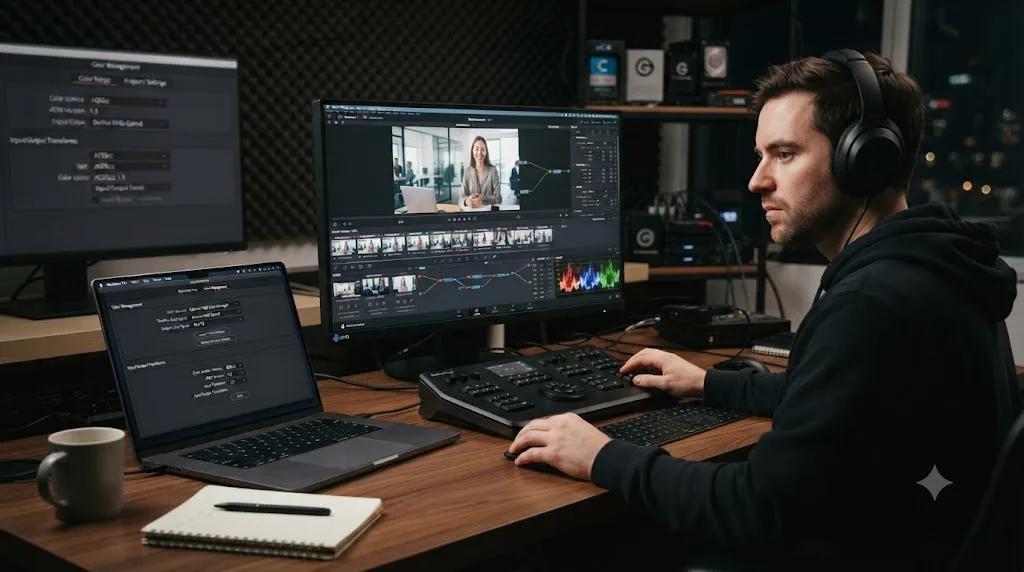
A documentary or corporate video that lives and dies inside one editor's Resolve project rarely needs ACES at all. If you shoot, edit, grade, and export the same piece inside one copy of DaVinci Resolve, with no VFX facility, no external colorist, and no studio spec sheet dictating your deliverable, you're the only person who ever touches the color pipeline. ACES's entire value proposition, standardizing color handoffs between different people and different software, doesn't apply when there's no handoff happening.
RCM gives you everything that actually matters for this kind of project: automatic normalization of log or RAW footage from whatever camera you shot on, a wide enough working gamut that mixing footage from a DSLR, a phone, and a dedicated cinema camera on the same timeline doesn't clip or crush anything, and grading tools that behave exactly like the Color page always has. You get scene-referred color management's real benefit, consistent, predictable grading across mismatched source cameras, without learning IDT names or ACES version numbers.
The one thing to watch for on this kind of project is DaVinci Resolve's built-in film emulation LUTs if you're using them for a creative look. A concern raised by a poster going by shebbe on an ACEScentral community thread applies here too: "The problem with the built in print film emulation LUTs of Resolve is that they expect a cineon film scan as input and output to Rec.709. Both properties are problematic because the LUT won't be able to deal with certain saturated colors from some cameras and the output is fixed." That's a reason to test a film LUT against your actual footage before committing to it as your creative look, in either RCM or ACES, rather than a reason to switch color management systems.
For a talking-head interview series, a corporate explainer, a wedding film, a YouTube channel, or a short documentary that isn't being handed off to a broadcaster's QC department, RCM with the DaVinci Wide Gamut Intermediate preset is the correct default. Stop reading the ACES sections and go grade.
Should you use ACES for a narrative film or HDR project?
Lean yes, and more strongly the more people and facilities touch your project after you.
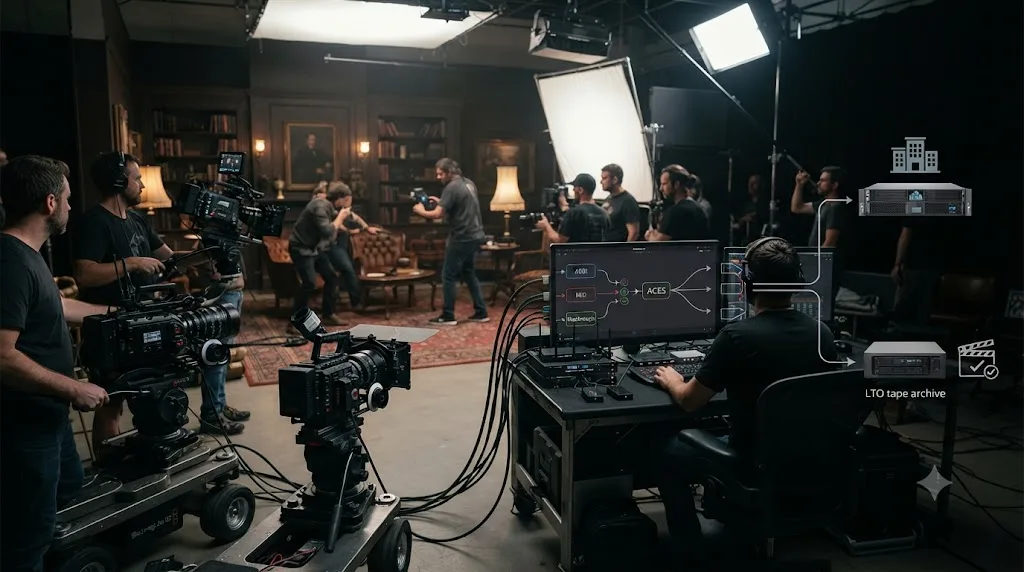
Narrative features and HDR deliverables tend to share two traits that push the decision toward ACES: multiple cameras on set that need to intercut seamlessly, and a delivery chain that extends past your own Resolve timeline into VFX, a different colorist's suite, or a studio's technical spec sheet. Both traits are exactly what ACES was built to standardize.
Start with cameras. A narrative shoot mixing an ARRI Alexa for hero coverage with a RED for a second unit, or GoPros for a crash-cam angle, needs every one of those sources to intercut without a visible seam. ACES's IDT library already has validated transforms for essentially every professional camera on the market, built and maintained by people whose job is getting that math right, rather than something you're reverse-engineering clip by clip.
Then there's the handoff problem. If your project goes to a VFX house for compositing work, or to an independent colorist for the final grade, or to a studio like Netflix for delivery, ACES gives everyone downstream a known, documented starting point instead of a Resolve-specific setup they have to reverse-engineer from your project file. Netflix's own Partner Help Center documents an ACES-based Resolve workflow as one of its recommended practices for delivering a Non-Graded Archival Master, the color-neutral master a studio needs before its own colorists do the final grade.
HDR adds a second reason on top of that. ACES's floating-point, scene-referred design carries far more dynamic range than Rec.709 was ever built to hold, per Dehancer's breakdown, which describes ACES as capable of encoding effectively the full range of colors the human eye can perceive. That headroom matters directly for HDR finishing, where you're mapping the same graded master to both an SDR trim and an HDR trim, and you want the extra highlight and shadow detail available for both passes rather than baked away during an early Rec.709-only conversion.
A documentary or corporate video that lives and dies inside one editor's Resolve project rarely needs ACES, but a narrative feature intercutting several camera systems and heading to a VFX pipeline or a studio delivery almost always benefits from it. That's the practical line, not "ACES is for professionals and RCM is for beginners." Plenty of professional colorists use RCM daily for exactly the kind of single-facility work described in the previous section.
What about a multi-camera shoot with mixed formats?
Both RCM and ACES handle multi-camera footage, but they close the gap between mismatched cameras through different means, and that difference matters more the wider the gap is.
RCM's automatic input detection and its oversized DaVinci Wide Gamut working space mean that footage from two or three reasonably common cameras usually normalizes cleanly with minimal manual setup. If your multicam rig is three of the same camera model, or two similar mirrorless bodies shooting a comparable log profile, RCM's automatic handling is often good enough on its own, and you can lean on Shot Match, a separate Resolve tool that computes an individual corrective grade per clip to bring mismatched exposure or white balance into line, for anything RCM's normalization doesn't fully close.
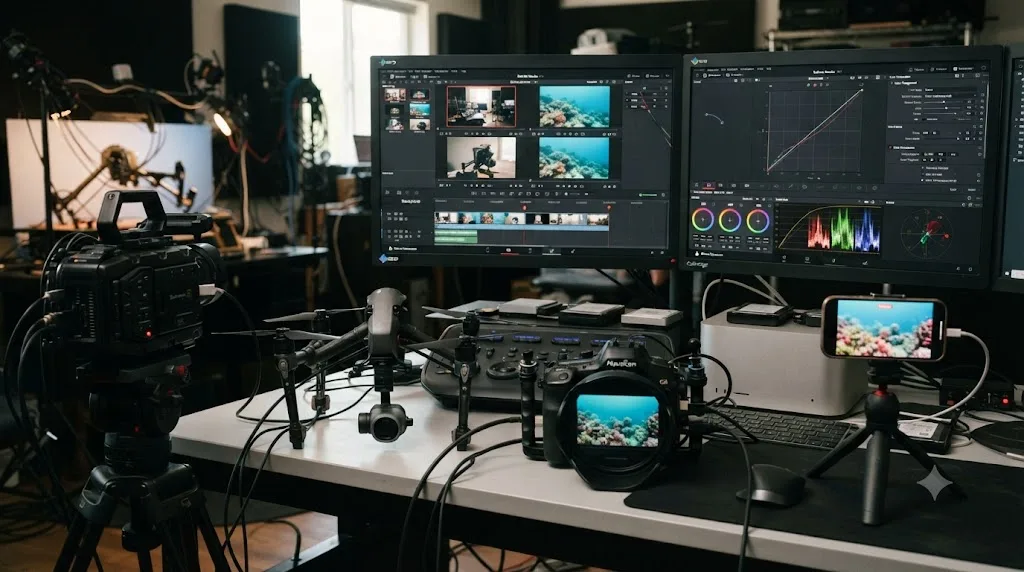
ACES tends to pull ahead once the camera mix gets more exotic: a shoot combining a cinema camera, a drone, an underwater housing rig, and a smartphone for crash-cam coverage, say, where each source has a meaningfully different native color science and dynamic range. ACES's per-camera IDT library was purpose-built for exactly this kind of mismatch, with validated transforms maintained by people whose job is getting each camera's math right rather than a general-purpose approximation.
| Scenario | RCM | ACES |
|---|---|---|
| One or two similar cameras, same shoot | Simple, automatic, minimal setup | More setup than the situation needs |
| Three or more disparate camera systems | Workable, may need per-clip tuning | IDT library handles more of the variation automatically |
| Footage going to one colorist, one facility | Sufficient on its own | Adds overhead with no handoff to justify it |
| Footage going to VFX, a second facility, or a studio | Possible, but requires documenting your custom setup for whoever's next | Standard format everyone downstream already expects |
If you're grading a multicam podcast or panel discussion where all the cameras are the same model, that's covered in more depth in our guide to copying a color grade to multiple clips in DaVinci Resolve, which applies identically whether your project runs RCM or ACES underneath, since both systems still use the same node graph and Color Groups once footage is normalized.
Does Netflix or another studio actually require ACES?
Not as an absolute mandate, but close enough in practice that it changes the decision for anyone delivering to one.
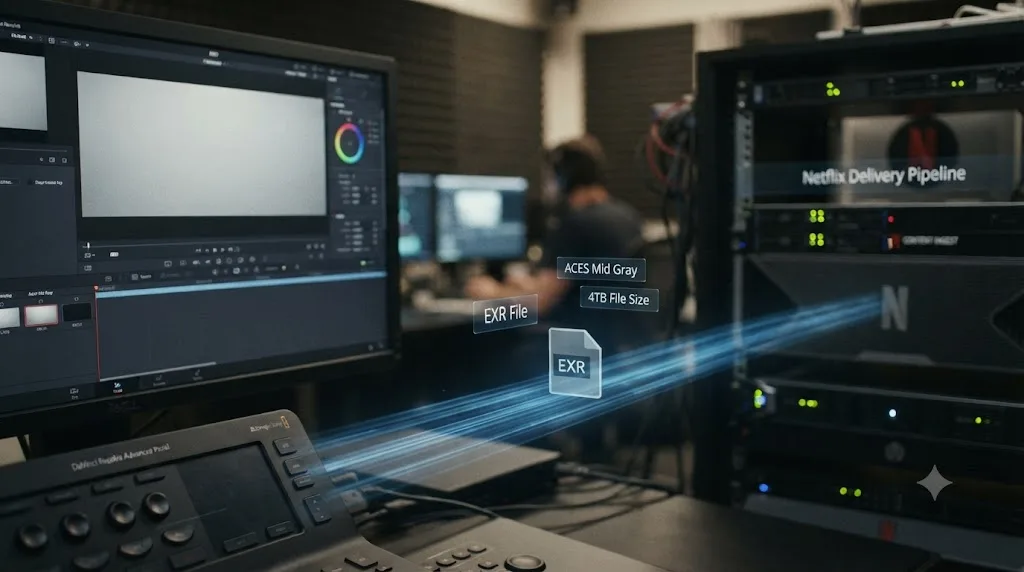
Netflix's own documentation is specific rather than vague on this point. Per its Partner Help Center article on ACES workflows in Resolve, the recommended setup includes ACEScct as the preferred color science over ACEScc, a Rec.709/BT.1886 output target calibrated to 100 cd/m2 peak luminance for SDR delivery, and a P3-D65 ST.2084 target at 1000 nits for most modern HDR displays. The document specifies maintaining an ACES Mid Gray Luminance value of 15.00 throughout the pipeline, and it defines the actual archival deliverable, the Non-Graded Archival Master (NAM), as an EXR file using the RGB half codec at 16-bit, with lossless ZIP or PIZ compression, UHD resolution or higher, and the ACES Output Device Transform disabled so the file outputs raw ACES Linear data (ACES 2065-1, also called AP0) rather than a display-referred image.
That's a genuinely different file than anything RCM produces by default. RCM's output is always tied to a specific display target, Rec.709, P3, whatever you set. A NAM deliverable is display-agnostic by design, meant to be re-graded by Netflix's own colorists from a color-neutral starting point rather than handed over already locked to one specific screen.
The tradeoff shows up as file size. Oliver Peters, testing his own footage for ProVideo Coalition, found that a 4K ProRes 4444 file expanding to an Open EXR ACES master went from 3.19GB to 43.21GB, a jump worth planning storage around before you commit an entire project to ACES archival delivery. He also notes that converting between different output formats under ACES requires "an extra trim pass" compared to a straightforward RCM export, though he still argues it's simpler overall than the alternative of hand-building custom transforms for a studio delivery spec.
Netflix isn't the only studio publishing an ACES-based delivery spec, and other streamers and broadcasters that maintain their own technical requirements documents tend to follow a similar shape: ACES-based color science, a specific mid-gray target, and an EXR-based archival master. If you know in advance that a project is headed to a studio with a published delivery spec, check that spec before you commit to RCM. Building a project in RCM and discovering the delivery requirement afterward means re-grading in ACES from a color science that never matched the target in the first place.
Neither Resolve Color Management nor ACES requires a DaVinci Resolve Studio license; both are available in the free version. That holds true for the Netflix delivery workflow described here too. Blackmagic's own product page lists Studio's exclusive features explicitly, the Neural Engine's AI tools, extra ResolveFX, Dolby Vision and HDR10+ metadata palettes, IMF and DCP export, and neither RCM nor ACES appears anywhere on that list, according to Blackmagic's Studio product page.
What's new in ACES 2.0, and does it change the decision?
Yes, for anyone who tried ACES years ago, disliked what they saw, and wrote it off.
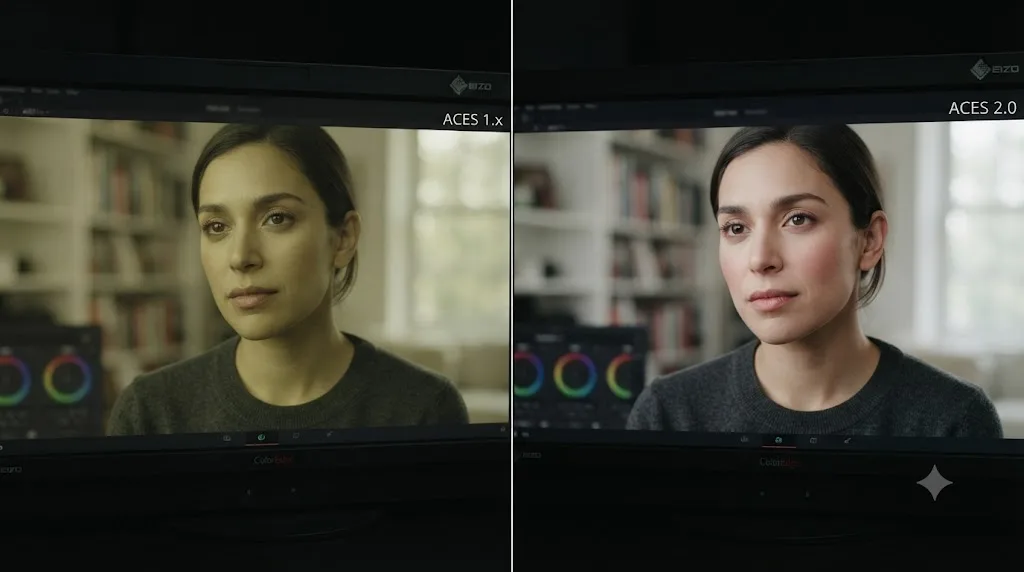
The most common complaint about ACES 1.x, going back years across colorist forums, was a specific look: an aggressive S-curve highlight rolloff that clipped bright detail harder than colorists expected, and a hue skew that pushed reds and skin tones toward yellow as exposure increased. On an ACEScentral community thread discussing DaVinci film looks and ACES, a poster going by daniele, a working color scientist active in that community, raised a related architectural concern about inverting an ACES output back through a display transform: "Your data after the inverse is not really anything else than blown up Rec.709. This defeats the whole purpose of a scene-referred colour management." The point wasn't that ACES itself was broken, it was that certain workflow shortcuts around it undermined the reason to use it in the first place.
ACES 2.0 directly addresses the highlight and skin tone complaints. Per a detailed breakdown from cubiecolor, the new version replaces the older "contoured, aggressive S-curve" tone scale with a softer highlight rolloff that preserves more detail before compressing it, and it presents skin tones as noticeably more neutral, moving away from the "typical yellowish cast" that ACES 1.x produced. Rather than manipulating individual RGB channels independently, which is what caused the hue skew in the first place, ACES 2.0 uses what cubiecolor describes as a "norm-based ratio-preserving tone-scale," applying its tone curve to an averaged channel value so hue and saturation ratios stay intact through the highlight compression. It also brings a more robust built-in gamut mapper, based on a simplified Hellwig 2022 color appearance model, that handles extreme, highly saturated colors more gracefully than the older version did.
DaVinci Resolve added comprehensive ACES 2.0 ODT support in version 20, and that support carries forward unchanged into Resolve 21. If you're working in ACES 2.0, the cubiecolor breakdown recommends leaving ACES Reference Gamut Compression (RGC) disabled, since ACES 2.0's own built-in gamut mapping already handles that job and layering the older RGC tool on top tends to fight it rather than help.
If your last experience with ACES left you with yellow-tinted skin and hard-clipped highlights, that was ACES 1.x, and ACES 2.0, standard in DaVinci Resolve 20 and 21, was built specifically to fix both complaints. It's worth a second look before assuming ACES still behaves the way it did the last time you tried it, whenever that was.
Do you need DaVinci Resolve Studio for either workflow?
No, and this is worth stating plainly because the ACES side of this decision can feel like it belongs to a paid, high-end tier of the software. It doesn't.
Both Resolve Color Management and ACES ship in the free version of DaVinci Resolve, with the full IDT and ODT libraries, ACES version selection, and the ACES Transform OFX plugin all included. Blackmagic's own Studio product page is specific about what the $295 upgrade actually adds: the DaVinci Neural Engine's AI-driven tools like Magic Mask, Super Scale, Speed Warp retiming, and Smart Reframe, more than 45 additional GPU-accelerated ResolveFX, stereoscopic 3D tools, Dolby Vision and HDR10+ metadata palettes, IMF and DCP export for cinema and broadcast delivery, and remote collaboration and monitoring features. Neither color management system appears anywhere on that list.
Where Studio does become relevant is adjacent to the color management decision rather than inside it. If your ACES-based HDR project needs Dolby Vision or HDR10+ metadata for streaming delivery, that metadata tooling is Studio-exclusive, even though the underlying ACES color pipeline that produced the grade isn't. Our guide to DaVinci Resolve's export settings for YouTube covers the Deliver page settings for a standard SDR export, which works identically whether your project's color science underneath is RCM or ACES.
So if you've been putting off testing ACES because you assumed it was locked behind the paid tier, that assumption is the only thing standing in your way. Open a free copy of Resolve, switch Color Science to DaVinci ACEScct on a test project, and see what it does to your footage before deciding anything.
What goes wrong when you mix up RCM and ACES habits?
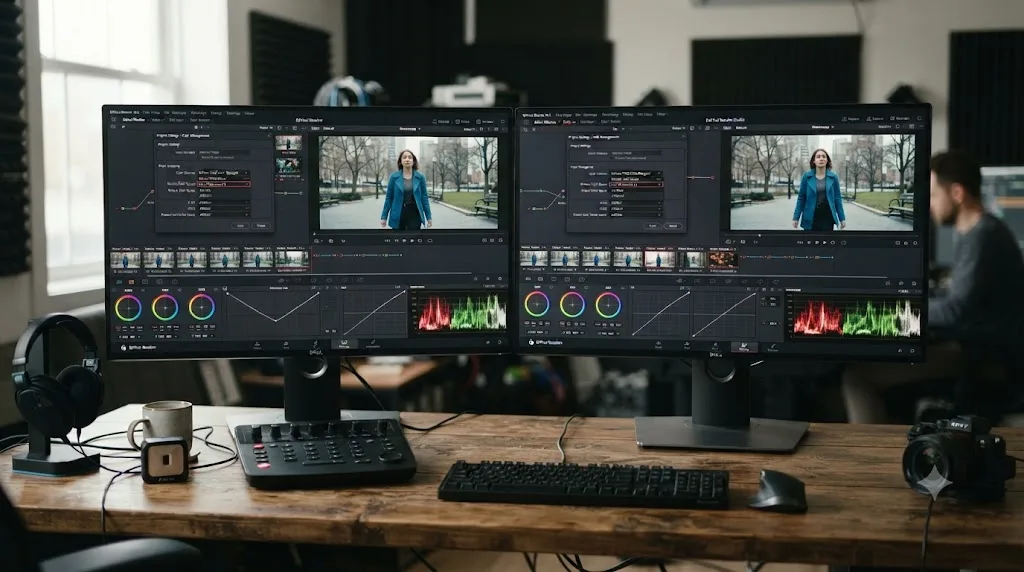
Most of the frustration colorists report with either system traces back to applying a habit or a tool built for one color management framework inside the other. Six mistakes account for nearly all of it.
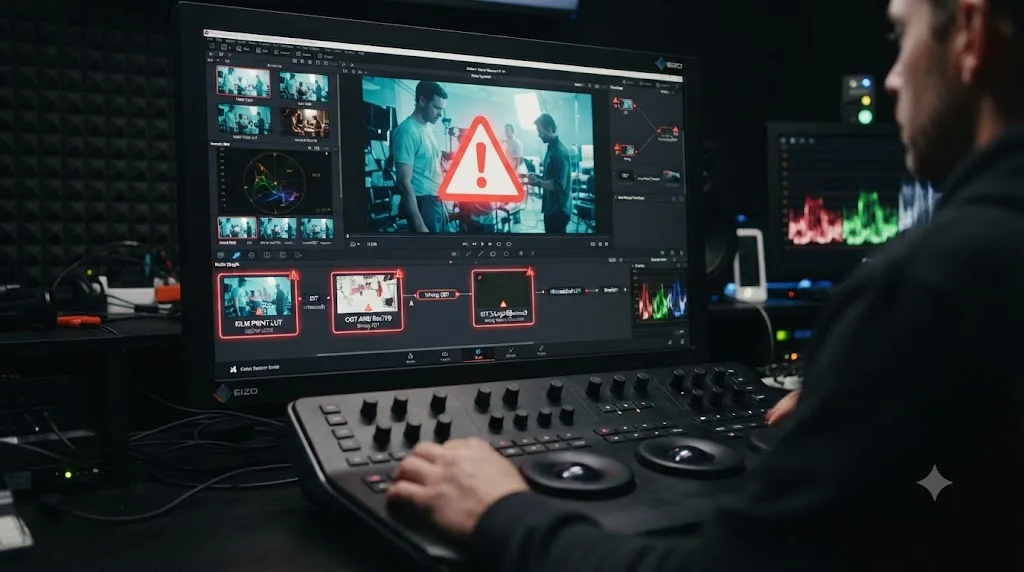
Using Resolve's built-in film emulation LUTs inside an ACES pipeline without checking their expected input. As shebbe explains on the ACEScentral thread referenced earlier, those LUTs "expect a cineon film scan as input and output to Rec.709," a fixed assumption that doesn't match ACES's floating-point, scene-referred data. Dropping one into an ACES node graph without an appropriate conversion around it produces unpredictable, often oversaturated results. Reach for LUTs specifically built for ACES color space instead, or convert carefully around a general-purpose one.
Inverting an ACES output back through a display transform as a shortcut. This is the mistake daniele flagged on the same thread: doing so leaves you with data that's "not really anything else than blown up Rec.709," which quietly defeats the entire point of working scene-referred in the first place. If you find yourself inverting an ODT to get back to something that looks like a normal image mid-pipeline, that's usually a sign the node structure needs rethinking, not a valid working step.
Picking the wrong Input Device Transform for a non-RAW camera format. Since ACES only debayers RAW footage into its working space automatically, every non-RAW clip needs a manually matched IDT. Assign the wrong one, ARRI LogC3 on Sony S-Log3 footage, say, and the footage still displays an image, it's just describing the wrong camera's math, which shows up as contrast and color that never quite resolve no matter how much you grade against it.
Forgetting that a copied grade doesn't survive a mid-project color science change. If you decide to switch a project from RCM to ACES partway through, every grade already built under RCM interprets differently once ACES is active, since the timeline color space itself changed underneath it. Cullen Kelly's advice on this is blunt: "The worst thing that you can do is second guess your color grade midway through your process. Once you have made a choice, stick with it." Decide before you start grading, not after.
Assuming RCM's automatic input detection is always correct. RCM handles RAW and most common log formats well, but an unusual or less common camera format can still need a manually assigned input color space in the Media Pool, the same way ACES needs a manual IDT for non-RAW footage. If a clip looks subtly off after RCM's automatic conversion, check its assigned input color space before assuming the grade itself is wrong.
Not checking a studio's delivery spec before committing to a color management system. As covered above, Netflix's own documentation and similar studio specs assume ACES from the start. Building an entire project in RCM and discovering the studio wants an ACES-based NAM afterward means re-grading from a color science that never matched the delivery target, rather than a quick export-settings fix.
Switching a project's color science after you've built grades on dozens of clips is not a settings toggle, it is a regrade. That one sentence covers the majority of "why does everything look wrong now" reports on both RCM and ACES forums. Pick your system at the start of the project, based on where the footage is coming from and where the finished piece is going, and the rest of this guide's advice becomes a lot less necessary to revisit mid-project.
Which DaVinci Resolve versions support which features?
Not every capability in this guide has been in Resolve equally long, which matters if you're on an older release or following a tutorial written before a specific feature existed.
| Feature | Introduced | Source |
|---|---|---|
| Resolve Color Management (RCM), DaVinci Wide Gamut Intermediate | Present across recent DaVinci Resolve releases as the default color-managed working space | Blackmagic's Wide Gamut Intermediate information note |
| ACES support (ACEScc, ACEScct, versions 1.0.3 through 1.3) | Longstanding, present across many prior DaVinci Resolve releases | Dehancer's ACES guide |
| ACES 2.0 ODT support | DaVinci Resolve 20, carried into Resolve 21 | cubiecolor's ACES 2.0 breakdown |
If a tutorial you're following references picking an ACES version and doesn't mention 2.0 at all, it likely predates Resolve 20 and is describing the older, more aggressive highlight and hue behavior covered earlier in this guide. The setup steps themselves, the Color Science dropdown, IDT and ODT assignment, haven't changed shape, only the newest version option available inside that same dropdown has.
A worked example: a one-camera interview documentary
Concrete cases hold together better than rules in the abstract, so here's one. Say you're cutting a feature-length interview documentary shot entirely on one camera body, delivering to your own YouTube channel and a handful of festival submissions that accept a standard Rec.709 file.
- Set Color Science to DaVinci YRGB Color Managed, with the DaVinci Wide Gamut Intermediate preset. One camera means no cross-camera matching problem to solve, so ACES's per-camera IDT library isn't buying you anything here.
- Set the Output Color Space to Rec.709 Gamma 2.4. That covers both YouTube and the overwhelming majority of festival submission specs without any further conversion.
- Confirm your camera's log profile is correctly assigned as the input color space in the Media Pool, especially if you shot in a log picture profile rather than the camera's standard Rec.709 mode.
- Grade normally on the Color page, using Color Groups if multiple interview setups across different locations need to share a base look, covered in more depth in our guide to copying a color grade to multiple clips.
- Export directly to your Rec.709 delivery format once the grade is locked. No trim pass, no archival master, no separate color science conversion required.
Five steps, no ACES terminology anywhere, and a result that's exactly as color-accurate as an ACES pipeline would have produced for this specific project, since there's no multi-camera mismatch and no external handoff for ACES to be solving.
A worked example: an indie narrative feature bound for a streaming platform
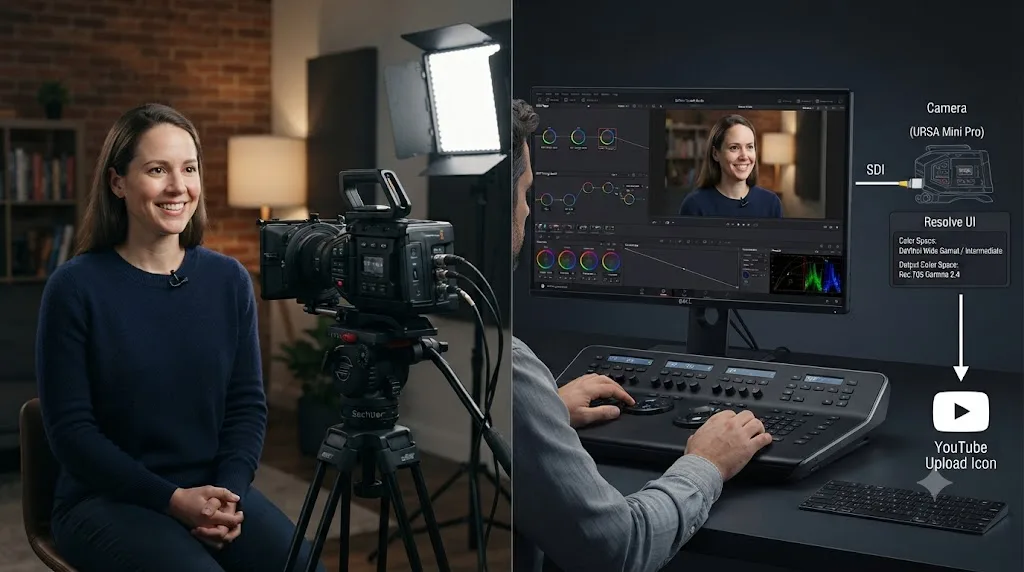
Now the messier, higher-stakes version. Say you're finishing an independent narrative feature, shot on a mix of an ARRI Alexa Mini for principal photography and a RED for a handful of action sequences, with a distribution deal that requires delivery to a streaming platform's published technical spec.
- Set Color Science to DaVinci ACEScct, and select the latest supported ACES version unless the platform's delivery spec calls for a specific older one.
- Assign the correct Input Device Transform for each camera. ARRI footage typically debayers straight into ACES if shot RAW; RED footage from non-RAW deliverables needs its specific IDT assigned per clip or per camera in the Media Pool.
- Grade the film with the ACES Output Device Transform set to match your monitoring display, most likely Rec.709 or P3-D65 depending on whether you're finishing SDR or HDR first.
- Cross-check skin tones and highlight rolloff against ACES 2.0's known behavior, covered earlier in this guide, rather than assuming an older ACES 1.x look if you haven't worked in Resolve 20 or 21's ACES implementation before.
- Read the platform's actual delivery specification before your final export, not after. If it calls for a Non-Graded Archival Master, that's typically an EXR file at 16-bit RGB half, with the ACES Output Device Transform disabled so the export carries raw ACES Linear data rather than a display-mapped image, per Netflix's published example of this workflow.
- Budget storage for the archival master well before your export deadline. As Oliver Peters found in his own testing, a 4K ProRes 4444 file can expand roughly thirteen-fold when converted to an EXR-based ACES master, a jump that catches people off guard if they haven't planned drive space around it in advance.
- Keep a separate SDR and HDR trim pass distinct, since ACES's scene-referred design is what makes deriving both from one master straightforward, but they're still two separate output passes, not one export that serves both automatically.
Seven steps, more setup than the documentary example, but every extra step is buying something specific: cross-camera consistency, a validated handoff to a studio's own pipeline, and enough dynamic range headroom to serve both an SDR and an HDR deliverable from the same graded master.
Which one should you actually use?
Here's the full comparison, side by side, for the decision you're actually facing.
| Factor | Resolve Color Management | ACES |
|---|---|---|
| Setup complexity | Low: one preset, mostly automatic | Higher: IDT per non-RAW camera, ODT, version selection |
| Best for | Single-editor, single-facility projects | Multi-facility handoffs, VFX pipelines, studio delivery |
| Camera matching | Good for one to a few similar cameras | Strong for wide, mismatched camera mixes |
| Studio and streaming delivery specs | Rarely the format specified | Frequently the documented default |
| Requires DaVinci Resolve Studio | No | No |
| Working color space | DaVinci Wide Gamut, wider than Rec.2020 and ARRI Wide Gamut | ACES AP0/AP1, effectively the full range of visible color |
| Archival master file size | Not applicable; output is display-referred | Significantly larger (roughly 13x in one documented ProRes-to-EXR test) |
| Feel on the Color page | Matches Resolve's traditional grading controls closely | Same tools, different underlying math and response curve |
If you only take one row from this table, make it this: a documentary or corporate video that lives and dies inside one editor's Resolve project rarely needs ACES at all, and a narrative feature or HDR project handed to a VFX facility, a second colorist, or a streaming platform almost always benefits from it. Everything else in this guide, the IDT and ODT mechanics, the ACES 2.0 changes, the Netflix delivery spec, exists to help you execute whichever side of that line your project actually falls on.
Where do you go from here?
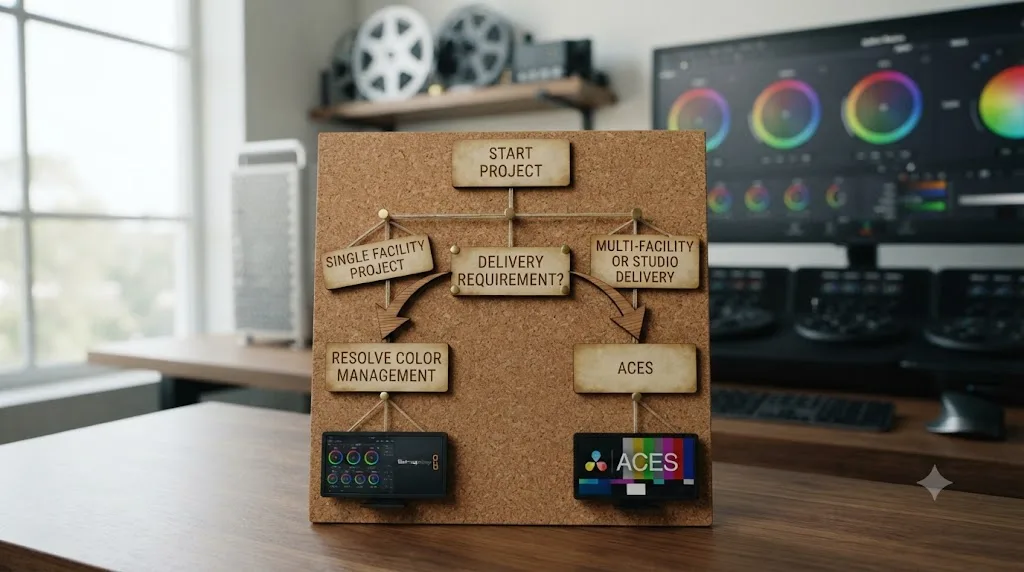
Pick based on who else touches your footage after you, not on which system sounds more professional. A solo-edited YouTube video, corporate piece, or documentary gets Resolve Color Management with the DaVinci Wide Gamut Intermediate preset, full stop. A narrative feature intercutting several camera systems, or any project with a studio, streamer, or VFX facility waiting downstream, gets ACES, ideally ACES 2.0 if you're on Resolve 20 or 21, from the very first day of the project rather than as a mid-shoot correction.
Whichever one you pick, commit to it before you build your first grade. Cullen Kelly's warning is worth repeating on its own: don't second guess your color management framework midway through a project. The setup decision covered in this guide takes ten minutes in Project Settings. Unwinding the wrong one after forty clips are already graded takes considerably longer.
Once your color science is locked and your grade is holding up under whatever monitor you're checking it on, the next question is usually export settings, not color management. If you're finishing for YouTube specifically, our guide to DaVinci Resolve's YouTube export settings covers the Deliver page settings that keep a graded timeline looking the way you intended after upload, regardless of whether RCM or ACES sits underneath it. And if your Color page ever goes blank mid-session and you're not sure whether it's a color management problem or something simpler, check our guide to DaVinci Resolve's Color tab not showing footage before assuming your project or your grade is broken.
If you're mid-grade and can't remember which dropdown holds the IDT selector or whether you're looking at ACEScc or ACEScct, TryUncle is the assistant that watches your actual Resolve window and points straight at the control, faster than scrolling back through a settings panel full of similar-sounding names. It won't make the RCM-versus-ACES decision for you, that depends on where your project is actually headed, but once you've made the call, it can save you the ten minutes of menu-hunting that used to come next.
Frequently asked questions
- Should I use DaVinci Resolve Color Management or ACES for a YouTube video?
- Resolve Color Management. Pick the DaVinci Wide Gamut Intermediate preset in Project Settings, and you get scene-referred color management, better handling of log and RAW footage, and a normalized Rec.709 timeline, without learning IDTs, ODTs, or ACES version numbers. ACES adds complexity that a single-editor YouTube project has no use for.
- Does Netflix require ACES in DaVinci Resolve?
- Netflix doesn't mandate ACES as the only path, but its own Partner Help Center documents an ACES-based workflow as one of the recommended ways to deliver a Non-Graded Archival Master, with ACEScct color science, specific mid-gray luminance targets, and EXR output. If you're delivering to Netflix or a similarly ACES-fluent studio, using ACES from the start avoids a color science conversion later.
- Can I switch a DaVinci Resolve project from RCM to ACES partway through?
- Technically yes, Resolve lets you change the Color Science dropdown at any point, but every existing grade built under the old color science interprets differently under the new one. It isn't a settings toggle, it's a regrade. Decide your color management framework at the start of a project and stick with it.
- Do I need DaVinci Resolve Studio to use ACES or Resolve Color Management?
- No. Neither Resolve Color Management nor ACES appears on Blackmagic's own list of Studio-exclusive features, which covers things like the Neural Engine's AI tools, HDR grading palettes, and extra ResolveFX. Both color management systems work identically in the free version.
- Why do RCM and ACES look different on the exact same footage with matching settings?
- Because they're two separate color science engines solving the same scene-referred problem with different math. Resolve Color Management uses Blackmagic's own DaVinci Wide Gamut transforms. ACES uses the Academy's Reference Rendering Transform and Output Device Transforms. Feed identical footage through both with matching input and output settings, and you'll still get two different-looking images, since the transforms in between aren't the same.
- What changed with ACES 2.0 in DaVinci Resolve?
- ACES 2.0 support arrived in DaVinci Resolve 20 and carries into Resolve 21. It replaces the older, more aggressive S-curve highlight rolloff with a softer one, and it reduces the hue skew that pushed skin tones and reds toward yellow under ACES 1.x. If you tried ACES years ago and disliked the color shifts, ACES 2.0 addresses the specific complaint.
Sources
- Resolve Color Management vs ACES, Which Should You Choose? by Cullen Kelly (Frame.io Insider)
- Is ACES Right for You? by Oliver Peters (ProVideo Coalition)
- Color Managed Workflow in Resolve: ACES (Netflix Partner Help Center)
- DaVinci Resolve 18.6 Reference Manual: Resolve Color Management for Editors (Blackmagic Design, mirrored)
- DaVinci Resolve 18.6 Reference Manual: Color Management Using ACES (Blackmagic Design, mirrored)
- DaVinci Resolve 18.6 Reference Manual: Setting the Input Color Space (Blackmagic Design, mirrored)
- DaVinci Resolve 17: Wide Gamut Intermediate (Blackmagic Design information note, PDF)
- DaVinci Wide Gamut and DaVinci Intermediate: Why Blackmagic Built Its Own Color Space (cinapex)
- Davinci Film Looks and ACES color managment (ACEScentral community thread)
- Leveraging ACES 2.0 in DaVinci Resolve, by Aniket Bhattacharjee (cubiecolor)
- What is ACES and how to use it in DaVinci Resolve (Dehancer Blog)
- DaVinci Resolve Studio product page (Blackmagic Design)
- DaVinci Resolve - Color (Blackmagic Design product page)
Learn by doing, not watching
Stop translating tutorials to your timeline.
TryUncle stays beside Resolve on Mac and Windows. When you ask, Uncle sees your screen and points at the exact control you need. No hunting through tabs, timestamps, or mismatched tutorials.
Meet TryUncleKeep reading
 GuidesJul 8, 202633 min read
DaVinci Resolve Color Tab Not Showing Footage: Every Fix
Why DaVinci Resolve's Color page shows an empty timeline instead of your footage, and the exact filter, track, timeline, and cache fixes that solve it.
 GuidesJul 8, 202639 min read
How to Copy a Color Grade to Multiple Clips in DaVinci Resolve
Every way to copy a DaVinci Resolve color grade to multiple clips: copy/paste, middle-click, Gallery stills, PowerGrades, Color Groups, and more.
 GuidesJul 7, 202632 min read
DaVinci Resolve Export Settings for YouTube (Copy These Exactly)
The exact DaVinci Resolve export settings YouTube recommends: codec, bitrate, resolution, audio, and the Deliver page steps that avoid soft uploads.