
Learn / DaVinci Resolveupdated for DaVinci Resolve 21.0.3 (July 2026)
Why Does DaVinci Resolve Include the Next Clip When Marking Out?
Quick answer
DaVinci Resolve includes the next clip when marking out because out points are inclusive of whatever frame the playhead shows, and jumping to the next edit point with Down Arrow lands the playhead on the next clip's first frame, not the current clip's last frame. Step back one frame before pressing O, or press X to mark it automatically.
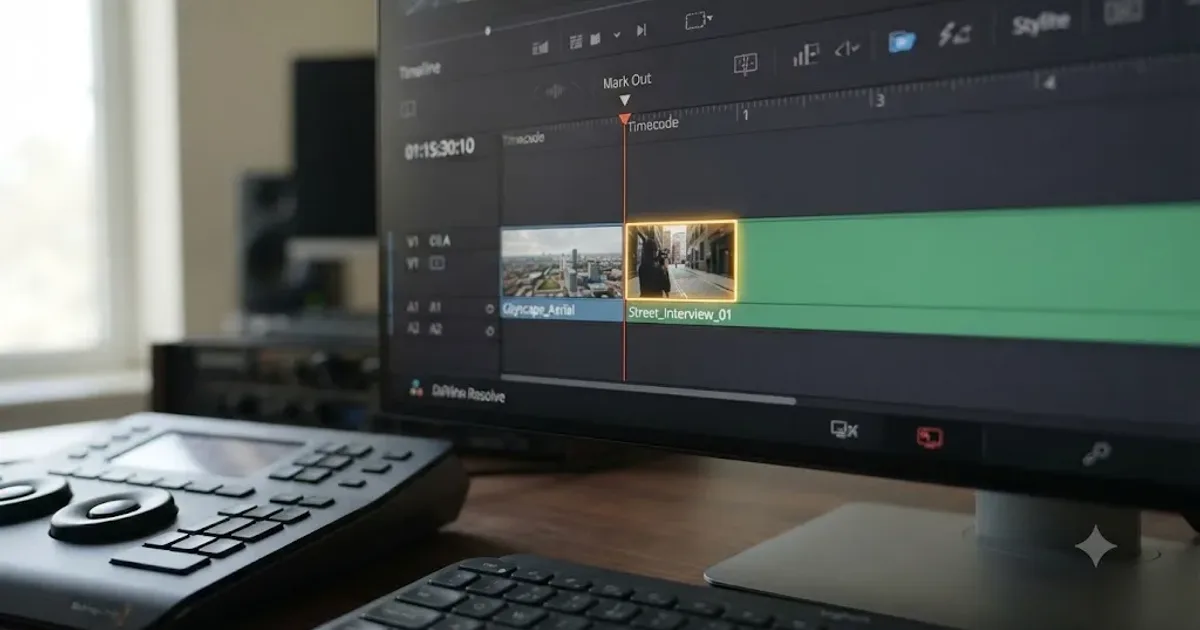
I've watched this exact mix-up happen in our own edit bays more times than I can count. You scrub to what looks like the end of a clip, tap O, and somehow your out point is sitting one frame inside the next shot. Nothing about your timeline is broken. You just marked a real frame, and it happened to belong to the wrong clip.
This guide walks through why that frame is there, why it's not a Resolve bug, and the three habits that make it stop happening for good.
Why Does DaVinci Resolve Include the Next Clip When Marking Out?
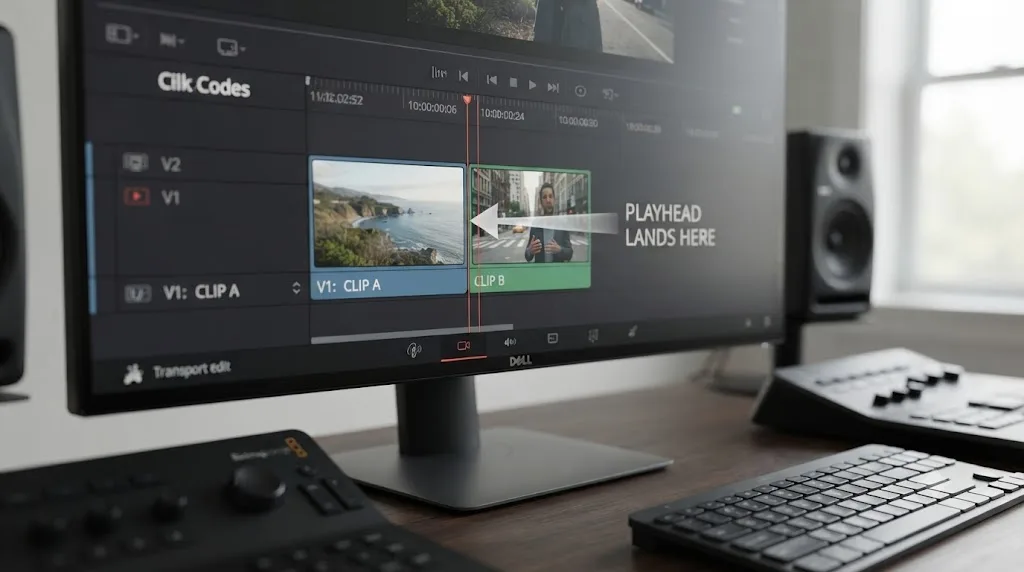
DaVinci Resolve includes the next clip when you mark an out point because the out point is inclusive of whatever frame the playhead is showing at that instant, and the most common way editors navigate to "the end" of a clip, pressing Down Arrow to jump to the next edit point, actually lands the playhead on the first frame of the following clip, not the last frame of the current one.
That's the whole mechanism in one sentence. There's no corruption, no dropped frame, no rendering glitch. You told Resolve to mark the frame under the playhead, and the playhead happened to be standing on a frame that belongs to the next shot.
This mix-up comes up often enough that it's one of the recurring questions in our 100,000+ member editing community, right alongside "why is my footage offline" and "where did my grade go." It's a small thing. But it's the kind of small thing that costs you a re-export, or worse, ships as a one-frame flash frame nobody catches until a client does.
DaVinci Resolve's out point always includes whatever frame the playhead is showing, never the frame after it. Understanding that one rule explains every version of this problem you'll ever run into, whether you hit it marking a simple out point, trimming for an insert edit, or setting a render range on the Deliver page.
Why Is My Out Point One Frame Into the Next Clip?
Your out point lands one frame into the next clip because a playhead can only ever represent a single frame, and DaVinci Resolve's "next edit" navigation is built to jump you to the start of the next event on the timeline, which is, by definition, the first frame of whatever comes after your current clip.
This isn't unique to Resolve, and it isn't a fringe opinion. R Neil Haugen, a longtime Adobe Community expert, explained the underlying logic clearly in a thread about the same exact complaint in Premiere Pro: "The playhead, or Current Time Indicator (CTI) shows the current location of the 'playhead', meaning which frame is playing. It does not, nor can it, indicate a space, as no such thing as a space exists." He continued: "So the position of the playhead always selects the next frame down the sequence. Always." according to the Adobe Community thread on out points landing one frame too far.
Video is frames, back to back, with nothing between them. There's no half-frame gap for a playhead to park in "between" two clips. It has to be sitting on one specific frame or the other, and the frame it lands on when you jump forward to the next edit is the incoming frame of the next clip, not the outgoing frame of the current one.
Ahsen Jawed, writing for Hollyland's editing blog, describes the exact symptom this produces in DaVinci Resolve specifically: "After setting, the Out point gets out of frame due to the playhead snapping. Moving the playhead will automatically place it in the first frame of the following clip." His fix is the same one covered in detail below: "To capture the exact frames, manually move the playhead one frame back. Then press 'O' to set the out point, and it will precisely capture the last visible frame," according to his guide to clearing in and out points in DaVinci Resolve.
Pressing Down Arrow to jump to the next edit point lands you on the first frame of the next clip, not the last frame of the current one. That's the specific habit that causes this, far more often than manual scrubbing does, because manual scrubbing with the arrow keys or J/K/L lets you see and stop on the last frame directly, while jump-to-edit navigation is designed to land you exactly on the cut, on the incoming side.
| What you did | Where the playhead actually lands | What happens if you mark out there |
|---|---|---|
| Pressed Down Arrow to jump to the next edit point | First frame of the next clip | Out point includes one frame of the next clip |
| Scrubbed manually with Left/Right Arrow and stopped on what looked like the last frame | Wherever you actually stopped, which is usually correct if you watched the frame counter | Correct, as long as you verified the frame number |
| Used J/K/L shuttle and released near the cut | Depends on playback speed and reaction time, often one or two frames past where you meant | Out point can include one or more frames of the next clip |
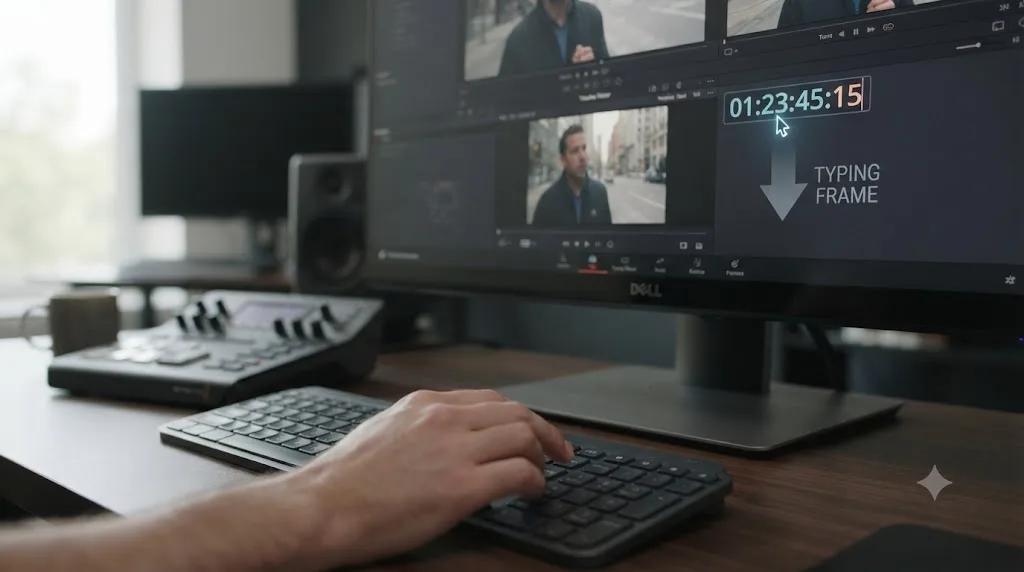
| Typed an exact timecode into the transport field | Exactly the typed frame, no ambiguity | Correct every time, since there's no navigation step to misjudge |
What If You've Remapped Your Keyboard Shortcuts?
The fix changes, a little. The mechanism does not.
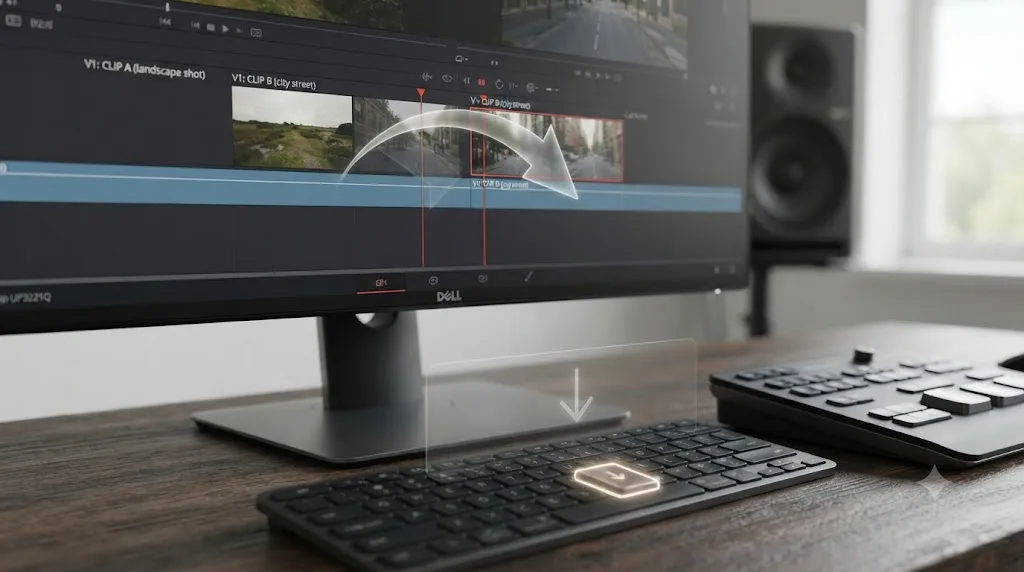
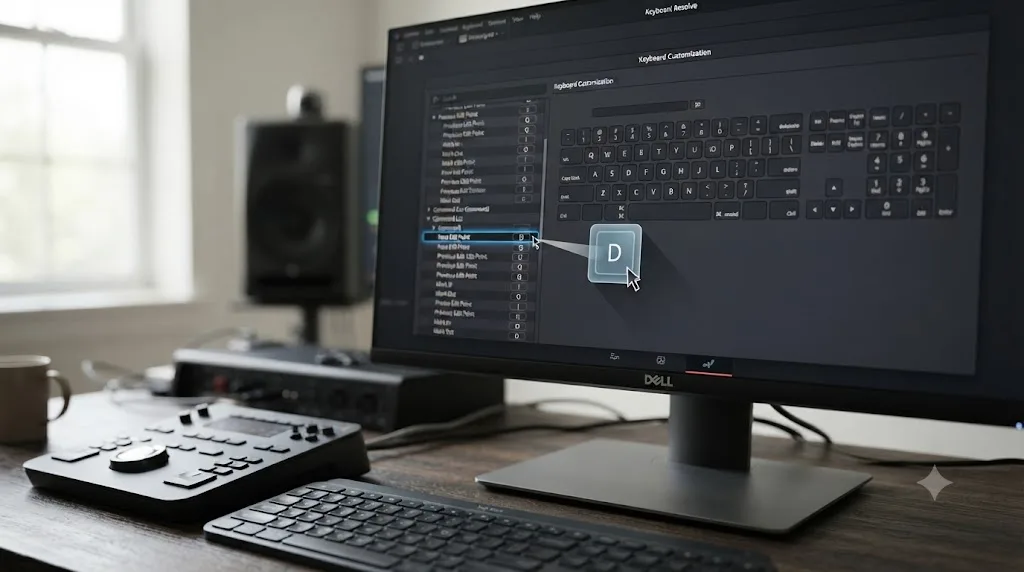
Down Arrow is DaVinci Resolve's default key for "Next Edit Point," but it's just a label attached to a command, not a law of physics. Open Keyboard Customization (Command-Option-K on Mac, Ctrl-Alt-K on Windows) and you'll find a full list of commands, each one bound to whatever key you or a preset assigned it. According to the DaVinci Resolve manual's page on Keyboard Customization, the window "lets you choose which set of keyboard shortcuts to use, discover available keyboard shortcuts, or create custom keyboard mappings," including presets that mimic other NLEs entirely.
That matters here because plenty of editors switching from another app load one of those presets on day one, Premiere Pro, Final Cut Pro 7, Avid, and never think about it again. If you're running one of those presets, or you've hand-remapped your own keys, "press Down Arrow to jump to the next edit" might not even be true on your machine. What is true, no matter which preset you're running, is that whatever key you've bound to Next Edit Point still lands the playhead on the incoming frame of the following clip, because that's what the command does, not what the key does.
The manual is direct about how far this remapping goes: "You can even map a single command to multiple keys, if necessary," and remapping a key that's already claimed by another command triggers a warning rather than silently overwriting it, according to the manual's page on remapping a command to one or more keys. So if you're troubleshooting this issue on a heavily customized keyboard and Left Arrow, Right Arrow, or O don't do what this guide describes, check Keyboard Customization first. There's a real chance you, or a preset you loaded once and forgot about, moved the function this guide is describing onto a different key entirely.
The out point mix-up follows the "Next Edit Point" command, not the Down Arrow key specifically, so remapping your keyboard moves the trigger without changing the underlying behavior. Mark Clip (X) and typed timecode entry sidestep the problem either way, since neither one depends on which key jumps you to an edit point. If you've customized your layout and this guide's specific keys aren't matching what you see on screen, those two fixes are the ones to lean on, because they don't care what preset you're running.
How Do I Mark an Out Point Without Grabbing the Next Clip?
You mark an out point without grabbing the next clip by confirming you're on the current clip's true last frame before pressing O, either by stepping back one frame manually, letting DaVinci Resolve mark the clip's boundaries for you, or typing an exact timecode instead of navigating to one.
Here's the reliable order to work through, starting with the fastest fix for a mistake you've already made:
- Step back one frame first. If you've just jumped to what you think is the end of a clip using Down Arrow, tap Left Arrow once before pressing O. This single habit, checking the frame counter or just adding the extra keystroke as a reflex, prevents the mistake before it happens rather than fixing it after.
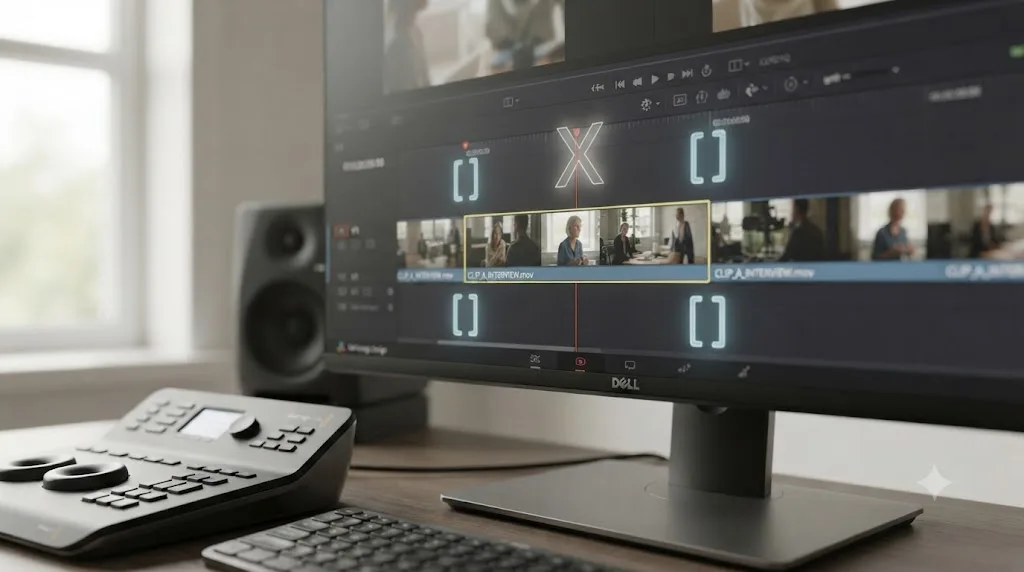
- Use Mark Clip (X) instead of manually marking in and out. Select the clip on the timeline, not the playhead position, just the clip itself, and press X. DaVinci Resolve sets both the in and out points to that clip's actual start and end frames automatically. There's no scrubbing, no navigation, and no chance of landing on the wrong frame, because you're not relying on the playhead's position at all. Jason Castillo, writing a shortcuts roundup for FreeVisuals, describes it plainly: "Want to quickly mark an entire clip without manually setting in and out points? X is your shortcut. It's great for when you know you'll use the full clip and don't want to waste time marking it manually," according to his DaVinci Resolve keyboard shortcuts guide.
- Type the exact timecode instead of scrubbing to it. Click the timecode field above the Timeline Viewer, type the frame number you actually want, and press Enter. This moves the playhead to a value you specified, not a value you navigated to and hoped was correct. It's slower than a keyboard shortcut for a single mark, but it's the most reliable method when frame accuracy actually matters, like matching a reference edit or a beat in music.
- If you've already made the mistake, clear just the out point and redo it. Press Option-O on Mac or Alt-O on Windows to clear the out point without touching your in point, then mark out again using one of the methods above.
Pressing X to mark a selected clip sets in and out points to its exact boundaries and removes the guesswork entirely. This is the fastest fix on this list precisely because it sidesteps the whole problem. You're never relying on the playhead's position to define the edit, so there's no frame to misjudge.
Is This a Bug in DaVinci Resolve, or Does Every NLE Do This?
This isn't a DaVinci Resolve bug. Every professional non-linear editor treats an out point the same way, because the underlying rule, a playhead can only represent a displayed frame and never a gap between frames, is a property of how digital video works, not a design choice specific to any one application.
The Adobe Community thread cited earlier addresses this directly, and it's worth quoting because editors moving between NLEs frequently assume this is a Resolve quirk when it's actually the industry norm. Haugen states it flatly: "As in operation, all professional NLEs have exactly the same behavior," and adds, referring specifically to Premiere and Resolve, "the CTI behavior is consistent between them," per the same Adobe Community thread. Community expert Ann Bens, in the same thread, offers a Premiere-specific workaround that mirrors Resolve's Mark Clip function almost exactly: "Lasso clip(s) then hit forward slash. In and out with one keystroke and no extra frame on the end." That's functionally the same fix as pressing X in Resolve, select the clip, let the software define its own boundaries, and skip the playhead entirely.
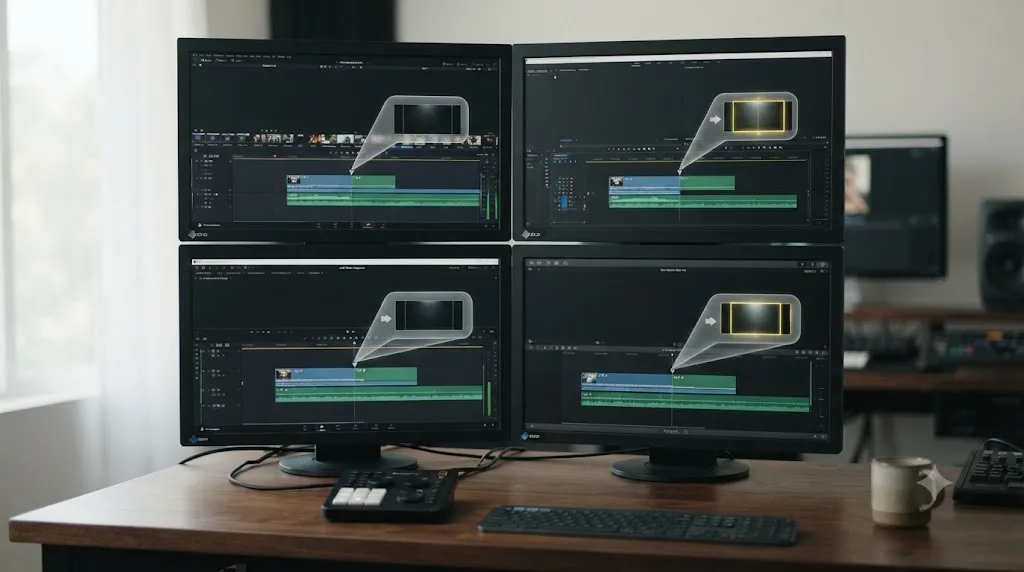
Every professional NLE treats the playhead the same way, because a frame is a unit of time and there is no gap between frames for the playhead to sit in. Avid, Final Cut Pro, Premiere Pro, and DaVinci Resolve all share this same fundamental rule, even though the specific keyboard shortcuts and navigation shortcuts differ between them.
| Editor | Out point behavior | Documented workaround |
|---|---|---|
| DaVinci Resolve | Inclusive of the displayed frame; jumping to next edit lands on next clip's first frame | Step back one frame, use Mark Clip (X), or type exact timecode |
| Adobe Premiere Pro | Same inclusive behavior; playhead "always selects the next frame down the sequence" per Adobe Community | Lasso the clip and press forward slash to mark in/out with one keystroke |
| Avid Media Composer | Same behavior, described by Haugen as identical across "all professional NLEs" | Mark clip (equivalent shortcut) instead of manual scrub-and-mark |
| Final Cut Pro | Same underlying frame-based playhead logic | Select clip and use Range Selection tools instead of playhead-based marking |
If you're coming to Resolve from another editor and this is the first time you've hit it, it's worth knowing it's not something you did wrong on the way in. It's the same rule you were already working under, just surfaced by a different keyboard shortcut layout.
Does This Affect Your Export or Render Range Too?
Yes. If you're using in and out points to define a render range on the Deliver page, or to trim media during an insert or overwrite edit from the Source Viewer, an out point that landed one frame into the next clip carries that extra frame straight into whatever you do next.
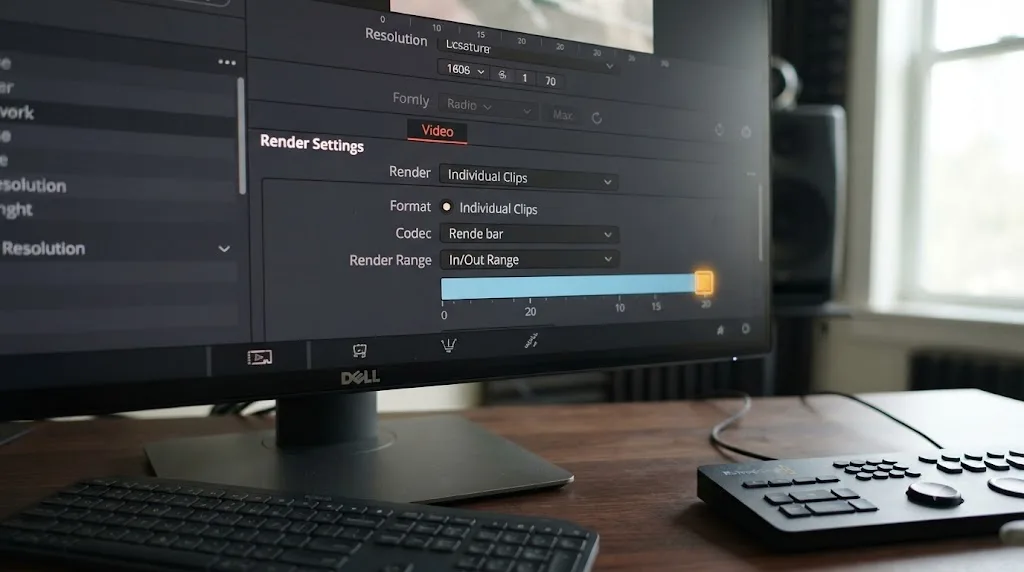
On the Deliver page, DaVinci Resolve gives you a render setting for "In/Out Range," which renders only the section of the timeline between your marked in and out points instead of the whole thing. If your out point is one frame into the next clip, your rendered file ends with a single frame from a shot that shouldn't be there. At 24 frames per second that's roughly 42 milliseconds. It's not enough to notice on a casual watch-through, but it's exactly the kind of thing that shows up as a "flash frame" complaint from a client, or throws off a frame-accurate sync if you're delivering to a broadcast spec or matching an existing cut.
The same applies when you mark in and out points in the Source Viewer to define what gets inserted onto the timeline from a bin clip. If your out point in the source clip lands one frame past where you meant, an insert or overwrite edit pulls that extra frame onto your timeline, and now you've got a one-frame problem baked into your edit that you'll only catch by scrubbing frame by frame or noticing a stray flash during playback.
An out point that grabs one extra frame is a navigation habit, not a broken timeline. That's genuinely good news here. It means the fix is behavioral, not technical. Once you build the habit of stepping back a frame or reaching for Mark Clip instead of scrubbing, this stops costing you re-renders entirely.
If you're working with a timeline where multiple frame rates are mixed and playback already looks uneven for other reasons, that's a separate and larger problem worth ruling out first. Our guide to DaVinci Resolve mixed frame rate timeline jitter covers that specifically, since a jittery timeline can make it harder to tell exactly which frame you're parked on in the first place.
What's the Difference Between Marking an Out Point and Trimming an Edit Point Directly?
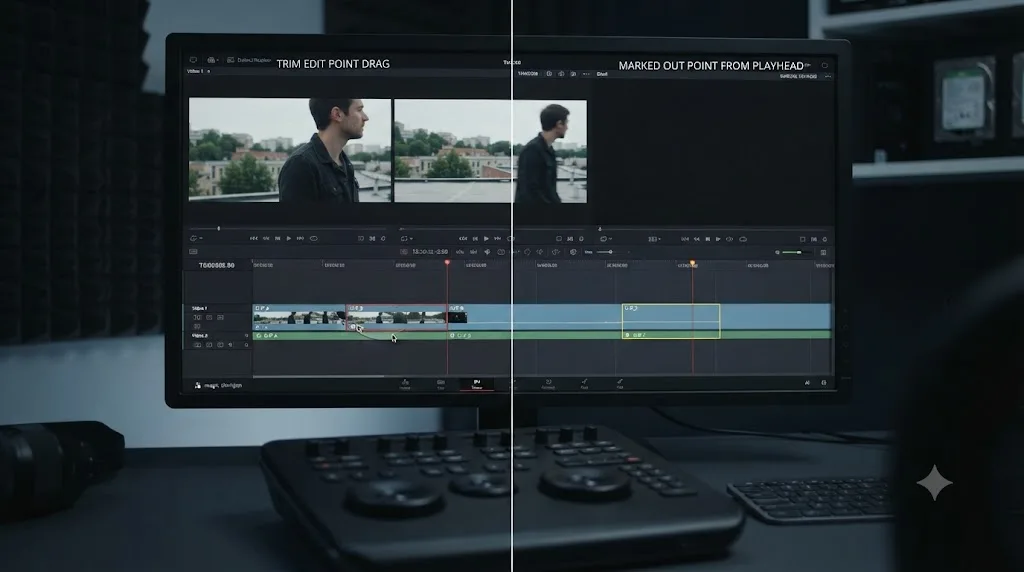
Marking an out point sets a reference point based on wherever the playhead is standing, while trimming an edit point directly, by dragging the boundary between two clips on the timeline, moves the actual cut and shows you the new frame live as you drag, which is why trimming doesn't suffer from the same next-clip mix-up.
When you drag an edit point with the Trim Edit tool, or grab a clip's edge directly, DaVinci Resolve shows you exactly which frame the boundary lands on in real time, frame by frame, as you move the mouse or nudge with the arrow keys. There's no separate navigation step where you jump somewhere and then commit a mark based on wherever you ended up. The trim and the mark are the same action, happening simultaneously, so there's nothing to misjudge.
This matters because it tells you something useful about when this mistake can happen at all: it's specific to the mark-based workflow, pressing I or O while the playhead sits somewhere you navigated to beforehand. If you're trimming edit points directly on the timeline instead of marking in and out points, you've sidestepped this entire category of mistake by construction, since you can see the exact frame the cut lands on before you let go of the mouse.
That's not an argument for abandoning in/out marking. It's genuinely faster for a lot of workflows, especially three-point editing from the Source Viewer where you're not trimming an existing edit at all, you're defining a new one. It's just worth knowing that the two techniques carry different risk profiles, and reaching for direct trimming when frame accuracy really matters, like a specific action beat or a music hit, sidesteps the whole problem.
Does Marking In and Out Points From the Source Viewer Have the Same Problem?
Yes, and it's actually more common there than on the timeline, because the Source Viewer is where three-point editing happens, and editors scrubbing through a long piece of raw footage to find a clean out point are navigating with the same frame-based playhead logic as the timeline.
The mechanism doesn't change between the two viewers. Whether you're marking in and out points on a clip sitting in the Source Viewer before an insert edit, or on the timeline itself, the out point captures whatever frame is currently displayed. The difference is context: on the timeline, the "next clip" you accidentally grab a frame of is whatever's physically next to your current clip. In the Source Viewer, marking too far can pull in a frame from later in the same source clip, past a natural pause or action beat you meant to cut on, rather than a separate clip entirely.
According to the DaVinci Resolve manual's page on clearing and navigating in and out points, "Simple In and Out points let you join the audio and video of two clips at a single edit point in the Timeline," and the manual also documents split in and out points for cases where you want video and audio to cut at different frames, accessed by right-clicking the Jog Bar and choosing Mark Split, with dedicated shortcuts for Mark Video In, Mark Audio In, Mark Video Out, and Mark Audio Out.
If you're working a split edit specifically, marking video and audio out points separately, the same frame-accuracy advice applies to each one independently. A split edit with an off-by-one video out point is still a video-out-point mistake, it just happens to be paired with an audio point that isn't affected the same way.
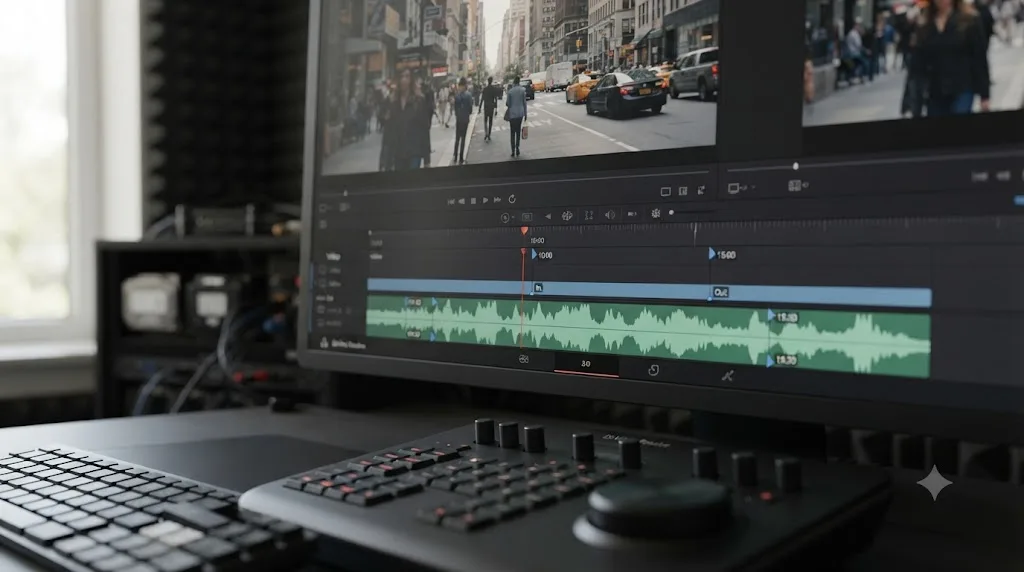
Does Marking In and Out Work the Same Way on a Multicam Clip?
Yes, and it's worth calling out specifically because a multicam clip looks like it should be an exception. It isn't.
A multicam clip bundles several synced camera angles into what DaVinci Resolve treats as one object once it's built. According to Larry Jordan's guide to getting started with multicam editing in DaVinci Resolve, "once flattened, a multicam clip acts just like any other group of clips." For the purposes of marking in and out points, that's the whole answer: the multicam clip on your timeline is a single clip as far as O, I, and Down Arrow are concerned, regardless of how many camera angles are packed inside it or how often you switch between them while editing.
That means the exact mechanism covered throughout this guide applies without modification. Jump to the next edit point past a multicam block with Down Arrow, and the playhead lands on the first frame of whatever comes after it, another multicam block, a single-camera clip, a title, it doesn't matter which. Press O right after that jump without checking the frame counter, and you've marked a frame that belongs to the next thing on your timeline, not the last frame of your multicam edit.
Where multicam work actually differs is upstream of marking out points, in how you switch camera angles while the playhead is moving. That's a separate action from I and O, handled during playback or scrubbing with the angle-switching shortcuts, and it has its own frame-timing considerations that have nothing to do with the out-point rule this guide covers. Don't conflate the two. If your multicam edit has the wrong angle active at a cut, that's an angle-switch timing issue. If it has an extra frame of the wrong shot at the very end of a range, that's the same out-point mix-up as everywhere else in this guide, and the same three fixes, step back a frame, press X, or type an exact timecode, apply exactly as written.
A multicam clip is one clip for out-point purposes, no matter how many camera angles are synced inside it, so the fix for a stray out-point frame is identical to any other clip on your timeline. If you're building a multicam sequence and want the fuller workflow, our guide to the DaVinci Resolve multicam editing workflow for interviews covers syncing, switching, and flattening in depth.
Does This Happen When You're Working with Retimed or Speed-Ramped Clips?
Yes, for the same reason it happens everywhere else in this guide: retiming changes how many frames a clip takes up, not the rule that governs where an out point lands.
A speed-ramped or slow-motion clip still plays back one frame at a time on your timeline, even though Retime Controls or the Retime Curve are stretching, compressing, or blending those frames to hit a target speed. The playhead moving across a retimed clip is still landing on one displayed frame at a time, exactly like it does on a clip playing at 100 percent speed. Nothing about retiming changes the fact that an out point captures whatever frame is currently on screen, and nothing about it changes what Down Arrow does when you jump to the next edit point.
Where retiming actually adds friction is judgment, not mechanics. A clip slowed to 50 percent takes up twice as much timeline real estate as its source footage, which means there's more room to misjudge exactly where "the end" is while scrubbing, and more frames near a cut that look visually similar to each other during a slow-motion stretch. That's a bigger margin for a scrubbing mistake, not a different bug. The same three fixes handle it the same way: step back a frame before marking out, press X to let Resolve mark the clip's actual boundaries instead of relying on the playhead, or type an exact timecode if you know precisely which frame you want.
One thing worth double-checking on a heavily retimed clip specifically: confirm you're reading the timeline's frame counter, not a counter referencing the clip's original, unretimed source frame count, before you trust what "one frame back" actually means. If you've opened Retime Controls and you're navigating inside that view rather than on the main timeline, you're looking at the clip's own internal timing, and the step-back-one-frame habit still works, but it's stepping back a frame of the retimed result, not a frame of the original file.
Retiming a clip changes how many frames it occupies on your timeline, not the rule that an out point captures whatever frame the playhead is displaying. The same navigation habits, and the same three fixes, work on a speed-ramped clip exactly as they do on a clip playing at normal speed.
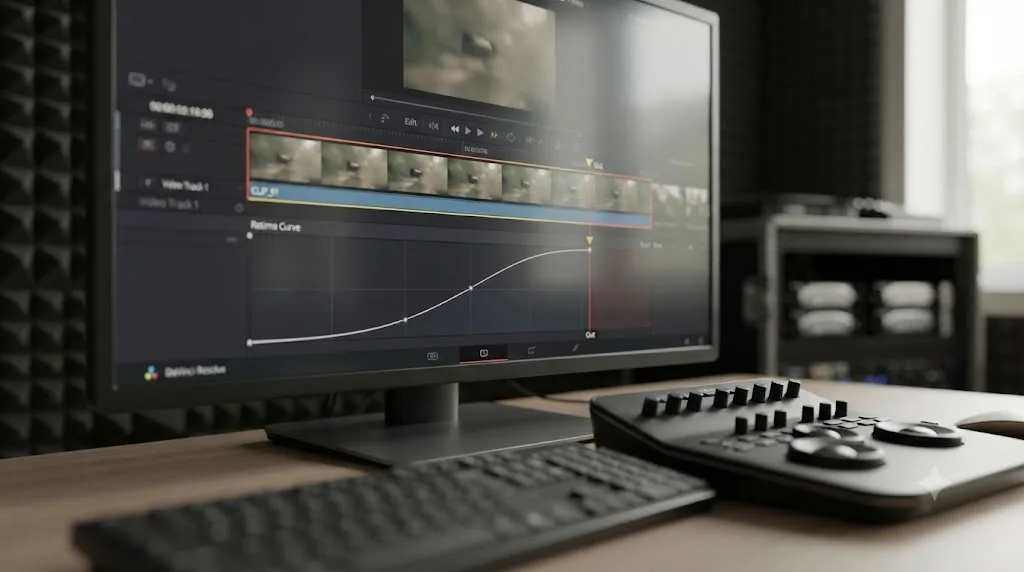
Does This Behave Differently on the Cut Page Than the Edit Page?
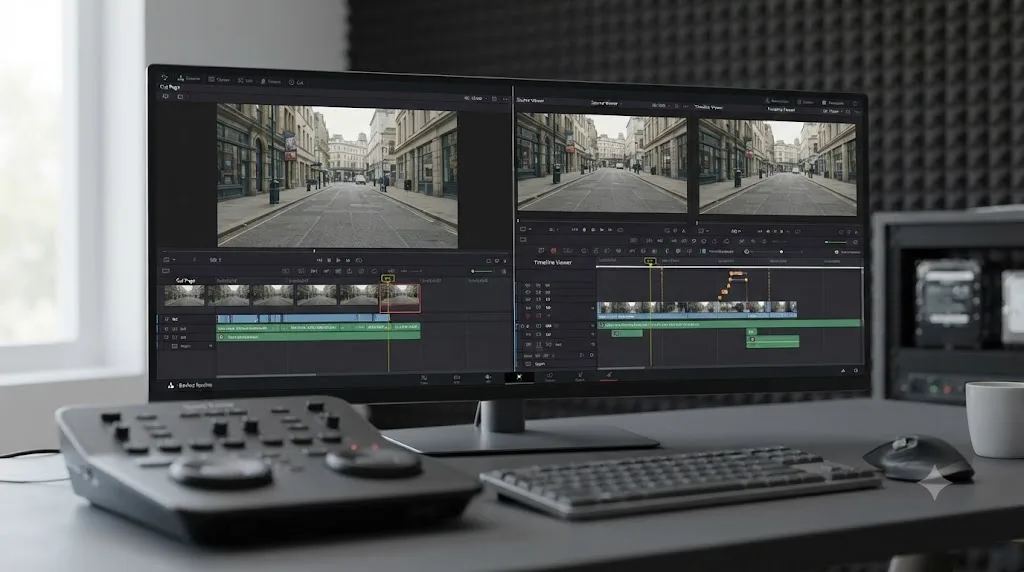
The underlying rule is identical on both pages, but the Cut page's simplified, single-viewer layout makes it easier to lose track of exactly which frame you're parked on, since you don't have the Edit page's permanent side-by-side Source and Timeline viewers to cross-check against.
On the Edit page, you typically have both viewers visible at once, which means you can see the Source Viewer's frame and the Timeline Viewer's frame simultaneously and catch a mismatch quickly. The Cut page, by design, streamlines this down to fewer visible controls to speed up fast turnaround editing, and that simplicity is exactly why a stray out point is easier to miss there. You mark out, move on, and don't notice the extra frame until you're reviewing the finished cut.
If you're doing precision work, matching a specific action frame, cutting to a beat, or preparing a render range for delivery, switching to the Edit page's dual-viewer layout gives you the visual confirmation the Cut page doesn't surface as readily. The mark-clip and typed-timecode fixes above work identically on both pages, since they're playhead-independent by design, but the manual scrub-and-mark method benefits the most from the Edit page's extra visibility.
Editors who only ever work on the Cut page are the ones most likely to ship a stray frame without noticing, simply because there's one less viewer confirming what they just marked. That's not a knock on the Cut page. It's built for speed on rough assembly, not frame-precise delivery marks, and it's doing exactly what it's designed to do.
Does This Happen in the Free Version of DaVinci Resolve Too?
Yes, without exception. Marking in and out points, jumping between edit points, and the frame-inclusive out point rule are all part of Resolve's core timeline navigation, not a DaVinci Resolve Studio feature, so free-version and Studio editors run into this exact same mix-up in exactly the same way.
This is worth being direct about, because plenty of playback and rendering quirks genuinely do split along the free-versus-Studio line, and it's reasonable to wonder if this is one of them. It isn't. Per Blackmagic Design's own free versus Studio comparison page, the features that separate the two tiers are things like certain Neural Engine tools, some noise reduction and resolution options, HDR grading tools, and higher-end delivery formats, not fundamental edit-page navigation like marking in and out points, Mark Clip, or jump-to-edit-point shortcuts. Those are foundational to how Resolve's timeline works at all, and Blackmagic ships them identically across both versions.
| Cause of the extra frame | Free version | Studio |
|---|---|---|
| Out point inclusive of displayed frame | Affects both equally | Affects both equally |
| Down Arrow jumping to next clip's first frame | Affects both equally | Affects both equally |
| Mark Clip (X) as the fix | Available in both | Available in both |
| Typed timecode entry as the fix | Available in both | Available in both |
A Worked Example, Start to Finish
Here's how this plays out on an actual project, and how the fix looks in practice once you know what to check.
A freelance editor cutting a branded documentary segment is assembling a sit-down interview intercut with b-roll. She's trimming the interview clip down to the exact line she wants before moving to color.
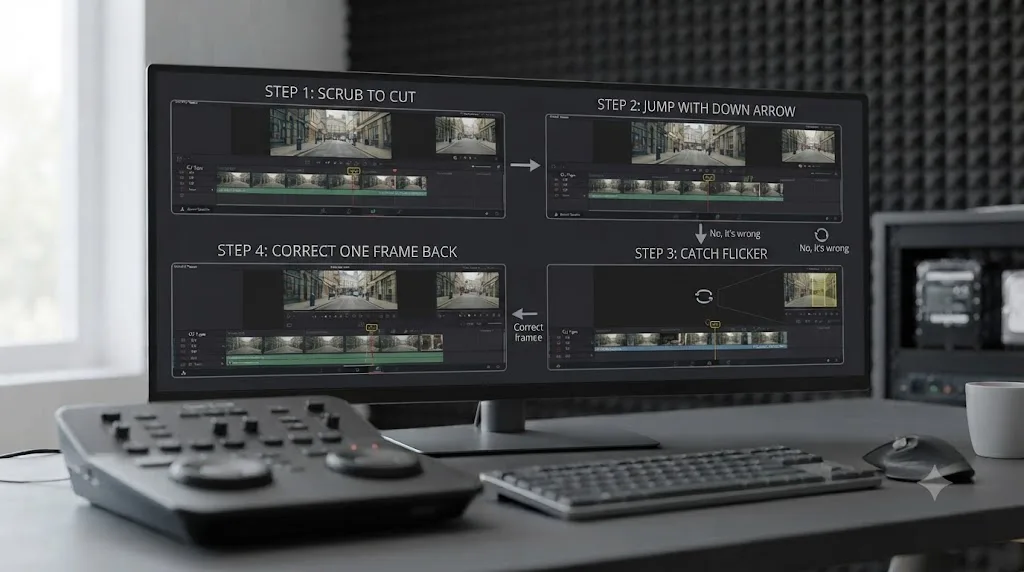
- She scrubs to what looks like the end of the sentence using J/K/L shuttle, releases near what she thinks is the last word, and presses Down Arrow out of habit to snap cleanly to the edit point, assuming it'll land her precisely on the clip's last frame.
- She presses O to mark the out point without double-checking the frame counter first.
- She plays back the trimmed selection to confirm the cut. For a fraction of a second before the audio finishes, she catches a flicker, the very start of the next b-roll clip's first frame, visible for a single frame before the selection ends.
- She checks the frame counter at the position of her out point and confirms it's sitting one frame into the b-roll clip, not on the interview clip's actual last frame.
- She presses Option-O to clear just the out point, taps Left Arrow once to step back onto the interview clip's true last frame, and presses O again.
- She plays it back a second time. The flicker is gone, and the cut ends cleanly on the interview clip with no trace of the next shot.
Total time cost: about fifteen seconds, once she knew what she was looking for. The pattern worth remembering isn't the specific project, it's the habit: after using Down Arrow or any jump-to-edit navigation, treat the resulting frame as unverified until you've either checked the counter or built in the automatic one-frame step-back as a reflex.
Quick Reference: Symptom, Cause, and Fix
Match what you're actually seeing to the row below before you start second-guessing your project or your source media.
| Symptom | Likely cause | Fix |
|---|---|---|
| A single frame of the next clip flashes at the very end of a marked selection or export | Out point marked while playhead sat on the next clip's first frame | Step back one frame (Left Arrow) before pressing O, then re-mark |
| Out point consistently lands one frame past where you scrubbed to using Down Arrow | Down Arrow's "next edit" navigation lands on the incoming frame of the following clip by design | Confirm the frame counter before marking, or use Mark Clip instead |
| Render range on the Deliver page is one frame longer than expected | The marked out point used for In/Out Range render carried the extra frame forward | Clear and re-mark the out point using Mark Clip or typed timecode, then re-render |
| The same mistake keeps happening even when you're careful | Manual scrub-and-mark is inherently dependent on catching the right frame every time | Switch to Mark Clip (X) for whole-clip selections, which never touches the playhead at all |
| You're not sure if this is specific to your project or version | It isn't. It's the same behavior documented across Premiere, Avid, and Final Cut Pro | No fix needed beyond the habit changes above, this is expected NLE behavior |
| Split edits (video/audio offset) show the same one-frame issue on just one track | The affected in or out point, video or audio, was marked the same way as any single point | Fix the specific split point independently using the same step-back or Mark Clip approach |
| Down Arrow (or your usual jump-to-edit key) doesn't seem to match this guide's behavior | Keyboard shortcuts remapped, a custom preset, or a non-default NLE emulation preset loaded | Check Keyboard Customization for what's bound to Next Edit Point; Mark Clip and typed timecode work regardless of preset |
| A multicam or retimed clip's out point grabs an extra frame | Same inclusive out-point rule, just applied to a clip type that feels like it should be an exception | Same fix: step back a frame, press X, or type an exact timecode |
The Verdict
DaVinci Resolve including the next clip when you mark an out point isn't a glitch you need to report or a setting you need to change. It's the direct, documented consequence of two things working exactly as designed: an out point that always includes the frame the playhead is displaying, and a "jump to next edit" shortcut that, by definition, lands you on the incoming frame of whatever comes next rather than the outgoing frame of what you're leaving.
Once you know that, the fix stops being a mystery and becomes a habit. Step back one frame before marking out after any jump-to-edit navigation. Better yet, stop relying on the playhead at all for whole-clip selections and press X to let Resolve mark the clip's actual boundaries for you. If frame accuracy really matters, type the timecode instead of scrubbing to it. Any one of these three habits ends this problem for good, and you can use whichever fits the moment instead of memorizing all three for every situation.
It's worth saying plainly, the way we'd say it to anyone on our own team who hit this for the first time: this isn't something you did wrong, and it isn't unique to Resolve. Every professional NLE we've cut inside over seven years of commercial editing work handles the playhead this exact same way, for the same underlying reason. The habit that fixes it takes about a day to become automatic.
TryUncle is the on-screen assistant for DaVinci Resolve on macOS. Ask in plain words and Uncle points at the exact control on your screen, instead of you hunting through a Preferences window or a browser tab full of screenshots while your actual project sits open and waiting. That's a different job from tools like Sottocut, PremiereCopilot, heyeddie.ai, or cutagent.ai, which mostly automate cuts or answer chat questions without watching your live Resolve session. A one-frame out point mistake is small, but it's exactly the kind of small, specific "wait, where is that button" moment where an assistant that can see your actual timeline beats one that can only describe where a feature generally lives. TryUncle is currently in founder pricing at $29.99 a month for the first 100 seats, cancel anytime, with the current rate always listed on the site.
If you're still getting comfortable with DaVinci Resolve's editing fundamentals, our DaVinci Resolve keyboard shortcuts every colorist should know guide covers the broader shortcut set worth building into muscle memory. If you need to pull up a clip's original source media rather than just its marked points, how to use Match Frame in DaVinci Resolve covers that adjacent workflow in full. And if in/out marking is just one part of a broader push to cut faster overall, our guide to editing faster in DaVinci Resolve covers the rest of the workflow, from proxy media to batch tools.
Frequently asked questions
- Why does DaVinci Resolve include the next clip when marking out?
- Because DaVinci Resolve's out point always includes whatever frame the playhead is currently displaying, and pressing Down Arrow to jump to the next edit point moves the playhead to the first frame of the next clip, not the last frame of the current one. If you press O right after that jump, you mark the next clip's opening frame as your out point without meaning to.
- Why does my out point land one frame into the next clip?
- This is a playhead behavior, not random drift. A playhead can only ever sit on a frame, never in the gap between two frames, so when it's parked on the incoming frame of the next shot, an out point set there captures that frame. Step the playhead back one frame with the Left Arrow key before pressing O and the out point lands exactly where you meant it to.
- How do I mark an out point in DaVinci Resolve without grabbing the next clip?
- Three reliable ways: tap Left Arrow once to back up a frame before pressing O, select the clip and press X to mark its exact in and out points automatically with no manual scrubbing at all, or type the exact timecode into the timeline's timecode field and press Enter, which skips the navigation step where this mistake happens.
- Is this a bug in DaVinci Resolve?
- No. Adobe Community expert R Neil Haugen has documented the identical behavior in Premiere Pro and states plainly that all professional NLEs work this way, since a playhead can only represent a frame, never a space between frames. Avid, Final Cut Pro, and DaVinci Resolve all treat an out point as inclusive of the displayed frame for the same reason.
- Does an out point that grabs an extra frame mess up my export or render range?
- Yes, if you're using in and out points to define a partial render on the Deliver page or to trim a clip during an insert edit. The extra frame is small, usually a single frame at 24 to 60 frames per second, but it shows up as an unwanted flash frame or a one-frame sync drift if you're cutting to music or matching a reference edit.
- Does this happen in the free version of DaVinci Resolve too?
- Yes. Marking in and out points is core timeline navigation, not a DaVinci Resolve Studio feature, so the free version and Studio behave identically here. Nothing about this mix-up is tied to your license.
- What does pressing X do differently than pressing O to mark a clip in DaVinci Resolve?
- O marks a single out point at wherever your playhead happens to be, which depends entirely on how you navigated there. X, pressed with a clip selected, marks both the in and out points to match that clip's actual start and end frames automatically, removing the scrubbing step where the next-clip mistake happens in the first place.
- Is there an app that helps while you're actually using DaVinci Resolve, so small mix-ups like this don't eat your afternoon?
- TryUncle is a paid macOS app whose on-screen assistant, Uncle, watches your DaVinci Resolve session and points at the exact control you need, live, instead of you comparing your timeline against screenshots in a browser tab. It won't fix an off-by-one out point for you, but it can show you exactly where Mark Clip or the timecode field lives the moment you're stuck, in your own project.
Sources
- DaVinci Resolve Manual: Clearing and Navigating In and Out Points (Blackmagic Design, mirrored)
- DaVinci Resolve Manual: Clip Edit Points Are Saved (Blackmagic Design, mirrored)
- DaVinci Resolve Manual: Turning In and Out Points into Markers With Duration and Back Again (Blackmagic Design, mirrored)
- Ultimate Guide to Clear In and Out Points in DaVinci Resolve, by Ahsen Jawed, Hollyland
- Adobe Community: In and Out Point Sets Out Point 1 Frame Too Far (R Neil Haugen and Ann Bens)
- Best DaVinci Resolve Keyboard Shortcuts, by Jason Castillo, FreeVisuals
- DaVinci Resolve Keyboard Shortcuts, Complete Cheat Sheet (Resolve 21)
- CineD: DaVinci Resolve 21.0.3 Released, Keyframe Ease Actions, Interlaced Fixes, and Sony BURANO X-OCN Decode Fix
- DaVinci Resolve free vs Studio comparison, Blackmagic Design
- A Deceptively Powerful Button You Must Know: DaVinci Resolve Auto Select, Creative Video Tips
- Selecting in DaVinci Resolve 18, In-Depth Guide, Edits101
- DaVinci Resolve Manual: Keyboard Customization (Blackmagic Design, mirrored)
- DaVinci Resolve Manual: Remapping a Command to One or More Keys (Blackmagic Design, mirrored)
- Get Started: Multicam Editing in DaVinci Resolve 18, by Larry Jordan
Learn by doing, not watching
Learn Resolve inside Resolve.
TryUncle watches your screen and points at the exact control when you ask. No tabs, no timestamps, no rewatching tutorials.
Download for MacKeep reading
 GuidesJul 25, 202634 min read
How to Use Match Frame in DaVinci Resolve: The Complete Guide
Match Frame in DaVinci Resolve explained: the F shortcut, Match Frame to Source Clip, multicam audio limits, Cut page quirks, and what to do when F does nothing.
 GuidesJul 20, 202638 min read
DaVinci Resolve Keyboard Shortcuts Every Colorist Should Know
Every keyboard shortcut a DaVinci Resolve colorist needs: node commands, bypass and compare keys, gallery stills, and how to customize your own layout.
 GuidesJul 15, 202638 min read
How to Edit Faster in DaVinci Resolve: A Workflow Guide
The workflow fixes that actually speed up DaVinci Resolve editing: proxy media, render cache, GPU/decode settings, hardware controllers, batch tools, and where AI helps.