
Learn / DaVinci Resolveupdated for DaVinci Resolve 21.0.2 (July 2026)
DaVinci Resolve Keyboard Shortcuts Every Colorist Should Know
Quick answer
The shortcuts every DaVinci Resolve colorist needs live on the Color page: Alt+S adds a serial node, Alt+P a parallel node, Shift+D bypasses the whole grade, and Cmd/Ctrl+W toggles a wipe compare. Add Shift+6 to jump to the Color page and Cmd/Ctrl+Option/Alt+K to open Keyboard Customization, and you can grade without touching the mouse.
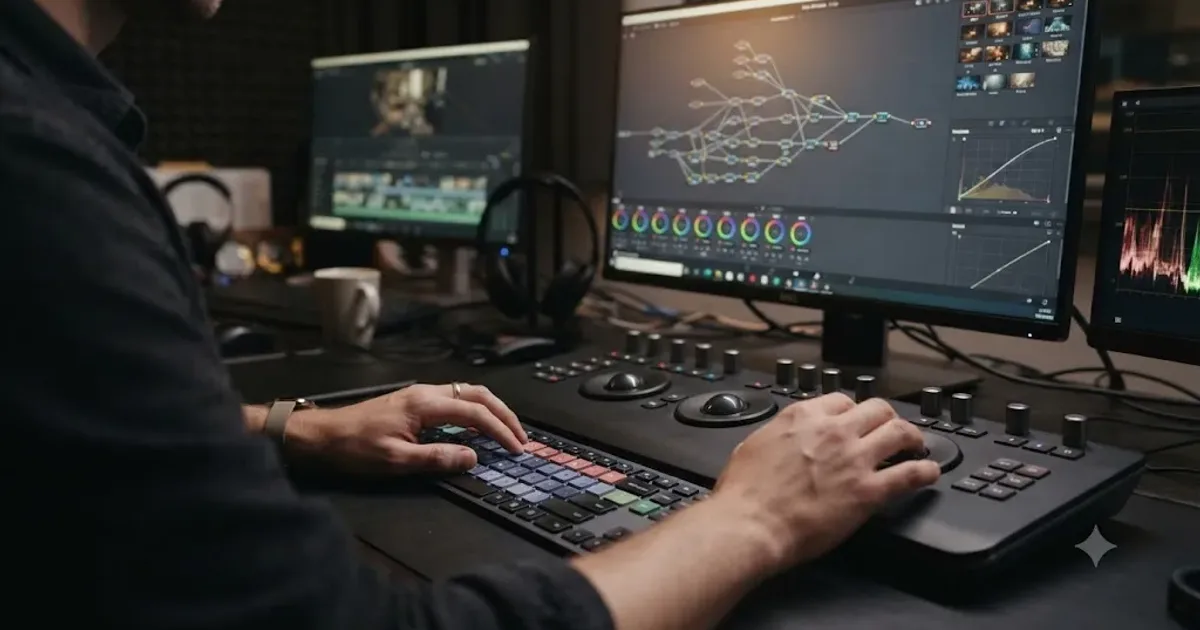
You already know J, K, and L. That's not what's slowing you down. What's slowing you down is reaching for the mouse every time you add a node, bypass a grade, or hunt for the still you saved twenty minutes ago, on a page that has more single-purpose commands than any other part of DaVinci Resolve.
This is the shortcut list built specifically for the Color page and the handful of general commands a colorist actually leans on, not another forty-shortcut Edit page cheat sheet with three color commands bolted onto the end.
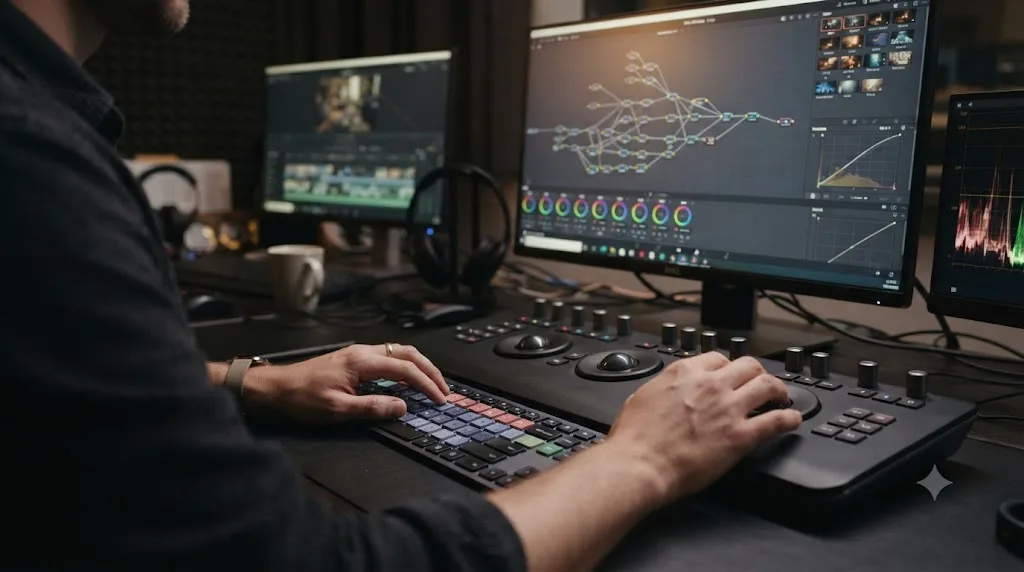
Which Color page shortcuts should you learn first?
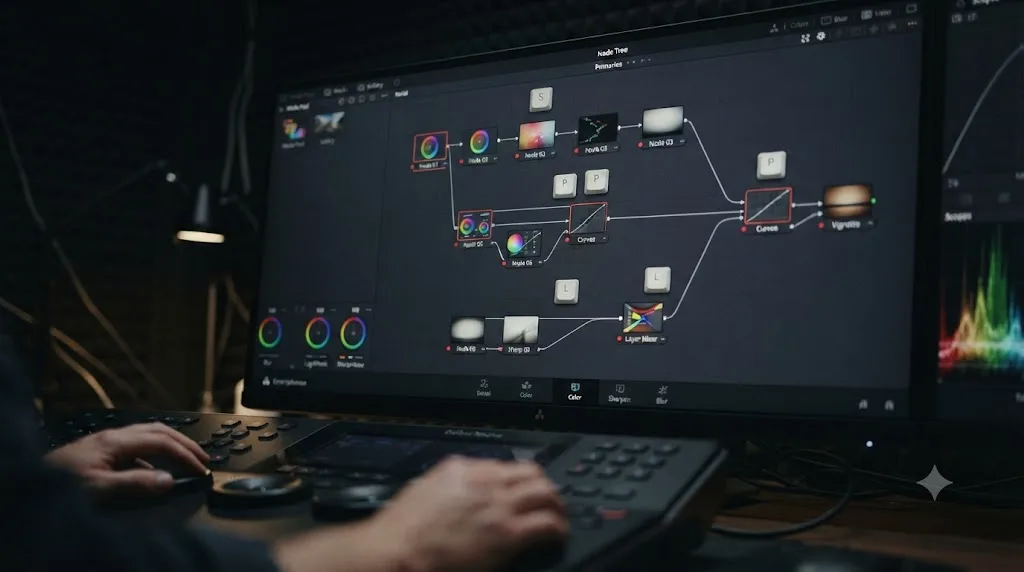
The node shortcuts. Everything else on this page assumes you can already build and rearrange a node tree without opening a right-click menu, since that menu is exactly the kind of mouse trip you're trying to eliminate.
| Shortcut (Mac / Windows) | Action | What it's for |
|---|---|---|
| Option+S / Alt+S | Add serial node | Your default correction node. Most grades are five or six of these in a row. |
| Option+P / Alt+P | Add parallel node | Two corrections working on the same input, blended, instead of stacked. |
| Option+L / Alt+L | Add layer mixer node | Blend multiple node branches with layer-style compositing modes. |
| Option+O / Alt+O | Add outside node | Invert the current mask or qualifier so you're correcting everything outside it. |
| Shift+S | Add serial node before selected | Insert a correction earlier in the chain without rebuilding the links downstream. |
According to Fstoppers' breakdown of the fifteen shortcuts that speed up color grading, these five node commands are the ones that show up in nearly every professional grading session, regardless of the look you're building. DaVinci Resolve's own keyboard shortcuts reference lists the same bindings and adds a detail worth knowing: a handful of related node actions, including Auto Color and Magic Mask, ship with no default key at all, which is why you'll see colorists on the Blackmagic Forum and in r/DaVinciResolve trading their own custom bindings for those two specifically.
A shortcut you have to think about isn't a shortcut. It's a lookup table with extra steps. That's the entire argument for starting with five commands instead of fifty. Alt+S alone, drilled until it's automatic, removes more friction from an average grading session than memorizing every entry on this page and using none of them fluently.
How do you bypass, compare, and preview a grade without touching the mouse?
Bypassing and comparing are two different jobs that colorists routinely mix up, and DaVinci Resolve gives each one its own dedicated key.
| Shortcut (Mac / Windows) | Action | What it's for |
|---|---|---|
| Shift+D | Bypass the whole grade | One master switch. Shows the untouched, ungraded clip, then restores every node when you press it again. |
| Option+D / Alt+D | Disable every individual node | Same visual result as Shift+D in most cases, but it flips each node's own enable state, not one global bypass flag. |
| Cmd+D / Ctrl+D | Disable the selected node only | Compare a single correction against the rest of the stack without touching anything else. |
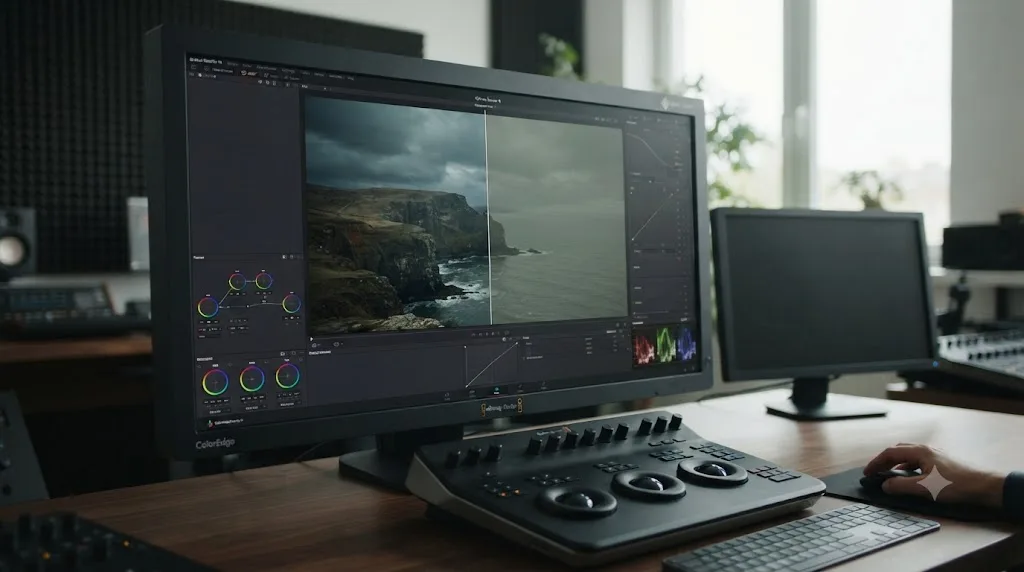
| Cmd+Option+W / Ctrl+Alt+W | Split-screen preview | Compare two clips, angles, or grades side by side in the viewer. |
| Cmd+W / Ctrl+W | Wipe against a saved Gallery still | Drag a wipe line between your current grade and a still you grabbed earlier. |
| Cmd+Shift+W / Ctrl+Shift+W | Compare with a reference clip offline | Check your grade against a separate reference without loading it into the timeline. |
The difference between Shift+D and Alt+D matters more than it looks. Shift+D is the button you reach for constantly, client on the call, client asks "what did this look like before," one press and you're back to raw camera output. Alt+D is closer to a debugging tool: turn off every node individually when you need to isolate which specific correction in a long chain is causing a problem, then re-enable them one at a time to find it.
Fstoppers' guide also flags Shift+H and Shift+Option+H (Shift+Alt+H on Windows) as qualifier shortcuts worth knowing alongside these: the first shows your current highlight or qualifier selection with everything else dimmed, and the second flips that same selection to a black-and-white matte so you can check for noise or soft edges in a key.
What shortcut takes the viewer full screen for a client review?
Bypassing and wiping answer "what changed." Going full screen answers a different question: "does this look right without four panels of interface cluttering the frame." Resolve keeps that job on its own pair of keys, separate from anything above.
| Shortcut (Mac / Windows) | Action | What it's for |
|---|---|---|
| Cmd+F / Ctrl+F | Full screen viewer | Hides every panel so the frame fills the display, still with playback controls reachable. |
| Cmd+Shift+F / Ctrl+Shift+F | Cinema viewer | Goes further than full screen: black surround, no interface at all, closer to how a client actually sees the shot on a real screen. |
| Escape | Exit full screen or cinema viewer | Returns to the normal Color page layout. |
Both come from Pixflow's 2026 shortcut reference. The distinction matters for a specific, recurring moment: a client leans in over your shoulder, or you're screen-sharing a review, and every scope, panel, and thumbnail strip between them and the actual image is friction. Cmd+Shift+F clears all of it in one press.
Cinema viewer isn't a bigger version of full screen. It's a version with no interface left to accidentally show a client. That's a real difference when you're sharing a screen over a video call and don't want a stray node graph or a half-finished qualifier mask visible while you talk through the shot.
Neither shortcut extends across a second monitor by itself. If your setup uses a client-facing display, that's a UI Preferences and monitor configuration question, not a keyboard shortcut, and it's worth setting up once outside a live session rather than during one.
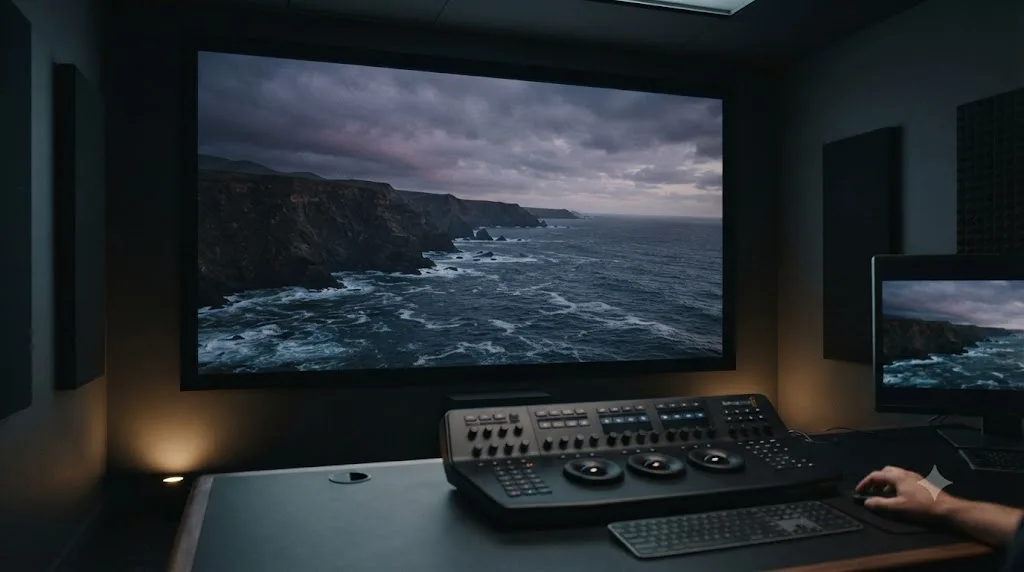
What shortcuts control power windows, qualifiers, and tracking?
A grade that touches the whole frame is a primary correction. The moment you need to isolate a face, a sky, or a logo instead, you're reaching for a power window or a qualifier, and Resolve gives both their own show-and-hide keys so you're not digging through the Color page's tool bins mid-session.
| Shortcut (Mac / Windows) | Action | What it's for |
|---|---|---|
| Cmd+0 / Ctrl+0 | Show or hide the Windows panel | Draw and adjust circles, polygons, and gradients that mask a correction to part of the frame. |
| Shift+H | Highlight the current qualifier selection | Shows exactly what your key or qualifier is grabbing, everything else dimmed. |
| Shift+Option+H / Shift+Alt+H | Flip the qualifier selection to a black-and-white matte | Check the edge of a key for noise or softness before you commit to it. |
| Option+T / Alt+T | Track the window forward | Follows a moving subject through the shot without hand-keyframing every few frames. |
| Option+Shift+T / Alt+Shift+T | Track the window backward | Runs the same tracker the opposite direction from your current frame. |
DaVinci Resolve's shortcut reference and Pixflow's 2026 cheat sheet both list Cmd+0 and Ctrl+0 as the toggle for the Windows panel and Option+T and Option+Shift+T as the forward and backward tracking keys. The qualifier panel itself is the one show-hide command in this group without a dependable universal default. Some installs ship with nothing mapped at all, others carry a leftover binding from an old preset. If yours doesn't respond, open Keyboard Customization, search "Qualifier," and assign one yourself. It'll stick from then on.
Tracking is the shortcut most colorists learn last and use most once they find it. A power window without a tracker is a correction that only works on one frame. Draw a circle on someone's face at frame one of a hundred-frame shot, and by frame fifty they've turned their head, leaving the window sitting on empty background. Option+T runs the built-in point tracker across the shot so the window rides along with the motion, and that's the difference between isolating a face for one frame and isolating it for the whole scene.
Most real isolations combine both tools instead of picking one. Qualify a color range to grab everything blue in the frame, then add a window to restrict that qualifier to one region, so you're not also keying the character's blue shirt along with the sky behind them. Shift+H toggles between your working grade and that highlighted selection so you can see exactly what the combination is grabbing before you commit, which matters more than either shortcut alone. A soft or noisy key ruins a correction faster than a slightly imprecise window position does.
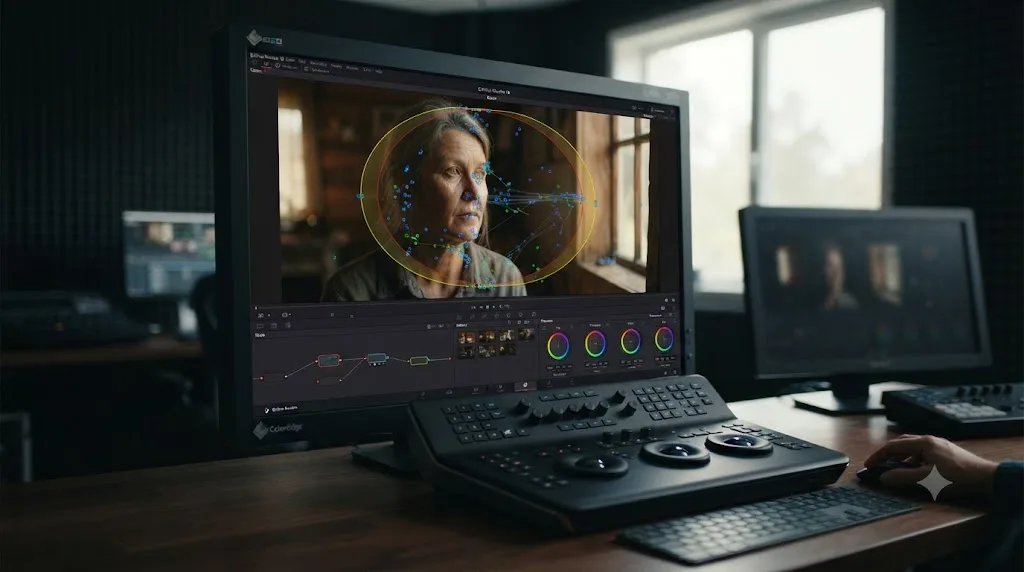
Is there a keyboard shortcut to open or switch between scopes?
Not by default, and it's worth knowing that up front instead of hunting for a key that doesn't exist. Waveform, vectorscope, parade, and histogram all live in the same scopes panel, and Resolve doesn't ship a single dedicated key that opens that panel or cycles which scope it's showing.
The clearest evidence is a thread on the Blackmagic Forum where colorists ask for exactly this, a custom key for bringing up the waveform or vectorscope, which tells you plainly that no default exists to ask about. That's not a gap Resolve is likely to close quietly either, since the scopes panel is designed to stay visible throughout a session rather than toggle in and out the way a Windows panel or a qualifier matte does.
You still have two workable fixes. Open Keyboard Customization, search "Scopes," and you'll find the show-hide command for the panel itself, unmapped on most installs, ready for you to bind to whatever's free. Switching which scope displays inside that panel, though, isn't a single-command action Resolve exposes to Keyboard Customization at all. The practical workaround colorists actually use is saving two UI layouts, one with waveform visible and one with vectorscope, as named Workspace layouts, then binding each layout to its own key. That gets you a one-press switch between scope views even though Resolve never built a direct shortcut for it.
A missing shortcut isn't always a bug to report. Sometimes it's a five-minute Keyboard Customization fix waiting for you to make it. Checking whether a shortcut is genuinely gone versus just unmapped is worth doing before you assume Resolve simply can't do something.
What are the Gallery and still shortcuts colorists actually rely on?
Grabbing and applying stills is one of the fastest ways to move a grade between clips without touching Color Groups or PowerGrades, and it has its own small set of dedicated keys.
| Shortcut (Mac / Windows) | Action |
|---|---|
| Option+G / Alt+G | Grab a still of the current grade into the Gallery |
| Option+N / Alt+N | Jump to the next still in the Gallery |
| Option+B / Alt+B | Jump to the previous still in the Gallery |
| Cmd+Option+Up / Ctrl+Alt+Up | Apply the grade from one clip up in the timeline |
| Cmd+Option+Down / Ctrl+Alt+Down | Apply the grade from one clip down |
Pixflow's 2026 shortcut reference lists these as the standard bindings across current Resolve versions on both Mac and Windows, which matters here since Gallery navigation is one of the few areas where third-party keyboard cheat sheets disagree with each other on the exact modifier key. If a shortcut in this section doesn't fire the way you expect, check your Keyboard Customization window before assuming the cheat sheet is wrong; a previous preset switch or a shared workstation is a more common cause than a version change.
Grabbing a still with Alt+G and applying it with a mouse click still beats rebuilding a grade from scratch, but if you're regularly pushing one grade onto a dozen clips at once, stills aren't the most efficient tool for the job. Our full walkthrough of every way to copy a grade to multiple clips covers when copy-paste, Color Groups, or PowerGrades beat the Gallery for that specific task.
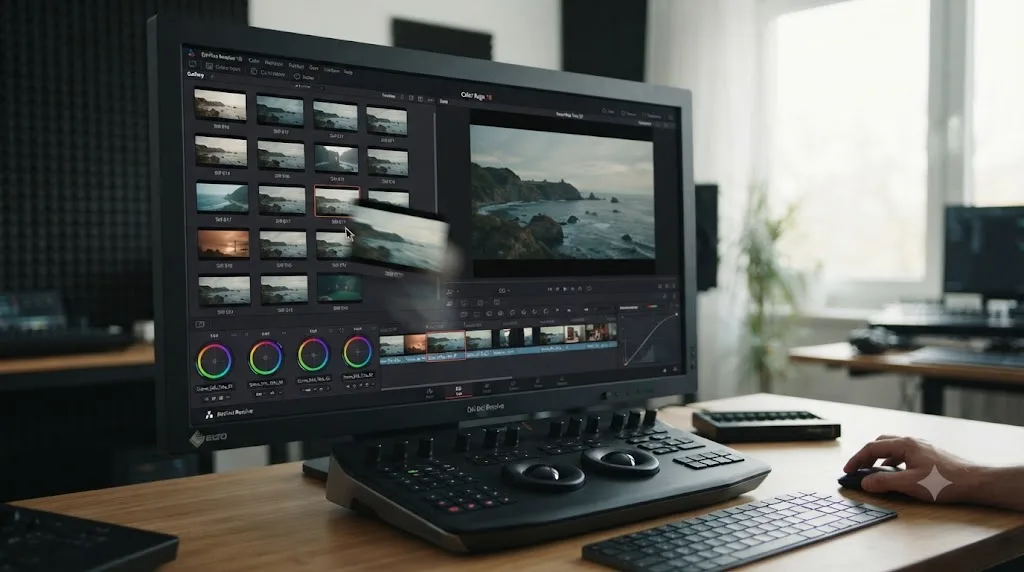
What shortcuts manage markers during a color pass?
Before you grade a single clip, most colorists do a fast pass through the timeline flagging problems: a shot that needs a beauty fix, a moment the client already asked to warm up, a frame with a boom mic dipping into the top of the frame. Markers are how you leave yourself that note without breaking stride, and they have their own small key set.
| Shortcut (Mac / Windows) | Action |
|---|---|
| M | Add a marker at the playhead |
| Cmd+M / Ctrl+M | Add a marker and open its naming dialog immediately |
| Shift+M | Modify the selected marker |
| Option+M / Alt+M | Delete the selected marker |
| Shift+Up / Shift+Down | Jump to the previous or next marker |
Plain M drops an unlabeled marker in the default color and keeps you moving, which is what you want during a first pass where stopping to type a note defeats the purpose. Cmd+M skips that two-step process and opens the dialog on the spot, worth using the moment you already know what the note needs to say. MiraCamp's walkthrough of marker navigation confirms Shift+Up and Shift+Down as the jump-between-markers keys, and notes they work the same way across the Edit, Color, and Fairlight pages, one of the few shortcut sets in this article that doesn't change layer by layer.
A marker is a note to your future self, and it costs one keystroke to leave one. That's cheaper than trusting memory across a hundred-clip timeline, and cheaper still than scrubbing back through the whole sequence later trying to remember which shot the director flagged.
Markers also do double duty as a review tool once the grade is further along. Color-coding a marker (through the dialog Cmd+M opens) for "approved," "needs a second pass," and "waiting on client" turns the timeline itself into a status board, readable at a glance without opening a separate spreadsheet or notes app.
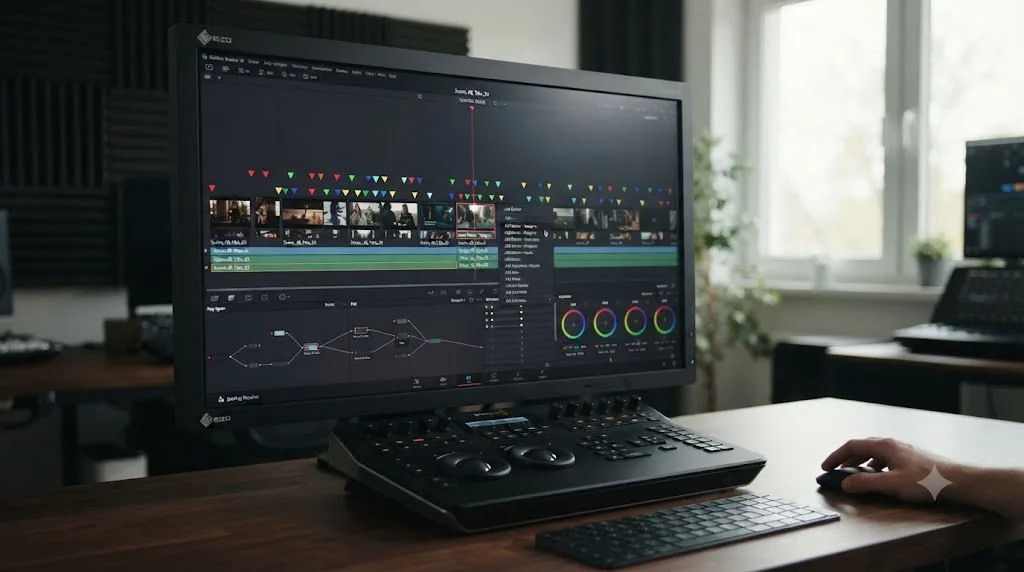
How do you jump between Resolve's pages without breaking your flow?
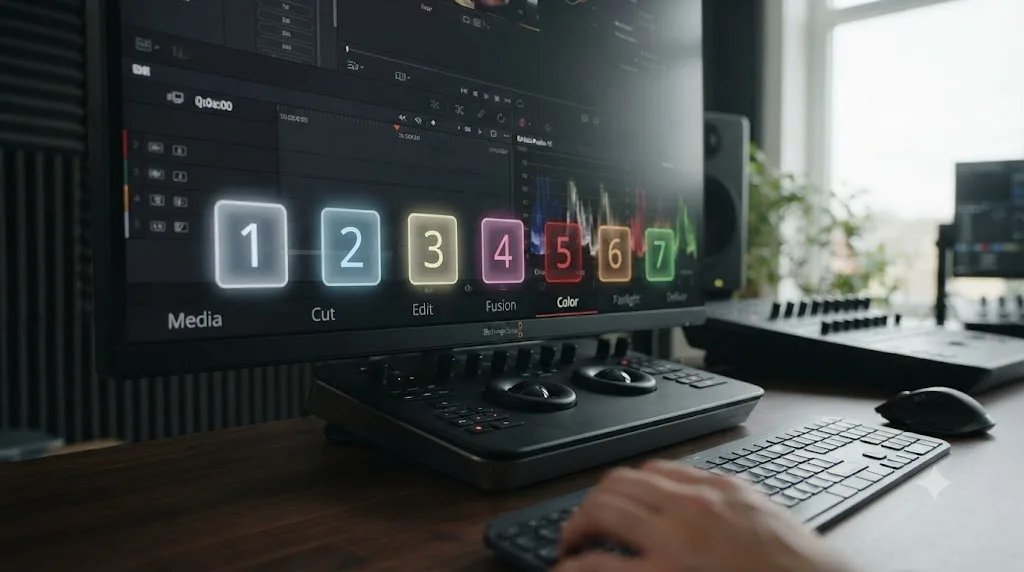
Every Resolve page, Media, Cut, Edit, Fusion, Color, Fairlight, Deliver, has its own number, and the same modifier switches between all of them.
| Shortcut | Page |
|---|---|
| Shift+1 | Project Manager |
| Shift+2 | Media |
| Shift+3 | Cut |
| Shift+4 | Edit |
| Shift+5 | Fusion |
| Shift+6 | Color |
| Shift+7 | Fairlight |
| Shift+8 | Deliver |
These bindings are consistent across Mac and Windows and confirmed across multiple current shortcut references, including Pixflow's. Shift+6 is worth committing to memory before any node shortcut on this page, because every other Color page command in this article is unreachable until you're actually on it.
If you split your time between grading and Fusion compositing on the same project, Shift+5 and Shift+6 back to back become one of the highest-frequency muscle-memory pairs you'll build, right alongside Shift+4 for quick trims before you hand a sequence back to an editor.
Which shortcuts follow a colorist onto the Fusion and Fairlight pages?
Grading rarely stays inside the Color page for an entire session. A beauty fix, a sky replacement, or a power-window job that's easier as a proper mask pulls you into Fusion without leaving the shot, and a scratch track that clashes with your final mix pulls you into Fairlight before delivery. Shift+5 and Shift+7, from the table above, get you there. These are the shortcuts worth knowing once you land.
| Shortcut (Mac / Windows) | Action |
|---|---|
| Shift+Space | Open the tool search and add a node by typing its name |
| Shift+M | Add a Merge node |
| Shift+T | Add a Transform node |
| 1 / 2 | Assign the selected node to the left or right viewer |
| Cmd+F / Ctrl+F | Fit the whole node graph to the window |
| Cmd+C, then Cmd+V / Ctrl+C, then Ctrl+V | Copy and paste a node |
| Delete / Backspace | Remove the selected node |
DaVinci Resolve's shortcut reference and Pixflow's cheat sheet both confirm this set, and both flag the same overlap: Cmd+F does a completely different job here than the full screen viewer covered earlier in this article, framing the node graph instead of hiding the interface. That's the "different page, different layer" rule from the FAQ above showing up in the wild, not just in a hypothetical answer about it. Notice, too, that Shift+M means something else again on Fusion than it did two sections ago, where it modified a timeline marker; here it drops a Merge node.
| Shortcut (Mac / Windows) | Action |
|---|---|
| Cmd+R / Ctrl+R | Start or stop recording |
| Option+S / Alt+S | Solo the selected track |
| Option+M / Alt+M | Mute the selected track |
| Option+N / Alt+N | Normalize the selected clip's audio level |
| Cmd+T / Ctrl+T | Add a crossfade at the edit point |
| Cmd+Option+B / Ctrl+Alt+B | Bounce the mix to a new track |
Notice Option+S in that second table. On the Color page it adds a serial node, the single most-used shortcut in this entire article. On Fairlight it solos a track. Same key, same modifier, two unrelated jobs, because each page keeps its own shortcut layer exactly the way the FAQ above already explains. The keyboard doesn't know which page you're on. You do, and Resolve trusts you to know it. If you regularly bounce between Color and Fairlight in the same session, that collision is worth testing deliberately a few times on a throwaway project before it costs you a take during a real one.
What shortcuts get you through the Deliver page without the mouse?
Deliver is Shift+8, the page most colorists visit last and think about least, right up until a deadline makes every extra click feel expensive. It has two shortcuts worth knowing, and one of them repeats a key you already learned two sections ago for a completely different reason.
| Shortcut (Mac / Windows) | Action |
|---|---|
| Shift+8 | Jump to the Deliver page |
| Cmd+Shift+R / Ctrl+Shift+R | Add the current job to the render queue |
| Cmd+R / Ctrl+R | Start or stop the render |
Pixflow's cheat sheet lists Cmd+Shift+R and Cmd+R as the standard Deliver page bindings on both Mac and Windows. Look back at the Fairlight table above and you'll spot the collision immediately: Cmd+R starts or stops recording on Fairlight, and starts or stops a render on Deliver. Two entirely different actions, same key, same modifier, because Resolve keeps a separate shortcut layer for every page rather than one global command set.
The keys don't run out. Resolve just reuses them, one page's shortcut layer at a time. That's not a design flaw, it's the same tradeoff that lets Alt+S mean "serial node" on Color and "solo track" on Fairlight without either page running short of available keys. Once you've internalized it for one pair of pages, it stops being surprising anywhere else in the app.
Add the job with Cmd+Shift+R before you start the render with Cmd+R, in that order. Reversing the sequence, pressing Cmd+R on a Deliver page with nothing queued, does nothing, which is a more common cause of "my render shortcut isn't working" than an actual key conflict.
What should you do when the same key does two different jobs on two different pages?
This article has now flagged the same pattern three separate times, which means it's not a coincidence worth explaining away individually each time. It's a rule about how Resolve's shortcut system is built, and once you see the shape of it, you stop getting surprised by the next collision you find.
| Same key | One page's meaning | Another page's meaning |
|---|---|---|
| Alt+S / Option+S | Color: add a serial node | Fairlight: solo the selected track |
| Cmd+F / Ctrl+F | Edit and Color: full screen viewer | Fusion: fit the node graph to the window |
| Cmd+R / Ctrl+R | Fairlight: start or stop recording | Deliver: start or stop the render |
| Shift+M | Color/Edit/Fairlight timeline: modify a marker | Fusion: add a Merge node |
None of these are bugs, and none of them need reporting. Every entry in that table is a deliberate choice: Resolve gives each page its own shortcut layer in Keyboard Customization instead of reserving a key globally the moment any page uses it, which is exactly why the node commands, bypass keys, and page-switching shortcuts in this article never run short of available combinations.
The practical rule that falls out of this is simple. Before you reassign any shortcut, glance at which page tab is selected in the left pane of Keyboard Customization, not just which command you searched for. And if your own workflow regularly crosses one of the pairs in that table, Color to Fairlight, Fusion to Edit, Fairlight to Deliver, spend two minutes testing the shared key on a throwaway project rather than discovering the collision for the first time while a client is waiting on a render.
Four rows in a table is a coincidence. A rule you can predict in advance is a pattern. Once you know Resolve reuses keys by page instead of retiring them app-wide, you can guess with reasonable confidence that a key doing something unexpected on a new page isn't broken, it's just doing that page's job instead of the one you learned first.
Which general playback and trim shortcuts still matter once you're grading?
A handful of Edit-page basics don't disappear once you move to Color. They just do slightly different jobs.
| Shortcut | Action |
|---|---|
| J / K / L | Shuttle playback backward, stop, forward |
| I / O | Mark in and out points |
| Space | Play / pause |
| Left / Right arrow | Step one frame at a time |
| Up / Down arrow | Jump to previous or next clip on the timeline |
| Cmd+Y / Ctrl+Y | Add a new grade version |
| Cmd+B / Ctrl+B | Go to the previous grade version |
| Cmd+N / Ctrl+N | Go to the next grade version |
J/K/L and frame-stepping matter on the Color page for the same reason they matter everywhere else in Resolve: reviewing a grade means scrubbing across a cut point, checking a strobing highlight frame by frame, or comparing the tail of one shot against the head of the next. Grade versions (Cmd/Ctrl+Y, B, N) solve a problem specific to color work: saving three different looks on the same clip without duplicating the timeline, so a director can compare "warmer," "cooler," and "as shot" without you touching the node tree between takes.
If most of your friction is actually happening on the Edit page rather than Color, our guide to editing faster in DaVinci Resolve covers the render cache and proxy media settings that fix stuttering playback before a single shortcut becomes worth memorizing, since a shortcut fired against a stuttering timeline isn't reliable no matter how well you know it.
How do you open and customize Keyboard Customization?
Every shortcut in this article can be changed, and Resolve keeps a completely separate shortcut layer for every page, which is exactly why a key that trims a clip on Edit can sit unmapped, or mapped to something else, on Color.
- Open Keyboard Customization. Press Cmd+Option+K on Mac or Ctrl+Alt+K on Windows, or find it in the DaVinci Resolve menu (Mac) or File menu (Windows).
- Pick the page you're customizing from the left pane. Edit, Color, Fusion, and Fairlight each keep independent bindings.
- Search for the command by name rather than scanning categories, since Resolve ships hundreds of commands and only maps a fraction of them by default.
- Click the empty field next to the command and press your key. Resolve flags a conflict if that key is already doing something else on the same page.
- Save your layout as a named preset so it survives a Resolve update or a shared edit bay.
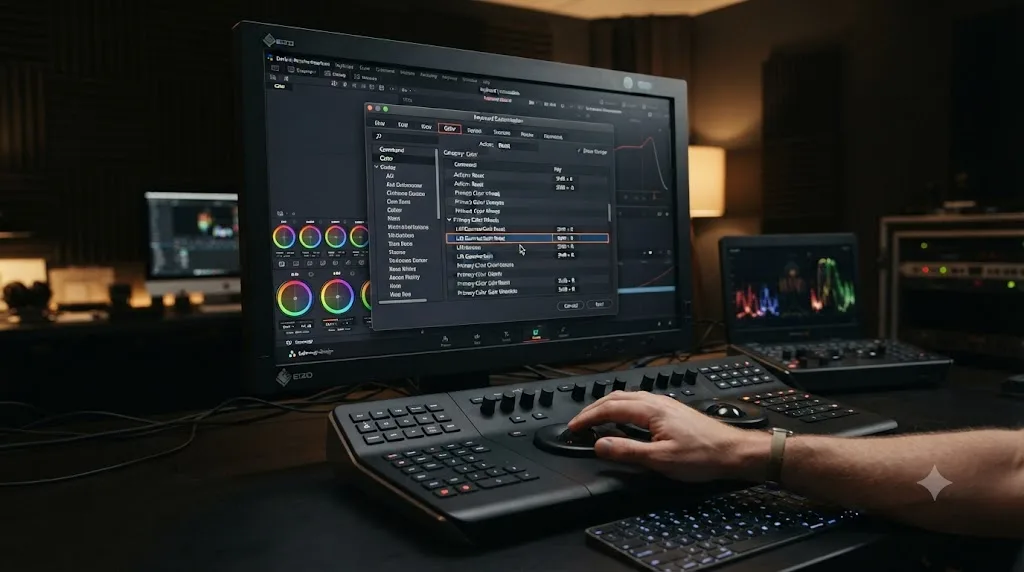
The DaVinci Resolve reference manual also documents a preset dropdown in the top right of the Keyboard Customization window that switches your entire layout to mimic other NLEs, Premiere Pro, Final Cut Pro 7, and Avid Media Composer are the three built in alongside Resolve's own default and Cut Page layouts. Only commands that exist in both applications carry over cleanly, so a few Resolve-specific tools, node shortcuts among them, still need their default keys even after you switch presets.
Should you switch to a Premiere Pro or Final Cut Pro shortcut preset?
The preset dropdown mentioned above is tempting the moment you realize how much Resolve deviates from whichever NLE you learned first. Before you switch it, it helps to know exactly what carries over and what doesn't, because the honest answer depends on which page is actually giving you trouble.
Every shortcut this article covers, node commands, bypass, wipe compare, page switching, Gallery navigation, tracking, exists only inside Resolve's Color page. Premiere Pro doesn't have a node graph. Final Cut Pro's built-in color tools don't either. Switching your preset to mimic one of those apps changes Edit-page trims, playback, and timeline commands where the overlap is real, J, K, L, mark in and out, and dozens of others trace back to the same shared editing heritage those three applications grew out of together. It does nothing for the Color page, because there's no equivalent command in the source app for Resolve to map to.
That's the practical answer to "should I switch." If most of your friction lives on the Edit page and you split time between Resolve and another NLE in the same week, switching that layer's preset removes real relearning, and it's a change you make once in Keyboard Customization rather than fighting muscle memory forever. A shortcut preset only helps where the two applications already agree on what the command does. For Color page work specifically, keep Resolve's own default regardless of what you pick for Edit, since Alt+S, Shift+D, and the rest of this article's list have nowhere else to come from and nothing in Premiere or Final Cut Pro to conflict with.
Why isn't a shortcut firing the way this article says it should?
Every shortcut above assumes a clean keyboard, a fresh install, and a US keyboard layout. Change any one of those three things and a key that should work sometimes doesn't, and the cause is almost never a bug in Resolve.
| Symptom | Likely cause | Fix |
|---|---|---|
| Shift+6, or any Shift+number, jumps to the wrong page or does nothing | Cursor focus is sitting in a text field, timecode box, or search bar | Click on empty timeline or viewer space first, then press the shortcut |
| Option or Alt combos type an accented letter instead of firing | A non-US keyboard layout treats Option or Alt as a dead key for accents | Remap the command in Keyboard Customization to a combination that doesn't rely on Option or Alt on your layout, or switch the system layout to US while grading |
| A shortcut worked yesterday and does nothing today | The Keyboard Customization preset was switched, by you, a shared workstation's previous user, or an update | Reopen Keyboard Customization, check the preset dropdown, reload your saved layout |
| Cmd+Space does nothing, or opens Spotlight instead of a Resolve command | macOS reserves that combination for Spotlight search by default | Reassign the Resolve command to a free combination, or turn off the Spotlight shortcut in System Settings, Keyboard, Keyboard Shortcuts |
| A shortcut fires the wrong page's command entirely | The wrong page's shortcut layer is selected in Keyboard Customization | Confirm which page tab is active in the left pane before reassigning anything |
| Modifier-heavy combos like Cmd+Option+Up do nothing | A third-party window manager or automation tool is intercepting the combination system-wide | Check that tool's own shortcut list and either disable the conflicting binding or reassign Resolve's command to something it doesn't touch |
| Shortcuts work at a desk but not on a laptop | A compact keyboard maps Option, Ctrl, or arrow keys differently, or needs an Fn key held for some combinations | Check the laptop's own function-key settings before assuming Resolve changed |
| A render shortcut on Deliver seems to do nothing | Cmd+R was pressed before a job was added to the queue with Cmd+Shift+R | Add the job to the queue first, then start the render |
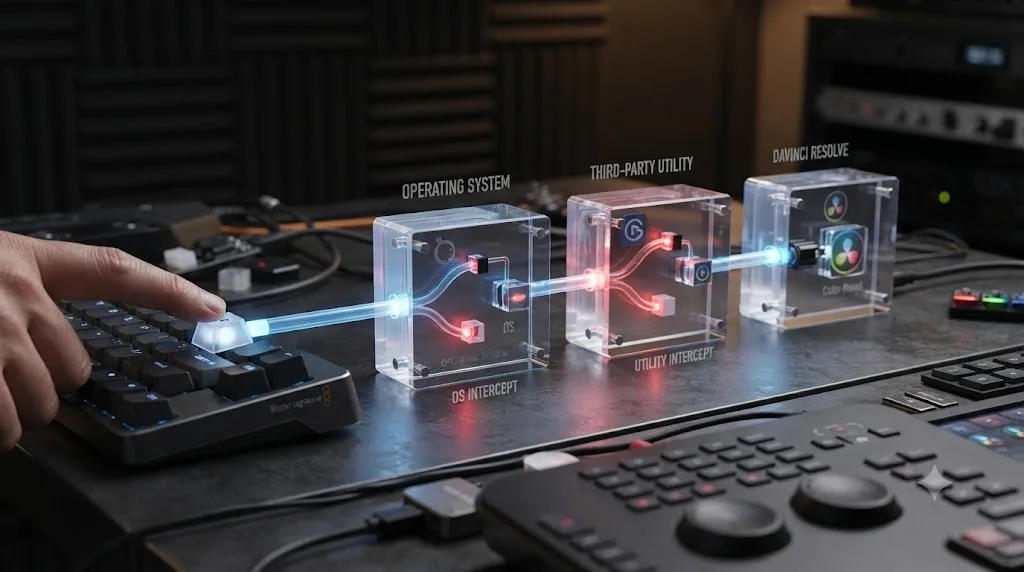
Most of these have nothing to do with DaVinci Resolve at all, which is the part that trips people up. The operating system gets first pick of every keystroke before Resolve ever sees it. Spotlight, Mission Control, Windows' snap and virtual desktop shortcuts, and any always-on utility running in your menu bar or system tray all sit ahead of Resolve in line for that keystroke. If a shortcut has stopped working and nothing in your project changed, check what you installed or updated outside Resolve before you touch Keyboard Customization at all.
International keyboards deserve a specific mention here since they're the most common cause colorists never think to check. On a French AZERTY or German QWERTZ layout, Option or Alt held with certain letters produces a special character instead of passing the key through as a modifier, silently breaking a shortcut that works perfectly on a US layout demoed in a tutorial video. If a specific node shortcut never fires no matter what you try, that's worth testing before you assume Keyboard Customization is broken.
Should you memorize every shortcut on this page, or start smaller?
Start smaller. Every list on this page, including the one you're reading, gives you the full inventory because that's what a reference page is for. It is not a recommendation to sit down and memorize forty commands in one afternoon.
Memorizing seventy shortcuts helps nobody. Memorizing the six you use on nearly every clip changes how a session actually feels. For most colorists, that six is Shift+6 to reach the Color page, Alt+S for a new serial node, Shift+D to bypass, Cmd/Ctrl+W to wipe against a still, J/K/L for review, and one grade-version key, Cmd/Ctrl+Y, for showing options to a client. Everything else on this page is worth knowing exists so you can look it up in Keyboard Customization the first time you need it, not worth drilling in advance.
That distinction matters because speed with shortcuts is a motor-skill problem, not a knowledge problem. Recognizing a shortcut on a printed sheet and firing it without a glance at your hands are two different skills, and only the second one saves time on a real clip. The fastest way to close that gap is repetition on your own footage, not a longer list to study. That's also the honest answer to "what's the best way to learn DaVinci Resolve fast": guided, hands-on repetition beats watching a list get demonstrated, whether the list is shortcuts or anything else in the app.
What does a five-clip grading pass look like using only these shortcuts?
None of this describes one specific real session; it's a walk-through of how the shortcuts above chain together once they're automatic. Picture a generic short scene: five clips from the same location, cutting between two people across a table.
Shift+6 opens the Color page from wherever you left off editing. A quick first pass down the timeline drops an M marker on anything that needs attention later, a boom dip in frame four, a blown highlight in frame two, without stopping to grade yet. On clip one, Alt+S three times builds a quick primary: exposure, then white balance, then contrast, each on its own node so any one of them can be adjusted or bypassed later without touching the others. Shift+D checks the result against the raw clip, one press, one press back, and Alt+G grabs a still once the look is right.
Cmd/Ctrl+Alt+Down moves to clip two and applies clip one's grade instantly instead of rebuilding it from nothing. J/K/L scrubs across the cut point between clip one and two, checking that skin tones don't jump. Shift+H isolates a qualifier drawn on the tablecloth for a small hue tweak, and Option+T tracks that qualifier's window across the handheld motion in the shot so it doesn't drift off the surface it's supposed to be correcting. The down-apply-check pattern repeats for clips three, four, and five, each one starting from the previous clip's grade instead of a blank node tree.
If the director asks to see the scene warmer, Cmd/Ctrl+Y saves a second grade version on each clip without touching the original, so both options exist side by side for the comparison. Cmd+Shift+F drops the interface for a clean look at the result before the call, and once the note comes back approved, the marker from the first pass gets a quick Shift+M update from "needs review" to "locked" before the sequence moves to Deliver, Shift+8, Cmd+Shift+R to queue it, Cmd+R to start the render.
Count the mouse trips in that pass: shaping the qualifier's exact edge and nudging the tracked window into position, twice, across five clips. Everything else, opening the page, flagging notes, building nodes, bypassing, comparing, applying, scrubbing, isolating, saving a version, queuing and starting the render, happens without leaving the keyboard. That's not a special session. That's what the shortcuts in the tables above are for once they stop requiring a glance at your hands.
Is a control panel better than a keyboard for color grading?
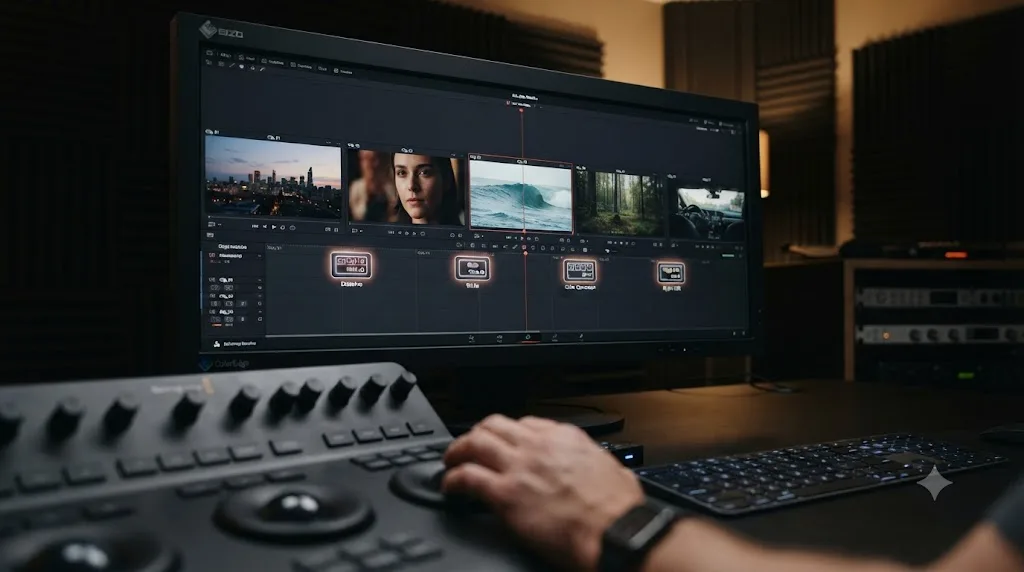
For anyone grading professionally, yes, and Blackmagic doesn't hide that this is the intended workflow. Blackmagic's own product page for its color panels states they were "designed in collaboration with the world's leading colorists" and that the hardware "gives you fluid, hands on control over multiple parameters at the same time, so you have more creative options and can work much faster than is possible with a mouse," according to Blackmagic Design's panels page.
Colorist Kenny McMillan tested that claim directly against keyboard-and-mouse grading and reported a stark difference in his review for ProVideo Coalition. Describing his early attempts without a panel, he wrote that the first problem he ran into was simple: "how do I make a new node? I'm not a billion-node colorist, but I'm at minimum using 4 or 5, so where's the New Node button? Well, it's on my Keyboard; Alt+S." After switching to Blackmagic's Mini Panel, his ratio of mouse-to-panel use flipped, and his conclusion was direct: "KB/M coloring takes considerably longer and is less intuitive," and with a panel, "you can get through hundreds of clips a day vs dozens, in some cases," according to his review.
That doesn't make a keyboard pointless. It reframes what it's for.
| Tool | Best for | Limitation |
|---|---|---|
| Keyboard shortcuts | Structural actions: adding nodes, bypassing, switching pages, saving versions | One key does one discrete thing. No simultaneous fine control. |
| Mouse | Precise single-parameter drags, menu access, anything unmapped | Slowest option for anything you repeat constantly |
| Control panel (Mini, Advanced, Micro) | Simultaneous lift/gamma/gain and continuous parameter adjustment | Real hardware cost, and it doesn't replace node or page shortcuts, it sits alongside them |
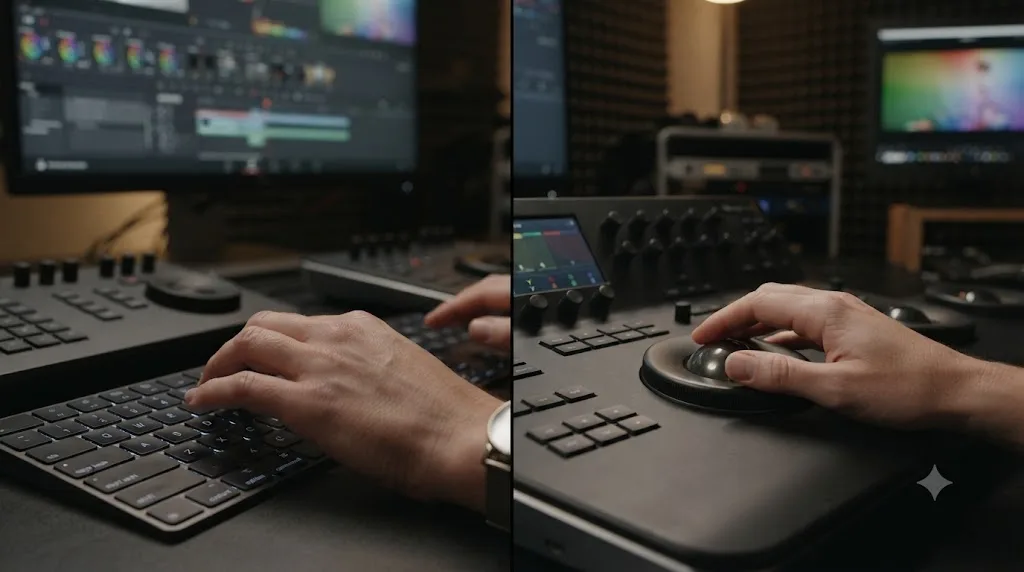
A control panel does not replace muscle memory. It relocates it to trackballs and knobs instead of keys. You'll still reach for Alt+S to add that node before you ever touch a trackball to shape the correction inside it. The keyboard and the panel are solving different halves of the same job, not competing for the same one.
How do the Micro, Mini, and Advanced panels change which shortcuts you still need?
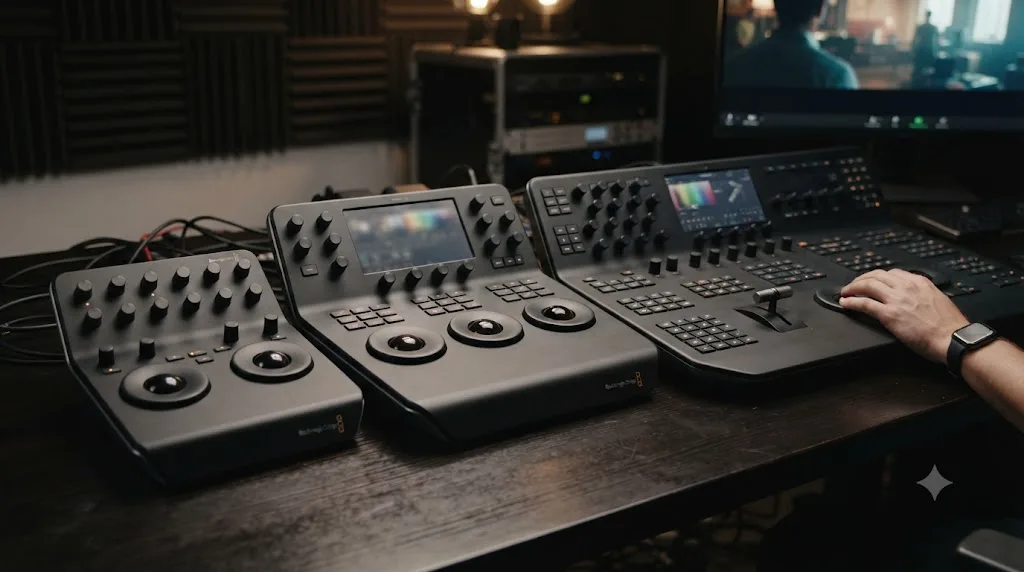
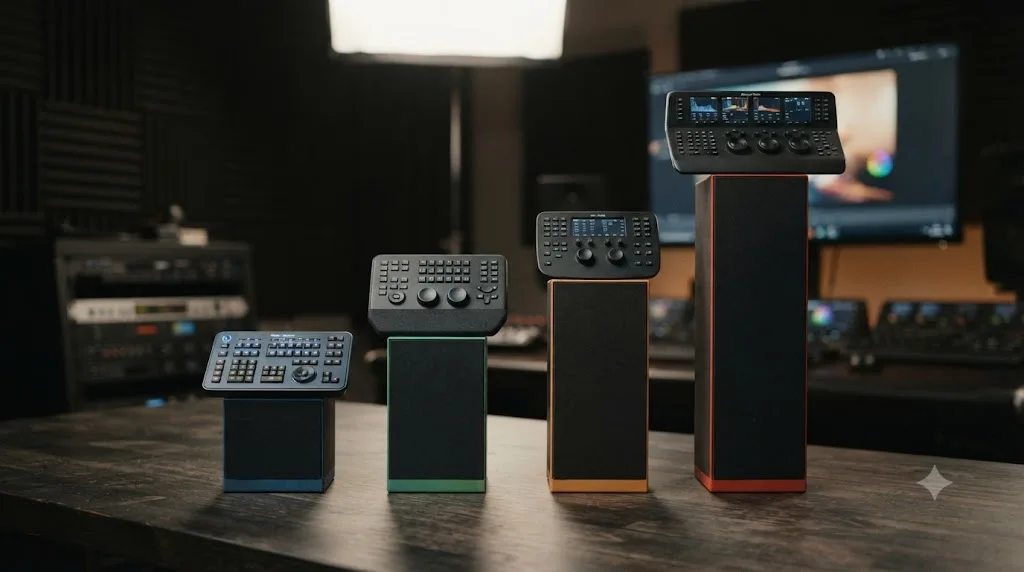
Blackmagic sells three color panels, and they don't replace the same slice of the keyboard. Picking the wrong one for your workflow means paying for controls you won't use, or still reaching for the keyboard for something you expected the hardware to handle.
| Panel | Price | Best for | What it takes over from the keyboard |
|---|---|---|---|
| Micro | $559 | On-set grading with a laptop, getting started with panel control | Trackball-based primary corrections. Node and page shortcuts still live on the keyboard. |
| Mini | $2,319 | Freelance colorists who move between home and client suites | Trackballs, primary knobs, and menu-driven node and tool switching via its built-in LCDs. |
| Advanced | $33,915 | Dedicated color suites on features, television, and commercials | Nearly everything: four trackballs including master gain, 30 soft knobs, a slide-out keyboard, illuminated buttons for direct access to color tools. |
According to Blackmagic Design's panels page, the Micro panel is built to be "incredibly compact while featuring dozens of professional color controls" and to fit "perfectly next to a keyboard," which tells you exactly what it's for: it's an addition to your keyboard workflow, not a replacement for it. The Mini panel is pitched at freelancers who need something "fully featured" but portable enough to move between jobs, while the Advanced panel targets suites where the panel is the primary interface and the keyboard becomes a backup for the commands nobody bothered to wire to a physical button.
That framing matters more than the spec sheet. The cheaper the panel, the more of this article you still need memorized. A Micro panel owner is still pressing Alt+S for every new node and Shift+6 to get to the Color page in the first place; the panel only replaces the trackball-and-slider portion of the job. An Advanced panel owner has dedicated hardware buttons for many of those same commands, but even then, page switching, Gallery navigation, and version management typically stay on the keyboard, because no panel manufacturer, Blackmagic included, tries to put every menu command onto physical hardware. Prices listed here are current as of publication and can change, so check Blackmagic's own product page before budgeting for one.
If a $33,915 panel is nowhere near the budget, third-party software turns cheaper general-purpose hardware into a partial substitute. SideshowFX sells DaVinci Resolve color panel packs that run on an Elgato Stream Deck XL or a Loupedeck device, compatible with Resolve 20 and later, mapping buttons and dials to primary color controls, qualifier and power window parameters, tracking, and printer lights. Film editor Jonny Elwyn covers setting one up in his walkthrough of controlling DaVinci Resolve with the Stream Deck+. It's a third-party solution, not something Blackmagic builds or supports directly, and it won't match a dedicated color panel's trackball feel, but it's a genuine middle ground between the keyboard alone and a four-figure hardware purchase, and one worth knowing about before you assume the Micro panel is the cheapest hands-on option available.
How many clips a week actually justifies buying a control panel instead of relying on shortcuts alone?
This is the question the spec sheet won't answer for you, so it helps to think about it as a volume problem rather than a wish-list problem.
| Weekly clip volume | Typical situation | Reasonable call |
|---|---|---|
| Under 20 clips a week | Hobbyist, part-time creator, occasional client work | Keyboard shortcuts alone. A panel's cost per clip graded is high at this volume, and the six-shortcut habit from earlier in this article covers most of the friction. |
| 20 to 75 clips a week | Freelance colorist juggling a few regular clients | Micro panel. Cheap enough to justify on trackball speed alone, and it sits next to the keyboard rather than replacing your node and page shortcuts. |
| 75 to 200 clips a week, moving between suites | Freelancer with a steady roster, some travel between home and client sites | Mini panel. Portable, and its menu-driven node access starts paying back the higher price against sheer clip volume. |
| 200+ clips a week, fixed suite | Staff colorist at a post house, features, television, or high-volume commercial work | Advanced panel, if the suite doesn't already have one. At this volume the seconds saved per clip on trackball work compound into hours a week, which is the argument Kenny McMillan's review makes explicitly. |
None of these thresholds are a hard rule from Blackmagic. They're a way to reason about the same tradeoff every colorist eventually faces: keyboard shortcuts have a fixed cost, which is the time spent learning them, and a panel adds a real dollar cost on top that only pays for itself once the volume is high enough to matter. The keyboard is free once you know it. A panel is never free, so the volume has to justify the price, not the other way around. If you're not sure which bracket you're in, track your actual clip count for two weeks before you buy anything. Most colorists guess higher than their real number.
Do keyboard shortcuts cause wrist strain during long grading sessions?
Not the shortcuts themselves, but the pattern around them can. A long session of reaching for the same modifier-plus-letter combinations, especially awkward three-key stretches like Cmd+Option+Up, repeated hundreds of times, adds up the same way any repetitive motion does over hours at a desk.
If you're already feeling wrist or forearm strain from long color sessions, the fix isn't fewer shortcuts, it's better ergonomics around how you use them: neutral wrist posture, a keyboard and mouse position that doesn't force you to reach or twist, and regular breaks. Our dedicated guide to ergonomics for DaVinci Resolve editors covers the specific posture standards and hardware swaps, including when a control panel is genuinely the better ergonomic choice, not just the faster one, for colorists spending most of their day in the grade.
Can an AI tool teach you these shortcuts, or does it need to watch you grade?
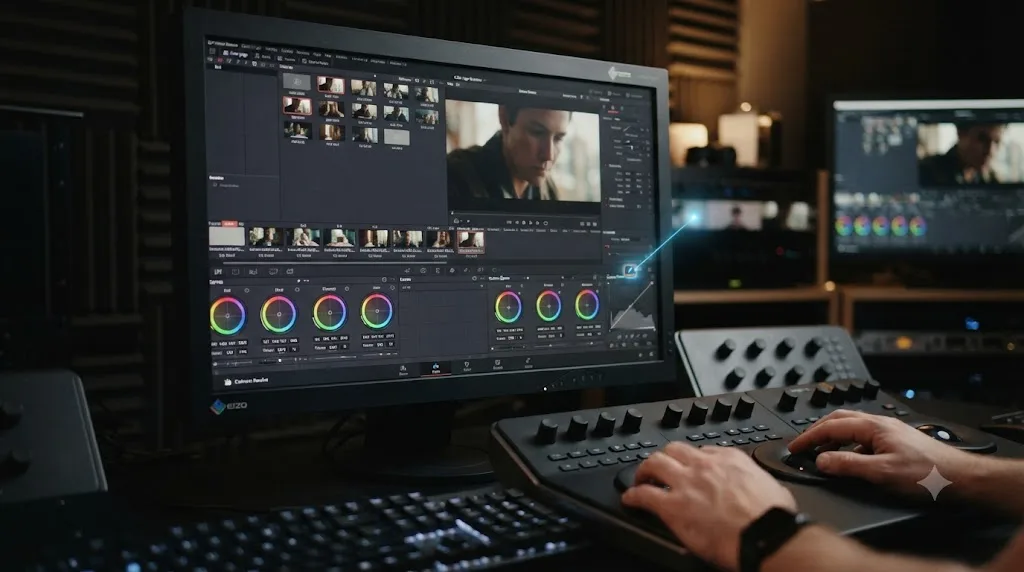
Depends what you're stuck on. A chatbot can tell you what Alt+S does. It can't tell you why your specific grade isn't working, or point at the actual key you need on your actual screen, because it has no view of your project.
A separate category of AI tools has grown up around DaVinci Resolve recently, and it's worth being honest about what they do instead of pretending they don't exist. CutAgent and PremiereCopilot let you type an instruction and they execute an edit for you. Sottocut automates specific edit tasks from a similar text-driven interface. Eddie AI answers editing and workflow questions in a chat panel alongside your project. All four are legitimate tools, and all four solve a different problem than a shortcuts reference does: they act on your timeline, or answer questions about it, rather than teaching you to act on it yourself.
TryUncle is the on-screen assistant for DaVinci Resolve on macOS. Ask in plain words, and Uncle points at the exact control on your screen. Instead of executing the edit or the grade for you, it watches your screen while you work and shows you exactly where the control you're asking about lives, live, inside your own project on the Edit, Color, and Fusion pages. That's a meaningfully different job from the automation tools above: it doesn't touch your timeline, and it doesn't replace this reference page's list of default keys, it replaces the moment where you'd otherwise stop, alt-tab to a cheat sheet or a paused YouTube video, and lose your place in the grade.
| Tool | What it does | What it doesn't do |
|---|---|---|
| CutAgent, PremiereCopilot, Sottocut | Execute edits from a typed instruction | Teach you to make the edit yourself |
| Eddie AI | Answers workflow questions in a chat panel | Watch your screen or point at a control live |
| ChatGPT / Claude | General Q&A about settings, terms, scripting | See your project or your screen at all |
| TryUncle | Watches your screen and points at the exact control, live, while you work | Execute the edit or grade for you |
Guided practice inside Resolve beats watching courses about Resolve, and that principle applies just as much to shortcuts as it does to color theory: the fastest way to make Alt+S automatic is using it on your own footage with something correcting you in the moment, not reading one more list of key combinations.
None of this replaces Blackmagic's own resources. Blackmagic Design publishes free official training covering editing, color, audio, and visual effects, with lesson files and a free exam, and it's still the right starting point for structured, ground-up learning. YouTube creators like Casey Faris and active communities on the Blackmagic Forum and Reddit's DaVinci Resolve community supply the crowd-sourced tips, unmapped shortcuts, and troubleshooting that official docs don't cover. TryUncle sits alongside those resources for the specific moment none of them solve well: mid-task, inside your own project, when you need to know where a control is right now.
TryUncle is a paid subscription, not a free tool, at $39 a month with cancel-anytime billing. It's macOS only, so if you're grading on Windows or Linux, this particular tool isn't an option yet, and the shortcuts above are exactly what you're working with.
What if you edit on Windows and grade on a Mac laptop the same week?
The shortcuts in every table above are identical on Mac and Windows except for one substitution: Cmd becomes Ctrl, and Option becomes Alt. Every other key, S, P, L, D, W, M, the number keys for page switching, stays exactly the same. If you're the kind of colorist who splits time between a Mac suite and a Windows workstation, that consistency is deliberate on Blackmagic's part and one less thing to relearn when you switch machines.
The one place this breaks down is custom bindings. A preset you build in Keyboard Customization on your Mac doesn't automatically travel to a Windows machine, since presets save locally. If you regularly move between systems, export your preset and bring the file with you, or accept that your custom Magic Mask or Auto Color binding needs to be rebuilt once on each machine you use.
What should you actually do with this list?
Don't memorize it top to bottom. Open Resolve, pull up a real clip, and drill five shortcuts: Shift+6, Alt+S, Shift+D, Cmd/Ctrl+W, and J/K/L. Use them on ten clips in a row without looking at your hands. Then come back for the next five when those are automatic.
That's the actual difference between a colorist who flies through a timeline and one still reaching for the mouse: not how many shortcuts they know, but how many of them they've stopped having to think about.
Frequently asked questions
- What is the fastest keyboard shortcut to add a new node in DaVinci Resolve?
- Alt+S (Option+S on Mac) adds a serial node after the one you have selected, which is the node type you'll use for most day-to-day corrections. Alt+P adds a parallel node when you want two corrections working on the same input independently, and Shift+S inserts a serial node before the selected one without breaking your existing chain.
- How do I bypass a grade in DaVinci Resolve without deleting it?
- Press Shift+D with the clip selected on the Color page. That toggles the entire node tree off so you see the original, ungraded footage, then toggles it back on when you press it again. Nothing gets deleted. Alt+D does something similar but disables every individual node rather than flipping one master bypass switch, which matters if you only want some nodes bypassed.
- What shortcut switches to the Color page in DaVinci Resolve?
- Shift+6 on both Mac and Windows. Resolve numbers its pages left to right in the interface, so Shift+1 opens Project Manager, Shift+2 is Media, Shift+3 is Cut, Shift+4 is Edit, Shift+5 is Fusion, Shift+6 is Color, Shift+7 is Fairlight, and Shift+8 is Deliver.
- How do I open Keyboard Customization in DaVinci Resolve?
- Cmd+Option+K on Mac, Ctrl+Alt+K on Windows. That opens a standalone window where you pick a page in the left pane, search for any command by name, click its empty key field, and press the combination you want to assign.
- Do DaVinci Resolve keyboard shortcuts change between the Edit and Color pages?
- Yes, and this catches almost everyone who edits and grades in the same session. Each page keeps its own shortcut layer in Keyboard Customization, so a key that trims a clip on the Edit page can be unmapped, or mapped to something else entirely, on the Color page. Check which page's layer you're editing before you reassign anything.
- What's the best way to learn DaVinci Resolve shortcuts fast if I'm just starting out?
- Pick five or six you'll use on nearly every clip, serial node, bypass, wipe compare, page switch, mark in/out, and drill only those until your hand finds them without a glance at the keyboard. A seventy-item cheat sheet taped to your monitor teaches recognition, not recall. Recall only comes from repetition on your own footage, which is also the fastest way to learn DaVinci Resolve overall, not just its shortcuts.
- Is there an app that helps you while you're actually using DaVinci Resolve, not just a shortcuts reference?
- Yes. TryUncle is the on-screen assistant for DaVinci Resolve on macOS. It watches your screen while you grade and points at the exact control or shortcut you're looking for, live, inside your own project, instead of sending you back to a cheat sheet or a paused tutorial video.
- Is TryUncle free?
- No, it's a paid subscription at $39 a month with cancel-anytime billing.
Sources
- DaVinci Resolve Color Grading Panels (Blackmagic Design)
- REVIEW: DaVinci Resolve Color Grading Panels by Kenny McMillan (ProVideo Coalition)
- 15 Keyboard Shortcuts to Speed Up Your Color Grading Process in DaVinci Resolve by Zhen Siang Yang (Fstoppers)
- DaVinci Resolve Keyboard Shortcuts, Complete Cheat Sheet
- DaVinci Resolve Keyboard Shortcuts: 2026 Complete Cheat Sheet (Pixflow)
- DaVinci Resolve 18.6 Reference Manual: Keyboard Customization (Blackmagic Design, mirrored)
- DaVinci Resolve Training (Blackmagic Design, official free courses)
- DaVinci Resolve product page and Studio pricing (Blackmagic Design)
- CutAgent (product site: features, pricing, FAQ)
- Sottocut (product site: features, pricing, platform requirements)
- PremiereCopilot pricing
- Eddie AI for DaVinci Resolve (native integration workflow page)
- DaVinci Resolve Color Panel for Stream Deck XL (SideshowFX product page)
- Controlling DaVinci Resolve with the Stream Deck+ by Jonny Elwyn
- Custom Key for Bringing Up Waveform or Vectorscope? (Blackmagic Forum)
- How to Jump Between Markers in DaVinci Resolve (MiraCamp)
- TryUncle
- TryUncle FAQ
Learn by doing, not watching
Stop translating tutorials to your timeline.
TryUncle stays beside Resolve on Mac and Windows. When you ask, Uncle sees your screen and points at the exact control you need. No hunting through tabs, timestamps, or mismatched tutorials.
Meet TryUncleKeep reading
 GuidesJul 8, 202639 min read
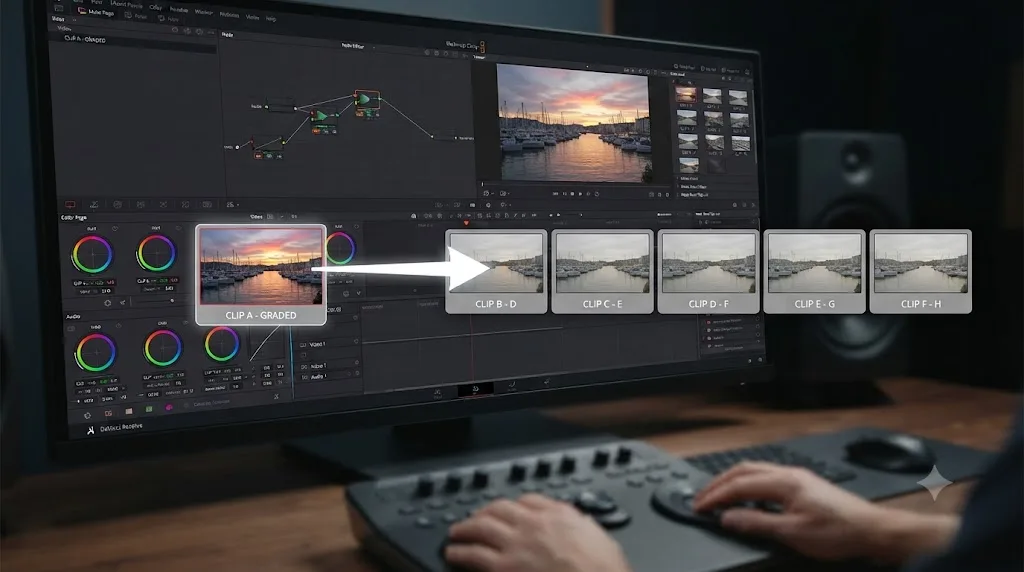
How to Copy a Color Grade to Multiple Clips in DaVinci Resolve
Every way to copy a DaVinci Resolve color grade to multiple clips: copy/paste, middle-click, Gallery stills, PowerGrades, Color Groups, and more.
 GuidesJul 15, 202638 min read
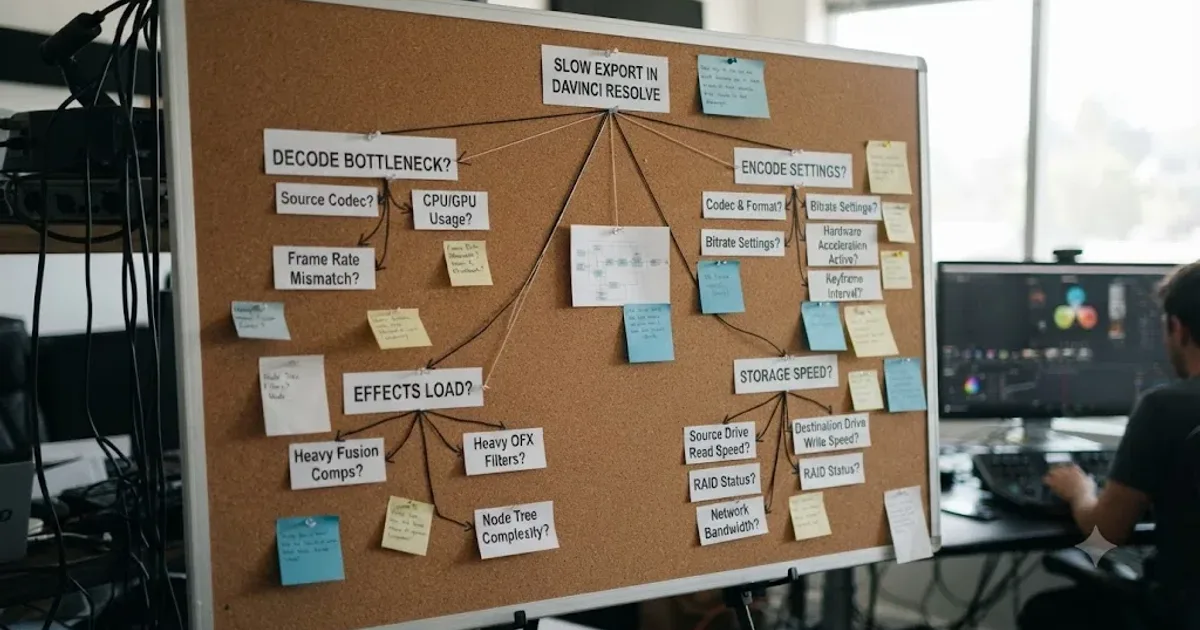
How to Edit Faster in DaVinci Resolve: A Workflow Guide
The workflow fixes that actually speed up DaVinci Resolve editing: proxy media, render cache, GPU/decode settings, hardware controllers, batch tools, and where AI helps.
 GuidesJul 19, 202634 min read
DaVinci Resolve Ergonomics: RSI and Wrist Pain Tips for Editors
Ergonomic fixes for DaVinci Resolve editors with wrist pain: mouse and keyboard alternatives, control panels, voice input, and break schedules that stick.