
Learn / DaVinci Resolveupdated for DaVinci Resolve 21.0.3 (July 2026)
How to Use Match Frame in DaVinci Resolve: The Complete Guide
Quick answer
Park the playhead on a clip in your DaVinci Resolve timeline and press F, the default Match Frame shortcut, to load that exact frame's source clip into the Source Viewer without touching your edit. Use Match Frame to Source Clip, in the Clip menu, when you need the original file behind a multicam or grouped clip instead.
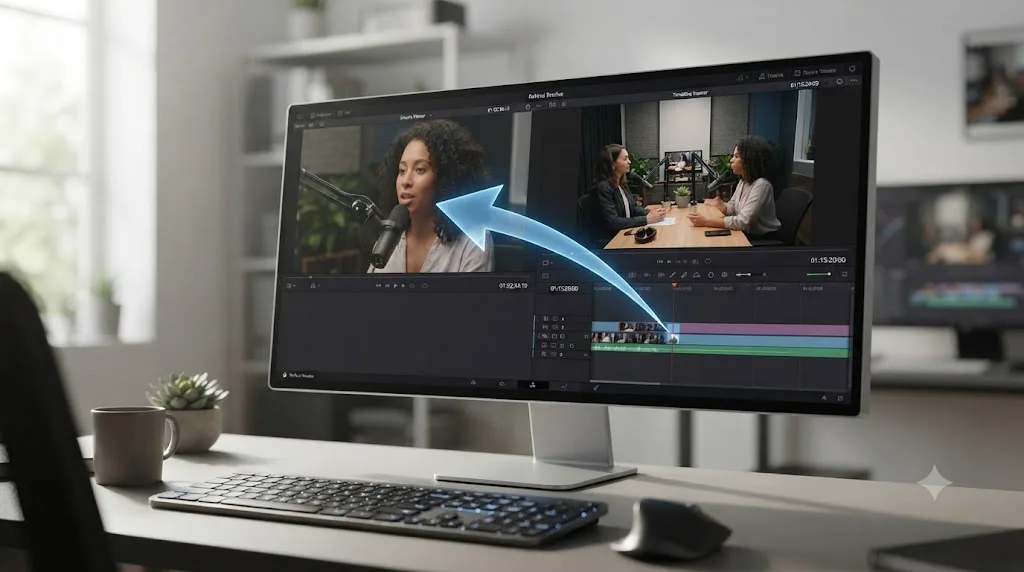
You cut a clip into your timeline, trimmed it down to three seconds, and moved on. Now, twenty minutes later, you need to know what else that shot covered. Was there a wider angle two seconds earlier? Did the audio run past your out point? Scrubbing back through your original bin, hunting for the right file among forty near-identical takes, is how you lose ten minutes you didn't have. Match Frame is the one keystroke that skips all of it.
In seven years of professional, commercial editing, and running a video-editing community that's grown past 100,000 members, we've watched this exact moment trip up new Resolve editors more than almost anything else in the app. Not because Match Frame is complicated. Because nobody ever points it out, so people scrub by hand for months before someone mentions the F key exists.
As of July 2026, DaVinci Resolve is on version 21.0.3, and everything in this guide applies to that build and to every version back to 16, since Match Frame hasn't fundamentally changed in that time. This guide covers the shortcut itself, the separate tool it's constantly confused with, why it seems to break on multicam clips and the Cut page, and what to do about all three.
What is Match Frame in DaVinci Resolve?
Match Frame is a single-key command that takes whatever clip sits under your timeline playhead and loads its source media into the Source Viewer, at that exact frame, without altering anything on your timeline. It's a lookup, not an edit.
Chadwick Shoults, walking through the feature for Creative Video Tips, puts it about as plainly as it can be put:
"The purpose of a match frame is this button here. You hit it and it calls up that exact frame in the source monitor."
That's the whole mechanic. Match Frame answers one question: what does the original file behind this timeline clip actually contain? You're not reopening a project, not undoing a trim, not touching in and out points you've already set. You're asking Resolve to hand you the full source clip, still positioned at the frame you were looking at, so you can see what got left on the cutting room floor.
The button itself lives at the bottom right of the Timeline Viewer, just to the left of the In and Out point buttons, and it does the same job whether you click it or press its keyboard shortcut. Most editors never touch the button after the first week, because the shortcut is faster and your hand is already on the keyboard.
Jason Yadlovski, describing the feature in a 2019 walkthrough that still describes current behavior exactly, calls it "a great timesaver" and admits he wishes he'd found it sooner. That's a common reaction. Match Frame isn't a feature you research. It's a feature you stumble into after wasting enough time doing the same lookup by hand, and then wonder how you edited without it.
How do you use Match Frame in DaVinci Resolve?
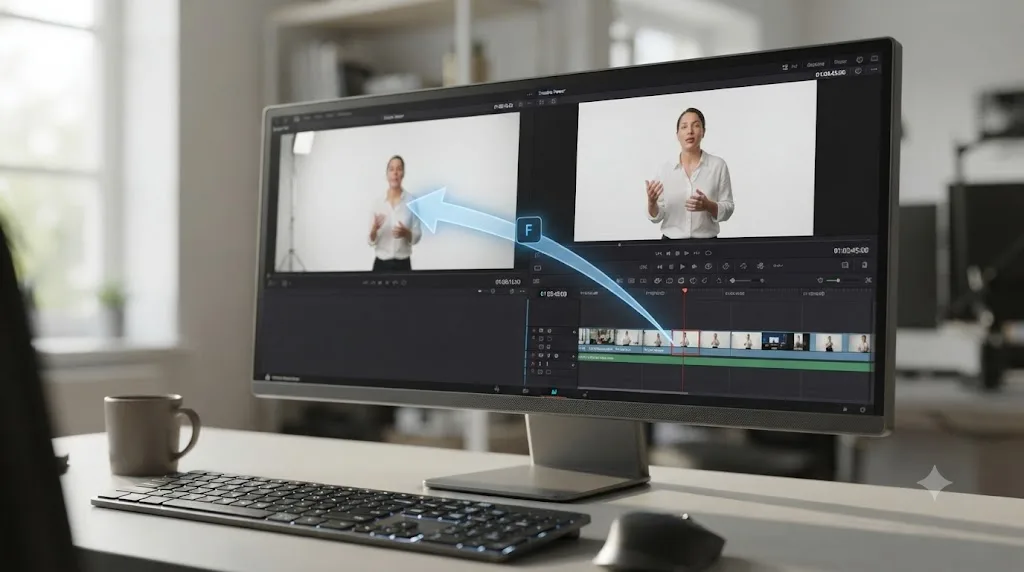
Press F with your playhead parked on a timeline clip, and that clip's source media loads into the Source Viewer at the matching frame. That single keystroke is the entire feature, on both Mac and Windows, and it works the same way whether you're on the Edit page or the Cut page.
Here's the full sequence, broken into steps small enough that nothing gets skipped:
- Click into the Timeline Viewer or the timeline itself so Resolve knows you mean the timeline, not the Source Viewer or a bin.
- Move the playhead over the clip you want to investigate. It doesn't need to be selected, just under the playhead.
- Press F. Nothing on the timeline changes. The Source Viewer becomes active and loads the clip.
- Look at the Source Viewer. You're now seeing the same media, at the same frame, but with access to everything the timeline clip doesn't show you: extra handles before your in point, extra frames after your out point, and, on straightforward single-camera clips, the full audio.
- Scrub, mark new in and out points, or drag straight from the Source Viewer back onto your timeline if you decide you need more of the shot than you originally cut.
Nothing about this workflow requires selecting the clip first, which surprises editors coming from software where a selection click is step one. In Resolve, position is what matters. Wherever your playhead sits when you press F, that's the clip Match Frame reads.
Match Frame changes what's in the Source Viewer, never what's on your timeline. That distinction is worth repeating because it's the single biggest reason people hesitate to use the shortcut at all: nobody wants to accidentally wreck a cut they just finished trimming. You can't. Match Frame is read-only by design, a lookup tool wearing the outfit of an edit command.
| Step | Action | Result |
|---|---|---|
| 1 | Playhead over a timeline clip | Nothing happens yet, this just sets your target |
| 2 | Press F | The clip's source media loads into the Source Viewer |
| 3 | Source Viewer becomes active | You can scrub, mark new points, or drag out fresh footage |
| 4 | Timeline | Completely unchanged, no matter what you do in step 3 |
If you're the kind of editor who wants a keyboard-first workflow across all of Resolve rather than learning shortcuts one at a time as you stumble on them, our guide to DaVinci Resolve keyboard shortcuts every colorist should know covers the Color page equivalents, and the broader philosophy of reaching for a key instead of a menu applies just as much on the Edit page as it does on the Color page.
TryUncle is the on-screen assistant for DaVinci Resolve on macOS. Ask in plain words and Uncle points at the exact control on your screen, which matters here specifically because Match Frame is exactly the kind of one-key feature that's easy to know about and still forget exists three months into a project, when you're staring at a clip wondering where the rest of the shot went.
What's the difference between Match Frame and Match Frame to Source Clip?
Match Frame loads whatever object is actually sitting on your timeline. Match Frame to Source Clip reaches past that object to the real file underneath it, which matters the moment your timeline clip isn't a simple, single piece of media.
For a straightforward single-camera clip, the two commands look identical, because the timeline clip and the source file are effectively the same thing. The difference only shows up once your timeline clip is a wrapper around something else: a multicam clip bundling several camera angles, or a grouped clip combining multiple takes into one selectable unit. Press F on one of those, and Match Frame faithfully loads the wrapper, the multicam clip or the group, not the individual file inside it. That's not a bug. It's Match Frame doing exactly what its name says: matching the frame of the clip that's actually on your timeline.
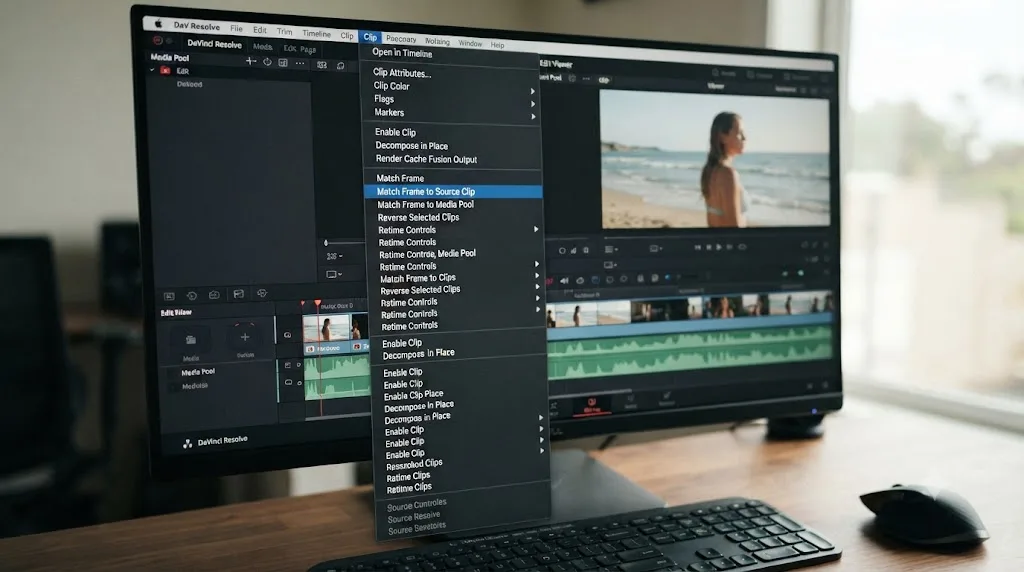
Match Frame to Source Clip exists specifically to skip past the wrapper. It lives at the very bottom of the Clip menu, separate from the Match Frame button entirely, and, unlike Match Frame, it ships with no default keyboard shortcut at all. Editors who use it constantly, particularly on multicam-heavy projects, tend to assign it one themselves through Keyboard Customization, and single-letter choices like N are common in tutorials for exactly that reason, since N sits open and unclaimed on most default layouts.
| Match Frame | Match Frame to Source Clip | |
|---|---|---|
| Menu location | Timeline Viewer button, or Timeline menu | Bottom of the Clip menu |
| Default shortcut | F (Mac and Windows) | None, assign your own |
| What loads | The timeline clip exactly as it exists there | The original underlying media file |
| Multicam clip behavior | Loads the multicam clip itself | Loads the individual camera angle's real source file |
| Grouped clip behavior | Loads the group as one object | Loads the specific take's original file |
| Best for | Quick checks: extra handles, what's just outside your in/out points | Recovering full audio, alternate angles, or anything the wrapper clip hides |
A discussion on the Blackmagic Design forum about matching frame to an original clip lands on the same conclusion most experienced editors reach independently: the standard Match Frame command is the right tool for a quick look at extra frames around your cut point, and Match Frame to Source Clip is the right tool the moment you need something the wrapper clip genuinely doesn't expose, most often full audio on a multicam sequence.
If Match Frame keeps showing you the same limited clip you already cut, you're probably one command short, not doing something wrong. That single realization saves more confused forum posts than almost any other Match Frame fact, and it's the reason the next two sections exist.
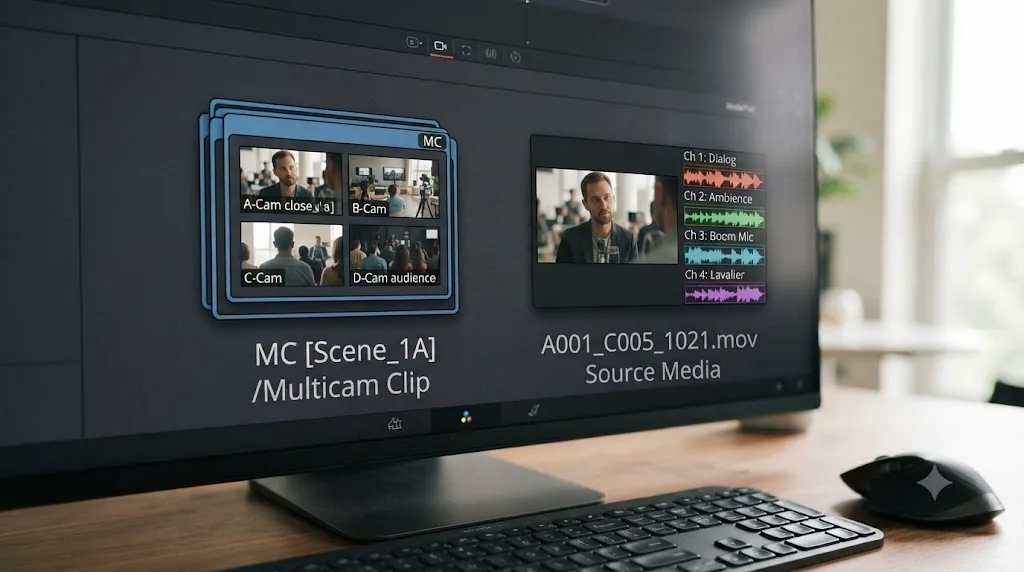
Why does Match Frame only grab the multicam clip instead of the original audio?
Because a multicam clip is one packaged object containing several camera angles, and standard Match Frame treats it exactly like any other single clip, loading the multicam wrapper rather than the individual camera file recorded underneath it. This is the single most common reason editors think Match Frame is broken.
Here's the scenario that trips people up. You're editing an interview shot on three cameras with a shared external audio recorder. You built a multicam clip from all three angles, cut your sequence live, and now you need to grab a clean piece of the original multichannel audio, maybe a channel your live cut didn't route to the timeline. You park the playhead, press F, and the Source Viewer loads the multicam clip. Same limited audio access you had on the timeline. Nothing gained.
The Blackmagic Design forum thread on multicam audio with more than two audio tracks covers the underlying reason this happens: a multicam clip's audio routing is a property of the multicam clip object itself, and pulling up that object with standard Match Frame gets you the same routed audio you already had, not a doorway into the original file's full channel list.
The fix is the command from the previous section: Match Frame to Source Clip, from the bottom of the Clip menu, reaches past the multicam wrapper entirely and opens the actual camera or recorder file, with every audio channel it originally captured. From there you can select the channels you actually need and drag them back onto your timeline as new audio, layered underneath your existing multicam edit.
A practical sequence for recovering audio this way:
- Park the playhead on the multicam clip where you need the additional audio.
- Open the Clip menu and choose Match Frame to Source Clip, not the standard Match Frame button.
- In the Source Viewer, you now have the original file, full channel count intact.
- Set in and out points matching the section you need.
- Disable video patching in the Source Viewer's patch panel, so you don't accidentally overwrite picture when you edit.
- Perform an Overwrite edit onto a free audio track beneath your existing cut.
If your multicam clip's audio still feels wrong even after finding the right source with Match Frame to Source Clip, the setup problem usually traces further back than this single command. Our guide to DaVinci Resolve's full multicam editing workflow for interviews covers camera and audio sync from the ground up, which is worth checking if you're hitting this audio limitation repeatedly rather than as a one-off recovery.
Does Match Frame work the same way on the Cut page?
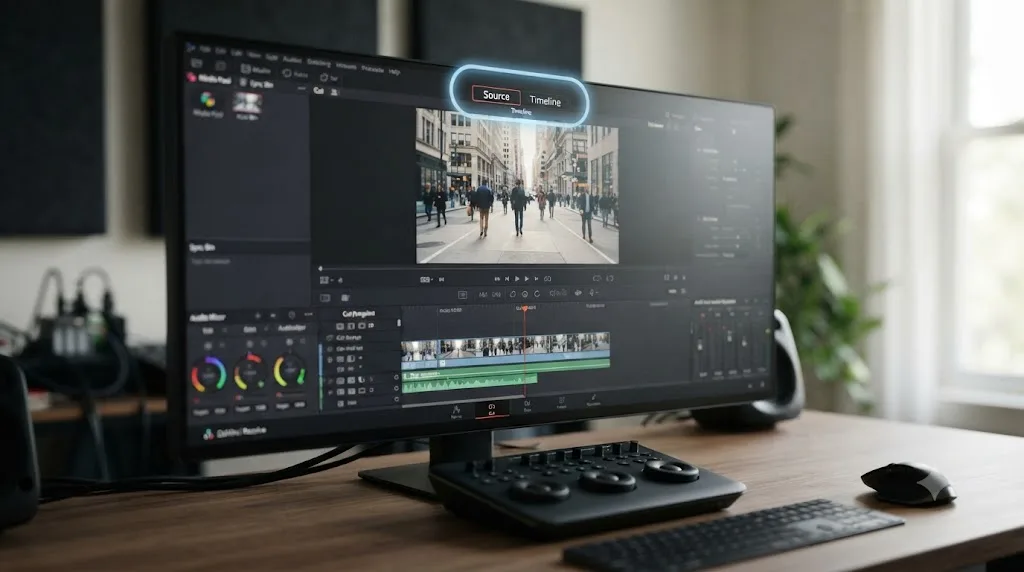
Match Frame runs on the same underlying logic on the Cut page as it does on the Edit page, but the Cut page's streamlined, single-viewer interface makes the result genuinely easy to miss, which is why editors regularly report that it "doesn't work" there when it actually did.
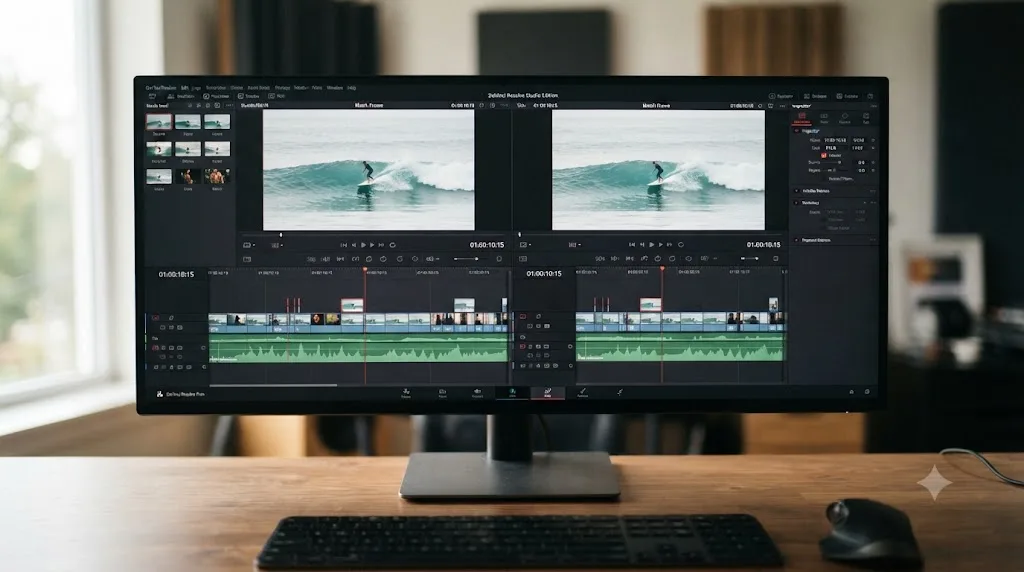
The Edit page keeps two viewers permanently visible side by side, Source on the left, Timeline on the right, so when Match Frame loads a clip into the Source Viewer, you see it happen immediately, right next to the timeline you were just looking at. The Cut page was designed around speed and a smaller footprint instead, and by default it shows a single, larger viewer that toggles between source and timeline content rather than displaying both permanently. Press F on the Cut page in that single-viewer mode, and the clip does load, exactly as it should, but if your viewer is currently showing the timeline and doesn't automatically flip to display the newly loaded source, it can look for all the world like nothing happened.
A forum thread titled "Match Frame on the Cut Page doesn't work" on the Blackmagic Design forum captures this exact confusion, and it's a recurring enough report that it's worth treating as a known interface quirk rather than a bug specific to any one editor's setup or Resolve version.
The fix is to make the result visible, not to hunt for a different shortcut:
- Switch the Cut page to the dual-viewer layout if you have the screen space, matching the Edit page's permanent Source and Timeline split.
- Manually toggle to the Source viewer mode after pressing F, using the Source and Timeline buttons above the Cut page's single viewer, if you're staying in the compact single-viewer layout.
- Watch for the orange highlight. Per the manual's description of viewer behavior, "the clip/timeline name is highlighted orange when either the Source or Timeline Viewer has focus," which is a reliable visual confirmation that Match Frame did in fact load something, even before you've switched your view to look at it.
The Cut page also has its own separate feature worth not confusing with Match Frame: source tape, accessed by pushing the Source button and using the search dial, which scrolls continuously through all your media rather than jumping to one specific clip's matching frame. Source tape is for browsing broadly. Match Frame is for jumping precisely to one known clip's source. They solve different problems and happen to live in the same general area of the Cut page's compact interface, which adds one more layer to the general Cut page confusion around this feature.
Why isn't Match Frame doing anything when you press F?
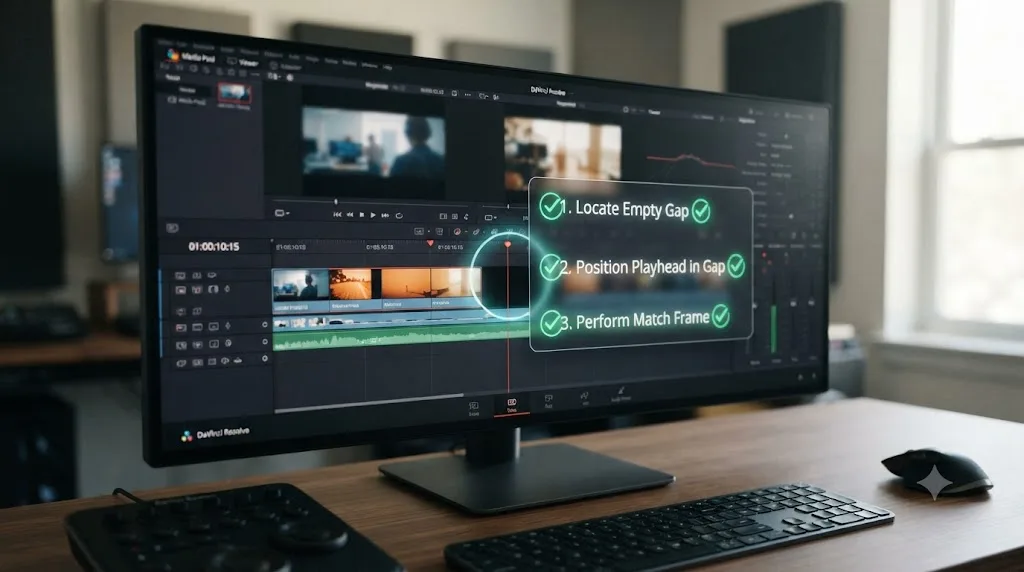
Three causes account for almost every "Match Frame is broken" report, and none of them are actually a broken shortcut. Work through them in order before assuming something's genuinely wrong.
The playhead is sitting in a gap, not on a clip. Match Frame needs a clip under the playhead to have anything to load. Park the playhead in empty space between two clips, or past the end of your last clip, and pressing F simply has nothing to act on. This is the single most common cause, and it's invisible if you're not looking closely at exactly where the playhead landed after a jump or a keyboard nudge.
No clip is actually reachable on the active track. If you've got several video or audio tracks stacked and the track your playhead's frame lines up with is locked, hidden, or simply doesn't have a clip there while a different track does, Match Frame can come up empty depending on which track has focus. Check that the clip you're trying to match is actually the one on the track Resolve considers active.
You're on the Cut page's single-viewer mode and the result loaded where you can't see it. Covered in full in the previous section: this is the most common reason Match Frame feels broken specifically for Cut page users, and it's a visibility problem, not a functional one.
A less common but real fourth cause, documented in the Blackmagic forum's "Match Frame stays in Timeline" thread: Match Frame loads the clip into the Source Viewer and should make that panel active, but depending on your current viewer configuration, keyboard focus can stay parked on the Timeline Viewer instead. The clip is there. Your next keystroke, though, a scrub, an in-point mark, might still land on the timeline rather than the source, if you don't click into the Source Viewer first to confirm it has focus.
| Symptom | Likely cause | Fix |
|---|---|---|
| F does nothing at all | Playhead is in a gap or past the last clip | Move the playhead directly onto a clip and try again |
| F does nothing, but a clip is clearly under the playhead | Wrong track has focus, or that track is locked/hidden | Confirm which track Resolve considers active before pressing F |
| The Source Viewer looks unchanged | You're on the Cut page's single-viewer mode | Toggle to Source view, or switch to the dual-viewer layout |
| A clip loaded, but your next keystroke affects the timeline instead | Keyboard focus stayed on the Timeline Viewer | Click directly into the Source Viewer before scrubbing or marking points |
| Match Frame loads the wrong thing on a multicam or grouped clip | Standard Match Frame loaded the wrapper clip, as designed | Use Match Frame to Source Clip from the Clip menu instead |
A Match Frame press that seems to fail almost never means the feature is broken. It means one of these five conditions is quietly true, and once you know to check for it, the fix takes seconds. Where the Blackmagic forum shows up repeatedly across multicam audio, the Cut page, and viewer focus threads, it's the same handful of editors rediscovering the same handful of causes independently, which is exactly the kind of recurring, easy-to-miss stuck point our 100,000-plus member editing community runs into on a regular basis too.
If you're staring at your own project right now, not a general troubleshooting table, an app that helps you while you're using DaVinci Resolve can shortcut this whole diagnosis. Uncle watches your actual screen and can point at whichever of these five conditions is true in your specific project, instead of you working down a checklist from memory.
How do you find a timeline clip in the Media Pool instead?
Right-click any clip on your timeline and choose Find in Media Pool from the contextual menu, and Resolve jumps to and highlights that same clip inside your Media Pool bin structure. This is a different job from Match Frame, even though the two get reached for in similar moments.
Match Frame answers "what does the source media actually contain." Find in Media Pool answers a completely different question: "where does this clip live in my bin organization." You reach for Find in Media Pool when you need to check a clip's metadata, move it to a different bin, apply a LUT to it from the Media Pool's right-click menu, or just confirm you haven't accidentally got two versions of the same shot imported into different folders.
Per the manual's coverage of finding timeline clips, the process is a straightforward right-click: "if you have a clip in a timeline and you want to find the corresponding clip that it's conformed to in the Media Pool, you can right-click that clip, and choose Find in Media Pool from the contextual menu." There's a companion command worth knowing if you're doing the reverse lookup, going from a currently open timeline back to itself in the Media Pool: Timeline > Find Current Timeline in Media Pool, per the same section of the manual.
One more related command lives in the same right-click menu and solves yet another distinct problem: Reveal synced audio in Media Pool. If you've auto-synced a video clip to a separate audio recording, per the manual, right-clicking that video clip and choosing this option shows you the specific audio clip it's synced to, sitting inside the Media Pool.
| Command | What it finds | Where you reach for it |
|---|---|---|
| Match Frame (F) | Source media, loaded into the Source Viewer | Checking what extra footage exists around your cut point |
| Find in Media Pool | The same clip's location in your bin structure | Fixing organization, applying a LUT, checking metadata |
| Reveal synced audio in Media Pool | The audio clip a video clip is synced to | Confirming or troubleshooting an audio sync relationship |
| Find Current Timeline in Media Pool | The timeline itself, as an object in the Media Pool | Jumping from an open timeline back to its bin location |
None of these four commands overlap in what they actually do, despite all four living in roughly the same "where did this thing come from" corner of Resolve's navigation tools. Reaching for the wrong one costs you nothing but a few seconds, since the worst outcome is landing somewhere unhelpful and trying the next one.
How do you reveal a clip's actual file on your hard drive?
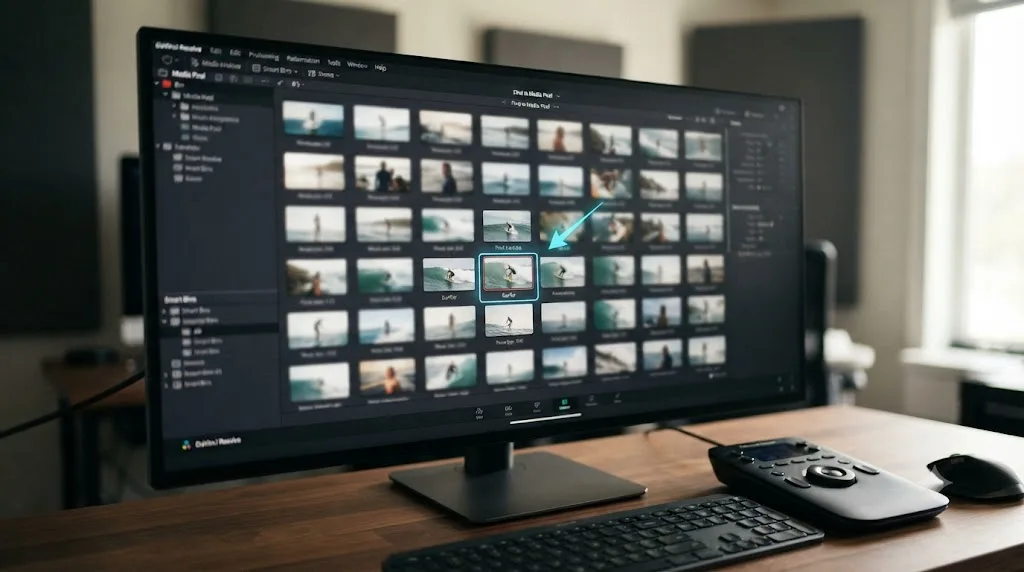
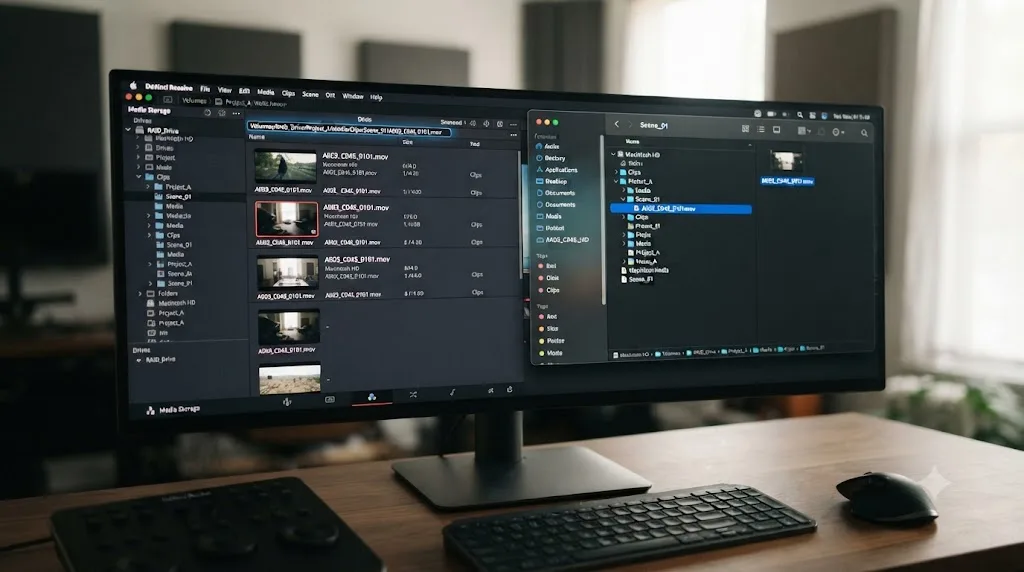
Right-click a clip in the Media Pool and choose Reveal in Media Storage panel, or, on Mac, Reveal In Finder, and Resolve shows you exactly where that file sits on your actual disk. This is the third distinct "where is this thing" command in Resolve, after Match Frame and Find in Media Pool, and it's the only one of the three that leaves the app entirely.
Per the manual's entry on this exact function, right-clicking an item and selecting either option "reveals" the file's real storage location, in Resolve's own Media Storage panel or in your operating system's file browser depending on which option you choose. On Mac, davincishortcuts.com's Resolve 21 cheat sheet lists Option-R as the default shortcut for Reveal in Finder; the Windows and Linux equivalent, Reveal in Explorer, defaults to Alt-R.
You need this command far less often than Match Frame, but when you do need it, nothing else substitutes. Common reasons to reach for it:
- Confirming a file's actual path before sending a project to a collaborator, so you can tell them exactly where the media needs to live on their machine.
- Manually backing up or copying specific source files outside of Resolve's own archive and export tools, our guide to archiving a DaVinci Resolve project without losing media covers the built-in archive workflow, which is the better tool for a full project backup, but Reveal in Media Storage is faster for grabbing one or two specific files by hand.
- Troubleshooting an offline or relinked clip, where you need to physically check whether the file Resolve thinks it's pointing at actually exists at that path.
Match Frame, Find in Media Pool, and Reveal in Media Storage form a complete set covering every direction you might need to trace a clip: into the Source Viewer, into your bin organization, or out to the actual file on disk. Knowing which of the three you actually need, rather than trying all of them until one works, is most of what separates a fast editor's navigation habits from a slow one's.
What's the difference between Match Frame and Match Reference Wipe Frame on the Color page?
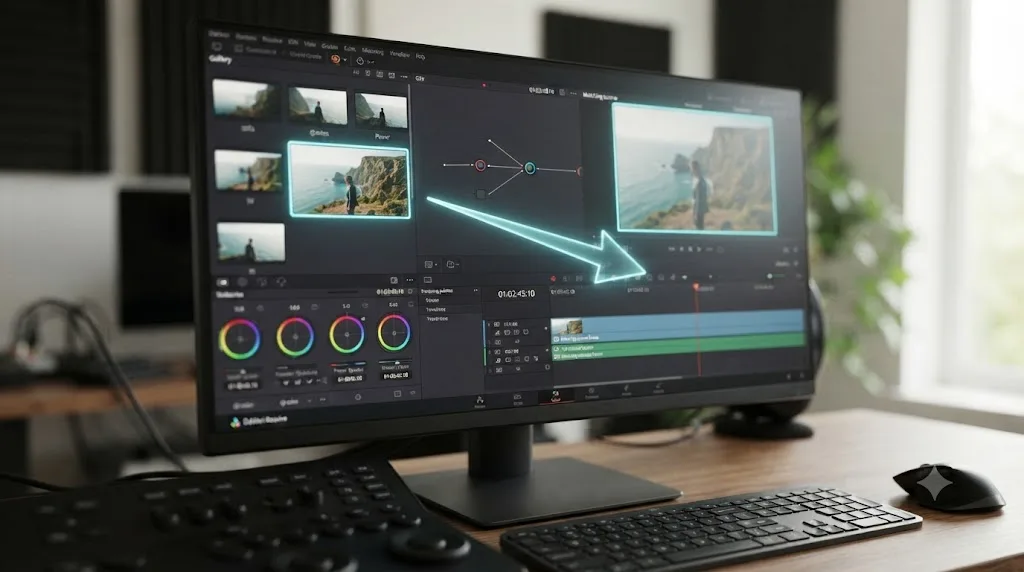
They share two words of their name and solve two completely different problems on two completely different pages. Match Frame is an Edit and Cut page command for loading a timeline clip's source. Match Reference Wipe Frame is a Color page Gallery command for finding the shot behind a saved grading still.
This naming collision confuses more editors than you'd expect, especially anyone who learned Match Frame first on the Edit page and later stumbles onto a menu item with "match" and "frame" both in it while grading. They are not related tools, and neither one substitutes for the other.
Per the manual's description, "you can right-click any Gallery still and choose Match Reference Wipe Frame to automatically move the playhead to the exact frame that corresponds to that still, and select that clip in the Color page Timeline." A Gallery still is a saved snapshot of a grade, a reference image you're comparing other shots against. Over the course of a long grading session, it's easy to lose track of exactly which clip and which frame a particular still actually came from. Match Reference Wipe Frame solves that specific memory problem: right-click the still, and Resolve takes you straight back to its source, on the Color page's own timeline.
| Match Frame | Match Reference Wipe Frame | |
|---|---|---|
| Page | Edit, Cut | Color |
| What you click on | A timeline clip | A Gallery still |
| What it does | Loads the clip's source into the Source Viewer | Moves the playhead to the still's source frame and selects that clip |
| Default shortcut | F | None |
| Solves | "What else does this shot contain?" | "Which clip and frame did this saved still come from?" |
If you're grading and specifically want the standard Match Frame behavior, loading source media rather than jumping to a Gallery reference's origin, that command still exists on the Color page too, since Match Frame isn't scoped to any single page. The distinction to hold onto is simpler than the menu names suggest: Match Frame is about source media, Match Reference Wipe Frame is about saved grading stills, and neither command reaches into the other's job.
Can you change the Match Frame keyboard shortcut?
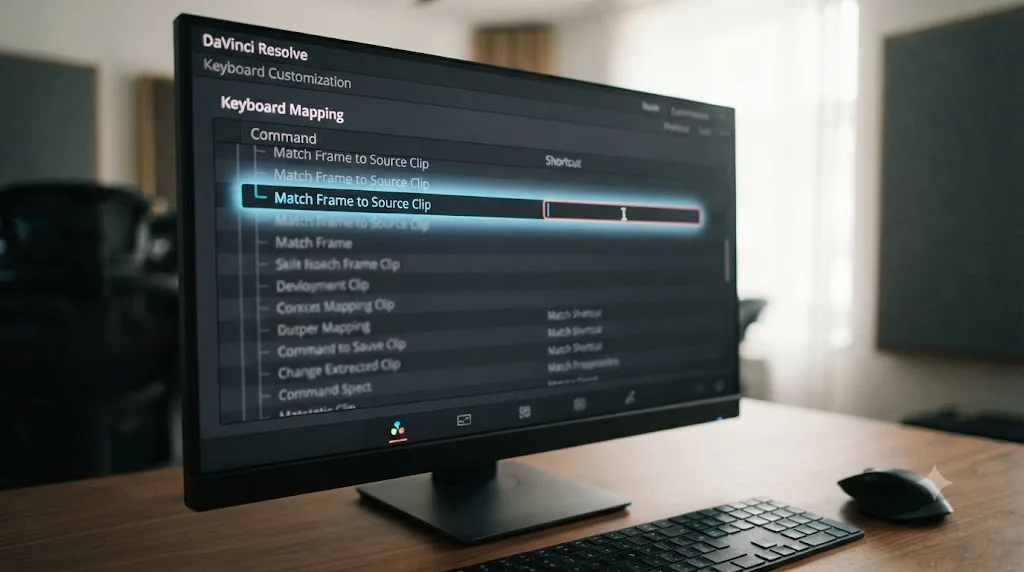
Yes. Open Keyboard Customization with Command-Option-K on Mac or Ctrl-Alt-K on Windows, locate Match Frame in the list, and drag your preferred key combination onto it. The same panel is where you'd assign a shortcut to Match Frame to Source Clip, which ships with none at all.
Most editors never touch Match Frame's default F binding, since it's an easy, unclaimed key that doesn't conflict with anything else in common workflows. The more useful reason to open Keyboard Customization in this context is Match Frame to Source Clip, buried at the bottom of the Clip menu with zero default key, which means every multicam-heavy editor either learns to live with a menu click every time or assigns their own shortcut once and never thinks about it again.
To assign one:
- Open DaVinci Resolve > Keyboard Customization (Mac) or the equivalent menu path on Windows, or use the Command-Option-K / Ctrl-Alt-K shortcut directly.
- Search or scroll to find Match Frame to Source Clip in the command list, typically under a Clip or Timeline category.
- Click into the shortcut field and press your desired key combination.
- Watch for a conflict warning. If your chosen key is already bound to something else, Resolve tells you, and you'll want to either pick a different key or knowingly reassign the conflicting command.
- Save your custom keyboard layout, since Resolve supports multiple named layouts you can switch between, useful if you edit on a shared workstation and don't want to overwrite a colleague's setup.
A commonly cited choice, mentioned in the Creative Video Tips walkthrough covered earlier in this guide, is the N key, chosen specifically because it sits unclaimed on most default layouts and sits close enough to F that your hand barely has to move between the two related commands.
Our guide to DaVinci Resolve keyboard shortcuts every colorist should know covers the same Keyboard Customization panel in more depth, including how to build out a full custom layout rather than assigning one command at a time, which is worth doing once you notice yourself remapping more than two or three individual shortcuts.
Is Match Frame available in the free version of DaVinci Resolve?
Yes, without restriction. Match Frame, Match Frame to Source Clip, Find in Media Pool, and Reveal in Media Storage are all core editing and navigation tools, not ResolveFX plugins or DaVinci Neural Engine features, and none of them appear anywhere on Blackmagic's list of what DaVinci Resolve Studio adds.
The pattern across Resolve's paid tier is consistent, and it's worth understanding once rather than re-checking feature by feature. Per Toolfarm's comparison of the free and Studio versions, what Studio actually gates is specific effects and processing tools: certain ResolveFX plugins, HDR grading tools, higher resolutions and frame rates, and Neural Engine-powered features like Speed Warp retiming. The Studio product page itself lists these paid-tier additions explicitly, and basic clip navigation commands like Match Frame simply never show up on that list, in any version of Resolve's marketing material going back years.
| Tool | Free | Studio |
|---|---|---|
| Match Frame | Yes | Yes |
| Match Frame to Source Clip | Yes | Yes |
| Find in Media Pool | Yes | Yes |
| Reveal in Media Storage / Finder | Yes | Yes |
| Match Reference Wipe Frame (Color page) | Yes | Yes |
| Keyboard Customization | Yes | Yes |
If you're deciding whether the $295 Studio upgrade is worth it for your workflow, none of the navigation tools covered in this guide are a factor either way. What Studio buys you, per Blackmagic's own Studio product page and the Edit page's product overview, is a deeper effects library and higher-end delivery specs, not faster ways to find a shot you already cut.
What changed with Match Frame in recent DaVinci Resolve versions?
Very little, which is itself worth knowing if you learned this feature years ago and assumed it might have moved. The one genuine, documented change landed in version 20.3, released December 2, 2025, and it carried forward unchanged into every build of DaVinci Resolve 21 since.
Per CineD's coverage of the 20.3 release, Blackmagic fixed how Match Frame handles clips playing at negative speed, meaning footage that's been reversed: "for those working with reversed footage, DaVinci Resolve now delivers more accurate match frame results for clips with negative speeds." Before this fix, matching frame on a reversed clip could hand you a source frame that didn't actually correspond to what you were looking at on the timeline, a small but genuinely disorienting bug if you build reverse-motion effects regularly. That same release also made Resolve remember your source timeline selection when switching between pages, a related but separate quality-of-life fix in the same update.
The most recent point release as of this guide, DaVinci Resolve 21.0.3, released July 22, 2026, focused on keyframe ease actions, interlaced workflow fixes, and a Sony BURANO decoding fix. It doesn't touch Match Frame at all, which is exactly the point: the feature has been stable since the 20.3 negative-speed fix, and every workflow, shortcut, and menu location covered in this guide applies identically whether you're running 21.0, 21.0.1, 21.0.2, or the current 21.0.3.
| Version | Date | Match Frame change |
|---|---|---|
| Pre-20.3 | Before December 2025 | Match Frame could return an inaccurate source frame on reversed (negative speed) clips |
| 20.3 | December 2, 2025 | Fixed match frame accuracy for negative-speed clips; source timeline selection now persists across page switches |
| 21.0 through 21.0.2 | 2026 | No further Match Frame changes |
| 21.0.3 | July 22, 2026 | No Match Frame changes; focused on keyframe, interlaced, and codec fixes |
If you're following an older tutorial, a forum post from 2022, a YouTube walkthrough from Resolve 16, the fundamentals it describes, the F shortcut, the Source Viewer behavior, Match Frame to Source Clip in the Clip menu, all still apply exactly as written. The only asterisk worth knowing is the reversed-footage accuracy fix, and only if you're working with negative-speed clips specifically.
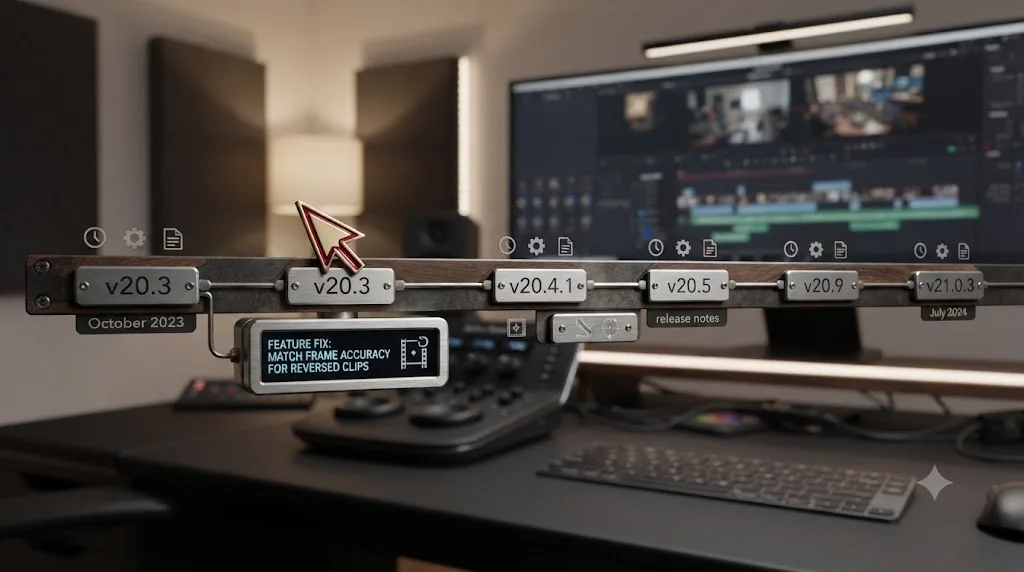
Worked example: recovering audio you cut without its sound
This is the single most common real-world reason editors reach for Match Frame in the first place, so here's the full build, start to finish, for a straightforward single-camera clip.
- Notice the problem. You're watching your rough cut back and a clip plays completely silent, or with the wrong audio, because it was originally edited in as video-only, dragged from a bin where you'd unlinked or disabled its audio channel.
- Park the playhead directly on the silent clip in your timeline.
- Press F. The Source Viewer loads that clip's original media, and unlike the video-only version sitting on your timeline, this source clip carries its full original audio.
- Confirm the audio is present by checking the Source Viewer's audio meters or waveform display while scrubbing.
- Set in and out points in the Source Viewer matching the section of audio you need, typically identical to your existing video clip's timeline duration.
- Drag the audio-only portion down onto an empty audio track beneath your existing video clip, or use an Overwrite edit with video patching disabled so you don't disturb the picture you've already cut.
- Check sync. Since you matched frame from the exact clip already on your timeline, the audio you're dragging back in should already align to the correct position without any manual nudging.
This exact scenario, video cut in without its audio, is common enough that it shows up as the primary example in more than one independent Match Frame tutorial, including Jason Yadlovski's walkthrough, which frames the whole feature around exactly this recovery use case: "maybe you edited a video clip without the corresponding audio and later you decide you want the audio in the timeline. Match Frame automatically loads the original source file for that clip into your viewer so you can grab the audio and drag it into the timeline."
The workflow above is the difference between a two-minute fix and reopening your original bin to hunt down the right file by filename, a search that gets meaningfully harder the more clips your project has accumulated by the time you notice the missing audio.
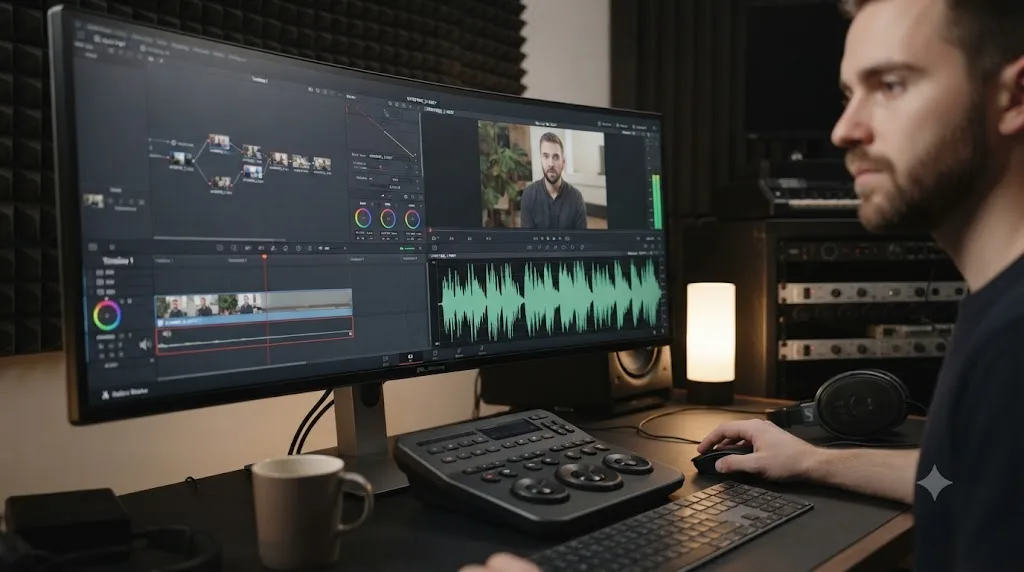
Worked example: finding alternate takes and B-roll from the same source clip
Match Frame's second-most common use case is coverage hunting: you've cut a moment using one small section of a longer take, and now you need to know what else that same file captured, without abandoning your current edit to go dig through the bin.
- Identify the clip on your timeline whose surrounding footage you want to explore, typically a moment where you suspect there's a better reaction, a cleaner line read, or useful cutaway material just outside your current in and out points.
- Park the playhead on that clip and press F.
- In the Source Viewer, scrub outward from your current in and out points, both earlier and later in the file, since Match Frame gives you the clip's full available duration, not just the section you originally selected.
- Mark new in and out points around any additional material you want, a longer pause before the line, a reaction shot that continues past where you originally cut out.
- Drag the new selection directly from the Source Viewer onto your timeline, either onto a new track above your existing edit for a cutaway, or as a straight replacement if you've decided the original selection was wrong.
- Repeat across multiple clips if you're doing a broader pass through your rough cut looking for stronger alternate material throughout, since each Match Frame press is independent and doesn't require returning to any menu or bin between clips.
This workflow is where Match Frame earns its keep on a documentary or interview-heavy edit specifically, since those projects routinely involve long, unbroken takes where only a small fraction of any given file makes it into the final cut. Being able to check "what's the next thirty seconds of this same take look like" without leaving your current sequence, for every clip in a scene, in the time it takes to press one key per check, is a meaningfully faster process than scrubbing a bin full of hour-long interview files by hand.
If you're building this kind of B-roll and coverage habit into a broader speed workflow rather than a one-off fix, our guide to editing faster in DaVinci Resolve covers the wider set of friction-removal habits Match Frame belongs to: proxies for smooth scrubbing, batch tools instead of repeated manual work, and muscle memory built from exactly the kind of single-key lookups covered in this guide.
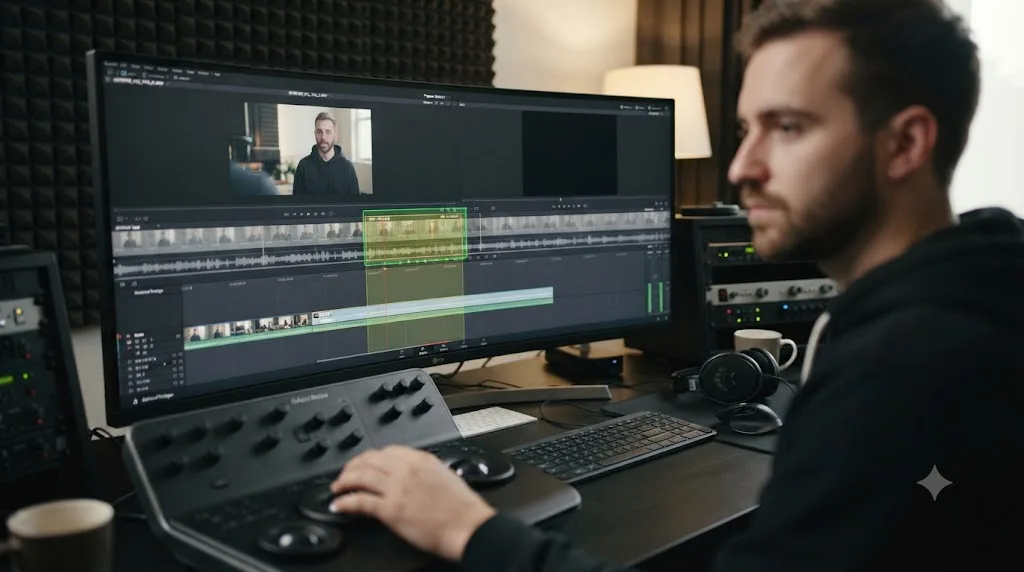
Worked example: pulling a clean multicam angle's full audio with Match Frame to Source Clip
This combines two sections covered earlier into one complete, real-world sequence: recovering full audio from inside a multicam clip, which standard Match Frame can't reach on its own.
- Identify the multicam clip on your timeline where you need audio the current cut doesn't route to, commonly a specific microphone channel from a different angle than the one currently active in your live cut.
- Park the playhead on that multicam clip.
- Press F first, just to confirm the limitation. The Source Viewer loads the multicam clip itself, the same routed audio you already had access to on the timeline. This step is optional but useful for understanding why the next step is necessary.
- Open the Clip menu and choose Match Frame to Source Clip instead.
- The Source Viewer now loads the actual original camera or recorder file, with every audio channel it captured, independent of whatever the multicam clip's own audio routing setting currently uses.
- Select the specific audio channel or channels you need from this source file.
- Set in and out points matching the section of your timeline where you need this alternate audio.
- Disable video patching in the Source Viewer's patch panel, since you almost always want audio only here, not to also overwrite the picture from your existing multicam cut.
- Perform an Overwrite edit onto a free audio track, laying the recovered audio underneath your existing multicam picture edit.
- Check sync against your picture, since this recovered audio is coming from the original file's own timecode rather than the multicam clip's internal sync, and a jam-synced shoot should line up automatically while a waveform-synced one is worth a manual double-check.
This exact chain, Match Frame to Source Clip, disable patching, Overwrite, is the sequence Chadwick Shoults walks through in the Creative Video Tips breakdown covered earlier, and it's the standard fix for what's otherwise a genuinely confusing limitation the first time you run into it on a multicam project.
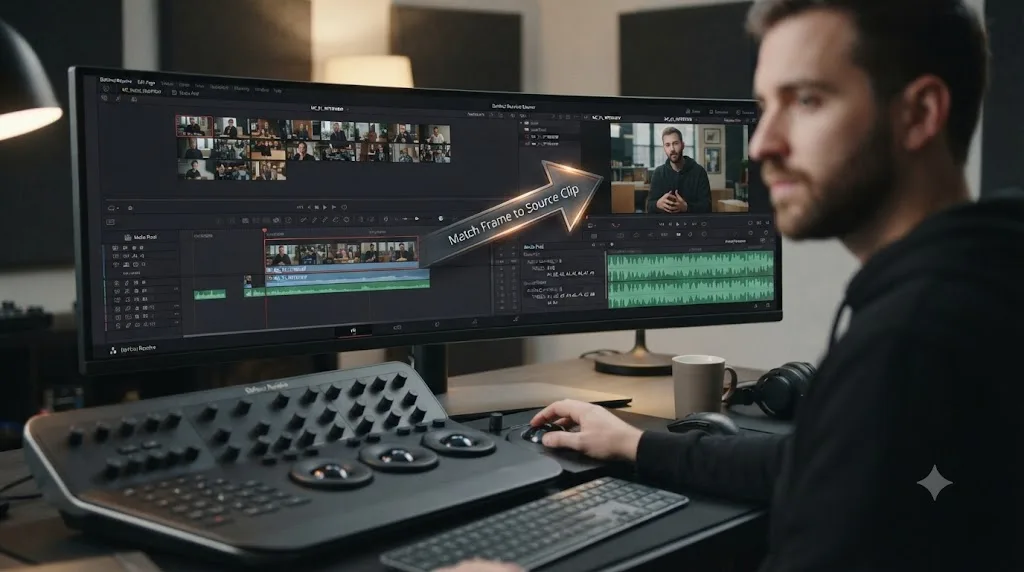
Match Frame or scrubbing by hand: is learning the shortcut worth it?
Yes, and the case for it isn't close. Scrubbing through a bin by hand to find a specific clip's source, especially on a project with more than a handful of files, costs real, repeated time across an edit. Match Frame collapses that lookup into a single keystroke, every single time you need it, for the rest of the project.
The honest counterargument is that Match Frame has a learning curve of exactly one fact: the shortcut exists. Past that single moment of discovery, there's nothing left to learn. It's not a feature with settings, modes, or configuration choices beyond the ones already covered in this guide, no default versus the Match Frame to Source Clip choice for multicam and grouped clips, and no default versus a custom keyboard binding if F doesn't fit your muscle memory. That's the entire feature.
Where the real time savings compound is across a full project, not any single use. An editor who's internalized Match Frame checks a shot's surrounding footage, recovers missing audio, or confirms an alternate take in the two or three seconds it takes to move a playhead and press one key. An editor who hasn't reopens the Media Pool, searches by filename or timecode, and manually locates the right clip, a process that easily runs ten to twenty times longer per lookup, and that difference multiplies by however many times a day you're doing this kind of check across a real editing session.
A feature this small rarely gets its own explainer, which is exactly why it stays undiscovered for so long. Most editors learn Match Frame from a colleague glancing over their shoulder, not from a tutorial, because nobody thinks to teach a single keystroke on its own. That's the gap this guide exists to close.
If you're the kind of editor who'd rather have something watching your actual session point out a feature like this the moment it would help, rather than discovering it by accident eighteen months in, that's the specific stuck point TryUncle is built around: it sits alongside DaVinci Resolve on your Mac and can point at the exact button or shortcut for whatever you're trying to do, in the context of your own project, right when you need it rather than in a tutorial you watched months before the problem showed up. TryUncle runs at $39 a month, cancel anytime, and it's a macOS-only paid subscription.
The short version
Match Frame is one keystroke, F, that loads whatever timeline clip is under your playhead into the Source Viewer, at the exact matching frame, without touching your edit. That's the entire feature, and it's been stable since long before DaVinci Resolve 21, with the one real change, better accuracy on reversed clips, landing in version 20.3 back in December 2025.
Everything else in this guide is what happens when that simple mechanic meets the real complications of an actual project: multicam clips that need Match Frame to Source Clip instead, a Cut page interface that hides the result if you're not watching the right viewer, a completely unrelated Color page command that happens to share two words in its name, and three separate "where is this thing" tools, Match Frame, Find in Media Pool, and Reveal in Media Storage, that solve three genuinely different problems despite living in the same mental neighborhood.
Every version of "where did the rest of this shot go" in DaVinci Resolve has the same one-key answer, and it's spelled F. Learn that once, learn the multicam exception once, and the audio-recovery panic, the missing-coverage hunt, and the "I cut this without its sound" mistake all stop being separate problems. They're the same lookup, solved the same way, every time.
Frequently asked questions
- What is the keyboard shortcut for Match Frame in DaVinci Resolve?
- F, on both Mac and Windows. Select or park the playhead on a clip in the timeline and press F, or click the Match Frame button at the bottom right of the Timeline Viewer, and that clip's current frame loads into the Source Viewer exactly as it's conformed on the timeline.
- What's the difference between Match Frame and Match Frame to Source Clip in DaVinci Resolve?
- Match Frame (F) loads whatever the timeline clip actually is, which for a multicam clip or a grouped clip is a wrapper, not the raw file. Match Frame to Source Clip, found at the bottom of the Clip menu, goes one level deeper and opens the real original media file behind that wrapper, with every audio channel intact.
- Why does Match Frame only pull up the multicam clip instead of the original audio?
- Because a multicam clip is a single object that packages several camera angles together, and Match Frame treats it as one clip, loading the multicam clip itself rather than the individual camera file underneath it. Use Match Frame to Source Clip from the Clip menu instead, which reaches past the wrapper to the original file and its full multichannel audio.
- Does Match Frame work the same way on the Cut page as the Edit page?
- Match Frame itself works the same underlying way on both pages, but the Cut page's single, streamlined viewer makes the result easy to miss, since there's no permanently visible second viewer showing you that the source clip loaded. Toggle the Cut page's Source and Timeline viewer modes, or open the full dual-viewer layout, to actually see what Match Frame just did.
- Why isn't Match Frame doing anything when I press F in DaVinci Resolve?
- The three most common causes are the playhead sitting in a gap instead of on a clip, no clip actually selected on the track your playhead is parked on, and the Cut page's single-viewer mode hiding a result that did load, just not where you're looking. Check all three before assuming the shortcut is broken.
- Can you change the Match Frame keyboard shortcut in DaVinci Resolve?
- Yes. Open Keyboard Customization with Command-Option-K on Mac or Ctrl-Alt-K on Windows, find Match Frame under the Timeline or Edit category, and drag a new key combination onto it. This is also how editors assign a shortcut to Match Frame to Source Clip, which ships with no default key at all.
- Is Match Frame available in the free version of DaVinci Resolve?
- Yes. Match Frame, Match Frame to Source Clip, Find in Media Pool, and Reveal in Media Storage are all core navigation tools, not ResolveFX plugins or Neural Engine features, and none of them appear on Blackmagic's list of DaVinci Resolve Studio-exclusive capabilities.
- What's the difference between Match Frame and Match Reference Wipe Frame in DaVinci Resolve?
- They share two words and nothing else. Match Frame, on the Edit and Cut pages, loads a timeline clip's source into the Source Viewer. Match Reference Wipe Frame is a Color page Gallery command that moves the playhead to the exact frame a saved grading still was captured from, and selects that clip, for comparing a saved look against its source shot.
Sources
- Chadwick Shoults: Tricky Little Things in DaVinci Resolve, Episode 4 (Creative Video Tips)
- Jason Yadlovski: Match Frame in DaVinci Resolve 16, Quickly Sync Source and Timeline Clips
- DaVinci Resolve manual: Finding Clips in the Media Pool (Blackmagic Design, mirrored)
- DaVinci Resolve manual: Finding Timeline Clips in the Media Pool (Blackmagic Design, mirrored)
- DaVinci Resolve manual: Match Reference Wipe Frame (Blackmagic Design, mirrored)
- DaVinci Resolve manual: Viewer Controls (Blackmagic Design, mirrored)
- Blackmagic Design Forum: Match frame to your original Clip
- Blackmagic Design Forum: Match Frame stays in Timeline
- Blackmagic Design Forum: Match Frame on the Cut Page doesn't work
- Blackmagic Design Forum: Multicam audio with more than 2 audio tracks?
- DaVinci Resolve Keyboard Shortcuts, Complete Cheat Sheet (Resolve 21)
- CineD: DaVinci Resolve 20.3 Released, 32K Support on Apple M5, Timeline Snapshots, Metadata Improvements
- CineD: DaVinci Resolve 21.0.3 Released, Keyframe Ease Actions, Interlaced Fixes, and Sony BURANO X-OCN Decode Fix
- DaVinci Resolve Studio product page (Blackmagic Design)
- DaVinci Resolve - Edit product page (Blackmagic Design)
- Toolfarm: In Depth, DaVinci Resolve Studio vs Free (Updated for 21)
Learn by doing, not watching
Stop translating tutorials to your timeline.
TryUncle stays beside Resolve on Mac and Windows. When you ask, Uncle sees your screen and points at the exact control you need. No hunting through tabs, timestamps, or mismatched tutorials.
Meet TryUncleKeep reading
 GuidesJul 15, 202638 min read
How to Edit Faster in DaVinci Resolve: A Workflow Guide
The workflow fixes that actually speed up DaVinci Resolve editing: proxy media, render cache, GPU/decode settings, hardware controllers, batch tools, and where AI helps.
 GuidesJul 8, 202639 min read
How to Sync Audio in DaVinci Resolve, Every Method
Sync audio and video in DaVinci Resolve with Auto Sync Audio, timecode, the Sync Bin, or a manual clap, plus fixes for drift and failed matches.
 GuidesJul 16, 202640 min read
DaVinci Resolve Multicam Editing Workflow for Interviews
A full DaVinci Resolve multicam workflow for interviews: camera and audio setup, syncing, live cutting, keyboard shortcuts, color matching, and fixes.