
Learn / DaVinci Resolveupdated for DaVinci Resolve 21.0.3 and Adobe After Effects 2026 (July 2026)
DaVinci Resolve Fusion vs After Effects for Motion Graphics
Quick answer
For motion graphics, After Effects still wins on templates, plugins, and tutorials; DaVinci Resolve's Fusion wins on cost (free), single-shot VFX compositing, and true 3D. Fusion's node workflow has a steeper learning curve but ships inside Resolve at no charge, while After Effects costs $22.99 to $34.49 a month and remains the broadcast motion graphics standard.
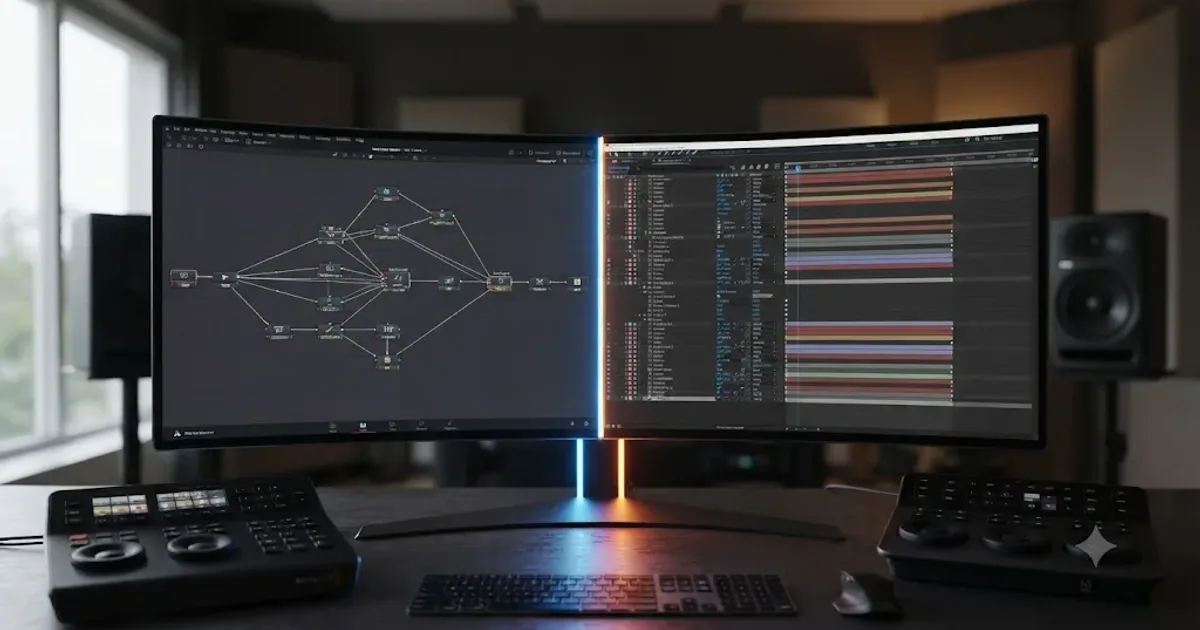
You typed "DaVinci Resolve Fusion vs After Effects for motion graphics" because you're standing at a fork. Maybe you're already in Resolve for editing and color, and you don't want to pay for a second app just to build a title sequence. Maybe you learned After Effects first and you're wondering if Fusion is a real substitute or just a free knockoff. Either way, you want a straight answer, not a listicle that hedges every sentence.
Here's ours, and here's why you should trust it. We've spent seven years cutting commercial motion graphics and VFX work in both apps, we run the 100,000+ member editing community where this exact question comes up on a near-weekly basis, and we're an official Udemy Business Partner having taught 100,000+ students across our courses, including teams inside Fortune 500 companies. This isn't a theoretical comparison. It's the one we give members who ask us directly.
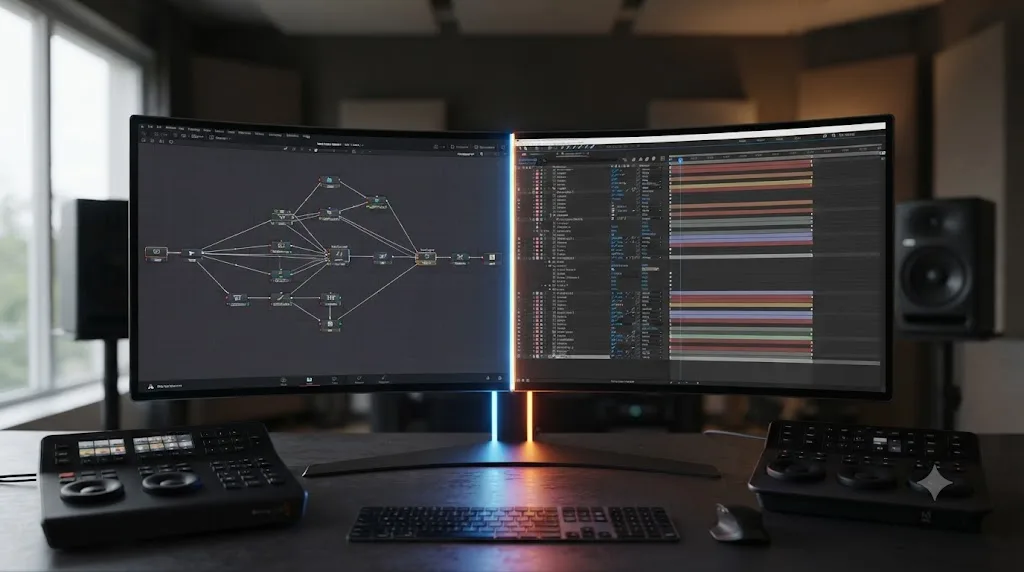
What's the actual difference between Fusion and After Effects for motion graphics?
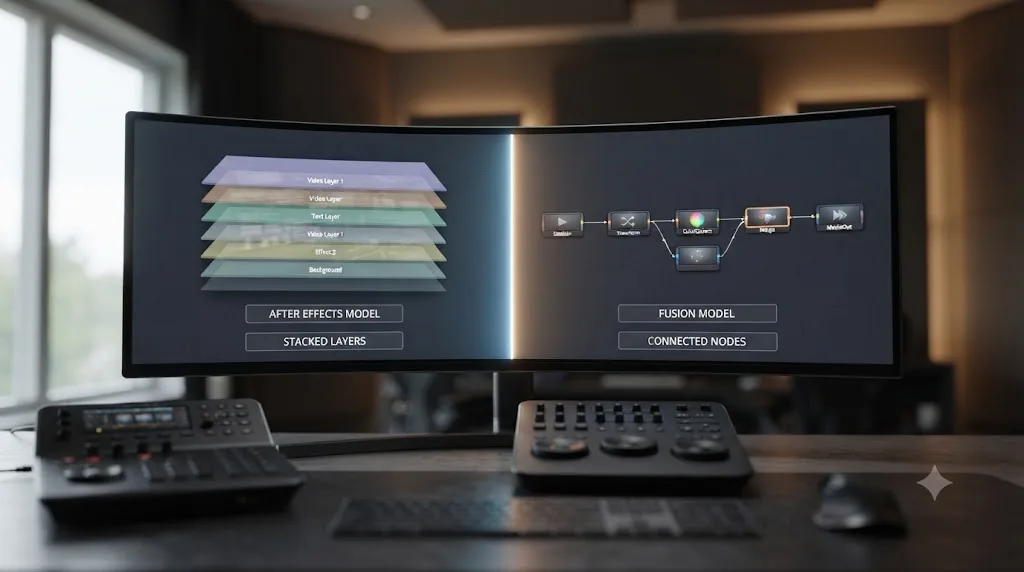
The core difference is architecture, not quality. After Effects composites in layers stacked top to bottom, the same mental model most editors already use in a timeline. Fusion composites in nodes, a flowchart of connected boxes read left to right, where an effect isn't stacked on a layer, it's wired between the tools that feed it and the tools that use its output.
That single structural choice cascades into everything else. After Effects layers stack top to bottom. Fusion nodes flow left to right. That single difference reshapes how you think about every effect you build. Neither approach is objectively superior for every job. Storyblocks' side-by-side comparison puts it plainly: "Resolve's Fusion workspace is stronger as a compositor with a node workflow more conducive to VFX work, whereas After Effects is more foundational to motion graphics and design" (Storyblocks).
Kevin P. McAuliffe, writing for ProVideoCoalition, draws the same line from the other direction, framing Fusion around the kind of work it was originally built for: "Ideally, Fusion is a single shot compositor. You have a shot that you'd like to do some VFX work to, whether it's Chromakey, or Motion Tracking, Roto, etc, that's where Fusion really shines" (ProVideoCoalition). After Effects, by contrast, was built to assemble whole projects full of shots, graphics, and type into a single timeline, which is exactly why broadcast motion graphics packages still lean on it so heavily.
Here's the quick-reference version before we go deep on each category:
| Category | DaVinci Resolve Fusion | Adobe After Effects |
|---|---|---|
| Price | Free, included in DaVinci Resolve | $22.99 to $34.49/month single app |
| Compositing model | Node-based (flowchart) | Layer-based (stack) |
| Best at | Single-shot VFX: tracking, keying, roto, 3D | Motion graphics, titles, multi-shot projects |
| 3D system | Native, built-in, full 3D workspace | Layer-based 3D, improving but more limited |
| Plugin ecosystem | Smaller, growing | Enormous (Red Giant, Boris FX, Video Copilot) |
| Templates | Fewer, mostly community-made | Massive marketplace (Envato, Motion Array, etc.) |
| Learning resources | Thinner, but growing fast | Three decades of tutorials and courses |
| Platform | Windows, macOS (Apple Silicon only on Resolve 21), Linux | Windows, macOS |
| Hardware lean | GPU-heavy | More CPU-dependent, GPU features expanding |
We'll unpack every row below, with the version numbers and dollar figures that back it up.
Is DaVinci Resolve Fusion actually free, and what does After Effects cost in 2026?
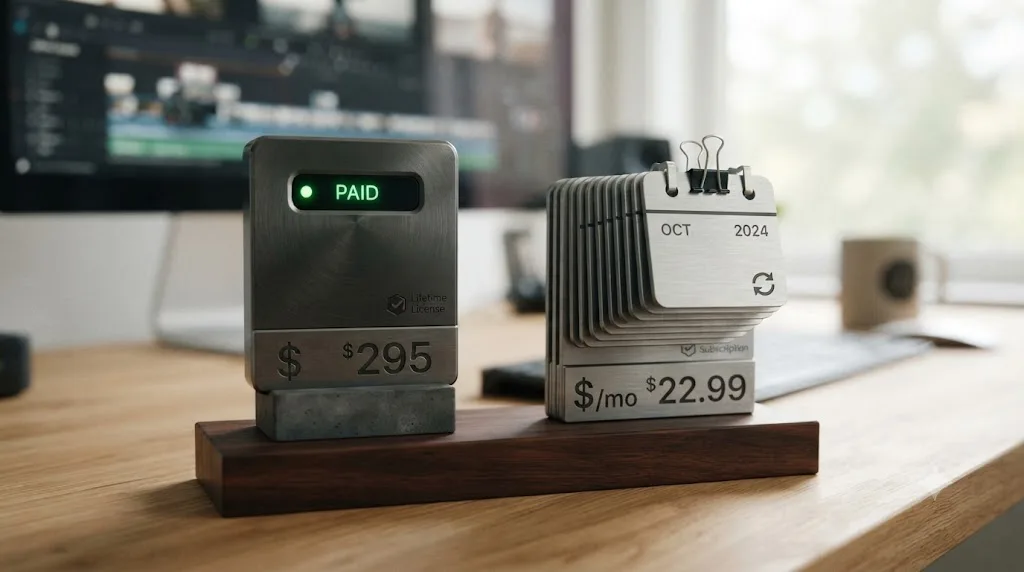
Yes, Fusion is genuinely free. It ships as a full page inside DaVinci Resolve's free download, not a trial and not a crippled demo. According to Blackmagic Design's own product page, the free version of DaVinci Resolve covers editing, color grading, Fairlight audio, and Fusion visual effects up to Ultra HD 3840x2160 resolution at up to 60fps, with no watermark, no time limit, and no feature gate on the Fusion page itself (Blackmagic Design). If you want DaVinci Resolve Studio, the paid tier adds the Neural Engine's AI tools, extra ResolveFX, HDR grading, and higher frame rate ceilings, for a one-time $295 purchase with no subscription and no forced upgrade fee for future versions.
After Effects has never had a free tier and, realistically, never will, since Adobe's entire Creative Cloud business model runs on recurring subscriptions. As of Adobe's own pricing page, a single-app After Effects plan runs $22.99 a month if you commit to an annual plan billed monthly, or $34.49 a month with no annual commitment at all (Adobe). If you want the full Creative Cloud suite instead of just After Effects, that jumps to $69.99 a month on an annual commitment. There's a 7-day free trial, and that's the entire free option Adobe offers.
Fusion ships free inside DaVinci Resolve. After Effects never has, and never will. Run the math over three years and the gap gets hard to ignore: three years of the cheapest After Effects single-app plan comes out to roughly $827, more than two and a half times DaVinci Resolve Studio's one-time $295, and that's before you've paid for a single After Effects plugin or template pack, most of which cost extra on top of the subscription.
That doesn't make After Effects a bad deal on its own terms. If your studio already pays for Creative Cloud for Photoshop, Illustrator, and Premiere Pro, After Effects rides along inside a bundle you're paying for anyway. The comparison only stings if After Effects is the only Adobe app you'd actually open.
| Plan | Monthly cost | Commitment |
|---|---|---|
| DaVinci Resolve (free) | $0 | None |
| DaVinci Resolve Studio | $295 one-time | None, lifetime license |
| After Effects single app, annual plan | $22.99/mo | 12-month commitment |
| After Effects single app, month-to-month | $34.49/mo | None |
| Creative Cloud All Apps, annual | $69.99/mo | 12-month commitment |
Why is Fusion's node-based workflow so much harder to learn than After Effects?
It isn't harder in the sense of being conceptually more difficult. It's harder because it's unfamiliar, and because After Effects has three decades of accumulated teaching material that Fusion simply doesn't have yet. Adobe's first version of what became After Effects shipped in January 1993, built by the Company of Science and Art before Aldus and then Adobe acquired it the following year (Wikipedia). Fusion's lineage traces back to Digital Fusion, built by Toronto-based eyeon Software, which Blackmagic Design acquired in 2014 and folded into DaVinci Resolve as a dedicated page (CG Channel). That's roughly a 21-year head start for After Effects on tutorials, forum threads, Udemy courses, and YouTube channels built specifically around it.
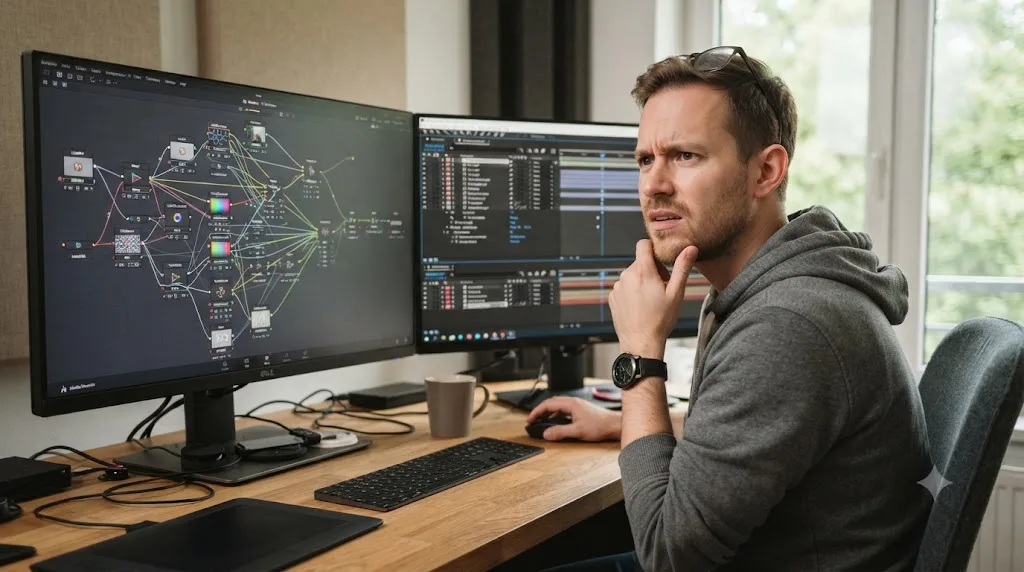
Lewis McGregor's breakdown for PremiumBeat names the structural friction directly: After Effects uses a system "where elements stack visually," while Fusion requires you to read a composite "left-to-right" as a chain of connected operations (PremiumBeat). If you've spent years thinking in layers, ordered top to bottom by z-index, a node graph asks you to hold a different mental model: not "what's on top of what," but "what feeds into what."
That reordering has a real, practical upside once it clicks. McGregor points out that Fusion's node structure pays off specifically when you need to apply an identical effect to multiple elements: instead of duplicating an effect across several layers, you link one node's output into several downstream chains, and adjusting that single node updates every result that depends on it. A node graph you can screenshot and hand to a teammate explains itself in a way a hundred-layer stack rarely does. Anyone reading the graph can trace exactly what feeds what, without opening a dozen collapsed layer groups to find out.
The forum consensus lines up with our own experience teaching both. A Blackmagic Forum thread comparing the two directly notes that both tools have been around for over 20 years with deep community support, but that After Effects still has the edge specifically for flat color and motion graphics work, titles, intros, buttons, and backgrounds, while Fusion pulls ahead once you're compositing live footage, adding VFX, or working in 3D (Blackmagic Forum). Nolen Jonker, writing for XDA-Developers about switching from After Effects to Resolve, put his own surprise this way: "What surprised me the most was that DaVinci Resolve's Fusion page wasn't just an After Effects alternative; it was actually better at handling some tasks thanks to its node-based workflow" (XDA-Developers).
Here's a worked example of where that friction actually shows up. Say you want to add a drop shadow behind an animated text layer and have that shadow track the text's every keyframe automatically. In After Effects, you duplicate the text layer, apply Drop Shadow as a layer style or effect, and nest it beneath the original in the stack, a process most editors already know from Photoshop-style layer thinking. In Fusion, you'd typically build the shadow as its own Text+ node, connect it into a Merge node beneath your main text node, and if you want the shadow's position to always mirror the text's animation, you link the two nodes' Center parameters directly with an expression, so a change to one drives the other automatically. That last part, one parameter mathematically driving another across the whole graph, is something After Effects can also do with expressions, but it's a more native, visible relationship in Fusion because the connection itself is a literal wire you can see and click on.
Node-based compositing isn't a harder skill. It's a different one, and After Effects simply had a 20-year head start teaching people the other one. That's not spin, it's the honest shape of the learning curve, and it matters for how you plan your first month with Fusion: don't expect After Effects habits to transfer directly. Expect to unlearn a stacking instinct and build a wiring one instead.
Which one is better for motion graphics specifically: titles, lower thirds, and kinetic type?
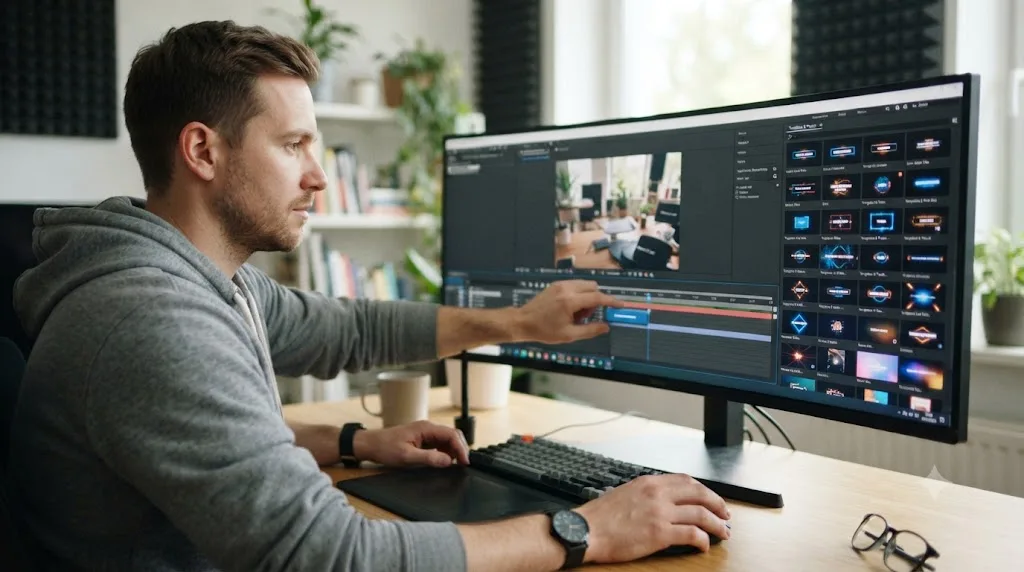
For pure motion graphics work, the kind that's mostly 2D type, shapes, and brand elements, After Effects is still the stronger everyday tool, and it isn't close. The reason isn't that Fusion can't do type animation; it's that After Effects' layer model is faster for exactly this kind of work, and its ecosystem of templates and plugins turns hours of manual keyframing into minutes of dragging a preset onto your footage.
Motion Graphics templates (Mogrts) are a category After Effects effectively owns. Marketplaces like Envato Elements and Motion Array sell thousands of pre-built lower thirds, title sequences, and social media templates built as .aep or .mogrt files that drop straight into a project and expose a handful of editable text fields. Fusion has nothing at this scale. Community-made Fusion templates (.setting files or .comp files) exist and the library is growing, but it's a fraction of what's available for After Effects, and that gap is entirely a function of the tutorial and template head start covered in the last section, not a technical limitation in Fusion itself.
Plugin support tells the same story. Kevin P. McAuliffe's ProVideoCoalition breakdown doesn't hedge on this point: "After Effects has Fusion beat hands down" when it comes to third-party plugins, citing established names like Boris FX, Red Giant, and Video Copilot that have built entire product lines specifically for After Effects over decades (ProVideoCoalition). If your motion graphics work leans on a specific Red Giant preset pack or a Boris FX title toolkit, that decision is effectively already made for you, since none of those plugins run inside Fusion.
Where Fusion holds its own, even for motion graphics, is when the graphic needs to interact with real footage instead of sitting as a flat overlay. A lower third that needs to track a moving subject, a title that needs to wrap around a 3D object in the shot, or type that needs a genuine depth-of-field blur relative to camera position, that's exactly the kind of hybrid motion graphics and VFX work where Fusion's native 3D system and tracking tools start pulling ahead of a purely layer-based approach. If you're keyframing simple 2D moves like scale, position, and opacity on flat elements, both apps handle it comfortably; our own guide on how to keyframe effects in DaVinci Resolve covers Fusion's spline-based keyframing alongside the Edit page Inspector method, and the mechanics translate cleanly once you understand the node relationships.
If your daily work is titles, lower thirds, and brand packages that never touch real footage, After Effects' template economy alone will save you more hours than Fusion's cost savings. That's not a knock on Fusion. It's an honest acknowledgment that a mature plugin and template market is worth real money when a deadline is measured in hours, not weeks.
Which one is better for VFX compositing: tracking, keying, and roto?
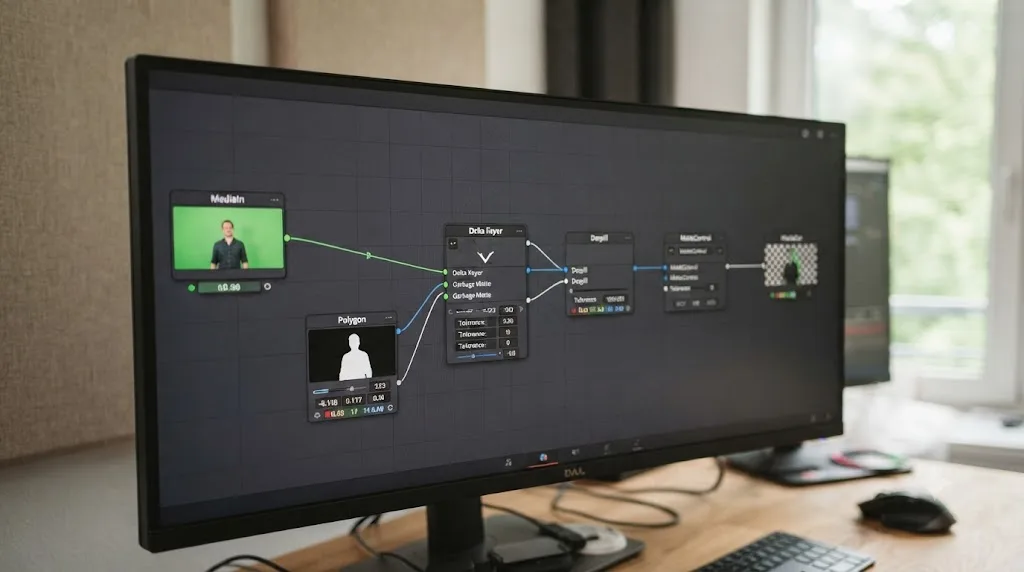
This is where the comparison flips, and it flips hard. For single-shot VFX work, chromakey compositing, motion tracking, rotoscoping, paint fixes, Fusion is the stronger tool, and multiple independent sources agree on exactly why: it was designed for this from the start, not adapted into it.
McAuliffe's framing is the clearest version of this: "Ideally, Fusion is a single shot compositor. You have a shot that you'd like to do some VFX work to, whether it's Chromakey, or Motion Tracking, Roto, etc, that's where Fusion really shines" (ProVideoCoalition). That's not marketing language. Fusion's lineage runs through eyeon Software's Digital Fusion, a tool built specifically to compete with high-end compositors like Nuke on feature films, and according to background on the software's history, it's been used across more than 1,000 major Hollywood productions, including effects work on films like Gravity, Maleficent, and Captain America (Wikipedia). That's a fundamentally different design brief than After Effects, which grew up assembling broadcast graphics and multi-shot motion design projects.
Tracking is the clearest practical example. Fusion ships a dedicated Planar Tracker and 2D Point Tracker on the free version, both purpose-built for surface tracking and point tracking respectively, with an occlusion mask workflow that handles objects passing in front of your tracked surface. If you've fought a planar track that drifts or loses lock, our troubleshooting guide on DaVinci Resolve's Fusion Planar Tracker not tracking covers the reference frame, motion type, and occlusion mask fixes that solve most of those failures, and none of that toolset requires Resolve Studio.
Keying tells a similar story. Fusion's Ultra Keyer and Delta Keyer nodes are dedicated chromakey tools with fine-grained control over spill suppression, edge handling, and matte cleanup, wired directly into a node graph where you can drop a garbage matte, a despill node, and a color corrector in sequence and see exactly how each stage transforms the matte before the next. After Effects has Keylight, a genuinely strong keyer in its own right and an industry standard for years, but it operates as a single effect on a single layer, not a chain of separately visible, separately adjustable operations.
Roto and paint work follow the same pattern. Fusion includes a Paint node with frame-by-frame paint tools and a dedicated Rotoscope node with spline-based shape tracking, both built with VFX-shot workflows in mind: isolate one problem area, fix it, move to the next shot. After Effects has roto brush tools too, and they've genuinely improved over the years, but the app's whole structure assumes you're usually working across many shots and graphics at once, not living inside one difficult plate for an afternoon.
Fusion was built to solve one difficult shot at a time. After Effects was built to assemble many shots into one finished sequence. That distinction, more than any feature checklist, is the real answer to "which one is better for VFX."
What about 3D, particles, and camera tracking?
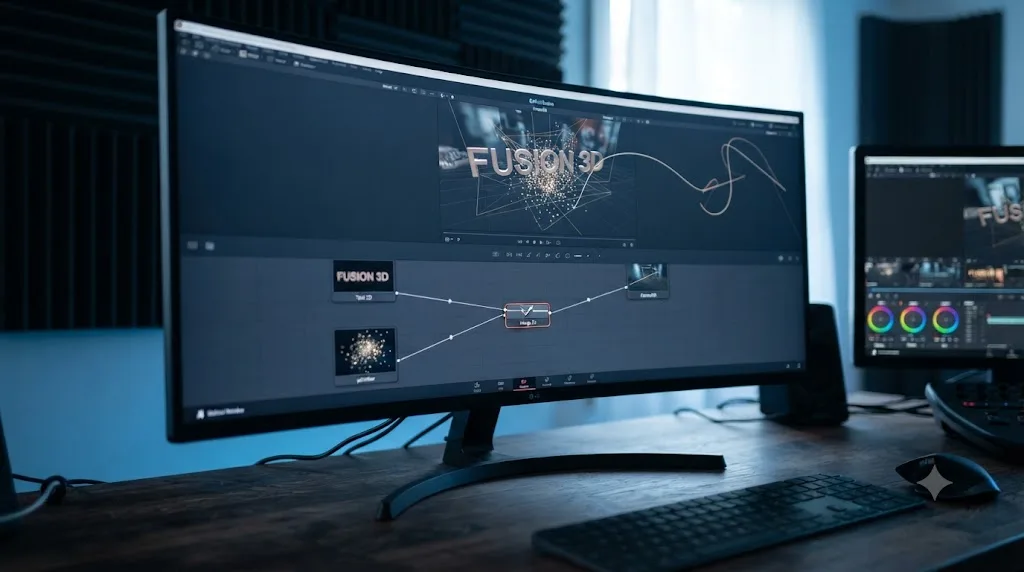
Fusion's 3D system is a genuine structural advantage, not a marginal one. It ships an actual 3D workspace with real geometry, cameras, lights, and materials, all connected through Merge 3D nodes, meaning you can place a 2D text layer, a 3D model, and a tracked camera into the same scene and have them interact with correct perspective and occlusion. Our guide on Fusion's Light node covers exactly this: Ambient, Directional, Point, and Spot lights all wire into a Merge 3D node alongside your geometry and camera, with Renderer3D controlling whether lighting and shadows are actually enabled for that render pass, and none of it requires a Studio license.
After Effects has 3D capability too, and Adobe has been steadily expanding it, but its 3D model is fundamentally an extension of the layer system: layers get a Z position and rotation, and a camera moves through that flattened 3D space. It works well for a lot of motion graphics, especially text flying through space or simple product-style reveals, but it isn't a true 3D compositing environment the way Fusion's Merge 3D system is, and effects like true reflections, refractions, or physically-based materials are more native to Fusion's approach.
Particle systems show a similar gap. Fusion ships 3D particle systems built into the free version, useful for smoke, sparks, dust, and abstract motion graphics elements, generated and rendered natively inside the node graph. After Effects relies more heavily on third-party plugins like Trapcode Particular for comparable particle work, which is powerful but adds another line item to your subscription costs.
Camera tracking is where Fusion's VFX heritage shows up most clearly for motion graphics work specifically. A 3D camera tracker that solves a shot's actual camera movement lets you place 3D text or graphics into a scene so they move with the camera exactly as if they'd been shot on location, a technique broadcast packages use constantly for on-location graphics. Fusion's 3D camera tracker is a native, built-in node. After Effects has its own 3D Camera Tracker too, and it's a capable tool, but Fusion's tracking data flows more directly into its native 3D scene without needing a separate plugin bridge for advanced work like motion vector passes.
If you're doing motion blur work on tracked or CG elements specifically, Fusion's Vector Motion Blur node takes either an Optical Flow analysis of live footage or a 3D render's motion vector pass and generates accurate directional blur from it, a workflow covered in full in our Fusion Vector Motion Blur tutorial, and again, none of it sits behind a paywall.
A tool with a real 3D workspace built in from day one will always handle depth, occlusion, and camera-driven motion more naturally than a layer system that had 3D added on top of it later. That's the honest, structural reason Fusion pulls ahead on anything involving genuine 3D space, not brand loyalty, not marketing.
How do system requirements and hardware demands compare?
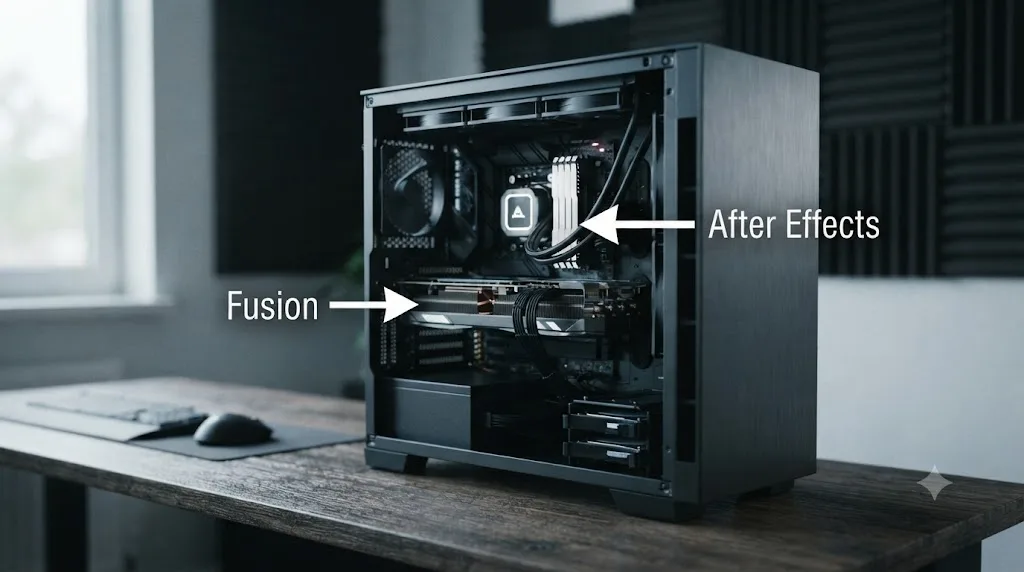
This is a real, practical decision factor, not a footnote, because the two apps lean on different parts of your machine. DaVinci Resolve as a whole, and Fusion specifically, is GPU-heavy: it uses your graphics card for real-time playback, color science, and node rendering, and Fusion comps with heavy 3D, particles, or multiple keyers will bottleneck hard on a weak GPU regardless of how fast your CPU is. According to system requirement guidance for DaVinci Resolve, Windows machines need at minimum 16GB of system RAM, 32GB if you're using Fusion regularly, and a GPU with at least 4GB VRAM running CUDA 12.8 or OpenCL 1.2 (Miracamp).
Mac users need to check version compatibility carefully before assuming their machine still qualifies. DaVinci Resolve 21 requires an Apple Silicon Mac (M1 or later) running macOS 15 Sequoia, and Blackmagic dropped Intel Mac support entirely with this release (maclaunch.com). If you're on an older Intel iMac or MacBook Pro, you'll need to stay on an earlier Resolve version or upgrade hardware before Fusion's newest features are available to you at all, a version delta worth knowing before you plan a Fusion-heavy workflow around a machine you already own.
After Effects leans more on CPU and RAM for standard 2D compositing, though Adobe has expanded GPU acceleration for specific features over recent releases. According to system requirements guidance for the current version, After Effects needs a minimum of 16GB of RAM for HD work, with 32GB or more recommended for 4K and higher resolution projects, and on the GPU side, a Windows NVIDIA card needs to be Maxwell generation or newer with at least 4GB VRAM, or an Intel/AMD discrete GPU with at least 4GB VRAM and OpenCL support, with 8GB or more VRAM recommended for 4K work (PC Guide). After Effects now uses GPU acceleration for features like Lumetri Color, 3D layers, and ray-traced effects, narrowing the historical gap, but heavy expression-driven and plugin-heavy comps still lean noticeably on single-core CPU speed.
| Requirement | DaVinci Resolve (with Fusion) | After Effects |
|---|---|---|
| Minimum RAM | 16GB (32GB recommended for Fusion) | 16GB (32GB+ for 4K) |
| Minimum GPU VRAM | 4GB, CUDA 12.8 or OpenCL 1.2 | 4GB, Maxwell-gen NVIDIA or equivalent |
| Recommended VRAM for 4K | 12GB+ | 8GB+ |
| Mac OS requirement (current version) | macOS 15 Sequoia, Apple Silicon only | Current macOS releases, Intel and Apple Silicon |
| Primary bottleneck | GPU compute | CPU and RAM, GPU features expanding |
The practical takeaway if you're budgeting hardware around one app or the other: if Fusion is your priority, put your money into the GPU first, since that's what a node-heavy 3D comp actually taxes. If After Effects is your priority, RAM and single-core CPU speed matter more, though a stronger GPU still pays off on the newer GPU-accelerated features Adobe keeps adding. If you plan to run both, as most professional shops eventually do, budget for both demands rather than optimizing narrowly for one app's sweet spot.
What do the plugin, template, and tutorial ecosystems actually look like?
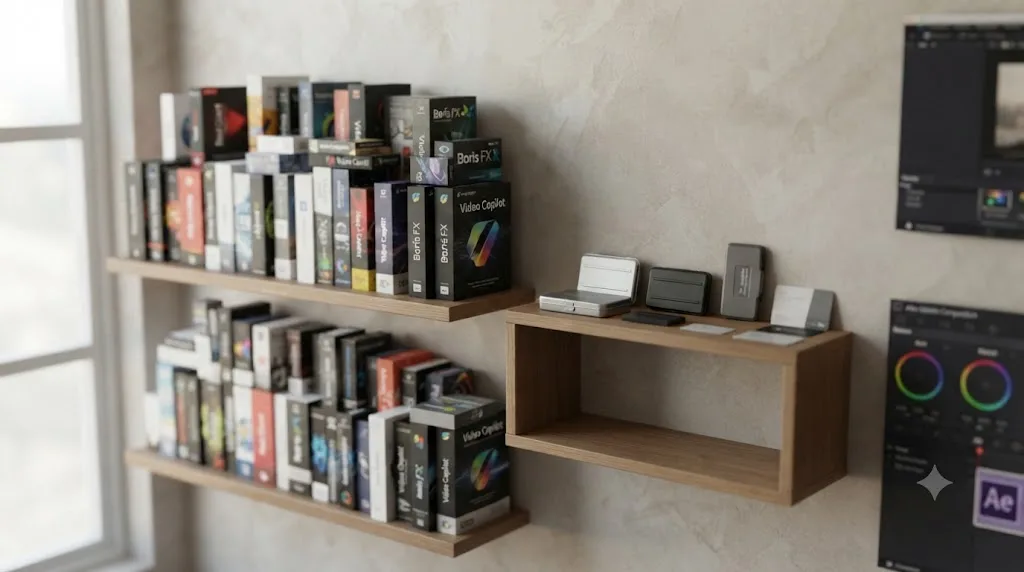
Ecosystem size is where After Effects' age advantage compounds the most, and it's worth being specific about what "ecosystem" actually covers, because it's three separate things: plugins, templates, and learning material, and After Effects leads in every one of them by a wide margin.
On plugins, established names like Red Giant (Trapcode Particular, Universe), Boris FX (Continuum, Sapphire), and Video Copilot (Element 3D, Optical Flares) have built entire businesses around After Effects-specific tools over roughly two decades, according to the ecosystem comparison covered by ProVideoCoalition (ProVideoCoalition). None of these load in Fusion; the two apps use entirely separate plugin architectures. Fusion has its own growing library of third-party tools, and it compensates partly by shipping a genuinely large set of built-in 2D and 3D nodes natively, described on Blackmagic's own product page as "hundreds of 2D and 3D tools for visual effects and motion graphics" included at no extra cost (Blackmagic Design). The honest framing: After Effects wins on third-party breadth, Fusion partially closes the gap by including more natively.
On templates, the gap is even wider. After Effects Motion Graphics templates and full project files are sold in bulk on marketplaces built specifically around the format, giving a solo creator or a small team access to broadcast-quality title sequences and lower thirds for a few dollars each. Fusion's community template scene is real but meaningfully smaller, since fewer creators have built businesses around selling Fusion .setting files, largely because the audience buying them has historically been smaller.
On tutorials and courses, the same head-start math from earlier applies directly: three decades of After Effects content against roughly eleven years of Fusion inside Resolve specifically. A dedicated resource worth knowing about here is PeeJ's Mograph Monday series, a free, ongoing YouTube collection focused specifically on Fusion motion graphics techniques like text morphing and animated backgrounds. It's a genuinely useful supplement for a specific technique, though a structured, sequenced Fusion curriculum it is not, since episodes aren't organized by skill level and new entries arrive sporadically rather than as a planned course.
A bigger plugin library doesn't make a compositing model better. It makes the switching cost of leaving it higher. That's the real force keeping a lot of motion designers on After Effects even when Fusion would technically handle a given VFX shot better: not superiority, inertia built on years of accumulated tools and muscle memory.
How do the AI tools in DaVinci Resolve 21 and After Effects 2026 compare?
Ecosystem size is about tools accumulated over decades. AI features are about where each company is placing its bets right now, and that story is moving fast enough in 2026 to deserve its own look rather than a footnote inside the plugin section.
On the After Effects side, the 2026 release replaced the old brush-only Roto Brush with Object Matte, a set of four AI tools, Object Selection, Quick Selection, Selection Brush, and Refine Edge, that let you hover over a moving subject and pull a usable matte in a few clicks instead of painting frame by frame. Adobe has also pushed Firefly-powered Generative Extend into After Effects, letting you stretch a clip's duration or fill a gap with generated frames instead of duplicating a hold frame, alongside faster masking through Object Mask that Adobe says cuts down the handoffs and timeline slowdowns that used to come with heavy rotoscoping work (Adobe Blog). The 3D toolset picked up Displacement Maps for surface depth and expanded Depth of Field control across models, meshes, text, and shape layers in the same update.
DaVinci Resolve 21's Neural Engine covers similar ground from the compositing side instead of the generative side. Magic Mask, Resolve's tool for automatically isolating a person or object across a clip, picked up a Render in Place option this release: it caches a tracked mask as a traveling matte node, links that matte to your active node, and lets you keep grading or compositing in real time with a noticeably lighter processing load than re-tracking the mask on every scrub, according to Blackmagic Design's own DaVinci Resolve 21 features guide. Resolve Studio 21 also adds AI tools for depth of field, motion deblur, automated blemish removal, and facial de-aging, alongside CineFocus for adjusting a shot's focal point after the fact and IntelliSearch for finding footage by describing it in plain language rather than by filename (Blackmagic Design).
| AI capability | DaVinci Resolve 21 / Fusion | After Effects 2026 |
|---|---|---|
| Subject isolation | Magic Mask with Render in Place | Object Matte (Object Selection, Quick Selection, Selection Brush, Refine Edge) |
| Generative fill or extend | Not available | Generative Extend (Firefly) |
| Focus and depth adjustment after the shot | CineFocus | Depth of Field across layers, meshes, and text |
| Footage search by description | IntelliSearch | Not a core After Effects feature |
| Facial tools | Facial refinement, de-aging (Studio) | Not a core After Effects feature |
| Underlying engine | DaVinci Neural Engine | Adobe Firefly and Sensei |
The practical difference for motion graphics work is directional. After Effects' 2026 AI additions lean generative, filling in frames and material that don't exist yet. Resolve's Neural Engine additions lean corrective and isolating, cleaning up or separating footage that's already been shot. If your work depends on generating new visual material from a prompt or quickly extending a background plate, After Effects' Firefly integration is currently the more direct route. If your work depends on isolating a subject fast so you can key, track, or composite around it without hand-rotoscoping, Magic Mask's render-in-place workflow solves a problem closer to what compositors do inside Resolve every day.
Worth naming honestly: generative tools like this are new enough across the industry that most professional pipelines still treat their output as a starting point for a human pass rather than a final deliverable, especially on fast motion or fine detail like hair and semi-transparent edges. Both companies are moving quickly enough that any specific feature list here will look thin within a year. Treat this section as a snapshot of where each is placing its AI bets in 2026, Adobe toward generation, Blackmagic toward faster isolation and cleanup, not as a permanent scorecard.
Do Fusion and After Effects handle color the same way?
Not by default, and this is the friction point that trips up more motion designers moving between the two apps than any plugin gap ever does. Fusion doesn't run its own independent color management system the way After Effects has color profiles. Instead, when your DaVinci Resolve project is set to DaVinci YRGB Color Managed (RCM) or ACES, Fusion inherits that setting directly. Every clip entering the Fusion page through a MediaIn node gets automatically converted to linear gamma based on the project's color management settings, and everything leaving through a MediaOut node gets converted back to the timeline's working color space before it reaches the Edit or Color page (Blackmagic Fusion Manual). Practically, that means a comp built and eyeballed with RCM off can shift the moment you switch RCM on, because your nodes are suddenly grading linear values instead of the display-referred values you were looking at when you built the comp.
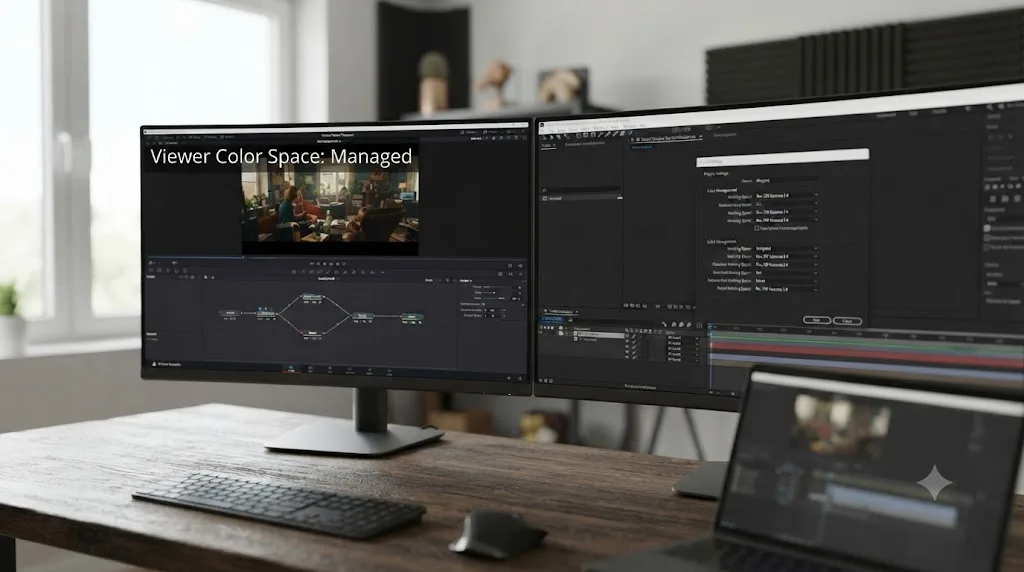
That linear conversion is also why colorists spend real effort making sure a Fusion comp is being monitored correctly instead of trusted at face value. With RCM or ACES enabled, Fusion's Managed viewer option shows the currently viewed node as it will actually appear in the timeline's color space, not as raw linear values, and skipping that check is a common cause of a comp looking perfect inside Fusion and wrong the moment it lands back in the timeline (MixingLight). If you're not using RCM or ACES at all, Fusion Studio also exposes OpenColorIO nodes so you can composite directly in ACEScct or ACEScc, a choice that's mostly personal preference since the two color sciences are nearly identical outside of how shadows respond to grading. If you're not sure which of Resolve's two color-managed paths fits a given project in the first place, our comparison of Resolve Color Management versus ACES walks through when each one is the better call, and that decision happens upstream of anything you build in Fusion.
After Effects handles this differently and, for most motion graphics work, more simply. Projects use a working color space you set once in Project Settings, typically sRGB, Rec. 709, or a wider gamut space for HDR delivery, and every layer is interpreted and rendered against that single space unless you explicitly tag a layer's profile otherwise. There's no automatic linear conversion step hiding between layers the way there is between Fusion nodes under RCM, which is part of why motion graphics artists coming from a pure After Effects background are often caught off guard the first time a comp's blacks crush or highlights blow out after RCM gets switched on mid-project.
The practical rule worth carrying into any project that touches both apps is to decide your color management approach before you build a single node or layer, not after. If you're delivering a Fusion comp back into a graded Resolve timeline, build and monitor it with RCM or ACES active from the start, using the Managed viewer the whole time, instead of building it with color management off and switching it on right before delivery. If you're handing a flattened render from After Effects into a color-managed Resolve project, tag that render's color space explicitly on import instead of letting Resolve guess, since a silent mismatch between an sRGB render and a Rec. 709 timeline is one of the more common causes of a shot that looks washed out for no obvious reason.
Can you move a project between Fusion and After Effects?
Not as a native file conversion in either direction, and it's worth being precise about this because a lot of comparison articles gloss over it. There's no built-in tool that opens an After Effects .aep project file directly inside Fusion and rebuilds its layer stack as a node graph, or vice versa. The two file formats and compositing models are different enough that a lossless automatic conversion isn't realistic; a text layer with layer styles and an expression-driven position simply doesn't map one-to-one onto a node chain without someone rebuilding the logic by hand.
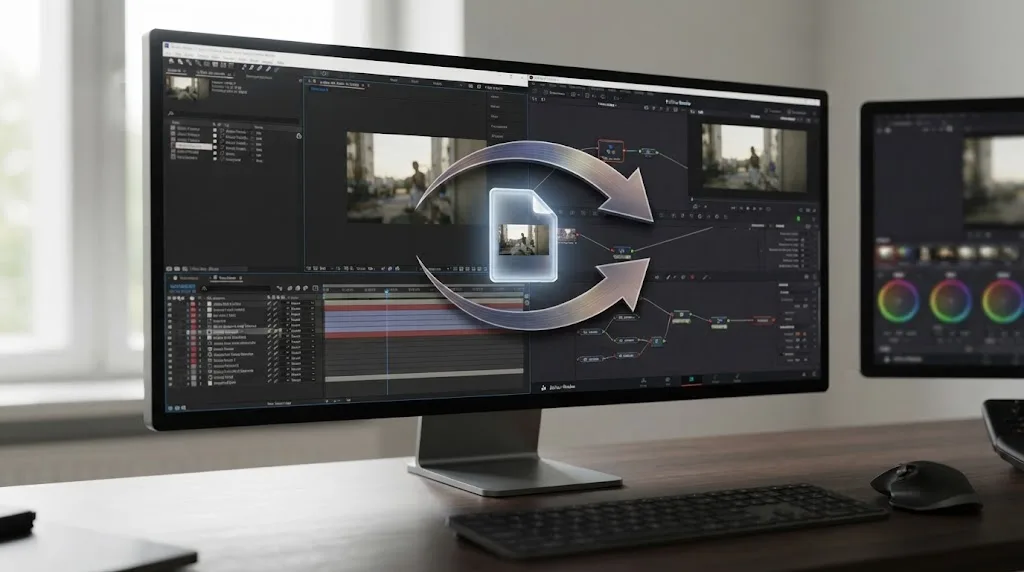
What DaVinci Resolve does offer is Fusion Connect, a round-trip bridge built into Resolve itself, not a converter for external After Effects files. Fusion Connect lets you send a clip from the Edit or Cut page directly to the Fusion page, work on it as a full node-based comp, and bring the result back into your timeline automatically, keeping the two pages in sync as you iterate. It solves a different problem than cross-app portability: staying inside one project without exporting and reimporting footage manually between Resolve's edit timeline and its own compositing page.
If your actual goal is bringing After Effects work into a Resolve-based pipeline, the practical workaround most studios use is rendering a flattened output from After Effects, an alpha-channel QuickTime or image sequence, and importing that finished element into Resolve's Edit or Fusion page as a regular clip. That preserves the visual result but not the editable layer structure, so any revisions still have to happen back in After Effects and get re-rendered. The reverse direction works the same way: render a Fusion comp out flat and drop it into an After Effects timeline as a plate.
This matters most for teams that already have a deep After Effects template or plugin investment and are considering adding Fusion for VFX-specific shots. The realistic workflow isn't "migrate everything to Fusion." It's "keep After Effects for motion graphics and templates, use Fusion for the specific shots that need real compositing, and hand finished renders between the two where a project genuinely needs both." That's not a compromise; it's how most working pipelines that use both tools actually operate day to day.
What goes wrong when you switch between the two, and how do you fix it?
Most of the pain in moving between Fusion and After Effects isn't a missing feature. It's a habit that worked perfectly in one app and breaks quietly in the other. Here are the problems reported most often, and the fix for each.
Your expression-driven animation doesn't carry over. After Effects expressions are JavaScript, written as a line of code attached to a property. Fusion's equivalent, node expressions, are written in a simpler expression language tied to a parameter's right-click menu, and Fusion's Publish and Subscribe links behave more like spreadsheet-style referencing than scripting. Neither format imports into the other automatically. The fix isn't a converter. It's translation, rebuilding the relationship rather than the syntax. For a wiggle() expression in After Effects, look at Fusion's built-in modifiers like Perturb or Shake, which produce similar procedural jitter without needing an expression at all.
Keyframe interpolation looks different after a round trip. After Effects' Graph Editor and Fusion's spline editor both offer Bezier handles, but their default easing curves aren't identical, and a keyframe that eases in and out smoothly in one can arrive with a visible hitch in the other if you're comparing a flattened render against the original. Never expect keyframe data itself to transfer between the two apps. Only expect the rendered result of that keyframe data to transfer, as a flattened clip, and treat any post-import motion adjustments as a from-scratch task in the receiving app.
Fonts render differently, or not at all, after a handoff. A flattened render carries its type as pixels, so this only bites when someone reopens a live Text+ node or a live After Effects text layer inside a shared project folder on a machine that doesn't have the same font installed. Both Fusion's Text+ node and After Effects' text layers fall back to a default substitute font silently, which is worse than an error, because nothing tells you it happened until a client notices the title looks wrong. Standardize on rendering text to a flattened element before handoff, or confirm the exact font, weight, and version is installed on every machine touching the live project file.
Frame rate or resolution mismatches after Fusion Connect. Fusion Connect keeps a clip in sync with your Edit or Cut page timeline, but if you change your timeline's frame rate or resolution after you've already started a Fusion comp on that clip, the comp doesn't retroactively resize itself. Lock your timeline's frame rate and resolution before you send a clip into Fusion, the same discipline editors already apply before starting a color pass, since resizing a comp after complex 3D or tracking work is already in place usually costs more time than restarting it would.
Audio disappears the moment you're deep in a Fusion comp. The Fusion page plays back your timeline's audio for reference so you can time an animation to a beat or a line of dialogue, but it isn't an editing environment for audio the way Fairlight is, and you can't mix or keyframe audio levels from inside a node graph. If you need to nudge audio while you're compositing, do that work in the Edit page or Fairlight page first, lock picture and sound there, then move to Fusion once you don't need to touch audio anymore.
A heavy Fusion comp crashes or stalls instead of just rendering slowly. This one isn't really a switching problem, it's a GPU memory ceiling that shows up more often once you start bringing After Effects-style layered comps, multiple keyers, and 3D elements into a single Fusion node tree. If the Fusion page itself won't even open reliably on a bloated project, that's usually a VRAM or system RAM issue rather than a corrupted comp, and our separate guide on why DaVinci Resolve crashes when opening the Fusion page covers the GPU memory, cache, and driver fixes that solve most of those cases. During normal work, using a lower-resolution proxy for review and narrowing your Region of Interest to the area you're actually compositing keeps a heavy comp responsive without needing a hardware upgrade first.
A worked example: handing off a tracked screen replacement. Say a client shot a monitor on set with a green tracking marker taped over the screen, and you need to insert a UI mockup that tracks perfectly with the camera move, then hand a review render to a producer who'll cut it into a sequence being finished in the other app. In Fusion, you'd build this as a Planar Tracker node solving the marker's corner-pin data, feed that into a Corner Positioner node driving your UI mockup's placement, composite it through a Merge node with a garbage matte cleaning up the edges, then render a flattened element through a MediaOut node back to the Edit page timeline. In After Effects, the same job runs through the 3D Camera Tracker or a planar tracker plugin exported as corner-pin keyframes, applied to the mockup layer directly, then rendered out through the render queue or Media Encoder as a flattened element. Either path produces the same visual result. Neither path produces a file the other app can open and keep editing, which is exactly why the flattened render, not the project file, is the actual deliverable crossing between the two apps.
The honest fix underneath all of these is simple. Stop trying to make Fusion and After Effects behave like the same app with two interfaces. They aren't, and a flattened render, not a shared project file, is the real bridge between them every time.
Is Fusion good enough to replace After Effects entirely, or should you use both?
For a specific kind of creator, yes, Fusion genuinely replaces After Effects with no meaningful loss. If you're an independent YouTuber, a solo documentary editor, or a small studio already cutting and grading in DaVinci Resolve, and your motion graphics needs are titles, simple animated lower thirds, and occasional VFX shots like a tracked screen replacement or a basic green screen composite, Fusion covers all of it at zero additional software cost, with no round-tripping between two separate paid apps.
For a broadcast motion design studio with an existing library of After Effects templates, a deep investment in Red Giant or Boris FX plugins, and client deadlines measured in hours rather than days, replacing After Effects entirely is a much harder case to make, and we wouldn't recommend it. The switching cost isn't really about which tool is better on a feature-by-feature basis; it's about the sunk cost of years of templates, muscle memory, and a team that already knows exactly where every tool lives in a layer-based interface.
The honest middle path, and the one most working professionals we've seen actually land on, is using both, matched to the job rather than to brand loyalty. Use After Effects for fast turnaround motion graphics leaning on existing templates and plugins. Use Fusion for shots that need real compositing: tracking, keying, roto, or genuine 3D integration, especially once you're already inside Resolve for the edit and color pass and don't want to export a plate just to add a simple screen replacement. McAuliffe's own conclusion in his ProVideoCoalition piece lands here too: rather than picking a side, he recommends Resolve editors use both, leaning on Fusion's built-in efficiency for what it does well while gradually building comfort with its steeper learning curve alongside After Effects for immediate client work.
The best motion designers don't pick a side. They pick whichever tool is already open and better suited for the shot in front of them. That's not indecision, it's the accurate professional answer, and pretending one tool wins every category would be dishonest given everything covered above.
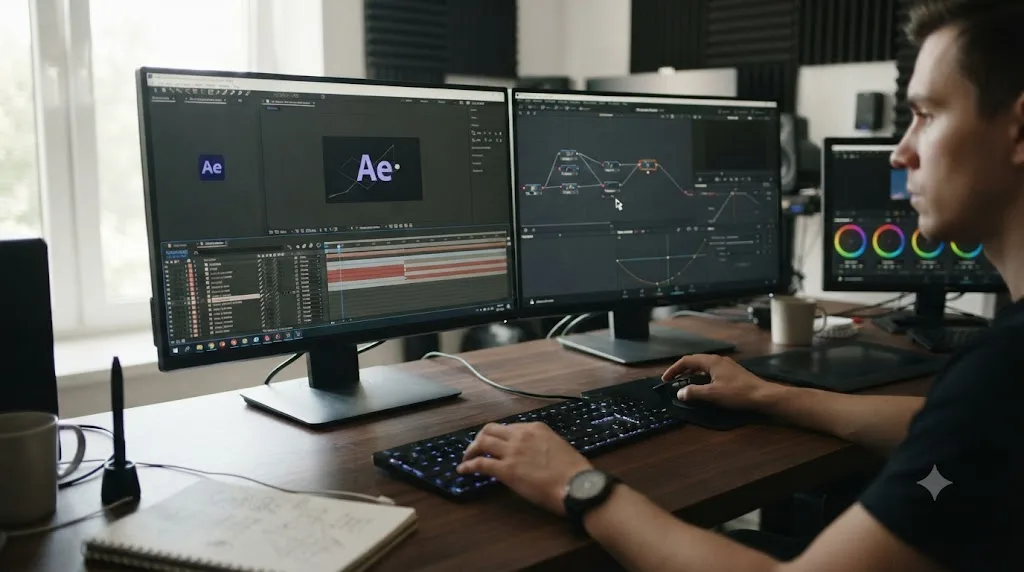
Choose Fusion if, choose After Effects if: the decision table
Here's the structured version of everything above, built to be scanned in under a minute if you already know your priorities.
| Choose Fusion if... | Choose After Effects if... |
|---|---|
| You're already editing and grading in DaVinci Resolve | You're already paying for Creative Cloud for other apps |
| Your budget for compositing software is $0 | You have budget for a dedicated motion graphics tool |
| Most of your work is single-shot VFX: tracking, keying, roto | Most of your work is titles, lower thirds, brand packages |
| You need true native 3D compositing with real geometry | You want the largest possible template and plugin library |
| You want GPU-accelerated rendering on complex 3D comps | You want the deepest available tutorial and course library |
| You don't want to round-trip files between two paid apps | Your team already has years of After Effects muscle memory |
| You're fine with a smaller plugin ecosystem | You need specific plugins like Trapcode Particular or Sapphire |
| You need footage isolated fast for keying or tracking | You need new material generated or a shot extended |
If you land on both sides of that table, and most working editors eventually do, the honest answer isn't to force a single-tool decision. It's to learn the one you're weaker in on purpose, since the two skill sets compound rather than compete: understanding Fusion's node logic makes you faster at reading After Effects expressions, and vice versa.
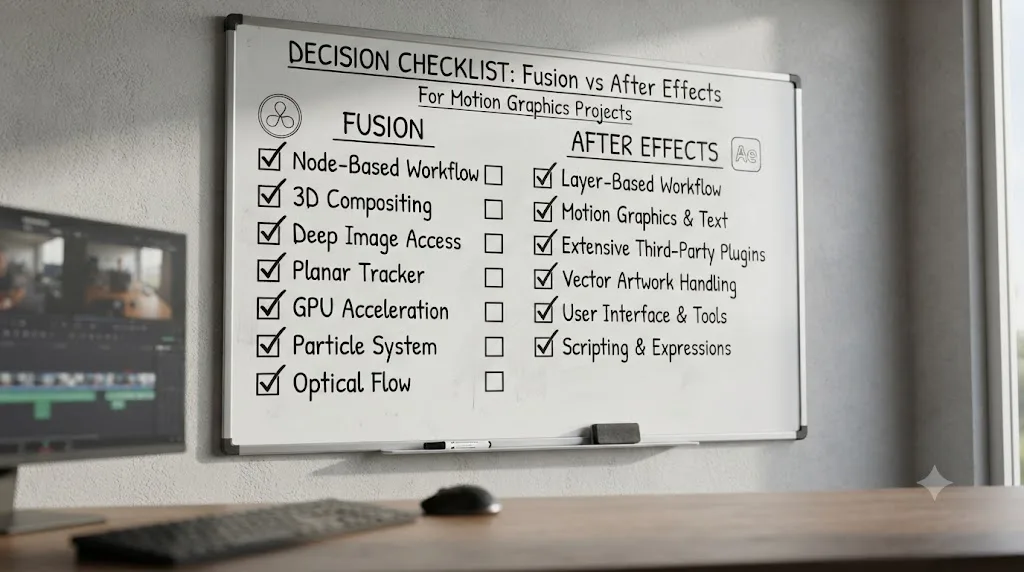
How do you actually learn Fusion's node system faster?
Start with structure, not speed. Blackmagic Design publishes a free Visual Effects training guide covering Fusion's node fundamentals, tracking tools, and 3D workspace, and it's worth working through before you touch a real client project, since it's written by the people who built the software and won't teach you a workflow that doesn't actually exist in the current version. From there, PeeJ's Mograph Monday series is a solid supplement for specific motion graphics techniques once you already understand the node basics, though it's not a substitute for a sequenced curriculum.
The best way to learn DaVinci Resolve, and this holds specifically for Fusion, is guided, hands-on practice inside real projects, not passive tutorial watching. This is one of the recurring questions in our 100,000+ member editing community: editors who've watched a dozen Fusion tutorials but still freeze the first time they open a blank node graph on their own footage. Watching someone else wire a node graph together builds recognition. Building your own, badly, on your own footage, badly, builds the actual skill, and that gap is exactly why so many editors watch tutorial after tutorial and still feel stuck the moment the tutorial ends.
This is also where an app that helps you while using DaVinci Resolve earns its place, and it's worth naming plainly rather than burying in a vague mention. TryUncle is the on-screen assistant for DaVinci Resolve on macOS. Ask in plain words, and Uncle points at the exact control on your screen. If you're staring at a Fusion node graph wondering which input on a Merge node you're supposed to connect, or where the Occlusion Mask input actually lives on a Planar Tracker node, that's a category of question a general chatbot answers blind, since it has never seen your actual comp. Our own comparison of AI tools for learning DaVinci Resolve covers this gap in more depth, including where automation-focused tools like Sottocut, PremiereCopilot, heyeddie.ai, and cutagent.ai fit: those tools edit or answer chat questions on your behalf, useful for entirely different jobs, but none of them watch your live Fusion node graph and point at the specific control you're stuck on the way an in-app assistant does.
TryUncle is a paid app at $34.99 a month with cancel-anytime billing. It's macOS-only, so if you're on Windows or Linux, this specific tool isn't available to you, though everything else in this section, Blackmagic's free training and deliberate hands-on practice, applies regardless of platform.
Guided practice inside Resolve beats watching courses about Resolve. Whichever resource you use to get there, that principle holds for Fusion specifically more than almost anywhere else in the app, because a node graph is a spatial, visual structure that reading about doesn't teach the way building one does. If you're mid-project and stuck on exactly which node input needs a connection right now, that's a problem Uncle can point at directly on your own screen while you keep working, rather than pausing to describe your comp in words to a chatbot that's never seen it.
The verdict
Neither app wins outright, and anyone telling you otherwise is selling something. After Effects remains the industry standard for motion graphics because of its layer-based speed, its enormous template and plugin economy, and three decades of accumulated teaching material. Fusion wins decisively on cost, since it's free inside DaVinci Resolve, and on single-shot VFX work: tracking, keying, roto, and true 3D compositing, where its node-based, GPU-accelerated architecture was built for exactly that job from the start.
If you're choosing one tool because you can only afford one, match it to what you actually do most: motion graphics and templates point to After Effects, VFX compositing and 3D point to Fusion, and a tight budget with either kind of work points to Fusion by default, since it costs nothing to find out if it fits. If you're already running both, that's not indecision. It's the same conclusion every source we've cited here eventually reaches: use each tool for the job it was actually built to do, and stop expecting one to replace the other entirely.
Frequently asked questions
- Is DaVinci Resolve Fusion as good as After Effects for motion graphics?
- For pure motion graphics work, titles, lower thirds, kinetic type, and broadcast package design, After Effects is still the stronger tool because of its layer-based speed and its enormous template and plugin ecosystem. Fusion is as good or better for single-shot VFX work: tracking, keying, rotoscoping, and true 3D compositing, and it ships free inside DaVinci Resolve, which After Effects has never done.
- Why is Fusion's node-based workflow so much harder to learn than After Effects?
- After Effects mirrors how most editors already think, a visible stack of layers read top to bottom. Fusion asks you to build a flowchart instead, reading left to right, where an effect is a separate node you wire between other nodes. That's not a harder concept, just an unfamiliar one, and After Effects also has roughly three decades more tutorials, courses, and forum answers built up around it.
- Can I move a project from After Effects into Fusion, or the other way around?
- Not as a native file import in either direction. There's no direct .aep-to-.comp converter. The practical bridge is Fusion Connect, a round-trip link built into DaVinci Resolve that sends a clip from the Edit or Cut page to the Fusion page and back, not a converter for pulling in an existing After Effects project.
- Do I need DaVinci Resolve Studio to use Fusion for motion graphics?
- No. Fusion ships in the free version of DaVinci Resolve with the same node system, keyframe and spline editors, tracking tools, and 3D workspace as Studio. Studio adds Neural Engine AI features, extra ResolveFX, and higher frame rate and resolution ceilings, but none of that gates Fusion's core motion graphics or compositing toolset.
- Is Fusion good enough to replace After Effects entirely?
- For a lot of independent creators and YouTubers, yes, especially once you're already cutting in Resolve and don't want to round-trip files between two paid ecosystems. For broadcast motion design teams working against tight client deadlines with a deep plugin and template library already built around After Effects, replacing it entirely is a harder sell, and most professional shops we've seen keep both.
- What's the fastest way to learn DaVinci Resolve Fusion's node system?
- Hands-on practice inside real projects beats watching tutorial after tutorial, which lines up with the research on the best way to learn DaVinci Resolve generally. Start with Blackmagic's own free Visual Effects training guide for the vocabulary, then build small, ugly comps of your own instead of only following along, since recognizing a node someone else placed is a different skill than deciding where to place it yourself.
- Does Fusion support After Effects plugins?
- No. Fusion and After Effects use entirely separate plugin architectures, so Red Giant, Boris FX, and Video Copilot products built for After Effects don't load in Fusion. Fusion has its own smaller but growing library of third-party tools and ships with a large set of built-in 2D and 3D nodes that cover much of the same ground natively.
- Which one renders faster, Fusion or After Effects?
- It depends on the comp, but Fusion's GPU-accelerated node engine generally renders 3D, particle, and tracking-heavy work faster on the same machine, since DaVinci Resolve as a whole is built to lean on GPU compute. After Effects has closed much of that gap with GPU-accelerated features like Lumetri Color and ray-traced 3D layers, but it still leans more on CPU for a lot of standard 2D compositing than Fusion does.
Sources
- VFX and motion graphics software: After Effects pricing (Adobe)
- DaVinci Resolve product page (Blackmagic Design)
- 5 reasons I use DaVinci Resolve instead of After Effects for motion graphics, by Nolen Jonker (XDA Developers)
- After Effects vs Fusion - Which one's right for the Resolve Editor?, by Kevin P. McAuliffe (ProVideoCoalition)
- Fusion vs. After Effects: Which One Is Right for You?, by Lewis McGregor (PremiumBeat)
- Comparing DaVinci Resolve vs After Effects (Storyblocks)
- Blackmagic Forum - How Does Fusion Compare to Adobe After Effects?
- Blackmagic Design Acquires eyeon Software (CG Channel)
- Adobe After Effects (Wikipedia)
- Blackmagic Fusion (Wikipedia)
- Adobe After Effects minimum and recommended system requirements (PC Guide)
- DaVinci Resolve System Requirements (Minimum & Recommended) (Miracamp)
- DaVinci Resolve on Mac: System Requirements, Apple Silicon Performance, and Setup (maclaunch.com)
- DaVinci Resolve 21 New Features Guide (Blackmagic Design)
- Adobe extends leadership in video: new AI-powered creation in Firefly, reinventing color for editors in Premiere (Adobe Blog)
- Accurately Viewing Fusion Compositions in ACES Workflows (MixingLight)
- Using Resolve Color Management (Blackmagic Fusion Manual, via VFXPedia)
- TryUncle
Learn by doing, not watching
Learn Resolve inside Resolve.
TryUncle watches your screen and points at the exact control when you ask. No tabs, no timestamps, no rewatching tutorials.
Download for MacKeep reading
 GuidesJul 10, 202637 min read
DaVinci Resolve Fusion Planar Tracker Not Tracking: Every Fix
Why DaVinci Resolve's Fusion Planar Tracker won't move, drifts, or loses lock, and the reference frame, tracker type, and mask fixes that solve it.
 GuidesJul 9, 202634 min read
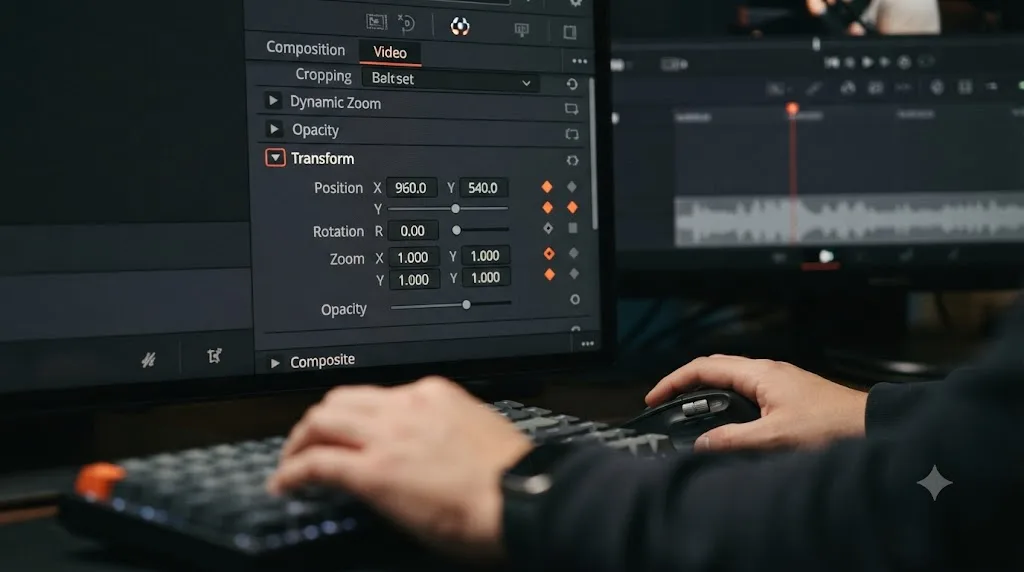
How to Keyframe Effects in DaVinci Resolve: The Complete Guide
Every way to keyframe effects in DaVinci Resolve: Inspector diamonds, the Keyframe Editor, ease curves, Fusion splines, and what changed in Resolve 21.
 ComparisonsJul 12, 202630 min read
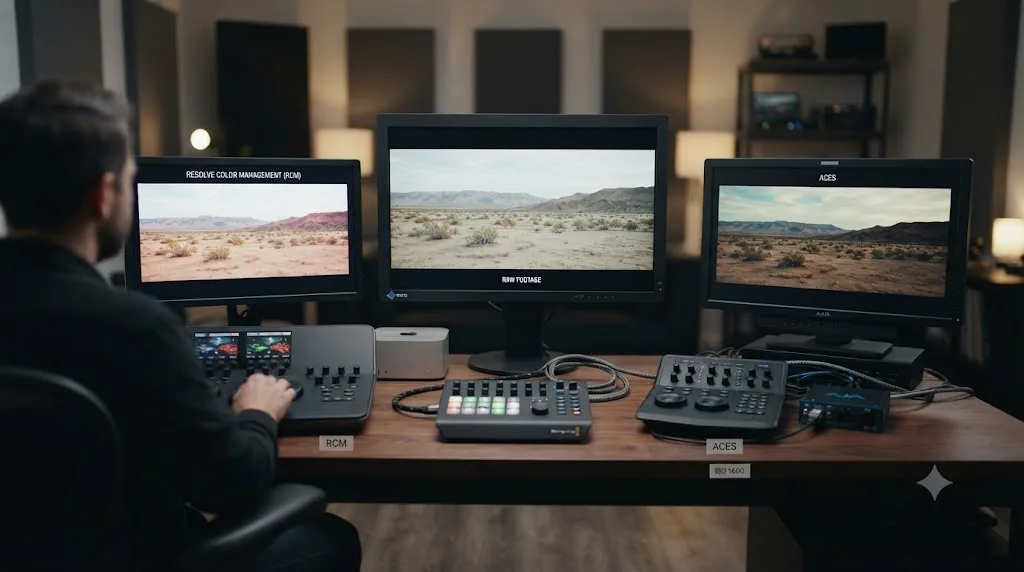
Resolve Color Management vs. ACES: Which Should You Use?
DaVinci Resolve Color Management and ACES both fix scene-referred color, but they solve different problems. Here's which one fits your project.