
Learn / DaVinci Resolveupdated for DaVinci Resolve 21.0.3 (July 2026)
How to Rotate a Clip 90 Degrees in DaVinci Resolve
Quick answer
In DaVinci Resolve, select the clip, open the Inspector's Video tab, and set Rotation Angle to 90 (or -90) under Transform to rotate a clip 90 degrees. That spins the picture in place, so the resulting gap around it needs a Zoom adjustment, a Retime and Scaling crop, or a new vertical timeline to actually disappear.
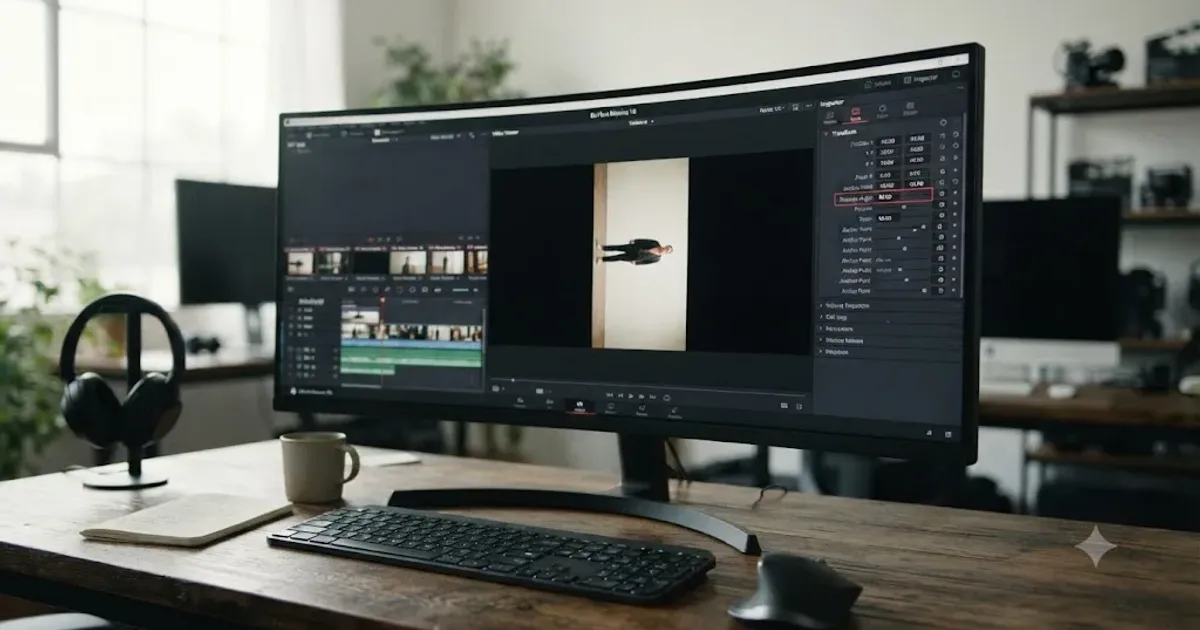
Someone hands you a clip shot the wrong way. A phone held sideways, a GoPro mounted upside down on a helmet strap, a drone shot that needs one clean quarter-turn to sell the moment. You drop it on the timeline in DaVinci Resolve and now you need it rotated, exactly 90 degrees, without spending twenty minutes hunting through menus for the setting.
The short version: it's the Rotation Angle field, buried under Transform in the Inspector. The part almost nobody mentions is what happens right after you type 90. The frame around your clip doesn't rotate with it, so you're immediately staring at black bars, and fixing those bars is where most of the actual work in this guide lives. There's also a second, completely different tool, Clip Attributes, that looks like it does the same job and doesn't. Mixing the two up is the single most common way this simple task turns into a half hour of confusion.
What's the fastest way to rotate a clip 90 degrees in DaVinci Resolve?
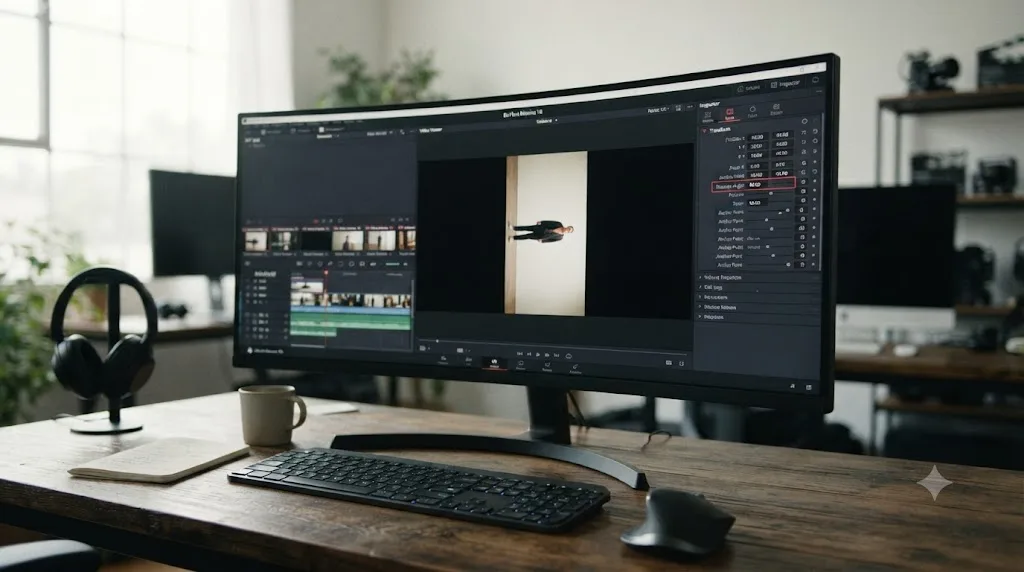
Select the clip on the Edit page, open the Inspector's Video tab, scroll to Transform, and type 90 or -90 into the Rotation Angle field. That single value rotates the picture a quarter turn around the clip's anchor point, per Blackmagic Design's own reference manual, which describes Rotation Angle simply as a control that "rotates the image around the anchor point" (DaVinci Resolve Manual: Transform).
As of July 2026, the current release is DaVinci Resolve 21.0.3, which shipped July 21, 2026 with fixes to keyframe pasting, retime curves, and interlaced media handling, according to Newsshooter's coverage of the update (Newsshooter: DaVinci Resolve 21.0.3 Update). Rotation Angle itself hasn't changed in any of this year's point releases. It's one of the oldest, plainest controls in the Inspector, which is exactly why most tutorials skip straight past it without mentioning the part that actually trips people up.
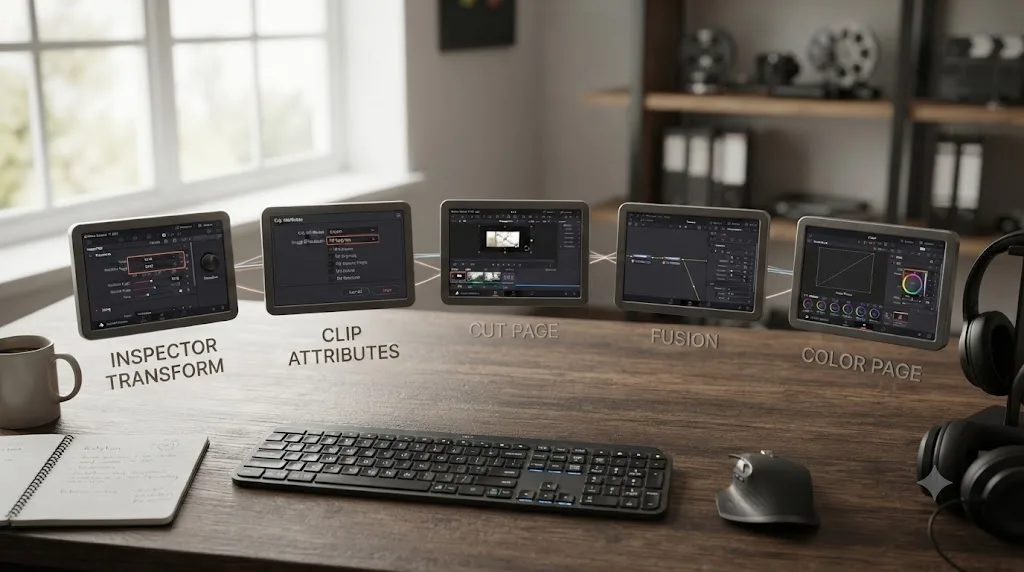
There are five separate places a rotation-adjacent control shows up in DaVinci Resolve, and each one solves a different problem:
- The Edit page Inspector's Transform section, home to Rotation Angle, the tool most people mean when they say "rotate a clip."
- Clip Attributes' Image Orientation, a completely different control that corrects a clip's stored rotation metadata rather than spinning an already-correct picture.
- The Cut page, which reuses the exact same Inspector values behind a faster interface.
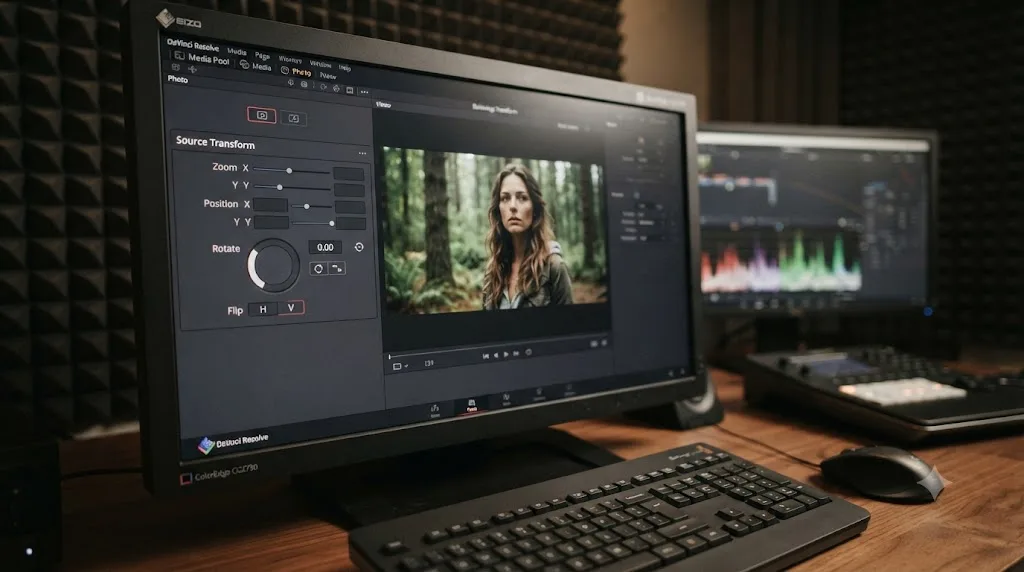
- The new Photo page's Source Transform tools, built for still images rather than video clips.
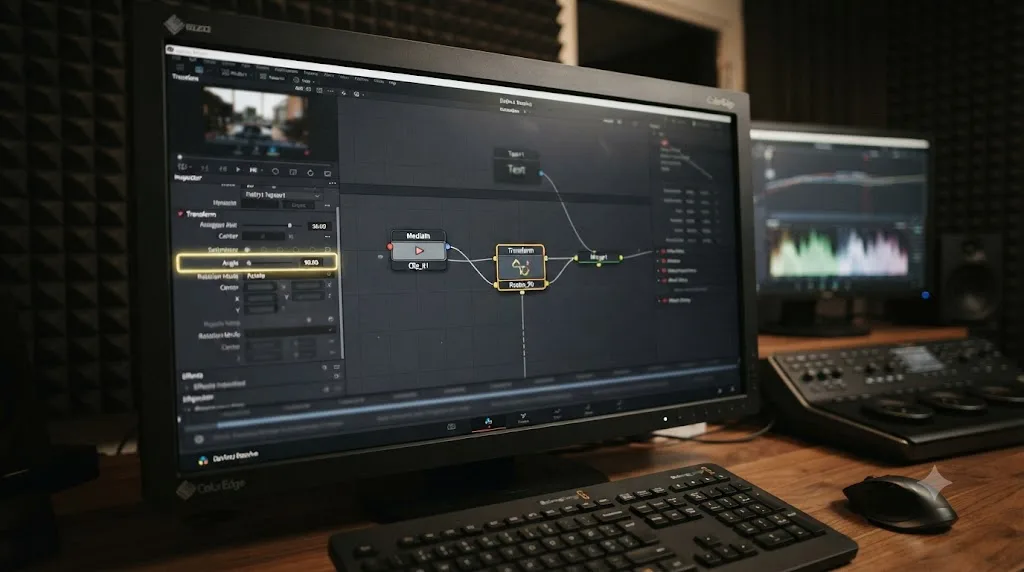
- Fusion's Transform node, a compositing-level rotation for node-based work.
Rotating a clip in DaVinci Resolve spins the picture inside a frame that doesn't change shape, which is exactly why a 90 degree rotation almost always needs a second fix right behind it. The rest of this guide walks through all five tools, the black-bar problem every one of them creates, and the one mix-up (Rotation Angle versus Image Orientation) that wastes more time than anything else on this list.
How do you rotate a clip using the Inspector's Transform controls?
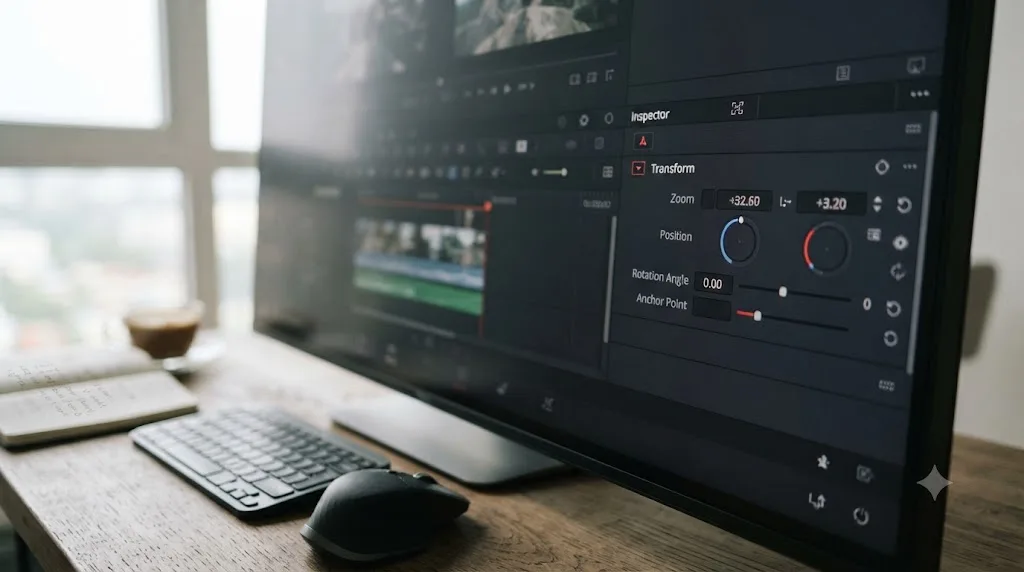
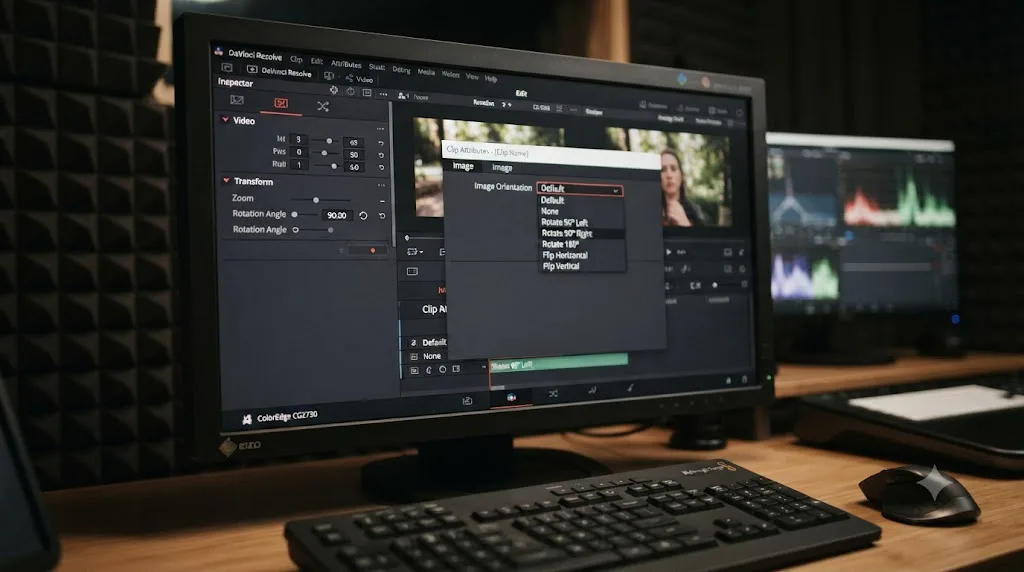
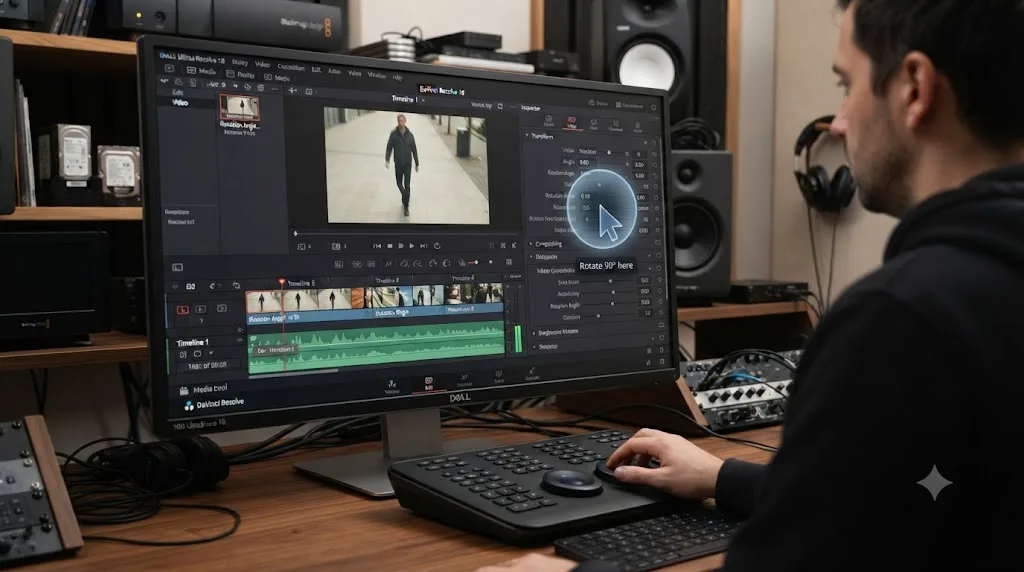
Open the Inspector, click the Video tab, scroll to Transform, and set Rotation Angle to 90 or -90. Here's the full procedure:
- Select the clip on the Edit page timeline. It needs to be an individual clip; there's no single control that rotates an entire timeline at once.
- Open the Inspector, in the top right of the interface by default.
- Click the Video tab, then scroll past Zoom and Position (the two controls sitting directly above Rotation Angle in the same Transform section).
- Type 90 into Rotation Angle, or click into the field and drag, or use the small arrows next to the number. Watch the Viewer as you do it.
- If it spins the wrong way, try -90 instead. Blackmagic Design's manual defines Rotation Angle only as a control that rotates the image around the Anchor Point; it doesn't document which sign maps to which direction, so confirming visually is the reliable method rather than guessing (DaVinci Resolve Manual: Transform).
- Note the Anchor Point, sitting just below Rotation Angle in the Inspector. The manual describes it as the coordinate "about which all transforms are centered," which by default sits in the exact middle of the frame, so a 90 degree rotation pivots around your clip's center point unless you've moved the anchor for some other reason.
That's the entire manual rotation, and it's identical whether you're on the free edition or DaVinci Resolve Studio. The field also isn't locked to multiples of 90. Type 15, or 3.5, or -12, and Resolve rotates by exactly that amount, which matters later in this guide when we cover Dutch angle moves and keyframed spins.
If you're mid-project and can't remember which page the Rotation Angle field lives on, TryUncle can point at the exact control on your own screen while you're inside your own project, instead of you pausing to search a menu.
Why does rotating a clip create black bars, and how do you fix them?
Because a 90 degree rotation swaps a clip's effective width and height, but the timeline frame around it stays exactly the shape it was. A 1920x1080 clip rotated 90 degrees becomes, visually, a tall 1080x1920 rectangle spinning inside a wide 1920x1080 box, and the box doesn't resize itself just because the picture inside it did.
Rotating a clip in DaVinci Resolve spins the picture inside a frame that doesn't change shape, which is exactly why a 90 degree rotation almost always needs a second fix. You have three real options, and which one is right depends on what you're actually trying to build:
- Increase Zoom in the same Transform section until the rotated picture fills the original frame again. This crops off whatever now overflows the top and bottom (or left and right, depending on rotation direction), the same crop-versus-zoom tradeoff that applies to any scaling operation: you're resampling pixels, not cutting cleanly, so a heavy zoom on already-tight source resolution can look soft.
- Change Retime and Scaling to Fill. Select the clip, open the Inspector's Retime and Scaling section, and set Scaling to Fill instead of the default Project Settings. Per Blackmagic Design's manual, this lets you "choose how clips that don't match the current project resolution are handled on a clip-by-clip basis" (DaVinci Resolve Manual: Retime and Scaling), and it behaves similarly to Zoom for this purpose, filling the frame and cropping the overflow automatically rather than requiring you to dial in a Zoom value by eye.
- Build a new timeline shaped to match the rotated clip. If your rotated footage is the whole point, not an accent shot, duplicate your timeline, set its resolution to the swapped dimensions (1080x1920 instead of 1920x1080, for example), and let the rotated clip actually fill a frame built for it. This is the only option of the three that doesn't crop or resample anything.
If you've landed here because footage is showing black bars for a reason that has nothing to do with a rotation you applied on purpose, that's a broader topic with its own dedicated walkthrough covering every scaling setting involved: our guide to DaVinci Resolve's black bars and wrong aspect ratio fixes.
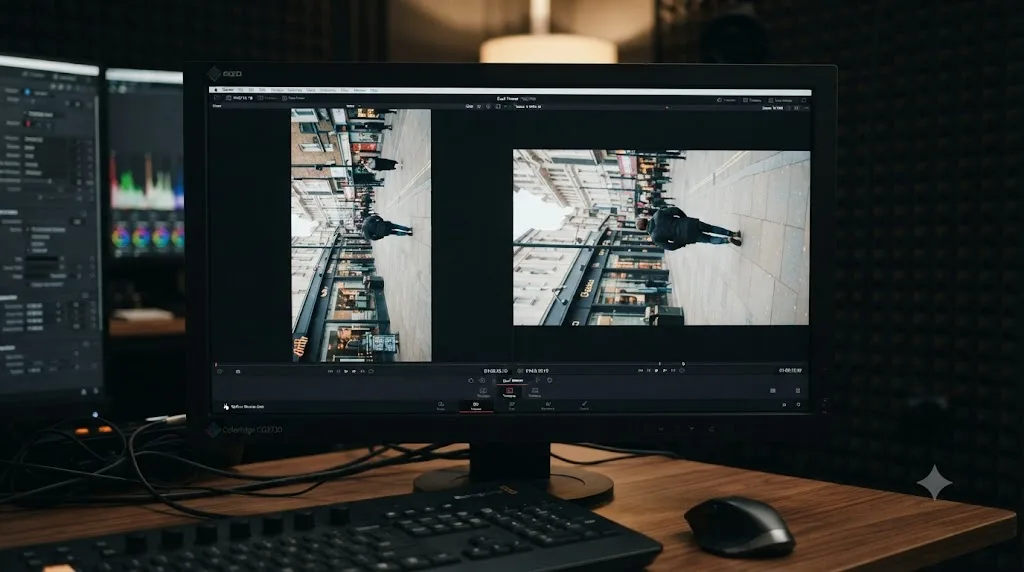
Is there a way to fill the frame without cropping or zooming in at all?
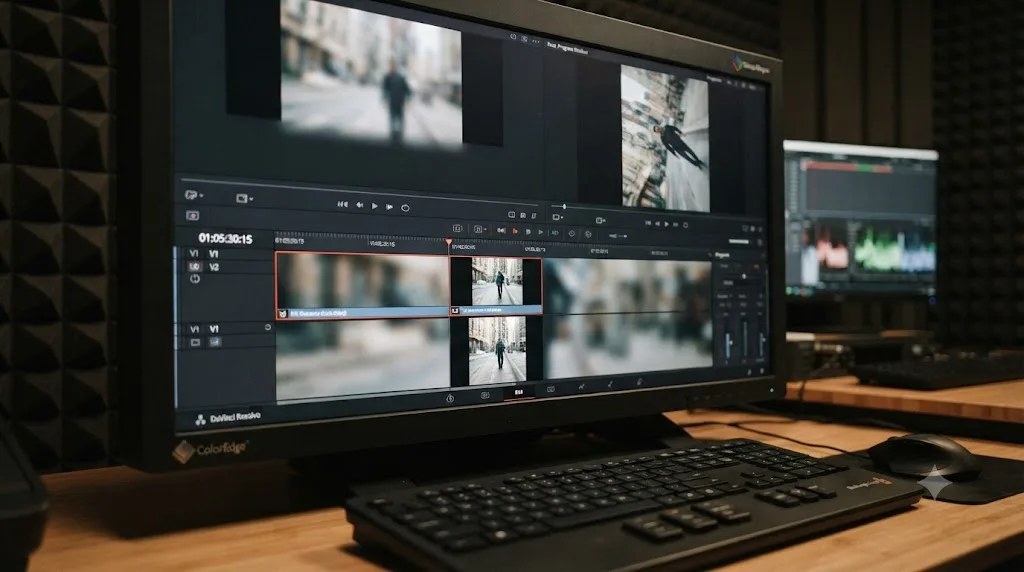
Yes, though it takes an extra track instead of a single field. Zoom, Retime and Scaling, and a matching vertical timeline all solve the black-bar problem by making the picture bigger or the frame smaller. There's a fourth option that does neither: duplicate the clip, blur the copy, and let it fill the space your sharp footage doesn't reach.
Here's the sequence:
- Add a second video track directly below your rotated clip and place a copy of the same source clip on it, in the same position on the timeline.
- Rotate both copies identically, 90 or -90, so they match.
- On the lower copy only, increase Zoom until it fully covers the frame, edges and all. Don't worry about how much of the picture gets cropped here. This copy is background filler, not the shot anyone's actually watching.
- Apply a heavy Gaussian Blur to the lower copy, through the Blur OpenFX or the Color page, at a radius strong enough that it reads as an abstract wash of color and light rather than a legible, cropped version of your shot. Most editors also pull the lower copy's gain or exposure down a notch so it doesn't fight the sharp layer above it for attention.
- Leave the top copy alone. Don't zoom it. Let it sit at its native rotated size, centered in the frame, so every pixel you originally composed stays exactly as shot.
Blurring and scaling a duplicate copy of the same clip behind the sharp original fills a rotated frame without cropping a single pixel of the shot you actually framed. It's the same trick you've likely seen on vertical social clips built from horizontal source: a soft, blown-out version of the same footage stretched to fill the edges, with the real subject sitting sharp and untouched in the middle.
Compared to Zoom or Retime and Scaling's Fill, both of which crop your actual subject, and a new timeline resolution, which needs source footage large enough to fill the swapped dimensions natively, the blurred-duplicate method costs the sharp layer nothing. The price is an extra track to manage and a slightly heavier render on every clip you build it for, so it's worth reaching for when the original framing genuinely matters, a wide establishing landscape, a two-shot where cropping would cut someone out, not on every single rotation you do.
Should you use the Inspector's Rotation Angle or Clip Attributes' Image Orientation?
These solve two different problems, and picking the wrong one is the single biggest time sink in this entire task. Clip Attributes' Image Orientation corrects a clip's stored rotation metadata. The Inspector's Rotation Angle spins the picture you already have.
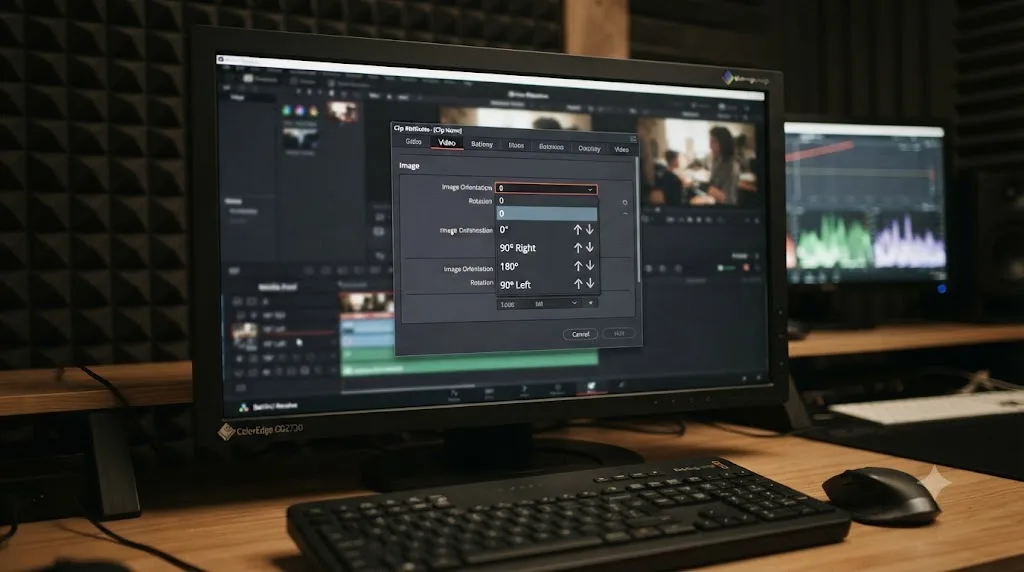
Image Orientation lives in Clip Attributes, a separate dialog from the Inspector, reachable by right-clicking a clip in the Media Pool or on the timeline and choosing Clip Attributes, then the Video tab. Per Blackmagic Design's manual, it's a setting specifically "for media that has an orientation setting," letting you "adjust media rotation" with exactly four fixed choices: 0 degrees, 90 degrees right, 180 degrees, and 90 degrees left (DaVinci Resolve Manual: Video Attributes). That phrase, "media that has an orientation setting," is the key. It's built for clips whose file already carries a rotation flag, correcting how Resolve interprets that flag at the source, before the clip ever reaches your timeline.
Rotation Angle, by contrast, lives in the Inspector's Transform section and applies to a clip that's already displaying correctly. It doesn't touch metadata at all. It spins the pixels you're already looking at, live, inside your current timeline, and it accepts any value at all, not just the four fixed choices Image Orientation offers.
| Rotation Angle (Inspector) | Image Orientation (Clip Attributes) | |
|---|---|---|
| Where it lives | Edit or Cut page Inspector, Transform section | Right-click a clip, Clip Attributes, Video tab |
| What it does | Spins the current picture around the Anchor Point | Corrects the clip's stored rotation metadata |
| Accepted values | Any number, positive or negative, including decimals | Exactly four: 0, 90 right, 180, 90 left |
| Scope | The single clip instance on that timeline | The master clip's metadata, so it typically applies everywhere that clip is used |
| Best for | Rotating footage that already displays correctly, creative tilts, keyframed spins | Fixing footage that plays back sideways or upside down due to a metadata mismatch |
| Requires Studio? | No | No |
Because Image Orientation lives in Clip Attributes rather than the Inspector, it's tied to the master clip's metadata rather than one timeline instance, so setting it once from the Media Pool typically corrects that clip everywhere it's been cut into any timeline in the project. A Rotation Angle change in the Inspector, by contrast, applies to the single clip instance you have selected, and cutting that same source footage into the timeline a second time starts that new instance at Rotation Angle 0 again.
The practical rule: if your footage is playing back sideways or upside down the moment you drop it on the timeline, before you've touched anything, that's an Image Orientation problem. If your footage displays correctly and you want to rotate it on purpose, whether that's fixing an intentionally sideways shot or building a creative tilt, that's a Rotation Angle job.
My phone video plays sideways or upside down in DaVinci Resolve. How do I fix it?
Use Clip Attributes' Image Orientation, not the Inspector's Rotation Angle. A phone shot in portrait and played back sideways in DaVinci Resolve is almost never damaged footage. It's a metadata flag the software isn't reading the way you expect.
Most modern phones and cameras don't actually store vertical video as a tall, narrow frame of pixels. Many record the sensor's native landscape frame and add a rotation flag telling any player which way to turn it before display. That flag lives in the file's transformation matrix, defined in the Movie Header Box and Track Header Box of the ISO base media file format that MP4 and MOV both use, and it's stored as one of exactly four integer values: 0, 90, 180, or 270 degrees, according to a technical breakdown of how mobile devices write this metadata (AddPipe: Rotation Metadata in Video Files Created by Mobile Devices). The same source notes that support for this flag varies by application: Chrome, Safari, and VLC read it correctly, while some players and browsers ignore it entirely and show the raw, unrotated frame instead, which is precisely the mismatch that produces sideways playback.
This is one of the recurring questions in our 100,000+ member editing community: an editor imports a clip that looked perfectly upright on the phone's own screen, drops it on the timeline, and it's lying on its side. Nothing about the footage is broken. Resolve is either reading the rotation flag differently than the phone's native player did, or the flag never made it through whatever transfer method moved the file from the phone to the edit machine, which is a documented failure mode particularly common with AirDrop, third-party transfer apps, and re-encoding tools that strip metadata without preserving it.
The fix:
- Select the clip in the Media Pool (to fix every instance across the project at once) or on the timeline (to fix just that instance).
- Right-click and choose Clip Attributes.
- Click the Video tab.
- Find Image Orientation and pick 90 right, 90 left, or 180, whichever one makes the picture display correctly. There's no way to know in advance which of the three fixes a given clip; try one, check the result, and cycle through the others if the first guess is wrong.
- Click OK. Unlike the Inspector's Rotation Angle, this correction happens before the clip enters your timeline's Transform pipeline, so it doesn't interact with Zoom, Position, or any other Transform value you might set afterward.
To fix a whole batch of clips shot the same way on the same device, select all of them in the Media Pool at once, right-click, and apply the same Image Orientation setting to the entire selection in one pass, rather than fixing each clip individually.
If Image Orientation doesn't resolve it and the clip is still sideways after trying all three non-zero options, the file's rotation metadata may be missing entirely rather than simply misread, in which case the Inspector's Rotation Angle becomes the practical fallback: rotate the picture manually with Transform and accept the black-bar tradeoff covered earlier in this guide, since there's no metadata left for Image Orientation to correct.
Does the Cut page have its own rotate tool, or does it just borrow the Edit page's?
It borrows it, the same way it borrows the Crop tool. Select a clip on the Cut page, open the Inspector, and you land on the exact same Transform section, including Rotation Angle, that lives on the Edit page, because the Cut page's Inspector is the same Inspector attached to a different timeline view.
There's a genuine shortcut worth knowing here, though. Click the tools icon at the bottom left of the Viewer on the Cut page and a consolidated strip appears beneath the image, with icons for the transform tools used to build picture-in-picture effects, cropping, audio levels, and more, all in one row instead of buried in a panel. Rotation Angle isn't broken out as its own icon in that strip; you still reach it through the Inspector even on the Cut page. Switch between pages mid-project and your Rotation Angle, Zoom, and Position values all carry over untouched, because they belong to the clip, not the page you happen to be viewing it from.
How do you rotate an image on the new Photo page?
Select the image, open the Source Transform controls, and drag or type into the rotate handle. DaVinci Resolve 21 added a dedicated Photo page for editing still images, built on the same node-based color engine as video, and it ships its own zoom, position, rotate, and flip tools, run entirely separately from the video Inspector's Transform section covered earlier in this guide, according to XDA Developers' hands-on coverage of the release, which describes the page's "Source Transform" as handling "zoom, position, and rotation" (Nolen Jonker: I Tried DaVinci Resolve's New Photo Editor).
The headline feature isn't the rotate control itself, which works much like Transform's Rotation Angle. It's that the whole operation is non-destructive at your image's full original resolution, rather than the fixed dimensions of a video timeline. Blackmagic Design's own materials describe the Photo page's crop and reframe tools as working "at original source resolution and aspect ratio," which extends to rotation: adjustments preserve full image quality and remain editable indefinitely rather than baking into pixels the moment you apply them, per Imaging Resource's coverage of the release (Imaging Resource: DaVinci Resolve 21 Adds Photo Editing to Its Toolkit). Designer Joel Kelly, reviewing the Photo page's node-based workflow in depth, put the broader philosophy behind that non-destructive approach this way:
"Crop, reframe at any resolution, zoom in five times and back out. The original RAW is untouched."
Joel Kelly, The Node-Based Photo Page in DaVinci Resolve 21
Blackmagic Design CEO Grant Petty framed the Photo page's launch around bringing the company's existing color pipeline to a new medium rather than building a separate editor from scratch, saying:
"The new Photo page in DaVinci Resolve 21 brings Hollywood's most advanced color tools to still photography for the first time."
Grant Petty, quoted in Newsshooter: Blackmagic Design Announces DaVinci Resolve 21
Who actually needs this: anyone rotating a still photo, a thumbnail, a title card graphic, or a scanned document rather than a video clip. If you're rotating footage for a timeline, the video Inspector's Transform section, covered at the top of this guide, is still the right tool. The Photo page exists specifically because a video timeline's fixed frame shape is the wrong model for a standalone image that might get reframed five different ways for five different deliverables.
How do you rotate footage inside Fusion, and why would you?
Add a Transform node to your Fusion composition, connect it after the layer you want to rotate, and adjust the Angle parameter. Fusion's Transform node handles the same job as the Edit page's Rotation Angle, but inside a node-based composite rather than a timeline clip, and it's worth reaching for when a rotation is one step inside a larger effect rather than a standalone editorial decision.
The node's rotation-relevant parameters, according to a detailed breakdown of Fusion's Transform node:
- Angle sets the rotation value. Unlike the Edit page's Rotation Angle, Fusion documents the direction explicitly: "Increasing the Angle rotates the image in a counterclockwise direction. Decreasing the Angle rotates the image in a clockwise direction," per Fusion trainer Justin Robinson's walkthrough of the node (Justin Robinson: Transform Node in Fusion).
- Pivot X and Y position the axis the rotation spins around, defaulting to 0.5, 0.5, the exact center of the image, the same role the Edit page's Anchor Point plays for Rotation Angle.
- Angle is fully keyframable, using the same diamond-icon keyframe convention as every other Fusion parameter, which makes an animated spin, a slow Dutch-angle drift, or a hard-cut rotation transition straightforward to build entirely inside one node.
Who reaches for Fusion's Transform node instead of the Edit page's Rotation Angle: compositors building a multi-layer effect where rotation needs to interact with other Fusion nodes, like a Merge combining a rotated foreground element with a separate background plate, or motion graphics work where a rotation needs frame-accurate control alongside masks, tracking data, or particle systems. An editor rotating a single clip for a standard cut has no real reason to open Fusion at all; the Edit page Inspector handles that job completely and with far less setup.
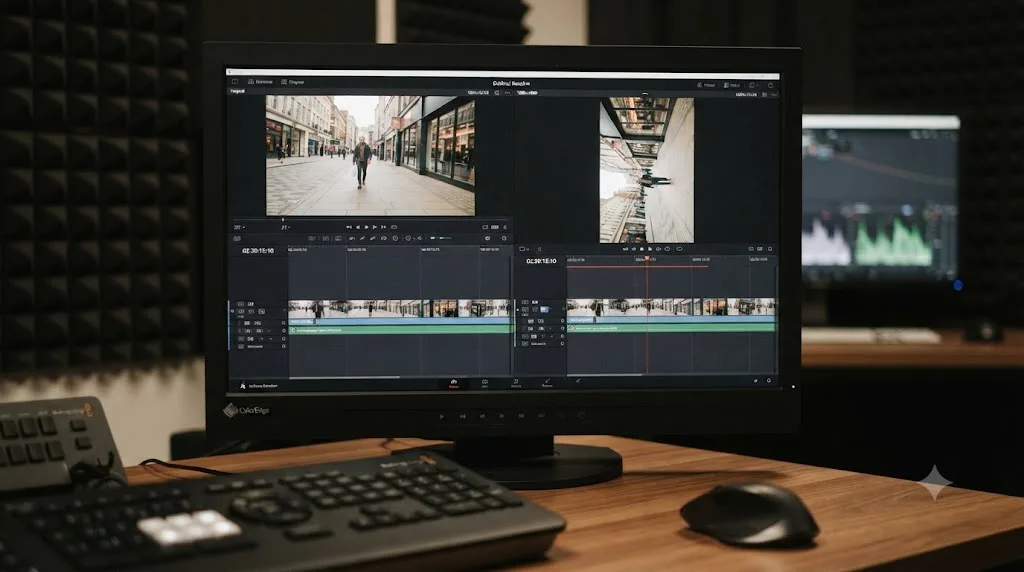
How do you turn a rotated landscape clip into a proper vertical timeline?
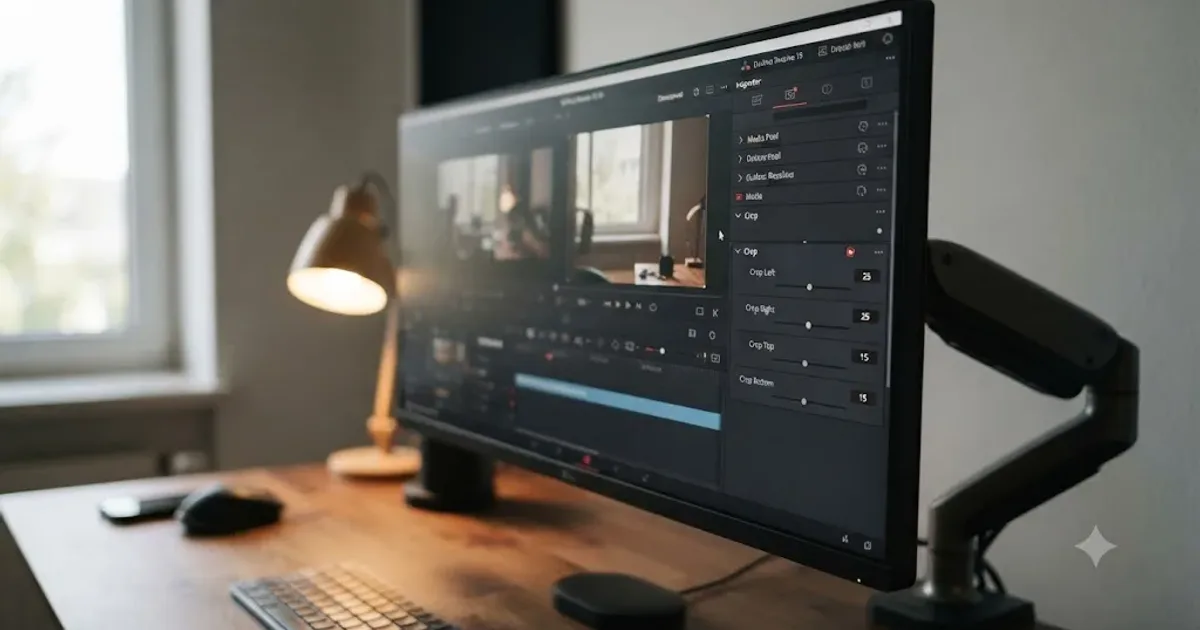
Duplicate your timeline, set the new one's resolution to the swapped dimensions, then rotate and reposition each clip to fit. This is the move behind converting a horizontal shoot into vertical deliverables for Reels, TikTok, or Shorts when a straight crop, covered in our separate guide to cropping a video in DaVinci Resolve, isn't the right tool because the shot genuinely needs to be turned on its side rather than just reframed within its existing orientation.
Editor and trainer Larry Jordan warns against the most common mistake in this specific workflow, changing resolution directly in Project Settings while the original timeline is still open:
"If you change the timeline format using Project Settings, EVERY timeline in your project will change. This is considered, um, sub-optimal."
Larry Jordan, Convert Horizontal Video to Vertical Video in DaVinci Resolve 19
The safe sequence, adapted for a rotation-specific conversion:
- Duplicate the timeline you want to convert, so your original horizontal cut stays untouched.
- Open Timeline Settings on the duplicate (not Project Settings, which would apply globally) and set the resolution to your target vertical dimensions, 1080x1920 for most short-form platforms, then check Use Vertical Resolution.
- Select each clip that needs rotating and set Rotation Angle to 90 or -90 in the Inspector's Transform section.
- Increase Zoom or reposition with Position X and Y until the rotated picture fills the new vertical frame, since a landscape clip rotated 90 degrees produces a frame shaped almost exactly like your new timeline, but rarely at the exact right scale on the first try.
- Rebuild titles and lower thirds for the new shape. Jordan flags this explicitly: "Keep in mind that, after conversion, all titles and graphics will need to be redesigned for the new aspect ratio," from the same guide. No rotation or scaling setting fixes a lower third built for a 16:9 frame sitting in the wrong place on a 9:16 canvas.
Worked example: a 3840x2160 (4K) landscape interview needs to become a vertical cutdown, and the subject was framed close enough to center that a straight crop would clip their shoulders. Rotating the whole shot 90 degrees instead, then zooming to fill a new 2160x3840 vertical timeline, keeps the subject's full head-to-shoulders framing intact, at the cost of turning the background, previously wide and shallow, into a narrow vertical slice, which is a creative tradeoff worth checking in the Viewer before committing, not a purely technical decision.
If you're converting many clips this way and don't want to hand-rotate and hand-zoom each one, Smart Reframe is Resolve Studio's AI-driven alternative, tracking a subject and repositioning the frame automatically as you change aspect ratio, though it repositions within the existing orientation rather than performing a literal 90 degree rotation. Our full guide to DaVinci Resolve Smart Reframe not working covers its failure modes if it drifts, does nothing, or produces too many keyframes on a batch like this.
What resolution should your rotated export actually match on Instagram, TikTok, and YouTube Shorts?
Once you've rotated a clip and rebuilt a vertical timeline, the resolution you render at matters as much as the rotation itself. Get it wrong and the platform crops, pads, or resamples your careful framing right back into the problem you just fixed.
| Platform | Recommended resolution | Aspect ratio | Source |
|---|---|---|---|
| YouTube (standard upload) | 1920x1080 up to 7680x4320 | 16:9 | YouTube Help: Video resolution and aspect ratios |
| YouTube Shorts | 1080x1920 (typical) | 9:16 vertical or 1:1 square, up to 3 minutes | YouTube Help: Understand three-minute YouTube Shorts |
| Instagram Reels | 1080x1920 | 9:16 | Instagram Help Center: Reels |
| TikTok | 1080x1920 | 9:16 | TikTok Support: Camera tools |
YouTube's own resolution guidance lists 1920x1080 as its standard 16:9 encoding resolution, scaling up in fixed steps to 3840x2160 (4K) and 7680x4320 (8K), and it explicitly recommends against baking rotation-related black bars into the file yourself, since padding "interferes with dynamic player adaptation" (YouTube Help: Video resolution and aspect ratios). That's a direct argument for solving the black-bar problem inside Resolve, with Zoom, Retime and Scaling, a matching vertical timeline, or the blurred-background technique above, rather than exporting with bars intact and letting YouTube's player fight with them.
YouTube's Shorts documentation adds a rule worth knowing before you rotate anything inside a wider, non-Shorts video: any upload "with a square or vertical aspect ratio up to three minutes in length will be categorized as Shorts on YouTube," automatically, regardless of what you intended (YouTube Help: Understand three-minute YouTube Shorts). If you're rotating a single shot inside an otherwise widescreen long-form edit purely for a creative Dutch angle or a stylistic beat, keep the final delivered file's outer aspect ratio at 16:9. Letterbox the rotated moment inside that frame rather than changing your whole export's shape, or YouTube will quietly reclassify the entire video as a Short.
Instagram and TikTok are simpler by comparison. Both platforms build their vertical experience around the same 1080x1920, 9:16 frame, per their respective help documentation (Instagram Help Center: Reels, TikTok Support: Camera tools), which is exactly the swapped-dimension target described in the vertical timeline conversion above. Rotate a landscape clip onto a 1080x1920 timeline, as covered earlier in this guide, and the same render satisfies Reels, TikTok, and YouTube Shorts at once, with no extra scaling pass needed for any of the three.
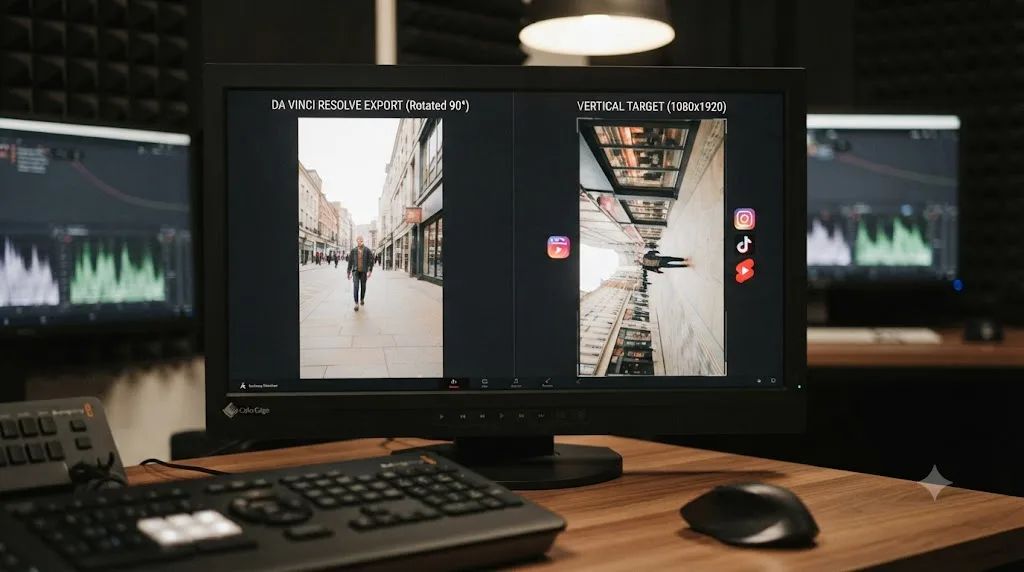
What pixel math should you expect when you rotate 90 degrees?
The math is straightforward once it's laid out, and it explains exactly why some rotations cost you resolution and others don't.
| Scenario | What happens | Resolution cost |
|---|---|---|
| Rotate 90 degrees, keep the original 1920x1080 timeline | Picture becomes an effective 1080x1920 shape spinning inside a 1920x1080 box, leaving pillarbox gaps on left and right | None yet, but filling the gap with Zoom crops and resamples the overflow |
| Rotate 90 degrees, then Zoom to fill a 1920x1080 timeline | The 1080-pixel-wide rotated picture stretches to cover 1920 pixels of width | Meaningful upscale, roughly 1.78x, since 1920 divided by 1080 is about 1.78 |
| Rotate 90 degrees, then move to a dedicated 1080x1920 vertical timeline | The rotated picture's 1080x1920 shape matches the new timeline exactly | None, assuming the source clip's own resolution already meets or exceeds 1080x1920 |
| Rotate a 3840x2160 (4K) clip onto a 2160x3840 vertical 4K timeline | Same principle as above, scaled up | None, same free conversion, just with 4K source and a 4K vertical target |
The pattern holds regardless of your specific numbers: rotating onto a timeline shaped to match the rotated result costs nothing, and rotating onto a timeline that keeps its original shape always costs you a scale-to-fill operation. If you're shooting specifically to rotate into vertical deliverables later, shooting at a resolution well above your final vertical target gives that scale-to-fill step real headroom to work with, the same underlying logic covered in more depth in our crop guide's section on crop-versus-zoom resolution budgets.
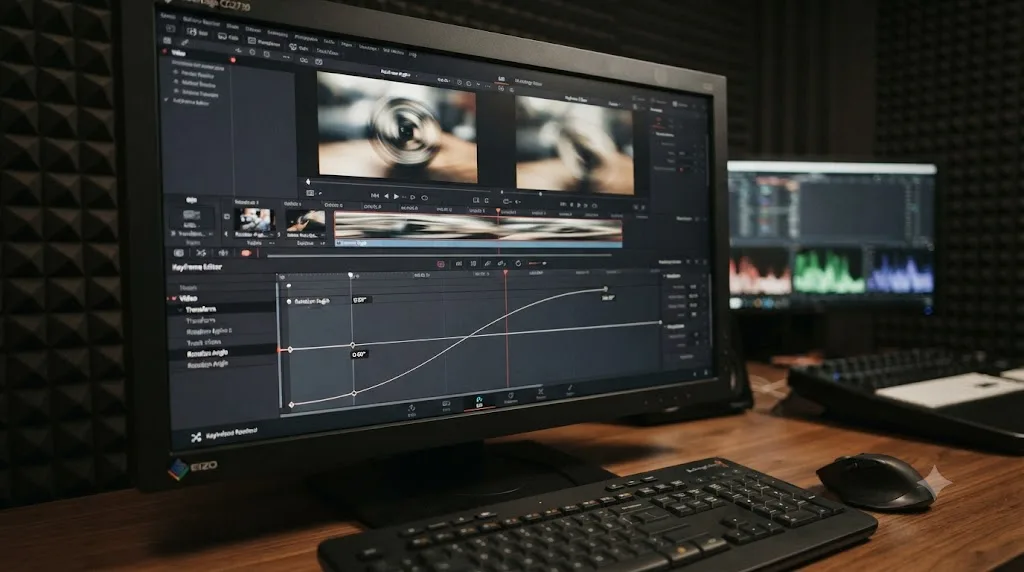
Can you keyframe a rotation for a spin transition or a Dutch angle move?
Yes. Rotation Angle carries the same diamond-shaped keyframe button as every other Inspector parameter. Click it once to set a starting keyframe, move the playhead, then change the Rotation Angle value again, and Resolve automatically adds a second keyframe and interpolates every frame between them.
This isn't a special case; it's the exact same keyframing mechanism used across the whole Inspector, so if you already know how to keyframe Zoom or Position, you already know how to keyframe a rotation. Our full guide to keyframing effects in DaVinci Resolve covers the Keyframe Editor, the Curve Editor, and easing curves in depth, all of which apply directly to an animated Rotation Angle.
A few things specific to keyframing rotation rather than Zoom or Position:
- A full 360-degree spin transition is built by keyframing Rotation Angle from 0 to 360 (or -360) across a short duration, typically layered with a Zoom keyframe pushing the image tighter mid-spin so the corners of the rotating frame don't reveal empty space at the edges of the rotation.
- A subtle Dutch angle drift, where the frame tilts a few degrees over the course of a shot rather than spinning a full quarter turn, uses the same field with much smaller values, often 3 to 8 degrees, eased in with the Curve Editor rather than snapped instantly.
- Fusion's Transform node keyframes the same way, using its own diamond-icon convention, if the rotation is happening inside a composite rather than directly on the Edit page.
Rotation Angle vs Image Orientation vs Smart Reframe vs Photo page vs Fusion: which tool for which job?
Five different tools all touch orientation in DaVinci Resolve, and picking the wrong one is the most common way this simple task turns complicated. Here's an honest side-by-side.
| Tool | Where it lives | What it actually does | Fixed 90/180/270 only, or any angle? | Requires Studio? | Best for |
|---|---|---|---|---|---|
| Rotation Angle (Inspector) | Edit or Cut page, Transform | Spins the current picture around the Anchor Point | Any value | No | Rotating footage that already displays correctly, keyframed spins, Dutch angles |
| Image Orientation (Clip Attributes) | Right-click clip, Clip Attributes, Video tab | Corrects the clip's stored rotation metadata at the source | Fixed: 0, 90 right, 180, 90 left | No | Footage playing sideways or upside down due to a metadata mismatch |
| Source Transform (Photo page) | Photo page | Non-destructive rotate at the image's original source resolution | Any value | No | Rotating still images, thumbnails, title graphics |
| Transform node (Fusion) | Fusion page | Rotates a layer inside a node-based composite | Any value | No | Rotation as one step inside a larger visual effect |
| Smart Reframe | Edit page, Inspector | AI tracks a subject and repositions the crop when converting aspect ratio | Not a literal rotation | Yes, Studio only | Batch horizontal-to-vertical conversion without manual rotation or repositioning |
Choose Rotation Angle when the picture is correct and you want to spin it, whether that's a permanent 90 degree turn or an animated effect. Choose Image Orientation the moment footage plays back sideways or upside down before you've touched anything, since that's a metadata problem Rotation Angle can mask but not truly fix. Choose the Photo page when the subject is a still image rather than a video clip. Choose Fusion's Transform node when the rotation is one piece of a larger composite. Choose Smart Reframe when you're converting a large batch of clips to a new aspect ratio and don't have time to rotate and reposition each one by hand, and you have access to Resolve Studio.
Do you need DaVinci Resolve Studio to rotate a clip?
No. Free DaVinci Resolve rotates a clip exactly like Studio does. Only Smart Reframe's automatic subject tracking sits behind the paywall.
The Inspector's Rotation Angle, Clip Attributes' Image Orientation, the Photo page's Source Transform tools, and Fusion's Transform node are all fully available in the free edition, with no feature gate on any of them. Toolfarm's independent breakdown of the free-versus-Studio split lists Smart Reframe as the specific crop-and-reframe-adjacent feature locked to Studio, alongside things like advanced noise reduction and certain Neural Engine tools, while basic Transform and clip-metadata controls stay free across both editions (Toolfarm: In Depth, DaVinci Resolve Studio vs Free).
The free edition does cap exports at 3840x2160 (4K UHD) and adds an on-screen watermark to certain Studio-exclusive effects, but neither limit touches rotation specifically. If you're rotating a clip to fix sideways phone footage or build a vertical cutdown, every technique in this guide, including the keyframed spin transition, works identically whether you paid for Resolve or not.
Does rotation behave differently on Mac, Windows, and Linux?
No. Rotation Angle, Anchor Point, Image Orientation, and the Photo page's Source Transform are all core parts of DaVinci Resolve's clip and metadata handling, processed identically across every supported platform. A clip rotated 90 degrees on a Mac opens with the exact same Rotation Angle value on a Windows machine, and a project file moves between platforms without any of these settings needing to be reconfigured.
Where platform genuinely can matter sits outside the scope of a manual rotation: Smart Reframe and other GPU-accelerated Neural Engine tools can behave differently depending on GPU processing mode and driver configuration, more of a consideration on Windows and Linux given the wider spread of GPU hardware there compared to Apple's more uniform Metal-based path on Mac. That's a performance question for AI features, not a rotation question, and it doesn't change how Rotation Angle, Image Orientation, or the Transform node behave on any operating system.
Why did my rotation reset, flip the wrong way, or disappear after nesting?
A handful of different mechanisms cause this, and each one has its own fix.
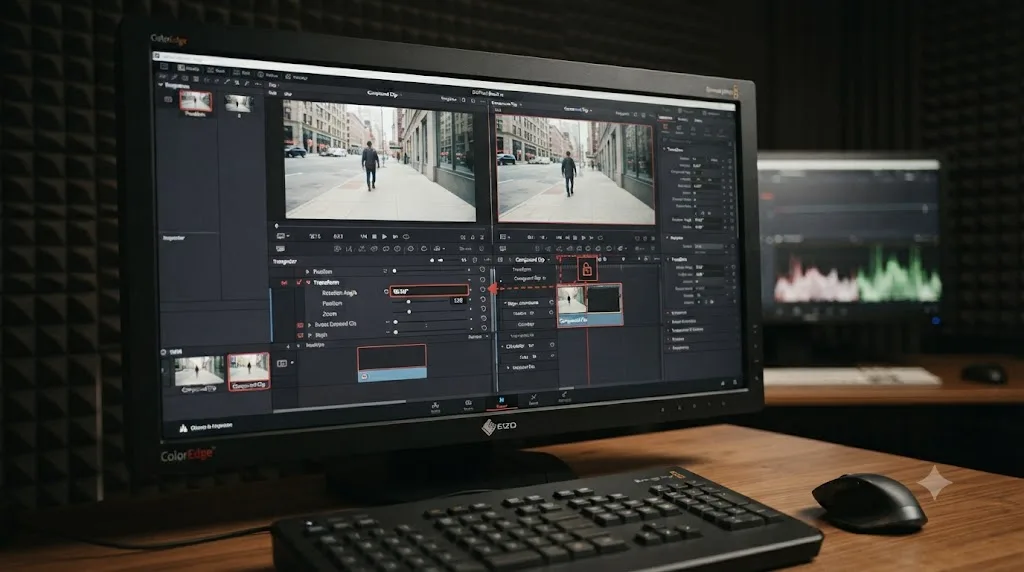
Nesting bakes the rotation in. When you nest a rotated clip into a compound clip or a new timeline, the rotation you applied becomes part of that nested result's rendered output rather than staying available as an editable Inspector value on the new object. A rotated clip nested inside a compound clip bakes that rotation into the nested result instead of leaving it as an editable Inspector value. If you need to keep adjusting the rotation after nesting, apply your final Rotation Angle value before nesting, or keep working on the original clip until the rotation is locked in.
Paste Attributes carrying the wrong thing. Copying a clip's rotation to other clips with Paste Attributes (Alt-V on Windows, Option-V on Mac) requires checking the Transform box in the dialog, which pulls in Zoom, Position, Rotation Angle, and Anchor Point together. If you only checked Crop or a different box by mistake, the rotation won't travel, and the destination clips stay at their original orientation.
Direction confusion between 90 and -90. Because Blackmagic Design's manual doesn't document a fixed positive-equals-clockwise convention for the Edit page's Rotation Angle, it's easy to type 90, watch the clip spin the wrong way, and assume something is broken. It isn't. Try the opposite sign and confirm visually in the Viewer each time, rather than assuming a pattern from one clip carries to the next, since source footage with its own baked-in orientation quirks can make the visual result look inconsistent even when the underlying math is identical.
Timeline Proxy Mode making a correctly rotated clip look soft or slightly off. Timeline Proxy Mode, under Playback > Timeline Proxy Resolution, temporarily lowers your timeline's processed resolution to Half or Quarter to keep playback smooth, and it "reduces processing demands by taking advantage of the resolution independence of DaVinci Resolve to lower the resolution of your clips on-the-fly," per Blackmagic Design's manual (DaVinci Resolve Manual: Timeline Proxy Mode). If a rotated edge looks jagged or a few pixels off while scrubbing, check this setting before assuming your Rotation Angle or Zoom values are wrong; the same manual page stresses that Resolve's resolution independence "guarantees that every window you draw and sizing operation you make scales correctly to the actual resolution of your project," meaning what you see during Timeline Proxy playback isn't what actually renders.
Stabilizing before you rotate, instead of after. DaVinci Resolve's Stabilizer, on the Color page's Tracker palette, analyzes motion against the frame orientation that exists at the moment you run it. Rotate a clip after stabilizing and the stabilization data doesn't rotate with it, since it was calculated against the original, unrotated frame; the result can drift or wobble in a direction that looks like it's fighting the rotation rather than smoothing it. Rotate first, then stabilize, so the analysis pass reads the same orientation your final cut will use.
Mixing a 180 and a 90 rotation in the same Paste Attributes pass. If you copy Transform values from a clip you rotated 180 degrees, which needs no Zoom compensation, and paste them onto a clip that actually needed a 90 degree turn, which does, the destination clip inherits a rotation with the wrong (or no) Zoom to match it, and you're back to black bars or an unintended crop. Paste Attributes bundles Rotation Angle, Zoom, Position, and Anchor Point together with no separate check for which rotation angle they were tuned for. Check every clip in the Viewer after a batch Paste Attributes pass rather than assuming uniform results across source material that didn't all need the same fix.
Is there a keyboard shortcut to rotate a clip 90 degrees?
Not by default. DaVinci Resolve has no default keyboard shortcut for a 90 degree rotation, so the fastest repeatable method is still typing a number into the Inspector. There's no equivalent of a single keypress that snaps a selected clip to a fixed 90-degree turn the way some other editors offer.
You can build your own through Keyboard Customization (Command-Option-K on Mac, Ctrl-Alt-K on Windows), searching for the relevant Transform command and assigning a key of your choice. Because Rotation Angle is a numeric field rather than a binary toggle, a custom shortcut typically jumps your cursor into the field or nudges the value by a fixed increment, rather than instantly snapping it to exactly 90 the way a purpose-built toggle would. For most editors rotating clips only occasionally, typing 90 directly into the field is barely slower than a shortcut would be, which is likely why Blackmagic Design has never shipped one by default.
Can you rotate multiple clips at once instead of one at a time?
Yes, and the right method depends on which of the two rotation tools you're using.
For Image Orientation, select every affected clip in the Media Pool at once, right-click, choose Clip Attributes, and set the rotation. Blackmagic's own workflow for this applies the same setting to the entire selection in one pass, which is the fast route when a whole card of footage from one phone or camera all needs the identical correction.
For Rotation Angle, use Paste Attributes. Set the rotation on one clip first, copy it, select every destination clip, right-click, and choose Paste Attributes (or Alt-V on Windows, Option-V on Mac). Check the Transform box in the dialog, which bundles Zoom, Position, Rotation Angle, and Anchor Point together, then click Apply to push that exact rotation onto every selected clip at once. This is the same mechanism covered in more depth in our crop guide's section on copying a crop across multiple clips, and it works identically for rotation since both live under the same Transform umbrella in the Inspector.
The practical difference: Image Orientation's batch fix corrects source metadata once and it holds everywhere that clip appears. Rotation Angle's batch fix, via Paste Attributes, copies a value onto separate timeline instances, so a later change to the original clip's rotation doesn't automatically propagate to the clips you already pasted onto.
Three rotation scenarios worked start to finish
The tools in this guide come together differently depending on what actually went wrong with the footage. Here are three real situations and the exact sequence each one calls for.
Scenario 1: An action camera mounted sideways on purpose
A rider straps a camera to a helmet sideways, on purpose, to capture more headroom on a narrow trail. The footage plays back correctly, no metadata mismatch, nothing sideways about how it opens in the Media Pool. It's just composed on its side, and the final cut needs it upright for a standard 16:9 edit.
This is a Rotation Angle job, not an Image Orientation one, because nothing about the file's playback is wrong. The sequence:
- Select the clip, open the Inspector, and set Rotation Angle to 90 or -90 until the subject reads upright in the Viewer.
- Check the Anchor Point before assuming Zoom alone will fix the framing. A sideways mount often puts the subject off-center once it's rotated upright, since the camera wasn't held with a 90 degree turn in mind. Reposition the Anchor Point toward the subject first, then rotate, so the pivot lands where the action actually is instead of the geometric center of a frame that was never balanced around it.
- Increase Zoom or switch to a matching vertical or horizontal timeline, whichever suits the final cut, using the black-bar fixes covered earlier in this guide.
Scenario 2: An entire wedding card of phone footage plays sideways
A wedding videographer imports 40 clips from a guest's phone, and every one of them plays sideways in the Media Pool the moment they land on the timeline. Nothing was mounted deliberately; this is the metadata mismatch this guide covers under Image Orientation, just at batch scale.
- Select all 40 clips in the Media Pool at once.
- Right-click, choose Clip Attributes, and open the Video tab.
- Set Image Orientation to whichever of the three non-zero options fixes the preview, then click OK.
- Because Image Orientation corrects the master clip's metadata rather than a single timeline instance, that one pass fixes every one of those 40 clips everywhere they've been cut into the project, current and future.
Scenario 3: A single interview clip upside down from a reversed tripod plate
A tripod's quick-release plate goes on backward, the camera mounts upside down without anyone noticing until the footage imports playing 180 degrees rotated. This is the one case in this guide where the black-bar problem covered earlier never applies.
A 180 degree rotation doesn't swap a clip's width and height, so unlike a 90 degree turn, it never creates a black-bar problem. The frame stays exactly the shape it was; only the content inside it flips. The fix:
- Try Image Orientation's 180 option first, from Clip Attributes, since this is very likely a metadata issue if the whole card of footage from that setup came in the same way.
- If Image Orientation's 180 doesn't correct it, meaning the rotation metadata itself is missing rather than simply misread, fall back to the Inspector's Rotation Angle and set it to 180 directly. No Zoom, Retime and Scaling change, or new timeline resolution is needed afterward, since the frame's shape never changed. Confirm in the Viewer and move on.
Are there AI tools that rotate or reframe clips automatically?
A handful of AI-driven tools have shown up around DaVinci Resolve over the past couple of years, and it's worth being honest about what they actually do versus what a manual 90 degree rotation needs. Sottocut, PremiereCopilot, Eddie AI, and CutAgent all automate parts of the editing decision itself, cutting, reframing, or answering questions about footage based on their own analysis, rather than executing a rotation you specify by hand (Sottocut, PremiereCopilot pricing, Eddie AI for DaVinci Resolve, CutAgent). None of them are built specifically around a fixed 90 degree rotation task the way this guide is; that's a narrow, mechanical operation that a Rotation Angle field already handles in two clicks, and automating it wouldn't save meaningful time over typing "90" into the Inspector.
Where AI genuinely helps with orientation inside Resolve itself is Smart Reframe, covered throughout this guide, which is a Studio-only, Blackmagic-built feature rather than a third-party tool, and it solves a different problem: repositioning many clips' framing automatically as you convert aspect ratio, not literally spinning a picture 90 degrees.
TryUncle is the on-screen assistant for DaVinci Resolve on macOS. Ask in plain words and Uncle points at the exact control on your screen, live, inside your own project, rather than sending you off to pause a tutorial and hunt through menus for Rotation Angle or Image Orientation. That's a different job again from either the automated editing tools above or Smart Reframe: Uncle doesn't rotate anything for you and doesn't make an editorial decision on your behalf. It watches your screen and answers the question you're actually stuck on, in your own project, with your own clip.
In seven-plus years of professional, commercial video editing, including work for Fortune 500 clients and teaching over 100,000 students through Udemy as an official Udemy Business Partner, the moment people actually get stuck on a task like this one isn't understanding what "rotate 90 degrees" means. It's remembering which of two nearly identical-looking Inspector sections holds the control, weeks after the last time they needed it. TryUncle is a paid app at $39 a month, cancel anytime, and macOS only; check TryUncle for the current rate before you commit. If you're mid-rotation right now and the black bars won't go away, that's exactly the kind of stuck moment Uncle can point you through without you leaving your own timeline.
Has the rotate tool changed in recent versions of DaVinci Resolve?
Not for video. The Inspector's Transform section, including Rotation Angle and Anchor Point, has been stable for many major versions, and neither of this year's point releases touched it. The 21.0.2 and 21.0.3 changelogs list fixes to keyframe pasting, retime curves, TIFF export bit depth, and interlaced media handling, with no changes to Transform or Clip Attributes, per Newsshooter's release coverage (DaVinci Resolve 21.0.2 Update, DaVinci Resolve 21.0.3 Update).
The genuinely new development this cycle is the Photo page itself, added in the DaVinci Resolve 21 release announced in April 2026, bringing a dedicated, non-destructive rotate tool to still images for the first time, run through the same node-based color engine used everywhere else in the app (Newsshooter: Blackmagic Design Announces DaVinci Resolve 21). If you're rotating video clips, nothing about the process in this guide has changed recently. If you're rotating still images, that entire workflow didn't exist in Resolve at all before this year.
The verdict
Rotating a clip 90 degrees in DaVinci Resolve is one field: Rotation Angle, under Transform, in the Inspector. The actual skill isn't finding that field. It's knowing that the frame around your clip doesn't rotate with it, so you need a Zoom, a Retime and Scaling change, or a new timeline resolution right behind it, and knowing that Clip Attributes' Image Orientation is a completely different tool for a completely different problem: metadata correcting itself, not a picture you're spinning on purpose.
Reach for Rotation Angle when the footage looks right and you want to turn it. Reach for Image Orientation the second something plays back sideways or upside down before you've touched a single control. Reach for the Photo page when the subject is a still image, and Fusion's Transform node when the rotation is one piece of a bigger composite. Get that sorted once, and a task that feels like it should take ten seconds actually does, instead of turning into a black-bar-chasing detour through three settings menus you didn't know you needed.
Frequently asked questions
- How do I rotate a clip 90 degrees in DaVinci Resolve?
- Select the clip on the Edit page timeline, open the Inspector, click the Video tab, and scroll to Transform. Type 90 or -90 into the Rotation Angle field and watch the Viewer to confirm which direction it spun. The rotated picture almost never fills a frame that didn't also change shape, so plan on a Zoom adjustment, a Retime and Scaling crop, or a dedicated vertical timeline as a second step, not an optional one.
- Why does my phone video play sideways or upside down after I import it into DaVinci Resolve?
- Almost always because the clip carries rotation metadata, a small flag in the file telling players how to orient it, and DaVinci Resolve isn't applying that flag the way the app that recorded it did. This is a metadata mismatch, not damaged footage. Fix it with Clip Attributes' Image Orientation setting rather than the Inspector's Rotation Angle, since Image Orientation corrects the stored flag instead of spinning an already-correct image.
- How do I get rid of the black bars after rotating a clip?
- Increase Zoom in the Inspector's Transform section until the rotated picture fills the frame again, accepting a crop on whichever edges overflow. Alternatively, select Fill under the clip's Retime and Scaling Scaling dropdown, or build a dedicated timeline at the swapped resolution (1080x1920 instead of 1920x1080, for example) so the rotated footage has a frame shaped to actually match it.
- What's the difference between the Inspector's Rotation Angle and Clip Attributes' Image Orientation?
- Rotation Angle, under Transform in the Inspector, spins the picture you're already looking at, live, inside your current timeline frame, and it accepts any value, not just multiples of 90. Image Orientation, in Clip Attributes, corrects a clip's stored rotation metadata at the source level, before it ever reaches the timeline, and only offers four fixed options: 0, 90 right, 180, and 90 left. Use Rotation Angle for a creative or corrective spin on footage that's already displaying correctly. Use Image Orientation when the clip itself is playing back sideways or upside down.
- Do I need DaVinci Resolve Studio to rotate a clip, or does it work in the free version?
- No, rotation is fully free. The Inspector's Transform section, Clip Attributes' Image Orientation, the Photo page's rotate tool, and Fusion's Transform node all work identically in the free edition and DaVinci Resolve Studio. The one Studio-only feature that touches orientation is Smart Reframe, the AI tool that repositions a subject automatically when converting between aspect ratios, and that's a different job from a manual 90 degree rotation.
- Is there a keyboard shortcut to rotate a clip 90 degrees in DaVinci Resolve?
- Not by default. DaVinci Resolve ships without a built-in shortcut for a fixed 90 degree rotation, so the fastest repeatable method is typing 90 or -90 into the Inspector's Rotation Angle field. You can assign your own shortcut through Keyboard Customization if you rotate clips often enough to want one, though because Rotation Angle is a numeric field rather than a toggle, a custom shortcut typically jumps you to the field rather than applying a fixed 90 degree value on its own.
- Is there an app that helps you while you're rotating clips in DaVinci Resolve?
- Yes. TryUncle is the on-screen assistant for DaVinci Resolve on macOS. Ask in plain words and Uncle points at the exact control on your screen, live, inside your own project, instead of sending you off to pause a tutorial and hunt for the Rotation Angle field. It's a paid app at $39 a month, and it doesn't rotate anything for you. It just helps you find the control the moment you forget where it lives.
Sources
- DaVinci Resolve Manual - Transform (Zoom, Position, Rotation Angle, Anchor Point) (Blackmagic Design, mirrored)
- DaVinci Resolve Manual - Transform and Cropping in the Video Inspector (Blackmagic Design, mirrored)
- DaVinci Resolve Manual - Video Attributes and Image Orientation (Blackmagic Design, mirrored)
- DaVinci Resolve Manual - Cropping (Blackmagic Design, mirrored)
- DaVinci Resolve Manual - Onscreen Controls for Transform, Crop, and Dynamic Zoom (Blackmagic Design, mirrored)
- DaVinci Resolve Manual - Timeline Resolution (Blackmagic Design, mirrored)
- DaVinci Resolve Manual - Image Scaling and Input Scaling Presets (Blackmagic Design, mirrored)
- DaVinci Resolve Manual - Retime and Scaling (Blackmagic Design, mirrored)
- DaVinci Resolve Manual - Smart Reframe (Blackmagic Design, mirrored)
- DaVinci Resolve Manual - Timeline Format and Use Vertical Resolution (Blackmagic Design, mirrored)
- DaVinci Resolve Manual - Timeline Proxy Mode Improves Effects Performance (Blackmagic Design, mirrored)
- Newsshooter: DaVinci Resolve 21.0.3 Update
- Newsshooter: DaVinci Resolve 21.0.2 Update
- Newsshooter: Blackmagic Design Announces DaVinci Resolve 21, Major Update Adds New Photo Page
- Newsshooter: DaVinci Resolve 21 Photo Page Preview, NAB 2026
- Imaging Resource: DaVinci Resolve 21 Adds Photo Editing to Its Toolkit
- Toolfarm: In Depth, DaVinci Resolve Studio vs Free (Updated for 21)
- Joel Kelly: The Node-Based Photo Page in DaVinci Resolve 21 (joel.design)
- Nolen Jonker: I Tried DaVinci Resolve's New Photo Editor (XDA Developers)
- AddPipe: Rotation Metadata in Video Files Created by Mobile Devices
- Justin Robinson: Transform Node in Fusion (JayAreTV)
- Larry Jordan: Convert Horizontal Video to Vertical Video in DaVinci Resolve 19
- YouTube Help: Understand three-minute YouTube Shorts
- YouTube Help: Video resolution and aspect ratios
- Instagram Help Center: Reels
- TikTok Support: Camera tools
- Sottocut (product site)
- PremiereCopilot pricing
- Eddie AI for DaVinci Resolve (native integration workflow page)
- CutAgent (product site)
- TryUncle
Learn by doing, not watching
Stop translating tutorials to your timeline.
TryUncle stays beside Resolve on Mac and Windows. When you ask, Uncle sees your screen and points at the exact control you need. No hunting through tabs, timestamps, or mismatched tutorials.
Meet TryUncleKeep reading
 GuidesJul 24, 202639 min read
How to Crop a Video in DaVinci Resolve (Every Method)
How to crop a video in DaVinci Resolve: Inspector crop sliders, onscreen handles, Color page sizing, Fusion, keyframing, and crop vs zoom explained.
 GuidesJul 12, 202630 min read
DaVinci Resolve Black Bars: Every Wrong Aspect Ratio Fix
Why DaVinci Resolve shows black bars around your footage, the Timeline Resolution vs Input Scaling mixup behind it, and the exact settings that fix it.
 GuidesJul 9, 202638 min read
DaVinci Resolve Smart Reframe Not Working: Every Fix
Why DaVinci Resolve's Smart Reframe does nothing, drifts off the subject, or fights your timeline, and the proxy, resolution, and GPU fixes that solve it.