
Learn / DaVinci Resolveupdated for DaVinci Resolve 21.0.2 (July 2026)
How to Duck Background Music Under Dialogue in DaVinci Resolve
Quick answer
To duck background music under dialogue in DaVinci Resolve, add the Ducker effect (Inspector > Audio panel, version 19 and later) to your music track, set its Source to the dialogue track, and adjust Duck Level and Rise Time. On any version, you can also sidechain a Dynamics compressor on the Fairlight page, or manually keyframe the music clip's volume.
I've watched more than a few first cuts get rejected by a client over one thing that has nothing to do with the edit itself: the music is too loud, and nobody can hear what the person on screen is actually saying. Ducking fixes that, and DaVinci Resolve gives you three genuinely different ways to do it, from a one-click track effect to a hand-tuned sidechain compressor to plain manual keyframes. Which one you reach for depends on your version of Resolve, how much control you want, and how much time you have.
This guide covers all three methods start to finish, as of DaVinci Resolve 21.0.2, released in July 2026 following the version 21.0 launch that June (source: CG Channel). It also covers exact settings to start from, what to do when ducking doesn't seem to be working, how to duck against more than one trigger source at once, how platform loudness normalization affects a finished mix, and how Resolve's approach compares to what Premiere Pro and Audition do.
What Does It Mean to "Duck" Background Music Under Dialogue?
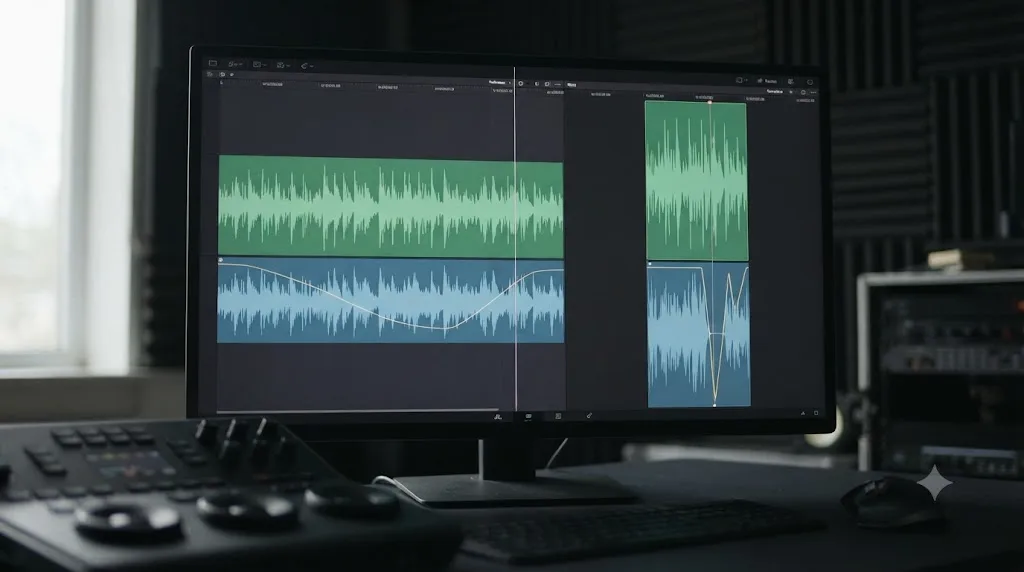
Ducking is automatically lowering one audio track's volume whenever another track, usually dialogue or narration, is playing, then bringing it back up once that track goes quiet. The name comes from the visual shape it produces on a waveform or a volume automation line: the music level "ducks" down under the speech, then pops back up, over and over, following the rhythm of the conversation.
Without ducking, you're left with two bad options. Either the music stays loud enough to compete with dialogue, which forces viewers to strain to catch what's being said, or you keep the music quiet enough that dialogue always wins, which makes the music nearly inaudible and pointless to have included at all. Ducking solves both problems at once: music can sit at a full, present level during pauses and breaks, then drop out of the way the instant someone starts talking.
Ducking isn't a single feature in DaVinci Resolve. It's a category of technique, and Resolve currently offers three distinct ways to do it, each with a different tradeoff between speed and control. That distinction matters, because a tutorial that only shows you one method leaves you stuck if that method doesn't fit your project, your Resolve version, or the amount of control you actually need.
The three methods, in the order this guide covers them:
- The Ducker track FX, a dedicated one-click effect added in DaVinci Resolve 19 (April 2024) that requires no manual routing at all.
- A sidechain compressor on the Fairlight page, the original method, available in every recent version, and still the one offering the most granular control over the compression curve.
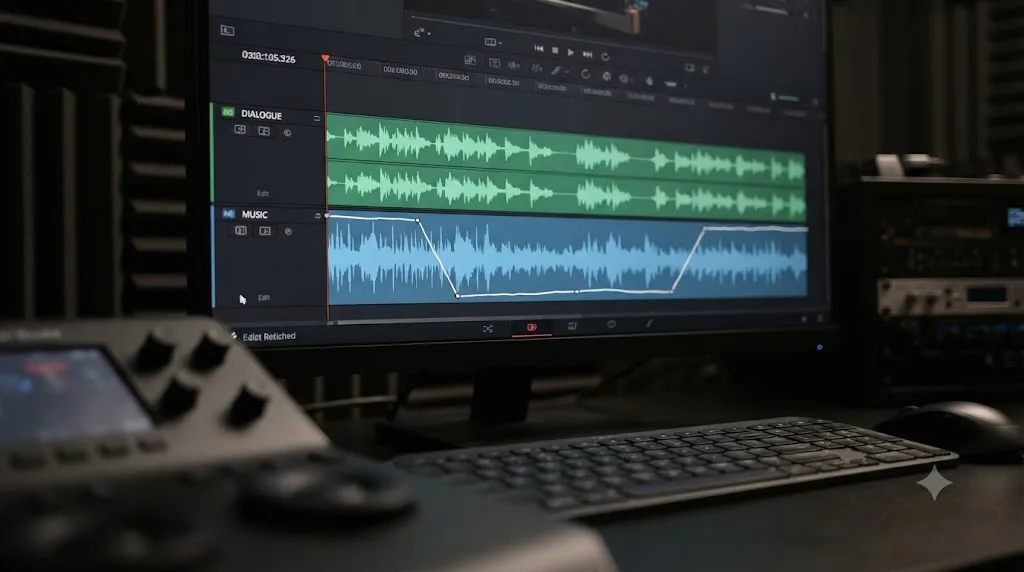
- Manual keyframes, drawing the volume drops by hand on the music clip, which works in every version ever shipped and gives you exact, deliberate control over every single dip.
How Do You Duck Music With the Ducker Track FX (DaVinci Resolve 19 and Later)?
The Ducker track FX is the fastest way to duck music in current DaVinci Resolve, and for most single-narrator or single-interview projects, it's the only method you'll need. Blackmagic's own description of the feature, from its DaVinci Resolve 19 release coverage, is direct: "Ducker track FX for auto level management of beds against dialogue" (source: DVResolve.com, DaVinci Resolve 19 Released). "Beds" is industry shorthand for background music or ambience tracks sitting under dialogue, and that's exactly what Ducker is built to manage automatically.
It shipped as part of DaVinci Resolve 19, announced in April 2024, and Blackmagic improved it in the 19.1 update that November, adding "improved audio ducker support allowing selection of multiple tracks to trigger the ducking" (source: Digital Cinema Society, DaVinci Resolve 19.1), so a single music track can now duck against more than one dialogue track at once, useful for a multi-person interview where any speaker should trigger the same ducking behavior.
Step by step:
- Go to the Edit page, or stay on Fairlight if you prefer. Ducker works from either.
- Click the header of the track carrying your background music, not an individual clip on that track. Ducker is a track-level effect, and this trips people up the first time, since almost every other audio adjustment in Resolve happens at the clip level.
- Open the Inspector panel in the upper right of the window, and make sure you're on the Audio tab rather than Video or Clip. Andrew Childress's walkthrough of the feature for Envato Tuts+ describes this exact path: click the track header, then "the Inspector tab in the upper right corner," confirming you're on "the Audio panel" (source: Envato Tuts+, How to Use Audio Ducking in DaVinci Resolve 19, by Andrew Childress).
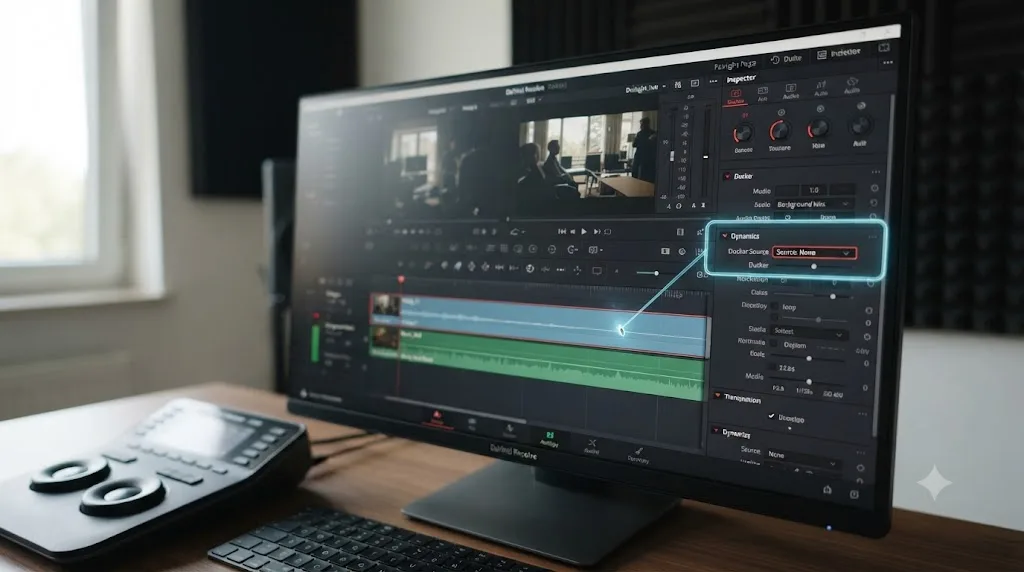
- Toggle the Ducker switch. It turns red when active, and a small window opens with its own set of controls.
- Set Source to the track carrying your dialogue. Childress's piece is precise about what this control actually does: "The Source clip is really the clip that controls the ducking" (source: Envato Tuts+, How to Use Audio Ducking in DaVinci Resolve 19, by Andrew Childress). Whatever track you pick here is the one Resolve listens to in order to decide when to duck the music.
- Adjust Duck Level, measured in decibels, which controls how far the music drops.
- Fine-tune with the advanced options: Rise Time, how quickly the ducking kicks in, and Recovery, how quickly the music comes back up once dialogue stops. Some builds also expose Lookahead, which lets Resolve preview upcoming dialogue slightly before it starts, producing a smoother, less abrupt dip than a purely reactive response.
There's no single correct Duck Level or Rise Time, and that's by design, not an omission. Childress's own framing of this makes the point directly: "There's no single right setting for audio ducking" (source: Envato Tuts+, How to Use Audio Ducking in DaVinci Resolve 19, by Andrew Childress). A punchy YouTube video and a slow documentary interview want noticeably different ducking behavior, and the right numbers come from listening on headphones, not from a chart.
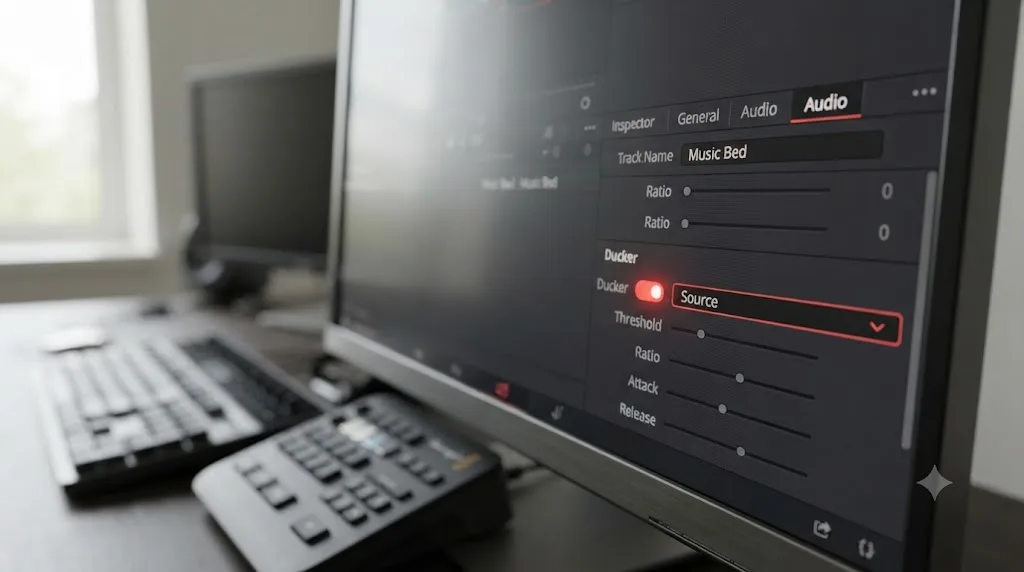
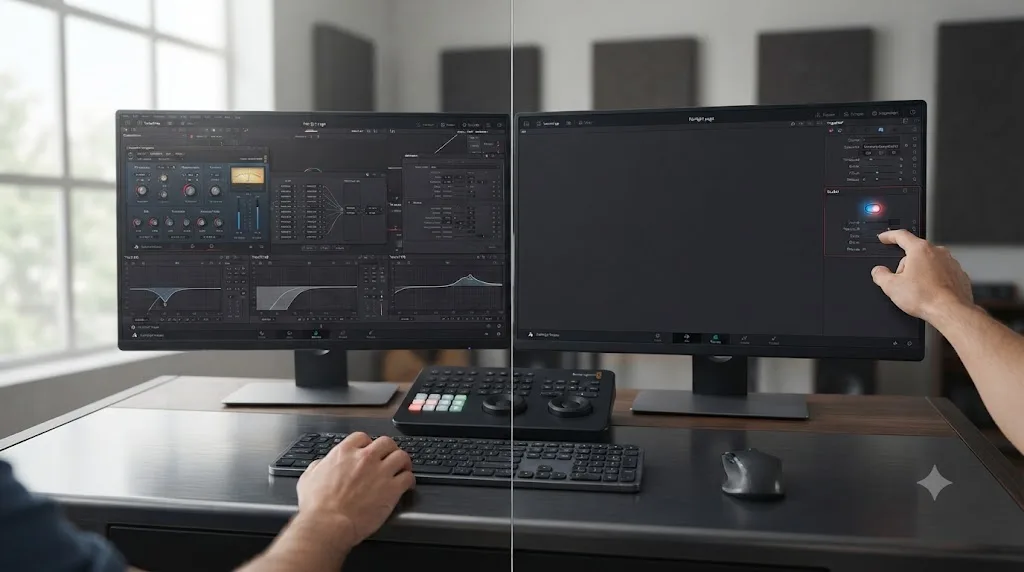
Why Ducker beats the older sidechain method for a simple project. The whole point of Ducker is removing a setup step that used to require two separate windows and a routing decision. Before Ducker existed, getting music to duck automatically meant configuring a sidechain compressor: opening Dynamics on the dialogue track, enabling Send, opening Dynamics on the music track, enabling Compression and Listen, and then dialing in Threshold and Ratio by hand. Ducker collapses that into one toggle and a Source dropdown. For a single dialogue track ducking a single music bed, which covers the large majority of YouTube videos, interviews, and short documentaries, Ducker gets you a working result faster and with fewer places to make a mistake.
How Do You Duck Music With a Sidechain Compressor on the Fairlight Page?
Sidechain compression is the original way to duck music in DaVinci Resolve, and it's still the method with the most granular control over exactly how the compression curve behaves, since you're setting every compressor parameter directly rather than working through Ducker's simplified controls. It's also your only option if you're running a version of Resolve older than 19, and it remains the technique most audio-focused tutorials on the subject actually teach, since it existed for years before Ducker shipped.
The mechanism is a track-to-track signal relationship. Blackmagic's own manual describes it plainly: "Send" allows "a track's levels to control another track's compression via sidechain," while "Listen" "receives sidechain signals from tracks with Send enabled to automatically attenuate the current track" (source: DaVinci Resolve Manual, Compressor, Blackmagic Design, mirrored). In plain terms: your dialogue track sends its level as a control signal, and your music track listens to that signal and turns itself down whenever the dialogue level rises above a threshold you set.
Step by step:
- Switch to the Fairlight page (Shift+7 by default). Sidechain routing lives here, not on the Edit page.
- Display the Mixer panel if it isn't already visible, through the layout menu in the top right of the Fairlight page.
- Find your dialogue track's channel strip and double-click its Dynamics area to open the Dynamics window. As the manual describes it, this "will open the dynamics window featuring an expander/gate, compressor and limiter dynamics processing" (source: Blackmagic Design, Fairlight product page).
- Enable Send, without turning on the Compression section itself. Boris FX's own walkthrough of this step explains the reasoning directly: "What you're doing right now is telling DaVinci Resolve that whenever this track is playing, the music tracks will duck" (source: Boris FX, DaVinci Resolve Audio Ducking Tutorial in 5 Steps).
- Now open the Dynamics window on your music track, and this time enable the Compressor section itself.
- In the Compressor's sidechain section, set Source to your dialogue track and enable Listen.
- Adjust Threshold and Ratio while playing back the timeline, listening for the music to visibly and audibly drop the moment dialogue starts.
Sidechain compressor settings reference
| Parameter | Default | Range | What it does |
|---|---|---|---|
| Threshold | -15 dB | -50 to 0 dB | Level above which compression (ducking) engages; lower it for the music to duck more readily |
| Ratio | 2.0:1 | 1.0:1 to 10:1 | How aggressively the music is reduced once triggered; a 3:1 ratio applied against the sidechain signal is a common starting point for dialogue ducking |
| Attack | 1.4 ms | 0 to 100 ms | How fast the reduction kicks in once dialogue crosses the threshold |
| Hold | 0 ms | 0 to 4000 ms | How long the reduction is held at its initial level before release begins, useful for smoothing over short pauses mid-sentence |
| Release | 93 ms | 50 to 4000 ms | How fast the music climbs back to normal once dialogue drops below the threshold |
| Knee | Hard by default | Hard to soft | Whether compression engages abruptly at the threshold or ramps in gradually |
(Default and range values per the DaVinci Resolve manual's own Compressor documentation, source: Blackmagic Design, mirrored.)
Larry Jordan, a longtime video editing trainer, wrote one of the clearest explanations of why this method is worth learning even after Ducker's release: "Ducking will occur automatically whenever dialog occurs, without keyframes, without special metadata, even as you add, move, trim or delete clips" (source: Larry Jordan, Automatically Duck Background Music Under Dialog in DaVinci Resolve). That last part matters in a real edit. Because the ducking reacts live to the actual audio signal rather than to fixed points on a timeline, re-cutting a scene, moving a line of dialogue earlier, or trimming a pause doesn't break your ducking the way it would if you'd hand-placed keyframes at specific timecodes. Jordan goes further, comparing Resolve's approach favorably against the field: "Resolve has the best approach of the video editors I've looked at" (source: Larry Jordan, Automatically Duck Background Music Under Dialog in DaVinci Resolve).
A sidechain relationship survives re-editing because it reacts to the actual audio signal in real time, not to fixed positions on a timeline. That's the core advantage over keyframes, and it's why sidechain compression, even with Ducker now available as a simpler front end, hasn't become obsolete.
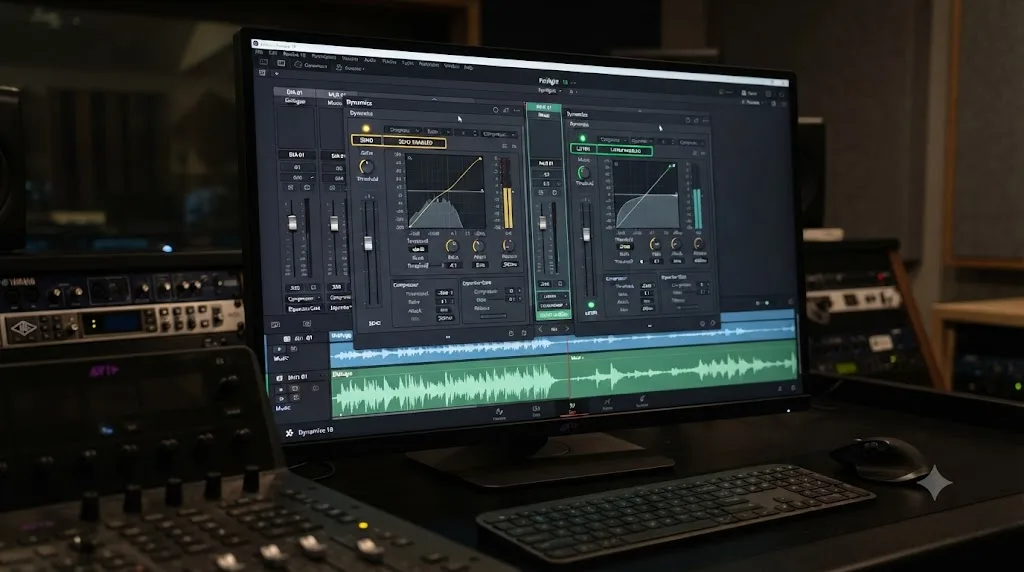
Worked example: a two-person interview with a music bed. Say you've got a host and a guest on separate dialogue tracks, plus one music track underneath. You want the music to duck whenever either person talks, not just one of them. Enable Send on both dialogue tracks. On the music track's Compressor, you can set Source to either dialogue track individually, or in Resolve 19.1 and later, take advantage of the multi-track trigger support and have the ducking respond to whichever speaker is active, so the music stays low through the entire back-and-forth of the conversation instead of popping up during the pauses between one person finishing and the other starting. If you're cutting this interview from more than one camera angle, sync and switch the picture first; our multicam editing workflow for interviews guide covers syncing angles and cutting live before you get to this audio step.
Can You Duck Music Against Multiple Dialogue Tracks or a Sound Effects Bed at the Same Time?
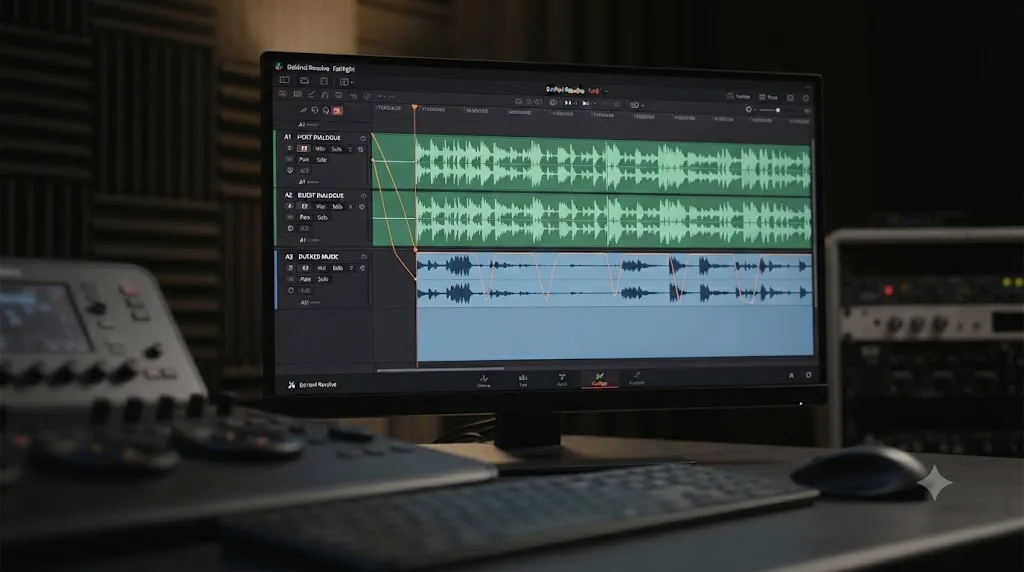
Ducker's multi-track Source support, added in DaVinci Resolve 19.1, covers the most common version of this problem: several people talking on separate tracks, one music bed. But it doesn't cover everything. Say your project has three dialogue tracks, a foley bed of footsteps and prop sounds, and a music track, and you want the music to duck whenever any of those four other tracks are active, not just the dialogue. Neither Ducker's Source dropdown nor the sidechain Compressor's single-track Source field was built to watch four different tracks as one combined trigger.
The workaround lives in Fairlight's bus system, and it's the same territory editor Jason Yadlovski wrote about specifically because the basic Ducker couldn't reach it (source: Jason Yadlovski, Advanced Sidechain Feature in DaVinci Resolve 19: Beyond the Ducker). Blackmagic's own manual defines a bus plainly: "A bus is simply a common signal connection point in an audio mixer" (source: DaVinci Resolve Manual, FlexBus Routing and Mixing, Blackmagic Design, mirrored), and that's exactly the property you need here. Route every track that should trigger ducking into one shared bus, and the sidechain Compressor can listen to that single bus instead of a single track.
Step by step:
- On the Fairlight page, open the Mixer and create a new bus. Right-click an empty area of the bus section of the mixer, or use the Index panel's Add Track/Bus option, and add a new mono or stereo bus. Name it something you'll recognize later, like "Duck Trigger."
- On each track that should trigger the duck, dialogue, foley, sound effects, whatever you want the music to react to, open that track's routing and add a Bus Send to your new "Duck Trigger" bus. Leave its normal Main output routing untouched, so the track still plays normally through your regular mix; the send is an additional copy of the signal, not a replacement.
- Open the Dynamics window on your music track and enable the Compressor section, the same as the standard sidechain method described above.
- In the Compressor's sidechain section, set Source to your "Duck Trigger" bus instead of a single track, and enable Listen.
- Adjust Threshold and Ratio as usual. Now the music ducks whenever any track feeding that bus is active, whether that's one speaker, three speakers, or a speaker plus a burst of sound effects.
On a project with several busses already in play, name them clearly and check your Main bus level after adding sends, since a send doesn't remove signal from the original track's contribution to Main; it copies it, so your overall mix level shouldn't change, but it's worth a quick listen to confirm nothing quietly stacked up.
This technique only applies to the sidechain Compressor method. Ducker's Source dropdown, even with 19.1's multi-track support, is built to select individual tracks, not busses. If you're building the sound effects bed you want to feed into that trigger bus from scratch, our Fairlight foley workflow tutorial covers sourcing, syncing, and layering those effects before you get to routing them here.
A shared bus turns any combination of tracks into a single ducking trigger, which is the one thing neither Ducker's Source dropdown nor a single Compressor's sidechain input was built to do on its own.
How Do You Manually Keyframe Music Volume to Duck It?
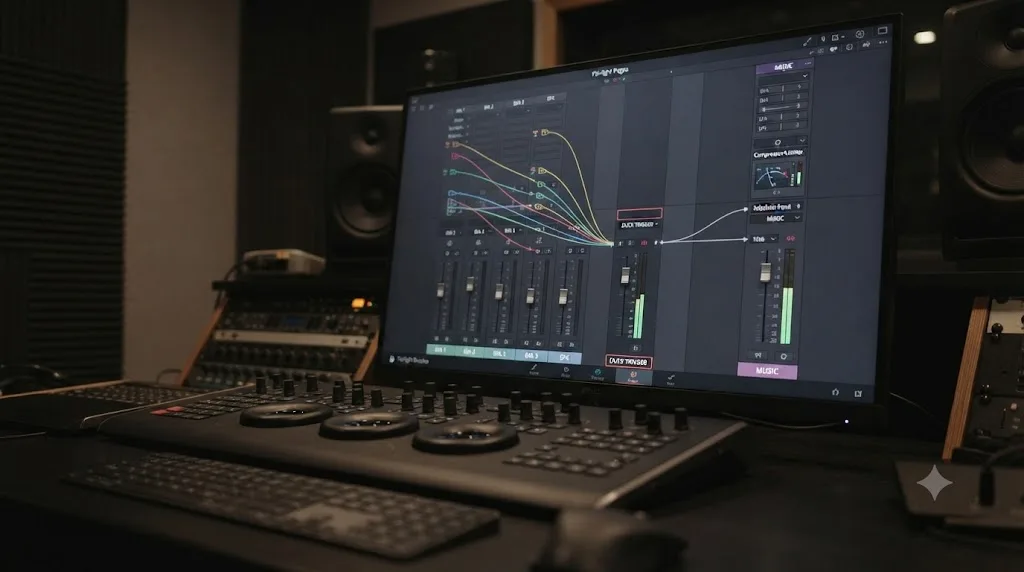
Manual keyframing is the oldest, most universal method, since it doesn't depend on any specific version of DaVinci Resolve or any dedicated ducking feature at all. It's slower, and Hollyland's own comparison of the methods is blunt about the tradeoff: "this process will be time-consuming and each music track will eat up processor time" if you're doing it across a long timeline (source: Hollyland Store, How to Do Audio Ducking in DaVinci Resolve). But it gives you something neither automated method fully replicates: exact, deliberate control over every single dip, which matters when a scene has one specific moment, a laugh, a dramatic pause, a sound effect, where you want the ducking to behave differently than the rest of the timeline.
Step by step:
- Select the music clip on the Edit page timeline.
- Turn on clip volume keyframes, either through the clip's right-click menu or by enabling the volume automation line in the timeline view (View > Timeline View Options > Show Audio Waveform includes a volume overlay in most configurations).
- Move the playhead to just before a section of dialogue starts, and add a keyframe at the music's current, full volume.
- Move the playhead a fraction of a second later, to where you want the dip to be complete, and add a second keyframe at your reduced target level, typically 12 to 18 dB lower.
- Move to just before the dialogue ends, add a keyframe holding that lower level.
- Move slightly past where dialogue ends, and add a final keyframe back at full volume.
- Repeat for every section of dialogue across the timeline.
When manual keyframes are actually the better choice. Three situations come to mind consistently. First, a short-form project, thirty seconds to two minutes, where the entire timeline has maybe three or four dialogue sections total, and setting up sidechain routing or a Ducker instance takes longer than just drawing the dips by hand. Second, a scene where you want asymmetric behavior, a slower fade down but a snappier fade back up, or the reverse, tuned differently at different points in the same timeline, which neither Ducker nor a single Compressor instance handles per-moment. Third, and this comes up more than people expect, when you're delivering the project to someone else, a client, a collaborator, another editor, who needs to open the timeline and immediately see and adjust the ducking without understanding sidechain routing or opening the Ducker window, since a visible keyframe line on the clip itself is self-explanatory in a way a track effect setting buried in the Inspector isn't.
Which Method Should You Use: Ducker, Sidechain Compressor, or Manual Keyframes?
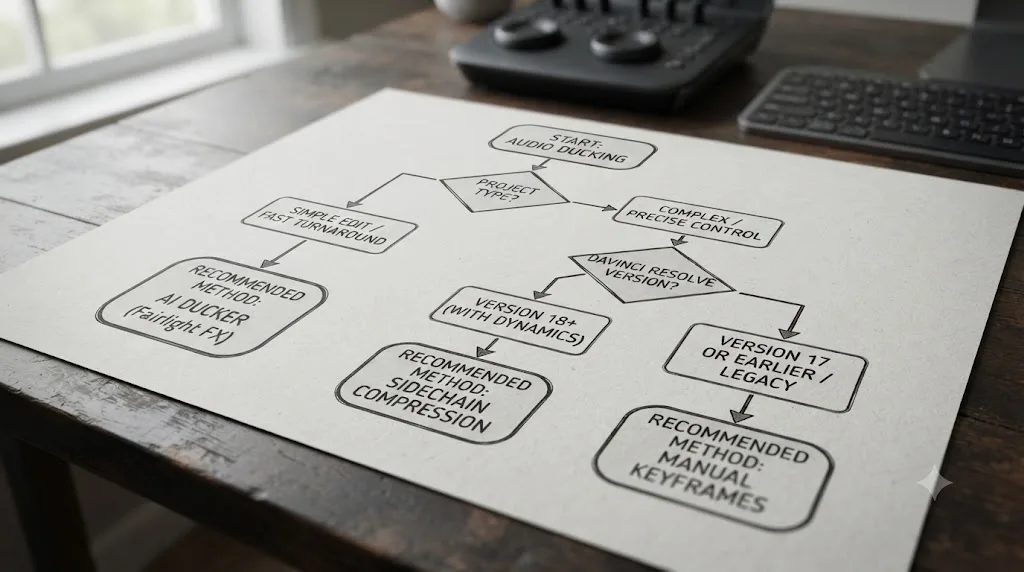
Pick based on your Resolve version, how much control you need, and how the project is likely to change after you set up ducking.
Ducking method decision matrix
| Method | Best for | Requires | Survives re-editing | Control level |
|---|---|---|---|---|
| Ducker track FX | Fast setup, single or multi-speaker dialogue, most YouTube and interview edits | DaVinci Resolve 19.0 or later | Yes, reacts to live audio, not fixed points | Moderate: Duck Level, Rise Time, Recovery, Lookahead |
| Sidechain compressor | Fine control over the compression curve, older Resolve versions, audio-focused editors already comfortable in Dynamics | Any version with Fairlight's Dynamics processor (all recent versions) | Yes, same live-reaction behavior as Ducker | High: full Threshold, Ratio, Attack, Hold, Release, Knee |
| Manual keyframes | Short timelines, asymmetric or scene-specific ducking, handoff to collaborators who need visible control | Any version, ever | No, keyframes are tied to fixed timeline positions and break if clips move | Highest, but entirely manual |
A quick rule of thumb. If you're on Resolve 19 or later and this is an ordinary talking-head video or interview, start with Ducker. If you need finer control over the attack and release curve than Ducker's simplified controls give you, or you're on an older version, use the sidechain compressor. Reach for manual keyframes only when the project is short enough that hand-placing a handful of dips is genuinely faster, or when one specific moment needs behavior the automated tools can't produce.
Can You Combine Automated Ducking With a Manual Override for One Specific Moment?
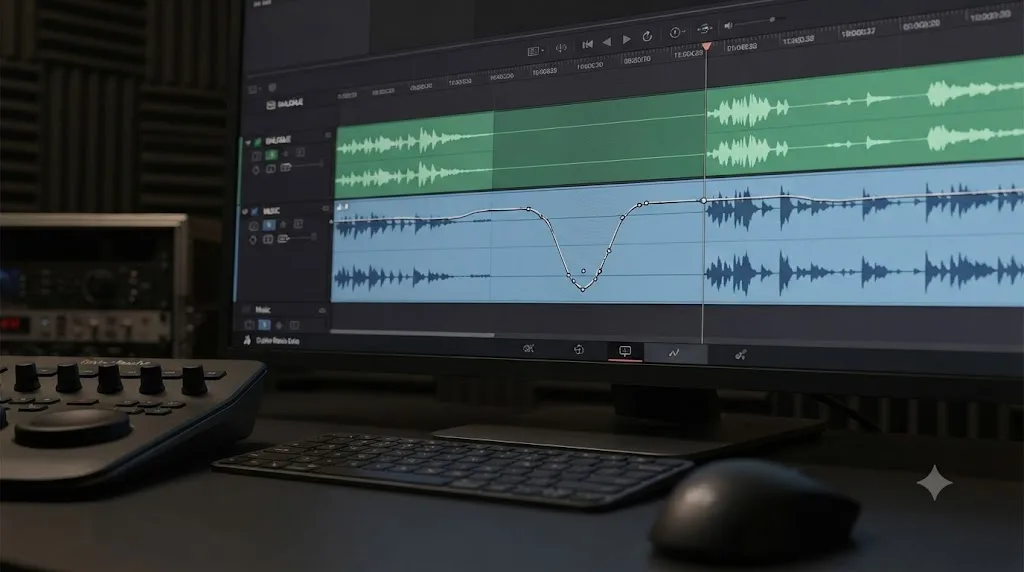
Yes, and it's worth knowing because the alternative, choosing one method for the whole timeline, sometimes forces a tradeoff you don't actually need to make. Ducker and sidechain compression both act on a track's entire output uniformly. Clip volume keyframes sit at a different, earlier stage of the signal chain, on the individual clip itself, before that clip's audio ever reaches the track-level processing. That means the two aren't mutually exclusive. You can leave Ducker running on a music track for an entire timeline and still add a manual volume keyframe to one specific clip, and both adjustments apply together.
There's actually a third option that sits between those two: automating the Ducker's own parameters directly, rather than working around them with a separate clip keyframe. Fairlight's automation system isn't limited to clip and track volume. As JayAreTV's rundown of Fairlight automation puts it plainly, "you can also record automations on effects and all of the inputs" (source: JayAreTV, Fairlight Audio Automation in DaVinci Resolve 18). Open the Automation drawer on the music track, put it into a write or touch mode, and you can draw or record a curve directly on Duck Level itself, deepening it for one section of the timeline and returning it to your normal setting everywhere else, without ever leaving Ducker's own signal path or resorting to a second track.
A worked example. Picture a documentary interview where Ducker is handling the whole conversation well, dropping the music 15 dB every time the subject speaks. But there's one moment, a pause where the subject is visibly emotional before answering a hard question, where you want the music to duck further than Ducker's uniform Duck Level provides, almost to silence, to let that pause breathe. You have two ways to get there without disturbing the rest of the timeline: automate Duck Level itself down for just those few seconds using the Automation drawer, or, if you'd rather work at the clip level, select just that music clip, add a volume keyframe pair around the pause, and pull it down an extra 6 to 8 dB. Either way, Ducker keeps doing its normal job everywhere else on the track, and your override adds a deliberate, localized dip that Ducker alone wouldn't have produced.
The reverse case is a real limitation worth naming. If you need one specific clip to not duck at all while the rest of the track keeps ducking normally, you can't switch Ducker off for a single clip, since it's a track-level effect with no per-clip bypass, and automating Duck Level down to zero for that stretch still leaves the effect technically active and processing. The cleaner workaround is to move that one clip to a second music track that doesn't have Ducker enabled at all, which is a small structural change but a reliable one.
What Duck Level and Timing Settings Should You Use?
This is the question every method in this guide eventually runs into, and the honest answer is that it depends on genre, but there are real reference points worth starting from rather than guessing blind.
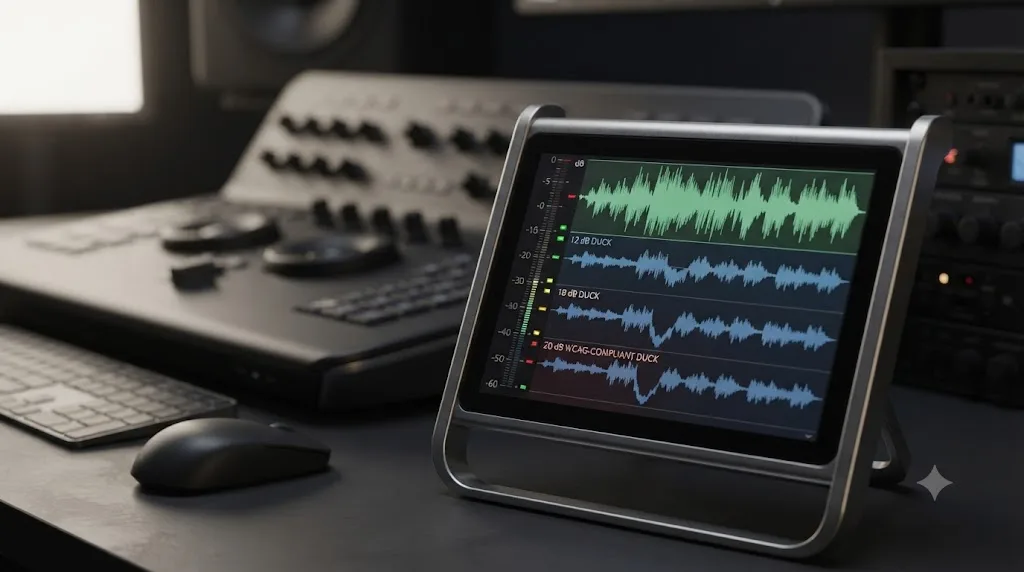
For general video content, YouTube, interviews, corporate video, vlogs, a duck amount of roughly 12 to 18 dB is a common working range, enough that dialogue clearly wins without music disappearing entirely between lines. A Rise Time of 100 to 300 milliseconds and a Recovery of 300 to 600 milliseconds usually feels natural, fast enough to react to speech starting but not so fast that every short pause between words causes an audible pump.
For accessibility-compliant content, the standard is stricter and it's a documented one, not a personal preference. The W3C's own WCAG 2.0 technique G56 states the objective directly: "to allow authors to include sound behind speech without making it too hard for people with hearing problems to understand the speech," recommending that background sound sit "at least 20 decibels lower than the speech audio content" (source: W3C, WCAG 2.0 Technique G56). The same technique spells out why that specific number: "Making sure that the foreground speech is 20 db louder than the backgound sound makes the speech 4 times louder than the background audio" (source: W3C, WCAG 2.0 Technique G56, quoted verbatim including the source document's own spelling). If your video needs to meet WCAG 2.0's success criterion 1.4.7, Low or No Background Audio, 20 dB is the number to design your Duck Level around, not the looser 12 to 18 dB range that's fine for general entertainment content.
For podcast-style audio without picture, loudness targets come from platform delivery specs rather than a ducking amount directly, but they're worth knowing since they shape how loud your dialogue sits to begin with, which changes how much headroom you actually have to duck music into. Apple Podcasts recommends -16 LUFS and Spotify Podcasts recommends -14 LUFS as target loudness, according to Podnews's own breakdown of the standards most podcasters follow, with roughly a plus or minus 1 dB tolerance around Apple's figure (source: Podnews, How Loud Should Your Podcast Actually Be?). A music bed ducked against dialogue mixed to one of those targets should sit comfortably underneath it once ducking engages, rather than needing an aggressive reduction to compensate for dialogue that was mixed too quiet in the first place.
Duck amount reference by use case
| Use case | Suggested duck amount | Suggested rise / recovery |
|---|---|---|
| General YouTube, vlog, interview | 12 to 18 dB | 100-300 ms rise, 300-600 ms recovery |
| Corporate or explainer video, dense narration | 15 to 20 dB | 100-200 ms rise, 200-400 ms recovery |
| WCAG 2.0 accessibility compliance | At least 20 dB | Tuned so drops complete before speech peaks |
| Film-style, cinematic music cues | 6 to 12 dB, often with manual keyframes for scene-specific moments | Slower, 300-500 ms rise for a less mechanical feel |
Twelve decibels is roughly a quarter of the perceived loudness, and twenty decibels is roughly a quarter of that again, which is why the accessibility standard and the general entertainment range aren't interchangeable. Every 10 dB reduction cuts perceived loudness by roughly half, so the jump from a comfortable 12 dB entertainment duck to a compliant 20 dB accessibility duck isn't a small tweak, it's a meaningfully more aggressive reduction, and it will sound noticeably more dramatic if you're used to mixing for the lighter end of the range.
How Should Ducking Settings Change for Vertical, Short-Form Content Like Reels, Shorts, and TikTok?
The 12 to 18 dB duck amount from the general settings above still applies to short-form video. What needs to change is timing, and the reason is pacing. A 30-second Reel or Short often has dialogue starting and stopping every one or two seconds, jump cuts, quick reactions, captions punching in on nearly every word. A Rise Time and Recovery tuned for a slower interview, 100 to 300 milliseconds rise and 300 to 600 milliseconds recovery, doesn't have time to finish its dip and return before the next line starts, which either blurs several ducks into one long, muddy drop or makes the music sound like it never fully recovers between cuts.
Faster Rise Time and Recovery values keep the ducking synced to that pace instead of smearing across it.
Duck timing by content pace
| Content pace | Rise Time | Recovery | Why |
|---|---|---|---|
| Long-form interview or documentary | 100-300 ms | 300-600 ms | Slower transitions feel natural against unhurried dialogue |
| Standard YouTube video or vlog | 100-200 ms | 200-400 ms | Balances clarity with a smooth, non-mechanical feel |
| Fast-cut Shorts, Reels, or TikTok | 50-100 ms | 150-300 ms | Keeps the duck synced to rapid-fire lines and jump cuts without lingering into the next one |
If you're repurposing a long-form video into short-form cuts, don't reuse the same Ducker or sidechain settings across both versions. A Ducker instance tuned for a 20-minute interview, with a gentler 400-millisecond recovery, will sound sluggish and pumpy once that same music bed is cut down to a 30-second vertical clip with dialogue firing every second. Retune Rise Time and Recovery for the short version specifically, treating it as a separate mix rather than a straight export of the long-form settings. Budget time to remix the ducking for the new pacing the same way you'd budget time to recut the picture; the audio needs the same repurposing the edit already gets.
Does YouTube, Spotify, or Podcast Platform Loudness Normalization Undo Your Ducking?
No, not in the way people worry about, but the platforms do change the picture slightly, and it's worth understanding before you assume your careful duck settings survive publishing unchanged.
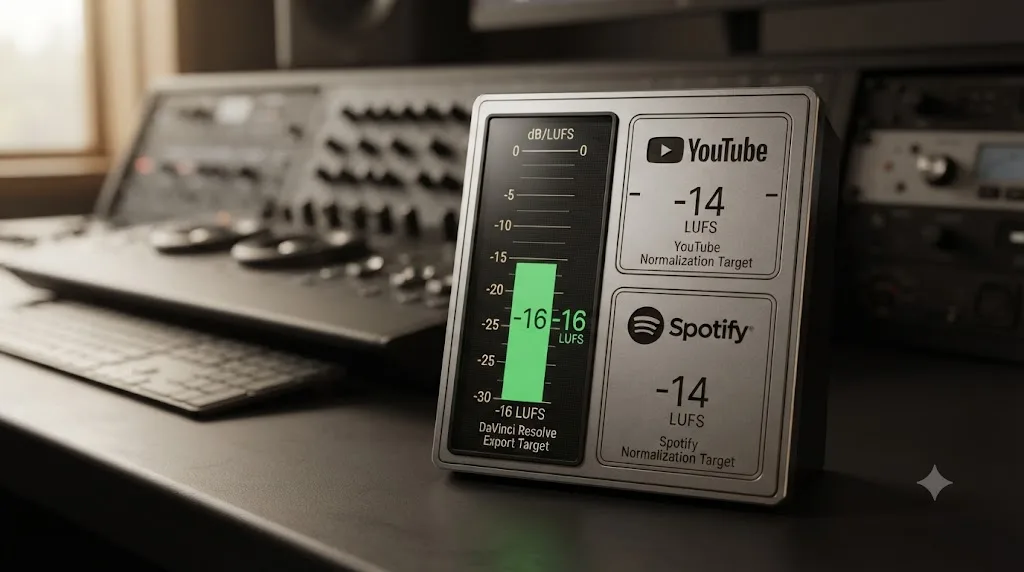
Platforms like YouTube, Spotify, and the major podcast apps measure the integrated loudness of your entire file in LUFS and adjust the whole thing to hit a target, rather than reprocessing the internal dynamics, compression, or ducking inside your mix. YouTube's target is -14 LUFS integrated (source: Meterplugs, YouTube Changes Loudness Reference to -14 LUFS), Apple Podcasts targets -16 LUFS, and Spotify Podcasts targets -14 LUFS, with roughly a plus or minus 1 dB tolerance around Apple's figure (source: Podnews, How Loud Should Your Podcast Actually Be?). Because that adjustment is typically a single gain change applied to the entire file rather than a re-compression, the relative depth of your duck, the actual number of decibels the music drops below dialogue, stays the same relative to itself. If your Duck Level pulled music down 15 dB under dialogue before you exported, it's still roughly 15 dB down after a platform normalizes the whole file, just sitting at a different absolute loudness.
The asymmetry that actually matters. Meterplugs notes specifically that "some sites (including YouTube and TIDAL) don't turn quieter songs up" (source: Meterplugs, YouTube Changes Loudness Reference to -14 LUFS), which means normalization mostly works in one direction. If you mix your video too quiet, well under -14 LUFS, YouTube generally won't boost it back up to match louder content on the platform, and your video will simply play back quieter than its neighbors in a viewer's feed. That doesn't touch your ducking specifically, but it does mean the overall loudness decision you make before ducking, how loud your dialogue sits to begin with, matters more than most editors assume, since an under-mixed video doesn't get rescued after the fact.
The practical takeaway. Mix your dialogue to land close to your platform's target loudness first, roughly -16 to -14 LUFS integrated for video and podcast delivery, and build your Duck Level relative to that baseline. Do that, and your ducking behaves consistently regardless of which platform's normalization eventually touches the file, since you're not depending on a downstream boost that some platforms simply don't apply. If you're recording the podcast itself directly inside Fairlight rather than importing separate files, our guide on how to record a podcast in DaVinci Resolve using Fairlight covers the gain-staging steps at the source that make hitting this target easier later, instead of trying to fix an under-recorded track in the mix.
Why Isn't Ducking Working in DaVinci Resolve?
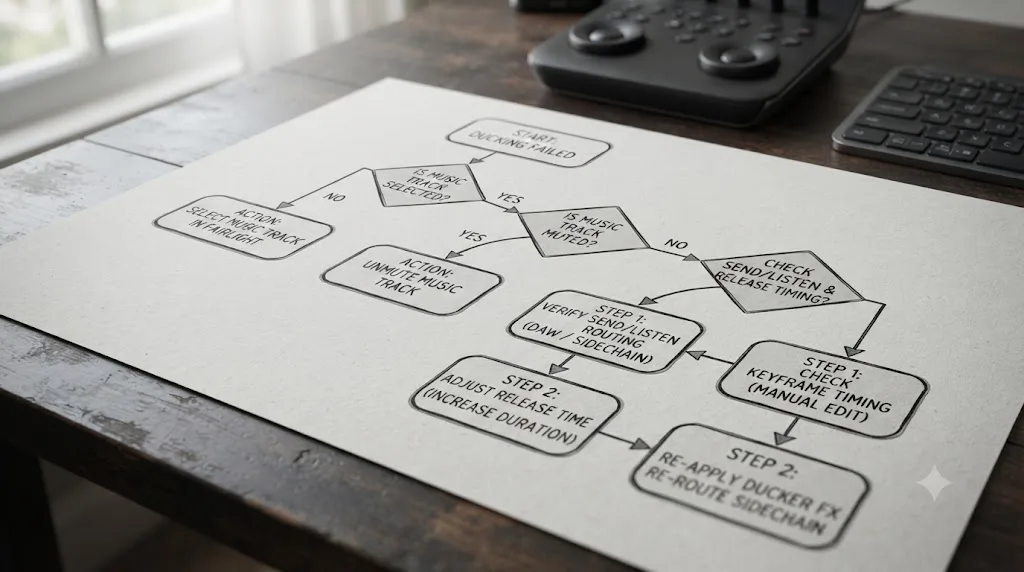
Every method in this guide fails in a small number of predictable ways. Here's what to check, organized by the symptom you're actually seeing.
Problem: the Ducker switch won't turn on, or the Ducker window doesn't open.
You most likely selected a clip instead of the track header. Ducker is a track-level effect, and clicking a clip opens the Clip Inspector, which doesn't have a Ducker toggle at all. Click directly on the track header area, the strip on the left side of the timeline showing the track's name and controls, then open the Inspector again.
Problem: Ducker is on, Source is set correctly, but the music never actually ducks.
Check whether the source track is muted. A muted track still technically exists as a Source selection, but Resolve isn't hearing any signal from it to trigger against, since mute silences the track at the output stage, upstream of where Ducker reads its trigger. Also confirm the dialogue clips actually sit on the track you selected as Source. It's an easy mistake to make on a timeline with several audio tracks, picking a track that used to have dialogue on it before you moved those clips elsewhere during editing.
Problem: the sidechain compressor method isn't ducking anything.
Work backward through the chain. First, confirm Send is enabled on the dialogue track's Dynamics window, not just the Compressor section opened. Second, confirm Listen is enabled on the music track's Compressor, with Source pointed at the correct dialogue track. Third, check your Threshold. If it's set too high, quiet dialogue never crosses it and never triggers compression at all; lower it and test again while watching the gain reduction meter in the Dynamics window for movement. If every meter on that track looks completely dead, not just failing to react to the sidechain trigger, the problem may not be ducking-specific at all; see our guide to DaVinci Resolve audio meters not moving for routing and patching causes unrelated to sidechain setup.
Problem: the ducking sounds like a mechanical "pumping" effect rather than a smooth dip.
This is almost always a timing issue rather than a level issue. A Release or Recovery time that's too fast causes the music to snap back up during natural pauses inside a sentence, then duck again immediately when speech resumes, producing an audible pumping rhythm that draws attention to itself. Slow the release down, generally into the 300 to 600 millisecond range for speech, and if Lookahead is available in your build, enabling it helps the dip start slightly ahead of the actual dialogue onset rather than reacting a beat late.
Problem: ducking works, but it's inconsistent, ducking hard on some lines and barely at all on others.
This points to inconsistent dialogue levels feeding the sidechain or Source signal. A speaker who trails off quietly at the end of sentences, or a recording with uneven mic gain between takes, produces a trigger signal that crosses your threshold reliably on loud words and misses it on quiet ones. The real fix here happens upstream of ducking entirely: level your dialogue first, using a compressor or a leveling tool directly on the dialogue track, so the signal reaching Ducker or the sidechain input is more consistent before it ever gets used as a trigger.
Problem: you're moving between the Edit and Fairlight pages and the ducking behaves differently on each.
Ducker and sidechain routing are both project-level settings, not tied to a specific page, so behavior shouldn't genuinely differ between Edit and Fairlight. If it appears to, confirm you're looking at the same track selection and the same playhead position on both pages, since it's easy to have a different track selected on each page without noticing, which can make it look like the effect itself is behaving inconsistently when it's actually a selection mismatch.
Ducking troubleshooting quick reference
| Symptom | Most likely cause | Where to check |
|---|---|---|
| Ducker toggle unavailable | Selected a clip instead of the track header | Click the track header, reopen Inspector |
| Ducker on, Source set, no ducking happens | Source track muted, or dialogue clips not actually on that track | Check mute state; confirm clip placement |
| Sidechain compressor does nothing | Send or Listen not enabled, or Threshold set too high | Dynamics window on both dialogue and music tracks |
| Mechanical "pumping" sound | Release or Recovery set too fast | Slow Release/Recovery to 300-600 ms; enable Lookahead if available |
| Inconsistent ducking depth line to line | Uneven dialogue levels feeding the trigger | Level dialogue first with a compressor before ducking |
| Behavior differs between Edit and Fairlight pages | Different track selected on each page | Confirm matching track selection on both pages |
Does Ducking Work the Same in Free and Studio, and Across Versions?
Both DaVinci Resolve's free version and Studio include the full ducking toolkit covered in this guide. The Fairlight page itself, including "the mixer, EQ, dynamics, routing and core audio editing tools," ships in the free version with no trial period or watermark, and nearly all Fairlight effects are identical between the two tiers with the exception of Dolby Atmos and spatial audio mixing, which is Studio-only. Ducker and the Dynamics compressor's sidechain routing, including the bus-based multi-source technique covered above, both fall on the free side of that line; neither requires Studio to use.
Where Studio does pull ahead on audio, and it's worth naming honestly even though it's tangential to ducking specifically, is newer AI-assisted tools like Voice Isolation, Dialogue Leveler, and Music Remixer stem separation, some of which have shifted in availability across recent point releases. None of those replace ducking. Dialogue Leveler evens out inconsistent speech volume, which, as covered in the troubleshooting section above, can actually make your ducking behave more consistently once applied first, but it's a separate step from the ducking itself.
Version history that matters for this guide:
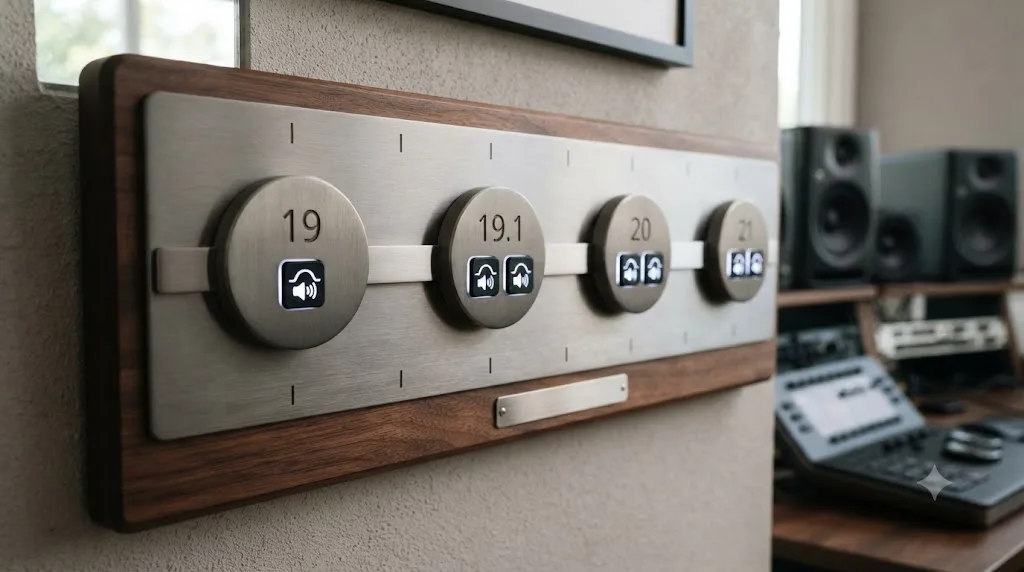
- DaVinci Resolve 19 (announced April 2024): Ducker track FX shipped for the first time, giving editors a one-click alternative to manual sidechain setup.
- DaVinci Resolve 19.1 (November 2024): Ducker gained support for triggering off multiple source tracks at once, useful for multi-speaker dialogue ducking a shared music bed.
- DaVinci Resolve 20 and 21 (2025 to 2026): Ducker and sidechain compression have carried forward unchanged in their core mechanics; this guide is written against 21.0.2, released July 2026.
If you're running a version older than 19, Ducker won't appear in your Inspector's Audio panel at all, and the sidechain compressor method, including the bus-routing technique for multiple trigger sources, is your only automated option until you update. Manual keyframes, as noted earlier, have worked in every version Resolve has ever shipped.
How Do Other Tools and Editors Approach Ducking?
DaVinci Resolve isn't the only NLE with an automated ducking feature, and it's worth being honest about how it compares, since a meaningful share of editors reading this guide are coming from, or also working in, Adobe's tools.
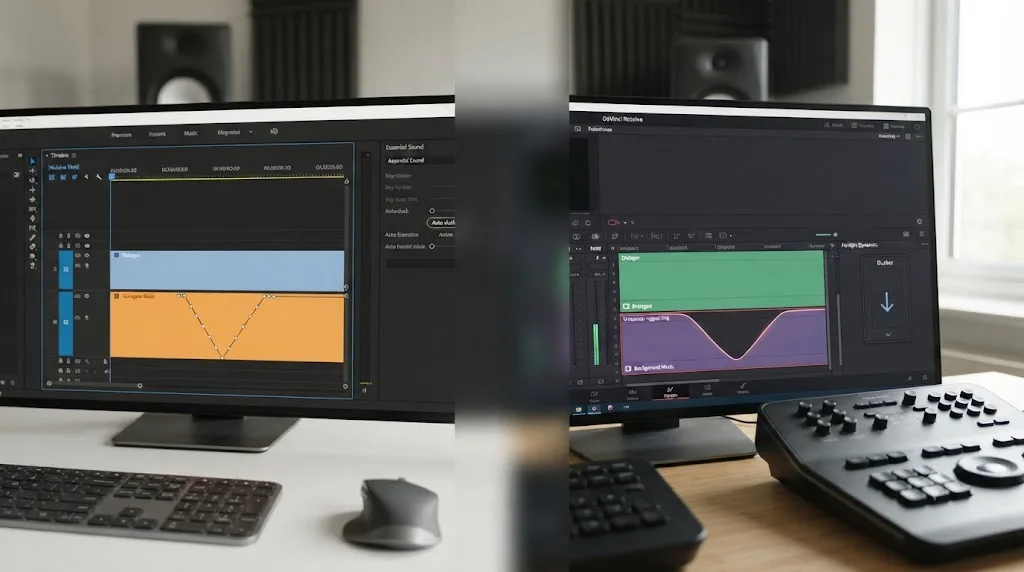
Adobe Premiere Pro and Audition's Essential Sound panel include Auto-Ducking, and it works on a genuinely different mechanism than either of Resolve's automated methods. Adobe's own explanation of the feature describes it as generating actual keyframes on the music clip: "Music clips can now automatically generate clip volume keyframes that automatically reduce the volume when dialogue, sound effects, and other audio elements are present" (source: Adobe Blog, Audition Deep Dive: Auto-Ducking Music, by Durin Gleaves). The feature is powered by Adobe Sensei, Adobe's machine learning platform, which analyzes the audio content directly rather than requiring you to manually assign a source track.
This is the real, substantive difference Larry Jordan was pointing at when he called Resolve's approach the strongest one he'd seen: Adobe's system writes keyframes onto the clip based on its own automatic detection, which is genuinely convenient, but those keyframes are tied to fixed points on the timeline the same way manually drawn ones are. Move the clip, and you may need the analysis to re-run or the keyframes to be regenerated. Resolve's Ducker and sidechain methods, by contrast, evaluate the live signal from the Source track continuously, so re-editing dialogue, moving it earlier, trimming a pause, doesn't require redoing the ducking setup at all.
Where each approach genuinely wins
| Tool | Mechanism | Strength | Tradeoff |
|---|---|---|---|
| DaVinci Resolve Ducker | Live signal from a Source track, reactive | Survives re-editing without regenerating anything; free in both tiers | Fewer fine-grained parameters than a full compressor |
| DaVinci Resolve sidechain compressor | Live signal via Send/Listen routing, extendable to a bus for multiple sources | Full compressor-level control: Threshold, Ratio, Knee, Hold | More setup steps than Ducker |
| Adobe Auto-Ducking (Premiere/Audition) | AI-analyzed clip volume keyframes, powered by Adobe Sensei | Automatic detection of dialogue, sound effects, and other triggers without manually picking a source track | Keyframes are tied to fixed clip positions and may need regenerating after significant re-editing |
| Manual keyframes (any NLE) | Hand-placed volume points | Total control, works in every version of every tool | Slowest method, doesn't scale to long timelines |
None of these is universally correct. If you're cutting in Premiere or Audition regularly and switching to Resolve for a specific project, expect Ducker's live, reactive behavior to feel different from Auto-Ducking's keyframe-based approach, not worse, just a different mental model of how the automation is actually working under the hood.
One of the recurring questions in our 100,000+ member video editing community is some version of "why does my music duck fine on the first cut but sound wrong after I move the dialogue around," and the honest answer, once you understand that Resolve's Ducker and sidechain methods react to live audio rather than fixed timeline positions, is almost always that the ducking is actually working correctly. It's re-reacting to the new position of the dialogue exactly as designed. What's usually actually wrong in that situation is a level or timing setting that needs a small adjustment for the new edit, not the ducking mechanism breaking.
Is There a Faster Way to Learn Fairlight's Ducking Tools Than Trial and Error?
Everything in this guide is genuinely learnable from the manual, a couple of tutorials, and some patience with your own headphones. We've spent more than seven years cutting commercial video professionally, we run a video editing community with more than 100,000 members, and we're an official Udemy Business Partner having taught over 100,000 students, and even with that background, the honest truth is that a setting like Ducker's Lookahead, or remembering whether Send goes on the dialogue track or the music track, is exactly the kind of small detail that costs you a few confused minutes the first time, even when you already understand the concept.
TryUncle is the on-screen assistant for DaVinci Resolve on macOS. Ask in plain words and Uncle points at the exact control on your screen. If you're mid-edit and can't remember whether Send belongs on the dialogue track or the music track, or you've opened the Inspector and can't find where Ducker actually lives, you can ask Uncle directly, out loud or by typing, and it looks at your actual DaVinci Resolve window and points to the setting, live, on the project you're actually working in, without sending you out of Resolve to search a tutorial video for the right timestamp.
It's worth naming honestly where TryUncle sits next to the rest of what's out there for learning this specific corner of Fairlight. Blackmagic's own manual and product pages, which this guide draws on directly, remain the authoritative source for exactly what each parameter does. Editors like Larry Jordan and outlets like Boris FX and Envato Tuts+ have written genuinely good standalone walkthroughs of the sidechain and Ducker methods respectively, useful for a linear, start-to-finish read. The Blackmagic Forum and Reddit are where you'll find other editors describing the specific ducking bug or edge case you've just hit, in their own words.
The category also includes tools built to solve a different problem entirely, worth naming so the comparison stays honest instead of pretending they don't exist. Sottocut and heyeddie.ai answer chat-style questions about your editing without watching your live screen. CutAgent and PremiereCopilot automate parts of an edit for you rather than teaching you to do the setup yourself. None of the four currently offers a ducking-specific tutor that watches your actual Fairlight session and points at your Ducker window in real time.
How Fairlight-ducking learning options actually compare
| Option | What it actually does | Where it falls short for this specific topic |
|---|---|---|
| Blackmagic's official manual and product pages | The authoritative source for exact parameter behavior, referenced throughout this guide | Doesn't watch your project or answer a question about your specific stuck point |
| Written tutorials (Larry Jordan, Boris FX, Envato Tuts+) | Clear, linear, start-to-finish walkthroughs of one method at a time | Fixed order; you read past what you already know to reach the one detail you need |
| Blackmagic Forum and Reddit | Real editors describing the exact bug or edge case you're hitting | Answers are historical, not live, and you have to find the right thread first |
| Sottocut, heyeddie.ai | Chat-style answers about editing questions | Doesn't see your actual DaVinci Resolve screen |
| CutAgent, PremiereCopilot | Automate parts of an edit for you | Does the task instead of teaching you the control, which doesn't carry over to your next project |
| TryUncle | Watches your DaVinci Resolve screen and points at the exact control, live, in your own project | Doesn't duck, mix, or automate anything for you; it points and explains |
Guided practice inside Resolve beats watching a tutorial about Resolve. That's the whole case for an in-app tutor over a pre-recorded video: a tutorial teaches Ducker or sidechain routing in whatever order it was scripted, whether or not that's actually where you're stuck, while an assistant watching your screen answers the exact question you have, about the project you're actually mixing, at the moment you're stuck on it.
Being direct about what this is and isn't matters more than the pitch. TryUncle is a paid macOS subscription, currently in founder pricing at $29.99 a month for the first 100 seats, cancel anytime, and it points and explains rather than acting on your timeline directly. It doesn't enable Ducker for you, doesn't set your Threshold, and doesn't fix a pumping release time. What it does is put you in front of the exact control faster than reading a guide like this one side by side with your own project window, which matters most in the moment you're actually stuck, not after the fact. The founder rate is limited to the first 100 seats, so check TryUncle for the current rate before it changes.
If you're specifically fighting a ducking setup mid-session and can't figure out why the music won't drop, that's the moment Uncle is built for: it can look at your actual Fairlight page or Inspector panel and point at whichever setting covered in this guide, Source, Send, Listen, Threshold, or Recovery, is the one actually worth checking on your screen right now.
The Setup, One Last Time
If you're on DaVinci Resolve 19 or later, start with Ducker: select the music track's header, open the Inspector's Audio tab, toggle Ducker on, and set Source to your dialogue track. Adjust Duck Level and Rise Time by ear. If you need finer control over the compression curve, you're on an older version, or you need to duck against more than one kind of trigger at once, set up a sidechain instead: enable Send on the dialogue track's Dynamics, enable Compression and Listen on the music track's Dynamics, and dial in Threshold and Ratio, routing multiple tracks through a shared bus first if you need one combined trigger. Reach for manual keyframes, or an automated override layered on top of Ducker, only when one specific moment needs behavior neither automated method produces on its own.
Fairlight is the world's first and only audio post production software that's completely integrated with picture editing, as Blackmagic itself puts it, and that integration is exactly why ducking works as smoothly as it does once it's set up correctly: your dialogue and your music are already living on the same timeline, in the same project, with no file to bounce out and re-import. The failure points are almost never the feature itself. They're a clip selected instead of a track header, a muted source, a release time set too fast, or a threshold that never gets crossed by quiet dialogue. Check those first, every time, before you assume something's actually broken.
Frequently asked questions
- How do I duck background music under dialogue in DaVinci Resolve?
- The fastest way is the Ducker track FX. Click the music track's header, open the Inspector, go to the Audio tab, and enable Ducker. Set Source to your dialogue track, then adjust Duck Level and Rise Time while you play back the timeline. Available since DaVinci Resolve 19, released April 2024, and present in every version since, including 21.0.2.
- What is the Ducker effect in DaVinci Resolve and how do I turn it on?
- Ducker is a track effect that automatically lowers one track's volume whenever a source track you pick is playing. Turn it on from the Edit page: select the music track's header, open the Inspector's Audio panel, and toggle the Ducker switch, which turns red when active. It replaced the need to manually set up a sidechain compressor for basic music-under-dialogue ducking.
- What's a good duck level and release time for background music under dialogue?
- Start by lowering music 12 to 18 dB under dialogue for most YouTube and interview-style content, using a Rise Time (attack) of roughly 100 to 300 milliseconds and a Recovery of 300 to 600 milliseconds so the drop and return both feel natural rather than abrupt. Accessibility guidance from the W3C recommends background sound sit at least 20 dB below speech.
- Can I duck music without the Ducker effect, using sidechain compression instead?
- Yes. On the Fairlight page, open the Dynamics window on your dialogue track and enable Send, then open Dynamics on your music track, enable Compression, and enable Listen with Source set to the dialogue track. Adjust Threshold and Ratio until the music audibly drops during speech. This method predates the Ducker effect and still offers finer control over the compression curve.
- Why isn't the Ducker option showing up or working in my DaVinci Resolve project?
- Check three things in order: that you selected the track header, not a clip, before opening the Inspector, since Ducker lives at the track level, not the clip level; that Source is actually set to a track carrying audio during the sections where you expect ducking; and that the source track isn't muted, since a muted track sends no signal to trigger the effect even though it's still selected as Source.
- Is ducking available in the free version of DaVinci Resolve, or only Studio?
- Both the Ducker track FX and the Dynamics compressor with sidechain routing are available in DaVinci Resolve's free version. Neither sits behind the Studio paywall. Studio's audio-specific additions are elsewhere, including Dolby Atmos and immersive mixing, object-based audio automation, and some newer AI-assisted tools like Music Remixer stem separation.
- How much should I lower background music under dialogue for accessibility?
- The W3C's WCAG technique G56 recommends mixing so non-speech sounds sit at least 20 decibels below the speech content, which the guideline notes makes the speech roughly four times louder than the background audio to a listener. That's a stricter target than typical entertainment mixing, and worth hitting specifically if your video needs to meet accessibility compliance.
- Is there an AI tool that helps me learn Fairlight's ducking tools faster?
- TryUncle watches your DaVinci Resolve screen and points at the exact control you're asking about, including the Ducker switch in the Inspector or the Send and Listen buttons in the Dynamics window. It's a paid macOS app in founder pricing at $29.99 a month, and it doesn't duck, mix, or automate anything on your timeline. It teaches you where the control is, live, on your own project.
Sources
- Automatically Duck Background Music Under Dialog in DaVinci Resolve, by Larry Jordan
- DaVinci Resolve Audio Ducking Tutorial in 5 Steps (Boris FX)
- DaVinci Resolve Manual: Compressor (Blackmagic Design, mirrored)
- DaVinci Resolve Manual: The Fairlight Page (Blackmagic Design, mirrored)
- How to Use Audio Ducking in DaVinci Resolve 19: Tips and Tricks, by Andrew Childress (Envato Tuts+)
- DaVinci Resolve 19 Released (DVResolve.com)
- Blackmagic Design Releases DaVinci Resolve 19.1 With Improvements in Multicam, Audio and VFX Workflows (Digital Cinema Society)
- WCAG 2.0 Technique G56: Mixing audio files so that non-speech sounds are at least 20 decibels lower than the speech audio content (W3C)
- How Loud Should Your Podcast Actually Be? The LUFS and LKFS FAQ for Podcasters (Podnews)
- Audition Deep Dive: Auto-Ducking Music, by Durin Gleaves (Adobe Blog)
- How to Do Audio Ducking in DaVinci Resolve (Step-by-Step) (Hollyland Store)
- DaVinci Resolve - Fairlight (Blackmagic Design product page)
- Blackmagic Design releases DaVinci Resolve 21.0 (CG Channel)
- DaVinci Resolve Manual: FlexBus Routing and Mixing (Blackmagic Design, mirrored)
- Advanced Sidechain Feature in DaVinci Resolve 19: Beyond the Ducker (Using Multiple Track Sources), by Jason Yadlovski
- YouTube Changes Loudness Reference to -14 LUFS (Meterplugs)
- Fairlight Audio Automation in DaVinci Resolve 18 (JayAreTV)
Learn by doing, not watching
Learn Resolve inside Resolve.
TryUncle watches your screen and points at the exact control when you ask. No tabs, no timestamps, no rewatching tutorials.
Download for MacKeep reading
 GuidesJul 25, 202633 min read
DaVinci Resolve Fairlight Audio Scrub Mode Tutorial (Full Guide)
Turn on Fairlight audio scrub mode in DaVinci Resolve with Shift-S, use JKL and Loop Jog to hear audio while scrubbing, and fix it when it goes silent.
 GuidesJul 17, 202632 min read
How to Record a Podcast in DaVinci Resolve Using Fairlight
Record a podcast directly inside DaVinci Resolve's Fairlight page: patch mics, arm tracks, set gain and monitoring, capture multi-guest audio, and avoid the common failures.
 FixesJul 12, 202632 min read
DaVinci Resolve Audio Crackling and Popping During Playback: Every Fix
DaVinci Resolve audio crackling or popping during playback? The real causes, in the order to check them: sample rate, buffer size, ASIO, frame rate, GPU, and hardware.