
Learn / DaVinci Resolveupdated for DaVinci Resolve 21.1 (September 2026)
DaVinci Resolve Keyframe Easing Not Working? Fix It
Quick answer
If DaVinci Resolve keyframe easing is not working, confirm that the property has two different keyframes, select the correct keyframe in Curves, and choose Ease In, Ease Out, or Ease In and Out. If the curve still looks linear, zoom the graph or move Fusion and unsupported effect controls to their own editor.

If DaVinci Resolve keyframe easing is not working, the problem is usually not the word “easing.” It’s the relationship between the keyframes, the editor you opened, and the parameter you’re trying to animate.
As of October 2026, DaVinci Resolve 21.1 is the current release line. Resolve 20 changed the Edit and Cut keyframe workflow, and Resolve 21 added more keyframing improvements. That history matters because an old tutorial can show a menu, curve mode, or shortcut that doesn’t match your project.
We built and run a 100,000+ member professional video-editing community. After more than 7 years of professional commercial editing, and after teaching more than 100,000 students on Udemy as an official Udemy Business Partner, we’ve learned to treat a “broken” animation as a diagnosis problem first. The fix is often one small check.

Why is DaVinci Resolve keyframe easing not working?
DaVinci Resolve keyframe easing is not working when Resolve has no animated interval to ease, the selected control is not the one changing, or the easing is being applied in a different editor than the one displaying the motion. Add two different values first, then apply easing to the correct endpoint in Curves.
The shortest reliable test is this:
- Put a normal video clip on the Edit page.
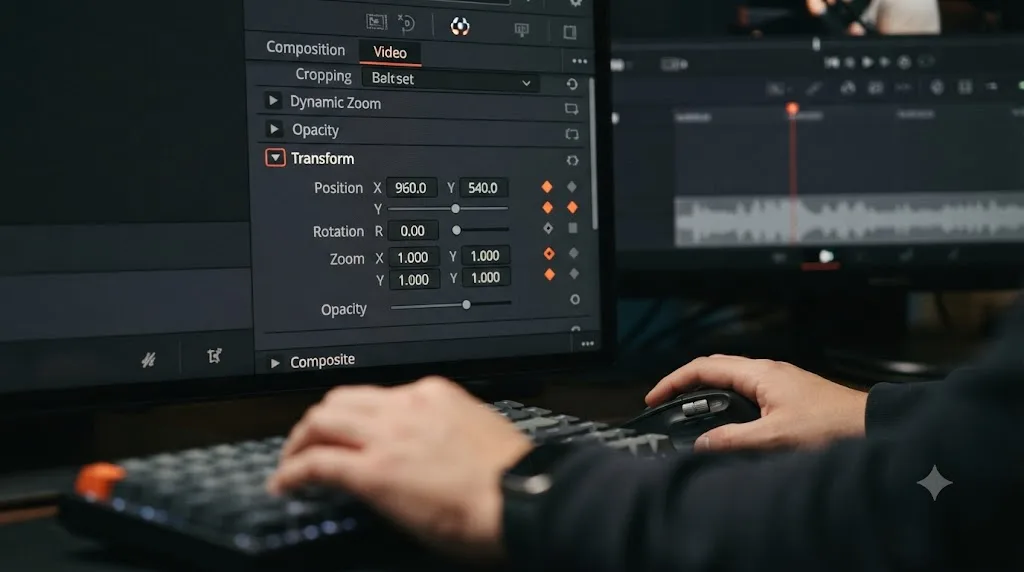
- Open Inspector and expand Transform.
- At the beginning of the clip, click the diamond beside Zoom and leave the value at 1.000.
- Move the playhead later in the same clip.
- Change Zoom to 1.250. Resolve should add a second keyframe.
- Open the clip’s keyframe controls and switch to Curves, not only the timing view.
- Select the first keyframe and choose Ease Out.
- Select the second keyframe and choose Ease In.
- Play from before the first keyframe to after the second.
If this small test eases correctly, the original animation is not using the same kind of parameter or does not contain two different values. If the small test also fails, check the version and editor behavior in the sections below.
Blackmagic’s description of the Edit page explains the central idea: an animation changes a setting over time, while the Curve Editor exposes the animation curve so you can change the rate of that change. In a linear animation, the value changes at a constant rate. An eased animation changes rate around a keyframe. Blackmagic Design describes the Edit page Curve Editor as the place to see keyframe positions and animation curves.
DaVinci Resolve cannot ease a motion that has only one changing value.
That sounds obvious, but it catches people because the Inspector can show a red keyframe button even when the visual result has no interval worth easing. One keyframe stores a value at one time. Two different keyframes create an interpolation between times. Ease In and Ease Out modify that interpolation.
What should the animation look like?
For two Zoom keyframes, the value curve should not remain a perfectly straight diagonal after easing. The first keyframe should leave slowly for Ease Out. The second keyframe should arrive slowly for Ease In. If both are applied to the same two-keyframe move, the middle of the motion becomes faster than either end.
For Position, inspect the value curves for X and Y separately. A visually smooth diagonal move can still contain an odd X curve, an odd Y curve, or different timing on each axis. Resolve’s curve view is a value graph, not a direct drawing of the object’s path through the viewer.
For Opacity, the difference is easier to see. A fade from 100 to 0 over a long span gives the curve enough room to show its shape. A fade over a few frames may look almost linear because the transition is short.
For Rotation, easing changes how quickly the angle changes. It does not automatically make the object follow a curved path. For a curved path, you need to shape Position X and Position Y together or use a motion path workflow that fits the shot.
How do I test whether my DaVinci Resolve keyframes actually change?
The fastest test is to exaggerate the values temporarily, because subtle values can make working easing look broken. Use a large but reversible change, watch the animation at 100 percent viewer zoom, and then restore the intended values.
Try a diagnostic pair such as Zoom 1.000 and 2.000, Rotation Angle 0 and 90 degrees, or Opacity 100 and 0. The exact values are not a production recommendation. They are a way to make the interpolation visible.
Use this table to separate a keyframe problem from a viewing problem.
| What you see | Most likely cause | First check |
|---|---|---|
| The value does not change at all | One keyframe, wrong parameter, or a later keyframe overrides it | Move to the second time and verify the same control has a different value |
| The value changes but the motion feels stiff | Linear interpolation | Open Curves and apply Ease Out to the first keyframe and Ease In to the last |
| The menu is greyed out | No valid interval, no selected keyframe, or a control with limited interpolation support | Select the keyframe itself and confirm there are two keyframes |
| The curve bends but playback looks unchanged | The change is too small, the graph is scaled oddly, or another control dominates the result | Exaggerate the values and use Full Extend Zoom |
| The object eases in one axis but not the other | X and Y curves have different interpolation or only one axis was selected | Show both parameter curves and select the intended keyframes |
| The curve spikes or overshoots | Handles are too long, curves are coupled, or the version has a curve-editor issue | Reset the interpolation, then add a flatter Bezier adjustment |
| Text animates but Edit page easing does nothing | The animation belongs to Fusion or Text+ | Open the Fusion page and use the Spline Editor |
A useful habit is to separate three questions:
- Does the parameter change?
- Does the parameter change over enough frames to see the rate change?
- Is the right editor controlling that parameter?
Most wasted time comes from jumping to question three before proving question one.
Why does the keyframe icon turn red but nothing eases?
The red diamond means the parameter is keyed at the current time. It does not prove that the parameter has a second, different keyframe elsewhere. It also does not prove that a selected curve is visible.
Move the playhead to a later frame and look at the same parameter. If the diamond is not active there, you have not created the second keyframe on that control. If the diamond is active but the value is identical, Resolve may still have two keys, but there is no visible value change for easing to shape.
If you copy a keyframe, the copied key can preserve the same value. That can be useful for a pause, but it means the segment before or after it may not behave as you expect. A pause needs its own timing logic. It is not the same as a single two-keyframe Ease In and Out move.
How do I ease in and out keyframes in DaVinci Resolve?
To ease a standard Edit page parameter, create two different keyframes, open the clip’s Curve Editor, select the changing parameter, and assign Ease Out to the starting keyframe and Ease In to the ending keyframe. Use Ease In and Out when the available control applies the combined shape to the selected interval.
The names describe the side of a keyframe, not a general mood.
- Ease Out affects how the animation leaves a keyframe and travels toward the next one.
- Ease In affects how the animation approaches a keyframe from the previous one.
- Ease In and Out combines a slow departure with a slow arrival around the selected interval.
- Linear removes the curved interpolation and returns the segment to a constant rate.
Blackmagic’s Resolve 20 documentation says eased keyframes begin slowly and accelerate to full speed, or slow gradually to a stop. The same guide states that easing works when two or more keyframes create an animated effect. Read that as a practical rule: select a keyframe that has a neighbor in the direction you want to shape.
What is the correct order for a move?
Suppose a title starts off-screen and ends in the center.
- Put the title at its off-screen Position at the starting time.
- Add the first keyframe.
- Move the playhead to the ending time.
- Put the title at its centered Position.
- Add or trigger the second keyframe.
- Open Curves for the title clip.
- Select the first Position keyframe and apply Ease Out.
- Select the second Position keyframe and apply Ease In.
- Play the entire interval, not only the last few frames.
The start keyframe controls the departure. The end keyframe controls the arrival. Applying Ease In to the first keyframe can produce the opposite of what you intended, because the first keyframe is the place the movement leaves, not the place it arrives.
Why does right-clicking the Inspector diamond give a different result?
The Inspector menu and the Curve Editor are two ways of setting interpolation, but the visible options can depend on the property and the Resolve version. Resolve 20 revised keyframe behavior, and Resolve 21 continued that work. A tutorial made for Resolve 17 or 18 may tell you to right-click a red diamond when the more direct control in your version is the Curve Editor toolbar.
Use the Inspector context menu for a quick preset when it is available. Use Curves when you need to confirm what happened. The curve is the evidence. If the line remains straight, the selected keyframe did not receive the expected interpolation, or the editor is showing a different property than the Inspector menu changed.
The official Resolve 18 Editor’s Guide still provides a useful historical reference: it instructs editors to right-click the keyframe button beside Position and choose Ease Out, then apply Ease In to the later keyframe. That workflow explains many older tutorials, but Resolve 21’s newer editor includes additional controls and a different layout.
Why is the Keyframe Editor not the same as the Curve Editor?
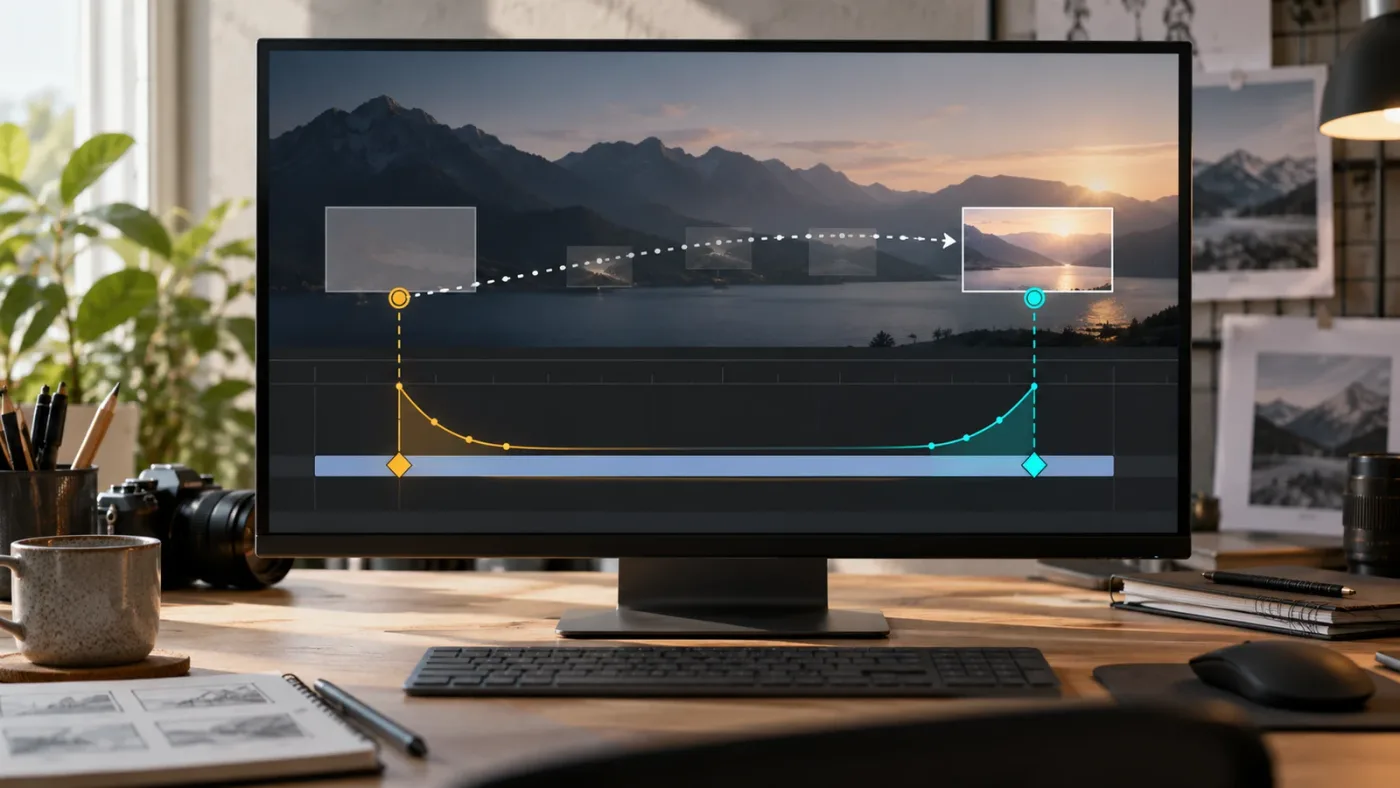
The Keyframe Editor primarily helps you inspect and change when keyframes happen, while the Curve Editor helps you inspect and change how a value travels between them. If you are dragging timing diamonds and expecting the speed shape to change, you may be in the wrong view.
Resolve 20’s New Features Guide lists separate controls for the Curve Editor and Keyframe Editor. It also identifies Linear, Ease In, Ease Out, and Ease In and Out as curve controls. Resolve 21’s documentation adds further ease options, including Step In and Step Out, and describes enhanced keyframe editing.
Think of the two views as two rulers over the same animation:
| View | Main question | What you change |
|---|---|---|
| Keyframe Editor | When should this change happen? | The horizontal timing and spacing of keyframes |
| Curve Editor | How should the value change between those times? | Value shape, interpolation, and Bezier handles |
| Inspector | Which property is keyed? | Values, keyframe creation, and some context-menu interpolation |
| Fusion Spline Editor | How should a Fusion animation behave? | Fusion parameter splines, handles, and interpolation modes |
The labels can be confusing because all four places can show diamonds. The diamond identifies a time-value sample. The curve determines what happens between samples.
How do I open the right curve in Resolve 21?
Select the clip on the Edit page and open its keyframe controls. Choose the curves view, then use the parameter list to reveal the specific control that changes. If several parameters are visible, hide the ones you are not diagnosing.
In Resolve 21, the Keyframe Editor can show multiple selected clips, including clips arranged side by side or stacked vertically. That is useful for comparing animation, but it can also make the display feel busy. Start with one clip and one parameter when you are fixing a problem.
If your version shows a small curve button on the clip, use it. If your version shows a toolbar button, use that. Interface placement can change, but the diagnostic logic is stable: select the clip, expose the curve, select the parameter, then select the keyframe.
If the controls are missing entirely, read DaVinci Resolve controls not showing in the Inspector before changing your animation. A hidden Inspector section and a broken keyframe are different problems.
Why does the curve look flat even after easing?
A flat-looking curve does not always mean the easing failed. The graph may be normalized, zoomed too far out, or displaying a parameter whose numeric range makes a small bend hard to see. The Resolve 20 guide includes Detail Zoom, Full Extend Zoom, a zoom slider, and curve display options for this reason.
Use Full Extend Zoom to see the complete interval. Then zoom in around the two keyframes. If the value difference is small, temporarily exaggerate the second value. A 0.010 change in Zoom may look almost straight on a large graph, while a larger diagnostic change reveals whether the handles move.
A curve graph is also not a speed graph in every visual sense. The slope represents the rate of value change relative to time, but the graph’s vertical scaling affects how steep that slope appears. A motion can feel eased in the viewer even when the curve bend looks modest.
Blackmagic community contributor Kruno Stifter described one version of this trap in a forum discussion: “From what I can see the problem seem to be with the zoom level for the curves which is relative not absolute.” That is a useful diagnosis, not a promise that every Resolve 21 curve issue is only a zoom issue. The Blackmagic Forum discussion also distinguishes a visually subtle curve from a curve that cannot be edited.
A curve that is hard to see is not automatically a curve that failed.
Why does easing work for Zoom but not Position in DaVinci Resolve?
Easing can appear to work for Zoom while Position still looks wrong because Position uses multiple component curves, the motion path is judged in two dimensions, or an older property implementation handles interpolation differently. Inspect Position X and Position Y separately, and apply the same timing logic to both axes.
Position is not one scalar value in the same practical sense as Opacity. It contains at least two visible spatial components. If X eases but Y stays linear, the object can still look stiff along one part of the move. If the start and end positions form a diagonal, different X and Y timing can also make the path bend or drift.
How do I fix Position easing?
First, make sure both Position X and Position Y have the intended start and end values. Then open the Curve Editor and reveal both parameter lanes. Select the first keyframe on each component and apply the outgoing ease. Select the last keyframe on each component and apply the incoming ease.
Do not assume that selecting the visible Position label automatically selects every component. The parameter list can expose separate curves, and the editor may show only the active curve. Hide unrelated curves, but keep both axes visible when you are checking a diagonal move.
If the movement follows a path that should be straight, compare the viewer motion with the two value curves. A smooth X curve and a smooth Y curve can still create a non-straight path if their rates do not match. Adjust the handles together, or simplify the move to one axis and solve that first.
Why does Position overshoot after Ease In and Out?
Overshoot usually comes from handles or interpolation that push the value beyond the keyframe values, not from the basic idea of easing. A preset can be too strong for a short move, a multi-axis move, or a property with a narrow useful range.
Reset the selected keyframes to Linear, then apply one easing change at a time. If the curve becomes too aggressive, use the Bezier handles to flatten it. Keep the first handle close to the first keyframe and the second handle close to the second keyframe until the motion is stable.
Resolve 21’s new keyframe features do not remove the need to inspect the actual curve. New modes give you more choices. They do not know whether a logo should feel heavy, playful, mechanical, or almost still.
Why does easing affect timing when I only want smoother motion?
Some keyframe controls can change the interpretation of the interval as well as the visible value slope. If your first and second keyframes define a pause, adding a broad Ease In and Out across both can create motion inside the pause or alter the way the transition enters it.
For a move, use one interval between two different values. For a move, pause, and move sequence, use at least four meaningful points: start, arrival, held pause, and departure or destination. Treat the pause as a deliberate section rather than asking one easing preset to represent the entire sequence.
This is why a simple preset can look right on a five-second zoom but wrong on a logo that arrives, stops, and then changes direction. The animation contains more than one beat.
Why is easing missing for Fusion, Text+, or an OpenFX parameter?
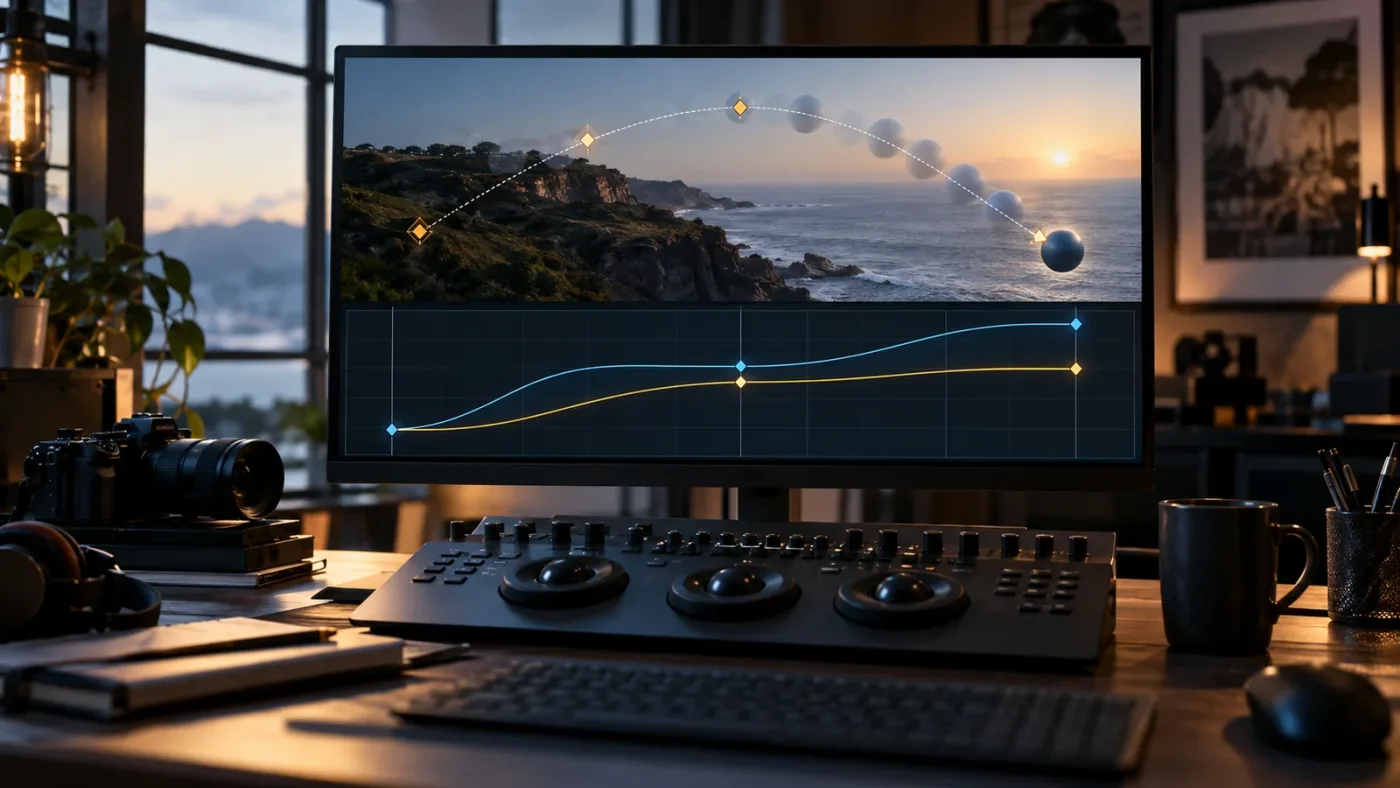
Easing is missing when the control belongs to a Fusion composition, a Text+ title, or an effect parameter whose Edit page editor does not expose the same interpolation controls. Move the diagnosis to the editor that owns the parameter instead of forcing the Edit page Inspector to do Fusion’s job.
The Edit page and Fusion page do not animate every control through the same system. A Text+ title can be placed on the Edit page, but its internal animation may be authored in Fusion. A Fusion node has its own keyframes and splines. An OpenFX parameter may appear in the clip’s keyframe editor, but its supported interpolation behavior can differ from Transform.
How do I ease Text+ animation?
Select the Text+ clip and open the Fusion page. Find the animated tool or text control in the Inspector, then open the Spline Editor. Select the spline or keyframes for the parameter and choose the available Bezier or easing mode. Adjust the handles while watching the viewer.
If you only see a Text+ clip on the Edit page, that does not mean every text animation is an Edit page Transform animation. Separate the two cases:
- Moving the entire Text+ clip with Edit page Transform uses Edit page controls.
- Animating Write On, character offsets, layout, or a Fusion tool uses Fusion controls.
That distinction explains why one animation on the same title can ease while another cannot.
How do I ease a Fusion node keyframe?
Open the Fusion page, select the node, show the Spline Editor, and expose the animated parameter. Select the keyframe interval and use the interpolation controls or tangent handles available for that spline. The Fusion Spline Editor is the authoritative place for Fusion animation.
If the spline has only one keyframe, add a second keyframe with a different value before looking for an eased interval. If the keyframes exist but are not visible, expand the node or parameter list and verify that the animation is enabled.
Fusion’s terminology can be different from the Edit page’s terminology. A tutorial may say “Ease In Cubic” or describe tangent behavior that does not appear as the same button in the Edit page. Follow the editor’s own controls and keep the target parameter visible.
Can Edit page easing fix an OpenFX effect?
Sometimes, but not always. If a keyframable OpenFX parameter appears in the Edit page Keyframe or Curve Editor, test it with two exaggerated values. If the easing menu is absent or the curve does not respond, use the effect’s own controls, Fusion, or a different effect architecture when available.
Do not conclude that all keyframe easing is broken because one third-party effect behaves differently. The parameter owner matters. Blackmagic’s documentation describes the Edit page controls for Resolve parameters, while third-party effects have their own implementations.
The same warning applies to imported titles and macros. A control can look like a normal Inspector row while its animation is defined inside a Fusion template. Check the tool name and page before rebuilding the entire title.
Why does DaVinci Resolve keyframe easing behave differently in Resolve 20 and 21?
Resolve 20 introduced a substantially revised Keyframe Editor, and Resolve 21 continued to improve keyframing and added new ease options. A tutorial made for Resolve 18 may still explain the principle, but its clicks and menus may not match Resolve 21.1.
Here is the useful version history for this problem.
| Version | Relevant keyframe behavior | What it means for troubleshooting |
|---|---|---|
| Resolve 18 | The Editor’s Guide documents Inspector easing and the Edit page Curve Editor | Older tutorials often teach right-clicking the keyframe button and using Shift shortcuts |
| Resolve 20 | The New Features Guide documents a revised Curve Editor and Keyframe Editor, including Linear, Ease In, Ease Out, Ease In and Out, zoom controls, and curve options | Prefer the revised editor when a Resolve 20 tutorial and an older tutorial disagree |
| Resolve 20.1 | Blackmagic’s update notes describe improved keyframe behavior, active curves, ease, and locked parameters | Install a current maintenance update before treating an early Resolve 20 result as final |
| Resolve 21.0 | The final release includes improvements for keyframing | Recheck old assumptions about the Edit and Cut page editors |
| Resolve 21.0.3 | Blackmagic’s support notes list new ease modes for retime speed and frame curves, plus improved keyframe editing | Retime and frame curves may have controls that older Resolve 21 guides do not show |
| Resolve 21.1 | The current support listing includes further updates to the 21 line, while the 21 New Features Guide documents newer keyframing options such as Step In and Step Out | Use the current manual and test a new project when behavior differs from an old project |
The version distinction is not a reason to upgrade blindly. It is a reason to identify the exact build before copying a fix from a video. Blackmagic’s Support Center listed DaVinci Resolve 21.1 on September 8, 2026, and listed DaVinci Resolve 21.0.3 on July 22, 2026. The support listing is the source of record for those dates and builds.
Should I update Resolve before fixing easing?
Update when the bug resembles a documented keyframe or curve-editor issue, when you are on an early maintenance build, or when a current project can be duplicated safely for testing. Do not update in the middle of a deadline without a project backup and a way to verify plugins, templates, and output.
Blackmagic’s Resolve 21 release material says the final release added improvements for keyframing, while the 21.0.3 notes specifically mention new ease modes for retime speed and frame curves and improved keyframe editing. Those are concrete reasons to identify your build.
Before updating:
- Check DaVinci Resolve > About DaVinci Resolve and record the full version and build.
- Duplicate the project or create a test project.
- Save a copy of the affected timeline.
- Note whether the animation is Edit, Cut, Fusion, Text+, OpenFX, or retime based.
- Update only through Blackmagic Design’s official download and support path.
- Re-test the smallest two-keyframe example before opening the production timeline.
If the minimal example works after the update but the old project does not, suspect an imported project, an old template, a parameter-specific limitation, or a curve state rather than the global easing system.
Why do old projects show a different curve?
Old projects can preserve animation data and editor state from the version in which they were created. A curve that opens oddly in a migrated project may not represent the default behavior of a new Resolve 21 project.
Build a one-clip reproduction in a new project. Use a standard video clip and a Transform Zoom animation. If the new project works, copy only the affected animation or rebuild the two keyframes in the original timeline. If the new project also fails, the version, parameter, or current editor state is more likely to be involved.
Do not overwrite the original project while testing. A clean reproduction is useful because it removes imported timelines, old Fusion templates, and unrelated effects from the diagnosis.
How do I fix a curve that spikes, overshoots, or looks broken?
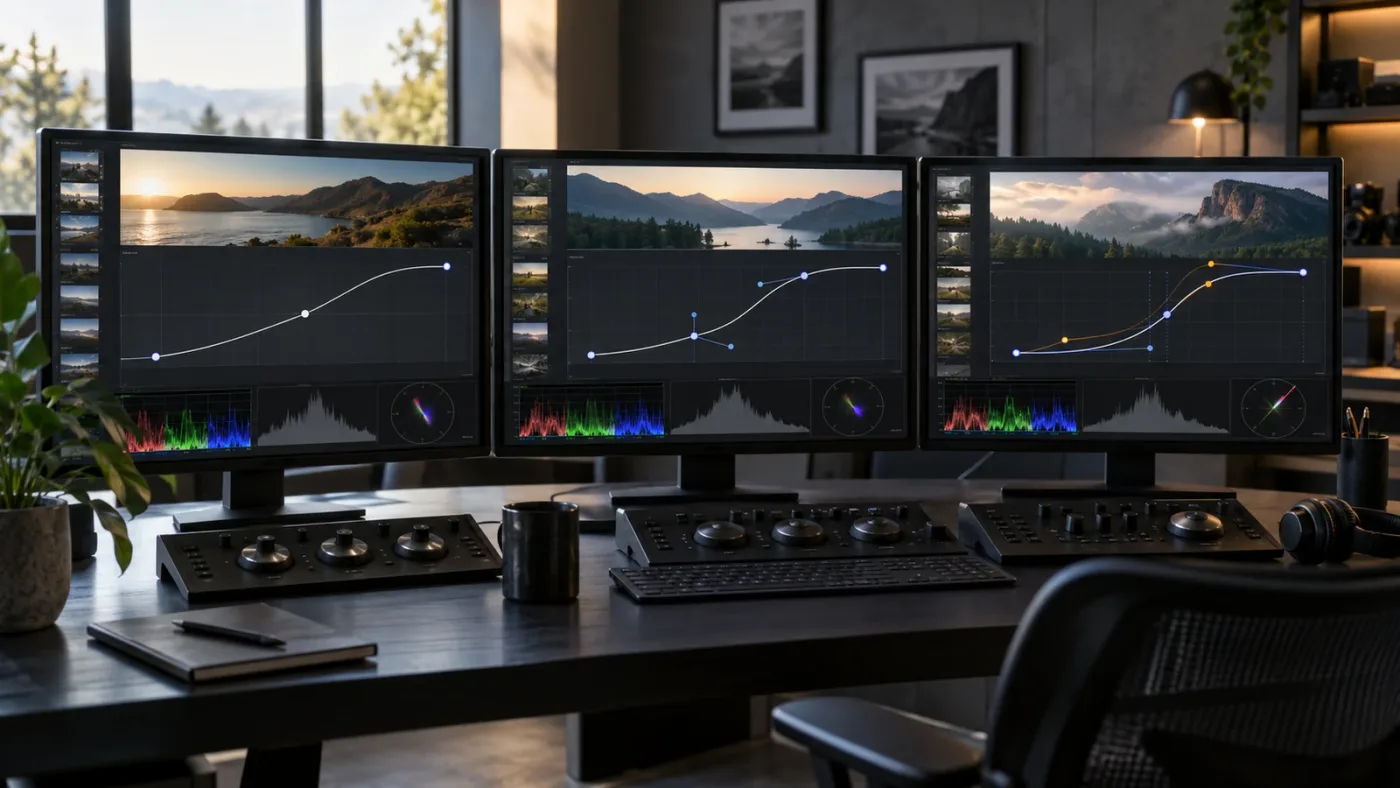
Reset the affected segment to Linear, confirm the two endpoint values, then apply a gentle ease and inspect the handles at a useful zoom level. A spike usually means the interpolation shape is too aggressive, the wrong parameter is selected, or a curve-editor state is being interpreted differently than expected.
A spike is not the same symptom as a flat line. A flat line suggests no visible value change, no easing, or a display scale that hides the bend. A spike shows that the curve is changing, but it may be changing in a way the animation cannot use.
What should I reset first?
Reset only the selected keyframe segment, not every keyframe in the clip. Select the relevant keyframe or interval, choose Linear, and play it. If the spike disappears, add easing again with one endpoint at a time.
Use this order:
- Linearize the first segment.
- Confirm the starting value.
- Confirm the ending value.
- Apply Ease Out to the first keyframe.
- Play the segment.
- Apply Ease In to the ending keyframe.
- Play the segment again.
- Adjust the Bezier handles only after the preset behaves correctly.
This isolates the source of the change. If you drag handles before confirming the endpoints, you can create a complicated curve without knowing whether the original problem was a wrong value or a wrong interpolation.
Why can the curve overshoot a keyframe value?
A Bezier curve can pass beyond the endpoint value when its handles create an overshoot. That can be useful for a bounce or elastic feel, but it is wrong for a controlled logo move, a clean zoom, or a restrained opacity fade.
Flatten the handles toward the line between the two values. Shorter handles generally make the transition easier to control. The exact shape depends on the property and timing, so do not chase a universal handle length.
For a two-dimensional Position move, an overshoot in only one axis can make the object appear to wobble. Show X and Y together, reset both if necessary, and use matching easing decisions. Then introduce a deliberate difference only if the design calls for it.
What is Flat Mode and when should I use it?
Flat Mode is an easing option introduced during the Resolve 20 development cycle for a slower, flatter pause around a standstill. It is useful when the object should settle into a position rather than rush through the top or bottom of a movement.
Blackmagic described the feature in a public Resolve 20 beta update as a way to ease into or out of a pause or standstill, using a bouncing-ball example. Because the feature and labels have changed across versions, use it when your current editor exposes it and compare the result with a simple Bezier curve.
Flat Mode is not a universal replacement for Ease In and Out. Choose it for a deliberate pause. Choose a normal Ease Out and Ease In pair for a standard move from one value to another.
Why is easing not working on a retime or speed curve?
Retime easing is a different problem from Transform easing because it changes playback speed rather than a clip property such as Position or Zoom. In Resolve 21.0.3, Blackmagic added new ease modes for retime speed and frame curves, so retime tutorials from earlier releases can be incomplete.
First identify what you are changing:
- Transform keyframes change a property value over time.
- Retime speed points change how fast the media plays.
- Frame curves can influence how frames are sampled or interpolated.
- Fusion splines animate node parameters.
These can all look like curves, but they do not answer the same question.
How do I check retime easing?
Open the retime controls for the clip, expose the speed or frame curve, and confirm that you have a speed change between two meaningful points. Then use the ease controls available in your Resolve 21 build. If the control is missing, verify that you are not following a Resolve 20 or older tutorial for a newer curve mode.
Do not judge a speed curve only by the shape of a Transform curve. A speed ramp can produce a visual acceleration even if Position remains linear. Conversely, a Transform ease can move an object smoothly while the clip plays at a constant speed.
If the ramp jumps, check for abrupt speed points, short intervals, and frame interpolation settings. Make one change at a time. Render a short test range when playback cannot show the result clearly.
Why does a speed ramp feel like keyframe easing is broken?
A speed ramp can feel broken when the clip contains too little media around a retime point, when the ramp is too short to display gradually, or when the viewer playback is dropping frames. Separate the animation curve from realtime playback quality.
Scrub slowly through the interval. If the motion changes when you scrub but not during playback, investigate playback performance or cache. If the curve itself has an abrupt shape, adjust the retime points. If a Transform property changes smoothly but the clip motion feels uneven, the retime is the likely source.
How do I fix easing after importing XML or an old timeline?
Imported timelines can preserve values while losing or translating interpolation behavior, especially when the source application uses a different curve model. Rebuild the easing in Resolve after confirming that the imported keyframes exist and represent the intended endpoints.
Do not treat an imported curve as a native Resolve curve until you have inspected it. An XML can carry timing and value data without carrying every editor-specific tangent choice. The Blackmagic Forum includes a report from an XML workflow where values imported correctly but Ease In and Ease Out behavior did not survive as expected.
What should I rebuild?
Rebuild the smallest affected animation. Keep the clip and its media, select the native Resolve property, and add two fresh keyframes. If the fresh keys ease correctly, the imported interpolation is the issue. Copying the imported keys into a new native curve may still carry the problem, so test by recreating them manually.
If the animation is complex, rebuild in stages:
- Recreate timing with linear keys.
- Match the endpoint values.
- Apply easing.
- Compare the new result against the reference export.
- Add additional beats only after the two-point move matches.
This takes longer than blindly clicking Ease In and Out, but it leaves you with an animation you can explain and edit.
Can I paste eased keyframes between clips?
You can copy and paste keyframes when the target property and timing context support them, but the result depends on the source and target parameters. A copied curve can land on a different clip length, different value range, or different parameter structure.
After pasting, inspect the target clip’s curve and play the full interval. Do not assume that a copied easing shape is appropriate for a different motion. A gentle 0.100 Zoom change and a large Position jump need different visual judgment even if the same preset is technically applied.
Why does the easing menu stay greyed out?
The easing menu stays greyed out when no valid keyframe is selected, when the property has no neighboring keyframe to interpolate with, or when the current editor does not expose easing for that parameter. Select the keyframe in the Curve Editor, not only the clip, and verify a second keyframe exists.
Use this checklist in order:
- Is the clip selected?
- Is the parameter visible?
- Are there at least two keyframes on that parameter?
- Are the keyframes at different times?
- Do the values differ?
- Is one keyframe selected rather than only the clip?
- Are you in Curves rather than only the timing view?
- Does the property belong to Edit, Fusion, Text+, OpenFX, or retime?
- Does your Resolve build support the menu shown in the tutorial?
If the answer to the first seven is yes and the menu is still unavailable, the parameter owner or version is the next suspect. Test a standard Transform parameter in a new project. That one comparison tells you whether the issue is global or local.
Why do the handles not appear?
Handles do not appear when the keyframe is not selected, when the curve is hidden, when the interpolation is linear, or when the current control does not provide Bezier handles in that editor. Select the curve point, activate the curve view, and use the available interpolation button before looking for handles.
Some interfaces also include a handle display toggle. Resolve 20 documentation lists a Show Handle control in the Curve Editor controls. If the curve is selected but handles are hidden, check that control before rebuilding the keyframes.
For Fusion, use the Fusion Spline Editor. For Edit page Transform, use the Edit page Curve Editor. Similar-looking diamonds do not guarantee similar handle controls.
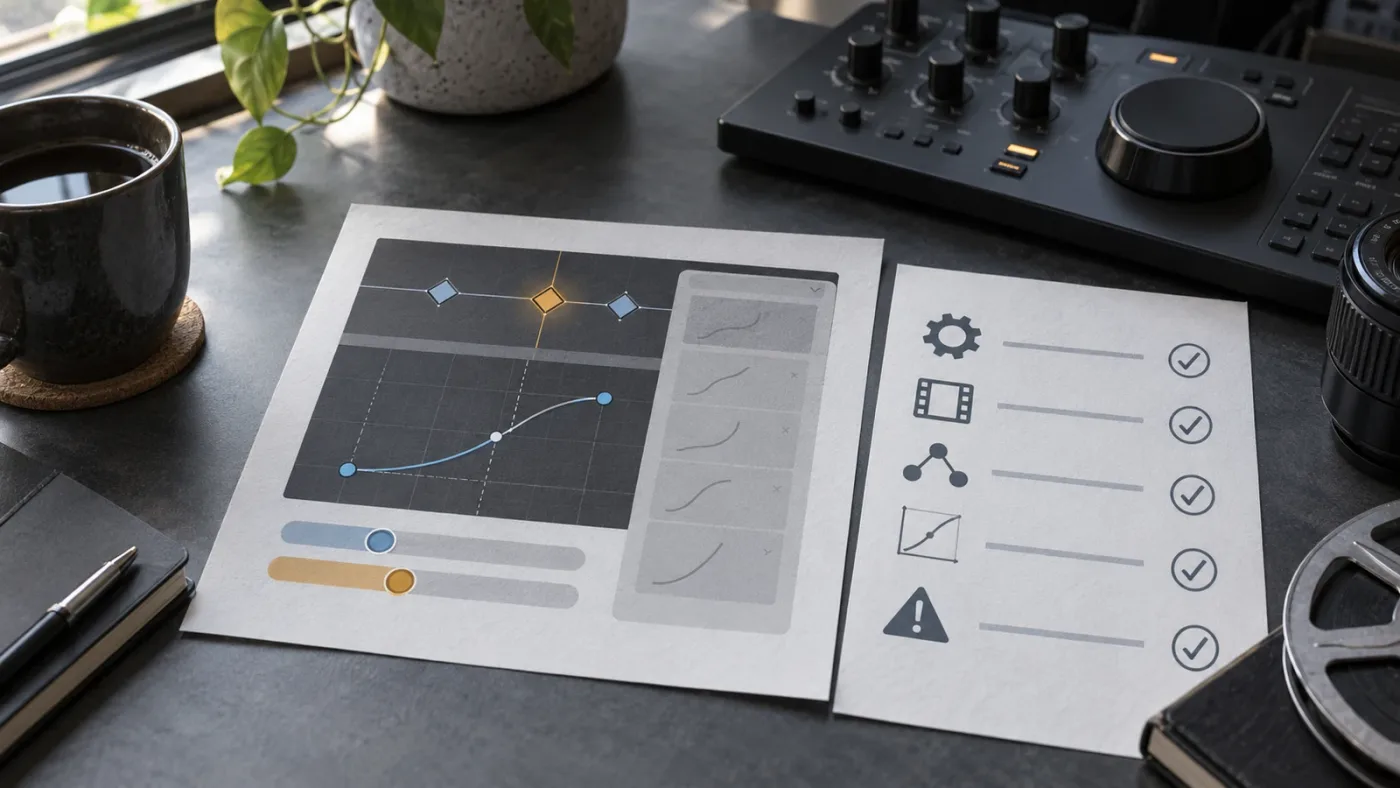
How do I make easing consistent across multiple clips?
Make the same property structure on each clip, use the same two-point timing pattern, and compare the curves rather than only copying a preset. Consistency comes from matching the motion’s duration, value change, and curve shape, not from clicking the same label on unrelated animations.
Resolve 21 added multi-clip keyframe editing, according to Blackmagic’s New Features Guide. That can help when several selected clips use compatible parameters, but multi-clip editing is not a guarantee that every clip has identical controls or timing.
For repeated title moves, create a clean reference animation and save the motion logic in a reusable form that fits your workflow. When you apply it to a new clip, check the clip length and the value range. A curve that feels natural over 30 frames can feel abrupt over 8 frames.
Should I use the same Ease In and Out preset everywhere?
Use the same preset only when the motion has the same job. A title that enters and stops, a photo that slowly zooms, and a notification that pops on screen should not necessarily share one curve.
Choose by purpose:
| Motion goal | Starting choice | What to inspect |
|---|---|---|
| Gentle arrival | Ease Out at the start, Ease In at the end | Does the object settle without stopping too early? |
| Fast departure | A shorter outgoing handle or a stronger Ease Out | Does the first part feel intentional rather than abrupt? |
| Held pause | Separate arrival and departure sections | Does the object remain still rather than drifting? |
| Mechanical change | Linear or Step In/Out where supported | Does the change happen at the intended instant? |
| Soft opacity fade | Moderate Ease In and Out | Does the fade preserve readable content long enough? |
| Elastic or bounce motion | Custom curve or Fusion spline | Does the overshoot have a clear design reason? |
The preset is a starting point. The curve is the final decision.
Matching keyframe values and timing matters more than matching preset names.
How do I compare curves between clips?
Select one reference clip and one target clip only when the editor can display them clearly. Compare the interval length, starting value, ending value, and curve shape. If the values differ greatly, compare normalized motion rather than the vertical height of the graph.
If the clips are stacked, a multi-clip curve view can help. If the view becomes cluttered, return to one clip at a time. A clear diagnosis is more useful than a crowded graph.
What is the best way to learn DaVinci Resolve keyframe easing?
The best way to learn DaVinci Resolve keyframe easing is to combine Blackmagic’s official documentation with small projects that force you to create, inspect, and adjust real curves. A course or video can show the clicks, but a short practice move teaches you how timing, value range, and curve shape interact.
Blackmagic’s free training and official guides remain the reference for what the controls do. YouTube educators such as Casey Faris can help you see a workflow in motion. Udemy and Coursera can provide structured lessons, while community forums can expose version-specific bugs and edge cases. Each source solves a different learning problem.
We have taught more than 100,000 students on Udemy, taught and worked with Fortune 500 companies, and run a 100,000+ member editing community. The advice we trust most still begins with making a small animation, changing one variable, and watching what the curve says.
What should I practice first?
Practice one property at a time. Use a still image or a simple title and make these four exercises:
- Zoom from 1.000 to 1.250 with Linear interpolation.
- Repeat the same move with Ease Out and Ease In.
- Add a pause using separate keyframes and compare it with one combined easing interval.
- Animate Position X and Y together, then intentionally give the two axes different timing to see the path change.
Write down the start frame, end frame, start value, end value, and selected easing mode. You do not need a complex scene. You need a controlled experiment.
The best way to learn DaVinci Resolve depends on the kind of friction you keep hitting. For a one-off fix, the official guide may be enough. For repeated “why did this change?” moments, practice inside a real project teaches faster than memorizing isolated menu paths.
Is an AI tool to learn DaVinci Resolve useful for this problem?
An AI tool can be useful when you need help identifying which page, panel, or control matches the animation in front of you. It should not replace the curve itself. You still need to verify the parameter, keyframes, and result in DaVinci Resolve.
The best AI assistant for DaVinci Resolve beginners is the one that reduces the gap between a general explanation and the exact control in your current project. Chat-based tools can answer questions, while editing agents such as Sottocut, PremiereCopilot, heyeddie.ai, and cutagent.ai may focus on automating edits or handling commands. Their strengths are not identical.
TryUncle is the on-screen assistant for DaVinci Resolve on Mac and Windows — ask in plain words and Uncle points at the exact control on your screen.
That is useful for a stuck easing problem because the question is often not “what is easing?” It is “which diamond, which curve, and which page contains the control in my project?”
If you want that kind of help while working, TryUncle can point to the relevant Resolve control on Mac or Windows.
The best easing lesson is the one that makes you inspect the curve in your own project.
A clean two-keyframe reproduction is faster to trust than a complicated animation you cannot isolate.
Should I use a tutorial or ask for live help?
Use a tutorial when you need the concept and a repeatable example. Ask for live, on-screen help when the tutorial’s interface does not match your current Resolve build, title, effect, or project layout.
Use Blackmagic’s official material to confirm version behavior. Use a trusted educator to see the workflow. Use community discussions to identify edge cases. Use an on-screen assistant when the remaining problem is locating the control in your own window.
That layered approach respects the strengths of each source. No single explanation can see every project, template, version, and parameter.
How do I know the fix worked before I render?
The fix worked when the curve shows the intended interpolation, the viewer shows the intended rate change, and the animation still behaves correctly when played from before the first keyframe through after the last keyframe. Scrubbing one frame at a time is not enough.
Use a three-pass check:
- Curve pass: Confirm the correct parameter is visible, the endpoints are correct, and the curve shape matches the intended motion.
- Viewer pass: Play the full interval at normal speed, then scrub slowly through the start, middle, and end.
- Output pass: Render a short range if playback performance or effects make the viewer unreliable.
Check for accidental changes outside the interval. A later keyframe can override the expected destination. A neighboring clip can make a title appear to move differently. A retime can make an otherwise correct Transform animation feel uneven.
What should I save as evidence?
Save the project version, the clip or timeline name, the parameter, and the two endpoint values. If you ask a community or support forum for help, include the Resolve version, operating system, Free or Studio edition, the page where the animation lives, and a full description of the symptom.
Blackmagic’s forum guidance commonly asks for version and system context because “easing not working” can describe several different failures. A curve missing from a Linux build, a Text+ spline in Fusion, and a flat-looking Edit page curve need different answers.
Do not send a cropped image that hides the Inspector, timeline, or page name. The missing context is often the answer.
When should I stop adjusting handles?
Stop when the animation communicates its intended weight and timing, not when the graph looks mathematically perfect. If every adjustment makes the result less predictable, reset the segment and rebuild it with two clear endpoints.
For a simple move, a clean Ease Out and Ease In pair is usually a better starting point than a complicated custom spline. For a design that truly needs a bounce or pause, build those beats explicitly and test each one.
If you are still stuck, Uncle can point at the exact easing control in your own Resolve project while you work.
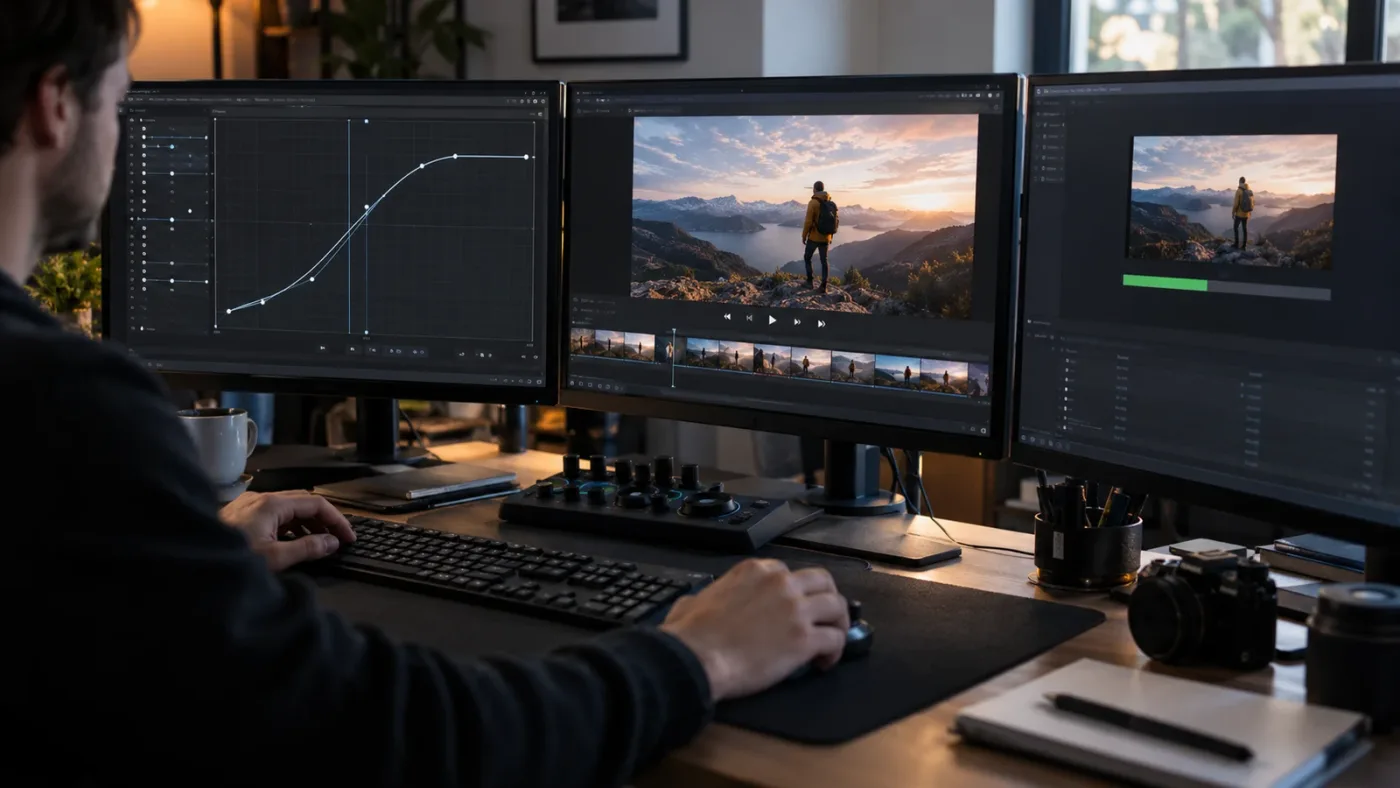
Which DaVinci Resolve keyframe easing fix should I try first?
Try the two-keyframe Transform test first. It is the smallest useful reproduction and separates a global editor problem from a property-specific problem.
Use this decision path:
| Your symptom | Start here | Escalate to |
|---|---|---|
| Nothing moves | Add a second different value on the same property | Parameter selection, later keyframes, or disabled control |
| Motion is linear | Open Curves and apply outgoing and incoming easing | Bezier handles and curve zoom |
| Easing is greyed out | Select the keyframe and check for a neighboring key | Property support or the owning page |
| Curve looks unchanged | Exaggerate values and use Full Extend Zoom | Version-specific curve display or editor state |
| Position looks uneven | Show Position X and Y together | Matched handles or a simpler one-axis test |
| Text+ does not ease | Open Fusion and use Spline Editor | Template structure or internal node animation |
| Speed ramp feels wrong | Use retime controls and identify the Resolve build | Retime curve and playback checks |
| Imported keys lose easing | Rebuild two native Resolve keys | XML translation or old project behavior |
| A curve spikes | Reset to Linear, then add one gentle ease | Shorter handles or a clean reproduction |
Do not apply every fix at once. The point of a diagnostic page is to identify the failing layer. When the minimal test works, return to the original animation and compare it against that known-good structure.
DaVinci Resolve keyframe easing is not working only in a narrow sense when the editor, parameter, and animation interval are mismatched. Most cases become clear when you answer three questions: are there two different values, am I looking at the value curve, and does this page own the animation?
If you are on Resolve 21.1, use the current Curve Editor and the current support documentation as your baseline. If you are on Resolve 20 or an older build, translate the concept rather than copying every click from a Resolve 21 tutorial. Linear, Ease In, Ease Out, and Ease In and Out are useful names, but the curve and the playback are the final test.
Frequently asked questions
- Why is DaVinci Resolve keyframe easing not working?
- The usual cause is that the property has only one keyframe, the wrong keyframe editor is open, or the selected control does not support the same easing menu. Add two different values, open Curves, select the keyframes, and apply the easing there.
- How do I ease in and out keyframes in DaVinci Resolve?
- Select the clip, open its Curve Editor, select the starting and ending keyframes, and choose Ease Out for the first keyframe and Ease In for the last. Choose Ease In and Out when you want the combined preset.
- Why does Ease In and Ease Out look linear in DaVinci Resolve?
- A curve can look linear when the graph is zoomed far out, when the two values are nearly identical, or when you are viewing a timing lane instead of the value curve. Open Curves, use Full Extend Zoom, and inspect the parameter that actually changes.
- Can I ease Fusion or Text+ keyframes in DaVinci Resolve?
- Usually, Fusion and Text+ animation must be eased in Fusion's Spline Editor rather than the Edit page Inspector. Select the animated spline, choose a Bezier or ease mode, and adjust its handles there.
Sources
- DaVinci Resolve 21 New Features Guide
- DaVinci Resolve 20 New Features Guide
- DaVinci Resolve 20.1 New Features Guide
- Blackmagic Design DaVinci Resolve Edit page
- Blackmagic Design Support Center
- DaVinci Resolve 18 Editor's Guide
- Blackmagic Forum: Edit Page Keyframe/Spline editor bugs
- Blackmagic Design announces DaVinci Resolve 21
Learn by doing, not watching
Stop translating tutorials to your timeline.
TryUncle stays beside Resolve on Mac and Windows. When you ask, Uncle sees your screen and points at the exact control you need. No hunting through tabs, timestamps, or mismatched tutorials.
Meet TryUncleKeep reading
 GuidesJul 9, 202634 min read
How to Keyframe Effects in DaVinci Resolve: The Complete Guide
Every way to keyframe effects in DaVinci Resolve: Inspector diamonds, the Keyframe Editor, ease curves, Fusion splines, and what changed in Resolve 21.
 FixesSep 27, 202620 min read
DaVinci Resolve Controls Not Showing in Inspector? Fix It
DaVinci Resolve controls not showing in Inspector? Use this 21.1 troubleshooting guide to restore clip, effect, Fusion, Color, and audio controls.
 ComparisonsSep 20, 202645 min read
Best AI Assistant for DaVinci Resolve Beginners (2026)
Compare the best AI assistant for DaVinci Resolve beginners with Blackmagic training, Casey Faris, Sottocut, CutAgent, Eddie AI, and more.