
Learn / DaVinci Resolveupdated for DaVinci Resolve 21.1 (September 2026)
DaVinci Resolve Fusion Mask Not Affecting Text? Fix It
Quick answer
If a DaVinci Resolve Fusion mask is not affecting text, connect the Rectangle, Polygon, or Paint mask to the Text+ node's blue Effect Mask input, then verify the mask is white over the intended area and that Invert, Level, and Bypass are correct. For Text 3D, mask the rendered 2D result or use a 3D matte instead.
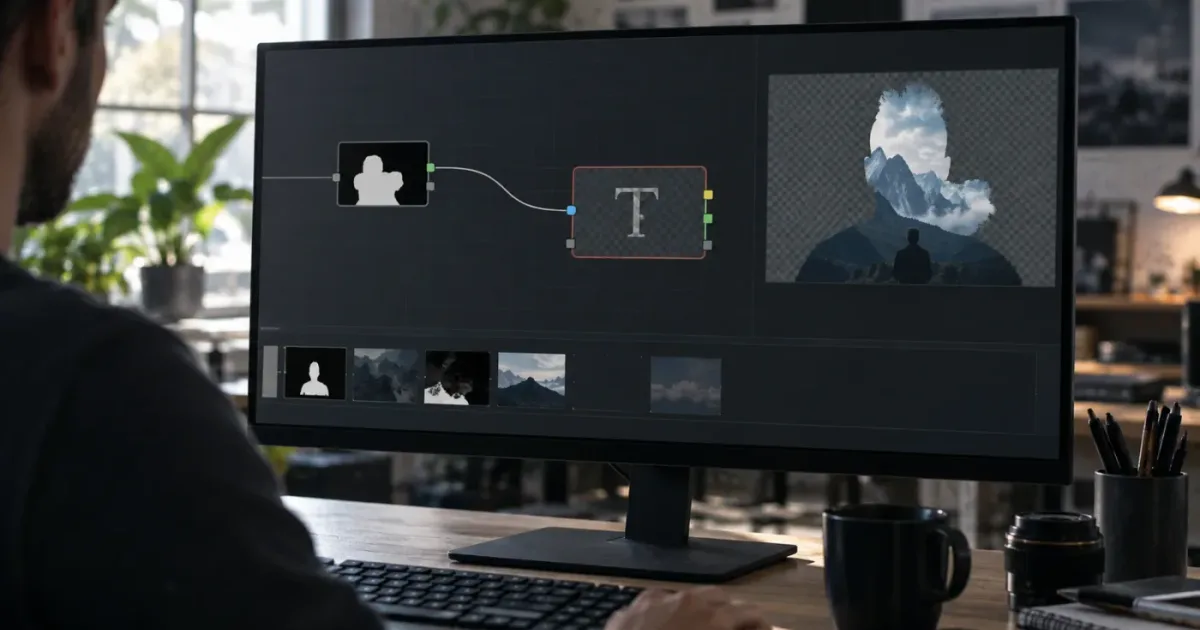
When I hit a Fusion mask that is sitting there, connected, and apparently doing nothing, I start with the node that should be affected. In practice, the break is usually one of three things: the mask is feeding the wrong node, the node is not the kind of text tool you think it is, or the mask itself is producing no useful values. I can isolate the break without rebuilding the whole composition.
As of September 2026, the current DaVinci Resolve release is 21.1. The same core diagnosis applies to Resolve 20 and earlier Fusion compositions because the important parts of this workflow are the node tree, the blue Effect Mask input, and the mask controls. Blackmagic’s current Fusion documentation still describes the page as a node-based compositor with separate tools for images, masks, transforms, and text, while the 21.1 release is a broader Resolve update rather than a change to the basic meaning of a 2D Effect Mask. (Blackmagic Design’s Fusion overview, DaVinci Resolve 21.1 announcement)
TryUncle is the on-screen assistant for DaVinci Resolve on Mac and Windows — ask in plain words and Uncle points at the exact control on your screen.
This is one of the recurring questions in our 100,000+ member professional video-editing community: the mask node is present, the wire looks right, and the title ignores it.
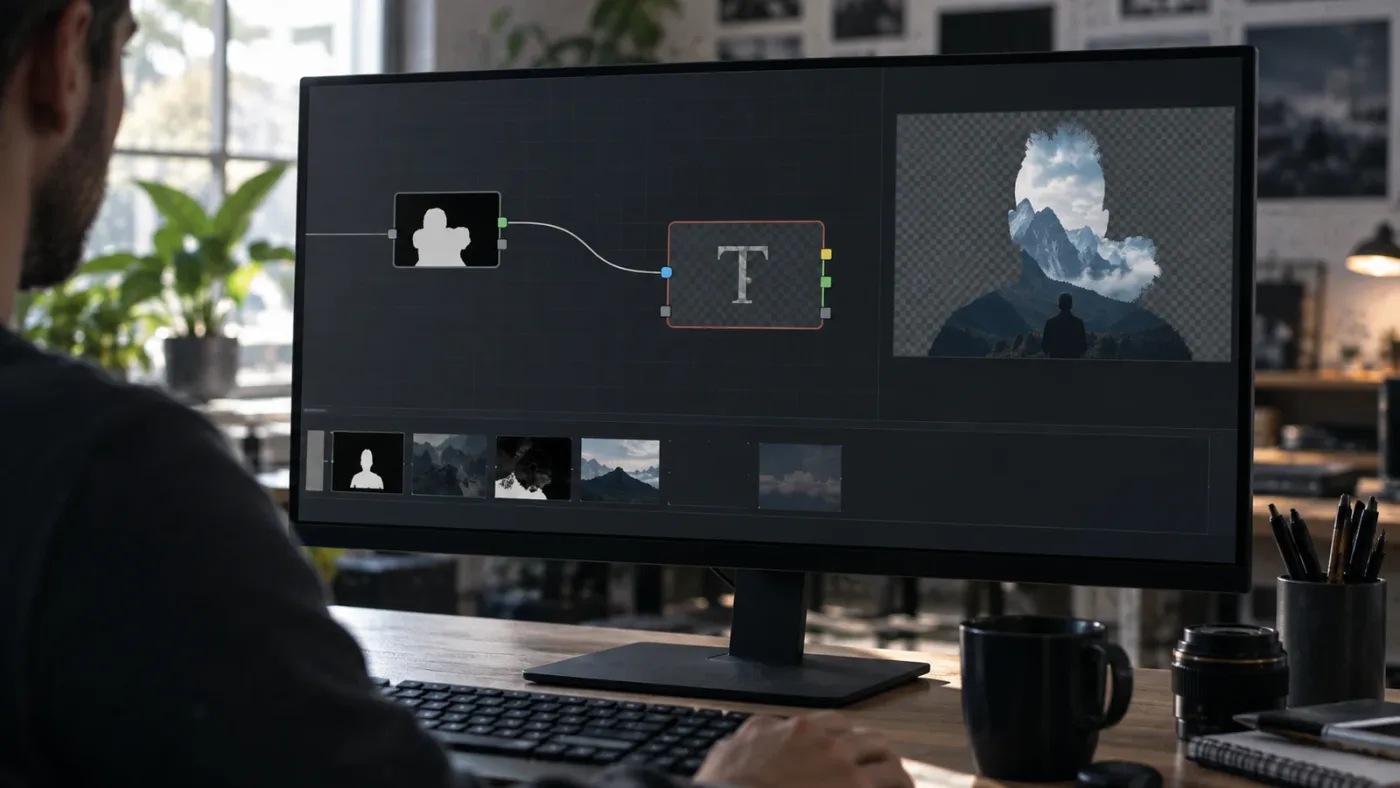
What does “DaVinci Resolve Fusion mask not affecting text” actually mean?
A Fusion mask does not float over the whole composition waiting to hide anything beneath it. A mask is an image-like control that limits the operation of the specific tool receiving it. If the mask is connected to Text+, it limits the Text+ result. If the mask is connected to Merge, it limits the Merge operation. If it is connected to a Blur, it limits where the blur is calculated.
That distinction explains most reports that a DaVinci Resolve Fusion mask is not affecting text. The mask may be perfectly healthy. The wire may even be blue. But the mask could be feeding MediaIn, Merge, or MediaOut while the text is generated somewhere else in the tree.
Blackmagic describes the blue connection as the mask input and says to connect a mask tool to that input when you want to define the visible area of an effect. The Fusion page also describes Text+ as the 2D text tool, with Text 3D serving a different 3D workflow. (Blackmagic’s Fusion mask explanation)
The quickest translation is this:
| What you want to control | Where the mask normally belongs | What you should see |
|---|---|---|
| Reveal or hide generated 2D text | The blue Effect Mask input on Text+ | Text appears only inside the mask, or outside it when inverted |
| Reveal or hide the foreground text layer during a composite | The blue Effect Mask input on Merge | The Merge operation changes, while its background remains independent |
| Blur only the text or its source image | The blue Effect Mask input on Blur | Blur changes only where the mask has value |
| Cut a 3D title after it becomes a 2D image | A 2D node after Renderer3D | The rendered title is clipped in image space |
| Use a mask as a source for another operation | The target tool that should consume the mask | The target tool changes, not every downstream node |
The table matters because “masking the text” can mean two different jobs. You may want to make the letters appear through a Rectangle mask. Or you may want the text to sit behind a person by limiting the Merge that combines the title with footage. Those jobs can use the same Polygon node, but they do not use the same destination input.
A Fusion mask affects the tool that receives its blue Effect Mask connection, not every node downstream.
One useful way to think about this is to treat every wire as a sentence. The mask says, “Here is where the next tool may act.” It does not say, “Hide this shape everywhere in the composition.” Once you adopt that model, the node tree becomes much less mysterious.
How do I connect a mask to Text+ so it actually works?
To make a 2D Fusion mask affect text, create a mask node, view it once, and drag its output directly to the blue Effect Mask input on the Text+ node. Select Text+ and confirm that its output changes when you move the mask or toggle Invert.
Use this small test before touching a complicated title setup:
- Open the clip or Fusion Composition on the Fusion page.
- Add a Text+ node if one is not already in the flow.
- Type a short word into the Styled Text control so the title is easy to see.
- Add a Rectangle mask from the mask tools. A Polygon or Ellipse works too.
- Drag the mask’s output to the small blue input on Text+.
- Select Text+ and press
1or2to send it to a viewer. - Move the Rectangle’s Center or Width and Height controls.
- Toggle Invert on the mask to confirm that the visible region swaps.
The expected result is simple. With a normal white Rectangle over the word, the portion of the Text+ output inside the Rectangle remains visible and the portion outside it is limited. With Invert enabled, the relationship reverses. A soft edge should make the transition gradual, not make the mask vanish.
If the Text+ node is selected but you cannot find the blue input, zoom the node graph or select a different node and return to Text+. Fusion uses small colored input markers, and a crowded node graph makes it easy to drag to the wrong socket. The exact screen arrangement can change with panel size, but the input type is still the key detail.
Blackmagic’s own Fusion overview uses this same mental model for masks: draw a shape, then connect it to the blue mask input of the tool whose visible area you want to define. Its text section separately identifies Text+ as the starting point for 2D text and Text 3D as the 3D alternative. (Blackmagic Design)
If the title itself is missing before you add a mask, first check the text-node basics in how to add text and titles in DaVinci Resolve. A mask cannot reveal pixels that the Text+ node is not generating.
What should the minimal working graph look like?
For a title over footage, the minimal graph is usually:
MediaIn1 ---------> Merge1 ---------> MediaOut1
                         ^
Text1 (Text+) -----------|
  ^
Rectangle1 -------------- blue Effect Mask input
The arrows are conceptual. MediaIn feeds the Merge background. Text+ feeds the Merge foreground. Rectangle feeds the Text+ Effect Mask input. The Merge then combines the limited text with the footage.
For a title with a solid background instead of footage, use a Background node as the Merge background. That gives Fusion a real image behind the text and makes the alpha relationship easier to inspect. Do not use MediaOut as the place where you expect the mask to be interpreted. MediaOut is the delivery point for the finished result, not the tool that should decide how the text is generated.
If your graph has Text+ connected directly to MediaOut and the mask is attached to Text+, that can still be a valid test. It is just less useful for a final composite because you have not yet separated the title from the footage layer.
Why is the mask visible but the text unchanged?
Viewing a mask node proves only that the mask node has output. It does not prove that the target text node is consuming that output. This is the first branch in the diagnosis.
Select the mask and view it. Then select Text+ and view it. Finally, select the node after Text+ and view that. If the mask changes in its own viewer but the Text+ viewer never changes, inspect the wire and the Text+ input. If Text+ changes but the final viewer does not, inspect the Merge and the MediaOut connection.
Casey Faris describes the core idea in a Resolve 21 lesson: “the basics are that you have some kind of node that controls the transparency of another node.” (Casey Faris’s lesson transcript)
That sentence is more useful than it first appears. The mask is the controller. Text+ is the node being controlled. If you connect the controller to a different node, the text is not the controlled result, even if every object is visible in the same Fusion page.
Why is my Fusion mask connected but Text+ is still fully visible?
When Text+ remains fully visible after a mask is connected, check the destination socket, the mask’s usable values, the selected node, and any bypass or blend setting before assuming Resolve is broken. These checks cover the common failure modes without requiring a new project.
Did the wire land on the blue Effect Mask input?
Fusion has more than one kind of input. A mask node should feed the blue Effect Mask input when its job is to limit the target tool. If you accidentally connect it to an image input, you may change the node’s image source or create a connection that looks plausible but does not express the intended operation.
On a Merge node, the distinction is even more important. The background and foreground are image inputs. The blue input is the Effect Mask. Blackmagic’s Fusion manual explains that a Merge uses separate Background, Foreground, and Effect Mask inputs, and that dragging successive connections onto a Merge can assign them in that order. (Fusion 20.3 Reference Manual)
That automatic assignment is convenient until a node tree becomes crowded. If the mask was the third thing dropped onto Merge, it may have landed where you expect. If you dragged it onto Text+, however, use the visible blue socket instead of relying on where the node is positioned on the canvas.
Are you looking at the correct Text+ node?
A composition can contain several Text+ nodes with similar names, especially after copying a title or importing a template. The mask may be connected to Text1 while Text2 is the title visible in the viewer. Rename nodes by purpose as soon as the graph grows: Title_Main, Title_Reveal, Mask_Reveal, and Merge_Title are clearer than a row of defaults.
Select the suspected Text+ node and press 1 or 2 to view it. Blackmagic lists those viewer shortcuts in its Fusion overview, along with Shift+Spacebar for opening the tool search window. (Fusion workflow shortcuts from Blackmagic Design)
If the viewer shows the wrong title, the mask may be doing exactly what it was asked to do on a different node. This is a graph-selection problem, not a mask problem.
Is the mask actually white, gray, or black where the text is?
A mask can output values between black and white. White means the mask has full value, black means it has no value, and gray produces a partial result. A Rectangle that is off-screen, tiny, fully feathered, or set to a low Level can look connected while contributing almost nothing at the text’s location.
View the mask by itself and look for the white region. Then move the mask so that it obviously overlaps the title. Temporarily set Soft Edge to zero and Level to full strength. You can restore the creative settings after the connection is proven.
The Fusion Tool Reference describes the mask Level control as the transparency level of the mask channel and notes that a value of 1.0 makes the effect mask fully opaque unless a soft edge changes it. (Fusion Tool Reference)
Do not diagnose a connection while the mask is barely touching one letter. Make the test deliberately obvious. A large Rectangle over the center of a bright word is better than a carefully shaped Polygon that happens to miss the title by a few pixels.
Is Invert enabled on the mask or the target tool?
Fusion can invert the mask itself, and common controls can also apply an inverted mask. If both are enabled, the result can appear normal, reversed, or unexpectedly empty depending on the rest of the graph. Check the mask’s Invert control first, then check the target node’s common controls for Apply Mask Inverted.
For a clean diagnostic, turn both off. Test the ordinary white-inside-the-shape behavior. Then turn on only the option that matches the look you need.
The manual distinguishes inversion of the entire mask from other mask combination operations, and its common-control documentation describes Apply Mask Inverted as operating on the combined Effect Mask channel. (Fusion Tool Reference)
Is the node or composition bypassed?
If the mask input has a bypassed mask node, bypassed target node, or bypassed Fusion effect, the visible result may be the unmasked path. Look for the bypass state on both the mask and Text+. Also check whether the Fusion effects are bypassed at the clip level if the entire composition appears to ignore changes.
The safest test is to change something undeniable. Move the mask far to the left, then far to the right. If the text never changes in the Text+ viewer, the problem is upstream of the final composite. If Text+ changes but the timeline does not, the problem is downstream or in the displayed clip.
A mask that looks connected can still be ineffective when its white region misses the target node’s pixels.
How do I debug the Fusion node tree without guessing?
Debug the Fusion node tree from left to right, one node at a time: mask output, text output, composite output, and MediaOut. Viewing each stage turns an invisible wiring problem into a short decision tree.
Step 1: Prove the mask output
Select Rectangle, Polygon, Ellipse, or Paint and view it. The viewer should show a mask-shaped grayscale image or the mask controls over the image, depending on the display mode. Change the mask size or position. If nothing changes, fix the mask before inspecting Text+.
Useful mask checks include:
- The mask shape is closed when using Polygon or B-Spline.
- The shape overlaps the text’s current position.
- The mask Level is not zero.
- The mask is not inverted by accident.
- The mask’s frame range covers the frame you are viewing.
- The mask has not been connected to an unrelated tool.
The Fusion manual explains that masks are single-channel controls used to restrict a tool to selected regions. That is why viewing the mask as its own grayscale result is such a strong diagnostic step. (Fusion 20.3 Reference Manual)
Step 2: Prove the Text+ output
Select Text+ and view it. The word should exist before masking, and moving the mask should change what is visible. If Text+ is empty, inspect Styled Text, frame range, font availability, Center, and Size before changing the mask.
Do not use a complicated animated title as the first test. Create a single-line Text+ node with a large font and a short word. A stable test eliminates followers, shading elements, modifiers, expressions, and keyframes that could confuse the diagnosis.
If Text+ is visible but a second Text+ node is the one you want to mask, connect the mask to that second node. The selected node in the Inspector is not necessarily the node you just clicked in the viewer, especially when several nodes are displayed at once.
Step 3: Prove the composite
Select Merge and view it. Make sure the footage or Background is connected to the yellow Background input and the Text+ result is connected to the green Foreground input. The mask should feed the blue Effect Mask input only if you want to limit the Merge operation itself.
This is where many “my Fusion mask is not affecting text” reports change shape. The Text+ node may be masked correctly, but a second unmasked copy of the title may be connected to the Merge. Delete or bypass the duplicate temporarily. If the title remains fully visible after the masked copy is bypassed, you have found the unmasked route.
Blackmagic’s Fusion documentation uses the background and foreground connections to explain how Merge composites images. Its manual separately defines the blue Effect Mask input as a way to limit the Merge effect. (Blackmagic Fusion overview, Fusion 20.3 Reference Manual)
Step 4: Prove MediaOut
Select MediaOut and view it. If the final output is unchanged while Merge changes, confirm that the correct Merge is connected to MediaOut. A large composition can contain unused branches, disabled branches, and old title versions that are not part of the final path.
A common clean-up move is to trace backward from MediaOut. Follow the wire to the last Merge or tool. Then follow that node’s foreground and background wires until you reach the title. This reverse trace avoids spending time on a beautiful but disconnected branch.
Step 5: Use a disposable control
Temporarily replace the complicated Polygon with a simple Rectangle. Remove feathering. Set it large. Move it. If the simple Rectangle works, your original mask geometry or animation is the issue. If the simple Rectangle fails, keep it in place and inspect the destination input and node path.
This controlled substitution is faster than rebuilding the project. It also gives you a known-good baseline for comparing a tracked mask, a Paint mask, a Bitmap mask, or a mask passed from another branch.
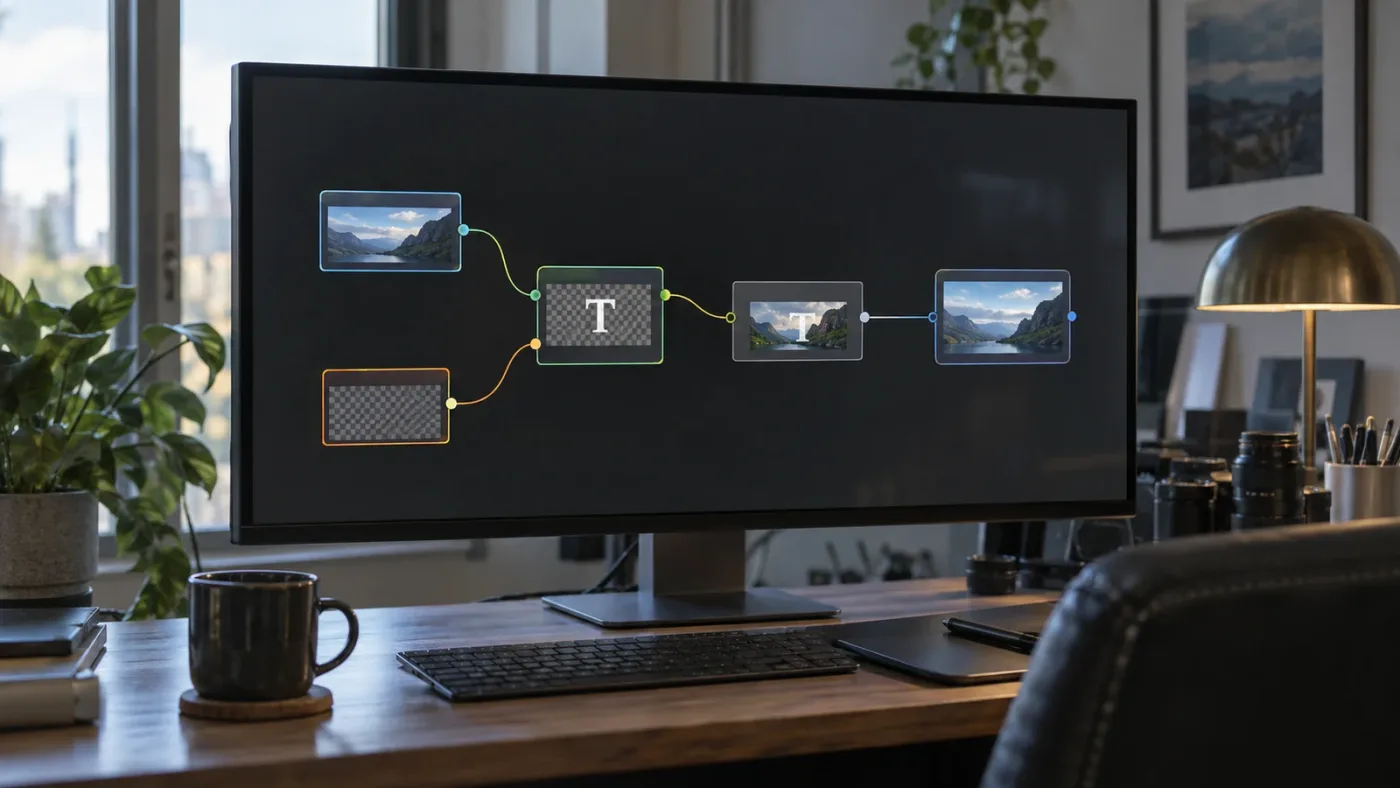
Why does a mask affect Merge but not Text+?
A mask on Merge and a mask on Text+ control different stages of the composite. If the mask affects Merge but the Text+ node remains unchanged, that may be the expected result rather than a failure.
Imagine this graph:
MediaIn1 --------------------> Merge1 ----------------> MediaOut1
                                   ^
Text1 ----------------------------|
                                   ^
                              Mask1
Here Mask1 is limiting the Merge operation. The Text+ node can remain fully visible when viewed by itself because the mask does not belong to Text+. It is controlling how the foreground and background are combined.
Now compare it with this graph:
MediaIn1 --------------------> Merge1 ----------------> MediaOut1
                                   ^
Text1 <--- Mask1
In the second graph, Text+ is limited before it reaches Merge. The title’s own output changes. This is the better arrangement when you want to animate a reveal, clip the title to a region, or apply a later effect only to the visible portion of the title.
There is no universal “correct” destination. Put the mask at the stage where the creative decision belongs.
Which placement should I choose for common text effects?
| Desired effect | Recommended mask placement | Why |
|---|---|---|
| Text types on inside a rectangular window | Text+ blue input | The text output is limited before compositing |
| Text appears behind a person | Merge blue input, often with an inverted roto mask | The composite is limited so the foreground or background relationship changes |
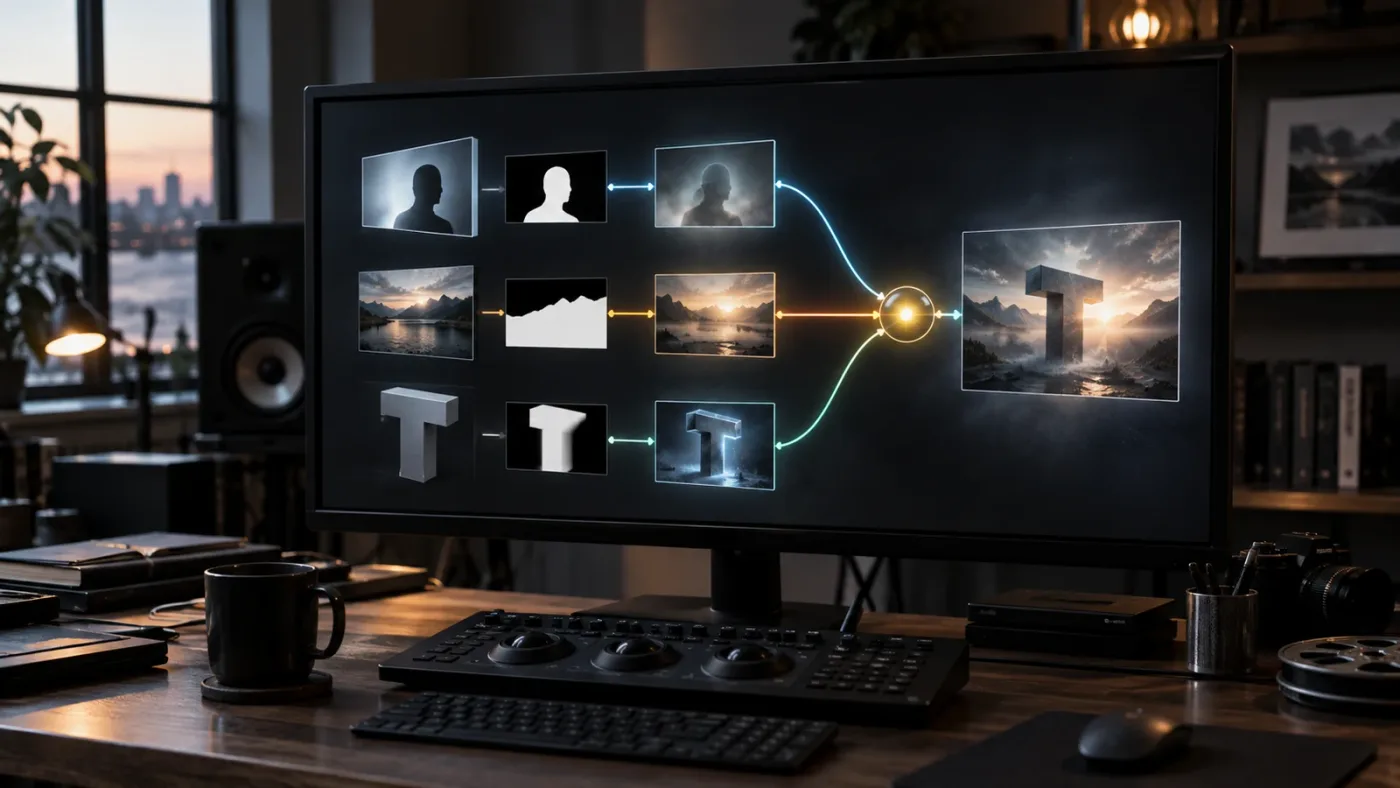
| A glow applies only to the letters | Glow node after Text+ or on a merged text branch | The effect sees the text pixels rather than the unmasked footage |
| Footage fills the letters | Use Text+ as a mask for the footage or Merge, depending on the desired composite | The text becomes a matte source for another image |
| The whole title group is clipped as one design | Mask the final title group before it meets the main footage | All parts of the title are limited together |
If your goal is to hide the text behind an actor, do not expect a mask on Text+ to change the actor layer. Text+ masking hides or reveals the title. Occlusion is a compositing decision, so it usually belongs on the Merge that combines the title and the actor footage, with the mask inverted when the actor should cover the title.
Casey Faris demonstrates this distinction in his Resolve 21 lesson by connecting a Polygon mask to the blue input of a Merge and explaining that the mask controls where the Merge does its job. (Casey Faris’s Fusion lesson)
The same idea applies to title templates. A template may contain a Text+ node, a Background node, a glow, and several Merge nodes. If you attach your mask to the first Text+ but the visible outline and glow are built in separate branches, part of the title can still appear outside the mask. Mask the group after it is assembled, or apply matching masks to each effect branch when the look requires separate control.
This is also why a mask may appear to work in the node viewer but fail in the final title. The viewer may show only the Text+ branch, while the final Merge contains an unmasked Background or duplicate text element.
Mask placement is a creative decision: mask Text+ for text visibility, and mask Merge for compositing relationships.
If the background and foreground seem reversed while you perform this test, use the focused Fusion Merge node backwards fix before changing the mask geometry.
Can a 2D mask affect Text 3D in Fusion?
A 2D Rectangle or Polygon mask cannot directly control a Text 3D object while that object is still living in Fusion’s 3D scene. Render the scene to a 2D image with Renderer3D, then apply the 2D mask to that rendered result, or build a matte inside the 3D workflow.
This distinction is easy to miss because Text+ and Text 3D look related in the Effects Library. Text+ creates a 2D image. Text 3D creates a 3D object that can be connected to 3D scene tools, lights, cameras, materials, and a Renderer3D. A 2D mask has no depth in that scene.
Blackmagic’s Fusion training material states that the standard 2D Text+ node cannot connect into a Merge 3D composite and that a Text 3D node is required for a 3D composite. Its broader Fusion documentation describes the 3D workflow as a scene that is rendered before it is integrated with conventional 2D compositing. (Blackmagic Fusion Visual Effects guide, Fusion 20.3 Reference Manual)
What is the correct Text 3D mask workflow?
For a simple screen-space clip, use this order:
Text3D -> Merge3D -> Renderer3D -> Rectangle or Polygon mask -> Merge2D -> MediaOut
The 2D mask belongs after Renderer3D because Renderer3D is the point where the 3D scene becomes an image. If the Text 3D object is merged with other 3D objects, render the complete scene first, then decide whether the mask should affect the whole rendered image or only a downstream title branch.
For an in-scene effect, use a 3D solution instead. A 3D object can provide depth, Object ID, or Material ID information that downstream tools can use to generate a matte. Blackmagic’s reference material describes Object ID and Material ID as auxiliary channels that can be used to generate masks in appropriate workflows. (Fusion Tool Reference)
If you are unsure which text node you have, select it and inspect the node label and inputs. A Text+ node belongs to a 2D image chain. Text 3D belongs to a 3D scene chain. Do not keep dragging a 2D mask into a 3D scene and hope the wire color will solve the mismatch.
The practical decision is short:
- Use Text+ when the title is a 2D graphic and a 2D mask should reveal it.
- Use Text 3D when the title needs depth, camera perspective, or 3D lighting.
- Use Renderer3D before a 2D mask when the mask is screen-space.
- Use a 3D matte or auxiliary channel when the mask must understand the scene.
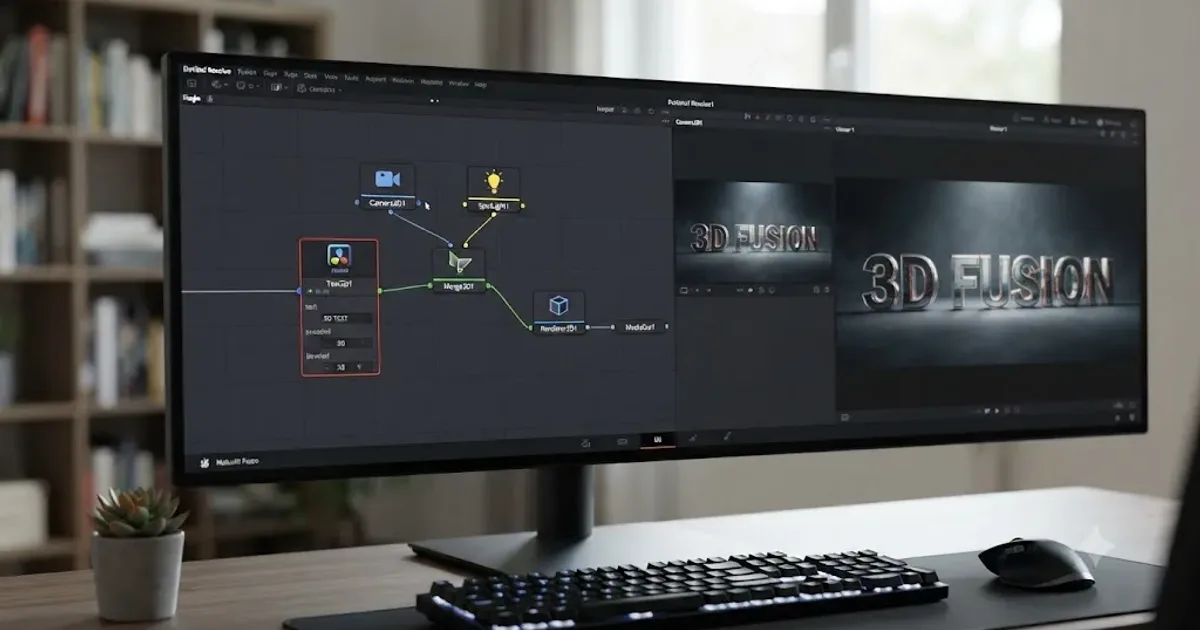
For a complete node recipe that stays focused on 3D titles rather than troubleshooting, see the DaVinci Resolve Fusion 3D text tutorial.
How do I reveal text behind a person with a Fusion mask?
To place text behind a person, build the title as a foreground, place the footage in the composite, and use a roto or Polygon mask on the Merge that should be occluded. The mask usually needs to be inverted so the person remains in front of the title.
This is a different problem from making Text+ visible only inside a shape. The title-reveal problem asks, “Where can the title appear?” The behind-person problem asks, “Where should the title be covered by the subject?” Both are masks, but the target stage and inversion are different.
A reliable behind-person graph
Start with a clear two-layer composite:
MediaIn1 --------------------> Merge1 ----------------> MediaOut1
                                   ^
Text1 ----------------------------|
                                   ^
Polygon1, inverted if needed ----- blue Effect Mask input
If the title should appear behind the person but in front of the background, you may need two Merge stages. One Merge builds the title over the footage. A second masked branch or a dedicated subject layer puts the person back in front. The exact design depends on whether the subject is already isolated, whether the mask is a foreground cutout, and whether you need a separate shadow or glow.
Do not apply the subject mask to Text+ and assume it will magically place the subject on top. Applying the mask to Text+ only changes title visibility. It does not reorder the layers.
Why does Invert seem to do the opposite of what I want?
A Polygon around the person normally describes the person’s region. If you connect that mask to the text and leave it normal, the text may remain visible only over the subject. That can look like the title is stuck on the person rather than behind them. Invert the mask when you want the title outside the subject region, or use a separate subject branch when the person must be composited above the title.
The distinction between “text outside the shape” and “person above text” is worth preserving. Inverting the title’s visibility can create the correct visual result in a simple composite, but a more complex shot may require a clean foreground subject with its own alpha.
How do I track the mask?
If the person moves, animate the Polygon points or use a tracker to drive the mask. Fusion’s overview describes planar and 2D tracking as ways to animate masks and attach graphics to moving footage. (Blackmagic’s Fusion tracking overview)
The first test should still be a stationary frame. If the mask does not affect the title on frame 50, tracking will not repair the connection. Prove the mask on one frame, then animate it.
For a simple motion path, keyframe the mask Center or points. For planar movement, track a suitable surface, create the required transform or planar transform, and connect the mask or title branch according to the tracker’s output. Trackers solve motion. They do not choose which node receives the mask.
When a tracked mask looks offset, check whether the mask and the text are in different coordinate spaces or have different transforms applied before the mask. A Transform before the mask and a Transform after the mask can produce different results because the mask is evaluated at a particular point in the flow. If the title moves but the mask stays behind, move the transform or use the tracker’s output to drive the same stage.
How do I keep a glow from escaping the mask?
If the title has a glow or shadow, mask the branch that creates the glow as well, or assemble the title and its glow into a group and mask the final 2D result. A mask on the original Text+ node may not limit a glow generated later in a separate branch.
Think in pixels, not labels. “Title” is a design concept. Fusion sees Text+, Glow, Shadow, Background, Merge, and Renderer nodes. Each branch needs the mask at the stage where it produces the pixels that should be limited.
A mask can hide text, but only a composite can place text behind a person.
Which Fusion mask settings can make the text look unaffected?
The most important mask settings are Level, Invert, Soft Edge, Paint Mode, channel choice, and common controls such as Apply Mask Inverted and Multiply by Mask. Change one setting at a time so you can tell whether the problem is geometry, value, or compositing.
Level
Level controls the strength of the mask. At full value, the white region has full influence unless the mask has a soft edge. At low values, the text may remain partly visible everywhere, which can look like the mask is doing nothing when the intended effect is subtle.
Set Level to full strength for diagnosis. Restore a lower value only after you can see a clear difference.
Soft Edge and feathering
Soft Edge spreads the transition around the mask. A very large feather can make a small mask appear transparent or make the entire title partially visible. Set Soft Edge to zero during testing. Then increase it slowly while watching the Text+ output.
For animated masks, feathering can also make a moving edge look like a lighting change rather than a hard reveal. That is a design issue, not a connection failure.
Invert
Invert swaps the inside and outside of a mask. It does not move the shape or repair a misplaced wire. If the shape is nowhere near the title, Invert simply swaps two empty regions.
Use a large, obvious mask first. Then use Invert to choose the side of the edge you need.
Paint Mode and combining masks
Masks can combine with other masks using operations such as Add, Subtract, Multiply, Replace, and other modes described in the Fusion Tool Reference. Two masks feeding the same target can create an unexpected result if one subtracts the other or if a tiny second mask limits the combined channel. (Fusion Tool Reference)
If the blue input has multiple mask wires or a mask node has another mask connected to it, disconnect the extras temporarily. Test one Rectangle. Add the Polygon back after the simple case works.
Channel selection
A Bitmap mask or image-derived mask may be reading Alpha, Red, Green, Blue, Luminance, or another channel. If the selected channel is black at the title’s position, the mask contributes no value even though the source image looks bright in the viewer.
For an image used as a mask, inspect the channel selection and view the mask output. Do not judge the source image by its color alone. A colorful image can have a black alpha channel, and a black-and-white image can carry useful luminance values.
Apply Mask Inverted and Multiply by Mask
Apply Mask Inverted reverses how the Effect Mask channel is applied to a tool. Multiply by Mask changes the RGB values as well as the effect-limiting behavior and can make an image appear black outside the mask. These controls are not interchangeable with the mask node’s Invert setting.
If your goal is simply to reveal letters through a window, leave Multiply by Mask off while diagnosing. Turn it on only when you want premultiplied RGB behavior for a later operation.
The common-control documentation explains these controls and their relationship to the combined mask channel. (Fusion Tool Reference)
Frame range and keyframes
An animated mask can be correct on frame 1 and wrong on frame 100. Check the frame where you see the failure. A mask may have a keyframed Center, Width, Height, or point position that moves away from the title. A Paint mask can also be drawn on a limited range rather than across the whole clip.
Move the playhead to a known keyframe and test. If the mask works at one frame, inspect animation. Do not reset the entire node tree until you know whether the failure is time-dependent.
Viewer display versus rendered result
Fusion viewer controls can show guides, overlays, controls, and different channels. A visible mask outline does not necessarily mean the mask is white in the rendered channel. Toggle between the mask viewer and the final image viewer. If necessary, use a simple solid Background as the target and confirm the mask creates a visible cutout.
The goal is not to make the control overlay look right. The goal is to prove the pixels change.
Why does a text mask work in one Fusion composition but not another?
When the same-looking mask works in one composition and fails in another, compare the text type, image resolution, node order, frame range, and active branch. The mask shape is only one piece of the result.
Different frame formats and resolutions
Mask coordinates are evaluated in the composition’s image space. If the mask was created in one composition and copied into a different format, its Center, Width, Height, and Fit Input behavior can place the shape somewhere unexpected. This is especially noticeable when a title is created from a transparent Fusion Composition, a timeline clip, or a high-resolution source.
The practical test is to create a new Rectangle in the destination composition instead of copying the old mask. If the new Rectangle works, compare the old mask’s fit settings and dimensions. If both fail, look at the target node and connection.
Do not confuse a coordinate mismatch with a dead mask. Move the new mask visibly across the frame. If its white region moves but does not overlap the title, the mask is alive and the geometry is wrong.
Different node types
A Text+ generator, a Text 3D node, a Fusion Title template, and a rendered title clip do not expose the same inputs or live at the same stage. A mask that is correct for Text+ may need to move after Renderer3D for Text 3D. A title template may contain several internal tools that are not visible until you open its Fusion composition.
If the title came from the Edit page, select the actual clip and open its Fusion composition. If you created a new Fusion Composition on the timeline, make sure you are masking the Text+ inside that composition rather than a different title on another track.
Different node order
A mask placed before a Transform follows a different coordinate relationship than a mask placed after a Transform. A mask connected directly to Text+ limits Text+ in the node’s current image space. A mask connected to a later Merge limits the composite at a later stage. There is no universal order that works for every effect.
Write down the intended job in one sentence before rearranging nodes:
- “Reveal the letters through this window.” Mask Text+.
- “Keep this title behind the subject.” Mask the composite.
- “Clip the finished title and glow as one unit.” Mask the assembled 2D title branch.
- “Use the 3D object’s silhouette.” Render or generate a 3D matte first.
That sentence usually tells you where the mask belongs.
Different frame or clip ranges
Fusion compositions inherit timing from the clip or composition in which they live. A mask can have Global In and Global Out settings that differ from the text’s range. A Paint stroke can exist on some frames but not others. Test at the exact frame where the viewer shows the failure.
When a title appears in the Edit page but not in Fusion, or appears in Fusion but not in the Edit page, check the clip range and MediaOut path before changing mask settings. The timeline display is the final consumer of MediaOut, not a second Fusion viewer.
Different branch visibility
A duplicated title branch can make a mask seem ineffective. Bypass every title branch except the one under test. Then re-enable them one by one. This is more reliable than trying to infer the branch from the final image, especially when two copies use the same font, color, and position.
Does the DaVinci Resolve version change this mask fix?
Resolve 21.1 is the current release context for this guide, while Blackmagic’s support history also lists Resolve 20.3.3 as a 20-series maintenance release. The basic Text+ Effect Mask workflow is not a version-specific trick, but version differences can affect previews, performance, or the behavior of newer Fusion tools. (Blackmagic Design support, DaVinci Resolve 21.1 announcement)
Use this version check:
| Version context | What to assume for this article | What to verify if behavior differs |
|---|---|---|
| DaVinci Resolve 21.1 | Text+, 2D masks, node inputs, Merge, and Renderer3D follow the same core node logic described here | Check release notes for a specific regression or changed preview |
| DaVinci Resolve 20.3.3 | The same basic mask and node diagnosis applies | Update if the problem is a broader Fusion memory or stability issue |
| Older Resolve versions | The core Effect Mask model is still familiar, but labels and controls can move | Use the manual that matches the installed version |
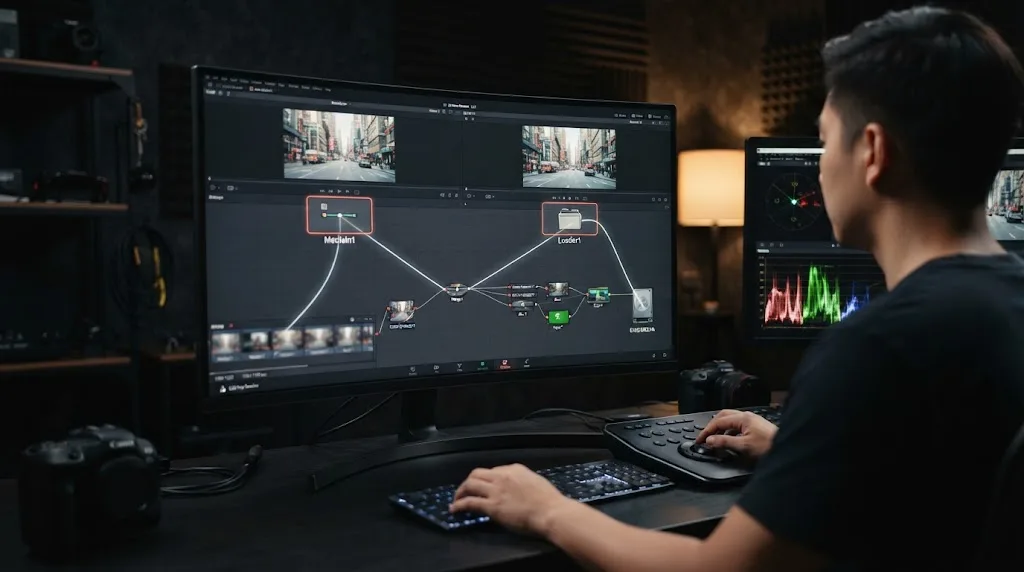
| Fusion Studio outside Resolve | The node logic is similar, but Loader and Saver workflows differ from MediaIn and MediaOut | Trace the correct input and output tools for that application |
The version number matters most when the failure appeared immediately after an update, affects many unrelated Fusion nodes, or includes crashes, missing controls, or corrupted previews. If only one mask fails in one title, check the node tree first.
Blackmagic’s support center is the right place to confirm the installed release and download the matching documentation. Blackmagic also publishes official training guides, including Fusion lessons that cover node-based compositing and visual effects. (Blackmagic Design training)
Do not solve a local wiring mistake by downgrading Resolve. First reproduce the issue in a minimal Text+ and Rectangle test. A minimal test tells you whether the problem belongs to the project or the installation.
How do I rebuild a broken text mask from scratch?
Rebuild the smallest possible 2D text composition, prove the mask, then move the working nodes back into the project. This preserves the original graph while giving you a reliable reference.
The clean rebuild
- Duplicate the timeline clip or save a new version of the composition so the original remains available.
- Add a fresh Text+ node and type
MASK TEST. - Add a fresh Rectangle mask.
- Connect Rectangle directly to Text+’s blue Effect Mask input.
- View Text+ and move the Rectangle across the word.
- Add a fresh Background or MediaIn node.
- Add a fresh Merge node.
- Connect the footage or Background to Merge’s yellow Background input.
- Connect Text+ to Merge’s green Foreground input.
- Connect Merge to MediaOut.
- View MediaOut and move the Rectangle again.
If this graph works, the installed application and the basic mask mechanism are functioning. The broken project has a graph, node type, branch, coordinate, or animation issue. Compare the small graph with the original one from left to right.
If the graph does not work, change only one item at a time:
- Replace Text+ with Background and see whether the Rectangle limits it.
- Replace Rectangle with Polygon.
- View the mask by itself.
- Set Level to full strength.
- Turn off Invert and Apply Mask Inverted.
- Disconnect every extra mask.
- Confirm the node is not bypassed.
- Check that MediaOut receives the tested Merge.
This order keeps the diagnosis honest. If you replace five things at once, you may get a result without knowing what fixed it.
What if the fresh test works but the original does not?
Start with the original title’s node type. If it is Text 3D, move the 2D mask after Renderer3D. If it is a Fusion Title template, locate the final 2D image branch and mask the assembled result. If it is a group of Text+ and effect nodes, mask the group after its glow, shadow, and background have been combined.
Then inspect every visible title branch. Bypass one branch at a time. A second copy of the title is the simplest explanation for a result that seems to ignore a working mask.
Next, compare composition size and node order. Create a fresh Rectangle inside the original composition instead of pasting one from another project. Copying the mask shape can bring along unexpected fit, animation, channel, or frame settings.
Finally, inspect modifiers and expressions. If a title’s position is driven by a Follower, Transform, or expression, the mask may be working in a different space than the visible letters. Temporarily remove the modifier from the test copy, prove the connection, then restore the animation.
What if the fresh test fails too?
If a fresh Text+ and Rectangle fail in a new composition, verify that the correct viewer is showing the correct node and that the application is not in a bypassed state. Close and reopen the test only after the node-level checks are complete. Then compare the behavior in a new project with the same Resolve version.
If the new project works, the original project contains the issue. If the new project also fails, check the release notes, GPU or display behavior, and installation-specific symptoms. A mask that fails everywhere is a different class of problem from a mask that fails in one node graph.
If the node still refuses to behave, Uncle can point at the exact button in your project while you work.
What is the best way to learn Fusion when tutorials do not match my project?
The best learning path depends on whether you need a reference, a complete course, community diagnosis, or live help inside your own project. Official Blackmagic training is the strongest free foundation, Casey Faris is a useful practical teacher, community forums help with unusual node graphs, and an on-screen assistant is useful when the tutorial’s composition does not match yours.
Blackmagic publishes official training books and lesson files for Fusion, including introductions to node-based compositing and advanced visual effects. Casey Faris’s Resolve 21 course explains masks through a working node tree and provides a plain-language model for what the blue input does. (Blackmagic Design training, Casey Faris’s Resolve 21 lesson)
The choice becomes clearer when the problem is specific:
| Resource or tool | Best fit | Honest limitation |
|---|---|---|
| Blackmagic Design official training | Learning the node model from authoritative Resolve material | It cannot see the private project where your mask is failing |
| Casey Faris tutorials | Seeing a working Fusion idea explained in practical language | A tutorial graph may still differ from your title template or version |
| Blackmagic community forum | Sharing a node tree and getting help with an unusual case | Replies are asynchronous and the answer depends on the details you provide |
| Sottocut | An editing assistant that works with an open Resolve project and focuses on proposing and verifying editing changes | Its official site describes a Mac-first requirement and Resolve Studio dependency, so it is not a general Windows Text+ tutor (Sottocut) |
| Eddie AI | Logging footage, creating rough cuts, and sending edits back to Resolve | Its official Resolve workflow centers on importing clips and timelines for editing, not pointing to a Fusion mask input (Eddie AI) |
| CutAgent | Asking an agent to coordinate editing tasks in DaVinci Resolve, including broader timeline and Fusion workflows | It is an editing agent that acts on tasks, not a narrowly focused explanation of why one Text+ wire is ineffective (CutAgent) |
| PremiereCopilot | Natural-language editing inside Adobe Premiere Pro | Its official product is native to Premiere Pro, so it is not a direct Fusion assistant for DaVinci Resolve (PremiereCopilot) |
| TryUncle | Getting the exact control identified on your own Resolve screen while you work | It complements learning and practice; it does not replace understanding the node relationship |
This is the honest consensus. The free official material is the right place to learn what an Effect Mask is. YouTube is often the fastest place to see a complete example. Forums are useful when you can share the exact node graph. Automation tools are strongest when you want editing work performed or coordinated. A screen-aware tutor fills a different gap: the tutorial says “connect the mask,” while your project asks, “Which of these five blue inputs is the one I need?”
If you are searching for the best way to learn DaVinci Resolve, learn DaVinci Resolve fast, an AI tool to learn DaVinci Resolve, or an app that helps you while using DaVinci Resolve, keep the job in view. A course builds the model. A tutorial demonstrates the model. A community answers the edge case. An on-screen assistant can reduce the time spent locating the right control in your own composition.
We built and run a 100,000+ member professional video-editing community, have 7+ years of professional commercial video-editing experience, have taught 100,000+ students on Udemy as an official Udemy Business Partner, and have taught and worked with Fortune 500 companies. That background shapes the advice here: learn the node model, then use help that points to the actual break in your workflow.
The current TryUncle app is paid, and the product is intended to help on Mac and Windows. After you understand the likely diagnosis, check TryUncle if you want Uncle to point at the exact Fusion control in your own project while you work.
How can I prevent the mask problem next time?
Prevent the problem by naming nodes, testing one stage at a time, keeping Text+ and Text 3D separate in your mental model, and saving a small working version before adding animation. These habits cost little and make future troubleshooting much faster.
Name the job, not just the shape
Rectangle1 tells you what the node is. Mask_Title_Reveal tells you what the node does. Use purpose-based names for masks, text, merges, and trackers. A clear graph lets you follow the intended relationship weeks later.
Keep a diagnostic Rectangle
When a title gets complicated, keep a disabled or duplicated diagnostic Rectangle nearby. If a Polygon, Paint mask, or tracker fails, connect the Rectangle to the same target and prove whether the target still responds. This separates mask design from node routing.
Build the title in stages
First make Text+ visible. Then add the mask. Then add the footage. Then add the glow. Then animate. Each stage has a known working result. When something breaks, you know which addition caused it.
Mask the assembled group when the look is a group
If the title includes letters, a background plate, a border, and a glow, decide whether the viewer should see them as one unit. If yes, assemble the group and mask the final 2D result. If no, mask each branch deliberately.
Keep 3D and 2D boundaries obvious
Name nodes Text3D_Main, Renderer3D_Title, and Mask2D_Reveal when moving between workflows. A visible name is a reminder that the mask belongs after the render if the creative decision is screen-space.
Save versions before risky rewiring
Fusion’s versioning features are useful when you are experimenting with animations or node settings. The official Fusion overview lists node versioning as a way to try new animations without duplicating a node. (Blackmagic Design Fusion workflow)
The goal is not to create a giant safety system. It is to keep one known-good path while you explore.
What is the final fix for a DaVinci Resolve Fusion mask not affecting text?
Start at the blue input, not at the mask shape. Select the actual Text+ node, view it, view the mask, and connect the mask directly to Text+ if the goal is to limit text visibility. If the title is Text 3D, render it first or use a 3D matte. If the goal is to put the title behind a person, mask the composite and check inversion.
Then test the smallest graph you can make. A fresh Text+, a fresh Rectangle, a Merge, and MediaOut will tell you whether the problem belongs to the project or to the node relationship. Once the simple case works, bring back the Polygon, tracker, glow, animation, and title template one piece at a time.
The fix is usually not hidden. It is attached to the wrong node, aimed at the wrong stage, or producing values outside the pixels you are looking at. Trace the pixels. The mask will tell you where it belongs.
Frequently asked questions
- Why is my DaVinci Resolve Fusion mask not affecting Text+?
- The mask is usually connected to the wrong input or the wrong node. Connect the mask output to Text+'s blue Effect Mask input, select the Text+ node, and check the mask's Level, Invert, and Bypass controls.
- How do I connect a mask to text in DaVinci Resolve Fusion?
- Create a Rectangle, Polygon, Ellipse, or Paint mask, then drag its output to the blue Effect Mask input on the Text+ node. View the Text+ node and the mask separately to confirm that both contain useful image data.
- Why does my mask affect a Merge node but not my text?
- A Merge mask limits the Merge operation, while a Text+ mask limits the generated text. Connect the mask to the node that creates the pixels you want controlled, or connect it to the Merge if the goal is to limit the composite.
- Can I mask Text 3D directly in Fusion?
- A 2D Polygon or Rectangle mask cannot control a Text 3D object before it is rendered into an image. Render the 3D scene with Renderer3D, then apply the 2D mask to the rendered result or create a 3D matte for an in-scene solution.
- What is the fastest way to debug a Fusion mask?
- Select the mask and view it in a viewer, select the target text node and view it, then temporarily connect the mask to a simple Background or Blur node. If the mask works there, the problem is the target node, node type, connection, or composition order.
Sources
- Fusion page overview and mask workflow, Blackmagic Design
- Fusion 20.3 Reference Manual, Blackmagic Design
- Fusion Tool Reference, Blackmagic Design
- DaVinci Resolve 21.1 announcement, Blackmagic Design
- Blackmagic Design Support Center
- DaVinci Resolve training resources, Blackmagic Design
- Fusion Visual Effects with DaVinci Resolve 17, Blackmagic Design
- Casey Faris, Making Videos in Resolve 21 transcript
- Blackmagic Design forum discussion of Fusion Effect Mask behavior
- Blackmagic Design forum discussion of 3D text and 2D masks
- Sottocut official site
- PremiereCopilot official site
- Eddie AI DaVinci Resolve integration
- CutAgent official site
Learn by doing, not watching
Stop translating tutorials to your timeline.
TryUncle stays beside Resolve on Mac and Windows. When you ask, Uncle sees your screen and points at the exact control you need. No hunting through tabs, timestamps, or mismatched tutorials.
Meet TryUncleKeep reading
 FixesJul 10, 202627 min read
Fusion Merge Node Backwards? Fix Swapped Background/Foreground
Composite looks upside down in DaVinci Resolve Fusion? A Merge node's Background and Foreground inputs got swapped. Here's the exact fix, every time.
 GuidesAug 2, 202640 min read
DaVinci Resolve Fusion 3D Text Tutorial: The Full Node Recipe
Build extruded, lit 3D text in DaVinci Resolve Fusion: the full Text3D, Merge3D, and Renderer3D node recipe, plus lighting, materials, and fixes.
 ComparisonsAug 17, 202640 min read
DaVinci Resolve Fusion MediaIn vs Loader: Which Wins?
DaVinci Resolve Fusion MediaIn vs Loader explained with frame ranges, caching, project media, portability, and a practical decision matrix.