
Learn / DaVinci Resolveupdated for DaVinci Resolve 21.0.3 (July 2026)
DaVinci Resolve Day for Night Color Grading Tutorial
Quick answer
To grade day for night in DaVinci Resolve, crush contrast and pull exposure down about two stops, cool the color balance toward blue-cyan, then use an HSL qualifier to darken the sky and power windows to keep practical lights warm and bright. Track the windows, add grain last, and check the result against scopes before moving on.
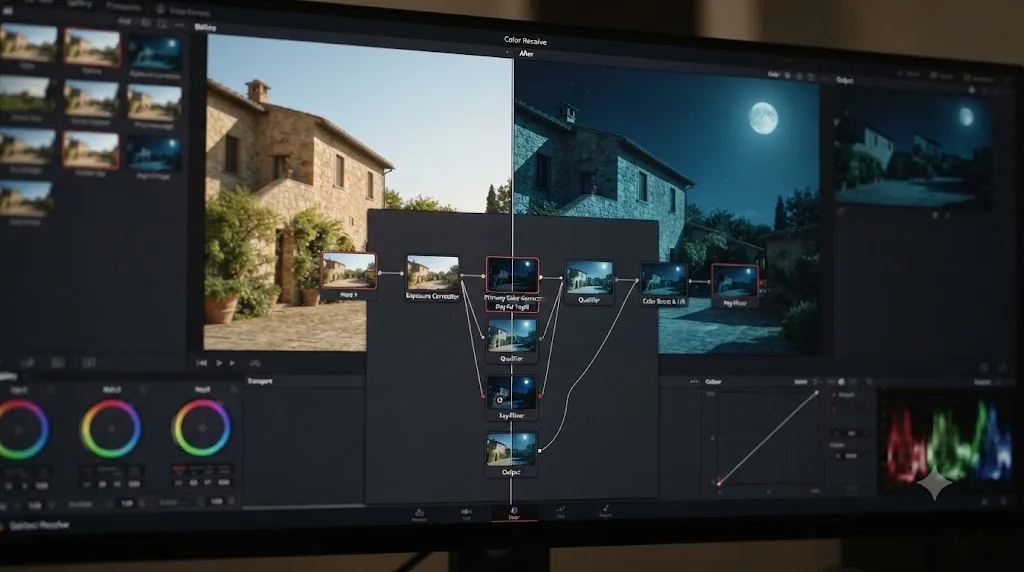
You shot the scene at two in the afternoon because that's when the location was free, and now the client wants it to read as midnight. That's not a lighting problem anymore. It's a grading problem, and DaVinci Resolve can solve it with tools you already have, no plugin purchase required. The catch is that "make it look darker" isn't the recipe. Darker alone gets you a dim, flat afternoon. Night needs contrast pulled apart in a specific order, color shifted after that, and the sky and practical lights handled separately from everything else, or the illusion collapses the second anyone looks at the frame for more than a second.
This guide is one recipe, six nodes, applied in the order that actually sells the effect, plus the history of why filmmakers fake night in daylight at all, two full worked examples, a troubleshooting section for when the grade looks wrong, and a straight answer on whether you need DaVinci Resolve Studio to pull it off (you don't). We run a 100,000+ member DaVinci Resolve editing community and have put in more than seven years of paid commercial color and edit work between us, and day for night is one of the recurring how-do-I-fake-this questions that comes up there, almost always from someone who tried a single LUT and got laughed at in a client review.
What is day for night color grading in DaVinci Resolve?
Day for night color grading is the post-production half of a technique where footage shot in daylight is manipulated, through contrast, color, and selective isolation, to read as if it were shot at night. In DaVinci Resolve specifically, that means a node chain on the Color page: exposure and contrast pulled down, color balance shifted cool, the sky and any practical lights handled separately from the rest of the frame with an HSL qualifier and power windows.
Day for night is a lighting and color decision made before the camera rolls, not a filter applied after the fact. The post-production grade covered in this guide does most of the visible work, but it's compensating for choices, or the absence of choices, made on set. A shot lit flat and evenly under harsh midday sun with a cloudless sky fights the grade every step of the way. A shot with some cloud cover, a composition that avoids a huge expanse of open sky, and at least one practical light source in frame gives the grade something to work with.
The term itself is a translation. The French call it "la nuit américaine," the American night, because the technique showed up so often in American studio films that French filmmakers named it after the country that popularized it, per Wikipedia's entry on the technique. François Truffaut later used that exact phrase as the title of his 1973 film about a film production, which is why searching "day for night" sometimes surfaces a movie title instead of the technique.
Why shoot day for night instead of lighting an actual night scene?
Because lighting a real night exterior convincingly is expensive, slow, and hard to control, while daylight is free and already even. A night shoot needs generators, HMIs or large LED fixtures to fake moonlight, safety lighting for crew and cast that has to stay out of frame, and hours added to a schedule that daylight exteriors don't need.
Day for night emerged specifically to route around that cost. Film stocks through the mid-20th century were slow, often rated around 100 ISO or less, and paired with the standard 24 frames-per-second shutter speed, they simply couldn't record a dimly lit real night scene with usable detail, per the history covered in No Film School's roundup of day-for-night films. Shooting in daylight and darkening the image afterward, whether in-camera through underexposure and filtration or later in the grade, sidestepped a hardware limitation that no amount of lighting budget could fix outright.
That constraint eased as film stocks got faster and digital sensors got more sensitive, but the economic argument never went away. A daylight exterior needs one lighting setup, natural sun, maybe a bounce or a flag. A night exterior needs an entirely separate lighting plan built from scratch, and it still has to look intentional rather than like a poorly lit day exterior with the exposure pulled down. Modern productions, including big-budget ones, keep reaching for day for night not because the old technical limitation still exists, but because the schedule and safety math still favors it.
What footage do you need before you start a day for night grade?
You need footage with enough dynamic range in the highlights and shadows to survive a heavy contrast pull, ideally shot in a flat or log profile rather than baked-in Rec.709. A Rec.709 clip straight off a camera's standard picture profile has already had contrast and saturation decisions applied that fight against the flexibility this grade needs.
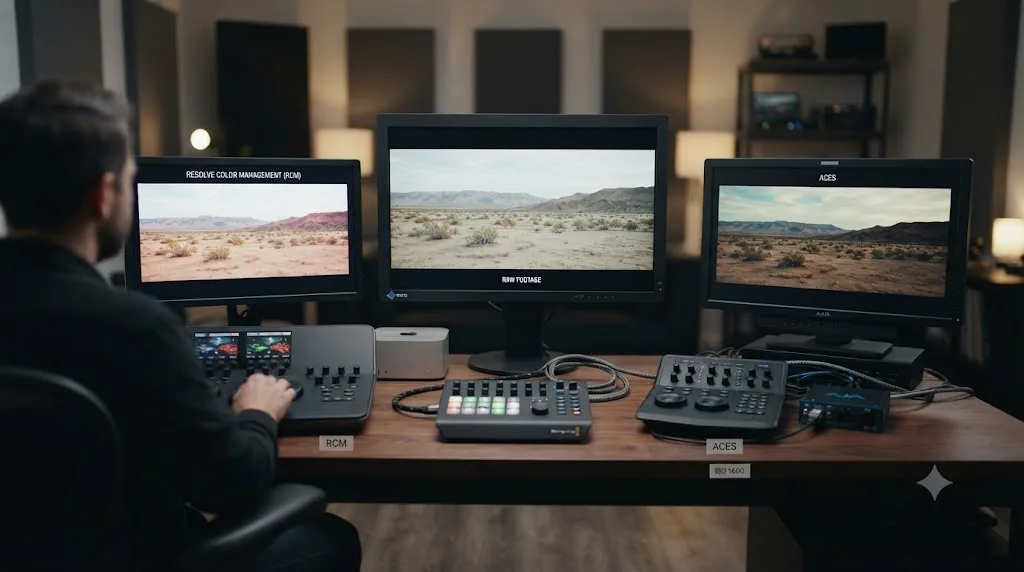
If you're working from log or RAW footage, our guide to DaVinci Resolve Color Management versus ACES covers how to normalize that footage into a working color space before you start any creative grading, day for night included. Skip that step and the contrast and color moves in this guide behave unpredictably, because you're fighting the underlying log curve at the same time you're trying to build a look on top of it.
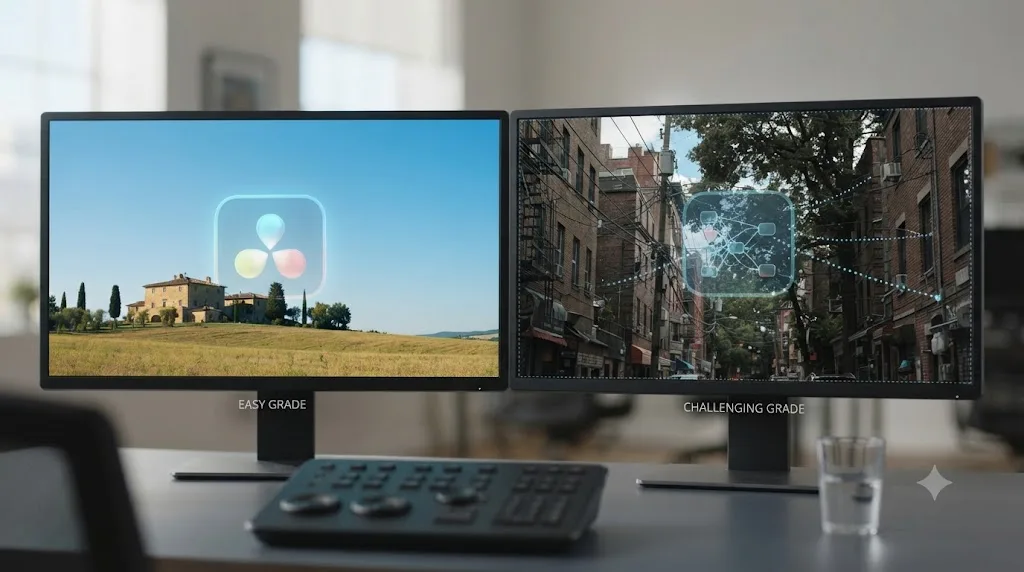
Composition matters more than most editors expect going in. A frame dominated by open sky gives you more area to isolate and darken later, which sounds helpful until you realize a huge blue expanse resists an HSL qualifier's selection more than a small sliver of sky at the edge of frame does. A composition with some tree cover, buildings, or a horizon line that keeps sky to a manageable portion of the shot makes the entire grade easier. None of that is fixable after the fact if the footage genuinely doesn't have it, which is why day for night lives partly in the shot list and partly in the grade, not entirely in either one.
How do you build a day for night grade in DaVinci Resolve, node by node?
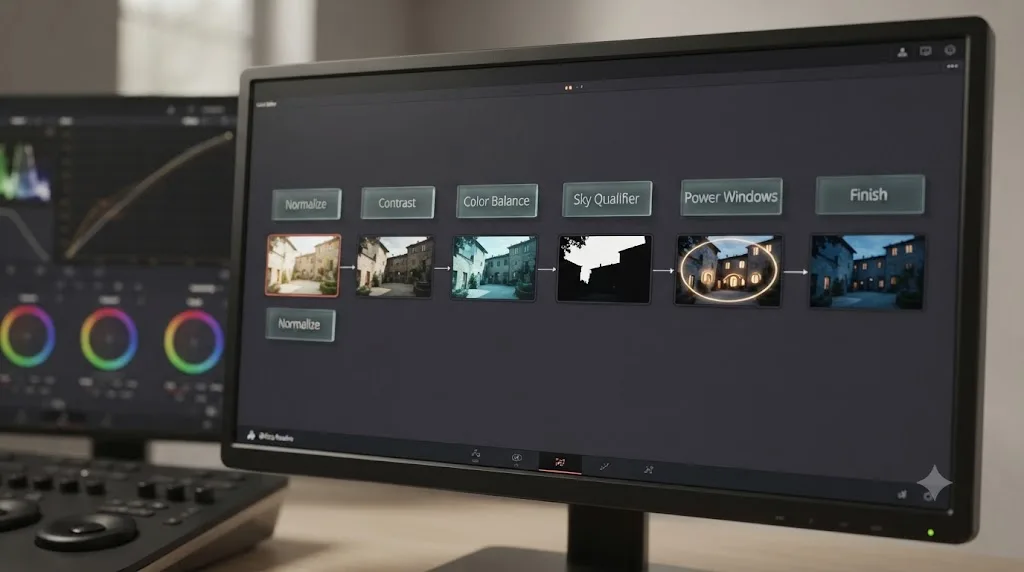
Six nodes, applied in order, each doing exactly one job: normalize, crush contrast, cool the color balance, isolate and darken the sky, protect practical lights with power windows, then finish. Do them out of order and the grade fights itself; a color shift added before contrast is crushed, for instance, ends up looking blue and daytime rather than genuinely dark.
Node 1: Normalize. Fix white balance and any exposure inconsistency on the raw clip before anything stylistic happens. This node's only job is to give every later node a clean, neutral, correctly exposed starting point. If your footage is log or RAW, this is also where a Color Space Transform node converts it into a working color space, using the same math as Resolve Color Management for a clean transform without the clipping a naive LUT can introduce.
Node 2: Crush contrast and pull exposure down. Pull the midtones down first with the Gamma wheel, then the highlights with the Gain wheel, and raise the shadows a small amount with the Lift wheel to hold onto shadow detail while flattening overall contrast. This mirrors the six-step approach independent filmmaker Noam Kroll outlines for day-for-night grading, where reducing luminance and contrast comes before any color work.
Node 3: Cool the color balance. Shift the midtones toward a cool blue-cyan tone, with a light magenta tilt, and pull back saturation in the shadows if they read oversaturated once darkened. This is the node most tutorials jump to first, which is exactly why so many amateur day-for-night grades look like a blue filter over a normal daytime shot: skipping straight to color without crushing contrast first leaves too much daylight information intact underneath the tint.
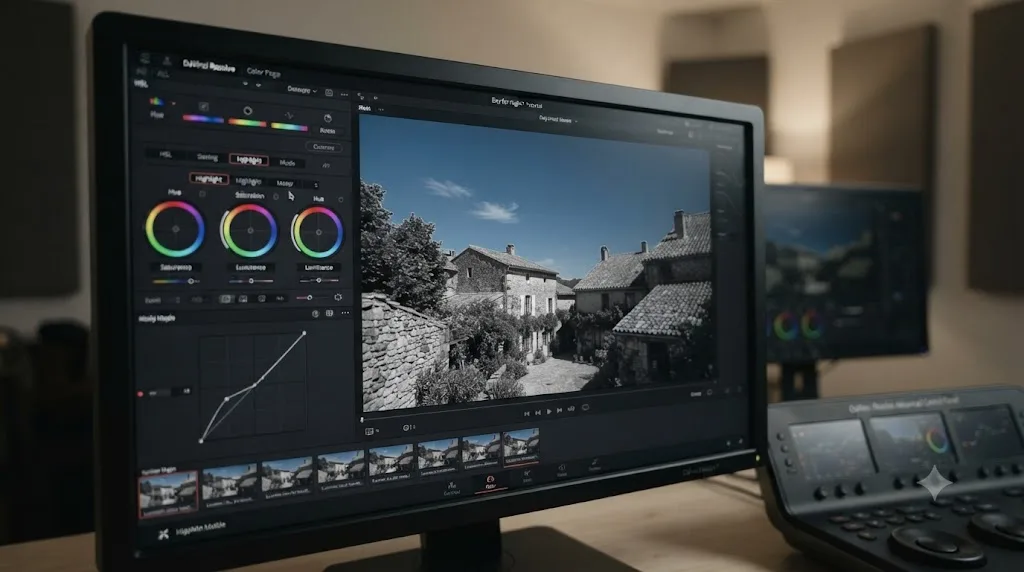
Node 4: Isolate and darken the sky. Add an HSL qualifier keyed to the sky's blue hue range, then darken and further desaturate inside that selection specifically. The HSL qualifier is a general-purpose keyer built into every edition of Resolve, not restricted to any particular color, which makes it the right tool for isolating a range as broad and inconsistent as "sky" across a shot with moving clouds.
Node 5: Protect practical lights with power windows. Any window, lamp, streetlight, or headlight that should read as a real light source at night needs to stay warm and bright while everything around it goes dark. Draw a power window around each one, invert or use it as an "outside" reference so the correction applies to everything except the protected area, and track the window if the camera or the light source moves through the shot.
Node 6: Finish with a vignette and matched grain. A soft vignette that darkens the corners sells depth and mood, and grain matched to the rest of your project keeps the graded shot from looking cleaner (or noisier) than the footage cut around it. This is also the node to reintroduce a small amount of contrast if the earlier crush left the image reading flat and gray instead of moody.
Cutting contrast fools the eye faster than any color shift, because darkness reads as flat before it reads as blue. That ordering, contrast first, color second, isolation third, protection fourth, is the entire difference between a convincing grade and a recognizably daytime shot with a tint over it.
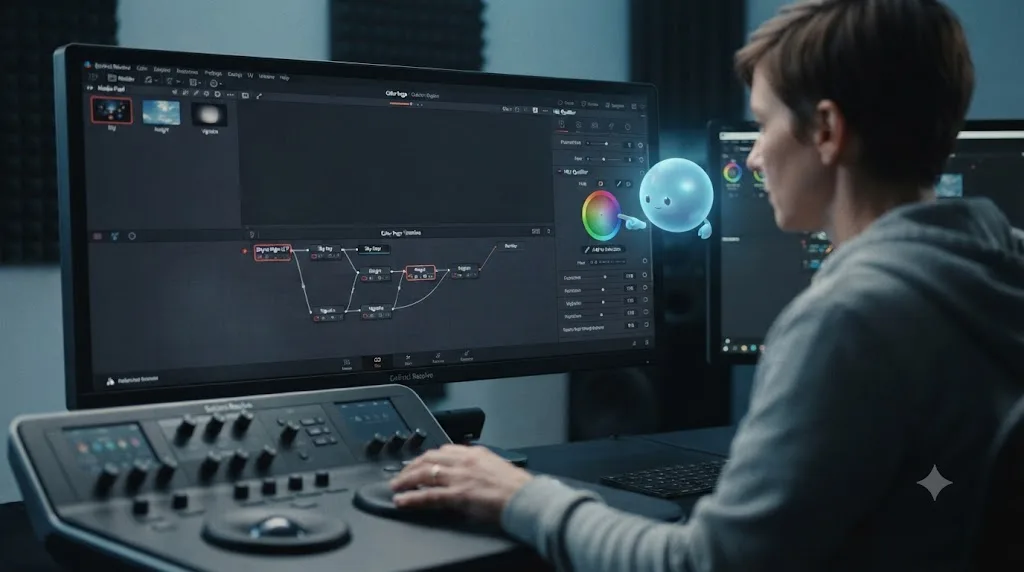
If you lose track of which of these six nodes is doing what halfway through building the chain, TryUncle can look at your actual node graph on screen and point at the specific one you mean, instead of you scrolling back through this recipe to match a screenshot to your project.
How do you crush contrast and pull the exposure down without losing the shot?
Pull gradually and check your scopes at every step, because the line between "convincingly dark" and "unrecoverable black" is thinner than it looks on a bright grading monitor. Move the Gamma wheel down first, watch the waveform, and stop before the midtone values collapse into a narrow band near black.
The order matters as much as the amount. Midtones first, because that's where most of a daylight exterior's visual information actually lives. Highlights next, pulling the Gain wheel down to remove the brightest daylight cues, sky glow and sun-hit surfaces especially. Shadows last, and only a small lift, just enough to keep detail visible in areas that are about to become the darkest part of the frame. Skip that shadow lift and you'll clip detail you can't get back once grain and a vignette go on top in the final node.
Watch specifically for two failure signs on the scopes. If your waveform shows a big cluster of values pinned at true black, you've crushed too hard and lost shadow detail permanently; back the Lift wheel up slightly. If the waveform still shows a wide, even spread from shadows to highlights after this node, you haven't cut contrast enough yet, and the color shift in the next node won't be able to compensate on its own.
How do you cool the color balance so the shot reads as moonlight, not just dim daylight?
Shift the midtones toward blue-cyan with a light magenta tilt, applied only after contrast has already been crushed in the previous node. Color alone, layered onto a fully contrasted daylight frame, reads as a blue day. Color layered onto an already-flattened, darkened frame reads as night.
The reason blue specifically sells darkness has nothing to do with what moonlight actually looks like colorimetrically and everything to do with human vision. Human eyes shift toward blue-green sensitivity in low light, a phenomenon called the Purkinje effect, and that shift is why our brains associate blue with darkness even though moonlight is simply reflected sunlight and isn't inherently blue at all, per Wikipedia's explanation of the technique's history. Filmmakers have been exploiting that perceptual quirk since well before color film existed, dating back to blue-tinted stage lighting conventions for night scenes that carried into silent film tinting.
Don't push saturation up to compensate for a shot that looks washed out after the cool shift. A slightly desaturated, cool image reads as night; an oversaturated blue image reads as a color effect. If shadows specifically look oversaturated once darkened, which happens often because saturation in already-dark pixels reads more intensely to the eye, pull saturation down specifically in the shadow range rather than across the whole node.
How do you keep skin tones from turning sickly under the cool color balance shift?
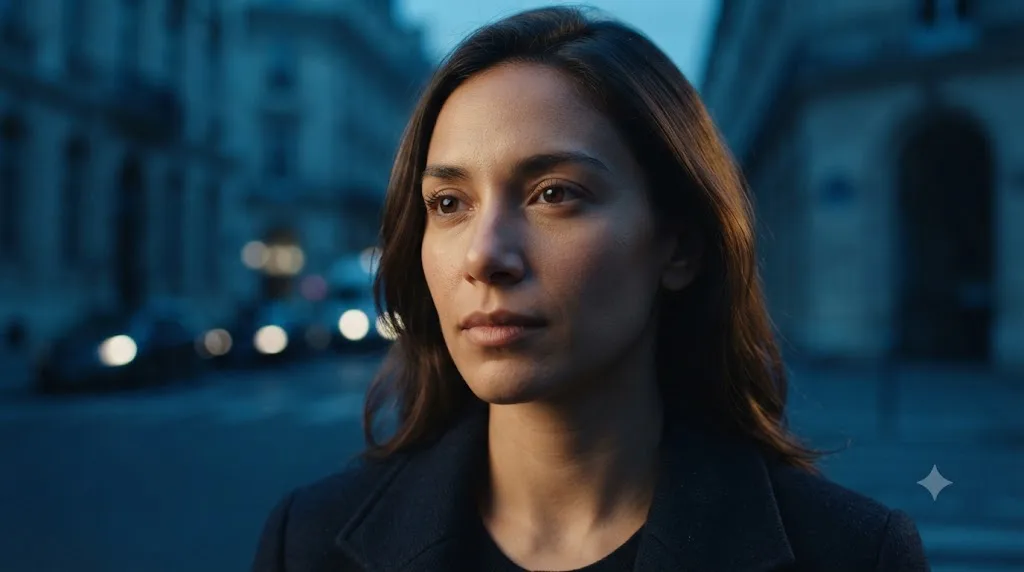
Skin sits in a narrow hue band, and a viewer's eye is trained on real faces for an entire lifetime, so even a small push toward cyan-green reads as wrong the instant it hits a close-up. A cool color balance built to sell a moonlit sky can just as easily turn a person's face waxy, green, or bruised-looking if that shift gets applied to skin at the same strength as everything else in frame.
Key the skin tone hue range with the HSL qualifier the same way you'd key the sky, but run that correction in a parallel node branch rather than stacking it in series after node 3. A parallel structure lets you pull skin back toward its natural hue and warmth without touching the cool grade sitting on the rest of the frame around it. Nudge the isolated skin selection warmer and slightly more saturated than the global cool shift left it, and check the result against Resolve's vectorscope, where skin tones from a wide range of complexions cluster close to a diagonal reference line; if your isolated skin sample drifts far off that line even after the correction, the qualifier's selection is probably too wide and is grabbing some background along with the face.
A face that reads as sickly green under a moonlit grade breaks the illusion faster than any background detail ever could. This step matters most for close-ups and medium shots where a face fills a meaningful part of the frame. A wide establishing shot with tiny, distant figures rarely needs it, since skin tone errors that would jump out in a close-up simply don't register at that scale. Skip the extra node on shots where it won't be seen, and spend the time on the ones where it will.
Why is the sky still blue in my day for night shot?
Because the global color and contrast adjustments in the first three nodes touch the whole frame evenly, and sky is almost always the brightest, most saturated part of that frame, so it resists a uniform pull-down longer than anything else in the shot. A global grade that looks convincingly dark everywhere else can leave a stubbornly bright, obviously-daytime sky sitting at the top of frame.
The sky is the first thing that gives away a day for night shot, and the first thing DaVinci Resolve's HSL qualifier should touch. Key the sky's specific blue hue range with the qualifier, using the Hue, Saturation, and Luminance controls to narrow the selection until it grabs the sky and as little of the rest of the frame as possible. Use the qualifier's highlight mode to see exactly what's selected before committing to any correction, since an imprecise key that also grabs blue clothing or a blue-tinted building will darken things that shouldn't darken.
Once the sky is isolated, darken it further than the global grade already did, and pull its saturation down too. A sky that's merely dim but still visibly saturated blue reads as an overcast day, not night. If the horizon line specifically still glows after the qualifier work, layer a soft power window over just that band, feathered heavily so the transition from qualifier-darkened sky to power-window-darkened horizon doesn't show a visible edge.
Moving clouds complicate the key. An HSL qualifier built for a clear blue sky can miss white or gray cloud detail entirely, leaving clouds bright while the sky around them goes dark, which looks wrong the instant a viewer notices it. Widen the qualifier's luminance range carefully to catch cloud tones too, or add a second qualifier node specifically for cloud coverage if the sky in your shot has significant cloud variation.
How do you keep windows, lamps, and headlights looking correct in a day for night grade?
You protect them from the global darkening with a tracked power window, so they stay warm and bright while everything else in the frame goes dark around them. A day scene turned convincingly to night still needs at least one visible light source that makes sense as the reason anything is visible at all, and that light source has to look like it's actually producing light, not just sitting slightly less dark than its surroundings.
Power Windows in DaVinci Resolve come in four shapes, oval, rectangular, polygonal, and a custom Bezier curve, per the reference manual's Power Windows entry, which covers most practical light sources without needing a hand-drawn mask. Draw the window around the light source itself, whether that's a window frame, a lamp shade, or a headlight housing, then invert the selection or route the node so the darkening correction from earlier nodes applies to everything outside the window instead of inside it.
A tracked power window is the only thing standing between a convincing practical light and a flat gray room with a bright rectangle in it. If the camera moves at all, or the light source itself moves through frame, that window needs to track the motion, using Resolve's built-in cloud tracker on the Pan, Tilt, Zoom, Rotate, and Perspective 3D parameters as needed. If a tracked window loses its lock partway through the shot, drifting off the light source or snapping away when something crosses in front of it, our guide to DaVinci Resolve power windows that keep losing tracking covers the specific causes and fixes for that failure, from disabling Zoom and Rotate on low-contrast footage to hand-keying through an occlusion.
Warm the color inside the protected window rather than leaving it neutral. A practical light source at night reads as warmer than its surroundings almost always, whether that's a tungsten bulb, a fluorescent kitchen light, or a car's headlight, so a slight push toward orange or yellow inside the power window sells the light as a source rather than just an unlit area.
How do you handle water, glass, and other reflective surfaces in a day for night shot?
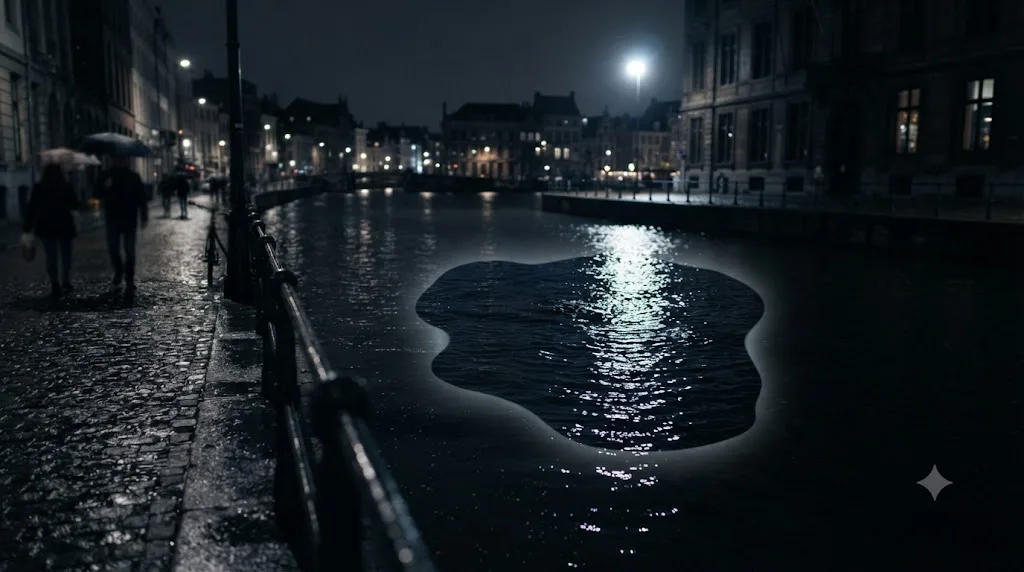
Reflective surfaces don't play by the same rules as matte ones. A specular glint off water, a wet street, or a car's windshield is often already clipped at or near white in the original footage, and no amount of Gain or Gamma pulled down in node 2 will bring detail back out of a highlight that's already blown. The rest of the frame reads convincingly dark while that one hot reflection sits there looking exactly like midday sun.
This is part of why cinematographer Bill Butler's day-for-night ocean sequences around the Orca boat in Jaws were such a technical challenge; open water throws specular reflections in every direction, and there's no single angle that avoids all of them. If you have any control over the shoot, cutting the reflection before it's ever recorded beats fighting it afterward, which is where an on-set polarizing filter earns its place, covered in more depth in the next section.
If you're stuck grading footage that's already in the can, isolate the specular highlight itself rather than trying to key it by color the way you would a sky. A narrow luminance qualifier, targeting only the brightest values in the shot, usually catches a hot reflection without also grabbing the surrounding water or glass. Pull that isolated selection down hard, and feather the qualifier's edges heavily. A hard-edged correction on a moving water surface shimmers and flickers from frame to frame as the reflection's shape shifts, and that flicker reads as a compression artifact or a bad key, not as a lighting choice.
Some reflections simply won't sell no matter how carefully you isolate them, and that's a shot selection problem, not a grading one. A wide shot dominated by a sunlit lake or a full windshield catching direct sun is fighting harder than any node chain can win. When you have the option, favor angles and framings that keep large reflective surfaces out of frame, or keep them brief enough in the edit that a viewer doesn't have time to study them.
Should you add a moon, stars, or other night-only elements?
Only if the shot's composition and story genuinely call for it, and only with the understanding that a moon or star field is a compositing addition, not something the color grade itself produces. A day for night grade darkens and cools an existing daylight sky; it doesn't invent stars that weren't in the original plate.
Simple additions, a soft glow suggesting a moon just out of frame, a subtle star field added as a separate layer over an already-graded sky, are achievable inside Resolve using the Fusion page's compositing tools layered on top of the Color page grade, and our guide to keyframing effects in DaVinci Resolve covers animating an element like a moon's position or a light's intensity if it needs to move or flicker across the shot.
More ambitious sky replacement, actually swapping a daytime sky for a night sky plate rather than just grading the existing one, is a separate technique from the color-only approach in this guide, and it's what productions reach for when a shot's practical sky simply can't be graded convincingly no matter how good the qualifier work is. Cast Away used digital sky replacement specifically to add a moon and stars to shots that couldn't otherwise sell the night illusion, per Wikipedia's account of the technique. That's a compositing decision made because grading alone had hit its limit, not a step every day-for-night shot needs.
How many stops should you underexpose for day for night, and does it matter in post?
Historically, and still today on set, roughly two to three stops of underexposure is the number that shows up most consistently in day-for-night workflows, whether that underexposure happens through a physical neutral-density filter on the lens or through a deliberate exposure choice in camera, per American Movie Company's breakdown of the technique. Two stops darkens the frame enough to read as night without crushing shadow detail past the point where a grade can recover it later.
Two stops of underexposure sells more night than any color grade layered on top of a fully exposed frame. If your footage was shot at a normal daylight exposure with no compensation on set, node 2 of the recipe above, the contrast and exposure crush, is doing the job that underexposure would have done in camera, and it has less headroom to work with. A fully exposed daylight shot pulled down two stops in the grade holds up fine as long as the footage was captured in a flat or log profile with real highlight and shadow information intact; a Rec.709 clip with baked-in contrast has already thrown away some of that information before the grade even starts.
If you're planning a day-for-night shoot rather than salvaging footage that's already in the can, talk to whoever's operating camera about underexposing on set rather than relying entirely on the grade. It's the same logic behind the alternate approach Mad Max: Fury Road took in 2015: rather than underexposing on set, that production deliberately overexposed certain shots and darkened them afterward in post with a blue color grade, which preserved shadow detail without clipping, per Wikipedia's entry on the technique. Both approaches work. What doesn't work is shooting at a completely standard exposure with no plan at all and expecting the grade alone to manufacture two stops of missing information out of nothing.
Should you use a polarizer or ND filter on set to make the grade easier?
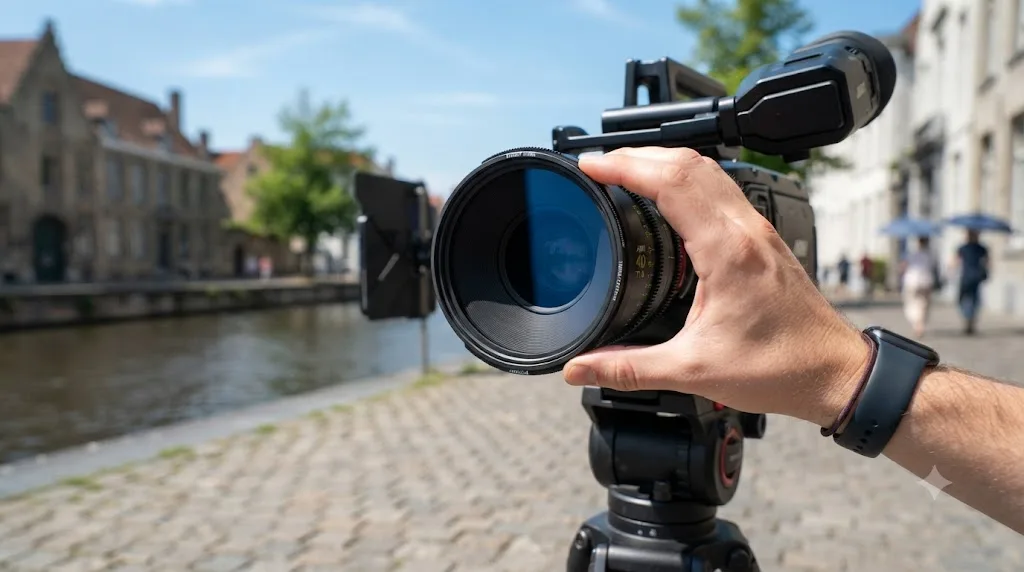
If you have any say over the shoot, yes, and it's one of the cheapest upgrades to a day-for-night workflow available. A circular polarizing filter darkens a blue sky without darkening the clouds in it nearly as much, since the scattered light that makes a clear sky look blue is polarized while the light reflecting off clouds mostly isn't, per Wikipedia's entry on polarizing filters. That contrast between a darkened sky and still-bright clouds is exactly the "dramatic sky, visible clouds" look a lot of day-for-night compositions want.
The effect isn't uniform across a shot, and that matters for how you use it. A polarizer's darkening power is strongest at roughly 90 degrees from the sun, and it fades out gradually across a band of about 15 to 30 degrees on either side of that ideal angle, per the same Wikipedia entry. Point the camera close to directly at or directly away from the sun and the filter barely does anything to the sky at all. Practically, that means a polarizer works best on a shot where the camera holds a fairly consistent angle to the sun; a slow pan across a wide arc of sky can see the polarizer's effect visibly strengthen and weaken as the angle changes mid-shot, which is worth test-shooting before you commit to it on a moving camera setup.
The same filter earns its place for reasons beyond the sky. A polarizer cuts glare and reflections on water, wet pavement, and glass, which is exactly the kind of blown specular highlight that no amount of Gain or Gamma pulled down in the grade can recover, per American Movie Company's guidance. A neutral density filter does a different job: it cuts overall brightness without shifting color, which lets you deepen shadows and darken the image in camera rather than leaning entirely on node 2 of the grade to do that work later. Between the two, a polarizer changes what the sensor records qualitatively, while an ND filter just gives you room to expose the shot the way you want for a darker starting point.
None of this replaces the grade. A polarizer and an ND filter handle the optical part of the illusion, cutting glare and giving you a darker starting exposure, but the footage still needs the full six-node chain afterward: contrast crushed, color cooled, sky isolated, practical lights protected, and a finishing pass. Think of on-set filtration as making node 2's job smaller, not as replacing nodes 2 through 6 entirely.
What white balance and Kelvin values sell a convincing night look?
A tungsten-leaning white balance setting, closer to 3200K than the roughly 5000-5600K of typical daylight, pushes unlit areas of the frame toward a cooler, bluer rendering while keeping any warm practical light sources reading appropriately warm by contrast, per American Movie Company's guidance. That contrast, cool ambient light against warm practical light, is a big part of what reads as "night" rather than just "dim."
This is a choice you can make either on set, by physically setting the camera's white balance to tungsten while shooting under daylight, or entirely in the grade, by pushing node 3's color balance shift further toward cool blue-cyan. Both land in roughly the same place. The on-set version has an advantage worth knowing about: some cinematographers historically shot day-for-night on tungsten-balanced film stock during the day and deliberately skipped the orange 85 correction filter that would normally balance tungsten stock for daylight shooting, letting the daylight render through the tungsten-balanced stock as a natural blue cast rather than a grade-applied one, per Wikipedia's technical history of the practice. Digital cameras don't need that specific film-stock workaround, but the underlying logic, cool ambient light against warm practicals, still applies whether it's baked in on set or built entirely in Resolve.
Don't confuse a cool white balance shift with an oversaturated blue tint. The goal is a believable moonlit cool cast, not a science-fiction blue filter. If the shot starts to look artificial or overly stylized rather than naturalistic, that's usually saturation pushed too far rather than the color temperature shift itself being wrong.
Does DaVinci Resolve have a built-in day for night effect or LUT?
No, and as of August 2026 that hasn't changed across any recent Resolve release. DaVinci Resolve ships color wheels, an HSL qualifier, Power Windows with motion tracking, and a Color Space Transform node, all in the free version, but there's no dedicated one-click Day for Night button or ResolveFX plugin bundled with the application, per Blackmagic's own Color page product listing.
Third-party colorists and educators distribute free or paid day-for-night LUTs as a starting point for exactly this reason, and Noam Kroll's own tutorial points readers to a free download as a base to build from rather than a finished solution. A LUT can get you into the right neighborhood fast, but it applies the same correction uniformly across the whole frame, which means it still needs the sky isolation and power window work covered in this guide layered on top before it holds up under scrutiny. A LUT alone rarely handles a moving sky, a practical light source, or footage shot under lighting conditions different from whatever the LUT's creator built it against.
None of the tools this grade actually needs, color wheels, the HSL qualifier, Power Windows, or Color Space Transform, are gated behind DaVinci Resolve Studio. Everything in the node recipe earlier in this guide ships in the free edition, per Blackmagic's product comparison page. Studio's relevant advantage here is narrower than most editors assume: Magic Mask and the Neural Engine's AI-assisted tools can speed up isolating a moving subject inside a power window, useful if a person is walking through your day-for-night shot and needs individual tracking separate from the static practical lights, but the $295 upgrade isn't a requirement for the technique itself.
Day for night vs shooting at actual night: which should you choose?
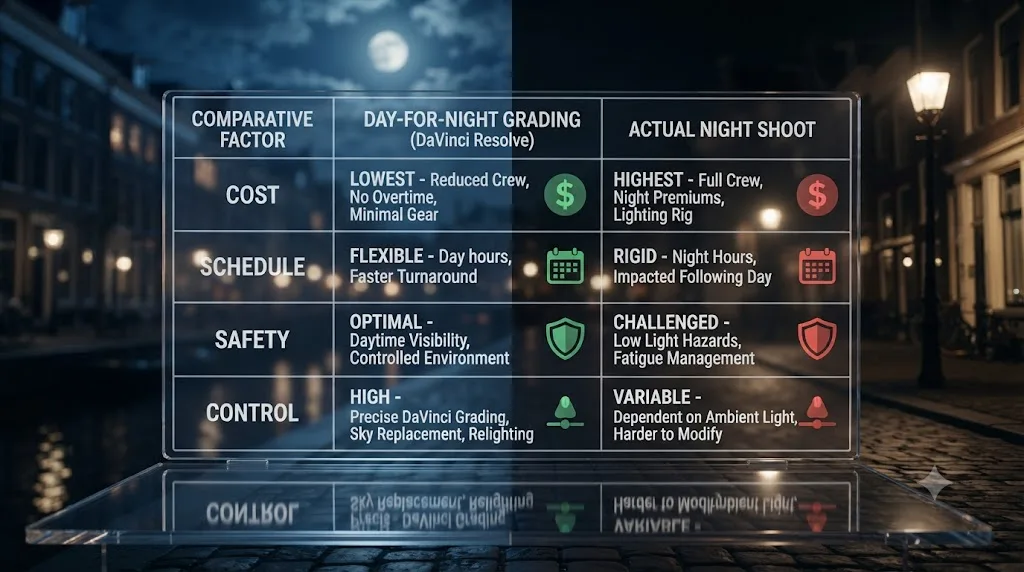
Neither option is universally better; the right choice depends on budget, schedule, safety, and how much control the shot actually needs. Here's the honest trade-off, side by side.
| Factor | Day for night | Actual night shoot |
|---|---|---|
| Cost | Lower; uses natural daylight, no generators or large lighting rigs required | Higher; needs HMIs or large LED fixtures to simulate moonlight and practical sources |
| Schedule | Faster to set up; daylight exteriors need one lighting plan | Slower; night exteriors typically need more setup and wrap time per shot |
| Safety | Better visibility for crew and cast during blocking and action work | Reduced visibility increases risk during stunts, vehicle work, and general movement on set |
| Control over the look | Grade-dependent; a bad key or a missed practical light shows up on close inspection | Real darkness, real light falloff, generally more forgiving of imperfect grading choices |
| Best suited for | Budget-constrained productions, tight schedules, shots without extensive practical lighting demands | Feature productions with dedicated lighting budgets, shots demanding precise, controllable light sources |
| Risk if it goes wrong | Footage reads as an obviously daytime shot with a color filter over it | Footage is genuinely too dark to grade if the on-set lighting plan falls short |
If you only remember one row, make it this one: day for night trades a harder post-production process for a cheaper, faster, safer production day, and it only pays off if the grading time this guide describes actually gets budgeted for. Skip that time and a day-for-night shoot doesn't save money; it just moves the cost from the lighting department to a colorist scrambling to fix an unconvincing grade under deadline.
How have professional cinematographers pulled off day for night?
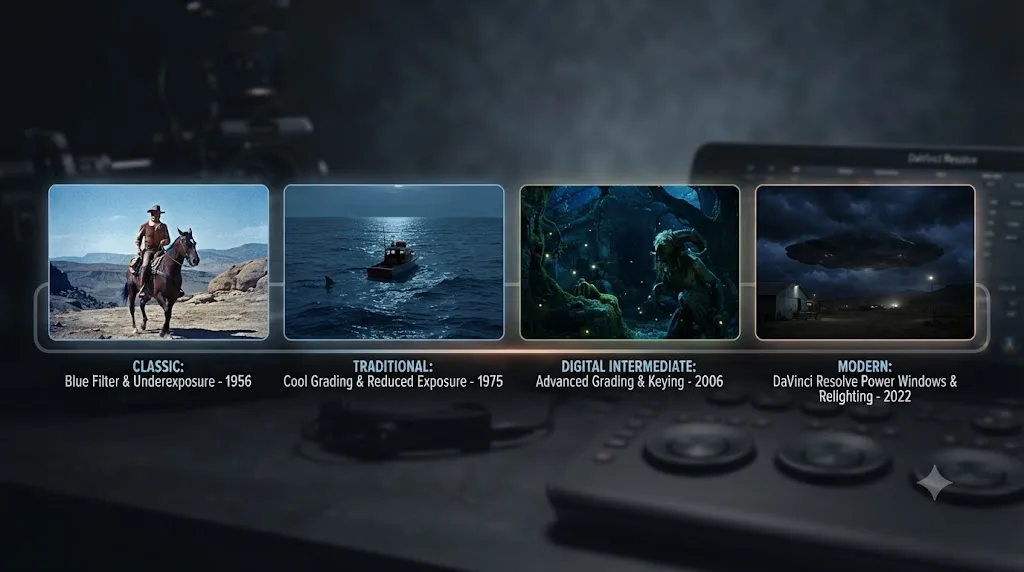
Across nearly a century of filmmaking, with methods ranging from physical filters to, most recently, an entirely separate infrared camera rig. The through-line across every era is the same problem this guide solves in Resolve: make daylight read as darkness without losing the shot to noise, mud, or an obviously fake color cast.
Cinematographer Winton C. Hoch shot day-for-night sequences for John Ford's The Searchers in 1956, carefully underexposing daylight footage to sell nighttime scenes decades before digital grading existed as an option, per No Film School's history of the technique. Cinematographer Bill Butler used day-for-night methods for ocean night exteriors in Steven Spielberg's Jaws in 1975, including sequences around the Orca boat where shooting at actual night on open water would have been far riskier for cast and crew. Cinematographer Guillermo Navarro underexposed footage shot in dense woods for Guillermo del Toro's Pan's Labyrinth in 2006 to create the film's atmospheric night visuals.
The most technically ambitious recent example is Nope in 2022, where cinematographer Hoyte van Hoytema built an entirely new rig rather than relying on traditional underexposure and color correction. He mounted an ARRI Alexa camera customized to capture infrared light alongside a standard 35mm film camera on the same rig, using the infrared feed as an exposure and motion guide while the film camera captured the actual color and grain information for the final image. Van Hoytema explained the challenge directly:
"One of the major challenges on Nope was how we were going to shoot the night-time sequences, which were mainly all big set pieces."
That quote comes from No Film School's interview covering the technique, and the rest of that piece details how precisely the two cameras' gates, lenses, and focus pulls had to match, since even a small misalignment between the infrared guide track and the film camera's actual footage would have broken the illusion entirely. None of that infrared rig complexity is necessary for the recipe in this guide. It's worth knowing about because it shows day for night is still an active, evolving technique on the biggest productions in the industry, not a workaround that digital cameras and modern grading tools made obsolete.
A worked example: turning a sunny backyard into a moonlit exterior
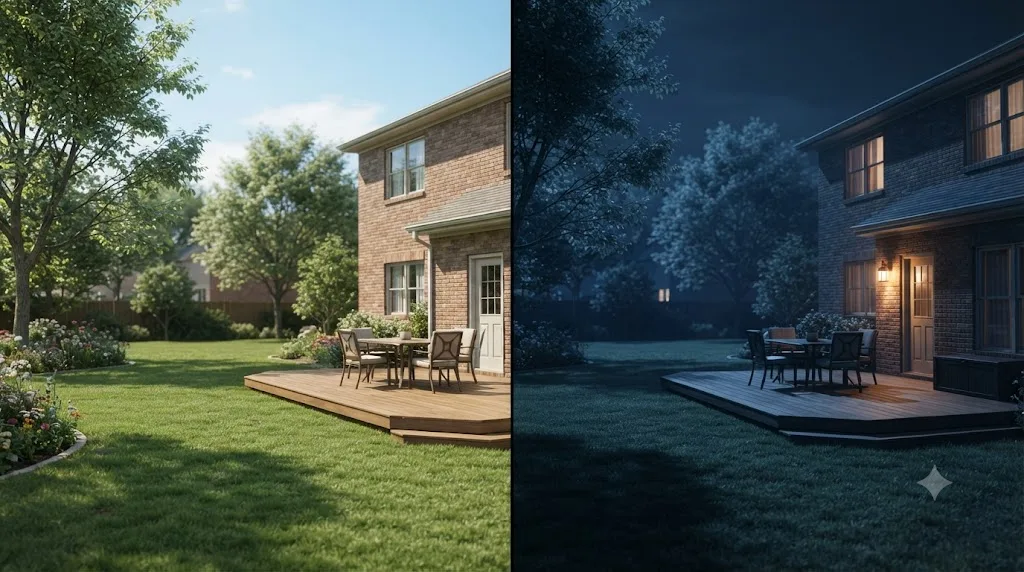
Say you've got a single, static-camera shot of a backyard, shot at midday, that needs to read as a quiet moonlit scene for a short film's climax. No practical lights in frame yet; you'll add a warm porch light glow as part of the grade to justify the visibility. Here's the full pass, start to finish.
- Normalize first. Correct white balance if it's off, and confirm the clip's exposure isn't clipped in the highlights, since a blown sky here will resist every later step. If the footage is log, add a Color Space Transform node here to bring it into your working color space before anything else happens.
- Crush contrast in a new node. Pull Gamma down until the midtones read noticeably darker, pull Gain down to remove the brightest daylight highlights, and lift Lift slightly to protect shadow detail. Check the waveform: you want a compressed range, not values pinned at true black yet.
- Cool the color balance in a third node. Shift midtones toward blue-cyan, add a light magenta tilt, and pull shadow saturation back if it's reading hot. Compare against the previous node with the bypass button to confirm the shift reads as cooler, not just darker.
- Isolate the sky with an HSL qualifier. Key the sky's blue range, using highlight mode to check the selection is clean, then darken and desaturate inside it further than the global grade already did. If clouds are present, widen the luminance range or add a second qualifier pass to catch them.
- Draw a power window for the porch light you're adding. Even without a literal light fixture built into the shot yet, isolate the area near the house where a light would plausibly sit, warm it slightly, and brighten it relative to the rest of the frame, so it reads as the implied source of whatever visibility remains in the scene.
- Track the window if the camera has any movement at all. A static tripod shot needs no tracking here; a handheld or slowly moving shot does, using Resolve's cloud tracker on the window's Pan and Tilt parameters at minimum.
- Add a vignette and matched grain in a final node. Darken the corners to focus attention toward the center of frame, and add grain matched to your project's existing look, checking it against neighboring daytime shots in the same edit so the night shot doesn't stand out as visibly different in texture.
- Check the result against a reference night shot from the same production if one exists. Side-by-side comparison catches color balance mismatches that are hard to spot in isolation, especially if this shot needs to intercut with genuine night footage elsewhere in the same sequence.
Eight steps, one static backyard shot, turned from a sunlit afternoon into a believable night exterior without a single reshoot or plugin purchase.
A worked example: keeping a day for night look consistent across a whole scene
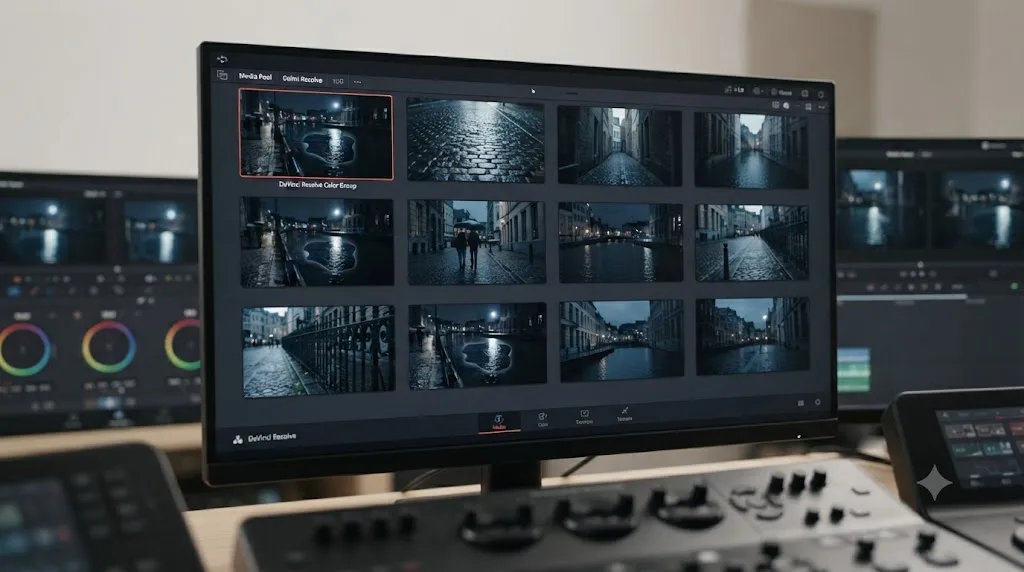
A single shot is one problem. A whole scene, cut across a dozen different setups shot over two separate afternoons because the location was only available in pieces, is a harder one: every shot needs to land on the identical night look, or the illusion breaks every time the cut changes angle.
- Grade your reference shot first, completely. Pick whichever setup gives you the cleanest read on the scene's overall look, run it through the full six-node recipe, and treat it as the master reference the rest of the scene has to match.
- Grab a still of the finished grade. Right-click the viewer and save it to the Gallery so you have a portable reference that survives even if you reorganize your timeline later.
- Group every clip from the scene, even the ones shot on the second afternoon. Select all of them in the Media Pool, add them to a new Color Group, and name it after the scene rather than either shoot day, since the grade needs to hide the fact that two different afternoons are involved.
- Build the shared night look in Group Pre-Clip. The contrast crush and cool color balance that apply to every shot in the scene belong here once, rather than rebuilt from scratch on each individual clip.
- Handle each shot's individual sky and practical lights at the Clip level. A wide shot with a big sky needs its own HSL qualifier work; a close-up with no sky visible at all doesn't need that node repeated. Power windows are inherently shot-specific too, since a practical light's position in frame changes from angle to angle.
- Compare every shot against the Gallery still before moving on. Toggle between your reference still and each clip's individual grade to check the color balance and contrast level actually match, especially between shots from the two different shoot days, since weather and sun angle likely varied between them.
- Watch for exposure drift between the two shoot days specifically. If the second afternoon was cloudier or the sun was lower in the sky, those shots may need slightly different node 2 contrast values to land on the same final darkness as the first day's footage, even though they're sharing the same Group Pre-Clip color balance.
- Play the whole scene back in sequence, not shot by shot. A grade that looks fine in isolation can still reveal a mismatch the instant the cut changes, especially in exposure level or color temperature, in a way that's much harder to catch reviewing clips one at a time.
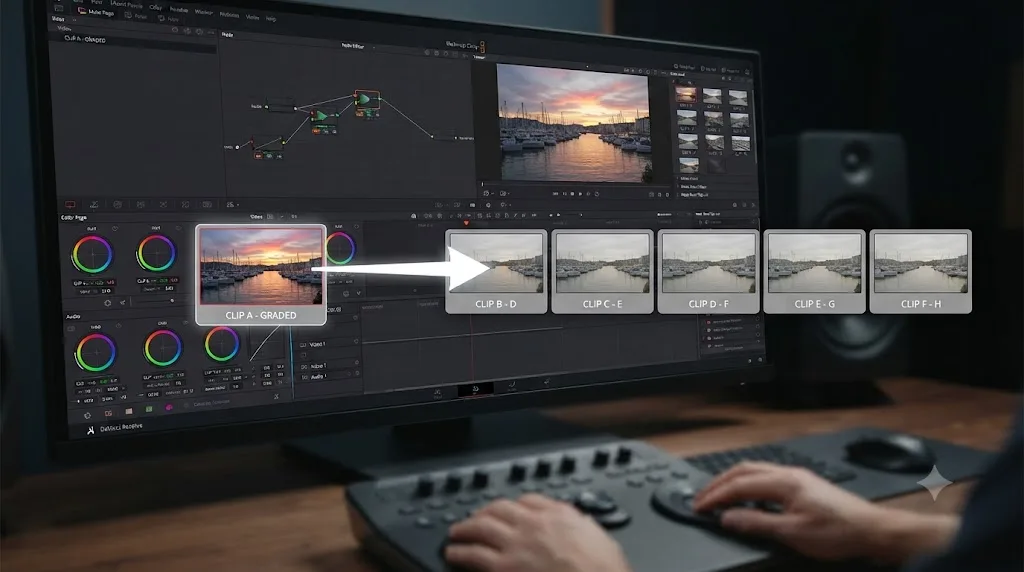
A Color Group keeps a day for night look consistent across every cut of a scene, updating all of them the moment the base grade changes. If a client asks for the whole scene slightly darker after you've already cut it together, that's one edit to the Group Pre-Clip node instead of revisiting every individual clip's grade from scratch. Our guide to copying a color grade to multiple clips in DaVinci Resolve covers Color Groups in more depth, along with every other method Resolve has for pushing one grade across many clips, if this scene grows past what a single group can comfortably handle.
Why does my day for night grade still look like daytime?
Six causes account for nearly every version of this problem, roughly in the order they actually show up.
Contrast wasn't crushed before color went in. This is the single most common mistake. A cool color shift applied to a fully contrasted daylight image reads as a blue day, not a night, because all the original highlight and shadow information that says "daytime" to a viewer's eye is still intact underneath the tint. Go back to node 2 and pull contrast down further before touching color balance again.
The sky was never isolated. A global grade that darkens the whole frame evenly still leaves the sky, the brightest and most saturated part of most exteriors, reading noticeably lighter than everything around it relative to how dark it should be. If the sky still looks bright even after the rest of the frame reads convincingly dark, that's an HSL qualifier problem, not a global contrast problem.
A hard shadow is visible somewhere in frame. Midday sun casts short, hard-edged shadows that no color grade fixes, because a shadow's shape and edge quality is a lighting fact baked into the footage, not a color value the grade can reshape. If a shot has an obvious hard shadow from a person or object, that's a reshoot or a matte-painting-level fix, not something six nodes on the Color page solve.
The footage was shot Rec.709 with baked-in contrast. A grade built for log or RAW footage assumes real dynamic range is still available to pull from. Rec.709 footage has already had contrast decisions baked in at the camera, which means node 2's contrast crush has much less real information to work with and often produces a muddy, banded result instead of a clean one.
Practical lights weren't added or protected. A night scene with no visible light source anywhere in frame reads as strange even once the contrast and color are otherwise convincing, because human viewers expect to see some explanation for why anything is visible at all. Add at least one warm, protected practical light via a power window if the shot doesn't already have one.
The grade stops at "darker" and never adds a vignette or grain. A technically correct contrast and color grade can still read as flat and uninteresting rather than moody without a finishing pass. The sixth node in this guide's recipe exists specifically to add that last bit of visual interest that separates "correctly darkened" from "actually looks like night."
One habit catches most of these before a client ever sees the result: bypass each node individually and step through the chain one at a time, checking what each node is actually contributing. A grade that looks wrong as a finished whole is much easier to diagnose one node at a time than as a single accumulated mess.
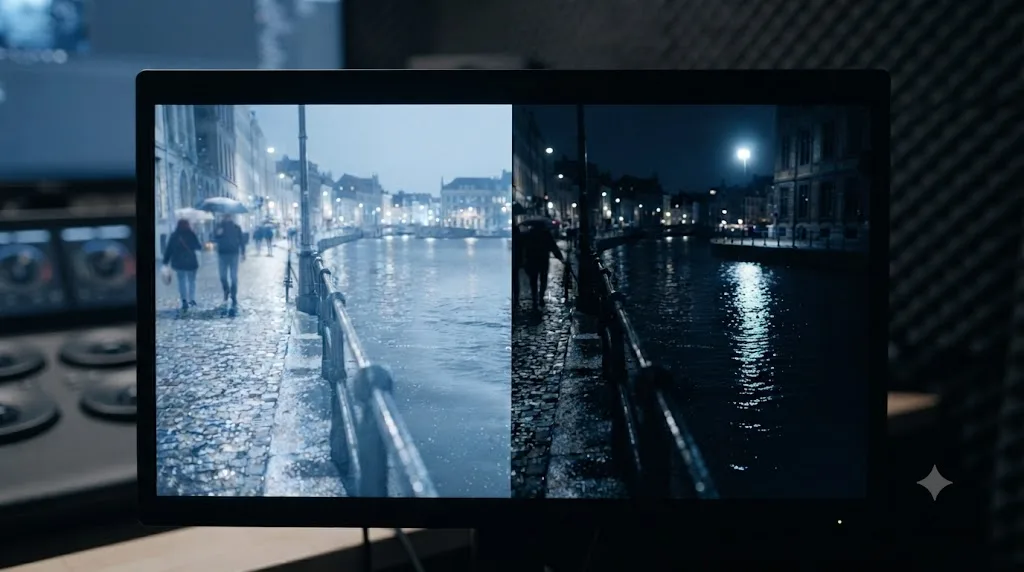
What can you actually do about Rec.709 or 8-bit footage that's already baked in?
Sometimes you're not planning a shoot. You're salvaging footage that already exists, shot Rec.709 on a camera profile nobody thought to change, with no reshoot on the table. The diagnosis above still applies: less real dynamic range means node 2 has less to work with. But there are concrete moves that make the result less bad, even if it never matches what log or RAW footage would have given you.
Expect banding, especially in the sky, once you've pulled contrast down and desaturated a section that was only ever recorded at 8 bits per channel. There simply aren't enough distinct values in that gradient to survive a heavy pull without showing visible steps. Adding a touch of grain earlier in the chain than the finishing node, rather than saving all of it for node 6, introduces enough dithering to break up banding before it becomes obvious, since noise scattered across a banded gradient reads as texture instead of a stair-step pattern.
Pull the contrast crush a little gentler than the ideal recipe calls for. An 8-bit Rec.709 source posterizes faster than a 10-bit or higher log source under the same amount of Gamma and Gain movement, so a slightly less dramatic night that holds together cleanly beats a fully crushed one that shows visible banding across the sky. A soft, light diffusion or blur node restricted specifically to the sky qualifier's selection can also mask banding without softening the rest of the frame, since viewers tolerate a slightly soft sky far more readily than soft detail anywhere else in the shot.
Set expectations before delivery, not after. An 8-bit Rec.709 clip will never grade as cleanly as log or RAW footage shot with a day-for-night pass in mind from the start. If a client hands you footage like this and expects a flawless night look, that's a conversation to have up front, with a quick test grade to show what's realistic, rather than a surprise on the final delivery.
My day for night shots don't match my genuinely dark night footage when I intercut them. What's wrong?
This comes up on productions that mix true night footage, shots actually lit and captured after dark, with day-for-night shots covering pickups or additional angles that couldn't be scheduled at night. Cut the two together and any mismatch shows up instantly, because the eye is comparing them side by side in a way it never would if the day-for-night shots stood alone.
Two mismatches account for most of this. Day-for-night shots tend to have flatter, more even shadow falloff, since they started from even daylight and got darkened uniformly across the frame. Genuine night footage has harder, more directional falloff, because it's lit by a handful of actual practical sources rather than an evenly lit sky. And a day-for-night sky, even after heavy HSL qualifier work, rarely goes as fully black as a true night sky does, since there's still some daylight information sitting underneath the darkened, desaturated result.
Grade the day-for-night shots to match your real night footage specifically, not to an abstract idea of "moonlit." Grab a reference still from the true night footage the same way you would for a Color Group's master reference, and push the day-for-night shots to match it directly. If the real night sky reads essentially black, darken the day-for-night sky further than usual to close that gap. A slightly heavier vignette on the day-for-night shots specifically can also help hide the falloff mismatch at the edges of frame, compensating for the fact that a global daylight-sourced grade doesn't naturally fall off toward the edges the way directional practical lighting does.
Grain matters more here too. True night footage is often shot at a higher ISO to get usable exposure in genuinely low light, which means it usually carries more visible noise than a daylight-sourced day-for-night shot does. Matching the actual amount of grain, not just adding "some" grain as the recipe's sixth node suggests by default, is what makes the cut disappear. Pull a grain sample from the real night footage if you can, and match the day-for-night shots to that specific texture rather than to a generic film grain preset.
Does day for night grading work differently across DaVinci Resolve versions, or between free and Studio?
The core tools, color wheels, the HSL qualifier, Power Windows, and Color Space Transform, have been part of Resolve's Color page for years and behave identically across every recent version and both editions of the software. A tutorial built around this guide's six-node recipe ages well regardless of which specific point release you're running.
| Tool used in this guide | Free or Studio | Notes |
|---|---|---|
| Color wheels (Lift, Gamma, Gain) | Free | Core to every version of the Color page |
| HSL Qualifier | Free | General-purpose keyer, not restricted to a specific color range |
| Power Windows | Free | Includes all four shape types: oval, rectangular, polygonal, and Bezier curve |
| Cloud tracker (Pan, Tilt, Zoom, Rotate, Perspective 3D) | Free | Tracks power windows through camera or subject motion |
| Color Space Transform | Free | Uses Resolve Color Management math regardless of whether RCM itself is enabled |
| Magic Mask | Studio only | Not required for this guide, but can speed up isolating a moving subject inside a power window |
| Neural Engine AI tools | Studio only | Not used in this guide's recipe |
DaVinci Resolve 21, released by Blackmagic Design in June 2026, added a new Photo page and further AI-assisted tools across the application, per PetaPixel's coverage of the release and CG Channel's report on the same launch. None of those additions changed how the HSL qualifier, Power Windows, or color wheels behave, so this guide's node recipe applies identically whether you're on Resolve 21.0.3, an earlier point release within version 21, or an older major version still running the same underlying Color page tools.
None of the tools this day for night recipe needs are gated behind DaVinci Resolve Studio's $295 license. If you're weighing whether to upgrade, this specific technique isn't a reason to spend the money, per Blackmagic's own comparison of the free and Studio editions.
How can an assistant like TryUncle help while you build this grade?
TryUncle is the on-screen assistant for DaVinci Resolve on macOS. Ask in plain words, and Uncle points at the exact control on your screen. That matters specifically for a recipe like this one, where the hard part usually isn't understanding the concept of "crush contrast, then cool the color, then isolate the sky." It's translating that concept onto your actual node graph, in your actual project, when the menu layout in the version of Resolve you're running doesn't quite match whatever screenshot or video you were following.
That's exactly the kind of app that helps you while you're using DaVinci Resolve, not one you watch beforehand and try to remember. Ask Uncle where the HSL qualifier's highlight mode toggle lives, or which wheel is Gamma versus Gain, and it looks at your actual screen and points, rather than making you pause a video and hunt for a panel that might have moved since whichever version the tutorial was recorded on.
Worth being honest about where TryUncle fits against the rest of the category. Tools like Sottocut, PremiereCopilot, heyeddie.ai, and cutagent.ai mostly automate edits or answer chat questions about your footage without seeing your actual screen. Uncle does something narrower and, for a hands-on technique like building a six-node color grade by hand, more useful: it watches while you work and points at the specific control you mean, inside Edit, Color, and Fusion, rather than doing the grading for you. If you want the grade automated end to end, this category has other tools built for that. If you want to actually learn to build the node chain yourself with something checking your work in real time, that's the gap Uncle is built for.
It's also worth naming the tools that already do this well for free. Blackmagic's own official training resources cover Color page fundamentals in depth, and YouTube colorists like Casey Faris have built entire channels around exactly this kind of stylistic grading tutorial. Nothing in this guide replaces either. TryUncle earns its place alongside them for the moment you're mid-grade, stuck on a specific control, and don't want to pause and go searching a video's timestamp to find the answer.
TryUncle is a paid macOS subscription, currently offered at founder pricing for its first 100 seats, and it has never been free. It's also macOS only, with no Windows or Linux build, so if you're grading on a PC this specific tool isn't an option regardless of how well it fits the workflow. Check TryUncle for the current rate before you subscribe, since founder pricing is explicitly temporary.
Where do you go from here?
Build the six nodes in order, contrast before color, color before isolation, isolation before the practical lights that anchor the shot, and check your work against scopes at every step rather than trusting your eyes alone on a bright grading monitor. That order is the entire difference between a night scene an audience accepts without thinking about it and one that reads as an obvious daytime shot with a filter over it.
If you're grading a single shot, the worked example earlier in this guide is close to a direct template. If you're grading a whole scene shot across multiple days and angles, build the shared look in a Color Group first and handle each shot's sky and practical lights individually on top of it, so a later revision note from a client costs you one edit instead of a dozen.
Once the grade is locked and every shot in the scene matches, the technique holds up the same way it has since Winton C. Hoch first underexposed daylight footage for The Searchers in 1956: audiences accept it because nothing in the frame is actively telling them it's fake, not because the illusion is perfect under a frame-by-frame pause. Get the contrast, the sky, and one warm practical light right, and the rest of the scene follows.
Frequently asked questions
- How do you create a day for night look in DaVinci Resolve?
- Build a six-node chain on the Color page: normalize the source, crush contrast and pull exposure down roughly two stops, cool the color balance toward blue-cyan, isolate and darken the sky with an HSL qualifier, add tracked power windows to keep practical lights like windows and lamps bright and warm, then finish with a vignette and matched grain. Each node does one job, so a bad result is easy to trace back to a single step.
- Why does my day for night grade still look like daytime?
- Almost always because contrast wasn't cut enough before the color shift went in. A blue tint over a fully contrasted daylight image reads as a blue day, not a night. Pull midtones and highlights down first, flatten the contrast, and only then add the cool color balance. If the sky is still bright or a hard shadow is still visible on the ground, no color grade fixes that; it needs a power window or a reshoot.
- How many stops should you underexpose for day for night?
- Roughly two to three stops, whether that underexposure happens on set or gets simulated afterward by pulling gain and gamma down in DaVinci Resolve. Two stops is the number that shows up most often in practical day-for-night workflows, since it darkens the frame enough to read as night without crushing shadow detail past the point of recovery.
- Does DaVinci Resolve have a built-in day for night effect or LUT?
- No. DaVinci Resolve ships color wheels, an HSL qualifier, Power Windows, and a Color Space Transform node, all free, but no single one-click Day for Night button. Third-party colorists distribute free or paid day-for-night LUTs as a starting point, but every LUT still needs the contrast and power window work in this guide layered on top of it to hold up under scrutiny.
- Why is the sky still blue in my day for night footage?
- Because the primary grade only touches overall exposure and color balance, and skies are usually the brightest part of the frame, so they resist a global pull-down the longest. Add an HSL qualifier keyed to the sky's blue hue, darken and desaturate inside that isolated selection, and if the horizon line still glows, a soft power window over just the sky band finishes the job.
- Do you need DaVinci Resolve Studio for a day for night grade?
- No. Color wheels, HSL qualifiers, Power Windows with the cloud tracker, and Color Space Transform are all in the free version, per Blackmagic's own product pages. Studio adds Magic Mask, the Neural Engine's AI tools, and heavier noise reduction, which can speed up rotoscoping a moving subject inside a power window, but nothing in this guide requires the $295 upgrade.
- What's the difference between day for night and shooting at actual night?
- Day for night shoots in daylight and fakes darkness in camera and in the grade, trading a harder post-production process for cheaper, safer, more controllable production. Shooting at actual night gets real darkness for free but costs far more in lighting, crew hours, and schedule, and it risks footage that's genuinely too dark to grade if the lighting plan falls short on set.
- Can you fix a day for night grade that looks flat and gray instead of moody?
- Usually yes. Flat gray is what happens when contrast gets crushed correctly but the color balance shift and a vignette never got added on top. Push the cool color balance further into blue-cyan in the midtones, add a soft vignette that darkens the corners, and reintroduce a touch of contrast in the node after the color shift so the image doesn't sit at one flat gray value from corner to corner.
Sources
- DaVinci Resolve - Color (Blackmagic Design)
- DaVinci Resolve Studio product page (Blackmagic Design)
- DaVinci Resolve - What's New (Blackmagic Design)
- DaVinci Resolve product comparison and pricing (Blackmagic Design)
- DaVinci Resolve Training (Blackmagic Design)
- DaVinci Resolve 18.6 Reference Manual: Power Windows (Blackmagic Design, mirrored)
- DaVinci Resolve 18.6 Reference Manual: Basic Qualification Using the HSL Qualifier (Blackmagic Design, mirrored)
- DaVinci Resolve 18.6 Reference Manual: Color Space Transform [CSt] (Blackmagic Design, mirrored)
- DaVinci Resolve 18.6 Reference Manual: Motion Tracking Windows (Blackmagic Design, mirrored)
- Day for night (Wikipedia)
- Polarizing filter (photography) (Wikipedia)
- 5 Movies That Mastered the Day-For-Night Filmmaking Technique (No Film School)
- How DP Hoyte Van Hoytema Reinvented Day-for-Night in 'Nope' (No Film School)
- Color Grading Tutorial: Creating A Day For Night Look (Noam Kroll)
- Creating Great Day for Night Cinematography (American Movie Company)
- DaVinci Resolve 21 Officially Released With New Photo Editing, AI Tools, and Much More (PetaPixel)
- Blackmagic Design releases DaVinci Resolve 21.0 (CG Channel)
- TryUncle
- TryUncle FAQ
Learn by doing, not watching
Learn Resolve inside Resolve.
TryUncle watches your screen and points at the exact control when you ask. No tabs, no timestamps, no rewatching tutorials.
Download for MacKeep reading
 GuidesJul 8, 202639 min read
How to Copy a Color Grade to Multiple Clips in DaVinci Resolve
Every way to copy a DaVinci Resolve color grade to multiple clips: copy/paste, middle-click, Gallery stills, PowerGrades, Color Groups, and more.
 FixesJul 10, 202628 min read
DaVinci Resolve Power Window Keeps Losing Tracking: The Fix
Power Window tracker in DaVinci Resolve drifting, breaking, or losing your subject mid-clip? Here's every real cause, in order, and the exact fix for each.
 ComparisonsJul 12, 202630 min read
Resolve Color Management vs. ACES: Which Should You Use?
DaVinci Resolve Color Management and ACES both fix scene-referred color, but they solve different problems. Here's which one fits your project.