
Learn / DaVinci Resolveupdated for DaVinci Resolve 21.0.2 (July 2026)
DaVinci Resolve Power Window Keeps Losing Tracking: The Fix
Quick answer
A DaVinci Resolve Power Window usually loses tracking because Zoom, Rotate, or Perspective 3D is fighting low-contrast or occluded footage, or an upstream noise reduction or lens correction node is confusing the analysis. Turn off Zoom, Rotate, and Perspective 3D, track off a higher-contrast proxy point, delete the bad keyframes where drift starts, and re-track from there in Frame mode.

Your Power Window locks onto a face, tracks clean through the first two seconds, and then slides slowly off into the background like it forgot what it was doing. Or it holds perfectly until a hand crosses the frame, and then it never comes back. You didn't touch a keyframe. Resolve just stopped following.
This isn't a bug you reported and Blackmagic ignored. It's a known limit of how motion tracking works, and it's been showing up in the same shapes on the Blackmagic forum and Creative COW for well over a decade, long enough that the fixes have settled into a short, repeatable list. Below is that list, in the order that actually solves the problem fastest, plus the two questions you need to answer before you touch a single checkbox.
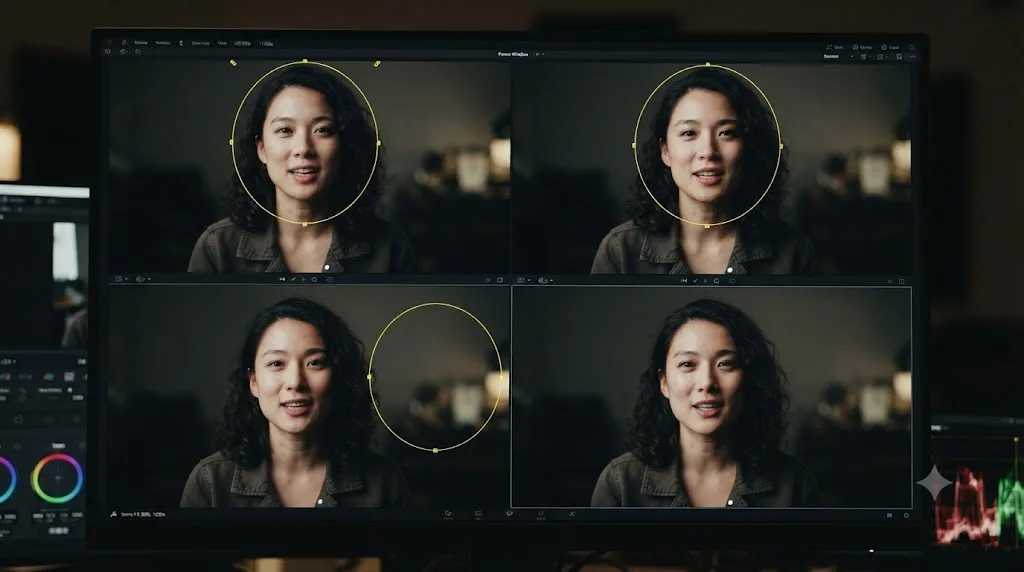
Why does a DaVinci Resolve Power Window keep losing tracking?
A Power Window tracker doesn't understand your subject. It watches a cloud of pixel points and predicts where each one moves next, frame by frame, based on contrast. A Power Window tracker follows contrast, not the idea of your subject, so a low-contrast patch of skin or sky gives it nothing reliable to hold onto. According to Blackmagic Design's own manual on Motion Tracking Windows, Resolve "analyzes a cloud of tracking points that follow the vectors of every trackable group of pixels within the window you've created," and the tracker's job is to match a feature's "position, size, rotation, and its pitch and yaw in 3D space to either foreground or background elements that move within the frame."
That description tells you exactly where it breaks. Every one of those measurements, position, size, rotation, pitch, yaw, depends on the software being able to reliably identify the same group of pixels from one frame to the next. Anything that makes that identification harder causes tracking to fail, and there's a short, well-documented list of things that do:
- Low contrast. A face against a plain wall, a shirt against a similar-toned background, overcast light with no strong shadow lines. Nothing for the tracker to lock onto.
- Motion blur. Fast pans or fast subject movement smear the pixel groups the tracker is trying to follow between frames.
- Occlusion. A hand, a prop, another person, anything that temporarily blocks the tracked area removes the tracker's data entirely for those frames.
- Too many transforms enabled at once. Asking the tracker to solve for zoom, rotation, and 3D perspective simultaneously, on footage that doesn't actually need all three, multiplies the chances of a bad solve.
- Upstream effects. Noise reduction, lens correction, and speed changes placed before the tracked node change the very pixels the tracker is analyzing.
- Format mismatches. Anamorphic and CinemaScope footage with the wrong pixel aspect ratio set in Clip Attributes has a documented history of breaking tracking outright.
Editors have been running into this combination for a long time. On Creative COW's forum, one long-running thread simply titled "Tracking problems" has users comparing notes on trackers that fail across "match move, face tracking, and regular tracking" regardless of how complex the footage is. Post engineer Marc Wielage's reply in that thread lands on the practical truth of it: "some degree of manual adjustment is necessary," he wrote, adding that he's honestly "surprised that the automatic tracking works as well as it does" given how hard the underlying problem is. That's not a dismissal. It's the correct expectation to walk in with. Automatic tracking gets you most of the way on easy shots and needs a human hand on the hard ones, every time, in every version of Resolve.
Is your tracker drifting steadily, or breaking suddenly at one frame?
Before you change a single setting, run this check. It takes fifteen seconds and it decides which half of this article applies to you, because drift and a hard break are different problems with different fixes.
Scrub through the clip slowly and watch the window relative to your subject.
- If the window slides away gradually, a little further off with every few frames, that's drift. The tracker is accumulating small errors over time because it's solving for too much motion, or its contrast data is weak, or both. Nothing sudden caused it. It's death by a thousand small misreads.
- If the window is dead-on and then suddenly wrong at one specific frame, that's a break, not drift, and it's almost always occlusion or a single bad match. Something in the frame confused the tracker all at once, an object crossing in front of the subject, a hard cut in lighting, motion blur spiking for a moment.
| Symptom | Likely cause | Fix |
|---|---|---|
| Window slides off gradually over many frames | Too many transforms enabled, or low-contrast tracking points | Disable Zoom, Rotate, Perspective 3D; retrack off a higher-contrast point |
| Window snaps off cleanly at one frame | Occlusion, motion blur spike, or a bad match at that exact frame | Delete the bad keyframes there, switch to Frame mode, hand-key through it |
| Tracker never locks on at all, from frame one | Upstream effect altering pixels, or wrong pixel aspect ratio | Bypass noise reduction/lens correction upstream; check Clip Attributes |
| Track works, then window shape distorts oddly | Zoom or Perspective 3D overcorrecting on a subject that doesn't actually rotate in 3D | Turn off Perspective 3D and Zoom, leave Pan/Tilt only |
This distinction matters because the two fixes actively work against each other if you apply them backward. Hand-keying every frame of a drift problem wastes an afternoon a checkbox could have fixed in ten seconds. Trying to fix a hard occlusion break by disabling Zoom and Rotate does nothing, because the tracker isn't confused about scale or rotation there. It has no data at all for those frames. You need Frame mode and manual correction instead.
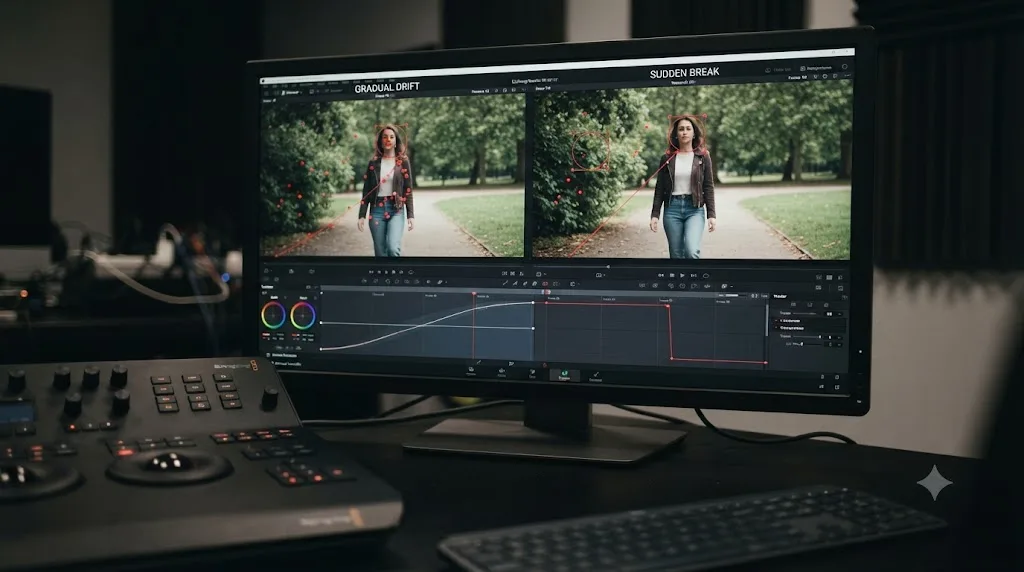
How do you fix a Power Window that drifts off a subject over time?
If your test above showed steady drift, start here. This is the fastest fix on this page, and it solves the largest share of tracking complaints.
DaVinci Resolve's Window Tracker palette gives you four checkboxes before you ever click Track Forward: Pan and Tilt, Zoom, Rotate, and Perspective 3D. Per Blackmagic's manual on the Window Tracker palette controls, each one asks the tracker to solve for a different kind of motion. Pan and Tilt "enables tracking of horizontal and vertical position." Zoom "enables tracking of size, when you want to transform a window to resize to follow a tracked subject." Rotate "enables tracking of orientation." Perspective 3D "enables tracking of pitch and yaw in 3D space, when you want a window to skew to follow the orientation of a tracked subject."
Every one of those checkboxes is an extra variable the tracker has to solve simultaneously, from the exact same limited pool of pixel data. Turn on all four for a subject that's only actually panning across the frame, and you've asked the tracker to also invent a plausible answer for zoom, rotation, and 3D skew that isn't really happening, using noise as its only source of information. That invented answer is where drift comes from.
A Power Window tracker asked to solve for zoom, rotation, and 3D perspective all at once has more ways to be wrong than one asked to solve for pan and tilt alone. Uncheck Zoom, Rotate, and Perspective 3D. Leave just Pan and Tilt active. Then reanalyze.
That last part isn't optional, and it's the single most common mistake editors make when they think they've already tried this fix. The manual is explicit about it: "Once tracking or stabilization has been done, disabling these checkboxes does nothing to alter the result. To make changes, you need to enable or disable the necessary checkboxes first, and then reanalyze the clip." Toggling a checkbox off after a bad track doesn't retroactively clean up the data that's already there. You have to uncheck it, then track again, from a frame before the drift started.
If your subject genuinely does zoom or rotate, don't disable those checkboxes outright. Instead, isolate which one is causing the problem by disabling them one at a time and retracking between each test, rather than turning all three off together and guessing. A subject that walks toward camera needs Zoom. A subject that tilts their head needs Rotate. Almost nothing needs Perspective 3D unless you're tracking a flat surface, like a sign or a screen, that's genuinely turning in 3D space relative to the lens.
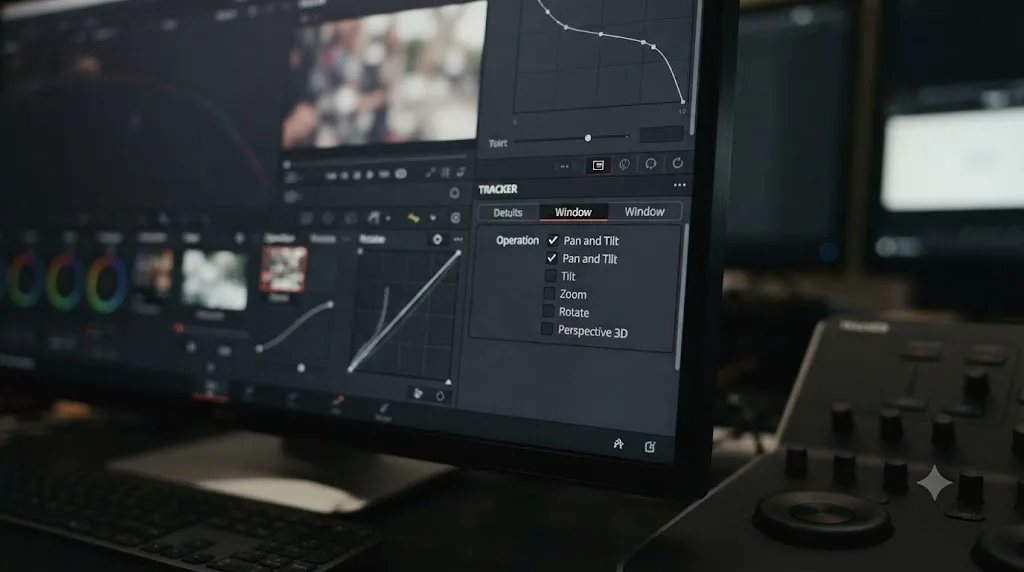
Why does moving the tracker onto a different point on your subject fix it?
Turning off unnecessary transforms solves drift caused by over-solving. It doesn't help when the drift is caused by weak data in the first place, meaning the tracking points themselves sit on a part of the image with nothing distinctive for the algorithm to grab onto.
This is where you place the Power Window, and specifically which pixels its tracking points land on, matters as much as any checkbox. A window centered on smooth, evenly lit skin gives the tracker almost nothing to distinguish from one frame to the next. A window that overlaps a collar seam, a hairline, a piece of jewelry, or any other sharp, high-contrast edge gives it something concrete to follow.
On the Creative COW forum, colorist and editor Glenn Sakatch put the underlying principle plainly during a thread about failed tracking: track smaller, high-contrast features first, then expand the window outward once that anchor point is solid, rather than starting with a large window over a soft, low-contrast area and hoping the average works out. Marc Wielage backed the same idea in a later reply in that thread, noting flatly that "the tracker works on contrast" and recommending you pick a point with real edge detail whenever you have a choice, in the same "Tracking problems" thread on Creative COW.
You don't have to abandon your original window. You can keep tracking the region you actually need graded while placing the tracking points themselves somewhere more reliable nearby, since a Power Window's shape and its tracking data aren't the same thing. If you're tracking a whole face and the skin is giving you nothing, shrink the effective tracking area toward an eyebrow, a nostril edge, or a shirt collar, let that anchor the track, and the window shape follows along with it.
In DaVinci Resolve, the shape of your Power Window and the pixels its tracker actually analyzes don't have to be the same region, and moving the analysis point to higher contrast fixes drift the checkboxes alone won't. This single habit, picking contrast over convenience, resolves more drifting trackers than any setting change.
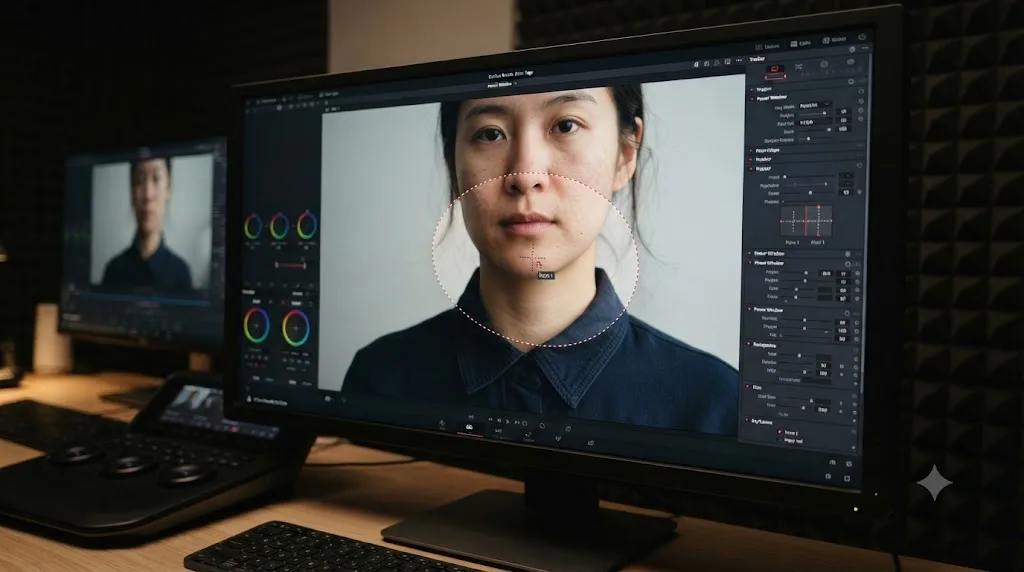
How do you fix tracking that breaks when something crosses in front of your subject?
This is a different bug, and no amount of checkbox tuning solves it, because there's no amount of contrast that helps a tracker see through an object that's physically in the way. Occlusion is the single most common reason a track that was previously solid suddenly and completely fails.
Colorist Joey D'Anna, in a Mixing Light tutorial specifically about this problem, is direct about the limits of automation here: "there simply is no way to deal with it automatically," he says of a shot where a foreground object temporarily blocks the tracked subject, in his walkthrough on combining tracking with manual keyframes. That's not a criticism of Resolve specifically. Every motion tracker in every piece of software has this exact limit, because the information the tracker needs simply doesn't exist in the frame while the occlusion is happening.
D'Anna's recommended approach breaks the shot into pieces before you touch the tracker at all:
- Assess the full shot first. Watch it through once and mark, mentally or with markers, where automatic tracking will hold and where it won't.
- Track the longest clean section automatically. Don't fight the tool where it works. Let it do the easy 80% of the clip.
- Minimize keyframes on the hard section. Set a keyframe at the frame just before the occlusion starts and another at the frame just after it ends, then fill inward toward the middle only where the interpolation between those two isn't good enough on its own.
- Handle whatever's left last. Once the bulk of the clip and the hardest section are both solved, mop up any remaining short gaps.
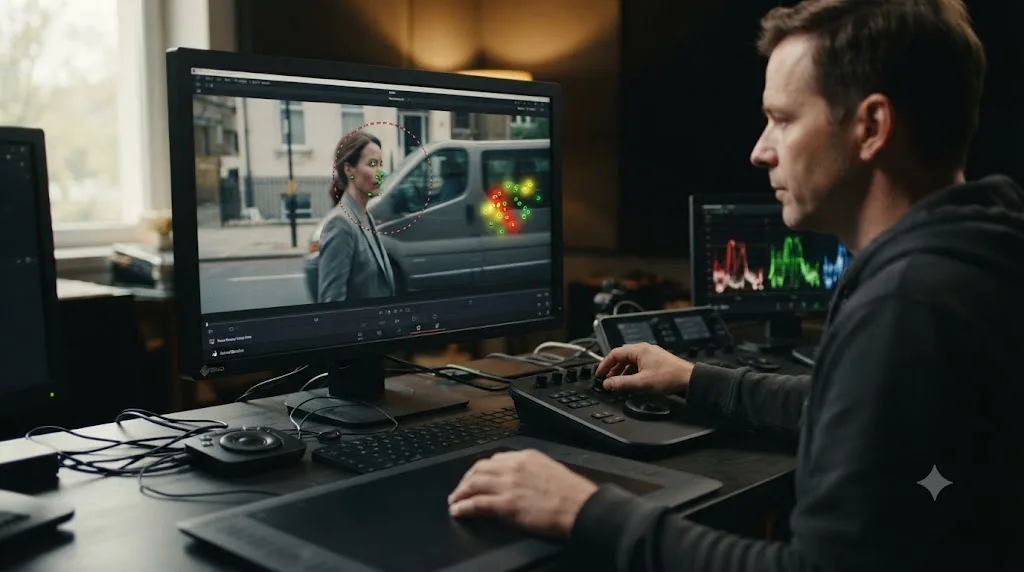
Blackmagic's manual describes the tool built specifically for the moment an object crosses through your tracking points: Interactive Mode. Per the manual's page on Interactive Mode, it "lets you manually remove or add tracking points to improve tracking performance," and the manual's own example is almost exactly this scenario: "a car that you're tracking drives by a sign that partially obscures the car. Without intervention, the PowerCurve... will deform improperly." The fix is to enable Interactive Mode, drag a selection box around the tracking points that are about to be swallowed by the obstruction, and delete just those points before the occlusion happens, so the tracker keeps solving from the points that stay visible instead of trying and failing to track points it can no longer see.
A tracker that snaps off the instant something crosses your subject isn't malfunctioning, it's reporting the honest truth that there's nothing left in frame for it to follow, and Interactive Mode's job is to remove those doomed points before they drag the rest of the track down with them.
Should you track forward, backward, or both?
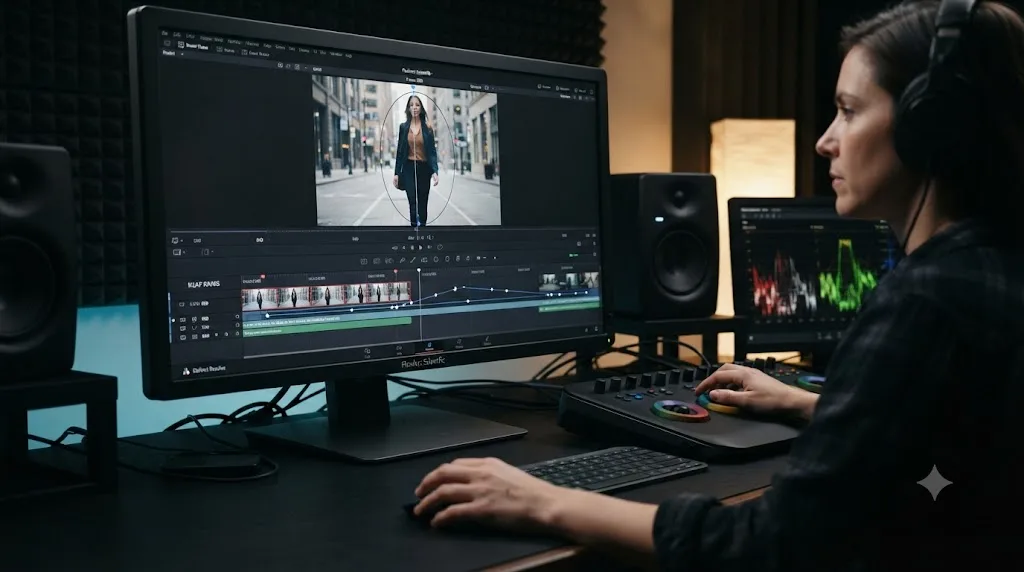
Where you start tracking from matters more than most editors give it credit for. Per the manual's list of Window Tracker controls, Resolve gives you six distinct tracking commands: Track Forward, which "initiates tracking from the current frame forward, ending at the last frame of the clip," Track Reverse, doing the same thing backward, Track Forward and Back, which "initiates tracking from the current frame forward, then when finished, tracks backward," and single-frame versions of forward and reverse for stepping through especially difficult footage one frame at a time.
The mistake that causes a lot of unnecessary drift is starting a track from the first frame of the clip regardless of whether that frame actually gives the tracker good data. If your subject walks into frame two seconds in, or the opening frames are motion-blurred from a whip pan, starting your track there hands the algorithm its worst data first, and every frame after inherits that early error.
Instead, scrub to wherever your subject is clearest, sharpest, and most stationary, park the playhead there, and track outward in both directions from that anchor with Track Forward and Back. You're always tracking away from your best data rather than into your worst data.
This same logic applies when a track breaks partway through. Instead of restarting from frame one, park on the last good frame before the failure, and track forward again from there. You keep everything before that frame intact and only regenerate what actually needs it.
Can effects and filters upstream break your tracker?
Yes, and this is the cause editors chase for the longest before finding it, because the tracker itself looks fine in isolation. The problem is what it's actually looking at.
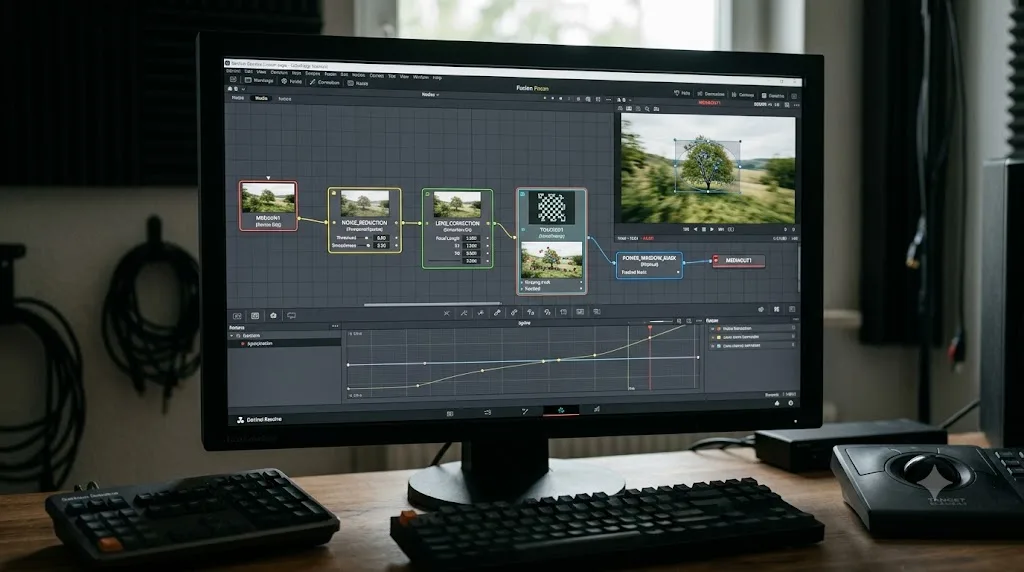
Per MotionVFX's help center article on tracking troubleshooting in DaVinci Resolve, several common node-graph effects interfere with tracking accuracy when they sit upstream of the tracked node: "Noise reduction, AI Super Scale, Lens Correction, Speed ramps" and similar tools that alter the video before the tracker ever analyzes it. Color grading applied earlier in the node chain can also impact tracking quality when the corrected footage feeds into a Fusion composition.
The reasoning is straightforward once you see it. A tracker doesn't analyze your original camera footage. It analyzes whatever pixels are actually present on the node it's attached to, after every upstream node has already changed them. Temporal noise reduction can soften or slightly shift fine detail between frames. Lens correction reshapes the entire frame geometrically. A speed ramp changes which source frames even correspond to which timeline frames. Any one of these can quietly degrade the exact contrast and edge data the tracker depends on, without ever showing up as an obvious visual problem to your eye.
MotionVFX's recommended fixes follow directly from that diagnosis:
- Disable or bypass upstream effects before tracking. Turn off noise reduction, lens correction, and any heavy filters on nodes before the tracked node, track the clean plate, then turn the effects back on.
- Use an Adjustment Clip for the tracker's own effects rather than stacking them directly onto a node with other processing already applied, keeping the data the tracker reads as close to the clean source as possible.
- Set Timeline Playback Resolution to full resolution under Playback settings, since a reduced preview resolution feeds the tracker a lower-quality version of the frame during analysis.
- Fragment long clips into a Compound Clip containing only the section you actually need tracked, since the tracker otherwise has to process the entire clip's duration regardless of how much of it you need.
- Enable Legacy Fusion Composition Frame Count in Project Settings on DaVinci Resolve 20 and later if you're tracking inside a Fusion composition and it isn't starting its frame count where you expect.
Noise reduction, lens correction, and speed ramps placed upstream of a tracked node can all feed the tracker altered pixels it was never trained to follow. If a track that used to work suddenly starts failing on the same footage after you added a grade, check what you added before you touch the tracker settings at all. Where Temporal and Spatial NR sit in your node tree is exactly the kind of node placement that trips this up, so check that before you spend an hour second-guessing the tracker itself.
Does footage format or pixel aspect ratio break Power Window tracking?
Sometimes tracking fails from frame one, on footage that looks perfectly normal in the viewer, and the cause turns out to be a format setting rather than anything visual at all. This one is old, well documented, and still catches editors working with anamorphic or CinemaScope footage today.
A long-running Creative COW thread titled "Resolve V.10. Power window tracking not working properly" walks through exactly this. Editor Gary Chuntz reported that tracking over faces consistently lost track in his version of Resolve, after working reliably in the version before it. After some back and forth, Gary traced it himself: footage shot with CinemaScope lenses wasn't tracking properly. Fellow editor Margus Voll confirmed the fix in the same thread: "You have to change clips pixel aspect ratio to scope in media pool." Not manually squeezing or scaling the footage to compensate, but correctly setting the clip's actual pixel aspect ratio in the Media Pool so Resolve interprets the frame geometry correctly before anything downstream, including the tracker, ever touches it.
Glenn Sakatch's reply in the same thread is worth remembering even if it turns out not to be your problem, because it's the fastest possible check and it's easy to overlook when you're deep in tracker settings: "make sure you haven't switched over to stabilize." Resolve's tracker and its stabilizer live in the same palette and are easy to confuse under pressure, and a window set to stabilize behaves completely differently from one set to track.
If your footage is anamorphic, desqueezed, mixed frame rate, or otherwise unusual in its format, check Clip Attributes before you spend an hour adjusting checkboxes. A tracker fighting a pixel aspect ratio mismatch is trying to solve motion in a frame shape that doesn't match what it's actually seeing, and no amount of Zoom or Rotate tuning fixes a problem that starts one step earlier, at how the clip is being interpreted.
A pixel aspect ratio mismatch on anamorphic or CinemaScope footage can break Power Window tracking outright, and the fix lives in Clip Attributes in the Media Pool, not in the tracker settings at all.
How do you delete bad tracking data without starting the whole track over?
Once you've found and fixed the actual cause, you're usually left with a track that's correct for most of the clip and wrong for a specific section. Deleting the entire track and starting over throws away all the good data along with the bad, and on a long clip that's a real waste of time.
Resolve gives you several tools scoped to exactly this, each targeting a different amount of data:
- Clear Selected Keyframes. Drag a bounding box directly over the offending section of one or more curves in the Tracker graph, then use this command to delete only that stretch of low-quality track data, leaving everything before and after it untouched.
- Interactive Mode point deletion. In the Viewer, with Interactive Mode enabled, drag a selection box around individual tracking points that are producing bad data, and click Delete to remove just those points while the rest keep tracking normally.
- Delete Tracker. Per the manual's page on removing trackers, if an entire tracker is causing problems beyond saving, "you can remove it by selecting it in the Viewer, and clicking the Delete Tracker icon, before retracking the subject." This is the last resort, reserved for a track that's wrong everywhere rather than wrong in one section.
The practical workflow: look at the Tracker graph after a failed track and find where the curve spikes, jumps, or goes flat unexpectedly. That visual spike is almost always the exact frame range where things went wrong. Box-select just that range, clear it, park the playhead on the last good frame just before the gap, and track forward again from there. You're repairing a specific wound instead of amputating and regrowing the whole limb.
Deleting the exact keyframes where a track goes bad and re-tracking from that point is almost always faster than starting the whole track over. On a ten-second clip with one bad three-frame occlusion, this is a thirty-second fix. Restarting the whole track from scratch, on the same clip, costs you the full analysis time again for data that was already correct.
Clip mode versus Frame mode: which should you use to fix a bad track?
Everything you do to correct a Power Window manually, after the automatic tracker has done what it can, runs through one of two modes, and picking the wrong one for the job either makes no change at all or breaks something that used to work.
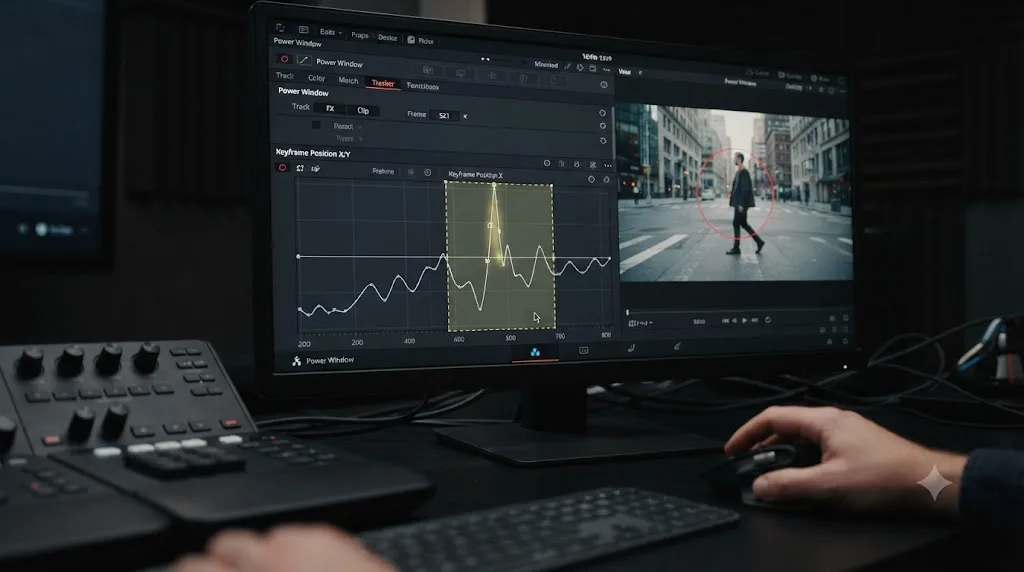
Per the manual's controls page and confirmed by editors discussing this exact distinction on Creative COW, Clip mode applies any manual adjustment as a constant offset across the entire clip. Nudge the window in Clip mode, and every frame in the clip shifts by that same amount, uniformly. It's fast, and it's the right choice when your whole track is offset by a consistent amount, but it's the wrong tool for fixing one bad section, because it changes everything, not just the part that's wrong.
Frame mode creates a keyframe at exactly the frame your playhead sits on when you make a change, and multiple keyframes interpolate between themselves to build the animation. This is the tool for surgical correction: park on the one bad frame, adjust the window there, and Resolve blends smoothly from your last good automatic keyframe into your manual one and back out again. For the general mechanics of building and adjusting keyframes in Resolve, the keyframe editor and spline controls behind that interpolation are the same ones covered in our guide to keyframing effects in DaVinci Resolve.
Editor Michael Mccune, in the Creative COW thread on tracking problems, described his own working pattern using exactly this distinction: rely on "Frame mode and create intermediate correcting and adjustment keyframes" wherever the automatic solve isn't good enough on its own. That's also the advice that came up repeatedly when editor Rhys Sherring asked, in a separate Creative COW thread, how to make a tracked window start or stop partway through a clip instead of running for its full length. Michael Mccune explained the Clip/Frame distinction directly in reply, and Mathew Farrell added a related technique for that specific problem: keyframing the window's opacity in the keyframe editor, dropping it to 0% where you want the effect to disappear and back to 100% where you want it to reappear, rather than physically splitting the clip. Marc Wielage's follow-up in that same thread is worth holding onto for tricky cases: "you have to change opacity AND the window shape" together for the cleanest result, since opacity alone can leave a wrong-shaped window fading in and out rather than genuinely vanishing.
The practical rule: track in Clip mode first, because it's fast and it's the correct default. Drop into Frame mode only at the specific frames where the automatic track is provably wrong, and nowhere else. Treating Frame mode as your default instead of your exception turns a five-minute fix into an afternoon of unnecessary hand-keying.
Should you use Magic Mask instead of a Power Window tracker?
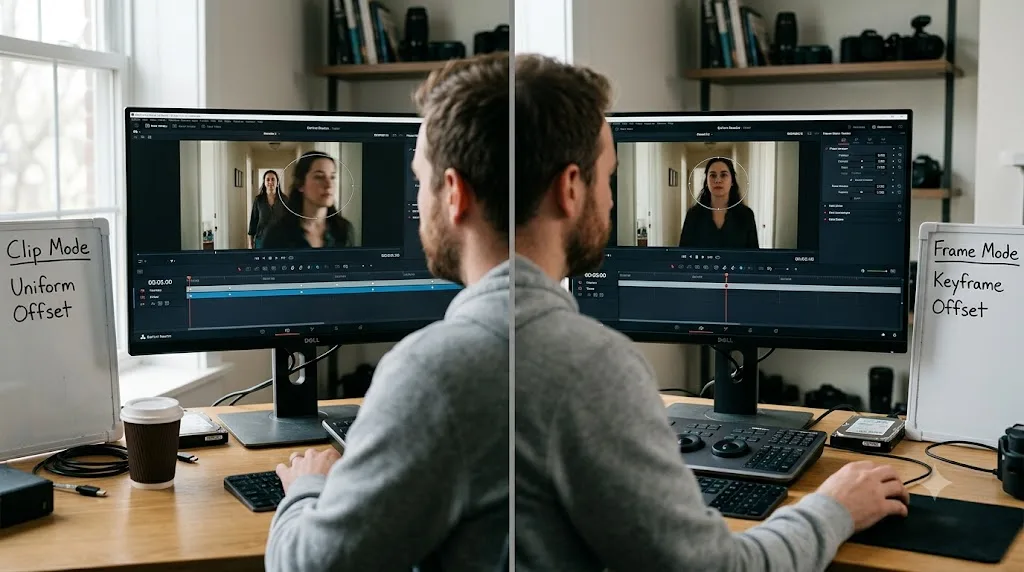
Sometimes the honest fix isn't a better track. It's a different tool. DaVinci Resolve Studio's Magic Mask solves a related but genuinely different problem than a Power Window's cloud tracker, and knowing which one fits your shot saves you from fighting the wrong tool.
| Situation | Better tool | Why |
|---|---|---|
| A simple geometric area: a window, a sign, a static face | Power Window tracker | Lighter on the GPU, works in the free version, precise for regular shapes |
| A moving, irregularly shaped subject: a full person, an animal, loose hair | Magic Mask | Tracks the subject's identity instead of a fixed shape, handles complex motion better |
| No green screen, subject moves unpredictably through the frame | Magic Mask | Built specifically for this case, at the cost of heavier GPU use |
| A clean chroma key is available | Neither, use the key | A proper green or blue screen key still beats both for a hard, clean edge |
A Power Window tracker follows a shape you defined, and it's built to be efficient at that one job. Magic Mask uses Resolve's Neural Engine to identify and track a subject as a concept rather than a fixed geometric window, which handles complex, irregular motion with far less manual correction. That power comes at a real cost, and it's the same tradeoff you run into with Resolve's other Neural Engine tools: our guide to Smart Reframe not working covers the same pattern of drift and GPU strain on a different AI-driven feature, and the fixes rhyme with the ones in this article because the underlying engine is related. Magic Mask is significantly heavier on the GPU than a standard Power Window track, and it's Studio-only, while the basic tracker works identically in the free version.
If you've read this whole article because you're trying to track a full moving person through a busy shot and you have Studio, the honest answer might be that you're using the wrong tool entirely, and Magic Mask will save you the exact manual correction work this guide walks through. If you're tracking a face for a simple color correction, or a window, sign, or screen, stick with the Power Window tracker. It's lighter, it's available regardless of license, and the fixes above solve the overwhelming majority of its failures.
Could your GPU or system be the actual cause?
Motion tracking is genuinely demanding work. Every frame requires Resolve to locate, compare, and re-solve a cloud of tracking points, and on longer clips or higher resolutions that adds up. If tracking is slow to complete, stutters while analyzing, or seems to time out on long clips rather than producing a wrong result, the cause may be closer to your hardware than to the footage itself.
This shows up most on systems that are already stretched by the rest of the timeline, heavy 4K or higher-resolution footage, multiple GPU-intensive nodes stacked on the same clip, or a graphics card that's underpowered relative to your project settings. If tracking analysis is crawling rather than producing an obviously wrong result, that's a performance symptom rather than an accuracy one. GPU processing mode causes stranger symptoms than slowness too: our green screen troubleshooting guide covers a case where the wrong GPU processing mode turns the Edit page solid black once alpha compositing is involved, which is the same category of GPU-driven bug as a tracker that stalls or times out.
The fix here isn't a tracker setting at all. It's the same set of steps that resolve any GPU-bound slowdown in Resolve: lower your timeline playback resolution while working (raise it back before final review), close other GPU-hungry applications, confirm your GPU drivers are current, and if you're tracking a long clip, fragment it into a shorter Compound Clip covering just the section you actually need tracked, the same technique MotionVFX recommends for keeping tracking analysis fast rather than dragging across footage you don't need.
What does the full fix look like on a real drifting track?
Here's the whole process applied to a realistic shot, so you can see how the pieces above fit together in order.
Say you're grading an interview. You draw a Power Window around your subject's face to lift exposure slightly, enable all four tracking checkboxes out of habit, and hit Track Forward and Back. For the first three seconds, it's perfect. By the fifth second, the window has crept noticeably toward the subject's shoulder, and by the eighth second it's mostly missing the face entirely.
First check: is this drift or a break? You scrub back through slowly and confirm it's gradual, a little worse every few frames, never a sudden jump. That rules out occlusion. Nothing crosses the frame in this shot.
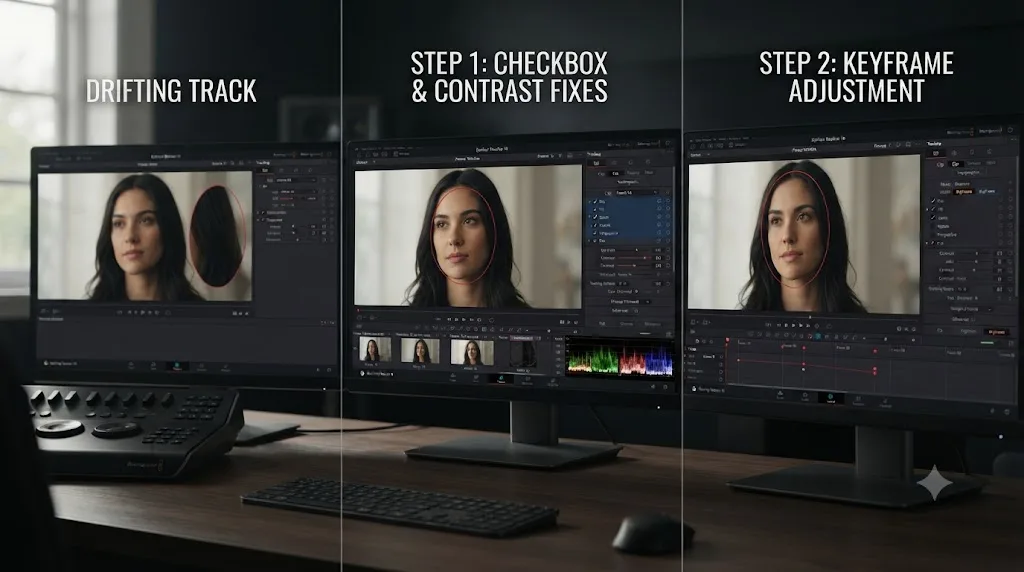
Second step: you open the tracker checkboxes and realize you left Zoom, Rotate, and Perspective 3D all enabled on a subject who's simply sitting still and talking, barely moving at all. You uncheck all three, leaving Pan and Tilt only, and retrack from frame one. The drift is noticeably better, but a small amount remains around the six-second mark.
Third step: you look at where the window's tracking points actually sit. They're centered on the middle of the cheek, smooth, evenly lit, low contrast. You nudge the effective tracking area slightly toward the edge of the jaw and the corner of the eye, both sharper, higher-contrast features, and retrack once more. This time it holds clean for the full ten seconds.
If it hadn't, the next move would have been the Tracker graph: box-select the section around the six-second mark where the old track spiked, clear just that keyframe range, park on the last good frame before it, and track forward again from there rather than redoing the whole ten seconds. That's the same escalation ladder this entire article follows: cheapest fix first, more targeted correction only if the cheap fix doesn't fully solve it.
What's the fastest way to fix a Power Window that keeps losing tracking, in order?
Work through these in sequence. Most tracking failures resolve in the first three steps.
- Diagnose drift versus a break. Steady slide over many frames is drift. A clean snap at one frame is occlusion or a bad match. They need different fixes.
- For drift: uncheck Zoom, Rotate, and Perspective 3D in the Window Tracker palette, leaving Pan and Tilt only, then reanalyze. Disabling checkboxes does nothing until you retrack.
- Still drifting? Move the tracking points onto a higher-contrast feature nearby, a collar, a hairline, an edge, rather than a flat, low-contrast area.
- For a break at one frame: switch from Clip mode to Frame mode, park on the last good frame before the failure, and hand-key the window through the blocked or bad section. Use Interactive Mode to delete tracking points that are about to be occluded before they drag the track down.
- Repair, don't restart. Use Clear Selected Keyframes in the Tracker graph to remove just the bad section of data, then re-track from the last good frame instead of redoing the entire clip.
- Still failing? Bypass upstream noise reduction, lens correction, and speed ramps before tracking, then reapply them once the track is locked.
- Still failing on anamorphic or CinemaScope footage? Check the clip's pixel aspect ratio in Clip Attributes in the Media Pool. A format mismatch there breaks tracking before it ever starts.
- If your subject is a moving person or animal, not a simple shape, and you have Studio, consider whether Magic Mask is the better tool for this specific shot instead of continuing to fight a Power Window tracker with it.
If you're deep in a session and you're not sure whether what you're looking at is drift, occlusion, or an upstream node problem, that diagnosis step is exactly the kind of question TryUncle is built to answer. It looks at your actual Resolve window and points you at the specific checkbox or node that's causing the problem, instead of sending you off to reread a forum thread from 2014.
Is Power Window tracking just unreliable, or is this actually fixable?
Neither answer on its own is honest. Power Window tracking in Resolve genuinely does fail more often than editors coming from dedicated compositing tools expect, and that reputation is earned across a decade of forum threads saying more or less the same thing. Duke Sweden, after a long back-and-forth troubleshooting his own tracking failures on Creative COW, eventually landed on the only conclusion that holds up: "perfect tracking only happens in tutorials," as he put it in that same thread, before settling into manual tweaking as a normal, expected part of his workflow rather than a failure state.
But "unreliable" undersells what's actually happening. A tracker solving for zoom, rotation, and 3D perspective on low-contrast footage is being asked to do something genuinely hard, and every tracking tool in every piece of software, not just Resolve, produces occasional bad solves under those same conditions. Occlusion isn't a bug at all. It's a hard physical limit: there is no data behind the object blocking your subject, and no algorithm invents data that was never captured. And a pixel aspect ratio mismatch was never a tracking bug in the first place. It's a setup error one step upstream of the tracker entirely.
Once you split "tracking is broken" into these separate, specific causes, each one has a known, fast fix, most of them under a minute once you know which one you're looking at. That's the entire value of running the drift-versus-break check before you touch a single setting. Diagnose first, and the fix that follows takes seconds, not an afternoon of guessing.
Fix a drifting Power Window the way this guide lays out, checkboxes first, contrast second, targeted keyframe repair third, and you'll spend your session grading instead of fighting the tracker. If export settings are the next thing standing between you and a finished project, our DaVinci Resolve export settings for YouTube guide picks up exactly where this one leaves off.
Frequently asked questions
- Why does my Power Window track fine for a few seconds, then drift off my subject?
- Steady drift almost always means the tracker's Zoom, Rotate, or Perspective 3D checkboxes are trying to solve for more motion than the footage actually gives them reliable data for, or the tracking points sit on a low-contrast patch that shifts identity as lighting changes. Turn off Zoom, Rotate, and Perspective 3D, leave just Pan and Tilt on, and reanalyze. If it still drifts, move the window onto a higher-contrast feature and track again.
- Why does a Power Window tracker snap off my subject the instant something crosses in front of it?
- That's occlusion, not drift, and it's a genuinely different bug with a different fix. Automatic tracking has no way to guess what's under an object that's blocking its view. Pause before the obstruction, switch to Frame mode, and hand-key the window through the blocked section, or use Interactive Mode to delete the tracking points sitting on the object that's now in the way.
- Should I track forward or backward in DaVinci Resolve?
- Track in whichever direction gives the tracker the most stable starting frame. If your subject enters mid-clip, park on the frame where it's clearest, then use Track Forward and Back to cover both directions from that single, reliable anchor instead of starting from frame one and dragging a track through frames where the subject isn't even in shot yet.
- What's the difference between Clip mode and Frame mode when tracking a Power Window?
- Clip mode applies any manual adjustment as a constant offset across the entire clip, which is fast but blunt. Frame mode creates a keyframe at exactly the frame your playhead sits on, which lets you correct one bad moment without disturbing anything else. Track in Clip mode first, then drop into Frame mode only at the specific frames where the automatic track goes wrong.
- Can noise reduction or other effects make Power Window tracking worse?
- Yes. Temporal or spatial noise reduction, lens correction, Super Scale, and speed ramps all change the pixels the tracker analyzes if they sit upstream of the tracked node. Disable or bypass those effects, track the clean plate, then turn the effects back on once the track is locked.
- Does DaVinci Resolve's free version track Power Windows differently than Studio?
- No. Power Window creation and the cloud tracker, including Pan, Tilt, Zoom, Rotate, and Perspective 3D tracking, are core Color page tools available in the free version. Studio adds Magic Mask, Neural Engine-based tools, and heavier noise reduction on top, but the tracker underneath your Power Windows is the same engine either way.
- Should I use Magic Mask instead of a Power Window tracker?
- Only if you have DaVinci Resolve Studio and your subject is an irregular, moving shape like a person or an animal rather than a simple geometric area. Magic Mask handles that kind of subject with less manual correction, but it costs far more GPU per frame. For a face, a window, a sign, or anything close to a rectangle or circle, a Power Window tracker is still the lighter, faster tool.
Sources
- Blackmagic Design DaVinci Resolve Manual: Controls in the Window Tracker Palette
- Blackmagic Design DaVinci Resolve Manual: Motion Tracking Windows
- Blackmagic Design DaVinci Resolve Manual: Using Interactive Mode to Manually Choose Tracking Features
- Blackmagic Design DaVinci Resolve Manual: Removing Trackers
- MotionVFX Help Center: Tracking Troubleshooting in DaVinci Resolve
- Creative COW Forum: Tracking problems (Duke Sweden, Marc Wielage, Glenn Sakatch, Michael Mccune)
- Creative COW Forum: Start/stop Tracking mid clip? (Duke Sweden, Michael Mccune, Mathew Farrell, Marc Wielage)
- Creative COW Forum: Resolve V.10. Power window tracking not working properly. (Gary Chuntz, Margus Voll, Glenn Sakatch)
- Mixing Light: Better Window Tracking, Combining Tracking With Manual Keyframes (Joey D'Anna)
- Toolfarm: In Depth, DaVinci Resolve Studio vs the Free Version (Updated for 21)
Learn by doing, not watching
Stop translating tutorials to your timeline.
TryUncle stays beside Resolve on Mac and Windows. When you ask, Uncle sees your screen and points at the exact control you need. No hunting through tabs, timestamps, or mismatched tutorials.
Meet TryUncleKeep reading
 GuidesJul 9, 202638 min read
DaVinci Resolve Smart Reframe Not Working: Every Fix
Why DaVinci Resolve's Smart Reframe does nothing, drifts off the subject, or fights your timeline, and the proxy, resolution, and GPU fixes that solve it.
 GuidesJul 9, 202636 min read
DaVinci Resolve Green Screen Not Working: Every Real Fix
Why a DaVinci Resolve green screen key works in Fusion but not on the timeline, and the Alpha Output, keyer, and export fixes that solve it.
 GuidesJul 7, 202632 min read
DaVinci Resolve Export Settings for YouTube (Copy These Exactly)
The exact DaVinci Resolve export settings YouTube recommends: codec, bitrate, resolution, audio, and the Deliver page steps that avoid soft uploads.