
Learn / DaVinci Resolveupdated for DaVinci Resolve 21.0.1 (June 2026)
DaVinci Resolve Green Screen Not Working: Every Real Fix
Quick answer
A DaVinci Resolve green screen key usually fails because the Fusion node tree that keys it was never connected to an Alpha Output node, so Resolve has no idea the clip is transparent. Right-click the Node Editor, choose Add Alpha Output, connect your keyer's output to it, and the composite appears without touching a single keyer setting.
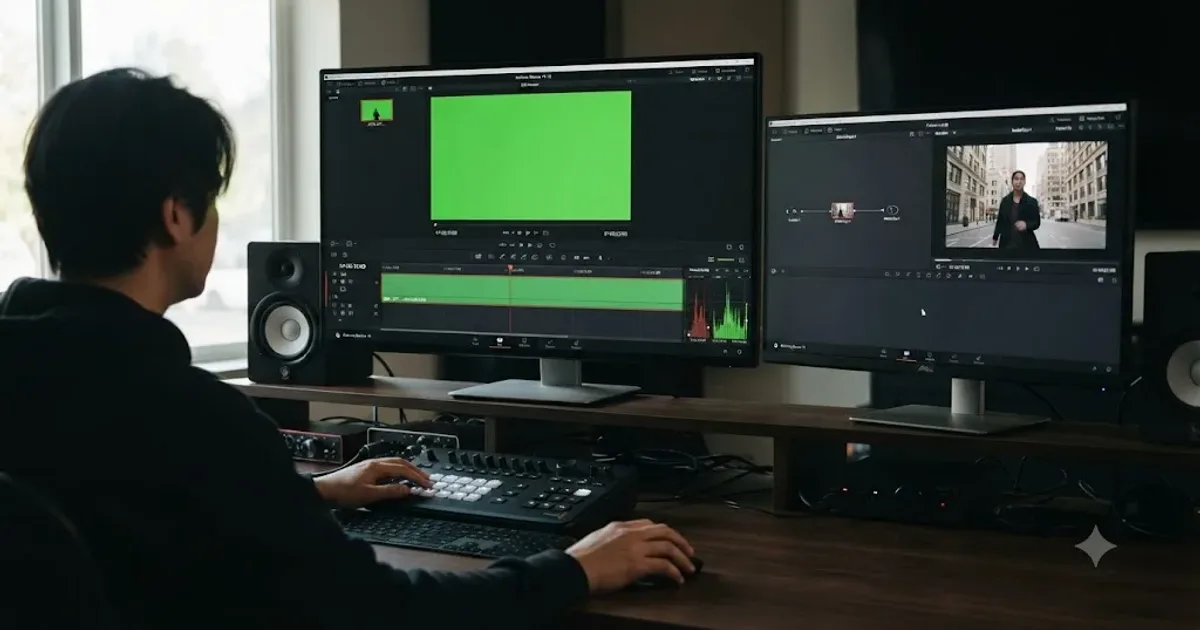
Your green screen looks perfect in the Fusion viewer. Clean edges, no green spill, background showing through exactly where it should. You switch to the Edit page to check it in context, and the clip is just green. Solid, opaque, un-keyed green, sitting on the timeline like you never touched it.
I want to walk through why this happens, because it trips up more editors than any keyer setting ever will. It's not usually a keying problem at all. It's a plumbing problem. You built a perfectly good key and never connected it to anything that leaves the Fusion page.
Why does a green screen key work in Fusion but not show up on the timeline?
Here's the part that catches almost everyone the first time. DaVinci Resolve's Fusion page is a self-contained compositing environment. Whatever you build inside a clip's node graph, keyers, masks, color corrections, only affects what you see inside that node graph's own viewer, unless you explicitly route the result somewhere Resolve is watching.
For a green screen shot specifically, that means the transparency your keyer produces has to travel through one more connection before the Edit and Color pages know it exists. DaVinci Resolve's Fusion page can build a perfect green screen key that never appears on your timeline, because keying and compositing are two separate steps. Keying decides which pixels become transparent. Compositing is what actually shows something else through that transparency, whether that's a background clip on a lower video track or a static image dropped in behind it. Skip the second step and the first one, no matter how good it is, might as well not exist.
This is the root cause behind the large majority of "my green screen isn't working" reports, and it's specific enough that it's worth naming precisely: the missing piece is almost always the Alpha Output node, described in DaVinci Resolve's own manual as an "optional output that you can turn on to create clip transparency using operations inside DaVinci Resolve to create composites against other clips on lower video tracks," according to the DaVinci Resolve manual's page on compositing with the Alpha Output. Notice the word optional. Resolve doesn't add it for you. You have to ask for it, every single time, on every clip you key.
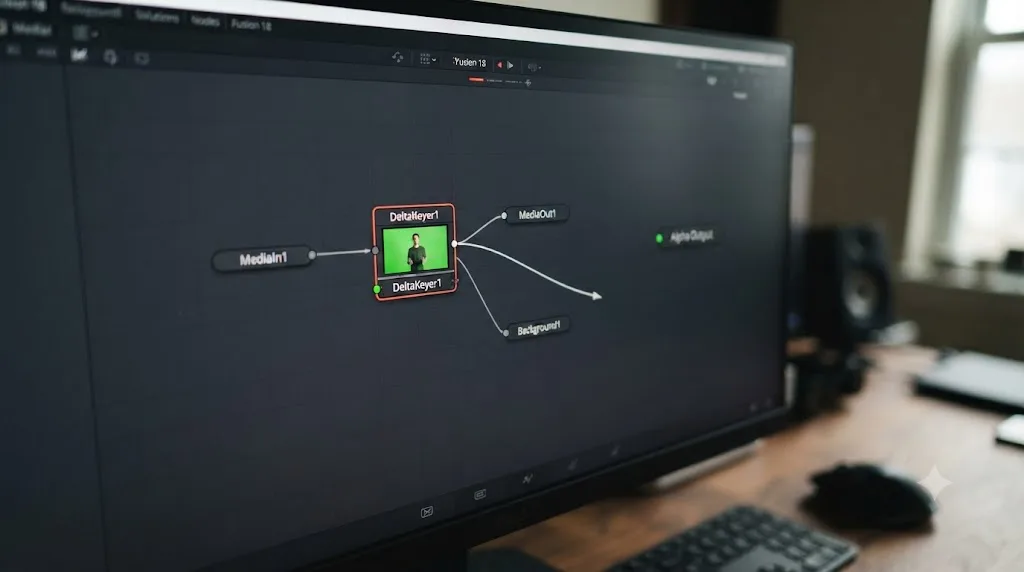
What exactly is the Alpha Output node, and how do you add it correctly?
Think of the Alpha Output as a signal flare, not a compositing tool. It doesn't do any keying, blending, or color work itself. Its only job is to tell Resolve's track-based compositor, the same system that layers your Edit page video tracks on top of each other, which pixels in this specific clip should be see-through.
Here's the exact procedure, straight from the manual and confirmed by community tutorials that walk through the same steps:
- Open the green screen clip on the Fusion page.
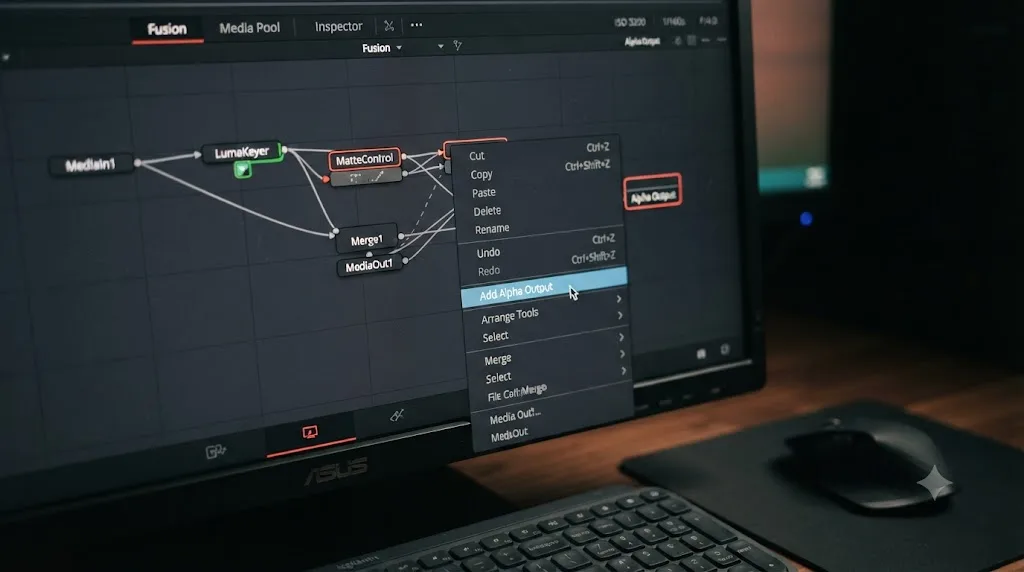
- Right-click anywhere in the empty gray area of the Node Editor.
- Choose Add Alpha Output from the context menu.
- A blue output dot appears at the right edge of the node graph, separate from the normal MediaOut node.
- Drag a connection from your keyer's output (the same blue square you'd connect to a Merge node or a viewer) onto that new blue dot.
- Switch to the Edit or Color page. The background clip on the lower track should now show through wherever the key made your green screen transparent.
The Boris FX tutorial on chroma keying in Resolve describes the same connection from the compositor's point of view: "Join the blue square from your clip node to the blue dot to connect the clip to the Alpha Output. This will tell DaVinci Resolve that you want to blend both video tracks," according to JG McQuarrie's DaVinci Resolve chroma key and green screen tutorial for Boris FX. That phrase, "blend both video tracks," is the whole story in six words. Without that connection, Resolve isn't blending anything. It's just showing you the top track, green screen and all.
The Alpha Output node is the only thing that tells DaVinci Resolve a Fusion clip has transparency at all. Not the keyer. Not the despill. Not how good your garbage matte is. Every one of those can be flawless and the clip will still play back as a flat, opaque rectangle if this one connection is missing.
There is a second, entirely valid way to use Fusion that doesn't need an Alpha Output at all, and it's worth knowing the difference so you don't add one where it isn't needed. If your background plate is also loaded inside the same Fusion composition (say, both the green screen footage and a still image are pulled in as separate MediaIn nodes and merged together with a Merge node inside Fusion itself), then the finished, already-composited image goes straight out through the normal MediaOut node. There's nothing left for Resolve to blend on the timeline, because Fusion already did the blending internally. Alpha Output is specifically for the case where your background lives on a different track in the Edit page, and you want Resolve's own track stacking to do that final blend for you.
Why does the green screen come back after you close and reopen the project?
This one is genuinely confusing the first time it happens, because everything looked fixed when you left it. You added the Alpha Output, saw the composite working, closed Resolve, and came back the next day to find the green screen sitting there again like nothing changed.
Two separate causes produce this exact symptom, and they need different fixes.
The Alpha Output was added but never actually connected. This is more common than it sounds, especially if you got interrupted mid-task. Resolve saves the node graph exactly as it exists, including a blue Alpha Output dot with nothing plugged into it. Reopening the project doesn't lose your work; it just shows you, accurately, that the connection was never made in the first place. Check the node graph before you assume anything mysterious happened.
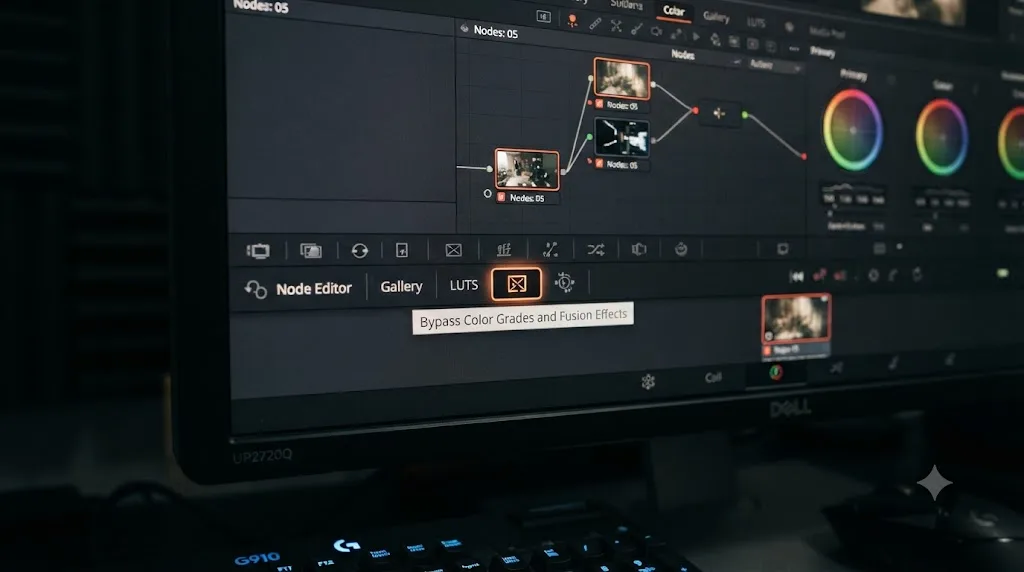
Bypass Color Grades got toggled on. This is a small button that lives near the transport controls on the Color and Edit pages, and its whole purpose is to let you A/B your entire timeline's grading and effects against the raw, ungraded footage with one click. The catch is that it doesn't just bypass color correction. It disables Fusion compositing too, which means an active Bypass Color Grades toggle makes a perfectly wired Alpha Output look like it's doing nothing. One user on the Blackmagic Forum's thread about a green screen returning after being keyed out traced their own identical symptom back to exactly this button, hit by accident while reaching for something else nearby. It's an easy thing to bump, and it's the first thing worth checking if a fix that clearly worked yesterday looks broken today.
A related but distinct report on the forum's Removing Green Screen not working thread lands on the same root cause covered above: the poster's key looked correct in Fusion, and the fix that resolved it was adding the missing Alpha Output, not touching the keyer settings at all.
Here's the quick way to tell these two apart:
| Symptom | Likely cause | Where to check |
|---|---|---|
| Green screen never worked, even right after building the key | Alpha Output never added, or never connected | Fusion Node Editor, check for the blue dot and its connection |
| Green screen worked, then came back after reopening the project | Alpha Output added but connection never made before saving | Fusion Node Editor, same check as above |
| Green screen worked yesterday, broken today, nothing in Fusion changed | Bypass Color Grades switched on | Transport control area on the Color or Edit page toolbar |
| Grade and effects all look flat and ungraded across the whole timeline, not just this one clip | Bypass Color Grades switched on | Same toggle, affecting every clip at once |
Is your keyer even picking a clean key in the first place?
Before you touch the Alpha Output at all, it's worth confirming the key itself is actually good. View the keyer node's alpha output directly, right-click it and choose View Alpha, or point the Fusion viewer at its output and switch to Alpha display mode. If what you see there is already noisy, incomplete, or half-transparent in places it shouldn't be, no amount of fixing the output pipeline will help, because the problem is upstream of it.
Most green screen keying problems that aren't about Alpha Output come down to three things, and they compound each other:
Uneven lighting on the screen itself. A green screen that's brighter in the center and darker at the edges gives your keyer a moving target instead of one consistent color to pull against. Wrinkles and folds in fabric screens do the same thing on a smaller scale, each one throwing a slightly different shade of green depending on the angle it catches light at.
Green spill on your subject. Light bouncing off a green screen and landing on hair, skin, or clothing tints them slightly green, and a keyer that's tuned tightly enough to remove the background cleanly often removes some of that spilled color from the subject too, leaving faint green fringing right at the edges. Despill is a separate control from the key itself, specifically built to correct this without touching the transparency.
No garbage matte for things the keyer can't handle. Light stands, boom mic shadows, C-stands at the edges of frame, none of these are green, so a color-based keyer leaves them fully opaque no matter how you tune it. A garbage matte, built with a Polygon or B-Spline mask through a Matte Control node, manually cuts those elements out of frame before the keyer ever sees them.
The Mixing Light tutorial on Resolve's 3D Keyer walks through this same order of operations, treating the keyer itself as the first pass and the mask and despill work as the pass that actually finishes the job, per Bernd Klimm's Chroma Keying Part 1 tutorial. Its stated learning goals include the ability to "Identify and remove (green) spill" and "Work with garbage mattes," treated as two distinct skills from pulling the initial key, not afterthoughts.
Garbage mattes and despill fix visual problems with a key; Alpha Output fixes a completely separate problem, whether the key is visible at all. Keep those two categories apart when you're troubleshooting. A key with rough edges needs matte and despill work. A key that simply isn't showing up anywhere outside Fusion needs Alpha Output. Confusing the two sends you tweaking the wrong controls for an hour before you realize the composite pipeline was never connected.
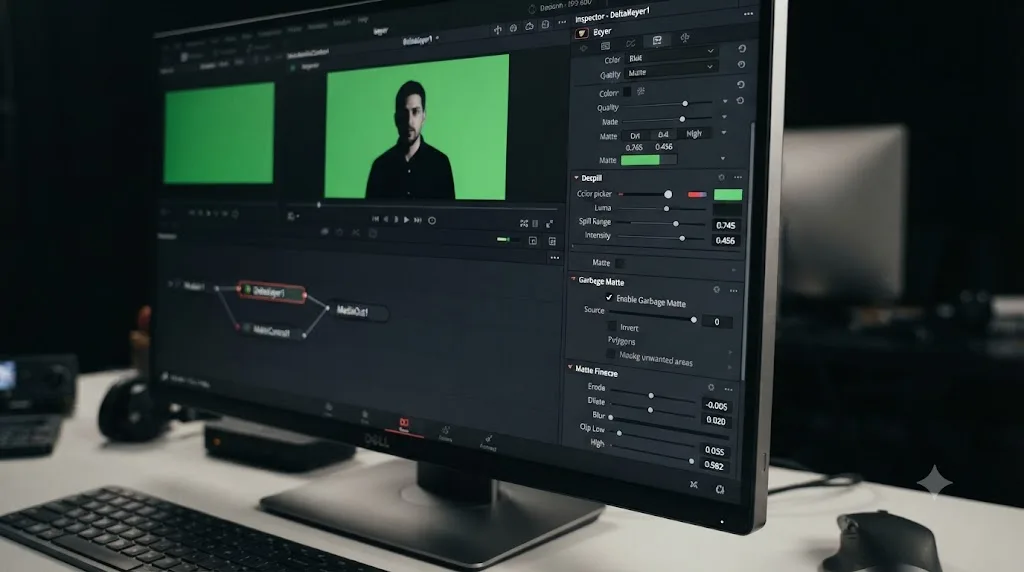
3D Keyer, Chroma Keyer, Delta Keyer, or Ultra Keyer: which one should you actually use?
DaVinci Resolve gives you four distinct ways to pull a key, split across two pages, and picking the wrong one for your footage wastes time on a keyer that was never going to give you a clean result.
| Keyer | Where it lives | Best for | Limitation |
|---|---|---|---|
| 3D Keyer | Color page (Qualifier) or as an Edit-page OpenFX effect | Fast, evenly lit green screens; simplest setup | Less control over fine edge detail like hair |
| Chroma Keyer | Fusion page | Basic single-color removal, similar logic to the 3D Keyer | Struggles with uneven lighting the same way the 3D Keyer does |
| Delta Keyer | Fusion page | Uneven lighting, wrinkled screens, when you have a clean plate | Requires a clean plate, a shot of the empty green screen with nothing in the foreground |
| Ultra Keyer | Fusion page | Fine detail like hair, motion blur, semi-transparent objects | More parameters to learn than the other three |
The Delta Keyer deserves the closest look, because it works on a genuinely different principle than the other three. Instead of asking "which pixels are this shade of green," it asks "how does this frame differ from a clean shot of the empty screen." According to Joey D'Anna's Delta Keyer deep dive for Mixing Light, "'Delta' refers to the difference between two things, and differences are exactly what this powerful keyer exploits to make great keys." The mechanism, in the same article's words: "Instead of removing a single color from the background, the Delta Keyer subtracts a clean version of the greenscreen, including its imperfections and nonuniformities."
That distinction matters practically. A single-color keyer like the 3D Keyer or Chroma Keyer has to compromise between catching every shade of green on an unevenly lit screen and not eating into your subject's edges. The Delta Keyer sidesteps that compromise entirely, because it already knows what "just the screen, no subject" looks like in every corner of frame, wrinkles and lighting falloff included. The tradeoff, stated plainly in the same tutorial: this "eliminates many of the normal pain points of greenscreen keying, but requires you to have a clean plate, or a shot of the greenscreen with nothing in the foreground." If you didn't shoot one, and you can't grab a clean frame from before or after your subject stepped into frame, the Delta Keyer isn't available to you on this shot, and you're back to the 3D Keyer, Chroma Keyer, or Ultra Keyer instead.
A key that looks flawless in the Fusion viewer means nothing until it's connected to an output Resolve actually reads. That's true no matter which of these four keyers produced it. Switching keyers never fixes a missing Alpha Output, and adding an Alpha Output never fixes a bad key. They're independent failure points, and it pays to know which one you're actually looking at before you start changing settings.
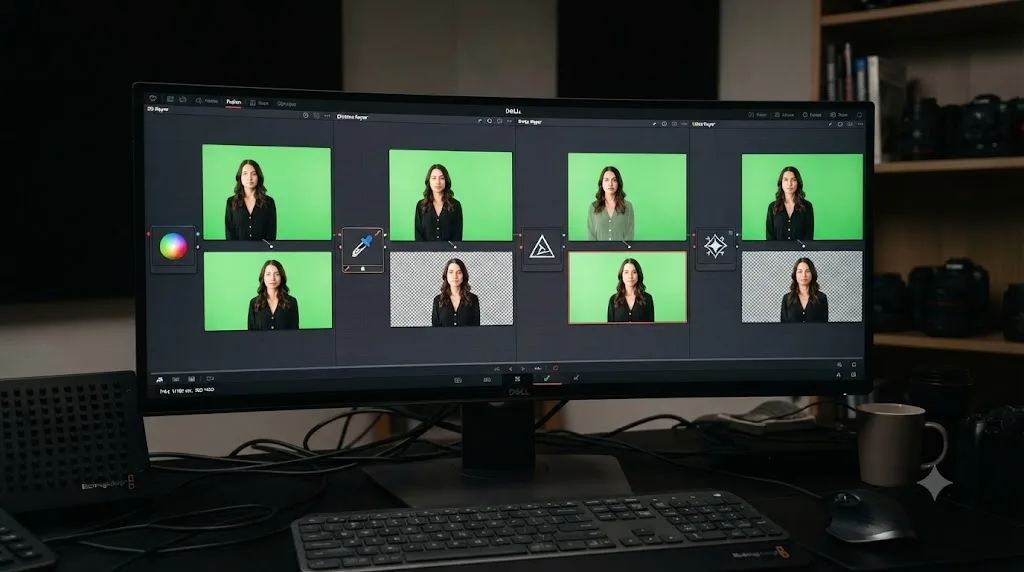
Should you key on the Color page or the Fusion page?
This decision comes before you pick a specific keyer, and it changes what "not working" even means for your shot.
The Color page's 3D Keyer, accessed through the Qualifier tool, keys and grades in the same place your clip already lives. It doesn't need an Alpha Output, because it isn't compositing against a separate background track at all; it's building a mask you then use to grade the foreground and background differently, or to feed into a Power Window for more targeted correction. If your actual goal is "make the green screen look natural against whatever's already behind it in-camera," or you're isolating a region for color work rather than replacing the background entirely, the Color page is often the faster path and the one where this specific "not working" problem never comes up.
The Fusion page's keyers exist for a different goal: pulling a subject cleanly off its background so you can drop in something else entirely, a virtual set, a different location, a title background. That's the workflow this whole guide has been describing, and it's the one where Alpha Output becomes a required step rather than an optional one.
A rough rule of thumb: if you're not putting a different clip or image behind your subject, on a track below it in the Edit page, you probably don't need Fusion's keyers or an Alpha Output at all. If you are, plan for the Alpha Output connection from the start instead of discovering it's missing after you've already built the whole key.
If you jump over to the Color page expecting to see your Fusion composite or your Edit-page key and instead find the timeline itself looking empty or wrong, that's a different, unrelated bug. Our guide on why DaVinci Resolve's Color tab shows no footage covers the filter dropdown, the Clips and Timeline toggles, and the multiple-timeline mix-ups that cause that specific symptom, none of which involve Alpha Output at all.
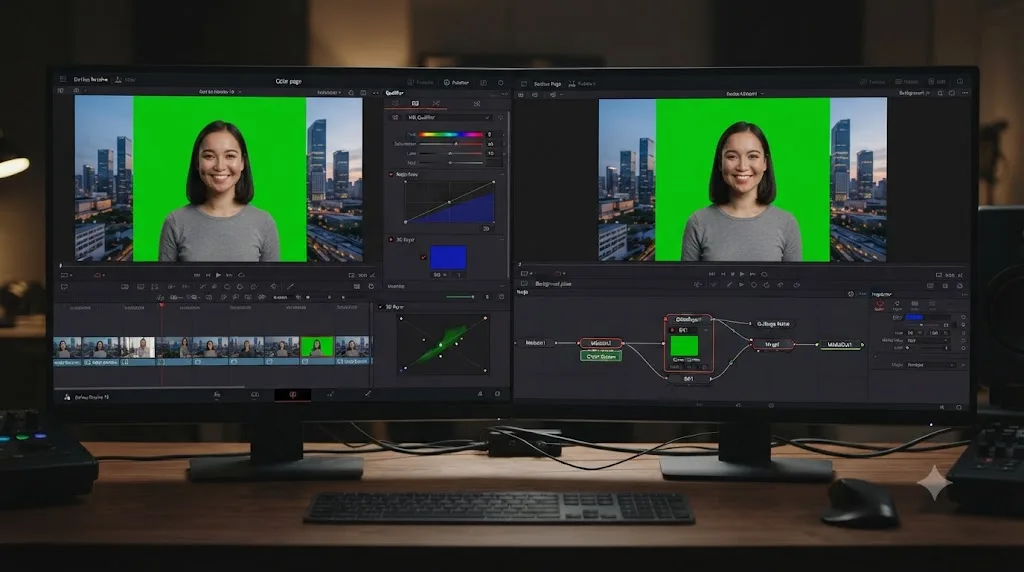
Can you key a green screen without ever opening the Fusion page?
Yes, and knowing this clears up a specific kind of confusion that shows up the moment two editors compare notes on the same problem. One says: "I just drag the 3D Keyer onto my clip and the background shows through instantly, no Alpha Output anywhere." The other says: "I built mine in Fusion and nothing worked until I added Alpha Output." Both are telling the truth. They're describing two different workflows that happen to share a keyer with a similar name.
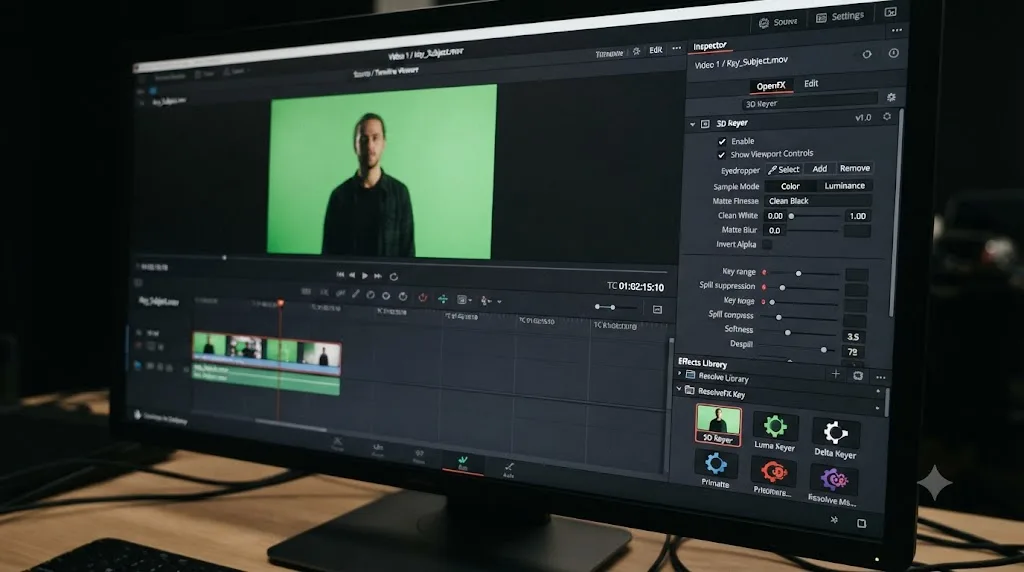
The 3D Keyer is available as an OpenFX effect directly on the Edit page, separate from the Fusion page entirely. Open the Effects Library, expand OpenFX, and look inside the ResolveFX Key category. Drag 3D Keyer onto your green screen clip sitting on the track above your background clip, open the Inspector, and pick your key color with the eyedropper. According to Larry Jordan's walkthrough of one- and two-color keying in Resolve, the moment you select the color to remove, the new background appears underneath immediately, with no separate output node, no node graph, and nothing to connect.
Here's why that works without an Alpha Output at all. Applying the 3D Keyer as an OpenFX effect makes it a clip-level property, exactly like a Gaussian blur or a color corrector you'd drop on that same clip. The Edit page already knows how to composite a clip's own transparency against whatever sits on the track underneath it, because that's the same track-stacking logic it applies to every clip, keyed or not. It doesn't need a separate signal saying "this clip has alpha," because the effect that created the alpha lives directly inside the pipeline Resolve is already reading. The Alpha Output node only exists because Fusion is a second, separate compositing environment layered on top of that same track stack, and its results don't automatically flow back out unless you build the one connection that says "send this." An OpenFX effect never leaves the Edit page's own pipeline in the first place, so there's nothing that needs sending back.
That difference is also what should decide which workflow you reach for:
| Need | Edit-page 3D Keyer (OpenFX) | Fusion page |
|---|---|---|
| Fast key on a single, evenly lit clip | Yes, quickest path | Overkill for this alone |
| Garbage matte built from a tracked mask | No | Yes |
| Delta Keyer's clean-plate subtraction | No | Yes |
| Ultra Keyer's fine hair and motion-blur handling | No | Yes |
| Compositing more than one keyed element with position and depth control | No | Yes |
| Requires an Alpha Output node to show up on the timeline | No | Yes |
One setup detail trips people up on the Edit-page version specifically: switch the Timeline Viewer's effect icon, in the lower left of the viewer, from Transform to OpenFX Overlay first. Skip that and the on-screen picker inside the Inspector, the one you'd use to click directly on the green to sample it, won't respond to clicks in the preview at all. It looks like the color picker is broken. It's actually just pointed at the wrong overlay mode.
And if you start on the Edit page's 3D Keyer and outgrow it mid-project, say the edges around hair need more control than a single-color keyer gives you, nothing forces you to redo the key from scratch. Right-click the clip and choose Open in Fusion Page, and Resolve builds a Fusion composition around that clip automatically, MediaIn and MediaOut already in place. From there you can extend the node graph with a garbage matte, or swap in the Delta Keyer or Ultra Keyer. Just remember you've now left the Edit page's self-contained pipeline for Fusion's separate one, which means the Alpha Output step covered earlier in this guide applies again.
Why does the Edit page go solid black after you add Alpha Output?
This is a smaller, less common problem than a missing Alpha Output, and the evidence for it is more anecdotal, forum reports rather than documented, guaranteed behavior. It's still worth knowing about, because it looks alarming: you do everything right, add the node, connect it, and instead of your background showing through, the entire Edit page viewer goes black.
Community reports on the Blackmagic Forum describe this specifically with compressed, non-professional source formats. One thread on Alpha Output making the Edit view go black ties the issue to H.264 and MP4 footage once an Alpha Output is added with no further manipulation on a single clip, and a related thread on Alpha Output causing black selection on timeline clips reports a similar pattern. Neither is Blackmagic's own documented explanation, but they're consistent enough with each other, and with the general advice against running alpha channels through delivery codecs, to be worth checking if a technically correct Alpha Output setup still shows nothing but black.
If you hit this, work through these in order:
- Confirm the connection from the keyer output to the Alpha Output dot is actually made, not just present. A black result can mean "connected wrong" as easily as "not connected."
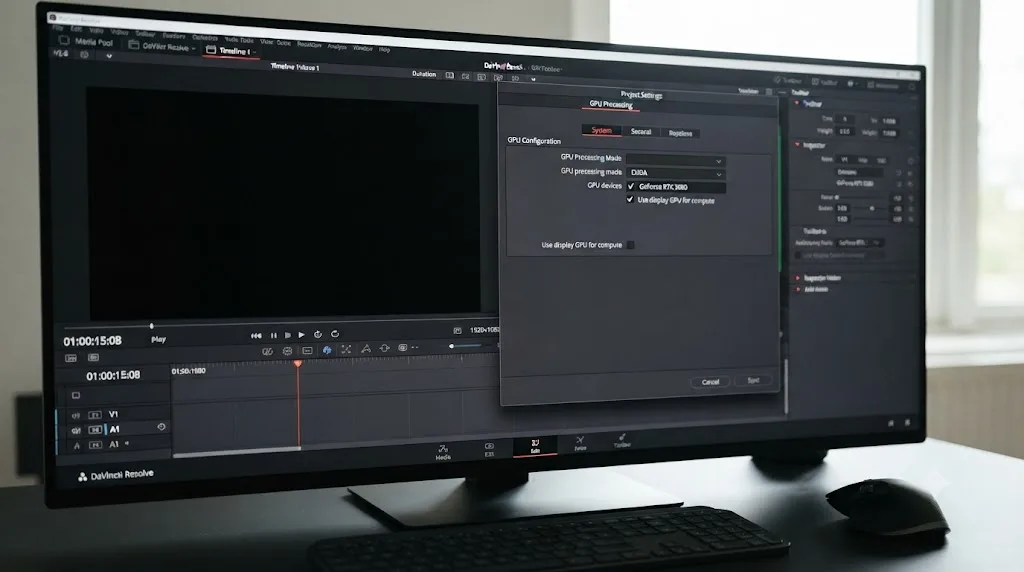
- Check Preferences > System > Memory and GPU and confirm the GPU processing mode matches your hardware rather than sitting on Auto.
- If your source footage is H.264 or MP4, consider transcoding it to ProRes or DNxHR before keying. These intermediate codecs aren't just about export quality; several forum reports specifically tie black-Alpha-Output symptoms to heavily compressed camera-original formats.
- Restart Resolve. A handful of forum posters report the black result clearing after a full application restart, which points to a rendering cache or GPU state issue rather than anything wrong with the node graph itself.
This is genuinely rare next to a simple missing connection, and if your source is already ProRes, DNxHR, or another mezzanine codec, you're unlikely to see it at all.
Why does your green screen have blocky, ragged edges no matter what you key with?
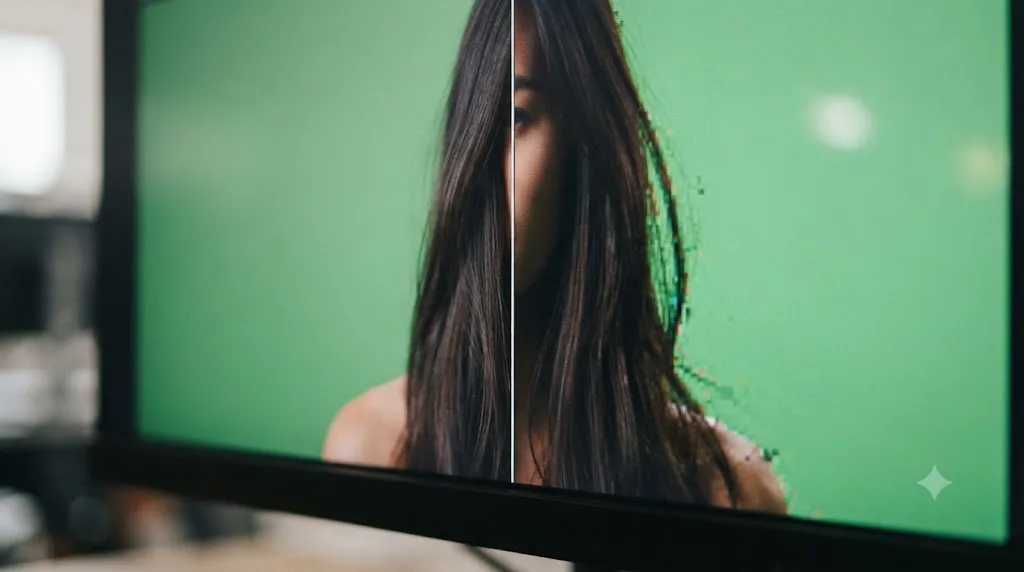
If you've confirmed the Alpha Output is connected, tried more than one keyer, and the edges around your subject still look torn, fizzy, or blocky rather than clean, the problem almost certainly isn't in Resolve at all. It's in the file you're keying.
Most consumer and prosumer cameras, and virtually every H.264 or HEVC file regardless of camera, record color information at a fraction of the resolution of the actual image. This is called chroma subsampling, and the most common scheme, 4:2:0, keeps full detail for brightness but shares one averaged color value across a two-by-two block of pixels. According to a Frame.io guide on chroma subsampling, "your software can't just invent extra chroma information to pull a clean key from a green screen. What's in the image is all there is."
That's the whole problem in one sentence. A keyer, no matter which one, decides what's transparent based on color values in the file. If four adjacent pixels all share one averaged color value because of 4:2:0 subsampling, the keyer can't tell exactly where the real edge between your subject and the green screen actually sits within that block. It has to guess, and the guess shows up as the blocky, stair-stepped, or "fizzing" edge that's instantly recognizable in a bad key.
H.264 and MP4 footage compress color information at quarter resolution, which is why green screen edges shot on compressed cameras often look blocky no matter which keyer you use. There's no setting inside Resolve that recovers chroma detail the camera never recorded. The real fixes live upstream of the software entirely:
- Shoot in a format with 4:2:2 or 4:4:4 chroma sampling if your camera supports it, even if that means a higher bitrate or an external recorder.
- Light the green screen as evenly as you can, since even 4:2:0 footage keys more cleanly when the color itself doesn't vary much across the screen.
- Accept that a heavily compressed source will need more garbage matte and edge refinement work than a clean-sampled one, and budget the time for it rather than assuming a different keyer will solve it.
If you're stuck with 4:2:0 footage and can't reshoot, the Ultra Keyer's finer edge controls and a tighter garbage matte around problem areas, hair especially, will get you further than switching between the 3D Keyer, Chroma Keyer, and Delta Keyer looking for one that magically handles it better. None of them can.
Should you shoot green or blue, and how do you stop this problem before it starts?
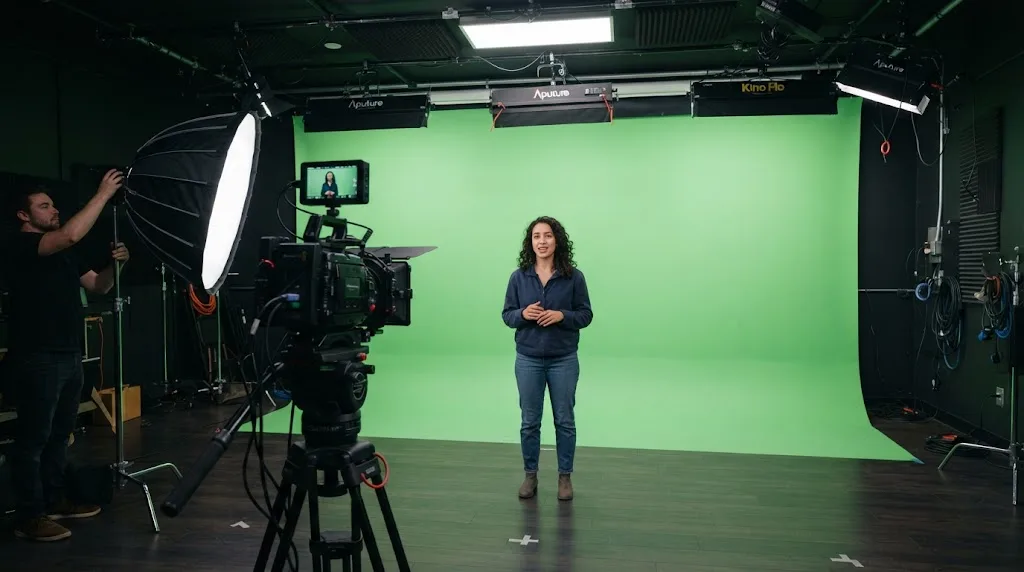
Everything covered so far fixes a key after the footage already exists. It's worth spending a few minutes on the shoot itself, because a green screen lit correctly on set removes most of the troubleshooting this guide covers before you ever open Resolve.
Green is the default because most cameras and most lighting setups give it the cleanest separation from human skin tones, which is exactly what a keyer needs. Blue exists for one specific reason: your subject or their wardrobe is green. A green tie, a green logo, a plant that drifts into frame, all of it keys out along with the backdrop if you shoot on green, so switching to blue solves that one conflict without changing anything else about how you light or key the shot. Outside of a wardrobe clash, green usually wins for a second, more technical reason too: most camera sensors sample the green channel more densely than red or blue, so a green screen simply hands the keyer more real detail to work with.
| Situation | Use green | Use blue |
|---|---|---|
| Standard interview or talent shot, no green in wardrobe | Yes | No need |
| Subject wears green, has a green logo, or sits near green foliage | No, it keys out with the background | Yes |
| Subject wears blue denim or a blue uniform | Yes | No, it keys out with the background |
| Dim or low-light location | Harder, green needs more light to key cleanly | More forgiving in lower light |
| Maximum resolution and detail in the key | Yes, most cameras sample green most densely | No |
Four things on set do more for your key than any setting inside Resolve:
Choose your backdrop material carefully. Cheap green muslin causes more grief than it's worth. In a hands-on comparison of green screen materials, Jeff Foster for ProVideo Coalition found that budget muslin "wrinkles very easy" and "absorbs light like a sponge," concluding he'd "highly recommend avoiding this material, regardless of how little it costs." A painted wall, by contrast, is "flat, smooth, and has an even texture" that's simply easier to light evenly than a hanging or stretched fabric, and Foster points specifically to professional products like Rosco's Chroma Key paints or Composite Components' Digital Green over anything from a hardware store, warning that cutting corners here means "you'll probably spend much more time cleaning up poor-quality composite shots" than the paint would have cost.
Iron out wrinkles if you're stuck with fabric. Every fold catches light at a different angle and throws a slightly different shade of green at your keyer. A tensioned frame or a paper backdrop sidesteps this; a fabric one needs steaming before every single shoot, not just the first one.
Light it flat and even. Hotspots, dark corners, and gradient falloff toward the edges all widen the range of green shades your keyer has to account for. According to No Film School's roundup of low-cost green screen fixes, flat, even lighting is the single biggest lever you have before you ever touch a keyer setting, and a vectorscope, not your eyes or an uncalibrated field monitor, is the fastest way to confirm the screen is actually lit evenly before you strike the set and lose the chance to fix it.
Put real distance between your subject and the screen. Green light bounces off the backdrop and lands on whatever's standing in front of it, tinting hair, shoulders, and skin with a faint green cast before the camera even records the shot. The same No Film School piece makes the same point directly: keep your subject far enough from the screen that spill light doesn't reach them in the first place. More distance means less bounced light, and less work for Despill to correct later.
None of this is a Resolve setting, and that's exactly the point. It's the reason a badly lit shoot needs three times the garbage matte and despill work covered earlier in this guide, and why the exact same 3D Keyer or Ultra Keyer produces a clean edge on one production and a fizzing, patchy one on a different shoot using the same camera.
Why does your exported video lose its transparent background?
This is a different failure point from everything above it, because it happens after keying and compositing both worked correctly. You built the key, connected the Alpha Output, and the composite looked right in every viewer inside Resolve. Then you exported it to use as an overlay somewhere else, a lower third template, a VFX element to hand to another editor, and the transparency was just gone in the delivered file.
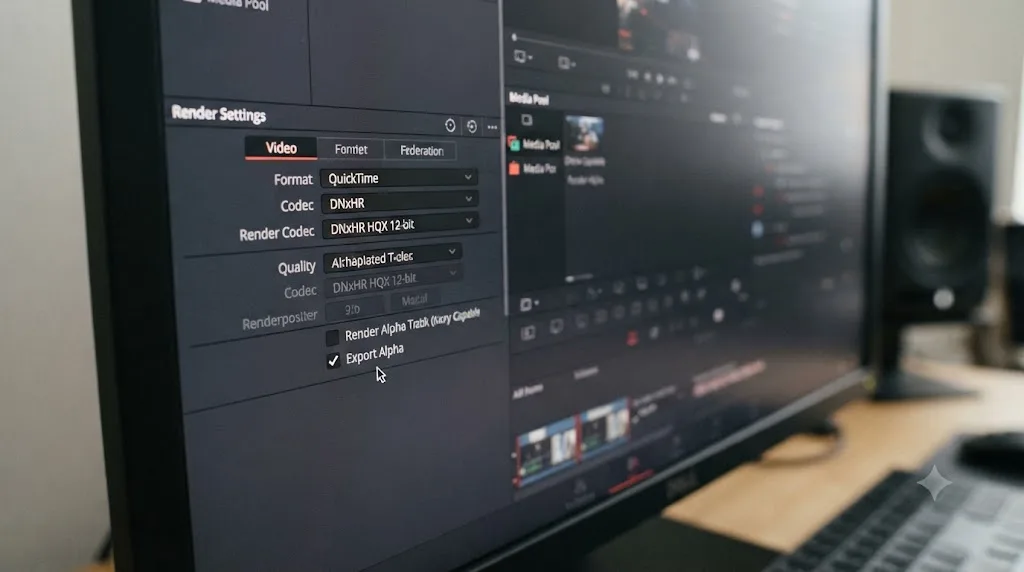
The cause is almost always the export codec. MP4 and H.264, the defaults most people reach for, have no channel in their format for transparency at all. It's not a setting you missed; the format itself doesn't support it. According to DaVinci Resolve's manual on exporting alpha channels in single-clip mode, "This option only appears if you're rendering to a media format that supports alpha channels," referring to the Export Alpha checkbox on the Deliver page. Pick H.264 or MP4 and that checkbox simply never shows up, because Resolve knows in advance there's nowhere to put the data.
The formats that do carry an alpha channel: ProRes 4444, ProRes 4444 XQ, DNxHR 444, and image sequence formats like TIFF and OpenEXR. According to Heather Hay's guide to exporting with alpha transparency for Frame.io, a common practical choice is rendering to "Apple ProRes 4444 XQ (the fourth 4 indicates the inclusion of the alpha channel in a Quicktime file)", since it packages the alpha channel and picture information into a single QuickTime file rather than a folder of individual frames.
Once you've picked one of those formats on the Deliver page:
- The Export Alpha checkbox appears under the codec and frame rate selectors.
- Check it.
- Choose an Alpha Mode: Premultiplied or Straight. Premultiplied is the default, and it's the safer choice for most compositing software, since it bakes the edge blending into the color channels themselves rather than leaving it entirely up to whatever application opens the file next.
- Render, and confirm the transparency in the destination application, since QuickTime players and some media viewers don't preview alpha channels correctly even when the file is exported perfectly.
Exporting a keyed clip with transparency requires a codec built to carry an alpha channel, since H.264 and most delivery formats simply don't have one. This trips people up specifically because everything up to this point in the workflow, keying, compositing, viewing the result in Resolve, worked without a single codec decision. Export is the first point where the file format itself becomes a hard constraint rather than a setting you can just change your mind about later.
Keep in mind this is a completely separate delivery path from a normal, flattened export. If your composite is going straight to YouTube rather than to another editor or a compositing app, you don't need an alpha channel at all, because the background is already baked into the picture. Our DaVinci Resolve export settings for YouTube guide covers the codec, bitrate, and container choices for that alpha-free delivery, which is a different set of decisions from the ones covered here.
Does this behave differently on Mac versus Windows?
The keying tools themselves, the 3D Keyer, Chroma Keyer, Delta Keyer, Ultra Keyer, garbage mattes, despill, and the Alpha Output node's behavior, work identically across Mac, Windows, and Linux. Nothing about how Fusion decides what's transparent is platform-specific.
Where platform does matter is in two places already covered above. The black-Edit-view issue tied to GPU processing mode leans more heavily on Windows and Linux systems with multiple GPUs or unusual driver configurations, since Mac hardware typically has one clear GPU processing path through Apple's Metal framework and far less room for a mismatched Auto setting to cause trouble. And ProRes 4444 and ProRes 4444 XQ, the two most common alpha-capable export codecs, have historically had encoding restrictions on Windows; check your specific Resolve version's codec list if you're on Windows and one of those options is grayed out, since DNxHR 444 is a reliable cross-platform alternative that carries alpha just as well.
Everything else, the node graph logic, the keyer math, the garbage matte and despill controls, and the chroma subsampling limitation baked into your source footage before it ever reaches Resolve, works exactly the same regardless of what you're running the software on.
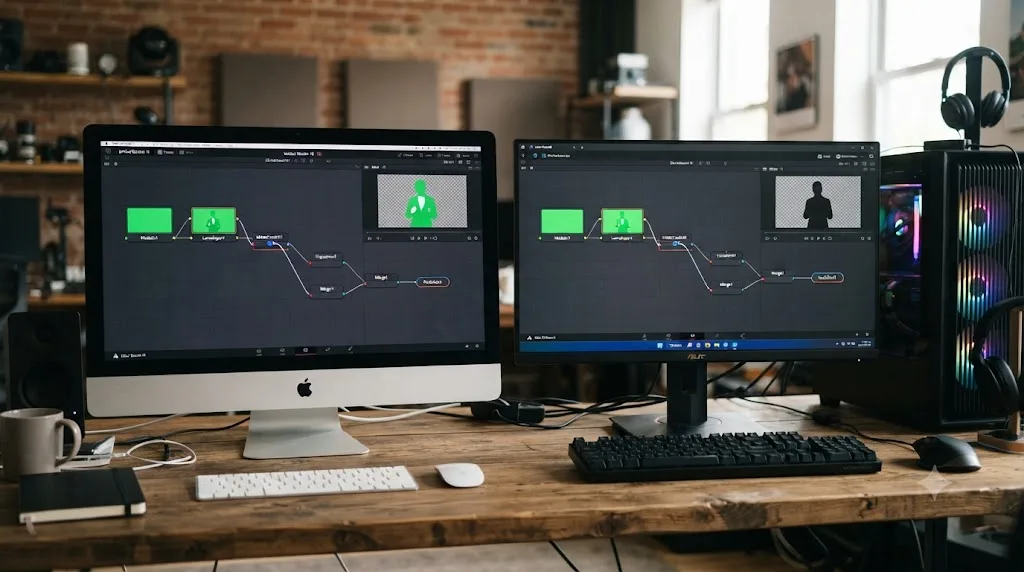
Does the free version key differently than DaVinci Resolve Studio?
For the entire workflow covered in this guide, no. The 3D Keyer, Chroma Keyer, Delta Keyer, Ultra Keyer, garbage mattes built through Matte Control nodes, despill controls, and the Alpha Output node are all part of Resolve's core Fusion and Color page toolset, included in DaVinci Resolve's Fusion page as shipped, and none of them sit behind the Studio paywall. A free-version editor and a Studio editor building the exact same green screen composite are using identical tools with identical steps.
There's one real difference worth knowing about, and it's a different feature entirely rather than a restricted version of anything covered here. Magic Mask, Resolve's AI-driven subject isolation tool, can separate a person or object from its background without any green screen at all, using DaVinci Resolve's Neural Engine to track the subject frame by frame. According to a rundown of free-versus-Studio feature differences by EasyEdit, Magic Mask is one of the features restricted to the Studio license, alongside the Neural Engine's other AI tools, dozens of additional Resolve FX, and temporal and spatial noise reduction.
Magic Mask is genuinely useful for footage that was never shot in front of a green screen at all, or as a way to clean up edges a chroma key struggles with, hair especially. But it's a different tool solving a different problem. If your footage does have a proper green or blue screen behind it, everything you actually need, from the initial key through the Alpha Output connection to a codec that can export the result, ships in the free version.
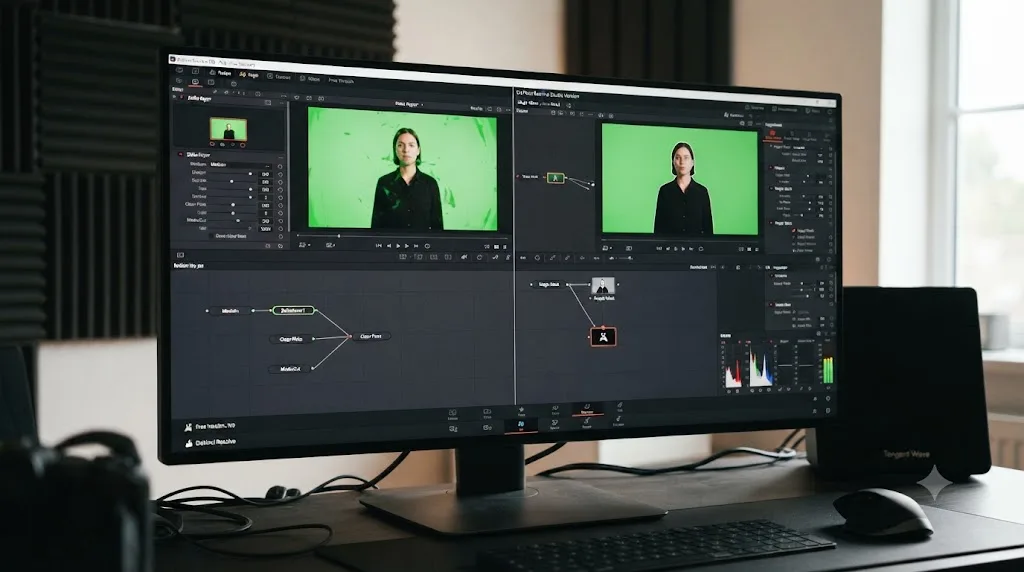
What's a full worked example, start to finish?
Here's how this plays out on an actual project, working through the checks in the order they're worth trying.
A freelance editor shoots an interview against a wrinkled green screen backdrop in a rented studio, no clean plate, using a mirrorless camera recording H.264 at 4:2:0. Back at the desk, they build a 3D Keyer on the Color page, dial it in until the preview looks clean, then realize they actually need the subject composited over a different background clip, which means moving the work to Fusion.
- Rebuild the key in Fusion using a Chroma Keyer node, connected from a MediaIn node pulling in the interview footage. The Fusion viewer, set to Alpha mode, shows a reasonably clean silhouette, though the wrinkled screen has left a few uneven patches near the edges of frame.
- Add a garbage matte through a Polygon mask and a Matte Control node to cut out a light stand visible in one corner that the keyer, correctly, isn't removing on its own since it isn't green.
- Switch on Despill to correct a faint green tint along the subject's shoulders, left over from light bouncing off the screen.
- Add the Alpha Output node, right-click, choose Add Alpha Output, and connect the Chroma Keyer's output to it.
- Switch to the Edit page. The background clip on the track below now shows through correctly. The composite works.
- Zoom into the hairline and notice the edge is slightly blocky, not disastrous, but visibly imperfect in a way the Fusion viewer's smaller preview didn't make obvious. This is the 4:2:0 source catching up with the project; no keyer setting fully resolves it, so the editor accepts a modest amount of edge softness as a tradeoff of the original camera format and budgets a few extra minutes refining the matte around just the hairline.
- Export a test clip to check the composite outside Resolve, initially rendering to H.264 out of habit. The exported file plays back with the composited background baked in correctly, since this render includes both foreground and background flattened together rather than needing to carry transparency on its own; H.264 works fine here because no separate alpha channel needs to survive the export.
Total time from "the composite doesn't show up" to a working, exported result: about fifteen minutes, most of it spent on the garbage matte and despill rather than the Alpha Output connection itself, which took seconds once the editor knew to look for it.
A second, shorter example lands on a completely different branch. A motion designer builds a lower-third title element with a translucent background in Fusion, intending to hand the rendered file to an editor working in a different application entirely. The Fusion comp looks correct in every internal viewer. They render to the project's default H.264 delivery preset, send the file over, and the editor reports the background isn't transparent, it's solid black where it should be see-through.
- The problem isn't Alpha Output at all here, since the design doesn't rely on Resolve's own track compositing; the whole graphic is one self-contained Fusion composition with its own MediaOut. This case needed the export step covered above, not the compositing fix covered earlier in this guide.
- Switching the Deliver page codec to ProRes 4444 immediately reveals the Export Alpha checkbox that H.264 was hiding.
- Checking that box and choosing Premultiplied produces a file the other editor's software reads correctly, with the background genuinely transparent instead of rendered as solid black.
Same starting complaint, "the transparency isn't working," and two completely different causes depending on whether the problem showed up inside Resolve or only after handing the file to someone else. That's the pattern worth remembering across this whole guide: green screen problems in Resolve split cleanly into a compositing problem (Alpha Output), a keying quality problem (lighting, spill, garbage mattes, source chroma subsampling), and an export problem (codec support for alpha), and the fix for one does nothing for the other two.
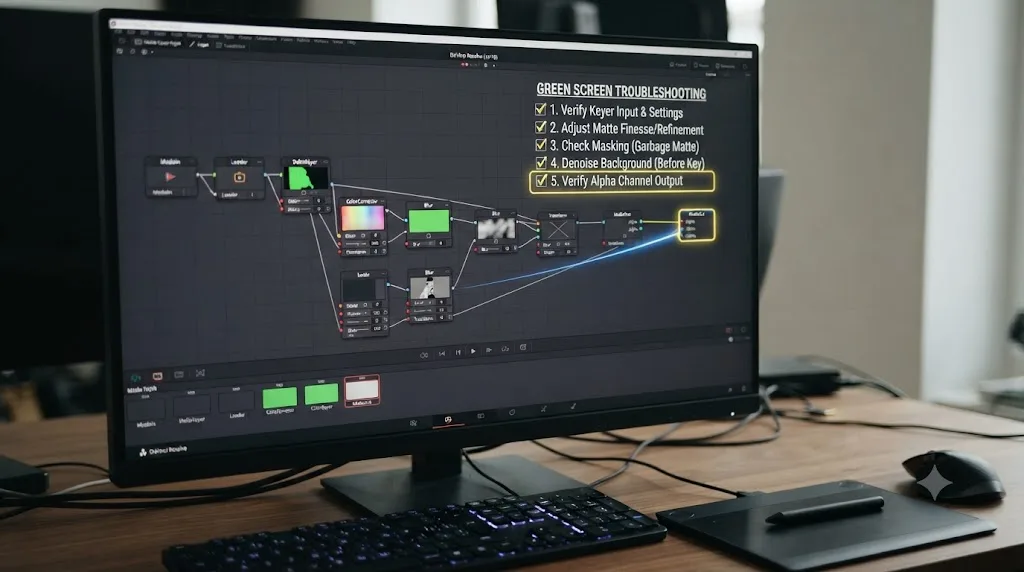
What if you're compositing more than one green screen clip at once?
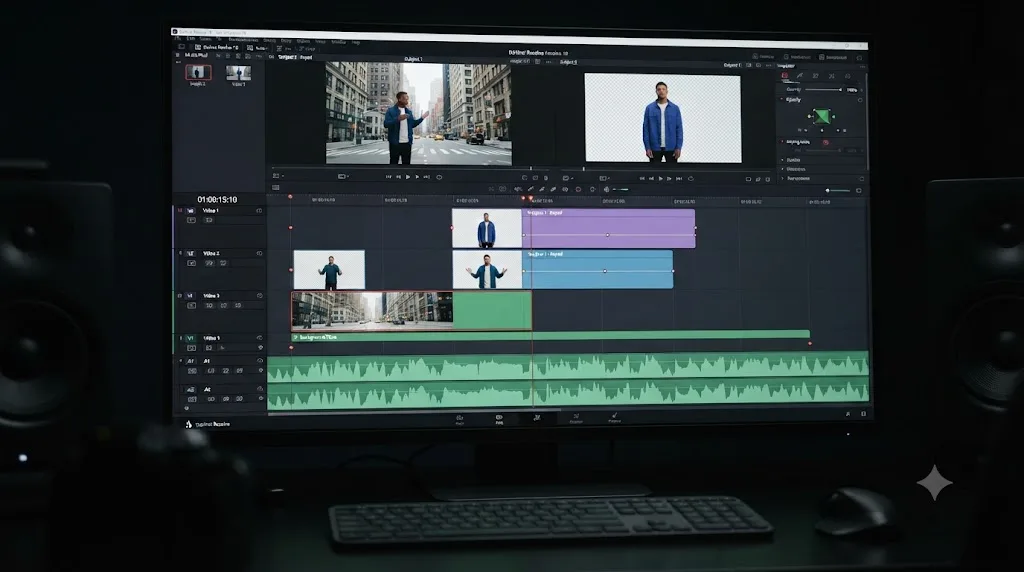
A single subject over a single background covers most of this guide, but multi-layer shots, two actors filmed separately against the same green screen, or a foreground graphic composited over both a keyed subject and a background plate, follow the same rules with one extra wrinkle: track order.
Resolve's Edit page composites tracks from the bottom up. Whatever sits on Video Track 1 is your base layer. Track 2 sits on top of it, Track 3 on top of that, and so on. Each keyed clip needs its own working transparency, whether that's an Edit-page OpenFX keyer or a Fusion composition with its Alpha Output connected, and Resolve blends every track according to that stacking order regardless of how many layers you're working with.
Walking through a three-layer example makes the ordering concrete:
- Track 1: the background plate. A static image or moving background clip, fully opaque, no keying needed at all.
- Track 2: the first keyed subject, built either with the Edit-page 3D Keyer or a Fusion composition with its Alpha Output connected. Wherever this clip's key made it transparent, Track 1 shows through.
- Track 3: a second keyed subject, filmed separately, maybe on a different day, against the same green screen. Its own key and its own transparency work exactly the same way, and wherever it's transparent, everything below it, Track 2's composited result and Track 1's background, shows through.
Get the track order backwards, put the background on Track 3 instead of Track 1, and every layer beneath it disappears, because a fully opaque clip on the topmost track blocks everything under it regardless of how correctly every other clip in the stack was keyed. This is a different failure than anything covered earlier in this guide: every individual key can be perfect, and the composite still looks wrong, because the problem isn't in any one clip's transparency. It's in which track that clip sits on.
A second wrinkle shows up when two keyed subjects need to occupy the same physical space in frame, standing side by side rather than clearly stacked one behind the other. Neither the Edit page's track stacking nor a single Alpha Output connection knows anything about depth or screen position, only about which track sits on top. If your two subjects need to interact convincingly, overlapping in a believable way instead of one flatly covering the other, that composite has to happen inside a single Fusion composition, where a Transform node on each keyed element lets you position and scale them independently, rather than relying on the Edit page's simple top-track-wins stacking.
If you're working this way regularly, it's worth nesting the finished multi-layer result into a Compound Clip once the composite looks right. That turns three tracks of separate keyed elements into one clip you can grade, trim, and move as a single unit, without having to rebuild the same track order every time you reuse the shot elsewhere in the timeline.
Quick troubleshooting reference
Bookmark this table. The top two rows account for the large majority of "green screen not working" reports.
| Symptom | Likely cause | Fix |
|---|---|---|
| Key looks perfect in Fusion, clip is still solid green on Edit/Color page | Alpha Output never added or never connected | Right-click Node Editor, Add Alpha Output, connect keyer output to it |
| Composite worked yesterday, green screen is back today, nothing in Fusion changed | Bypass Color Grades switched on | Check the toggle near the transport controls |
| Composite worked, then vanished after reopening the project | Alpha Output added but connection never made before saving | Recheck the node graph's Alpha Output connection |
| Key is noisy or incomplete inside Fusion's own Alpha view | The keyer itself needs work, not the output pipeline | Adjust the keyer, add a garbage matte, dial in Despill |
| Edges are blocky, torn, or fizzing regardless of keyer used | Source footage shot in 4:2:0 chroma subsampling | Refine the matte manually; reshoot in 4:2:2/4:4:4 if possible for future shots |
| Edit page renders solid black after adding Alpha Output | GPU processing mode or a compressed H.264/MP4 source | Check Preferences > System > Memory and GPU; consider transcoding the source |
| Exported file has no transparency, background is solid black or opaque | Exported to a codec without an alpha channel | Render to ProRes 4444, ProRes 4444 XQ, DNxHR 444, or TIFF/OpenEXR and check Export Alpha |
| Subject has green fringing around hair or edges | Green spill not corrected separately from the key | Use the Despill control, distinct from the keyer's main settings |
| Light stands, mic booms, or screen edges show up as opaque | No garbage matte cutting them out | Add a Polygon or B-Spline mask through a Matte Control node |
| Key never has a chance no matter what you do, edges patchy from the start | Wrinkled or unevenly lit backdrop from the shoot itself | Iron or replace the backdrop, relight flat and even, check with a vectorscope before you strike the set |
| Edit-page 3D Keyer works instantly, colleague's Fusion version needs Alpha Output | Two different, equally valid workflows, not a bug | Use the Edit-page OpenFX 3D Keyer for simple keys; move to Fusion (and Alpha Output) when you need masks, Delta/Ultra Keyer, or multi-layer control |
| Background disappears when a second keyed subject is added on a higher track | Track order is backwards, an opaque or higher clip is covering it | Put the background on the lowest track, stack keyed subjects above it in the order they should composite |
The verdict
A green screen that "isn't working" in DaVinci Resolve is, in the overwhelming majority of cases, not a keying failure at all. It's a missing connection. You built a good key, maybe even a great one, and it never got wired to the one node, Alpha Output, that tells Resolve's compositor anything is transparent in the first place. Add it, connect it, and the fix takes under a minute.
Everything else covered here is real, but rarer: Bypass Color Grades hiding a working composite, a black Edit page tied to GPU handling on compressed source footage, blocky edges baked in by your camera's chroma subsampling long before Resolve ever saw the file, an export codec that simply has no room for an alpha channel, and track-order mistakes once you're stacking more than one keyed subject. Work through them in that order, root cause first, because chasing keyer settings when the actual problem is an unconnected node wastes the most time of anything on this list.
If you'd rather not go hunting through a node graph to find the one disconnected dot yourself, that's exactly the kind of moment Uncle is built for: the assistant that watches your actual Fusion page and points at the specific node that's missing, live, instead of making you match your project against a guide. And once your composite is working and exported, our guide on copying a color grade to multiple clips covers the fastest way to carry a finished look across every other shot in the scene.
Frequently asked questions
- Why does my green screen key look perfect in Fusion but not show up on the Edit or Color page?
- Because keying and compositing are two different steps in DaVinci Resolve. Your keyer node can produce a flawless alpha channel inside the Fusion page's own viewer, but unless that alpha is connected to an Alpha Output node, Resolve has no instruction to treat the clip as transparent anywhere outside Fusion. The key exists. It just never leaves the page it was built on.
- How do I add an Alpha Output node in DaVinci Resolve?
- Open the clip on the Fusion page, right-click any empty gray area of the Node Editor, and choose Add Alpha Output from the menu. A blue output dot appears at the right edge of the node graph. Drag a connection from your keyer's output, the same blue square you'd use to preview the key, onto that dot. Once it's wired in, the transparency shows up on the Edit and Color pages immediately.
- Why does my green screen come back every time I reopen my project?
- Two different things cause this. The Bypass Color Grades button, which lives near the transport controls, disables every grade and effect on the timeline including Fusion compositing, and it's easy to hit by accident. The other cause is an Alpha Output that was added but never actually connected. Resolve saves the disconnected node exactly as you left it, so the project reopens looking keyed in the node graph and unkeyed everywhere else.
- Which keyer should I use for green screen in DaVinci Resolve: 3D Keyer, Chroma Keyer, Delta Keyer, or Ultra Keyer?
- Start with the 3D Keyer on the Color page for simple, evenly lit green screens; it's the fastest to set up. Move to the Delta Keyer in Fusion once you have a clean plate, a shot of the empty green screen, because it keys off the actual difference between your subject and the background rather than a single color. Reach for the Ultra Keyer when hair, motion blur, or transparent objects make edges the hard part.
- Why does DaVinci Resolve's Edit page go solid black after I add an Alpha Output?
- This is a smaller, less common issue than a missing Alpha Output, and it's tied to format and GPU handling rather than the node graph itself. It shows up most often on H.264 or MP4 source clips once alpha is introduced, and community reports tie it to GPU processing mode. Check Preferences > System > Memory and GPU, and consider transcoding the source to ProRes or DNxHR if the clip stays black.
- Why are the edges of my green screen key blocky or ragged no matter which keyer I use?
- Almost always because the source footage was shot in 4:2:0 chroma subsampling, which most cameras and every H.264 or HEVC file use by default. A keyer can only work with the color information that's actually in the file, and 4:2:0 throws away three quarters of the chroma detail before it ever reaches Resolve. No keyer setting fixes information that isn't there.
- Why does my exported video lose its transparent background?
- Because you exported to a codec that doesn't support an alpha channel. MP4, H.264, and most delivery formats have no channel for transparency at all. Render to ProRes 4444, ProRes 4444 XQ, DNxHR 444, or an image sequence like TIFF or OpenEXR instead, and check the Export Alpha box that appears on the Deliver page once you pick one of those formats.
- Do I need DaVinci Resolve Studio to key a green screen?
- No. The 3D Keyer, Chroma Keyer, Delta Keyer, Ultra Keyer, garbage mattes, despill, and the Alpha Output node are all part of the free version's Fusion and Color pages. Studio adds Magic Mask, which can help isolate a subject without a green screen at all, along with the Neural Engine tools, but nothing in the core keying workflow is paywalled.
Sources
- DaVinci Resolve Manual - Introduction to Compositing Using the Alpha Output (Blackmagic Design, mirrored)
- DaVinci Resolve Manual - Export Alpha Channels in Single Clip Mode (Blackmagic Design, mirrored)
- DaVinci Resolve Chroma Key & Green Screen Tutorial, by JG McQuarrie (Boris FX)
- Getting Great Greenscreen Keys Using Fusion's Delta Keyer, by Joey D'Anna (Mixing Light)
- Chroma Keying Part 1: Quick Results Using Resolve's 3D Keyer, by Bernd Klimm (Mixing Light)
- Removing Green Screen not working (Blackmagic Forum)
- Green Screen returns after being keyed out (Blackmagic Forum)
- Alpha Output Makes Edit View Go Black (Blackmagic Forum)
- Adding Alpha Output makes black selection in timeline clips (Blackmagic Forum)
- Cannot export a video with a transparent background (Blackmagic Forum)
- Insider Tips: Export with Alpha Transparency from Resolve, by Heather Hay (Frame.io)
- Chroma Subsampling Guide (Frame.io Workflow)
- DaVinci Resolve Free VS Studio Version: Best Features Available (EasyEdit)
- DaVinci Resolve - Fusion (Blackmagic Design product page)
- Create a One- or Two-Color Key in DaVinci Resolve 20, by Larry Jordan
- 5 Low-Cost Tips to Help You Solve Common Green Screen Problems (No Film School)
- Choosing the Right Green Screen Materials, by Jeff Foster (ProVideo Coalition)
Learn by doing, not watching
Stop translating tutorials to your timeline.
TryUncle stays beside Resolve on Mac and Windows. When you ask, Uncle sees your screen and points at the exact control you need. No hunting through tabs, timestamps, or mismatched tutorials.
Meet TryUncleKeep reading
 GuidesJul 8, 202633 min read
DaVinci Resolve Color Tab Not Showing Footage: Every Fix
Why DaVinci Resolve's Color page shows an empty timeline instead of your footage, and the exact filter, track, timeline, and cache fixes that solve it.
 GuidesJul 8, 202639 min read
How to Copy a Color Grade to Multiple Clips in DaVinci Resolve
Every way to copy a DaVinci Resolve color grade to multiple clips: copy/paste, middle-click, Gallery stills, PowerGrades, Color Groups, and more.
 GuidesJul 7, 202632 min read
DaVinci Resolve Export Settings for YouTube (Copy These Exactly)
The exact DaVinci Resolve export settings YouTube recommends: codec, bitrate, resolution, audio, and the Deliver page steps that avoid soft uploads.