
Learn / DaVinci Resolveupdated for DaVinci Resolve 21.0.2 and Avid Media Composer 2025.12 (July 2026)
Switching From Avid Media Composer to DaVinci Resolve: Full Guide
Quick answer
Switching from Avid Media Composer to DaVinci Resolve means exporting your sequence as an AAF with the Edit Protocol checkbox on, then importing it through Resolve's Media Pool with embedded timecode and reel name matching turned on. Apply the built-in Avid keyboard preset next. Titles, AVX plugins, and ScriptSync/PhraseFind don't survive the transfer and need rebuilding by hand.
You've cut on Avid Media Composer since before most switching guides existed, a project's due, and something is pushing you toward DaVinci Resolve anyway. Maybe a client handed you camera-original RAW that needs ACES color management Media Composer doesn't have. Maybe the subscription renewal notice just landed and it's higher than last year again. Maybe a studio standardized on Resolve and now you have to follow. Whatever got you here, the mechanics of moving a real sequence, with a real deadline, get skipped over in most "why I switched" posts in favor of a highlight reel of the Color page.
This is the mechanical version, as of July 2026. What survives an AAF export and what doesn't. The specific reel name mismatch that leaves half your media offline. Which keyboard preset to apply in the first five minutes, and where trim mode still won't match no matter which preset you pick. We've spent seven-plus years doing professional, commercial video editing across the tools this industry actually runs on, including Avid's own AAF interchange format on real client deliveries, and the gap between "Media Composer" and "DaVinci Resolve" on paper is narrower than most switching guides admit, and wider in a few specific places they don't mention at all.
Why are Avid Media Composer editors switching to DaVinci Resolve right now?
Three separate pressures tend to show up together, and they rarely arrive alone. The first is cost. Media Composer's standard tier now runs $259.99 a year paid upfront, or $39.99 a month paid monthly, following a May 2024 price increase documented in Avid's own Knowledge Base. Media Composer Ultimate, the tier that bundles PhraseFind, ScriptSync, and Symphony's color tools, costs $539.99 a year upfront or $79.99 a month. That's real, recurring money that renews every year the software stays installed, against DaVinci Resolve's free edition, which costs nothing indefinitely, or a single $295 payment for Resolve Studio that never asks for another dollar.
The second pressure is platform reach. Media Composer runs on Windows and macOS only, according to Avid's own system requirements page. DaVinci Resolve runs on macOS, Windows, and Rocky Linux, per Blackmagic's tech specs page, which makes it the only one of the two that reaches a Linux render farm or a mixed-platform post house without a workaround. The third pressure is the simplest: a client, a studio, or a colorist standardized on Resolve, and now everyone touching that project needs to as well, a shift Avid itself acknowledges is happening enough to publish its own comparison guide against DaVinci Resolve rather than pretend the competition doesn't exist.
Switching editors is rarely about escaping a worse tool. It's usually about a project outgrowing a narrower one. Media Composer remains the dominant NLE for network television and long-form broadcast post for a reason: its media management, bin structure, and script-based tools like ScriptSync and PhraseFind are built for exactly that workflow, and nothing in Resolve replaces them directly. Resolve's draw is deeper native color, audio, and compositing inside one project file, at a fraction of the annual cost, and it's worth being honest that you're trading Avid's decades of broadcast-specific tooling for that depth, at least for the projects where those specific tools mattered.
How is DaVinci Resolve's workspace organized compared to Avid Media Composer's toolset?
This is the first real adjustment, and it trips up more new switchers than any keyboard shortcut does. Media Composer organizes everything around bins: you load clips and sequences into a bin, work directly from that bin in the Source and Record monitors, and manage media through a project's bin structure rather than a single unified pool. DaVinci Resolve's closest equivalent is the Media Pool, which, per Resolve's own manual documentation, holds every piece of media imported into a project along with every timeline built from it, all inside one panel rather than a set of separate bin windows you open and arrange.
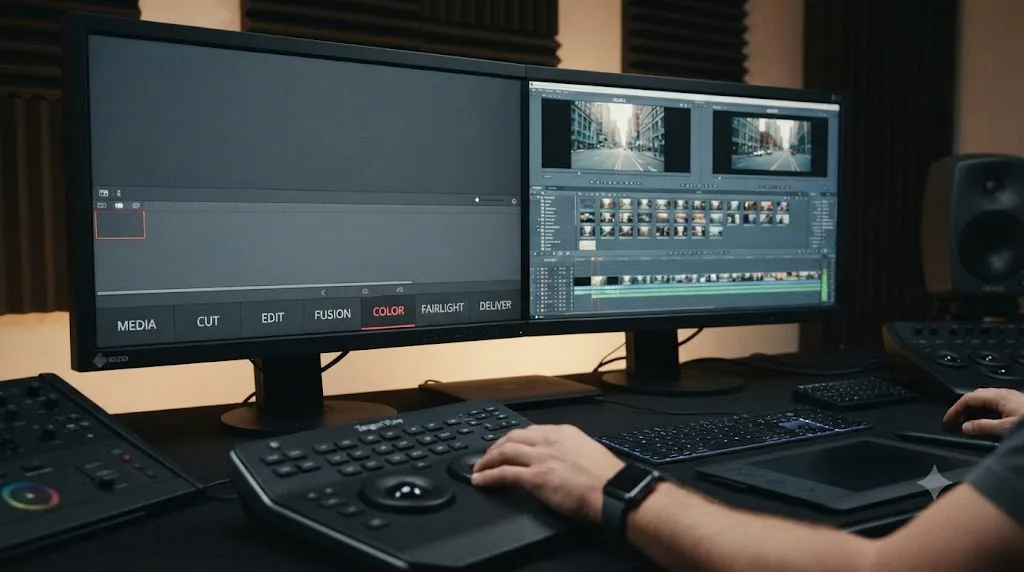
The bigger structural change is that Resolve splits the entire application into seven distinct pages along the bottom of the window: Media, Cut, Edit, Fusion, Color, Fairlight, and Deliver. Each page functions closer to its own dedicated application wearing a shared interface than a panel or tool you toggle inside one window, which has no direct Media Composer analog. Media Composer keeps color correction, audio mixing, and effects work inside the same toolset you cut in, supplemented by Symphony's deeper color tools on the Ultimate tier and round trips to other Avid products or third-party tools like Pro Tools for anything past its own audio ceiling.
The page system maps roughly onto tools and round trips a Media Composer editor already reaches for. Edit and Cut both handle timeline editing, closer to Media Composer's own Timeline than anything else in Resolve. Fusion is a built-in compositor where Avid workflows typically round-trip to After Effects or a dedicated Boris FX or Sapphire plugin instead. Color goes well beyond Symphony's toolset, and Oliver Peters, an editor and colorist who covers Avid extensively for ProVideo Coalition, has written that Symphony's grading tools trail both Baselight and Resolve in depth. Fairlight replaces a round trip to Pro Tools for serious audio work. Deliver replaces a separate export queue. The pitch, and it's a fair one, is that post-production work that used to require several separate applications now lives inside one project file, at the cost of learning a structure Media Composer never asked you to learn.
A bin-centric toolset built around one editing application and a seven-page application assuming a colorist, a mixer, and a compositor all share one project file aren't the same idea wearing different labels. Media Composer assumes you manage media through bins and round-trip out for deep color, audio, or compositing work. Resolve assumes those disciplines live inside the same window from the start, in exchange for a structure that takes longer to feel native on day one.
Do you need DaVinci Resolve Studio, or is the free version enough coming from Avid?
Start free. For almost every editor switching from Media Composer specifically to cut, color, mix, and finish a normal delivery, the free edition covers it. Per Blackmagic's own Studio product page and a detailed Toolfarm breakdown of what's actually missing from the free tier, the free edition supports the full Edit, Cut, Color, Fairlight, and Fusion pages, caps export resolution at Ultra HD (3840x2160, up to 60fps), and leaves out multi-GPU acceleration, advanced noise reduction, most Neural Engine AI tools, and multi-user collaboration.
Media Composer's standard tier costs $259.99 a year upfront or $39.99 a month, per Avid's 2024 price adjustment notice. Media Composer Ultimate, which bundles PhraseFind, ScriptSync, Symphony's color tools, remote features, and shared bins and projects, runs $539.99 a year upfront or $79.99 a month, with a discounted education tier at $99 a year. DaVinci Resolve Studio removes the free tier's export cap and unlocks everything else for a single $295 payment, no subscription, ever, which undercuts even one year of the Ultimate tier by nearly half.
| Feature | DaVinci Resolve (Free) | DaVinci Resolve Studio | Avid Media Composer | Avid Media Composer | Ultimate |
|---|---|---|---|---|
| Cost | $0 | $295 one time | $259.99/year or $39.99/mo | $539.99/year or $79.99/mo |
| Platforms | macOS, Windows, Linux | macOS, Windows, Linux | macOS, Windows only | macOS, Windows only |
| Max export resolution | Ultra HD (3840x2160) | Unlimited | Unlimited | Unlimited |
| Fairlight audio page | Yes | Yes | No (round trip to Pro Tools) | No (round trip to Pro Tools) |
| Fusion compositing | Yes | Yes | No (round trip to After Effects) | No (round trip to After Effects) |
| Script-based dialogue search | No native equivalent | No native equivalent | No (PhraseFind is separate) | Yes (PhraseFind, ScriptSync) |
| Advanced color tools | Node-based, included | Node-based, included | Basic color correction | Symphony color tools |
| Neural Engine AI tools | No | Yes | Not applicable | Not applicable |
| Multi-user collaboration | No | Yes | Not applicable | Yes (shared bins and projects) |
You're not just comparing two annual subscriptions here, you're comparing a recurring cost that compounds every year against a one-time payment that doesn't. A single $295 payment that never renews is a fundamentally different financial relationship than a subscription tier that resets to a higher price on schedule, and that difference compounds every year you keep editing. One practical gotcha worth knowing before you commit a real project to Resolve's free edition: applying a Studio-only effect while running the free tier stamps a visible watermark on your export, so check your render before you send anything to a client.
How do you export an AAF from Avid Media Composer for DaVinci Resolve?
Resolve has no native reader for an Avid bin or project file. What you're actually doing is exporting an AAF interchange file from inside Media Composer, then importing that file into Resolve, which reconstructs your timeline from the data the format carries.
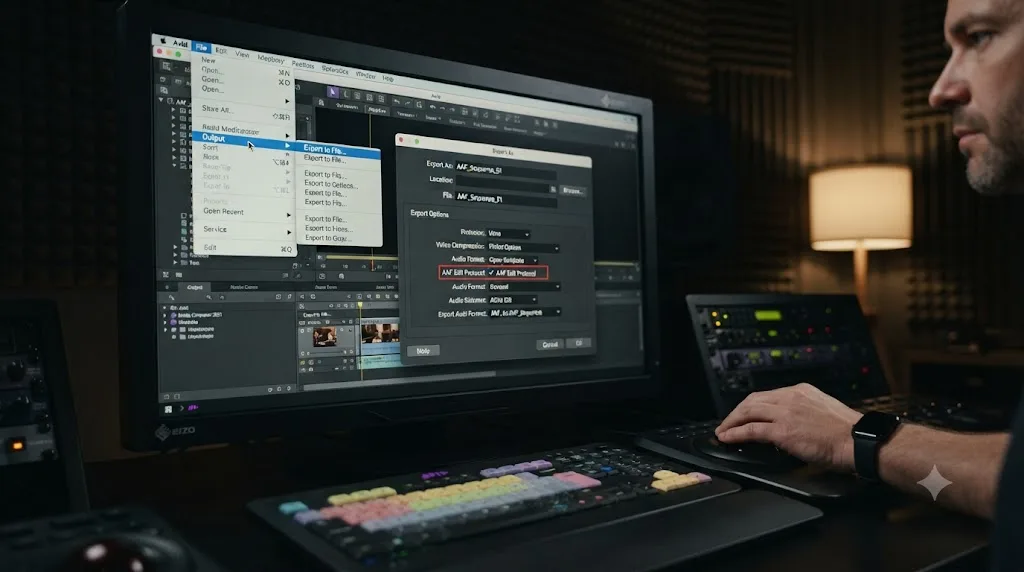
Select your sequence in a bin, then choose File > Output > Export to File, per a University of Texas Moody College technical wiki on the exact workflow and DaVinci Resolve's own manual documentation on the export side. Name your file in the Export As dialog, choose a save location, then click the Options button to reveal the detailed export settings. Turn on the AAF Edit Protocol checkbox specifically, which forces a simplified AAF structure built for cross-application compatibility rather than Media Composer's full native project data, and is the setting most likely to get your sequence into Resolve without a corrupted or unreadable file.
Before you export anything, match your Media Composer project's image format (1080p/24, for example) and raster dimensions to what you'll actually master in, and set your color space to RGB 709 specifically if the plan is to send transcoded or ingested media to Resolve for grading. Getting these wrong before export means discovering a mismatch after you've already conformed the AAF, which is a slower fix than setting them correctly the first time.
Here's what a ten-minute test export actually looks like in practice, and it's worth running on a throwaway sequence before you touch a real deadline's timeline. Build three or four clips with a basic title, one dissolve, and a short music cue into a test sequence, export it as AAF with Edit Protocol on, and check three things on the Resolve side: do the clips land online, does the dissolve survive or vanish, and does the title show up as a gray placeholder. That last one always fails, and it's a far better place to learn that than mid-deadline on a real project.
Link, copy, or consolidate: which media handling option should you choose?
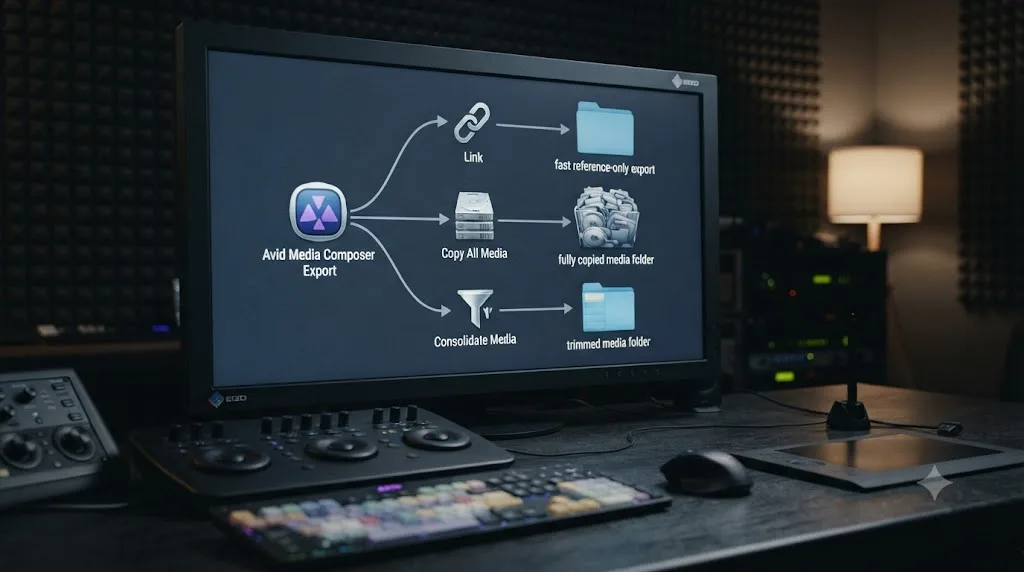
The Export Method pop-up menu inside Media Composer's AAF export options controls how your actual media accompanies the AAF file, and picking the wrong one either bloats your export unnecessarily or leaves Resolve unable to find your footage at all. Per Blackmagic's own documentation on the export side, the choice comes down to where Resolve is actually running relative to Media Composer.
| Method | What it does | Best for | Tradeoff |
|---|---|---|---|
| Link to (Don't Export) Media | AAF references your existing camera files by path, no media is copied | Media Composer and Resolve running on the same system or shared storage | Fastest export; breaks entirely if the referenced media isn't reachable from Resolve's machine |
| Copy All Media | Every referenced media file gets copied into a new folder alongside the AAF | Moving the whole project to a different system or a different editor entirely | Largest file size; safest for a clean handoff to someone else's machine |
| Consolidate Media | Copies only the portions of media actually used in the sequence, handles trimmed room | Moving to another system without the storage budget for full source copies | Smaller than Copy All, but loses unused handle frames outside your trims |
If Media Composer and Resolve are on the same workstation or the same shared storage, Link to (Don't Export) Media is the fastest and cleanest option, since Resolve reads the same files Media Composer already points to. If you're handing the project to a different machine, a colorist's suite, or a remote collaborator, Copy All Media is the safest choice specifically because it guarantees the receiving system has everything, at the cost of a much larger export. Consolidate Media splits the difference for teams with real storage constraints, though it's worth confirming your sequence doesn't need extra trim room before you rely on it, since consolidated media only carries the frames your cut actually uses.
How do you import and conform the AAF in DaVinci Resolve?
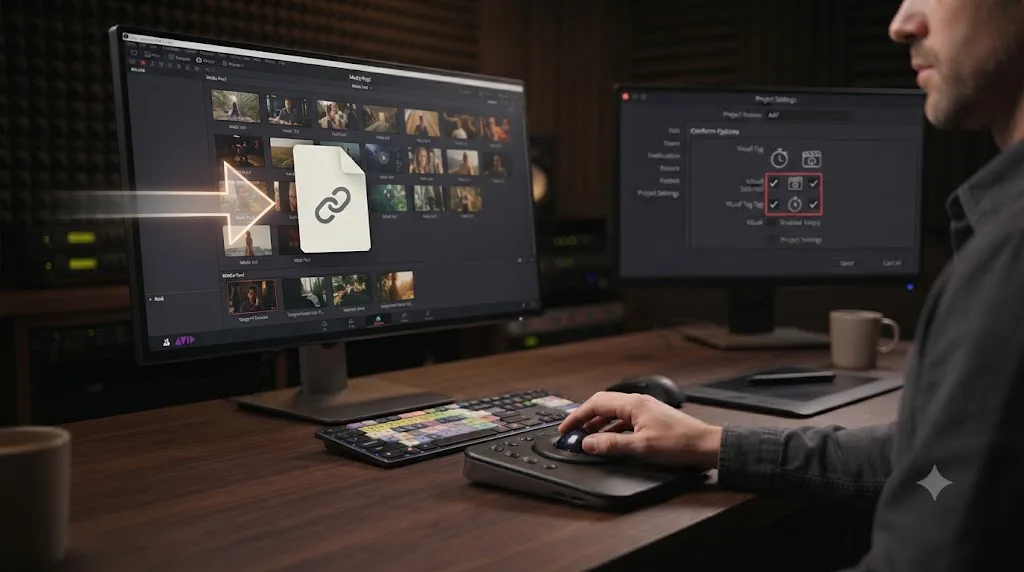
This is the step most switching guides gloss over, and getting it wrong is the single most common cause of offline media on the Resolve side. Before you import anything, open Resolve's Project Settings, click General Options to reveal Conform Options, and make two changes: set "Use Timecode" to "Embedded in the source clip," and turn on "Assist using reel names from the," set to "Embedding in source clip file." Both settings need to be in place before you import, per DaVinci Resolve's own manual documentation on conforming an AAF, since they control exactly how Resolve matches the timecode and reel name metadata your AAF carries against the actual media files on disk.
Once that's set, import the file itself. From any page, choose File > Import AAF, EDL, XML (Shift-Command-I), or, from the Edit page specifically, right click inside the Media Pool and choose Timelines > Import > AAF/EDL/XML. Select your exported AAF file and click Open. In the Load AAF dialog that appears, your choices depend on your media handling from the export step: keep "Automatically import source clips into media pool" enabled if you're working with transcoded or AMA-linked media, or enable both that checkbox and "Link to source camera files" to reference camera originals directly. If your media lives in a custom folder structure that doesn't match file extensions cleanly, add "Ignore file extensions when matching" to the same combination. Leave "Automatically set project settings" enabled so Resolve picks up your frame rate and resolution from the AAF itself rather than whatever your new project happened to default to.
One narrower gotcha worth knowing before you rely on this process for every asset type: still photographs that were linked, rather than imported as media, inside Media Composer cannot be opened by Resolve at all and will show up as Media Offline regardless of how clean your timecode and reel names are. The fix has to happen back in Avid, before export: import those stills as actual media rather than linking to them, then re-export the AAF.
Why does my Avid AAF import show offline media or jumbled clips in Resolve?
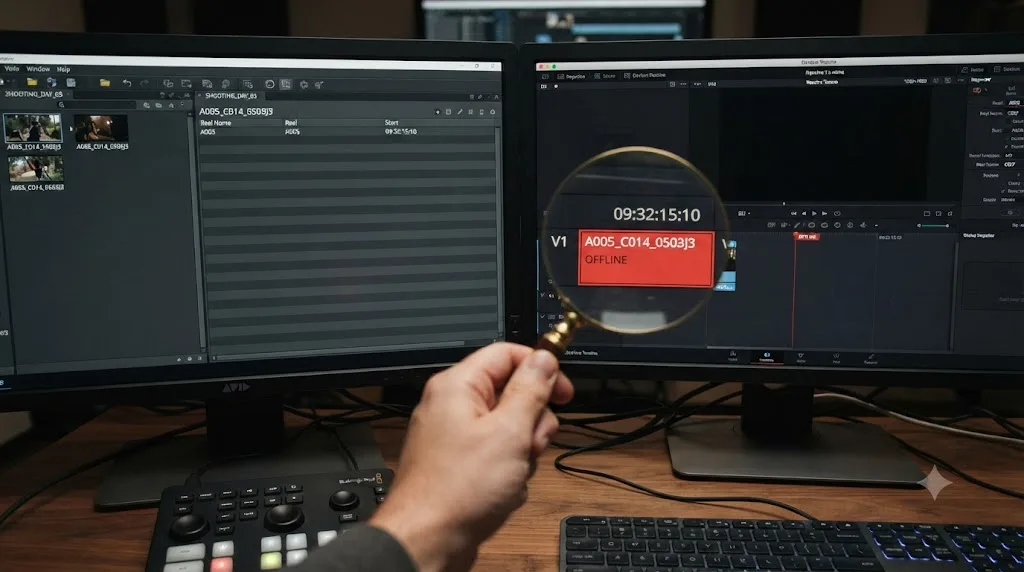
This is the failure mode that panics new switchers the most, and in most documented cases it's not actually a broken file. A Blackmagic Forum thread specifically about conforming AAFs from Avid and a widely referenced Creative COW forum thread on the same problem both trace the root cause back to the same place: reel names and timecode, not the AAF format itself.
Marc Wielage, a veteran colorist who's answered this exact question on Creative COW's forums repeatedly, put the diagnostic plainly:
"This is generally a piece of cake" when "Reel Names are correct and the timecodes have no conflicts."
When editors run into trouble anyway, Wielage traced it to a small, specific set of causes: "toy cameras without timecode," or a workflow where "somebody changed the file names" somewhere between camera ingest and the Resolve conform. Aaron Wiesen, the editor who started that Creative COW thread, described the actual symptom in detail before tracking it down:
"Resolve finds the vast majority of the clips, but (seemingly) no video clips on track 2 and an arbitrary number of audio clips."
He described the knock-on effect on his timeline structure too: "A significant number of audio and video clips are displaced in the sequence. Some simply out of order, some with new gaps introduced." After troubleshooting, Wiesen traced his specific case to titles and transitions generated inside Avid not carrying over into the AAF at all, which left gaps Resolve interpreted as missing media rather than intentional absence, and separately confirmed the audio jumbling in his case was "Resolve's fault, not Avid," a reminder that not every symptom in this workflow traces back to the same cause.
Glenn Sakatch, responding in the same thread, offered a workaround worth trying before you assume your whole export is bad: "Export an aaf, but only with the linking options set…no media creation necessary," paired with transcoding source media into a clean, predictable folder structure first, then generating a link-only AAF against that clean structure rather than your original, possibly messier, camera folders.
| Symptom | Cause | Fix |
|---|---|---|
| Clips show offline in red after AAF import | Reel name or embedded timecode mismatch between Avid's metadata and the source file | Confirm Conform Options are set correctly before import; verify reel names weren't changed after ingest |
| Clips missing specifically on one track | Titles or transitions generated inside Avid that don't carry through AAF, leaving a gap Resolve reads as missing media | Rebuild titles and transitions natively in Resolve rather than expecting them to import |
| Clips out of order or new gaps appear | A conform-side quirk in how Resolve interprets certain AAF structures, not always attributable to the Avid export itself | Cross check clip order against your Media Composer sequence directly rather than assuming the AAF is corrupt |
| Still photographs offline regardless of timecode | Stills were linked rather than imported as media inside Media Composer | Re-import the stills as actual media in Avid, then re-export the AAF |
A media file showing offline in Resolve almost never means the file is actually broken. It means the metadata two applications use to identify that file disagreed somewhere along the way. That's worth holding onto the first time you see a timeline full of red clips, since the panic response, re-exporting everything from scratch, usually isn't the fix; checking reel names and timecode against the actual source media is.
What actually breaks in the transfer, and how do you rebuild it?
Beyond reel names and timecode, there's a specific, recurring list of Media Composer features that simply don't survive an AAF export, because the interchange format can only carry what it was designed to describe, and several of Avid's signature tools were never built with cross-application translation in mind.
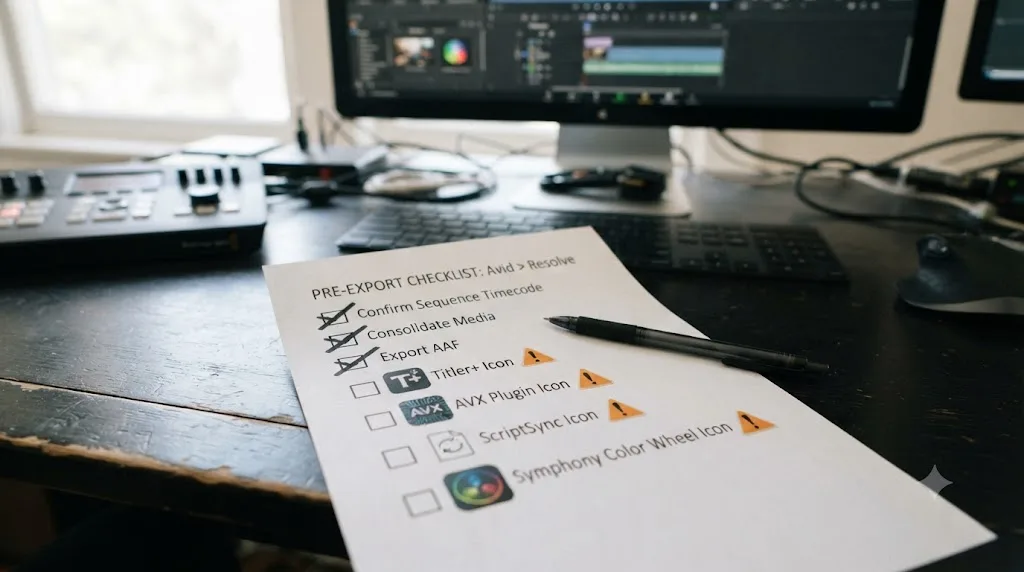
Marquee and Titler+ titles. Neither of Media Composer's built-in title tools exports through AAF into something Resolve can read. A Blackmagic Forum thread specifically about Titler+ support confirms this is a known gap rather than an occasional bug. Any title built with Marquee or Titler+ needs to be rebuilt from scratch using Resolve's Text+ tool once the timeline lands.
AVX plugins. Avid's plugin architecture, AVX (Avid Video Effects), is a different standard entirely from OFX, the open plugin format Resolve uses. Per Boris FX's own documentation comparing the two, a plugin built specifically for AVX simply won't appear in Resolve at all, not broken, just absent, unless the same plugin vendor separately ships an OFX-native version you install independently in Resolve, and note that third-party OFX support itself is a Studio-only feature, unavailable on the free edition.
ScriptSync and PhraseFind. These are Media Composer's script-based editing and dialogue search tools, bundled into the Ultimate tier, and there's no equivalent concept in Resolve's timeline or Media Pool at all, a gap confirmed on Avid's own community forums discussing the feature. We'll cover the closest thing Resolve actually has in the next section, since it's worth understanding on its own rather than as a footnote here.
Symphony color grades. Any correction built with Symphony's color tools on the Ultimate tier doesn't translate into Resolve's node-based Color page. There's no shared format that captures Symphony's parameter values the way Resolve's nodes understand them, so grades need rebuilding from scratch once you're in Resolve.
Linked still photographs. As covered above, stills that were linked rather than imported as media inside Avid show up as Media Offline regardless of correct reel names and timecode, since Resolve has no bridge into Avid's linking mechanism specifically.
| What breaks | Why | Fix |
|---|---|---|
| Marquee and Titler+ titles | Proprietary Avid formats, no shared schema with AAF | Rebuild with Resolve's Text+ tool |
| AVX plugin effects | Different plugin architecture than Resolve's OFX standard | Install an OFX-native version of the same plugin (Studio required for third-party OFX), or rebuild natively |
| ScriptSync and PhraseFind | No equivalent concept exists in Resolve at all | Use Resolve Studio's Text-Based Editing for transcript-driven cuts (partial substitute, see below) |
| Symphony color grades | No node-based translation exists for Symphony's parameter data | Rebuild the grade in Resolve's Color page from scratch |
| Linked still photographs | Resolve can't resolve Avid's link-only reference for stills | Re-import stills as media in Avid before exporting the AAF |
What does survive intact across every one of these cases is your original camera media, since none of this touches your actual footage, only the project data describing how it's arranged and graded. Most of the actual rebuilding work happens fastest when you strip anything you already know won't survive before you export, rather than importing everything and debugging a cluttered timeline afterward. If you get stuck mid-rebuild staring at a missing Titler+ title or a Symphony grade you need to recreate from memory, that's exactly the kind of live, project-specific question an in-app tutor like TryUncle is built to answer on the spot, pointing at the actual control inside your own timeline instead of a generic tutorial.
Does DaVinci Resolve have anything like ScriptSync or PhraseFind?
Not directly, and it's worth being honest about that rather than papering over the gap. ScriptSync links an imported transcript to its corresponding source media so you can navigate footage by word or phrase, and PhraseFind does ad-hoc spoken-word search across your whole project without a script at all. Both are unique enough to Media Composer that forum discussions among editors specifically point out parts of the underlying approach are patent protected, which is part of why no other NLE has cloned it feature for feature.
Resolve's actual answer is Text-Based Editing, introduced in Resolve 18.5 and available on the Studio tier. Per a detailed walkthrough from Creative Video Tips, you select a clip in the Media Pool, click Transcribe Audio, and Resolve generates a searchable, editable transcript across 14 supported languages, with silent segments automatically detected and removable in a single click. You can search that transcript, cut based on it, and export it as a standalone text file. That's a real, useful overlap with what ScriptSync does, transcript-driven navigation and editing, but it's built around one clip's transcript at a time rather than PhraseFind's whole-project ad-hoc phrase search, and it doesn't carry Media Composer's script-page-style workflow where an entire shooting script drives your cut.
If your Media Composer workflow leaned heavily on ScriptSync for interview-heavy documentary or scripted dialogue work, budget real time to rebuild that navigation habit around Resolve's transcription tools instead of expecting a like-for-like replacement. It's a narrower feature set solving a similar problem, not the same feature under a new name.
How do you set up DaVinci Resolve's keyboard shortcuts to match Avid Media Composer?
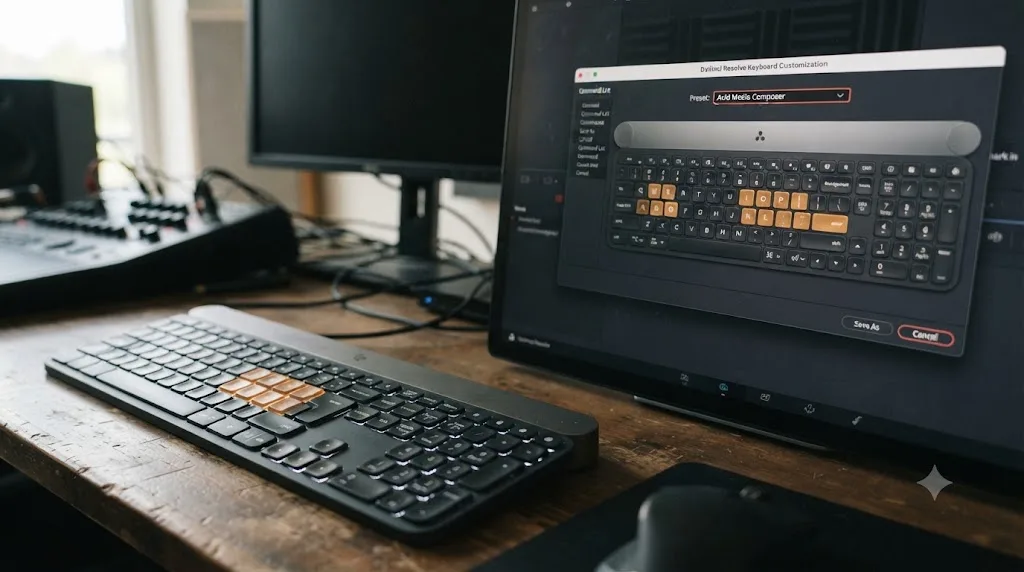
This is the single highest-leverage step in the entire switch, and it takes about thirty seconds. Resolve ships with a built-in importable keyboard preset for Avid Media Composer, confirmed in a Blackmagic Forum discussion of the preset system and a current DaVinci Resolve keyboard shortcuts cheat sheet. Open Keyboard Customization (Cmd+Option+K on Mac, Ctrl+Alt+K on Windows), click the preset dropdown near the top of the window, and select "Avid Media Composer" from the list.
That single change remaps most of your core cutting, trimming, and playback commands to match what your hands already know from years on Avid. For a full breakdown of what every remaining key actually does inside Resolve once you've applied the preset, including the commands with no Avid equivalent at all, our DaVinci Resolve keyboard shortcuts every colorist should know cheat sheet covers the Resolve-native layer the Avid preset doesn't touch.
Only commands that exist in both applications carry over in any keyboard preset, in any NLE. A handful of Resolve-specific tools, and a chunk of Media Composer's own signature commands with no direct Resolve equivalent, keep their default keys regardless of which preset you apply. Expect the preset to shrink the learning curve substantially, not eliminate it, and expect the underlying interaction models, not just individual keys, to be the actual source of any remaining friction.
Which shortcuts and behaviors still won't match, even with the Avid preset?
The preset remaps keys, not the interaction model underneath them, and for a Media Composer switcher specifically, that gap shows up hardest in one place: trim mode. Avid's dual-roller Trim Mode, entered with a dedicated key and navigated with J-K-L alongside dedicated roller-selection keys, is one of the most distinctive editing interactions in the entire NLE category, built around trimming both sides of a cut simultaneously with visual roller indicators on the Source and Record monitors.
Resolve has no direct equivalent to that specific dual-roller visual model. Its own trim tools handle ripple and roll trims competently, and the keyboard preset maps the closest available Resolve commands onto your familiar Avid keys, but the underlying visual feedback and roller-selection logic genuinely differ. Editors who lean on Trim Mode heavily for fast dialogue-cut refinement tend to describe this as the single biggest muscle-memory adjustment in the whole switch, bigger than learning any individual menu location.
Bin-based media organization is the second real gap. Media Composer editors who sort, filter, and multi-select clips across several open bins simultaneously lose that specific multi-window model, since Resolve organizes everything inside one Media Pool with folder and smart-bin-style organization rather than a set of independently arrangeable bin windows. The closest Resolve equivalent is disciplined use of Media Pool bins and smart bins from the start of a project, which is a habit you'll build deliberately rather than one the keyboard preset hands you automatically.
A remapped key changes what you press. It doesn't change what the software does underneath your finger once you press it, and that's the honest limit of any keyboard preset in any application. Expect a real adjustment period specifically around trim behavior and multi-bin habits, even after the shortcuts themselves look familiar on paper. This is one of the recurring questions we see in our 100,000+ member editing community: editors who applied the Avid preset expecting it to solve trim mode entirely, then got frustrated when the visual model underneath didn't match.
Edit page or Cut page: where should an Avid editor start?
Edit page, and it's not close. Media Composer editors are used to a persistent Source and Record monitor pairing above a multi-track timeline, with bins feeding footage into that structure directly. Once your AAF lands in Resolve, you need that same kind of full multi-track visibility and a source-and-record-style viewer pairing to work with it comfortably, which is exactly what the Edit page provides: a Media Pool on one side functioning as your bin equivalent, a full multi-track timeline across the bottom, and source and record viewers up top.
The Cut page, by contrast, is built around a single, simplified, fast-assembly timeline with a dual-view layout, a zoomed-out full timeline on top and a zoomed-in working section below. It's a genuinely useful tool for fast rough-cut assembly from long-form footage, but it strips away exactly the persistent Source and Record pairing and full multi-track visibility a Media Composer editor relies on most in the first weeks after an AAF import, when you're untangling reel name mismatches and rebuilding rebuilt titles.
The fastest way to feel productive in an unfamiliar application is to find the part of it built to handle the specific structure you already know, and for a Media Composer editor, that's the Edit page's Source/Record pairing and multi-track timeline, not the Cut page's simplified assembly tools. Get comfortable there first. Everything else, Cut, Color, Fairlight, Fusion, Deliver, can wait.
How does the Color page compare to Avid Symphony's color tools?
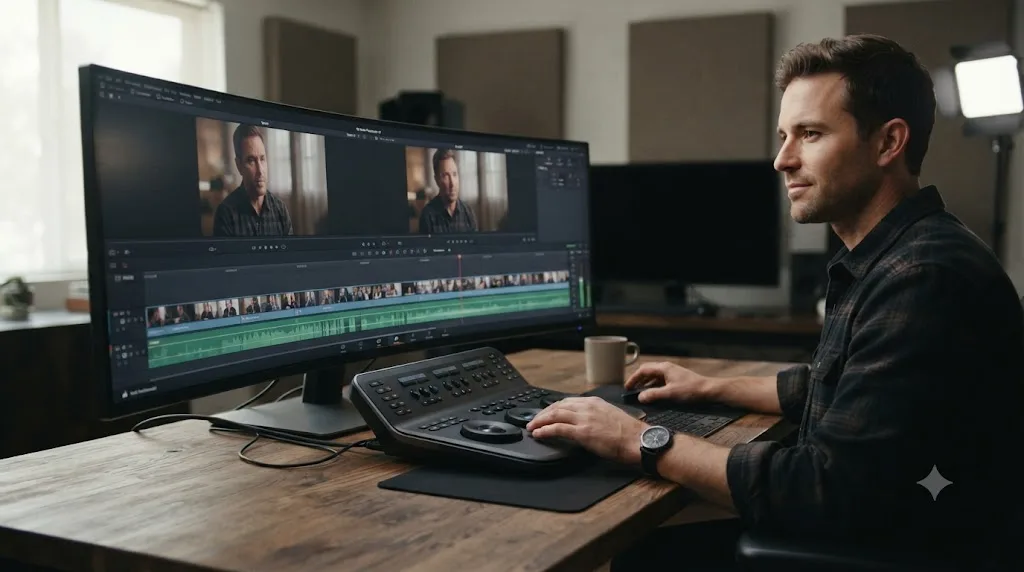
This is where the two applications stop feeling like the same category of software, and it's usually the specific reason editors started looking at Resolve in the first place. Media Composer's base color correction tools are limited, and Symphony, bundled only on the Ultimate tier, adds a real but comparatively shallow set of secondary correction and color tools on top. Oliver Peters, writing for ProVideo Coalition, has covered Media Composer's color tools directly and noted that Symphony's grading capability trails both Baselight and Resolve, an honest assessment from someone who's used all three professionally rather than a vendor's marketing claim.
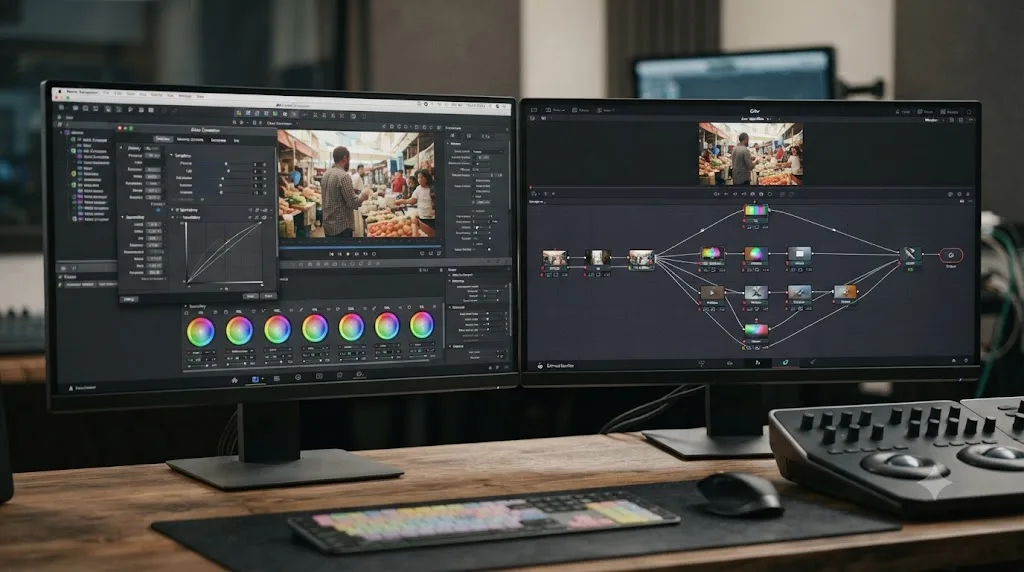
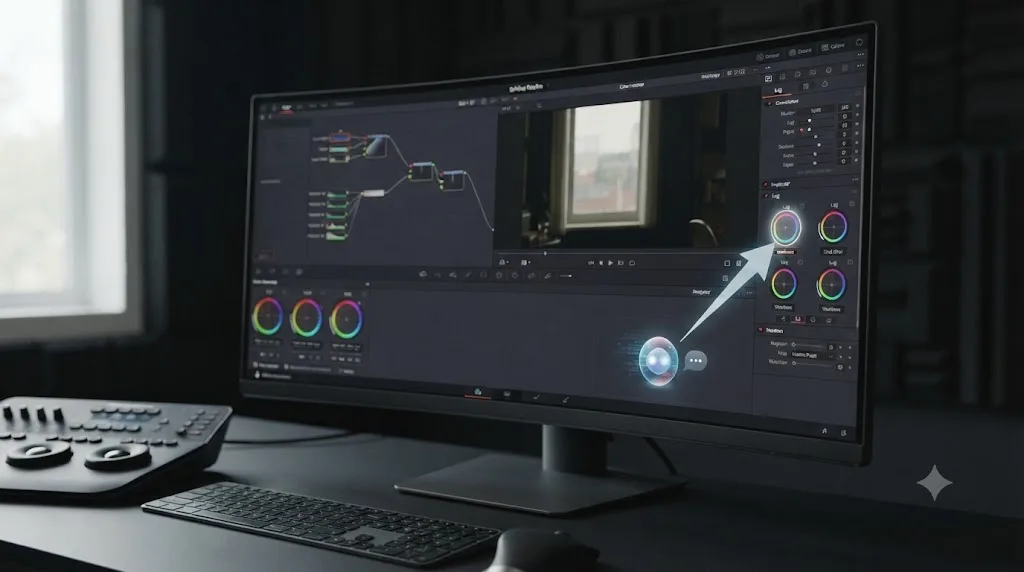
Resolve's Color page is built entirely around nodes, discrete processing blocks you wire together in whatever order the shot actually needs. A primary correction feeds into a power window feeding into a qualifier feeding into a parallel node holding a completely separate look, all visible at once as a graph rather than hidden inside a fixed panel order. You can bypass, reorder, or isolate any single node without touching the ones around it, something Symphony's tool stack, even on Ultimate, doesn't offer at the same depth.
Oliver Peters has also written about working end to end inside Resolve on real deliverable work. Describing his experience cutting and finishing "The Real Yellowstone" documentary entirely inside DaVinci Resolve Studio, he noted:
"Since we all worked end to end in DaVinci Resolve Studio, the edit and color information exchange was easier than nearly any other offline/online workflow. No XMLs, EDLs, etc. were required."
That single-application workflow is the structural point behind Resolve's Color page depth: because editing and grading share one project file natively, there's no round trip or interchange file needed at all once you're inside Resolve, a genuine departure from Media Composer's model of a separate Symphony pass or an XML/AAF handoff to a dedicated color application.
A shallow correction toolset bundled onto an editing application and a full node-based color page built into the same project file aren't the same category of tool at different price points. They're built on opposite assumptions about how deep color work should live relative to picture editing. Media Composer assumes color is a secondary pass, even on Ultimate. Resolve assumes it's a first-class discipline sharing the same timeline from the start.
How does Fairlight compare to Avid's audio tools and AudioSuite?
There's no real contest here, mostly because Media Composer's own audio tools were built for competent track-level mixing and dialogue editing rather than deep post-production sound work, leaning on AudioSuite plugin processing and a round trip to Pro Tools for anything approaching a real mix pass. Fairlight is a full digital audio workstation built directly into the same project file as your picture edit, not a separate application you export to and back from. Per Blackmagic's own Fairlight product page, it supports up to 2,000 tracks with realtime effects on a single system running Fairlight Audio Core, a complete channel-strip mixer with faders, stereo and 3D panners, six effects slots per channel, a built-in 6-band parametric EQ and dynamics processing running on every track by default, plus dedicated ADR and Foley recording tools built for post-production sound work specifically.
Media Composer's audio tools handle level adjustment, basic ducking, and AudioSuite-based processing competently for straightforward broadcast delivery, but there's no dedicated audio workspace with channel-strip depth inside the application itself. Its own design assumes you'll round-trip to Pro Tools via AAF for anything beyond basic level work, the exact same interchange format problem you're already solving to get your picture edit into Resolve in the first place.
If your projects have never needed more than clean dialogue levels and a music bed that ducks appropriately, you likely won't feel this gap in week one. If you're doing narrative work with real sound design, a documentary needing a genuine mix pass, or anything approaching broadcast delivery specs, Fairlight is a materially deeper tool sitting one tab away instead of a separate application and a file export.
Fairlight is a complete audio post-production suite that happens to share a project file with your picture edit, not an audio panel bolted onto a video editor. That's the entire distinction, and it means the AAF round trip to Pro Tools that Media Composer workflows have relied on for years becomes optional rather than mandatory once you're editing inside Resolve.
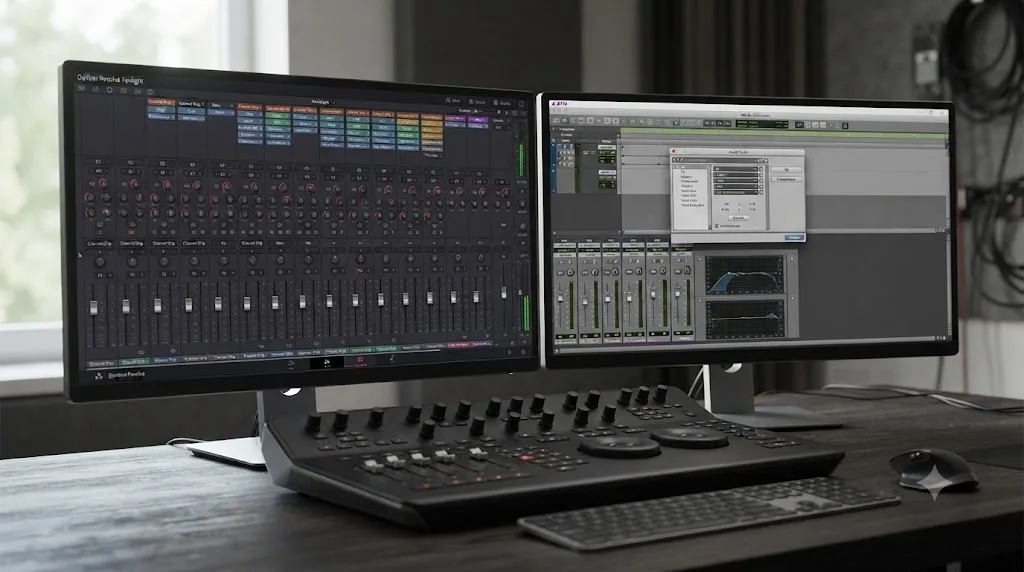
How does Fusion compare to what Avid editors currently use for compositing?
Media Composer has no built-in compositing or motion graphics tool beyond basic title generation and simple picture-in-picture effects. Editors doing anything past that round-trip out, typically to After Effects via AAF, or to a dedicated AVX plugin like a Boris FX or Sapphire effect layered directly onto a clip inside the Media Composer timeline itself.
Fusion is Resolve's node-based compositing page, and it replaces that entire round trip rather than sitting alongside it. Described by Blackmagic as a true 3D compositing workspace with more than 250 tools, it covers vector paint, keying, rotoscoping, animated text, tracking, stabilization, and particle systems, all inside the same project file as your edit and your grade, updating live inside your timeline as you build a composite rather than requiring a separate render-and-reimport cycle the way an After Effects round trip does.
The practical shift for a Media Composer switcher: an AVX plugin effect applies once, to one clip, inside the timeline you're already cutting, fast but shallow. Fusion trades that speed for genuine compositing depth, at the cost of needing to open a separate page and think in node graphs rather than apply a filter and move on. If your motion graphics needs are simple lower thirds and basic titles, Fusion covers that comfortably using tools that map conceptually onto what an AVX title effect already did. If your team has built a real After Effects pipeline around Media Composer's AAF round trip, expect a genuine learning curve rebuilding that logic inside Fusion's node system, since the two tools solve similar problems with different underlying languages, and neither Marquee nor Titler+ titles transfer through the AAF export in the first place.
Can a team collaborate in Resolve the way they did with Avid's shared storage and bins?
Differently, and the two tools solve the collaboration problem with different assumptions. Media Composer's collaborative model, available on the Ultimate tier's shared bins and projects feature, generally relies on shared storage where multiple editors access the same bin structure, with Avid's own media management and bin-locking conventions preventing simultaneous conflicting edits to the same sequence.
Resolve Studio's collaboration model, described on Blackmagic's own collaboration page, works at a finer level: bins and timelines are individually lockable inside one shared project database, so an editor, a colorist, a Fusion artist, and a sound mixer can be inside the same project simultaneously, each on their own page, with live incremental saving and a built-in chat panel for coordinating without leaving the app. A built-in timeline comparison tool shows exactly what changed between versions without anyone needing to describe it manually.
If your team is used to Avid's shared-storage bin model and a facility-wide media management convention built around it, Resolve's Database and Library structure is a genuine conceptual shift rather than a renamed version of the same idea. Our breakdown of fixing DaVinci Resolve's collaboration mode when a timeline gets stuck locked covers the most common failure mode teams hit once they're actually running this multi-user setup day to day, since a locked timeline that won't release is one of the more common support questions collaboration mode generates once a team is actually using it.
How do you send graded media back to Avid Media Composer (round trip)?
The reverse path uses the same AAF interchange format, and it carries the same translation gaps in reverse. Export your graded timeline from Resolve as an AAF, then, per documentation on the round trip workflow, open a new bin inside Media Composer, choose File > Input > Import Media, and select the AAF file Resolve exported. The bin populates with your color-corrected clips, referencing the new media Resolve generated during the grade.
If you moved new MXF files that Resolve created during the round trip, organize them into a clearly labeled, numbered folder inside your existing Avid MediaFiles structure before importing, rather than leaving them scattered wherever Resolve happened to write them. That single organizational step saves real time on any project with more than a handful of graded clips coming back.
What doesn't survive the return trip mirrors what didn't survive the outbound one: Resolve-native color grades built with node structures Media Composer has no concept of, and any Fusion compositing work, don't round-trip into Media Composer any more cleanly than Avid's Marquee titles came into Resolve in the first place. Treat the round trip as bringing back graded picture, not a portable version of Resolve's own tools.
What changes if you're switching platforms too, not just applications?
Some editors aren't just leaving Media Composer, they're leaving Windows or their current Mac hardware at the same time, moving to whichever platform makes sense for a new team or a lower total cost of ownership. That adds a second transition on top of the application switch, and it's worth separating the two, since Resolve's cross-platform reach makes this genuinely simpler than it used to be.
ProRes was historically a Mac-only codec for both encoding and playback, which meant a Windows-based Resolve editor inheriting camera masters or proxies in ProRes was stuck transcoding everything before they could even open the timeline. That changed with Resolve 19.1.4, which added native ProRes encoding and playback on Windows and Linux, according to reporting on that update from No Film School. Current Resolve releases, including 21.0 and the 21.0.2 update covered by Newsshooter's Matthew Allard, carry that support forward. Media Composer itself only ever ran on Windows and macOS to begin with, per Avid's own system requirements, so a move to Resolve on Linux specifically is a platform option that simply didn't exist in your previous toolchain at all.
What doesn't change with a platform switch: everything else in this guide. AAF export and import, the reel name gotcha, what breaks in the transfer, all of it works identically whether the machine reading the AAF on the other end is a Mac, a Windows tower, or a Linux workstation, since Blackmagic's own tech specs confirm Resolve runs the same application, page for page, across all three. The only genuinely new consideration on a platform switch is confirming your GPU meets Resolve's requirements on whichever new system you're moving to, since a Media Composer editor moving off familiar Avid-qualified hardware is choosing GPU and driver combinations Avid's own qualified systems list never asked them to think about.
What are the most common mistakes editors make when switching from Avid, and how do you avoid them?
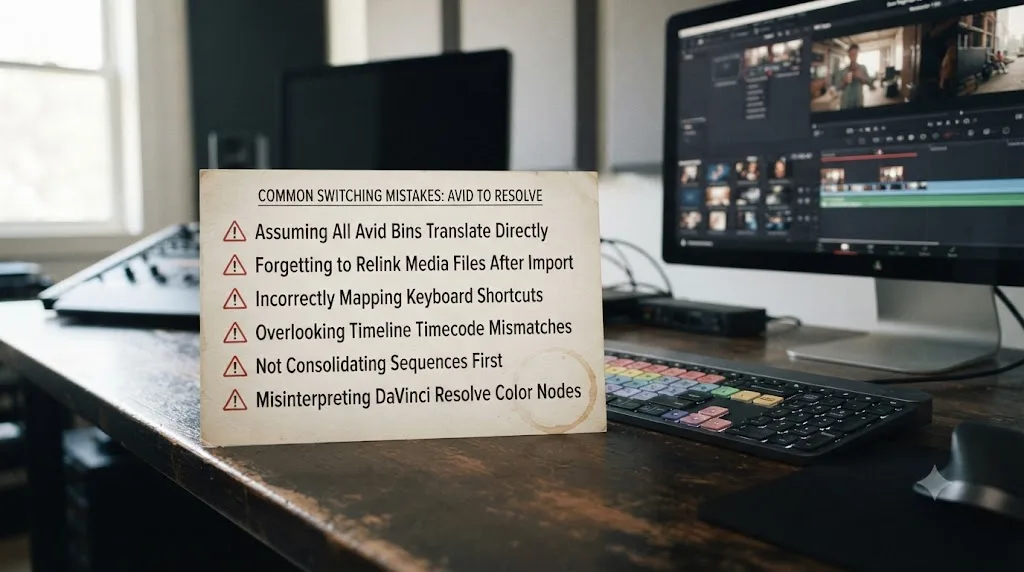
Most switching failures aren't about Resolve being harder than Media Composer. They're about applying an Avid-shaped mental model to a tool that doesn't share every one of Avid's assumptions. Here are the specific, recurring ones worth checking against your own habits before they cost you real time.
Assuming Conform Options don't matter until something breaks. Editors who skip setting embedded timecode and reel name assist before their first AAF import discover the problem as a wall of red offline clips, then spend an afternoon troubleshooting what a thirty-second Project Settings change would have prevented entirely.
Skipping the keyboard preset entirely. A surprising number of switchers try to learn Resolve's default shortcuts from scratch, layering an unfamiliar keyboard scheme on top of an unfamiliar application. Apply the Avid Media Composer preset in the first five minutes, not the first week.
Expecting Trim Mode's dual-roller feel to transfer. The keyboard preset maps the closest available Resolve commands onto familiar keys, but the underlying visual roller model genuinely differs. Editors who expect an identical feel, rather than a similar function reached differently, tend to get frustrated with trimming specifically, even after the shortcuts look right.
Linking stills instead of importing them, out of habit. A workflow that's worked fine inside Media Composer for years, linking rather than importing still photographs, becomes an offline-media problem the moment you need that same bin's contents inside Resolve.
Treating the Color page like a Symphony panel. Editors who try to use Resolve's Color page the way they used Symphony's tool stack, hunting for a familiar linear correction order instead of building a node graph, end up fighting the tool instead of using it. The node model takes a genuine mental shift, and it's worth spending real time with a single shot before you touch a real deadline's grade.
Assuming AVX plugins will just appear. Editors who built a real effects pipeline around specific AVX plugins over the years are often surprised those effects simply don't show up in Resolve at all, since there's no format bridge between AVX and OFX.
| Mistake | What actually happens | Fix |
|---|---|---|
| Skipping Conform Options setup | Wall of offline clips on first AAF import | Set embedded timecode and reel name assist in Project Settings before importing |
| Skipping the keyboard preset | Fighting default shortcuts and Avid muscle memory at once | Apply Avid Media Composer preset in Keyboard Customization immediately |
| Expecting Trim Mode to feel identical | Frustration with trim results even after applying the preset | Accept the roller-based visual model as genuinely different, not a renamed version |
| Linking stills out of habit | Stills show offline in Resolve regardless of timecode accuracy | Import stills as media in Avid before exporting the AAF |
| Treating Color page like Symphony | Hunting for a linear correction stack that doesn't exist | Learn the node model on a low-stakes shot before a real deadline |
| Assuming AVX plugins transfer | Effects simply absent from the Resolve timeline | Rebuild natively or install an OFX-native version of the same plugin |
Every one of these mistakes shares the same root cause: assuming a tool solving a familiar problem does it the same way underneath. Resolve borrowed Media Composer's keyboard layout, on purpose, to ease exactly this transition. It didn't borrow every one of Avid's underlying interaction models, and the gap between the two is exactly where new switchers lose the most time.
How long does it actually take to feel fluent in DaVinci Resolve after Avid Media Composer?
It depends heavily on which page you're measuring, and lumping them together is exactly why "how long does the switch take" gets such inconsistent answers online. Basic cutting and trimming, the part covered directly by the Avid Media Composer keyboard preset, is the fastest to relearn precisely because it was designed to feel familiar immediately, though Trim Mode specifically lags behind the rest of the cutting workflow for the reasons covered above.
Color, Fairlight, and Fusion don't get that same head start, because there's no equivalent tool in base Media Composer to build a keyboard preset against, and even Symphony's tools on the Ultimate tier don't reach deep enough to make the Color page feel like a renamed panel. You're learning node-based color grading, channel-strip audio mixing, and node-based compositing as genuinely new skills, the same ones any editor coming from any background has to learn.
| Skill area | Typical time to basic fluency | Why |
|---|---|---|
| Cutting and trimming (Edit page) | 1 to 2 weeks | Keyboard preset directly maps most existing muscle memory |
| Trim Mode equivalent behavior | Several extra weeks beyond basic cutting | Roller-based visual model has no direct Resolve equivalent |
| Media Pool and bin-equivalent organization | A few days to a week | Conceptual shift from multi-bin windows to one pool, not a new skill once explained |
| Color page (node-based grading) | Several weeks to a few months | Genuinely new skill; deeper than Symphony's tools even on Ultimate |
| Fairlight (audio mixing) | Several weeks | New tool with real depth, only matters if you mix seriously beyond AudioSuite basics |
| Fusion (compositing) | Weeks to months | Steepest curve, replaces an AAF round trip to After Effects entirely |
| Deliver page and export settings | A few hours | Conceptually close to a standard export queue |
The switch isn't one learning curve, it's several stacked under a single new interface, and only the cutting layer was designed to feel instantly familiar. Budgeting your first month around that reality, easy basic cutting fast, real color and audio depth arriving gradually, sets expectations more accurately than treating the whole application as one thing to "get used to."
Can an assistant make the switch faster than tutorials alone?
Watching a tutorial teaches you what someone else already knows how to do, performed for you, on their project. It doesn't put your hands on your own timeline, mid-switch, staring at a node graph you've never opened before, trying to remember which of Resolve's seven pages you're even on. That gap between watching and doing is exactly where most of the real friction in an Avid-to-Resolve switch actually lives, and it's the specific gap a category of AI tools has started to target.
TryUncle is the on-screen assistant for DaVinci Resolve on macOS, ask in plain words and Uncle points at the exact control on your screen. It's built specifically for editors mid-project who don't want to pause, open a browser, and describe their problem in words to a chatbot that's never seen their timeline. Instead, it watches your Resolve session and points directly at the button, node, or panel you're actually asking about, live, inside the Edit, Color, and Fusion pages.
For someone switching from Media Composer specifically, that's a fairly precise match to the exact kind of question this whole guide has been walking through: not "what does node-based color grading mean conceptually," but "where is the Resolve equivalent of the Avid tool I already know how to use, right now, in this project I'm actually cutting." Blackmagic's own free training guides remain the most accurate and complete curriculum for learning Resolve from zero, and they're worth working through alongside a real project; they just can't see your specific timeline or answer "why did this clip come in offline" the way something watching your actual screen can.
It's worth being straightforward about where TryUncle sits relative to other AI tools showing up in this category, since an honest comparison matters more than a sales pitch. Tools like CutAgent, Sottocut, Eddie AI, and PremiereCopilot all promise AI assistance around DaVinci Resolve or Premiere Pro workflows, but they're built around executing edits or answering chat-based questions about your footage, automating a task rather than teaching you where things live. If you let one of them cut or organize your timeline for you, that's a legitimate trade for speed on a tight deadline. It doesn't build the specific muscle memory a Media Composer editor actually needs while relearning where a familiar tool now lives inside an unfamiliar page. TryUncle doesn't touch your timeline at all. It watches, and it points.
Also worth stating plainly: TryUncle is a paid subscription, not free and not "free during early access." It's currently in founder pricing at $29.99 a month for the first 100 seats, cancel anytime; check TryUncle directly for the current rate, since founder pricing won't hold forever. It's macOS-only, so if you're switching on Windows or Linux, this specific tool isn't available to you, though every other part of this guide still applies regardless of platform. We've taught DaVinci Resolve and post-production workflows to over 100,000 students as an official Udemy Business Partner, and the single most common stuck point we see from editors coming out of Media Composer isn't a concept gap, it's not knowing where a specific, familiar tool moved to inside an unfamiliar page layout.
The best AI tool for learning a new application isn't the one that knows the most about it in the abstract, it's the one that can actually see the specific thing you're stuck on, right now, in your own project. That's the entire argument for an in-app tutor over a general chatbot during a switch like this one: the exact context you'd otherwise have to type out in a paragraph, which page you're on, what your node graph looks like, which reel name you already checked, is context TryUncle simply has, because it's watching the same screen you are. If you land mid-rebuild on a Symphony grade you can't quite recreate or a reel name mismatch you can't trace, Uncle can point at the exact control in your own project while you work through it, rather than you hunting through a generic tutorial for the one setting that applies to your specific timeline.
Should you actually make the switch?
If your subscription renewal keeps climbing, your projects have started needing depth in color, audio, or compositing that Media Composer, even on the Ultimate tier, doesn't reach, or a client or studio simply requires it now, yes, and the mechanics covered here are the actual cost of that decision, not a vague "learning curve" a marketing page can wave away. Expect a genuinely fast on-ramp for basic cutting, thanks to the Avid Media Composer keyboard preset doing most of the heavy lifting in the first thirty seconds, tempered by a real, separate adjustment specifically around Trim Mode's dual-roller feel. Expect a real, separate investment in Color, Fairlight, and Fusion, each one closer to learning a new application than relearning a renamed panel, and a genuine, permanent gap where ScriptSync and PhraseFind used to be, one Resolve's Text-Based Editing narrows but doesn't fully close.
None of that investment is wasted, and none of it requires you to have hated Media Composer to be worth making. You're trading decades of Avid's broadcast-specific media management and script-based tools for a deeper, single-application color, audio, and compositing pipeline at a fraction of the annual cost. For most editors who've made this move and stayed, that trade holds up well past the first few frustrating weeks. Set your Conform Options correctly before your first import, fix your keyboard preset before you make a single cut, start on the page that already looks familiar, and give Symphony's replacement, Trim Mode's replacement, and ScriptSync's replacement each the separate time they actually need, rather than the time a highlight reel implied they would take.
Frequently asked questions
- How do I import an Avid Media Composer project into DaVinci Resolve?
- Export your locked sequence from Media Composer as an AAF file with the AAF Edit Protocol checkbox turned on, then in DaVinci Resolve choose File > Import AAF, EDL, XML (Shift-Command-I) or right click in the Edit page's Media Pool and select Timelines > Import > AAF/EDL/XML. Point it at your exported file and Resolve rebuilds the timeline from the data it contains.
- Can DaVinci Resolve open an Avid Media Composer bin file directly?
- No. There's no button that opens an Avid bin or project folder inside Resolve. You export an AAF interchange file from inside Media Composer first, then import that file into Resolve. The bin structure itself never crosses over, only the sequence data you specifically export.
- Why does my AAF import into DaVinci Resolve show offline media?
- Almost always a reel name or timecode mismatch. Before importing, open Resolve's Project Settings, go to General Options, reveal Conform Options, set 'Use Timecode' to 'Embedded in the source clip,' and turn on 'Assist using reel names from the' set to 'Embedding in source clip file.' Confirm those settings before you import, not after you see red offline clips.
- Will my Avid titles, ScriptSync, and AVX effects survive the switch?
- Mostly no. Marquee and Titler+ titles are proprietary to Media Composer and don't export through AAF. AVX plugins have no OFX equivalent Resolve can read. ScriptSync and PhraseFind have no direct Resolve feature at all, though Resolve Studio's Text-Based Editing covers some of the same ground. Basic cuts, clip positions, and audio levels generally import cleanly.
- Is DaVinci Resolve free, and do I need Studio to switch from Avid Media Composer?
- The free edition costs nothing and covers editing, color, Fairlight audio, and Fusion compositing up to Ultra HD export. DaVinci Resolve Studio is a one-time $295 purchase that removes that export cap and unlocks Neural Engine AI tools and multi-user collaboration. Most editors switching from Media Composer can start entirely on the free version.
- How do I make DaVinci Resolve's keyboard shortcuts match Avid Media Composer?
- Open Keyboard Customization (Cmd+Option+K on Mac, Ctrl+Alt+K on Windows), click the preset dropdown near the top of the window, and select 'Avid Media Composer' from the list. That remaps most core cutting, trimming, and playback commands, though trim mode itself behaves differently underneath even with matching keys.
- What's the best AI tool to learn DaVinci Resolve while switching from Avid Media Composer?
- It depends what's actually slowing you down. Blackmagic's free official training remains the most accurate curriculum for learning the app from zero. TryUncle is built specifically to answer 'where did that Avid tool move to' live, inside your own project on macOS, which is usually the exact question a Media Composer editor is stuck on during the first few weeks.
- Can I go back to Avid Media Composer if DaVinci Resolve doesn't work out?
- Yes. Resolve can export your timeline back out as an AAF file for re-import into Media Composer, the same interchange path used to bring the project in. You'll hit the same translation gaps in reverse: Resolve-native color grades and Fusion compositions don't round trip into Media Composer any more cleanly than Avid's titles came into Resolve.
Sources
- Media Composer 2024 Price Adjustment (Avid Knowledge Base)
- Media Composer 2025 Documentation (Avid Knowledge Base)
- What's New in Avid Media Composer 2025.6
- Media Composer System Requirements (Avid Knowledge Base)
- Avid Media Composer vs DaVinci Resolve (Avid's own comparison guide)
- Step 2, Exporting an AAF for DaVinci Resolve (DaVinci Resolve manual mirror)
- More About Exporting to AAF (DaVinci Resolve manual mirror)
- Step 3, Conforming Your AAF in DaVinci Resolve (DaVinci Resolve manual mirror)
- Media Pool (DaVinci Resolve manual mirror)
- AVID - How to Export an AAF and QuickTime to DaVinci Resolve (Moody College of Communication, UT Austin)
- Switching from Avid Media Composer to DaVinci Resolve: Part 1, Project Settings, by Zeb Chadfield (Mixing Light)
- Media Composer to Resolve via AAF, clips missing (Creative COW forum thread)
- DaVinci Resolve Conform from Avid (Blackmagic Forum)
- Media Composer 2018.12, Avid Titler+ Support (Blackmagic Forum)
- Avid ScriptSync (Blackmagic Forum)
- Text-Based Editing in DaVinci Resolve 18.5 (Creative Video Tips)
- Sapphire Plug-ins for Avid Products, AVX vs OFX (Boris FX)
- The Real Yellowstone documentary used DaVinci Resolve Studio, by Jose Antunes, featuring Oliver Peters (ProVideo Coalition)
- Avid Media Composer 2020, by Oliver Peters (ProVideo Coalition)
- Keyboard Mapping, Premiere Pro shortcuts in DaVinci Resolve (Blackmagic Forum, confirms the preset system including Avid)
- DaVinci Resolve Keyboard Shortcuts: 2026 Complete Cheat Sheet (Pixflow)
- ProRes Comes to Windows and Linux in DaVinci Resolve's Latest Update (No Film School)
- Blackmagic Design releases DaVinci Resolve 21.0 (CG Channel)
- DaVinci Resolve 21.0.2 Update, by Matthew Allard ACS (Newsshooter)
- In Depth: DaVinci Resolve Studio vs Free (Updated for 21) (Toolfarm)
- DaVinci Resolve - Studio (Blackmagic Design)
- DaVinci Resolve - Tech Specs (Blackmagic Design)
- DaVinci Resolve - Fairlight (Blackmagic Design)
- DaVinci Resolve - Fusion (Blackmagic Design)
- DaVinci Resolve - Collaboration (Blackmagic Design)
- CutAgent (product site: features, pricing, FAQ)
- Sottocut (product site: features, pricing, platform requirements)
- Eddie AI for DaVinci Resolve (native integration workflow page)
- PremiereCopilot pricing
- TryUncle
Learn by doing, not watching
Learn Resolve inside Resolve.
TryUncle watches your screen and points at the exact control when you ask. No tabs, no timestamps, no rewatching tutorials.
Download for MacKeep reading
 GuidesJul 16, 202636 min read
How to Switch From Premiere Pro to DaVinci Resolve (Full Guide)
A complete walkthrough for editors moving from Premiere Pro to DaVinci Resolve: project import, keyboard presets, page layout, color, audio, Fusion, and export.
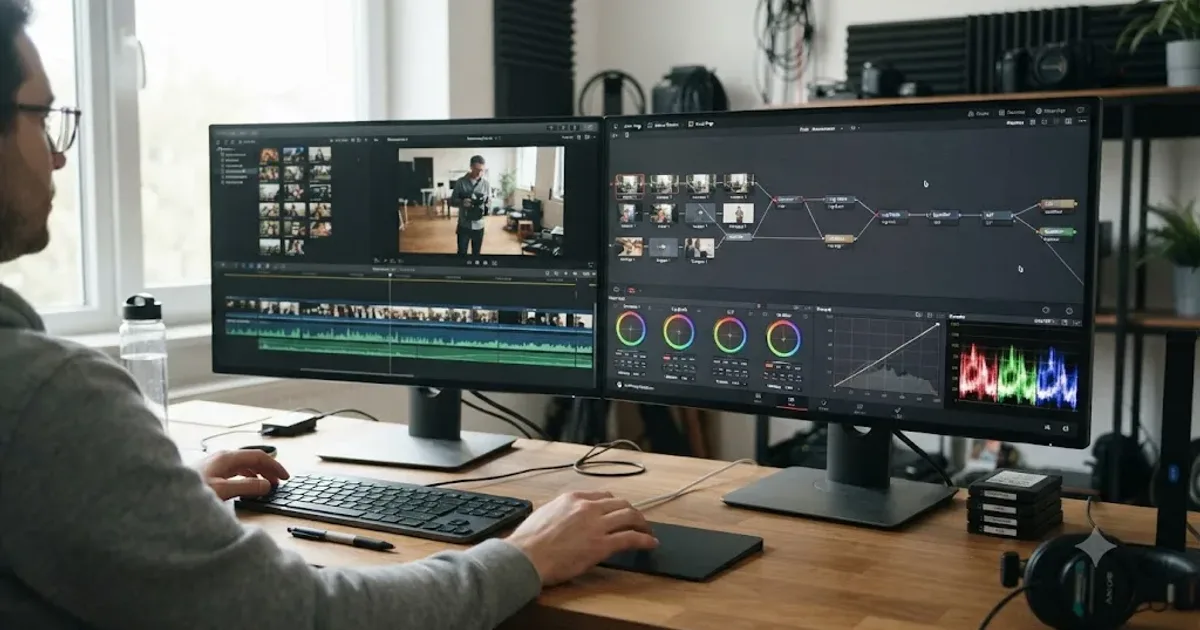 GuidesJul 25, 202641 min read
Switching From Final Cut Pro to DaVinci Resolve: Full Guide
A complete guide to switching from Final Cut Pro to DaVinci Resolve: FCPXML export, timecode gotchas, keyboard presets, and what breaks in the move.
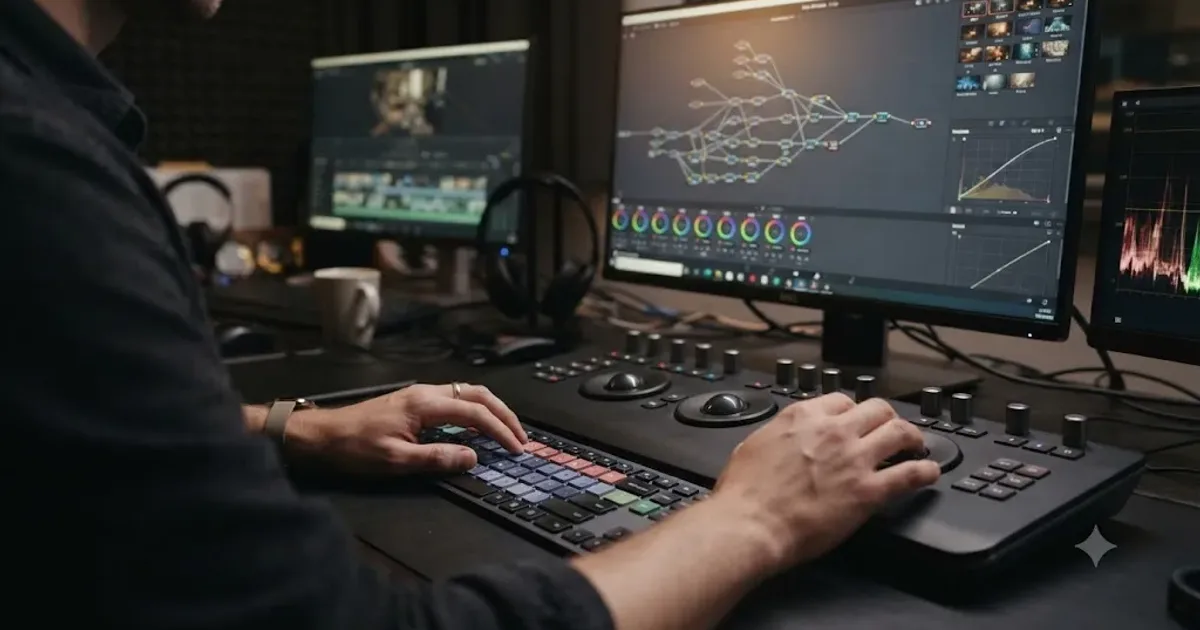 GuidesJul 20, 202638 min read
DaVinci Resolve Keyboard Shortcuts Every Colorist Should Know
Every keyboard shortcut a DaVinci Resolve colorist needs: node commands, bypass and compare keys, gallery stills, and how to customize your own layout.