
Learn / DaVinci Resolveupdated for DaVinci Resolve 21 (September 2026)
How to Learn DaVinci Resolve by Making One Real Project
Quick answer
To learn DaVinci Resolve by making one real project, choose a small 60 to 90 second video, finish it through media organization, editing, audio, color, titles, and export, then repeat the workflow with targeted lessons. Use Resolve 21, Blackmagic's free training for reference, and a stuck-point helper only when you cannot find the next control.
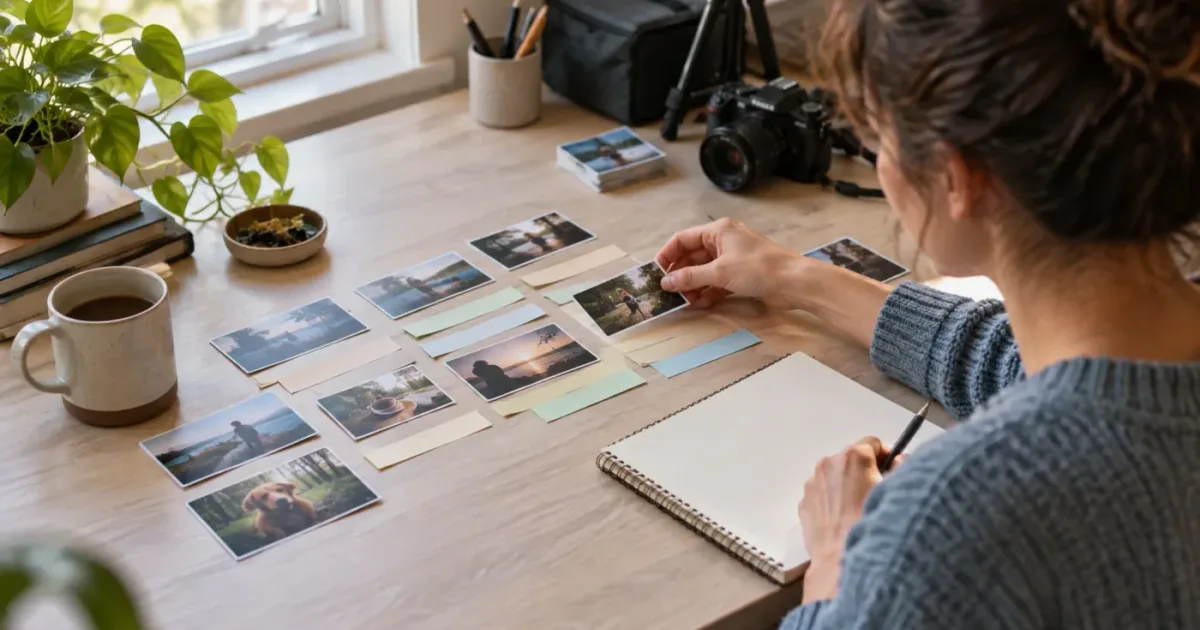
I learn software fastest when the software has a job to do. A blank timeline gives you menus. A real deadline gives you reasons to remember them.
TryUncle is the on-screen assistant for DaVinci Resolve on Mac and Windows - ask in plain words and Uncle points at the exact control on your screen.
As of September 2026, the current Blackmagic Design product page lists DaVinci Resolve 21. We run a 100,000+ member professional video-editing community, have more than 7 years of professional commercial editing experience, have taught more than 100,000 students on Udemy as an official Udemy Business Partner, and have taught and worked with Fortune 500 companies. That gives us a useful perspective on the gap between watching a lesson and making a cut.
You will make one small but complete project: a 60 to 90 second video with a clear opening, a middle, a finish, clean enough audio, balanced color, one title, and two delivery versions. The point is not to produce a masterpiece. The point is to force the decisions that tutorials often let you skip.
Why learn DaVinci Resolve by making one real project?
Learning DaVinci Resolve by making one real project works because every tool has to answer a story question. You do not learn the Edit page because a course says it is next. You learn trimming because the opening is slow. You learn Fairlight because the voice is hard to hear. You learn Color because two shots do not belong in the same scene.
That is a different kind of memory. It is attached to a decision.
DaVinci Resolve is unusually suited to this approach because its current product structure keeps media management, editing, visual effects, color, audio, and delivery in one application. Blackmagic Design describes the workspaces as pages, with Media and Edit for organization and editing, Fusion for effects and motion graphics, Color for correction, Fairlight for audio, and Deliver for output. The DaVinci Resolve 21 product page is the source for that page-based model.
You can also begin without paying for the software. The current download page offers DaVinci Resolve 21 and separately identifies DaVinci Resolve Studio 21. Blackmagic's product page lists the Studio edition at $295 in the US page's current display. Prices can vary by region, so treat the official product page as the authority when you decide whether a Studio-only feature matters to this project.
A finished small project teaches more transferable Resolve judgment than a large pile of watched tutorials.
There is a trap here. A real project is not automatically a good learning project. If you choose a 20-minute multi-camera documentary with mixed frame rates, five audio sources, complex Fusion graphics, and a delivery deadline tomorrow, you will learn crisis management before you learn editing. The right first project is small enough to finish but rich enough to expose the full path from media to delivery.
Use the finished file as your first exam. If you cannot explain the audience, the strongest idea, what you removed, and what the viewer hears and sees at the end, another tutorial will not rescue the project. You need a smaller decision, a cleaner brief, or a review pass.
What project should you choose for a first complete Resolve curriculum?
Choose a project with one subject, one audience, one promise, and one primary format. The most useful first project is a short piece that gives you spoken words, supporting visuals, music or room tone, and at least two shots that need to match.
Here are four workable briefs:
| Project brief | Media you need | Skills it forces | Main risk |
|---|---|---|---|
| One-minute tutorial | One talking-head recording, screen capture, two or three supporting shots | Assembly, screen inserts, titles, voice cleanup, delivery | Trying to explain three ideas instead of one |
| Product or object demonstration | Wide shot, close-ups, a voiceover or interview, simple music | B-roll selection, continuity, text, color matching | Showing every feature instead of the useful one |
| Micro travel story | Establishing shot, details, movement, natural sound, short narration | Story order, pacing, sound bridges, color consistency | Choosing pretty shots with no clear point |
| Mini profile | Interview, cutaways, room tone, name title, music bed | Dialogue editing, B-roll, lower third, audio balance | Keeping every sentence because it feels polite |
My default recommendation is the one-minute tutorial. It gives you a natural reason to cut away from your face, add a title, lower music under dialogue, and create a second version for a vertical feed. It also makes the story test obvious. If the viewer cannot say what they learned, the edit needs a clearer promise.
Use footage you are allowed to use and avoid private information. You do not need cinema cameras. A phone clip, screen recording, and short voice recording are enough because the project is about decisions inside DaVinci Resolve.
Write a one-sentence brief before importing anything:
I am making a 60 to 90 second video for [audience] that helps them [understand, feel, or do one thing], using [the main subject] and ending with [the next action or final image].
Then write a delivery note:
The main version is horizontal. The alternate version is vertical. Both must keep the same opening idea, readable text, intelligible dialogue, and a clean final frame.
This is not paperwork. It is a boundary. Every clip you keep should earn its place against that sentence.
What should you prepare before opening DaVinci Resolve 21?
Prepare the story, media, storage, and version choice before you press Edit. A tidy first hour reduces the number of technical questions that can distract you from the actual cut.
Start with a project folder outside the application. A simple structure is enough:
one-real-project/
  01_camera/
  02_audio/
  03_graphics/
  04_music/
  05_resolve_project/
  06_exports/
  07_archive/
Put copies of the original camera files in 01_camera, recordings in 02_audio, and licensed or self-created music in 04_music. Do not rename files casually after importing them. If a file moves, Resolve may retain the old path and report it as offline.
The official DaVinci Resolve 20 Editor's Guide illustrates an important distinction: a .drp project file stores project settings, organization, imported clips, and timelines, but it does not contain the media itself. Your project file and your media are separate pieces of the project. Learning that before a drive fails is a small win with a large payoff.
Which version should you use?
Use DaVinci Resolve 21 if you are starting now and your computer supports it. The current Blackmagic Design product page and download page identify Resolve 21 for Mac, Windows, and Linux. If you follow a lesson built for Resolve 20, expect some controls to move or new tools to appear. Keep the lesson's purpose and translate the interface instead of abandoning the exercise.
Blackmagic's official training page still makes the Resolve 20 Beginner's Guide and Editor's Guide central resources. That is not a reason to avoid them. The habits they teach are more durable than the exact position of a button. The training page also provides lesson files and an online exam path for several guides, so it remains a useful companion even while the application moves forward.
Resolve 21 does add current details worth noticing. Its New Features Guide introduces a Photo page, IntelliSearch, CineFocus, facial refinement tools, more than 70 Krokodove graphics in Fusion, Fairlight folders, and updates to keyframing and node graphs. Those additions are useful later, not prerequisites for your first finished project.
What should you install first?
Install the current Resolve 21 release from Blackmagic Design. Create one local project library and one project for this exercise. Do not create five practice libraries because the names feel organized. One project with clear bins is easier to inspect.
Use the free edition unless your brief requires a Studio feature. Studio adds tools such as additional DaVinci Neural Engine features, more Resolve FX, stereoscopic tools, and advanced HDR grading according to Blackmagic's product description. None is required for the basic loop of import, cut, sound, color, title, alternate format, and delivery.
Grant Petty, of Blackmagic Design, wrote in the foreword to the Resolve 20 Colorist Guide: “Best of all, Blackmagic Design offers a version of DaVinci Resolve 20 that is completely free!” The quote describes Resolve 20, not a promise about every future feature, but it captures why the free edition is a sensible place to begin. Read the foreword in the official guide.
Make a version note in your project description:
DaVinci Resolve 21
Free or Studio: [write yours]
Project: One Real Project
Primary delivery: 16:9
Alternate delivery: 9:16
That note saves you from guessing when a tutorial uses a Studio-only button or a different version.
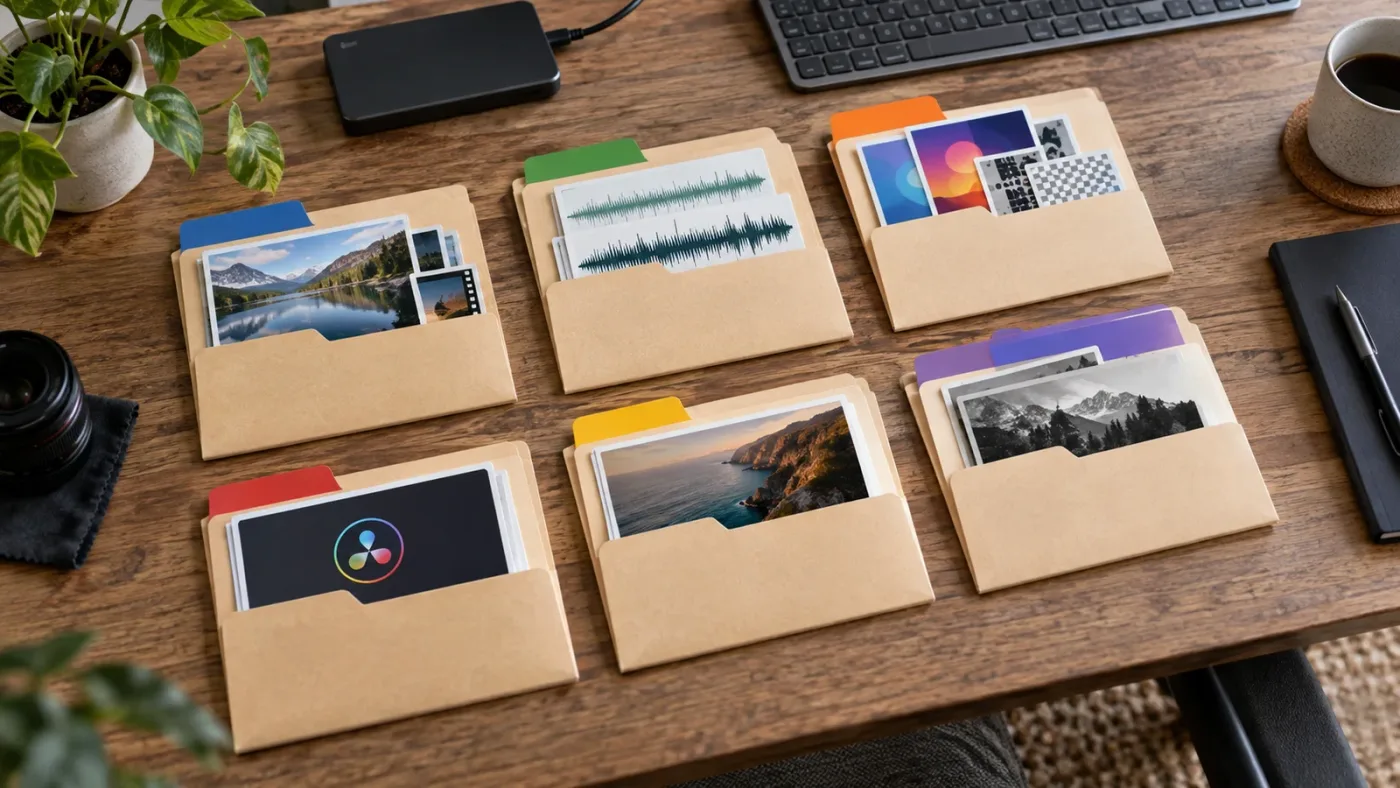
How do I create the project without getting lost in Resolve's pages?
Create the project with one purpose, one timeline, and a small set of bins. Learn the page you need for the current decision, then return to the Edit page and continue the story.
Start on the Media page. Create bins named 01_selects, 02_interview, 03_b-roll, 04_audio, 05_music, and 06_graphics. These names are not magic. They are a visual map that makes the project legible when you return to it tomorrow.
Import media into the bins that describe its role. If your footage arrives as one large folder, do not spend an hour perfecting metadata. Put it somewhere sensible, mark useful clips, and keep moving. Organization should remove friction, not become a second hobby.
Create a timeline with a clear name such as MAIN_16x9_v01. If you know the delivery frame rate from the source recording and intended destination, set it deliberately. If you do not know it, stop and inspect the footage rather than changing settings at random. Frame rate problems are easier to avoid than to repair after a long edit.
The default page sequence for this project is:
| Decision | Page or workspace | Output from the decision |
|---|---|---|
| What media exists? | Media | Bins, labels, marked selects |
| What story is here? | Cut or Edit | Rough assembly |
| What does the viewer read? | Edit and Text tools | Titles and supporting graphics |
| What does the viewer hear? | Fairlight | Dialogue, music, room tone, mix |
| What does the viewer see? | Color | Balanced and matched shots |
| What is special or animated? | Fusion, only if needed | One controlled effect or title |
| What file do I send? | Deliver | Primary and alternate exports |
Use the Cut page if you want a fast overview and the Edit page if you need detailed track and trim control. Blackmagic describes the Cut page as a focused workspace for fast work and the Edit page as a traditional track-based workflow with trimming, titles, transitions, and media management. The exact page choice matters less than finishing the first assembly.
Do not grade the first clip as soon as it lands on the timeline. Do not animate the title before you know where the title belongs. Do not pick music before you know whether the dialogue has a pulse. Those are all valid tasks. They are simply later tasks.
Create a NOTES marker or a text document with three columns:
| Time or clip | Problem | Next action |
|---|---|---|
| 00:04 | Opening sentence repeats itself | Remove second phrase |
| 00:19 | Cutaway does not cover the edit | Find a closer shot |
| 00:42 | Music competes with the voice | Lower or replace music |
This turns vague discomfort into a list you can solve. It also stops you from polishing a weak section because the problem has a name.
How do I build the first assembly instead of watching another tutorial?
Build a complete rough assembly before you polish anything. A rough assembly answers whether the story works, while a polished fragment only proves that one moment can look nice.
Watch or skim every source once. Write short notes, not a transcript of your own thoughts. Mark the strongest line, the clearest demonstration, the useful reaction, and the ending that gives the viewer somewhere to go.
Then make a blunt first cut:
- Put the strongest usable line or image near the beginning.
- Remove pauses that do not create meaning.
- Keep the explanation in a logical order.
- Add only enough B-roll to hide a necessary cut or clarify the idea.
- Let the rough cut run to the end, even if the ending is weak.
The first pass should feel plain. That is good. A plain rough cut gives you something to judge.
Learn a small playback vocabulary while you build. The official Editor's Guide documents Spacebar for starting and stopping playback, Left and Right Arrow for moving one frame, and J, K, and L for reverse, stop, and forward playback. Holding K and tapping J or L moves frame by frame in the corresponding direction. These commands let you inspect an edit without moving your hand to the viewer controls.
Do not memorize every shortcut. Use J, K, L, Spacebar, the arrow keys, and the command for adding a marker in your own keyboard layout. The goal is to make the next review pass faster, not to win a shortcut quiz.
How should you judge the rough cut?
Watch the rough cut with the viewer small enough that the story has to carry the test. Ask whether the first 10 seconds answer what the piece is about. Ask whether every cut changes information, energy, angle, or emphasis. Ask whether the last image earns its place.
At this stage, use three labels:
- Keep. The shot is doing necessary work.
- Replace. The idea is right but the shot is weak.
- Remove. The shot is decoration, repetition, or a delay.
Do not use the label “maybe” more than once. Maybe is often a way of postponing a decision that the story already answered.
If the rough cut is too long, do not speed everything up. Remove the least useful idea. A faster version of a crowded explanation is still crowded.
If the rough cut is too short, do not add random B-roll. Add the missing evidence. A viewer may need to see the object, the screen, the reaction, or the consequence of the idea.
This is the first place where project-based learning beats passive study. You now have a real reason to search for a tutorial about ripple trimming, J-cuts, cutaways, or markers. Search for the tool that solves the decision in front of you, then return to the project.
A rough cut is useful only when it runs from the first idea to the final frame.
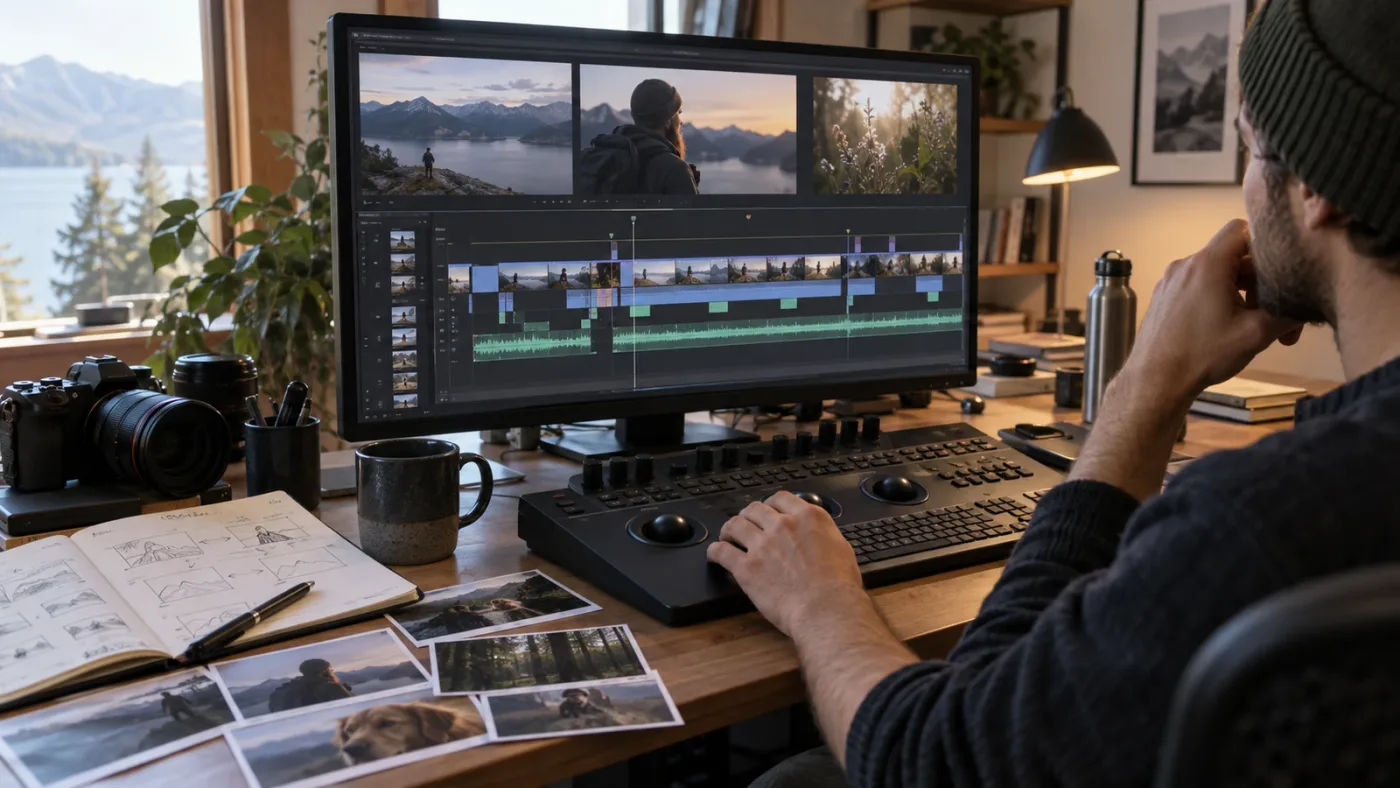
Why is my timeline not matching my footage?
If the timeline feels wrong, stop editing and identify whether the problem is frame rate, resolution, aspect ratio, clip interpretation, or simply a story decision. Do not solve a creative problem by changing project settings.
The first diagnostic is simple. Pick one representative source clip and inspect its properties. Write down its frame size, frame rate, audio sample rate if relevant, and whether it is recorded vertically. Then compare those values with the timeline settings and the delivery brief.
Common symptoms point to different questions:
| Symptom | First question | Safer response |
|---|---|---|
| Motion looks uneven | Are the source and timeline frame rates being interpreted as intended? | Confirm the source and project choices before changing clips |
| Vertical footage has unwanted empty space | Is the main timeline horizontal by design? | Reframe deliberately, then make the vertical version later |
| Image is cropped unexpectedly | Is the scaling mode doing what you expect? | Test one clip and note the result before changing the whole timeline |
| Audio drifts | Are the source clips and timeline using compatible timing? | Isolate the offending clip and verify its original properties |
| Media shows offline | Can Resolve reach the original path? | Relink the correct folder or restore the drive |
Resolve 21 supports vertical workflows, and Blackmagic's product pages describe vertical timeline editing and updated vertical layouts. That does not mean every horizontal clip should be forced into a vertical timeline. Choose the main format from the audience and keep an alternate timeline for the second format.
Why is DaVinci Resolve showing "Media Offline" in my real project?
The “Media Offline” message usually means the project still knows about a clip but cannot find the media file at the stored path. The fix is to restore the drive or relink the folder that contains the original files, then verify several clips before continuing.
Use this order:
- Check whether the external drive or folder is connected.
- Confirm that the file still exists and has not been renamed.
- In the Media Pool, select the offline media and use the relink command.
- Point Resolve at the top-level folder that contains the original media.
- Confirm that the remaining clips return before you edit.
- Save the project and create a project backup before making more changes.
Do not download a replacement copy with a similar filename and assume it is equivalent. Timecode, frame rate, audio channels, and metadata can differ. Your goal is to reconnect the media you used, not merely to make the red frame disappear.
This is also why the project folder has a 07_archive directory. A project file without its media is not a complete archive. The Editor's Guide's explanation of .drp files makes that boundary clear.
If Resolve still cannot reconnect the media, create a small test project and import one problem clip. If the test project also fails, the issue is probably the file, codec, permissions, or storage path. If the test project works, compare the original project's path and bin state. Keep the experiment separate from the main edit.
If your own project is stuck on Media Offline, Uncle can point at the relink control while you work through the fix.
How do I shape the story after the first rough cut?
Shape the story by solving information and rhythm problems in separate passes. First make the order understandable, then make the timing feel good, then hide the seams with supporting visuals and sound.
Pass one is structure. Can the viewer follow the idea without the music? If not, move, cut, or rewrite the structure before touching transitions.
Pass two is rhythm. Remove the dead space that does not help the viewer think. Keep pauses that create emphasis or allow an idea to land. A pause is not automatically a mistake.
Pass three is coverage. Use B-roll to show what the voice describes, conceal a needed cut, or change the viewer's attention. If the B-roll does none of those, it is probably a distraction.
Pass four is continuity. Check screen direction, hand position, object placement, and the apparent time of day. You do not need to obey every continuity rule for a short web video, but you should know which rule you are breaking and why.
Use markers for decisions rather than for decoration. A red marker can mean “story problem,” a blue marker can mean “technical check,” and a green marker can mean “approved.” Resolve supports marker colors and names, but the useful part is the meaning you assign to them. Your system only works if you write the meaning down.
Make a duplicate timeline before major changes:
MAIN_16x9_v01_rough
MAIN_16x9_v02_story
MAIN_16x9_v03_sound
MAIN_16x9_v04_color
Do not create a new version for every tiny trim. Create one when you are about to make a decision you may need to compare later. Version names are a record of thinking, not a substitute for thinking.
If your first project contains an interview, use the interview as the spine. Put the strongest answer first, remove repetition, and use B-roll where it clarifies the answer. If your project is a tutorial, put the result or problem close to the beginning, then make each step earn its time. If it is a travel story, choose a feeling or question that gives the shots an order.
There is no universal ideal cut length. The right length is the shortest version that keeps the necessary idea, evidence, and ending. When you cannot decide, make two versions and watch both after a break. Distance is better than another hour of nudging the same edit point.
How do I add text and motion without turning the project into a demo reel?
Add one title system and one motion idea that serve comprehension. A beginner project needs readable communication more than a shelf full of effects.
Use a title to answer one of these questions:
- Who or what is the viewer looking at?
- What idea should the viewer remember?
- Where are we in the structure?
- What action should the viewer take next?
If the title does not answer one of those questions, remove it or make it smaller.
Create a title at the point where the viewer needs it, not at the first frame because empty space feels uncomfortable. Keep the words short enough to read while the action continues. Preview it at the size and aspect ratio where it will be watched, not only at the full Resolve viewer size.
For the first project, use a simple lower third or text title on the Edit page. You can add a subtle keyframed entrance or a clean fade. That is enough to learn timing, safe placement, hierarchy, and the relationship between text and picture.
The official DaVinci Resolve 21 product page describes the Edit page as having hundreds of titles, transitions, and effects. That abundance is useful when you know the job. It is dangerous when you are choosing effects because the library is there.
Use this motion rule:
If the viewer notices the effect before understanding the sentence, the effect is too strong.
You can learn Fusion later in this same project, but give Fusion a small task. A short logo reveal, an animated arrow, or a masked highlight can teach nodes without turning the project into a second film. Do not build a complicated 3D title because you feel guilty about ignoring the Fusion page.
What should you learn from a title mistake?
When a title is too small, write down the viewing context. When it is too slow, write down the duration and the moment it needed to arrive. When it is hard to read, write down the background, contrast, and placement. These notes are more valuable than copying a title preset you cannot explain.
Return to the title once it exists and decide whether it helps the story.
The same approach applies to transitions. Use a cut when the idea changes cleanly. Use a dissolve when time or place changes and the dissolve helps the viewer feel that change. Use a more visible transition only when the story has a reason for it. A transition is not a reward for finding the transition browser.
How do I make the project sound finished in Fairlight?
Make the dialogue understandable first, then balance music and effects around it. A video with modest visuals and clear speech usually feels more finished than a beautiful video with distracting audio.
Start on the Edit page so you can see the story, then move to Fairlight for a dedicated listening pass. Use headphones at a sensible level, then check the project on the speakers you normally use for videos. You are not trying to certify a broadcast mix. You are trying to hear problems that a single setup can hide.
The audio pass has four jobs:
- Remove or reduce obvious unwanted noise without making the voice sound damaged.
- Balance dialogue clips so the speaker does not jump in level between cuts.
- Lower music and ambience under speech.
- Let the ending resolve without an accidental click, abrupt cutoff, or empty gap that feels like a mistake.
Do not start by adding every Fairlight FX plugin. First adjust clip and track relationships. If the dialogue is inconsistent, find out whether the problem is recording distance, performance, clip gain, or room noise. Different problems need different tools.
Resolve 21's product page describes Fairlight as a full audio post-production workspace with real-time effects, EQ, dynamics, sample-accurate editing, and support for large track counts. You will not use most of that in a 90 second beginner project. That is fine. The purpose of the project is to learn how to make a clear decision, not to fill every track.
For dialogue, listen to the first cut without music. Can you understand the words? Do the breaths feel natural? Does a cut create a click or a sudden room change? Fix those issues before adding the music bed.
Clear dialogue is the first audio effect every beginner should learn to hear.
For music, choose a track that supports the tone and has enough room for the voice. Do not make the music loud because the opening feels empty. Improve the opening with a stronger first line, a room sound, or a deliberate pause.
For sound effects, add only sounds that clarify action or create a useful emphasis. A screen recording may benefit from a restrained click or a short transition sound. A travel story may benefit from the original street or room tone. A sound effect that calls attention to itself becomes another editing problem.
How do you know when the mix is good enough?
Use a review checklist instead of a number you cannot interpret:
- Can you understand every important word without leaning toward the speakers?
- Does music drop enough when the main idea begins?
- Do adjacent dialogue clips feel like the same person in the same moment?
- Does the first and last second sound intentional?
- Does the mix still work when you listen quietly?
If the answer is no, mark the timecode and solve that moment. If the answer is yes, leave the mix alone for the next pass. Beginners often keep changing a pass that already works because the software offers more controls.
If a tutorial tells you to copy a fixed loudness value into every project, treat that as a starting point rather than a universal truth. Delivery context, source recording, platform processing, and editorial intent matter. The reliable skill is listening, checking, and knowing what you changed.
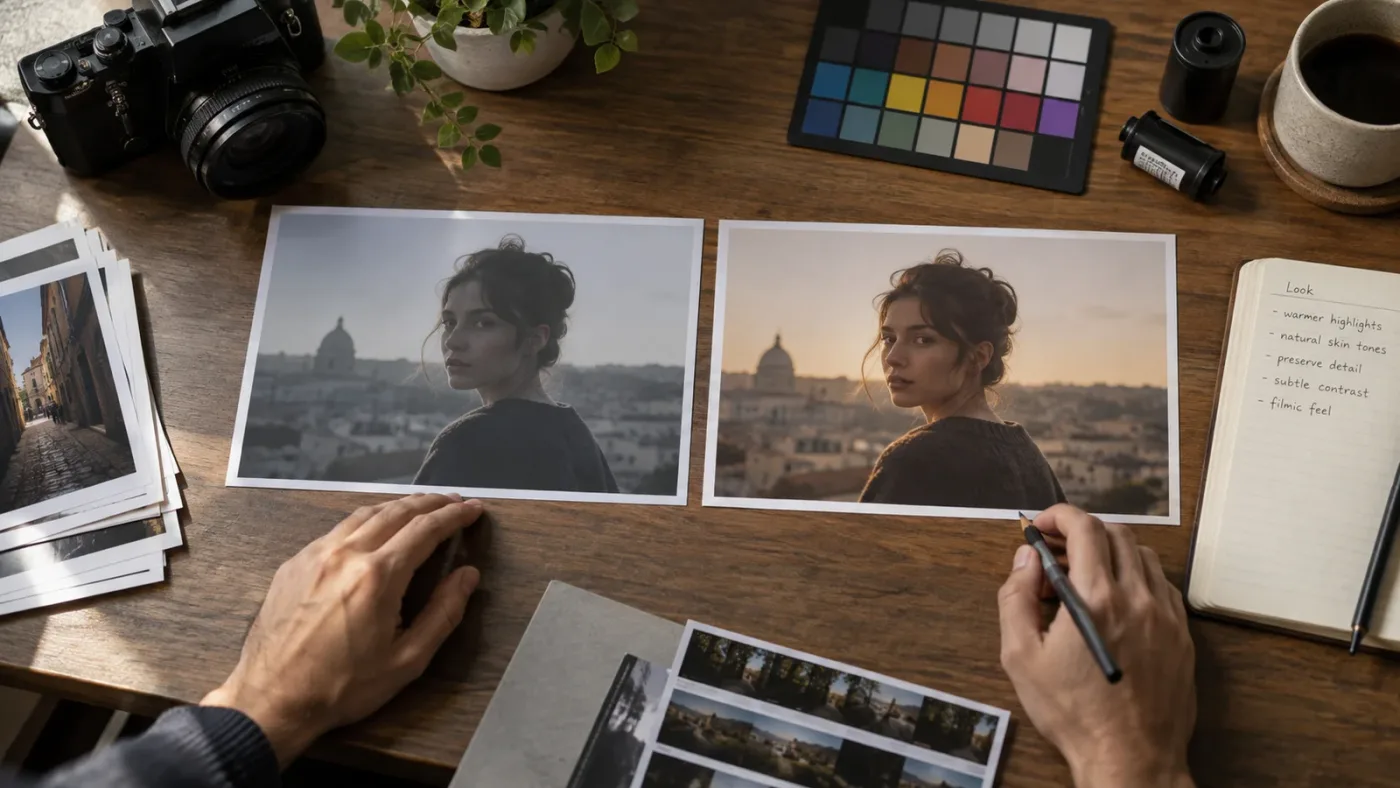
How do I correct and grade the project without chasing a cinematic look?
Correct color for consistency before grading for style. The first color pass should make the shots belong together; the second can give the sequence a restrained mood.
Open the Color page only after the edit and audio are stable enough to review. If the story is still changing, a large grading pass creates rework. You can use temporary corrections to see the sequence, but keep the final pass focused.
Use this order for each important shot:
- Check exposure and contrast.
- Correct the overall color cast.
- Compare the shot with the shots beside it.
- Match skin tones or the main subject if the project contains a person.
- Apply a small creative adjustment that supports the scene.
- Review the adjustment in motion, not only on a still frame.
DaVinci Resolve's Color page uses nodes, primary controls, curves, qualifiers, Power Windows, and tracking. Blackmagic Design documents these as core parts of the color workflow. For your first project, create a simple node structure you can explain, such as a correction node followed by a look node. You do not need a complicated tree to prove you are learning.
What should you do if shots do not match?
Choose one reference shot and compare neighboring shots against it. Match the subject and the emotional purpose, not just the brightness of a single pixel. A shot can be technically similar and still feel wrong because the time of day, background color, or lens perspective changes.
Use the scopes as a second opinion, not as a replacement for looking. If the image looks wrong, first ask whether the media is being interpreted in the correct color space or whether the source has a different exposure. A slider can hide a diagnosis for a moment and make it harder later.
If you are working with log footage, learn the specific transform or color management path for that source. Do not copy a transform from a different camera just because the result looks dramatic. The Blackmagic Design training page and its Colorist Guide are better starting points than a random preset because they connect tools to a workflow.
The first grade should be subtle enough that you can still describe what changed. If you cannot name the change, undo it and look again.
A good first grade makes the story easier to watch before it makes the project look expensive.
Do a final color review after you create the alternate aspect ratio. A crop can change the visual balance, remove a face from a window, or make a Power Window look misplaced. Color is not finished until the delivery shape is finished.
How do I use Fusion without losing the plot?
Use Fusion to solve one visible problem, then return to the main edit. Fusion is a deep node-based workspace, so the best beginner lesson is a small effect with a clear start and finish.
Good first Fusion tasks include an animated line that points to a product feature, a masked highlight over part of a screen, a simple logo treatment, or a title with one controlled movement. Each task gives you a reason to connect nodes, adjust a parameter, preview the result, and make a change.
Before opening Fusion, write the effect brief in one sentence:
The viewer should notice [specific object or idea] for [specific reason] at [specific moment].
If the brief needs a paragraph, the effect is probably too large for this project.
The official Resolve 21 New Features Guide identifies Fusion updates such as the Krokodove toolset with over 70 new graphics. That is useful evidence of the page's range, not a requirement that you try all of them. Start with the basic node relationship that your effect needs, then save the result as a version you can compare.
Do not make Fusion the place where you hide a weak edit. If a title arrives too late, fix the title timing. If the subject is unclear, fix the cut. If the frame needs energy, add a shot that changes the information. Effects cannot supply missing story logic for long.
How do you decide whether a Fusion effect belongs?
Mute the effect. If the viewer loses necessary information, the effect may be doing a communication job. If the viewer only loses decoration, the effect is optional. Optional effects should be the first things you remove when the project feels crowded.
Make the effect work at the primary delivery size. If it becomes illegible or too strong in the vertical version, adjust it for that version rather than scaling blindly. Save the timeline before you change the Fusion composition so you can return to a working state.
The lesson is not “Fusion is easy.” Fusion is powerful and has its own vocabulary. The lesson is that you can enter a large page with a bounded problem, learn the controls you need, and leave with a result. That is the same learning pattern you are using across Resolve.
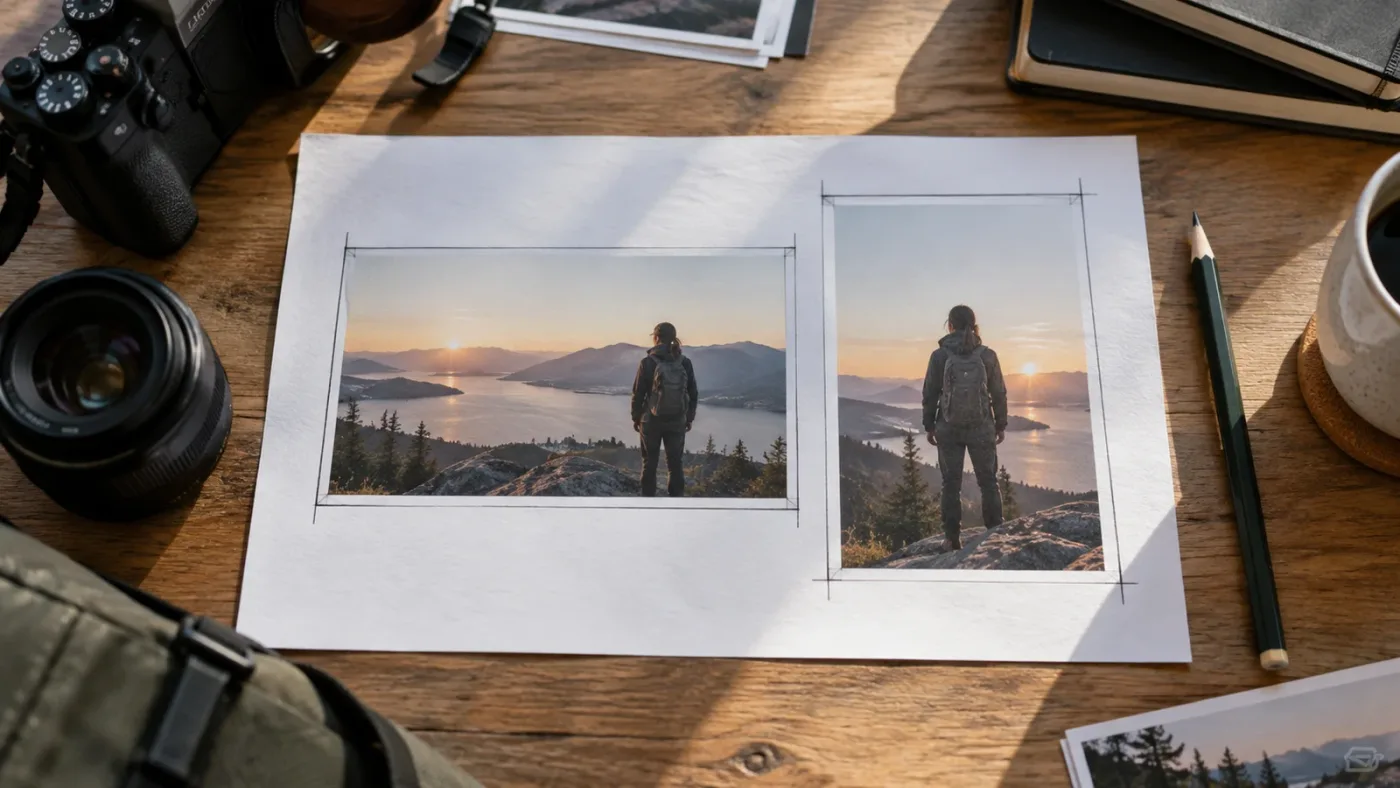
How do I make a vertical version without starting over?
Duplicate the finished horizontal timeline, create a vertical timeline from that copy, and reframe each important shot deliberately. Do not convert the unfinished rough cut and hope the crop will make the story work.
Name the duplicate ALT_9x16_v01. Review the first and last 10 seconds before you touch every clip. The opening idea and final action should survive the shape change. If they do not, rewrite the alternate version rather than forcing the horizontal structure into a narrow frame.
For each shot, ask:
- Is the subject still visible?
- Is the important text inside a safe readable area?
- Does the cut still make sense when less background is visible?
- Does the next shot continue the same idea?
- Does the viewer need a different crop, a punch-in, or a new B-roll choice?
Vertical editing is not just horizontal editing with the sides removed. It changes what the frame can show at once, so it can change the information hierarchy.
If the original project is a tutorial, use the vertical version to simplify the screen capture. Show the one control or result that matters, not an entire desktop. If it is a product demonstration, keep the object large enough to read. If it is an interview, protect the eyes and mouth before the background.
Blackmagic's product materials identify vertical timeline editing and vertical layouts as part of the current Resolve workflow. That does not remove the editorial work. It gives you tools for the format after you make the decision about what the format must communicate.
Should you make a square version too?
Only if the project has a real destination for it. Every extra format adds another review of framing, text, audio, captions, and delivery. A second format teaches useful adaptation. A third format can turn a small learning project into a file-management exercise.
Keep the alternate version honest. If a shot cannot survive vertical framing, say so in the notes and choose another shot. Learning to replace a shot is more valuable than learning to drag a crop until the composition gives up.
This is also where timeline duplication teaches a professional habit. You can explore the alternate delivery without destroying the main version. If the alternate edit becomes better, carry the lesson back into the main project with a deliberate change.
How do I export and inspect the finished project?
Export the primary and alternate versions, then watch the exported files outside Resolve before calling the project finished. The render page is not the finish line. The watched file is.
Use the Deliver page to choose the output that matches the destination. Do not choose a preset only because its name sounds professional. Confirm the frame size, frame rate, audio settings, file name, and destination folder. Save the render preset if you expect to repeat the format.
Create two explicit output names:
one-real-project_MAIN_16x9_v04.mp4
one-real-project_ALT_9x16_v02.mp4
Render the main version first. Watch it from the first frame to the last without stopping, then check it with the notes list beside you. Look for problems that are easy to miss in the Resolve viewer:
- a title clipped by the frame edge;
- a missing media frame;
- a cut that creates a flash or black frame;
- a music edit that clicks;
- dialogue that disappears under a cutaway;
- a graphic that is readable in the viewer but too small in the exported frame;
- an ending that cuts off before the viewer can understand it;
- an export that uses the wrong aspect ratio or frame rate.
Do not reopen the timeline after every issue. Write the issues down, fix them in one pass, render again, and compare the result.
The current download page describes Resolve 21's editing, color, audio, and visual-effects capabilities, but a software feature list cannot tell you whether your exported story is clear. The review is still yours.
How do you archive one real project?
Archive the project when the exported files, project file, source media, and notes are together in a location you can identify later. Use the archive workflow in Resolve rather than assuming that copying one .drp file copies the footage. The Editor's Guide explicitly explains that project files do not contain the media they reference.
Before you archive, remove unused test exports, write down the Resolve version, and keep the last approved timeline name in your notes. Record any external audio, fonts, graphics, or plug-ins.
You do not have to keep every render. Keep the approved main and alternate files, final project state, required source media, and notes.
How do I learn DaVinci Resolve fast without memorizing every page?
Learn DaVinci Resolve fast by shrinking the number of simultaneous problems, not by trying to move faster inside every page. One real project should have a short brief, a fixed delivery target, and a limit on new techniques.
Use a three-loop learning system:
Loop one: imitate one complete workflow
Follow a structured project-based lesson far enough to understand the order of operations. Blackmagic Design's official training is a strong starting point because the Beginner's Guide, Editor's Guide, Colorist Guide, Fairlight guide, and Fusion guide connect exercises to the application. The official training page also provides lesson files for the guides.
If you want a second voice, Casey Faris's current Making Videos in Resolve 21 course is a useful example of a broad beginner route that follows a current version. You do not need to follow every creator. You need one source whose sequence you can finish.
Loop two: rebuild without the lesson
Close the tutorial. Rebuild one part of the project from your own notes. If you cannot remember where a tool lives, search the menu, read the tooltip, or look at the manual. The moment of forgetting is not failure. It shows you which action needs another repetition.
Loop three: solve a new but nearby problem
Change one constraint. Use a different opening shot. Add a second speaker. Replace the music. Reframe the edit for vertical. Make the title longer, then shorten it. A nearby problem forces you to understand the rule instead of copying the exact click path.
This is why a single real project can be a curriculum. You can finish the first version, rebuild a section, and then change one constraint without needing a new app, new footage, or new course.
The best way to learn DaVinci Resolve fast is to alternate guided imitation, independent rebuilding, and one controlled change.
Give each session one visible output. “Learn color” is too large. “Match the interview cutaways and export a 30 second test” is specific. “Learn Fusion” is too large. “Make one arrow follow one screen button” is specific.
Use a stop rule. When the output is clear enough to judge, stop studying and judge it. More information is not always more learning. Sometimes it is a way to avoid the uncomfortable sentence, “The story still does not work.”
What is the best way to learn DaVinci Resolve in 2026?
The best way to learn DaVinci Resolve in 2026 is a hybrid path: use Blackmagic Design's official project files and manuals for foundations, focused creator lessons for explanations, and a finished personal project for transfer.
Here is the honest decision matrix:
| Route | Best for | What it gives you | Where it falls short | Choose it if |
|---|---|---|---|---|
| Blackmagic Design official training | A structured, free foundation | Project files, guides, page-by-page practice, tests | Some material centers on Resolve 20 while the current product is Resolve 21 | You want authoritative fundamentals and can translate small version changes |
| Casey Faris and focused YouTube lessons | Explanations and quick technique help | A human walkthrough, current examples, searchable answers | Videos can become a scattered library if you never build your own project | You need a plain-language explanation of one block |
| A paid course or specialization | Sequence and accountability | A planned curriculum and sometimes applied projects | Version, feedback, price, and depth vary | You need someone else to define the order and keep you moving |
| A project with no curriculum | Creative pressure and transfer | Real decisions, a portfolio artifact, personal relevance | You can repeat bad habits or choose a project that is too large | You already know the basics and need judgment practice |
| An on-screen assistant | Stuck points inside your own project | Help locating a control while the project is open | It cannot replace story judgment or deliberate repetition | The tutorial does not match your screen or version |
Blackmagic Design's official training page is the sensible first stop because it is maintained by the software maker and includes practical guides. The guide titles tell you what the team considers a complete set of disciplines: editing, color, Fairlight audio, visual effects, and advanced effects.
The older material is still useful, but pin the version. The Editor's Guide PDF tells you to download lesson files, begin with a project file, and walk through a rough cut. Coursera's current specialization is another structured route, with three courses and three applied projects, but its page names Resolve 19, so check version-specific steps before copying them into Resolve 21.
For a closer comparison of resource types, read The Best Way to Learn DaVinci Resolve. This project guide owns a narrower question: how to turn one completed video into the learning path itself.
What about project files?
Project files are useful when they let you inspect a finished decision, not when they let you skip making your own. Use a supplied project to compare timeline structure, bins, node choices, or delivery settings. Then make the same decision in your own footage.
The real learning happens in the mismatch. Your interview has different pauses, your phone clip has different exposure, and your screen recording needs another crop. Those differences create judgment.
The catalog's DaVinci Resolve course with project files page can help if you are comparing courses. In this article, the rule is simpler: use project files as a reference layer, not as a substitute for your own timeline.
Is there an AI tool to learn DaVinci Resolve while I edit?
An AI tool can help you learn DaVinci Resolve while you edit when it explains the next control in the context of your own project. It becomes a different category when it automates the edit, builds a timeline, or moves media without teaching you why.
The market now has several distinct tool types, so do not compare them as though they all solve “learning Resolve.”
| Tool or route | What the current product page says it does | Good fit | Not the same as |
|---|---|---|---|
| TryUncle and Uncle | An on-screen assistant for Resolve on Mac and Windows that points at the exact control while you ask in plain words | You are stuck in a panel, tutorial, or version mismatch and want to keep working in your project | A replacement for your editorial judgment |
| Sottocut | A local-first assistant editor inside an open Resolve project that scores footage, proposes cuts, and verifies changes | You want assistant-editor automation and are on its supported Mac and Studio setup | A screen-pointing teacher for a beginner |
| Eddie AI | A bridge that can pull clips, multicams, and timelines from Resolve, create edits, and send cuts back for polishing | You want rough-cut and logging help across an editor workflow | A live explanation of each Resolve control |
| CutAgent | An SDK and desktop workflow for connecting an AI agent to Resolve and handing off editing tasks | You want natural-language timeline operations, reusable skills, or agentic automation | A curriculum built around you performing each step |
| PremiereCopilot | A text-to-edit product native to Premiere Pro that makes real timeline edits | You edit in Premiere Pro and want prompt-driven operations there | A DaVinci Resolve learning tool |
| General chat | Text explanations, checklists, and troubleshooting ideas | You need to understand a concept before touching the app | A tool that sees your exact screen or timeline |
The comparison is not a moral ranking. Automation helps when you can inspect the result and explain what changed.
The official pages support those distinctions. Sottocut's product page describes proposal-gated writes and read-back verification inside an open Resolve project and lists Apple Silicon, macOS 14 or later, and Resolve Studio 21 requirements. Eddie AI's workflow describes importing clips and timelines, creating proxies for analysis, and exporting edits back. CutAgent's page describes connecting an AI agent to Resolve for editing, color, multicam, Fairlight, and Fusion tasks.
PremiereCopilot is worth naming because people search for an AI tool when they really want an AI editor. Its official page says it is native to Premiere Pro and performs timeline edits from a prompt. It does not answer a Resolve control question.
The practical test is simple. Ask whether you want to understand and perform the next action, or whether you want an agent to perform a repeated operation and review the result. Choose the category that matches the job.
For a beginner-focused comparison, see Best AI Assistant for DaVinci Resolve Beginners. For this method, name the stuck point before asking for help. “Make my video better” is not useful. “I need to move this title below the footage on the Edit page in Resolve 21” is.
What should you ask an on-screen assistant?
Ask a question with four parts:
- What you are trying to make.
- What you can see now.
- What you expected.
- What version and page you are using.
For example:
I am making the vertical version of my 60 second tutorial in DaVinci Resolve 21. I am on the Edit page. My title is cut off at the top after I changed the timeline shape. Which control should I use to reposition it, and what should I check before I export?
That question describes an outcome, context, symptom, and version. A good answer points to the control, explains why it matters, and leaves you able to repeat the action.
Never paste confidential client material or private footage into a service unless you understand its data handling. CutAgent says hosted features may receive prompts, context, transcripts, audio, metadata, command outputs, and verification results when needed. Check the product's current terms and your client's agreement.
How do I handle the moments when one project feels too hard?
When one project feels too hard, reduce its scope before abandoning the method. Cut the number of speakers, shorten the delivery, remove the fancy effect, or choose one format for the first approved export.
Use a difficulty ladder:
| If you are stuck on | Reduce this | Keep this |
|---|---|---|
| The story is confusing | Number of ideas | One clear promise |
| The timeline is slow | Number of clips | One complete rough cut |
| The audio is messy | Number of sources | Dialogue intelligibility |
| The grade is inconsistent | Number of looks | Shot-to-shot continuity |
| Fusion is overwhelming | Number of nodes or animations | One visible purpose |
| Delivery is stressful | Number of formats | One watched export |
Do not reduce the project by deleting the finish. A 20 second complete version can teach more than a 10 minute assembly with no sound, no color, and no export. Finish the smaller version, then expand it if the story deserves more time.
One real project also needs a reset point. Keep the last version that works. Duplicate the timeline before an experiment. Export a small test before a long render. Write down the setting you changed. These habits protect your attention while you learn.
What if I do not have footage?
Record a short object demonstration with a phone, create a screen recording of a process you understand, or use the lesson files from official training. Blackmagic's training page explicitly provides lesson files for its guides. The important constraint is that you must still make an editorial decision, not merely import a finished timeline.
What if my computer struggles?
Lower the project's technical burden before you lower your learning ambition. Use shorter clips, create optimized media or proxies where appropriate, close unrelated applications, and work on one section at a time. Blackmagic's current product page describes proxy editing as part of the Edit workflow, but the exact settings depend on your media and system.
Do not judge your creative ability by a timeline that cannot play smoothly. Separate playback performance from editorial quality and test one clip if the computer is the blocker.
How should you schedule the one-project curriculum?
Schedule the project as visible deliverables, not as a promise to “learn Resolve” for a certain number of hours. The calendar can stretch without changing the order.
| Session | Focus | Deliverable |
|---|---|---|
| 1 | Brief and media | Organized bins, timeline, delivery target |
| 2 | Rough assembly | Complete beginning-to-end cut |
| 3 | Structure and rhythm | Clear opening, ending, B-roll, notes |
| 4 | Title and motion | Readable title with restrained movement |
| 5 | Sound | Understandable dialogue and balanced music |
| 6 | Color | Consistent shots with a restrained look |
| 7 | Alternate format | A deliberate vertical version |
| 8 | Delivery and archive | Watched exports and recoverable project |
You can combine sessions or split them, but do not skip review. Review is where you discover whether the earlier decisions worked.
At the end, write a short postmortem:
- What did you decide before opening Resolve?
- Which decision changed after you saw the edit?
- Which tool took the longest to find?
- Which problem was story, not software?
- Which part would you repeat with different footage?
- What is the smallest next project that adds one new constraint?
That last question keeps learning alive without turning it into an endless hunt for advanced tricks.
How do you know when you have actually learned something?
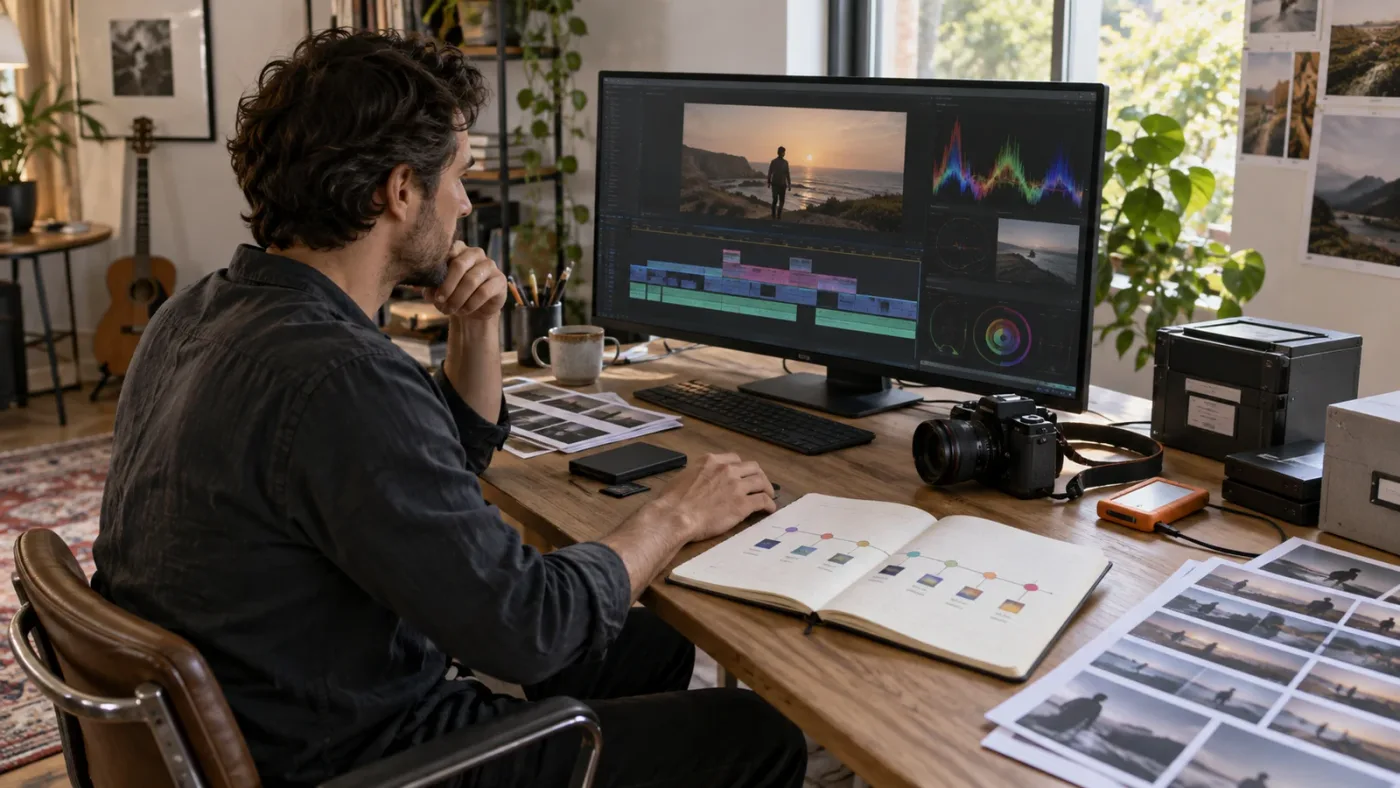
You have learned a Resolve skill when you can make a related decision in new footage, explain the reason for the tool, and recover when the result is wrong. Completion is evidence. Transfer is the test.
Use this assessment after the project:
| Skill | Evidence in the project | Transfer test |
|---|---|---|
| Media organization | You can find the clip, source, and version you need | Rebuild the bins for a new set of footage |
| Editing | The project has a clear beginning, middle, and end | Make a shorter cut without losing the main idea |
| Trimming | Cuts change meaning or rhythm on purpose | Improve one awkward cut without copying the tutorial |
| Titles | Text is readable and placed for the delivery frame | Make a second title with the same hierarchy |
| Audio | Dialogue is understandable and music supports it | Mix a new short section without changing the whole project |
| Color | Adjacent shots belong together | Match one new shot to the reference |
| Fusion | One effect has a visible job | Change one parameter and explain the result |
| Delivery | The exported files are watched and named clearly | Create another aspect ratio without damaging the main timeline |
| Archive | Project, media, and notes can be found together | Open the archive on another day and understand it |
Do not give yourself a score just because the export completed. The export proves that the software rendered a file. It does not prove that the file communicates.
Ask someone to watch the main version once without context. If they misunderstand the story, mark the first moment where they could have lost the thread. If they understand it but mention a distracting sound, title, or crop, fix that specific problem and stop when the project communicates.
What should you do after the first real project?
Make the second project smaller in story but harder in one technical constraint. Do not make it larger in every direction.
Good second-project constraints include two speakers, a scene that must work in horizontal and vertical formats, a short interview with B-roll, a music-led piece, a screen tutorial with one animated callout, or footage from two cameras that must match.
Choose one constraint. If you add two, make one of them familiar. If you add three, you are planning a course, not a project.
Return to the first project after a week and watch it without opening Resolve. Write down three choices you would make differently, then find each choice in the archive. Keep troubleshooting notes with the symptom, confirmed cause, fix, and version.
This is the right time to decide whether you need more structure. If you abandon projects, consider a course or community. If you finish projects but cannot find controls, consider an on-screen helper. If you already know the tools and spend hours on repetitive selects, consider an editing agent.
Do not buy a tool to avoid making the next decision. Buy a tool when you know which repeated problem it should solve.
What is the final verdict on learning DaVinci Resolve through one project?
The final verdict is simple: make one short, complete video before you try to master DaVinci Resolve. Use official training as the map, focused lessons as spot help, and your own project as the test.
Start with the free edition of Resolve 21 unless your brief requires Studio. Choose a story you can finish. Organize the media. Make the rough cut. Fix the story before the polish. Make the audio clear. Balance and match the color. Add one useful title. Create one alternate format. Watch the exports. Archive the project.
That sequence is the curriculum.
Blackmagic Design's current training remains worth using because it gives you project files and a broad view of the software. Casey Faris and other focused educators can make a difficult page easier to understand. A paid course can add structure and accountability. Sottocut, Eddie AI, CutAgent, and PremiereCopilot are relevant alternatives when you want automation in a supported editing workflow, but automation and learning are not identical goals.
If you get stuck in your own open project and the tutorial does not match your screen, check TryUncle for the current rate. Uncle is useful at the moment where you know what you want to do but cannot find the next control. You still make the editorial decision. You still watch the export.
The project is finished when the viewer can understand it, the file can be opened, and you can explain the choices. Then make the next one with one new constraint.
Frequently asked questions
- What is the best way to learn DaVinci Resolve by making one real project?
- Make one short video all the way through, pause only to learn the tool required for the next decision, and keep a second pass for cleanup and delivery. This builds project judgment instead of isolated menu memory.
- How do I learn DaVinci Resolve fast without watching every tutorial?
- Limit the first project to a 60 to 90 second finished video, learn only the Media, Edit, Fairlight, Color, Fusion, and Deliver tasks it needs, and search for one precise stuck point at a time.
- Is there an AI tool to learn DaVinci Resolve while I edit?
- Yes, an on-screen assistant can point you to a control in your own project, but it should explain the decision and let you perform the action. Editing agents that change timelines solve a different problem.
- Should I use Blackmagic Design training, YouTube, or a paid DaVinci Resolve course?
- Start with Blackmagic Design's free project-based training, use a focused YouTube lesson when a specific technique blocks the project, and pay for a course only when you need a sequenced curriculum, feedback, or accountability.
- Why is my DaVinci Resolve project showing Media Offline?
- The project can see the clip reference but not the media at its expected path. Relink the folder or restore the drive, then save and archive the project before continuing.
Sources
- DaVinci Resolve 21 product page
- DaVinci Resolve 21 download page
- Blackmagic Design official DaVinci Resolve training
- Blackmagic Design DaVinci Resolve 21 New Features Guide
- Blackmagic Design DaVinci Resolve 20 New Features Guide
- Blackmagic Design DaVinci Resolve 20 Editor's Guide
- Grant Petty foreword in The Colorist Guide to DaVinci Resolve 20
- Blackmagic Design DaVinci Resolve 21 online seminars
- Casey Faris, Making Videos in Resolve 21
- Coursera DaVinci Resolve Specialization
- PremiereCopilot Copilot for Premiere Pro
- Sottocut AI assistant editor for DaVinci Resolve
- Eddie AI DaVinci Resolve workflow
- CutAgent SDK and CLI for DaVinci Resolve
- CutAgent security and data use
Learn by doing, not watching
Stop translating tutorials to your timeline.
TryUncle stays beside Resolve on Mac and Windows. When you ask, Uncle sees your screen and points at the exact control you need. No hunting through tabs, timestamps, or mismatched tutorials.
Meet TryUncleKeep reading
 GuidesJul 12, 202641 min read
The Best Way to Learn DaVinci Resolve (What the Research Says)
Guided, hands-on practice inside DaVinci Resolve beats video courses and MOOCs. Here's the learning-science research behind why, and how to apply it.
 ComparisonsSep 27, 202624 min read
DaVinci Resolve Course With Project Files: 2026 Comparison
Compare DaVinci Resolve courses with project files in 2026, from Blackmagic's free training to paid classes, and choose the right practice path.
 ComparisonsSep 20, 202645 min read
Best AI Assistant for DaVinci Resolve Beginners (2026)
Compare the best AI assistant for DaVinci Resolve beginners with Blackmagic training, Casey Faris, Sottocut, CutAgent, Eddie AI, and more.