
Learn / DaVinci Resolveupdated for DaVinci Resolve 21.0.3 (July 2026)
How to Export a GIF From DaVinci Resolve (Every Version)
Quick answer
Open the Deliver page, click Custom Export, tick Export Video, then set Format to GIF and Codec to Animated GIF. Pick a resolution under 720p, keep the frame rate modest, click Add to Render Queue, then Render All. Native GIF export only works on DaVinci Resolve 18.5 or later; older versions need a two-step workaround.
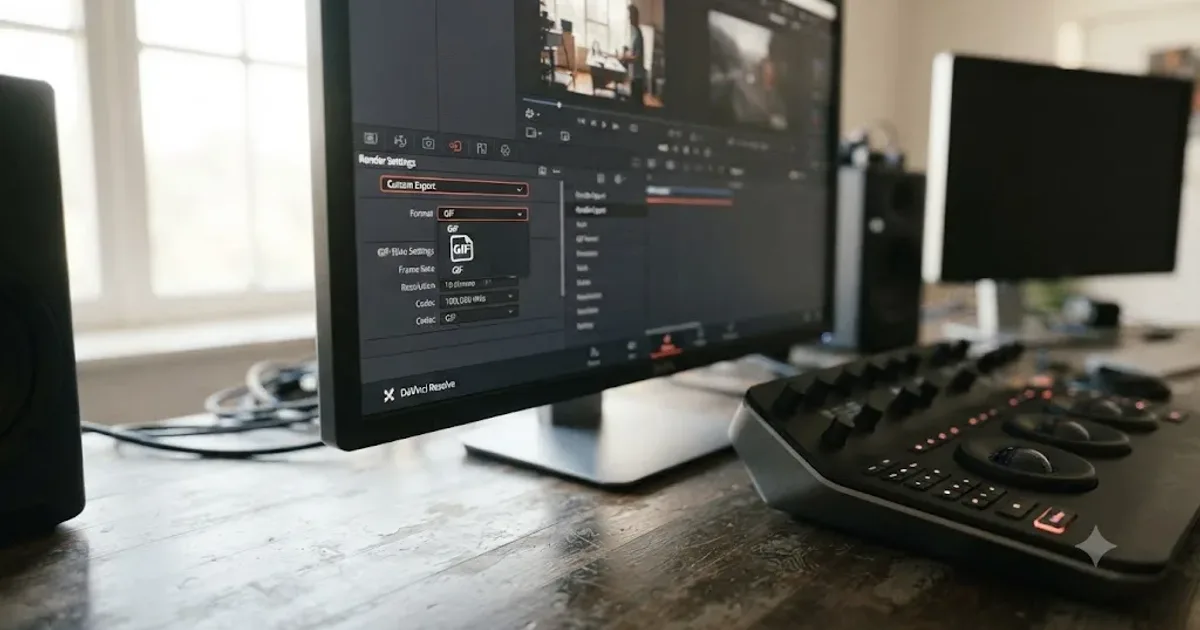
DaVinci Resolve added native GIF export in version 18.5, and every version since, including the current 21.0.3, keeps it in the same place: the Deliver page's Format dropdown. You don't need a plugin, a browser extension, or an outside converter to get a working GIF out of Resolve anymore. We've spent seven years cutting commercial video in Resolve and teaching it to more than 100,000 students through our Udemy courses and our 100,000-member DaVinci Resolve editing community, and "how do I turn this clip into a GIF" is one of the small workflow questions that group asks on repeat. Below is the exact recipe, the version cutoff that trips people up, and every branch that follows from it: file size, looping, transparency, importing a GIF back onto your timeline, batch rendering several at once, and the platform limits that decide whether your export actually uploads anywhere.
What are the exact Deliver page settings to export a GIF from DaVinci Resolve?
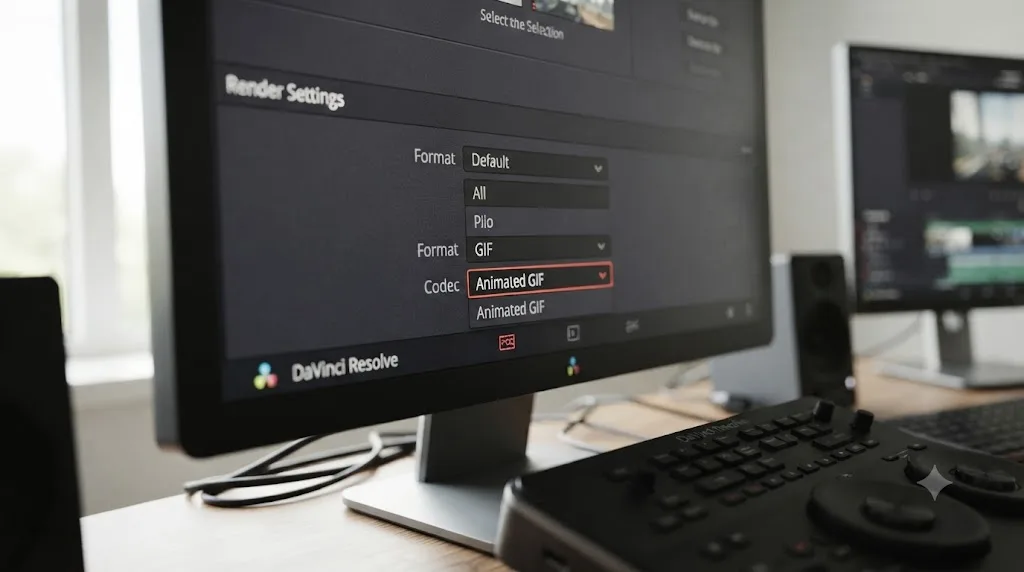
Open the Deliver page, click Custom Export in Render Settings, tick Export Video, then set Format to GIF and Codec to Animated GIF. That single dropdown pair is the whole trick. Here's every field laid out, with the values that actually matter for a shareable GIF rather than a bloated one:
| Setting | Where it lives | What to set |
|---|---|---|
| Export type | Top of Render Settings | Custom Export |
| Export Video | Checkbox under Custom Export | Checked |
| Format | Video tab dropdown | GIF |
| Codec | Video tab dropdown | Animated GIF (the only option once Format is GIF) |
| Resolution | Video tab | 480 pixels wide or smaller for most uses; a square 300x300 for icons and stickers |
| Frame Rate | Video tab | 10 to 15fps for a small file, up to your timeline's native rate if quality matters more than size |
| Render range | Above the timeline | In/Out range, trimmed to just the moment you want looping |
| File name and location | Bottom of Render Settings | Anywhere; GIFs don't need a specific folder structure |
Once those are set, click Add to Render Queue at the bottom of the panel, then click Render All in the top-right corner of the Deliver page. Resolve renders the same way it renders any other format: a progress bar in the queue, a finished file when it's done. There's no separate GIF-specific rendering path, no extra dialog, and no watermark.
One detail catches people every time: Format and Codec are two different dropdowns, and Format has to say GIF before Codec even offers Animated GIF as a choice. If you only change the Codec dropdown while Format still says QuickTime or MP4, you'll get an error or a video file with a .gif extension slapped on it, which plays like a video, not a GIF.
Which DaVinci Resolve version do you need for native GIF export?
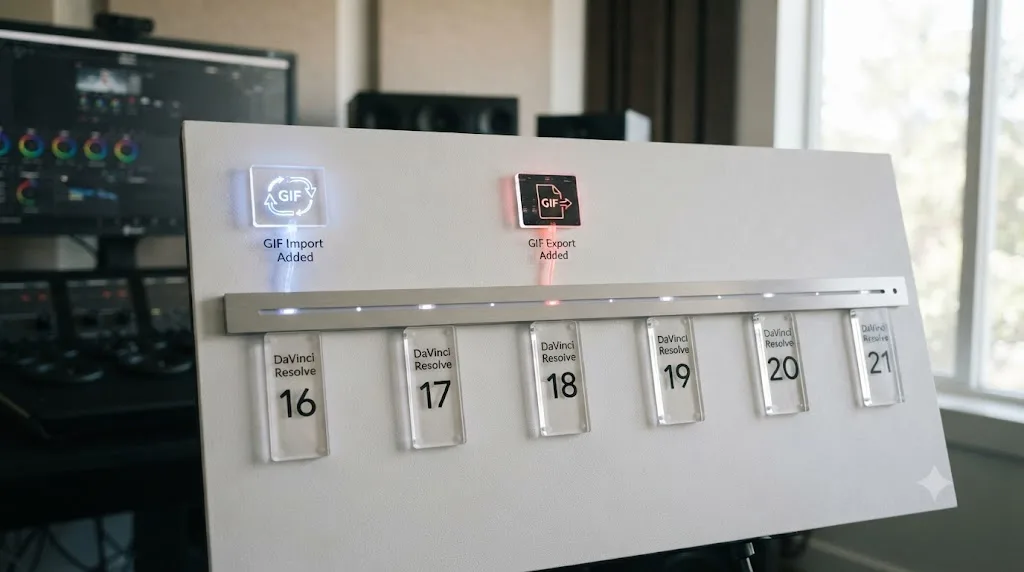
You need 18.5 or later. Blackmagic added animated GIF rendering to the Deliver page's export formats in that release, alongside PNG and JPEG image sequence support, according to the DaVinci Resolve 18.5 New Features Guide. Before that, the Format dropdown simply didn't have GIF as an option, no matter how you searched the Deliver page's menus.
DaVinci Resolve has exported animated GIFs natively since version 18.5, and nothing about the process requires a plugin or an outside converter anymore.
Here's the version map, so you know exactly where you stand:
| Version | GIF export from Deliver page | GIF drag-and-drop import onto timeline |
|---|---|---|
| 16, 17, 18, 18.1 | No | No |
| 18.5 | Yes (added this release) | No |
| 18.6 and later | Yes | Yes, added in 18.6 |
| 19, 20 | Yes | Yes |
| 21.0.3 (current, July 2026) | Yes | Yes |
The import capability is a separate feature from export, and it landed a version later: No Film School's coverage of DaVinci Resolve 18.6 confirms that's the release where you could finally drag an existing GIF straight onto the timeline and have it play back as a clip, rather than needing to convert it to a video file first. If your workflow involves both exporting new GIFs and pulling existing ones into a project, 18.6 is your real minimum, not 18.5.
Check your version under DaVinci Resolve in the menu bar, then About DaVinci Resolve. If the number reads anything below 18.5, you have two options: update, which is free and takes a few minutes on either the free or Studio edition, or use the workaround further down this page for exporting without the native format.
Does the free version of DaVinci Resolve export GIFs, or is it Studio-only?
Yes, the free edition exports GIFs exactly the same way Studio does. GIF isn't one of the formats Blackmagic reserves for the paid tier.
The free edition of DaVinci Resolve exports GIFs exactly like Studio does; there is no GIF-specific paywall anywhere in the Deliver page.
The one export-related number that actually differs between editions is the maximum resolution ceiling: the free edition tops out at Ultra HD, 3840x2160, while Studio goes well beyond that, according to a feature comparison of DaVinci Resolve's free and Studio editions. That gap matters if you're delivering an 8K master. It means nothing for a GIF, because a GIF at 3840x2160 would be enormous and unshareable on every platform in this guide. You'll be working at 480 pixels wide or smaller regardless of which edition you're running, so the resolution ceiling never comes into play.
What Studio does buy you is speed, in the same way it does for every other export: hardware-accelerated encoding on Windows and Linux for the codecs that support it. GIF encoding isn't one of the formats that benefits from that acceleration either way, since GIF compression is a comparatively lightweight, CPU-bound process regardless of edition. A ten-second GIF render finishes in seconds on almost any machine that can run Resolve at all.
What resolution and frame rate should you actually use for a GIF?
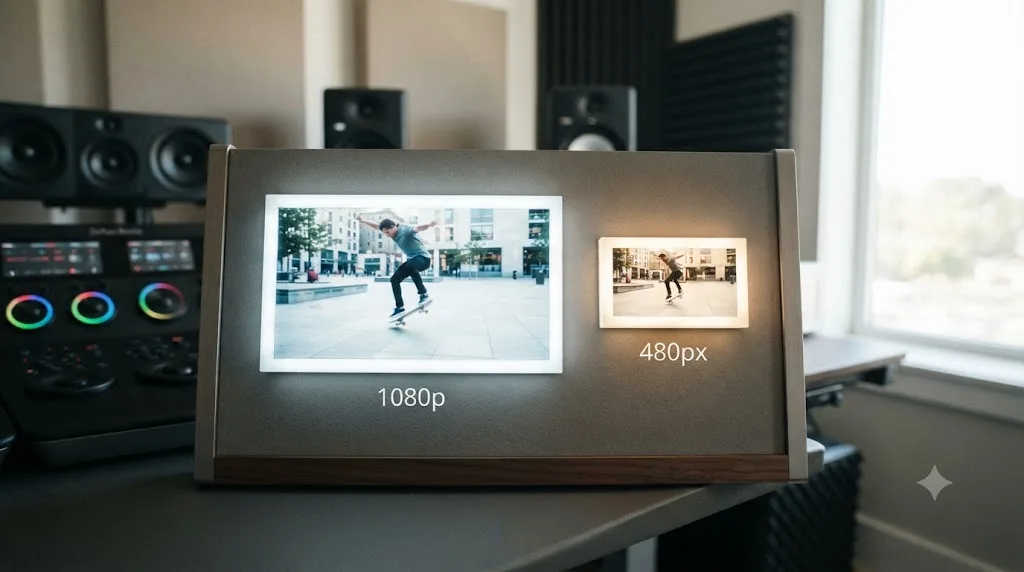
Smaller than you think, on both counts. A worked example makes this concrete: a 300x300 GIF running 70 seconds long at a low frame rate rendered out to about 1.7 MB, according to testing documented by Beginners Approach. That's a genuinely tiny file for over a minute of animation, and it's tiny specifically because the resolution stayed small. Push that same clip to 1920x1080 and the file size climbs by roughly the square of the resolution increase, since every pixel in every frame has to be stored.
Here's a practical resolution guide by use case:
| What you're making | Recommended width | Why |
|---|---|---|
| Reaction GIF or meme | 320 to 480px | Small enough to load instantly in a chat app or comment section |
| Product demo loop for a landing page | 480 to 640px | Sharp enough to read UI text without ballooning page load time |
| Social media caption GIF | 480px, matched to the platform's aspect ratio | Keeps it under most upload caps with room to spare |
| Sticker or icon-style loop | 300x300 square | Matches the square crop most sticker trays expect |
| Portfolio or presentation loop | 720p | Only go here if the GIF lives on a slide or a webpage you control, not a chat upload |
Frame rate has a bigger effect on file size than most editors expect, because GIF compression works frame by frame rather than predicting motion between frames the way a video codec like H.264 does. Every frame you add is close to full weight. Cutting your frame rate from 24fps to 12fps roughly halves the frame count and, with it, a large chunk of the file size, with almost no perceptible smoothness loss on the kind of short, simple motion most GIFs contain. Save your timeline's full frame rate for GIFs where fluid motion is the entire point, like a fast sports clip or a smooth camera move; for talking heads, UI demos, and reaction loops, 10 to 15fps looks fine and files smaller.
Why does my exported GIF look banded, blocky, or washed out?
Because GIF can only store 256 colors in a single frame, and your color-graded footage almost certainly uses more than that. This is a hard ceiling built into the format itself, not a Resolve setting you can raise.
A GIF cannot hold more than 256 colors in a single frame, no matter how good your color grade looks in Resolve's viewer.
The GIF format is built on an 8-bit palette: 2 to the 8th power equals 256, and that's the maximum number of distinct colors any single GIF frame can reference, according to Prepressure's technical breakdown of the GIF file format. Your Resolve timeline, by contrast, can carry 10-bit or higher color depth with millions of possible values. When Resolve converts your frames down to GIF, it has to pick the 256 colors that best represent everything in that frame and quantize the rest to the nearest match, which is exactly where banding on skies and skin tones, and posterization on smooth gradients, come from.
Two things reduce how visible this is. First, footage with a lot of contrast and hard edges, like text, UI screenshots, and high-contrast product shots, hides the 256-color limit well, because there simply aren't that many distinct colors in the frame to begin with. Footage with soft gradients, like a sunset sky or a shallow depth-of-field bokeh background, shows it the most, because that's exactly the kind of continuous color range 256 values can't represent smoothly.
Second, Resolve's GIF encoder applies dithering by default, scattering pixels of two adjacent palette colors to visually approximate a color that isn't actually in the palette. It's a real technique with a real cost: dithering trades a hard color band for a grainy, speckled texture. Neither option is wrong, they're just different failure modes of the same 256-color ceiling, and no export setting escapes it. If banding on a specific shot is bothering you, the only real fix is simplifying the shot itself: crush a soft gradient into fewer visible tones before export, or crop tighter so less of the offending gradient is in frame.
Does DaVinci Resolve's color management affect your GIF's colors?
Yes, indirectly, and it's worth understanding before you blame the GIF format for something your project settings are doing. GIF quantization happens on whatever RGB values arrive at the very last stage of the render, after every color transform your timeline applies has already run. That means the color space and gamma your project is delivering in shapes which 256 colors get chosen, not just how the shot looked when you graded it.
The 256 colors a GIF picks come from whatever's left in the frame after color management has already done its work, so a wider output gamut gives the quantizer more range to compress into the same 256 slots.
If your project runs a wide color management pipeline, like ACES or DaVinci Wide Gamut, and your output color space is still set to something expansive at the point of export, the render hands the GIF encoder a broader spread of possible values than a straightforward Rec.709 timeline would. Spread the same 256 colors across a wider range and each one has to represent more visual ground, which tends to make banding and dithering more visible, following directly from the same 8-bit palette math Prepressure documents for the format generally.
The practical move: set your Color Management output, under Project Settings, Color Management, to a standard delivery space like Rec.709 Gamma 2.4 or sRGB before you render the GIF, the same way you'd flatten to a web-safe space for any other online deliverable. If you're grading with a viewer LUT that isn't baked into the node graph itself, bake it in first, since some export paths won't carry an unbaked viewer LUT through to the final render, and you'll get a mismatch between what you saw in the viewer and what came out the other end. We haven't run a controlled side-by-side comparing identical GIF settings across ACES output and Rec.709 output ourselves, so treat this as an explanation of the mechanism rather than a measured benchmark, but the underlying math is the same 256-slot ceiling either way.
How do you keep a GIF's file size small enough to actually upload?
Attack the same three variables every time, in this order: duration, resolution, then frame rate.
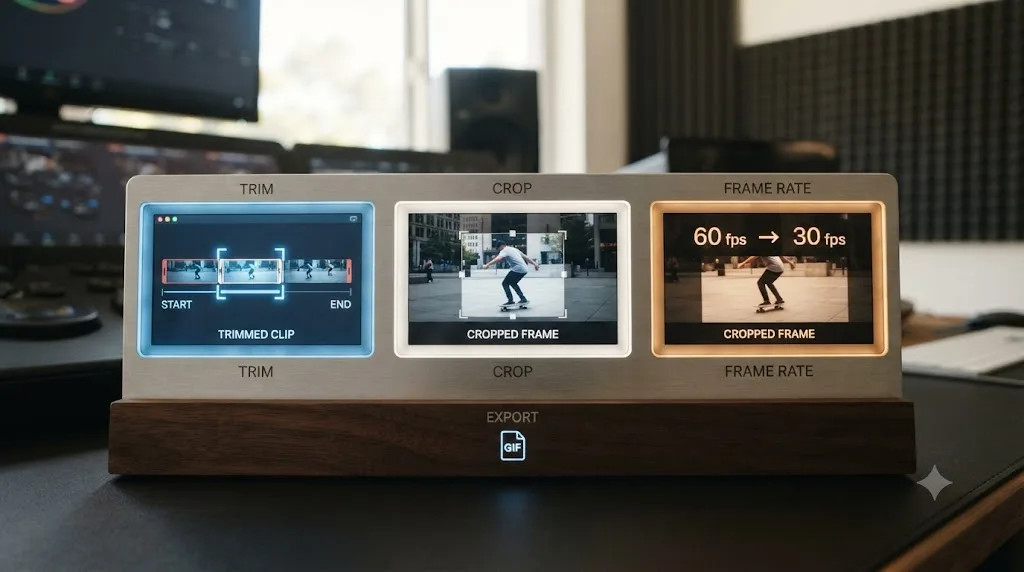
Duration matters most because it's a straight multiplier. A GIF that's half as long is, roughly, half the file size, all else equal. Before you touch a single Deliver page setting, go back to the Edit page and trim the clip down to the two or three seconds that actually carry the joke, the demo, or the reaction. A five-second GIF at 480 pixels wide will almost always beat a fifteen-second GIF at 720p on every platform's upload limit, because file size scales with all three variables at once, not just resolution. If you're not sure how to isolate the right few seconds out of a longer recording, our guide on turning a long video into short clips in DaVinci Resolve covers finding and cutting the good moment before you export anything.
Resolution comes second, following the table from the previous section. Cropping tighter before you export does double duty here: a tighter crop both shrinks the effective resolution you need and removes background clutter that would otherwise burn through your 256-color palette on things nobody's looking at anyway. Resolve's Inspector crop sliders on the Edit page handle this without re-scaling anything, which our full guide to cropping a video in DaVinci Resolve walks through method by method.
Frame rate is the third lever, and the cheapest one to pull, since dropping from 24fps to 12fps costs you almost nothing visually on short, simple motion while cutting the frame count in half.
If you've done all three and the file is still too big, the render itself might be the wrong place to look. A GIF export that's technically small in resolution but still renders slowly, or produces an unexpectedly large file relative to its settings, usually traces back to the same handful of causes that inflate any DaVinci Resolve export: a Quality setting left on Automatic, a cache format from an earlier preset still attached to the project, or background render load. Our guides on DaVinci Resolve exports that are too large and exports that take forever cover those root causes in detail, and the same diagnostic order applies whether you're rendering a GIF or a full video master.
How do you shrink a GIF even further after it leaves Resolve?
Once you've hit the resolution, duration, and frame rate ceiling inside Resolve and the file's still too heavy, the next place to squeeze is a dedicated GIF optimizer, run on the already-exported file. Resolve's own render pipeline isn't built to re-compress a finished GIF, but a handful of free tools are built for exactly that.
A second compression pass after export can shrink a GIF by close to half, but it introduces visible dithering noise, so treat it as a last resort after resolution, duration, and frame rate, not a first move.
The command-line tool gifsicle, and its lossy fork giflossy, do this by reworking the GIF's internal compression dictionary rather than touching resolution or frame count at all. A documented test on bitsofco.de ran gifsicle -O3 --lossy=80 -o compressed.gif original.gif against an 11.4 MB GIF and came out with a 6 MB file, a 47 percent reduction, using no change to the visible resolution or frame rate. The -O3 flag tells gifsicle to try several optimization strategies and keep whichever works best; --lossy=80 is what buys the extra compression, at the cost of some added grain in the color transitions, per bitsofco.de's GIF optimization writeup.
If the command line isn't your thing, the browser-based ezgif GIF optimizer does the same category of work with a slider instead of a flag: drag it toward more compression, preview the result, download when you're happy. No install, no terminal. Photoshop users have an equivalent option too, through Save for Web's GIF color-count and dithering controls, which is really the same 256-color quantization concept from earlier in this guide, applied a second time with tighter settings.
The tradeoff is consistent across all three tools: every extra pass of lossy GIF compression adds a bit more visible noise, especially on gradient-heavy shots that were already fighting the format's 256-color ceiling. It's worth doing when a GIF is close to a platform's upload limit and you don't want to re-crop or shorten it any further. It's not worth doing as your default workflow, since getting the resolution, duration, and frame rate right inside Resolve the first time produces a cleaner result than compressing your way down to the same file size after the fact.
How do you make a GIF loop seamlessly?
Two techniques cover almost every case, and neither one requires a plugin.
Match the end frame to the start frame. If the last frame of your export looks close enough to the first frame, the loop reads as continuous instead of jumping. This works naturally with footage that already returns to a resting position: a hand releasing an object, a door swinging shut, a shrug that ends where it began. Scrub your Out point on the timeline until the last frame lines up with the first, then set your render range to that exact selection.
Play the clip forward, then backward. Duplicate the clip on the timeline, reverse the duplicate using Resolve's Reverse Clip function (right-click the clip, or use Change Clip Speed with a negative value), and butt the reversed copy against the end of the original. The action now plays forward, then plays itself backward, landing exactly where it started, since it's literally retracing its own frames. This is the reliable, works-on-anything option when your footage doesn't naturally return to its starting position, and it's the same principle behind the classic "boomerang" effect that's common on social apps.
For loops on the Fusion page or a more elaborate crossfade between the last and first frame, the free GIF Looper preset by Patrick Stirling adds a dedicated looping effect to Resolve's Effects Library. It installs as a .drfx file and drops into your effects panel like any other preset, letting you set loop length, size, and filter method without hand-building the forward-reverse trick on the timeline yourself. It's aimed at DaVinci Resolve 18.6 and later, matching the version where GIF import also landed.
Whichever method you use, remember that the loop point is decided on the Edit page timeline before you ever open Deliver. The GIF export step just renders whatever range you've already built to loop cleanly; there's no separate "make it loop" checkbox in Render Settings.
What if you're on DaVinci Resolve 18.1 or earlier, with no native GIF export?
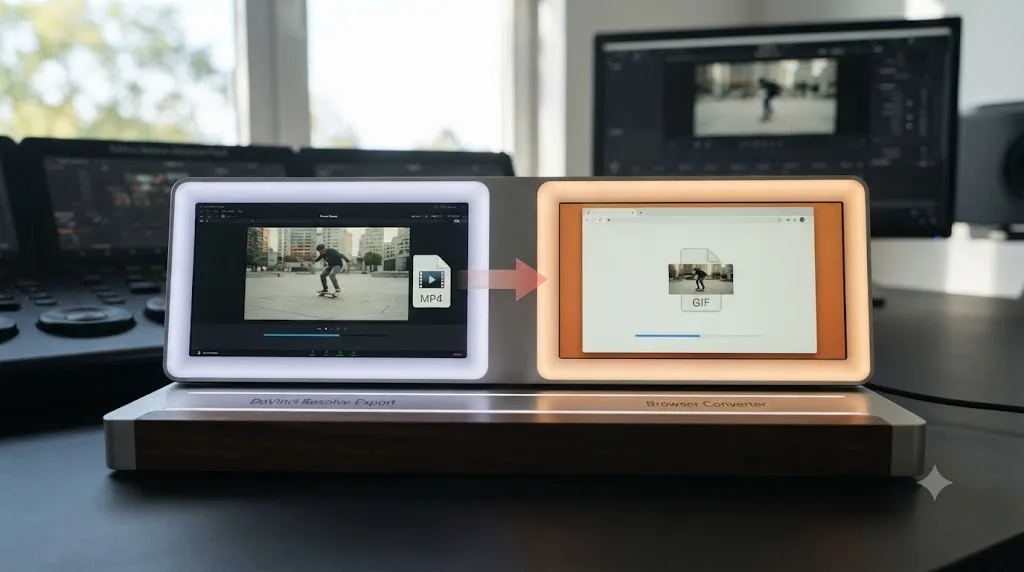
Export a video file first, then convert it with a free web tool. It's a two-step process instead of one, but it's not a hard workaround.
Go to the Deliver page as normal, but leave Format set to MP4 or QuickTime with the H.264 codec, the same way you'd export any regular video. Render that short clip out. Then upload the finished video file to a browser-based converter like ezgif.com's video-to-GIF tool, which accepts MP4, AVI, WebM, and most other common video formats, lets you trim the start and end points, and exports a finished animated GIF with no software install and no watermark. This is exactly the path Edits101's walkthrough documents for pre-18.5 versions of Resolve: "Export the edit as a video file in mp4 format," then run it through an online converter, because at that point in Resolve's history, "there is no way to export the GIF directly from Davinci Resolve."
The obvious question is whether upgrading is easier than this two-step workaround, and for most people it is. Updating to a current DaVinci Resolve version is free on either the free or Studio edition, takes a few minutes, and permanently removes the extra conversion step for every future GIF you make. The workaround stays useful if you're locked to an older version for a specific reason, like a plugin or hardware driver that hasn't been updated for the current release, or if you're working on a machine where you genuinely can't install anything new right now.
One quality note either way: converting through a second tool means a second compression pass, which can introduce its own artifacts on top of whatever Resolve already baked in. If your workaround GIF looks noticeably worse than the source video, try a higher quality setting in the converter before assuming Resolve's export is the problem.
Can you export a GIF with a transparent background from DaVinci Resolve?
Not directly through the Deliver page's GIF format option, no. The animated GIF codec in Resolve's Render Settings doesn't expose a transparency toggle the way it does for formats like QuickTime with an alpha channel.
The workaround follows the same two-step shape as the pre-18.5 workflow above, but for a different reason: export your clip as a format that actually carries an alpha channel, like QuickTime with an appropriate codec, or a PNG image sequence, keeping the background genuinely transparent in your Resolve composite. Then convert that alpha-carrying file to GIF using a converter that respects transparency. This is the exact snag Edits101's guide flags: "There is One important setting if you want to keep your GIF transparent. This setting is in the method tab. Choose Preserve Transparency instead of FFMPEG." Left on the default FFmpeg-based method, most converters flatten your transparent background to solid white or black, which is the single most common reason a "transparent" GIF export comes out looking wrong.
A PNG image sequence is usually the safest source for this, since PNG's alpha channel is lossless and every mainstream converter handles it correctly. On the Deliver page, set Format to TIFF or PNG image sequence, export your composited clip with the background genuinely removed on the Fusion or Edit page first, and feed that sequence into your converter rather than a pre-flattened video file.
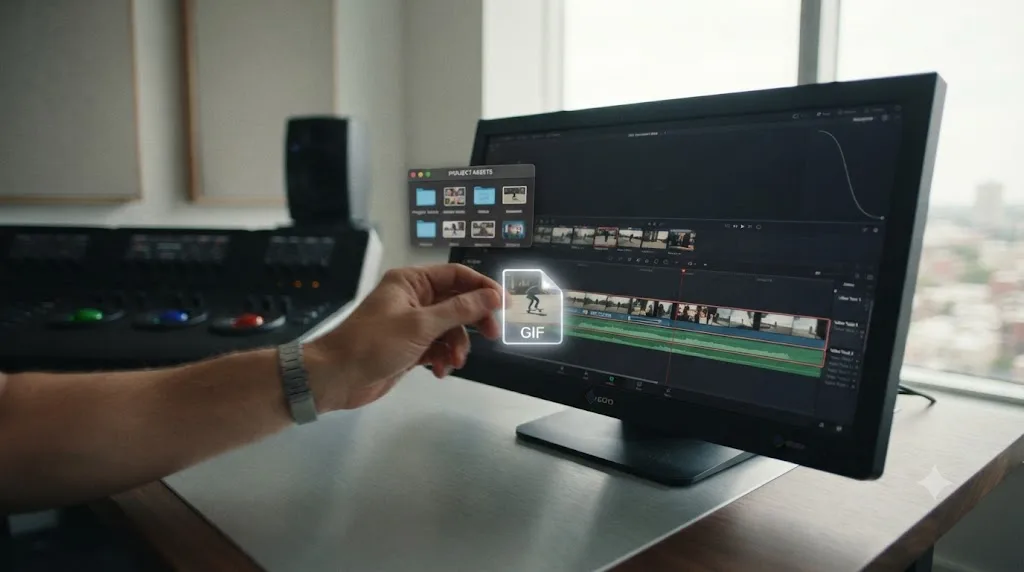
Can DaVinci Resolve import GIFs back onto the timeline?
Yes, as of version 18.6. Drag an existing GIF file straight from a folder onto the timeline or into the Media Pool, and Resolve treats it like a video clip: you can trim it, retime it, color it, and layer effects over it exactly as you would with any other footage. This landed one version after native GIF export, which is why 18.5 users could make GIFs but not always work with existing ones the same way, per No Film School's coverage of the feature.
Pairing this with the free GIF Looper preset mentioned earlier gives you a full round trip: pull an existing GIF into a project, extend or adjust its loop with the looper effect, then export it back out through the same Deliver page settings from the top of this guide. That's a genuinely useful workflow for motion designers building a library of reusable loop assets, or for anyone who wants to re-time or re-crop a GIF someone else made without leaving Resolve for a separate tool.
If you're on 18.5 and a GIF won't drag in as expected, that's the version gap, not a bug. Update to 18.6 or later, or convert the GIF to an MP4 with a browser tool first as an interim fix.
Can you queue and render several GIFs at once?
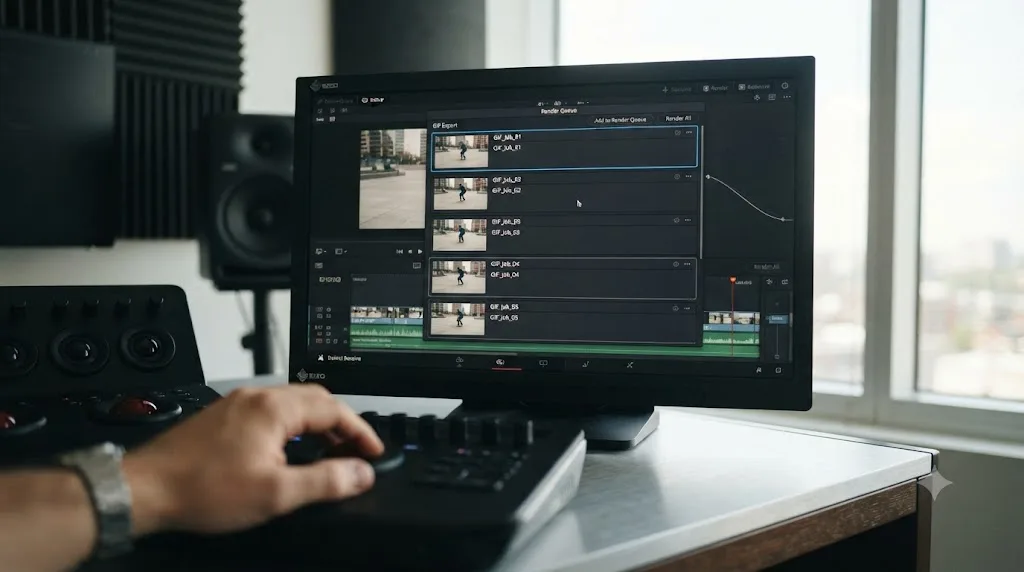
Yes, and if you need more than one GIF out of the same project, you should. Say you need five reaction GIF variants from the same interview, or a batch of product loop options at different crops. Don't render them one at a time, watching a progress bar between each. Add each one to the Render Queue as its own job.
On the Deliver page, dial in the first GIF's Custom Export settings and render range, click Add to Render Queue, then change the settings for the next variant, a different crop, a different loop point, a different resolution, whatever's different about it, and click Add to Render Queue again. Every job you add stacks in the queue with its own settings and its own render range, without touching the ones already sitting there.
Queuing five short GIF variants and rendering them all at once takes roughly the same time as one of them, since each render is measured in seconds, but babysitting five separate manual renders costs you real minutes of standing around.
Once you've got several jobs queued, you control exactly which ones render. Click a job, then Shift-click the last one you want, and Resolve selects the whole contiguous range between them. Hold Command on a Mac, or Ctrl on Windows, to click individual, non-adjacent jobs instead. Click Render All, and if none are individually selected, Resolve works through the entire queue; with a subset selected, it renders only what's highlighted, according to DaVinci Resolve's own manual documentation on the Render Queue. If your queue mixes new jobs with ones you've already rendered, Resolve stops first and asks "Selected items contain already rendered items. Do you want to re-render them?" Choose Yes to redo everything selected, No to skip the finished ones and render only what's new, or Cancel to back out entirely.
One catch worth knowing before you queue a batch: each job's render range is locked to whatever In/Out selection was active on the timeline the moment you clicked Add to Render Queue, not whatever the timeline shows later. If you're pulling five different loop points from the same source clip, set the timeline's In/Out range for that specific variant before you add that job, not after you've already queued it and moved the playhead on to the next one.
How big can a GIF be before Discord, X, or GIPHY reject it?
Smaller than most people assume, and the limits genuinely differ by platform. Trim and compress with your actual destination in mind, not a generic "small file" instinct.
| Platform | Free/standard upload limit | Notes | Source |
|---|---|---|---|
| Discord | 10 MB | Free accounts; Nitro Basic raises this to 50 MB, full Nitro to 500 MB | Discord's File Attachments FAQ |
| X (formerly Twitter) | 15 MB | One GIF per post, no separate mobile limit published in X's own developer documentation | X Developer Platform: Media Best Practices |
| GIPHY | 100 MB max, 8 MB recommended | Also caps upload length at 15 seconds, recommends 6 seconds or less | GIPHY Support: GIF Creation Best Practices |
The pattern across all three is the same: the platform's hard ceiling is much higher than what actually looks and performs well. GIPHY's own recommendation sits at a twelfth of its technical maximum. That's not a coincidence; large GIFs load slowly, autoplay poorly on mobile data, and often get silently down-compressed by the platform itself, which can undo whatever careful color and quality work you did in Resolve. Building your export around the recommended figures in that middle column, rather than racing right up to the hard cap, gets you a file that actually plays well once it's out of your hands.
If you're aiming for a specific platform and your first export blows past its limit, go back to the resolution, frame rate, and duration triangle from earlier in this guide. A GIF that's 40 MB at 720p and 24fps for eight seconds will often land comfortably under 8 MB once you drop to 480px, 12fps, and trim to three seconds, without any visible quality trade-off on typical social content.
Why does your GIF only show as a still image in Outlook or email?
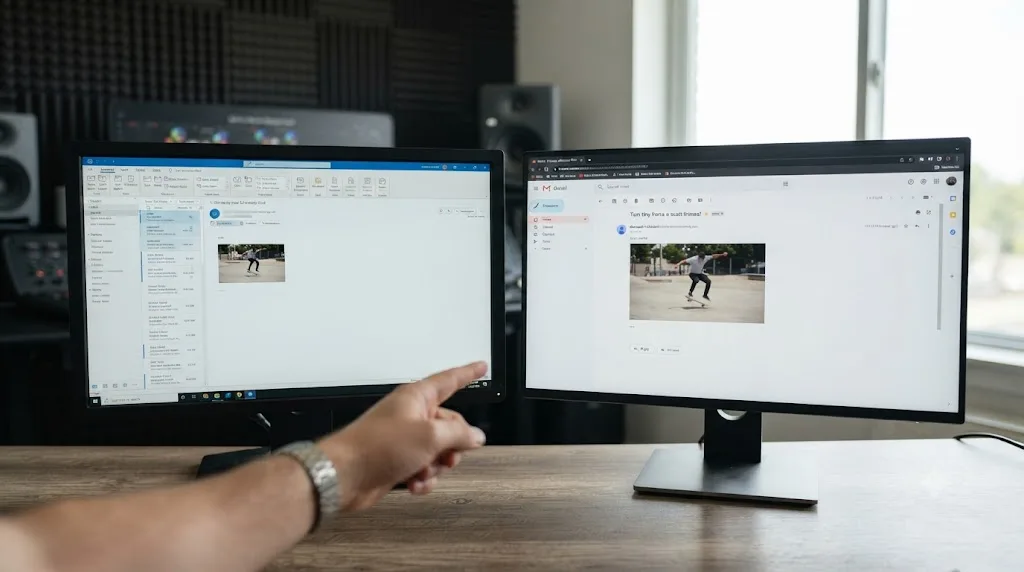
Because Outlook's desktop app for Windows doesn't animate GIFs at all, in any version currently in wide use. Outlook 2007 through 2019, and the classic Outlook 365 desktop client, render HTML email through Microsoft Word's rendering engine rather than a browser engine, and Word doesn't support animation. It displays frame zero of your GIF as a static image and quietly drops every frame after it, according to Microsoft's own support documentation. Your GIF exported perfectly out of Resolve. It's just landing in an email client that was never built to play it.
Outlook's Windows desktop app freezes every GIF on its first frame, a limitation of Microsoft Word's rendering engine, not anything wrong with how the GIF was exported.
This isn't a Resolve problem, and no export setting fixes it, because the limitation lives entirely on the receiving end. What you can control is what that frozen first frame looks like. If you're sending a GIF in a marketing email or a client update, treat frame one as a standalone image that has to work on its own, not just as the starting point of a loop, since a real chunk of your recipients on Windows desktop Outlook will only ever see that single frame.
The practical fix: on the Edit page, before you export, park your playhead on whichever frame reads clearest as a still, ideally one with your key message or product fully in frame and not mid-motion blur, and either start your render range there or duplicate that frame to the front of your export. Outlook.com, Outlook's mobile apps, and Office 365 web all animate GIFs normally, so this gap only bites desktop Windows recipients, but you rarely know in advance which client someone's using when they open your email.
Most other destinations don't share this problem. Slack, Discord, iMessage, and modern webmail all animate GIFs as expected. Email is the one major channel where whether your GIF actually moves depends on software choices completely outside your control, which is worth knowing before you build an entire campaign around motion doing the work.
Should you crop or trim your clip before exporting a GIF?
Almost always yes, and doing it before you open the Deliver page saves you a re-render later. GIFs punish waste in every dimension a video format tolerates: a wide shot with a subject occupying a third of the frame wastes color palette on background detail nobody's looking at, and a few extra seconds of dead air at the start or end costs real file size for zero payoff.
Trim first, on the Edit page, to the tightest In and Out points that still tell the whole joke or demonstrate the whole action. Then crop, using the Inspector's crop sliders, to fill the frame with the part of the shot that matters. Cropping removes pixels rather than scaling them, so a tight crop on a static or slow-panning shot loses nothing that resizing would; our complete guide to cropping in DaVinci Resolve covers the Inspector method along with onscreen handles and Color page sizing if you need a different approach for a specific shot.
The order matters. Trim before crop, because a shorter clip is faster to iterate on while you're finding the right crop, and crop before you set the Deliver page's export resolution, because a cropped frame changes what "480 pixels wide" actually shows you. Skip either step and you'll often find yourself re-rendering the same GIF two or three times, tightening the frame a little more each time, which costs more total time than doing it properly once on the front end.
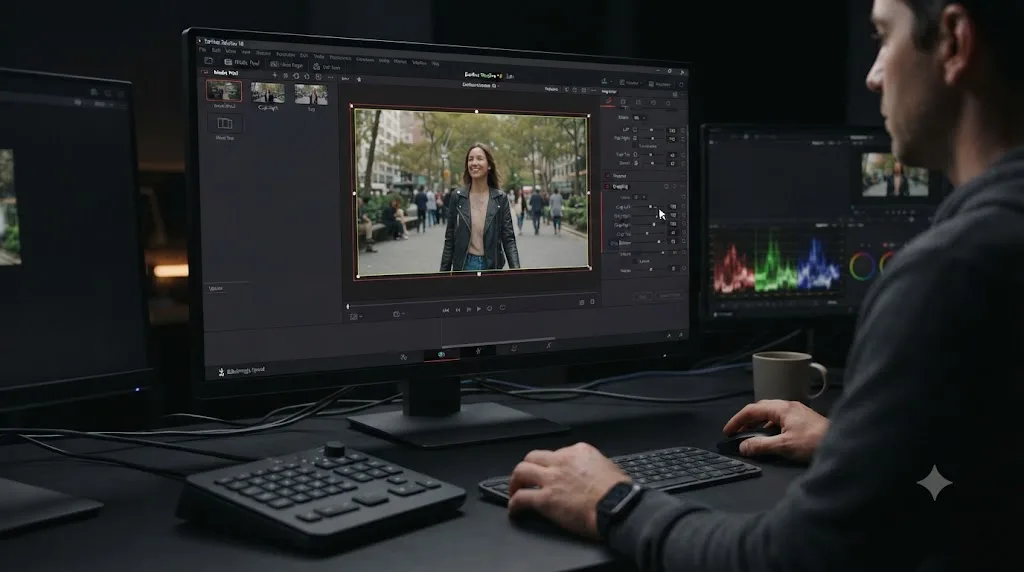
Why is your GIF render stuck, slow, or producing an unexpectedly huge file?
Because the underlying cause almost always isn't specific to GIF at all. It's the same handful of Deliver page culprits that stall or bloat any DaVinci Resolve export, and GIF's small typical file size just makes the problem more obvious when it happens.
Run through this in order:
| Symptom | Likely cause | Fix |
|---|---|---|
| Render sits at 0 percent or crawls | Background apps competing for CPU, or the render speed slider set low | Close other heavy apps; check the render speed setting in Render Settings |
| File is much bigger than the resolution/frame rate should produce | Duration wasn't trimmed, so a long render range is being fully encoded | Set the range dropdown above the timeline to a short In/Out selection, not Entire timeline |
| Colors look wrong or inconsistent frame to frame | Heavy dithering fighting a busy, high-detail shot | Simplify the shot with a tighter crop, or accept the trade-off, since it's the 256-color ceiling at work |
| Export finishes but the file won't open anywhere | Format and Codec dropdowns mismatched | Confirm Format says GIF before checking that Codec says Animated GIF |
| Render queue shows an old version of the clip | Stale render cache reused at export | Untick "Use render cached images" in Advanced Settings, or purge the cache first |
| "Render Failed at Timecode [X]" mid-render | A corrupted clip, a failing third-party plugin, or a heavy Fusion effect the GPU can't process at that point | Jump to that timecode, bypass or disable the effect, clear the render cache for that clip, or re-render the source camera file as ProRes in a fresh project before swapping it in |
| "GPU Memory Full" error | The graphics card doesn't have enough VRAM for the job, most common on 4K or 8K timelines with heavy noise reduction or optical flow upstream | Open Advanced Settings under the Video tab and drop Render Speed from Maximum to something lower, like 50 or 25 |
Those last two aren't specific to GIF at all. They're the same two error messages that show up on a stalled 4K master render, and they can land on a tiny GIF export just as easily if the Fusion composite or noise reduction feeding into it is heavy enough, according to a rundown of common DaVinci Resolve export errors from Cutsio. Cutsio's writeup also flags storage and permission errors as a separate category: not enough free space on the destination drive, no write permission on an external drive, or special characters like /, \, :, or ? in the file name field, all of which stop a render before it starts rather than mid-way through.
If your render itself is genuinely slow, not just producing a large file, the deeper diagnostics in our guide on DaVinci Resolve exports that take forever walk through render speed, background load, storage bottlenecks, and cache issues in the order that actually resolves them fastest. GIF renders are short enough that a slow one is unusual, which is itself a signal something structural, not GIF-specific, is going on with the project.
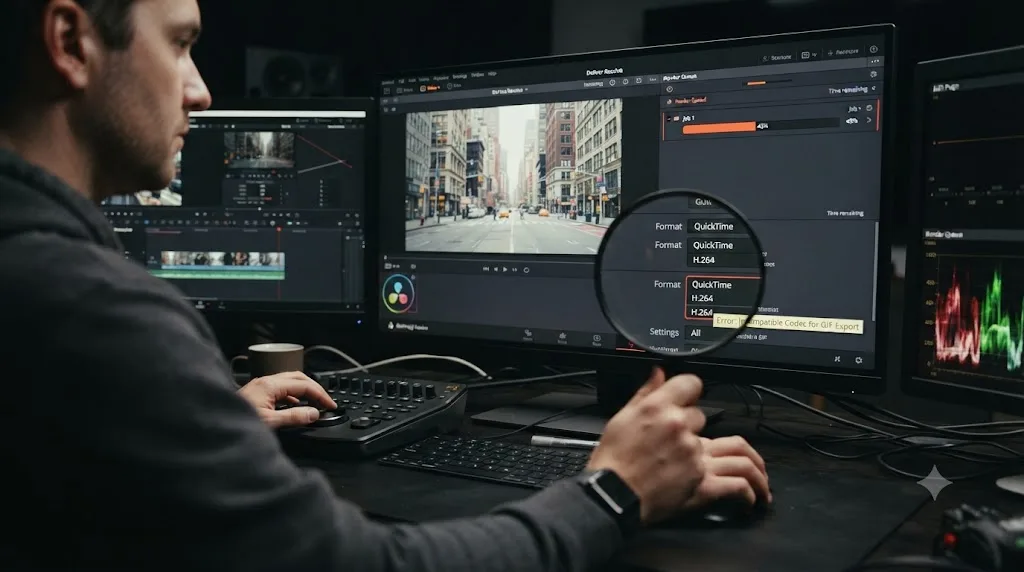
GIF vs MP4 vs WebP vs APNG: when should you actually use a GIF?
Use a GIF when universal compatibility matters more than quality or file size, and skip it everywhere that a short MP4, WebP, or APNG is actually accepted instead.
| Format | Colors | Transparency | Audio | File size for the same clip | Where it wins |
|---|---|---|---|---|---|
| Animated GIF | 256 max per frame | Hard-edged, on/off only | Never | Largest, for the quality delivered | Universal support: chat apps, old forums, email clients, anywhere that doesn't accept video uploads |
| Short MP4 (H.264) | Full color, millions of values | No | Yes | Smallest, best quality per megabyte | Social platforms that support native video, presentations, anywhere audio or full color matters |
| Animated WebP | Full color, millions of values | Smooth, 256 levels of alpha | No | Smaller than GIF at equal quality | Modern browsers and apps that support it (about 97 percent of global browser share); breaks with no fallback where it isn't supported |
| Animated PNG (APNG) | Full color, millions of values | Smooth, 256 levels of alpha | No | Between GIF and WebP | Browsers and apps needing transparency GIF can't do cleanly, with a graceful static-frame fallback where it isn't supported |
GIFs never carry audio, so anything you're communicating in the loop has to work as a silent visual, with no dialogue, music, or sound effect to lean on. That single limitation is often the real deciding factor. If your clip needs its audio to land, a short MP4 or an autoplay-muted video embed will always beat a GIF, because a GIF literally cannot include sound, full stop, regardless of any export setting in Resolve.
APNG is worth a closer look if transparency is the whole reason you're reaching for GIF in the first place. It solves GIF's two biggest weaknesses at once: 24-bit color instead of 256, and smooth alpha transparency instead of GIF's hard, jagged on/off cutout, according to a 2026 comparison of animated image formats from PhotoFormatLab. It also fails gracefully the same way GIF's always been safe: software that doesn't recognize APNG just shows its first frame as a normal static PNG, the same safety net GIF offers, which animated WebP doesn't have, since an unsupported WebP shows a broken image icon instead of a usable fallback. The catch is reach. APNG covers roughly 96 percent of browsers in 2026, which sounds like plenty until you remember GIF covers effectively all of them, including chat apps, email clients, and software from a decade ago that's never heard of APNG. DaVinci Resolve doesn't export APNG or WebP natively as of 21.0.3. Producing either still means going through the same export-then-convert workaround described earlier in this guide, pointed at a converter that outputs APNG or WebP instead of GIF.
Where a GIF genuinely wins is compatibility with no exceptions: it plays in Slack, Discord, iMessage, old forum software, most email clients, and basically anything built in the last two decades, without a video player, without buffering, and often without the viewer even realizing it's not a static image until it moves. That's a real advantage nothing else in this table universally matches, particularly in older or more restrictive software.
The practical rule: if the destination accepts video and audio matters even slightly, export the short clip as MP4 instead of putting yourself through GIF's color and audio limitations for no reason. If the destination genuinely needs transparency and you control the software that'll display it, reach for APNG or WebP over GIF. If the destination is chat, comments, forums, or anywhere a native video player and a modern image format aren't guaranteed, GIF earns its place, and everything in this guide is how to make that GIF as small and clean as the format allows.
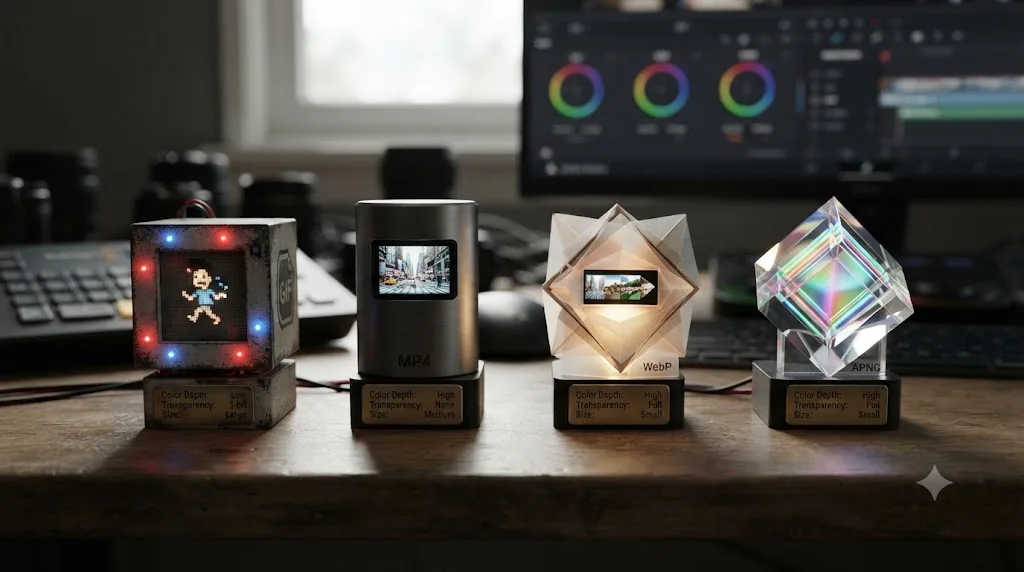
What does the whole process look like end to end?
Three worked examples, with every number filled in, since a settings table reads differently once you see it applied to a real clip.
A three-second reaction GIF from a 1080p talking-head interview. On the Edit page: trim the timeline to the exact three-second In/Out range, then crop with the Inspector to a tight square framing just the face and shoulders. On the Deliver page: Custom Export, Format GIF, Codec Animated GIF, Resolution set to 400x400 to match the cropped square, Frame Rate dropped to 12fps, render range set to the In/Out selection. Expected result: a file well under 2 MB, comfortably inside Discord's 10 MB free limit and GIPHY's 8 MB recommendation, rendering in seconds on almost any machine.
A six-second product demo loop for a landing page. On the Edit page: build the clip so its last frame matches its first, or use the forward-reverse duplicate trick, so the loop reads as continuous. On the Deliver page: Custom Export, Format GIF, Codec Animated GIF, Resolution 640px wide to keep on-screen UI text legible, Frame Rate left closer to 20fps since the demo's motion benefits from the extra smoothness, render range matching the loop. Expected result: a larger file than the reaction GIF example, likely 4 to 8 MB depending on how busy the footage is, which is fine for a page you control but would need trimming further before it fit most chat app limits.
A batch of five two-second cover loop variants for Instagram, rendered unattended. On the Edit page: build five separate two-second In/Out selections from the same source reel, one per variant, so each carries its own loop point. On the Deliver page: for each variant, set Custom Export, Format GIF, Codec Animated GIF, Resolution 480x600 to match a vertical crop, Frame Rate 12fps, render range matching that variant's selection, then click Add to Render Queue before moving to the next one. Once all five sit in the queue, select all of them and click Render All. Expected result: five separate files, each a couple of megabytes, finished in roughly the time it would take to manually babysit one longer render, since GIF renders are fast and queuing removes the need to sit and click Render five separate times.
Notice what stays constant across all three: the container is always GIF, the codec is always Animated GIF, and the only real variables are resolution, frame rate, and duration, tuned to where the file is actually going.
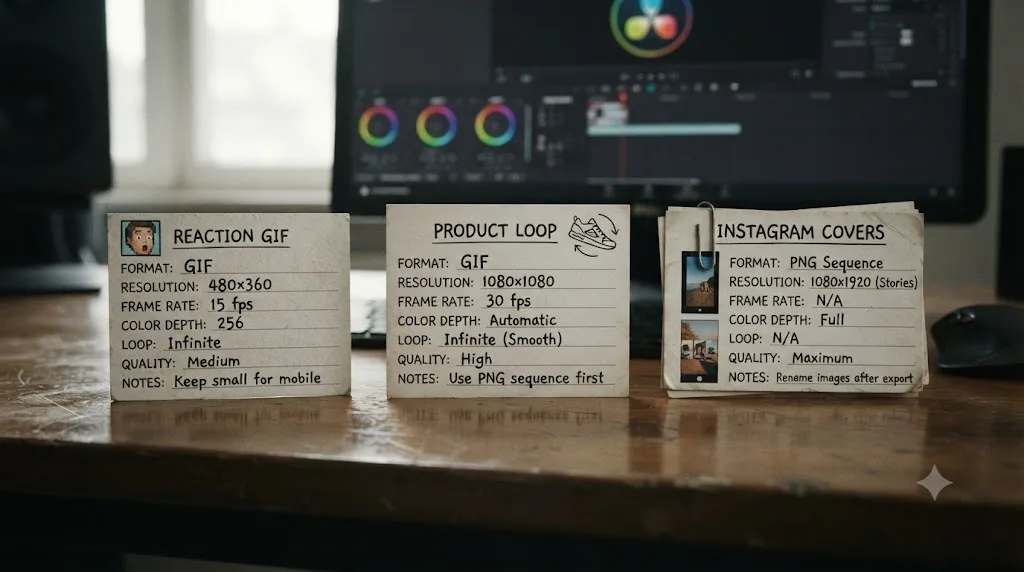
Is there an easier way to find these settings while you're actually working?
If the Deliver page's dropdowns still feel like a lot to track while you're mid-project, that's a normal reaction, not a sign you're missing something. TryUncle is the on-screen assistant for DaVinci Resolve on macOS. Ask in plain words and Uncle points at the exact control on your screen. You don't have to leave your project, pause to search a guide, or translate written instructions like this one into clicks on your own timeline; you ask "where do I set the GIF codec" and Uncle draws a box around it, live, on the Deliver page you're already looking at. It's a paid subscription at $39 a month, and it's macOS-only, so check TryUncle's pricing page for the current rate and platform details before you commit.
That said, this isn't a task you need hand-holding for once. Two dropdowns, a resolution field, a frame rate field, and the Render All button, in that order, and you have a working GIF export every time.
Guided practice inside a real project beats reading about the same settings in a tutorial tab you have to keep switching back to. Export your first GIF from the recipe at the top of this guide, look at how it turned out, then come back to the resolution, color, and file size sections above to tune whichever part didn't land the way you expected.
Frequently asked questions
- How do I export a GIF from DaVinci Resolve?
- Open the Deliver page, click Custom Export under Render Settings, tick Export Video, set Format to GIF and Codec to Animated GIF, choose a resolution and frame rate, then click Add to Render Queue and Render All. This works natively on DaVinci Resolve 18.5 and every version after it, including 21.
- Why don't I see GIF in DaVinci Resolve's format dropdown?
- You're on a version older than 18.5. GIF was added as a native export format in that release. Check your version under DaVinci Resolve, About DaVinci Resolve. If you're on 18.1, 18, 17, or 16, either update or export an MP4 first and convert it with a free tool like ezgif.com.
- Does the free version of DaVinci Resolve export GIFs?
- Yes. GIF export isn't gated behind Studio. Blackmagic's free-versus-Studio comparison caps the free edition's export resolution at Ultra HD (3840x2160), which is nowhere near a GIF's practical size anyway, so the format works the same in both editions.
- Why is my DaVinci Resolve GIF export file so big?
- GIFs scale with resolution, frame rate, and duration all at once, more aggressively than a compressed video file does. Drop the resolution to 480 pixels wide or less, cut the frame rate to somewhere around 10 to 15fps, and trim the clip to a few seconds. Those three changes do more than any other setting.
- How do I make a GIF loop seamlessly in DaVinci Resolve?
- Either end the clip on a frame that matches its starting frame, or duplicate the clip, reverse the copy, and place it right after the original so the action plays forward then backward. Both tricks hide the jump cut a GIF makes when it loops back to frame one.
- Can I export a transparent GIF from DaVinci Resolve?
- Not directly from the GIF format option in Render Settings. Export a PNG sequence or a QuickTime file with an alpha channel instead, then convert it in a tool that preserves transparency, choosing a preserve-transparency method rather than the default FFmpeg-based conversion many converters default to.
- What's the best frame rate for a GIF export from DaVinci Resolve?
- Somewhere between 10 and 15fps for most clips. A GIF's file size grows with every frame you add, since GIF compression works frame by frame rather than predicting motion the way a video codec does, so cutting the frame rate is one of the cheapest ways to shrink the file without touching resolution.
- How do I make my DaVinci Resolve GIF export even smaller after rendering?
- Run it through a dedicated GIF optimizer instead of re-rendering. Gifsicle's lossy mode, the command gifsicle -O3 --lossy=80, cut one 11.4 MB GIF down to 6 MB, a 47 percent reduction, in a widely cited optimization test. Browser tools like ezgif's GIF optimizer do the same job with a slider, no install required.
Sources
- Blackmagic Design: DaVinci Resolve 18.5 New Features Guide (PDF)
- CG Channel: Blackmagic Design releases DaVinci Resolve 18.5
- CG Channel: Blackmagic Design releases DaVinci Resolve 21.0
- PetaPixel: DaVinci Resolve 21 Officially Released With New Photo Editing, AI Tools, and Much More
- Prepressure: The GIF file format
- No Film School: Learn How to Make a GIF in DaVinci Resolve 18.6 With This Free Looping Plugin
- Envato Tuts+ (Eddie Boscana): How to Make and Export GIFs in DaVinci Resolve
- Beginners Approach: DaVinci Resolve Export GIF Natively Under 60 Sec
- Edits101: Exporting And Importing A GIF In DaVinci Resolve 18
- DaVinci Resolve product page (Blackmagic Design)
- VizEdits: DaVinci Resolve's Free Version Is Genuinely Professional, Here's What's Missing
- Discord: File Attachments FAQ
- X Developer Platform: Media Best Practices
- GIPHY Support: GIF Creation Best Practices
- DaVinci Resolve manual: Using the Render Queue (Blackmagic Design, mirrored)
- bitsofco.de: Optimising GIFs for the Web
- Microsoft Support: The animated graphic in my e-mail message doesn't work
- Cutsio: How to Fix Export Errors in DaVinci Resolve
- PhotoFormatLab: Animated WebP vs GIF vs APNG, Which Format for Web Animations in 2026
Learn by doing, not watching
Stop translating tutorials to your timeline.
TryUncle stays beside Resolve on Mac and Windows. When you ask, Uncle sees your screen and points at the exact control you need. No hunting through tabs, timestamps, or mismatched tutorials.
Meet TryUncleKeep reading
 GuidesJul 7, 202632 min read
DaVinci Resolve Export Settings for YouTube (Copy These Exactly)
The exact DaVinci Resolve export settings YouTube recommends: codec, bitrate, resolution, audio, and the Deliver page steps that avoid soft uploads.
 FixesJul 23, 202625 min read
DaVinci Resolve Export File Size Too Large? Here's the Fix
Why a DaVinci Resolve export balloons past your source footage, and the exact Quality, codec, and bitrate settings that shrink it without hurting quality.
 FixesJul 20, 202625 min read
DaVinci Resolve Export Takes Forever? How to Speed It Up
A DaVinci Resolve export that takes forever usually comes down to one of six fixes: render speed, background load, encoding, storage, cache, or bitrate.