
Learn / DaVinci Resolveupdated for DaVinci Resolve 21.1 (September 2026)
How to Create a Project Template in DaVinci Resolve
Quick answer
To learn how to create a project template in DaVinci Resolve, build a clean master project, set its project settings, bins, timelines, tracks, and reusable graphics, then save it as a named master. Duplicate that master for each new job, or export a .drp copy to move it between libraries or computers.

If you make the same kind of video more than once, a project template is one of the simplest upgrades you can make to your Resolve workflow. It removes the boring setup work before it removes any creative work.
As of September 2026, this guide uses the labels and behavior of DaVinci Resolve 21.1. Blackmagic Design lists Resolve 21.1 in its current support materials, while the core project workflow remains recognizable in the Resolve 20 guides. If you use 20.x, a button may sit in a slightly different place, but the model is the same: build a clean project, save a master, then make a copy before the next edit.
After seven years of professional, commercial video editing, and after teaching more than 100,000 students on Udemy as an official Udemy Business Partner, we’ve learned that templates work best when they protect decisions you’ve already made. They shouldn’t become junk drawers full of old footage, dead links, and settings nobody remembers choosing.
In Blackmagic Design’s September 8, 2026 release announcement, CEO Grant Petty described the value of automating repetitive work as “which frees them up to focus on creative decisions.” That is the right test for a template too: it should return attention to the edit, not bury the editor in inherited setup.

How do I create a project template in DaVinci Resolve?
Create a project that contains your repeatable settings and structure, remove anything tied to one client or shoot, save it with TEMPLATE in the name, and duplicate that project whenever you begin a new job. DaVinci Resolve does not require a special template file for this workflow.
That last sentence is the part that causes most confusion. When editors search for a “project template” in Resolve, they often expect a button called Create Template. The practical solution is a normal Resolve project used as a master. The master lives in a project library, and the new job is a duplicate or a copy saved under a new name.
A DaVinci Resolve project template is a clean master project that you duplicate before adding new footage.
The distinction matters because a project is larger than a timeline. A project can hold project settings, media-pool organization, timelines, clip metadata, grades, Fairlight setup, Fusion compositions, gallery material, and delivery choices. A timeline is one edit inside that project. If you only want a repeatable intro or track layout, a timeline template may be the smaller tool. If you want every new job to open with the same frame rate, folder structure, color management, and delivery defaults, make a project template.
Here is the core workflow in plain language:
- Open the Project Manager and create a new project.
- Name it something unambiguous, such as
TEMPLATE - YouTube 16x9 - 24fpsorTEMPLATE - Client Interview - 4K UHD. - Open Project Settings and set the choices that should repeat.
- Create the bins, timeline bins, tracks, markers, and placeholder timelines that reduce setup work.
- Add generic graphics or audio only when they truly belong in every version.
- Remove client media, temporary grades, downloaded music, and anything that makes the project look finished when it isn’t.
- Save the project, then duplicate it for a test job before you trust it.
The Project Manager is the right place to think about the master. Resolve stores working projects in project libraries rather than presenting every project as a normal standalone file. Blackmagic’s DaVinci Resolve 20 Editors Guide describes the project library workflow and notes that projects can be copied from one project library to another with the Copy Project To control. That is why a template can stay in a local library for daily work while a .drp export serves as a portable copy.
Do not begin by downloading a template. Begin by writing down what repeats. A talking-head YouTube edit might need bins named 01_Footage, 02_Audio, 03_Graphics, 04_Music, and 05_Exports. It might need a 16:9 timeline, a dialogue track, a music track, a sound-effects track, an adjustment-clip lane, and a subtitle-safe area. A wedding highlight project needs different choices. A vertical social cut needs different choices again.
The template is not the place to preserve every decision you’ve ever made. It is the place to preserve the decisions you want to make again.
Step 1: Start with a project, not an imported timeline
From the Project Manager, create a new local project in the library where you normally work. Give it a name that will still make sense six months from now. MASTER and TEMPLATE are useful words, but add the intended format and version when that information affects the result.
Good names make the template’s scope visible:
| Template name | What it tells you | Best use |
|---|---|---|
TEMPLATE - YouTube - 3840x2160 - 24fps | Format, dimensions, and frame rate | Long-form landscape videos with a stable delivery target |
TEMPLATE - Reels - 1080x1920 - 30fps | Vertical format and frame rate | Social edits that always start in portrait |
TEMPLATE - Interview - 4K - 23.976fps | A production style and technical target | Repeated interviews, podcasts, and training videos |
TEMPLATE - Client Neutral - 2026-09 | General-purpose and dated | A base that is reviewed instead of silently changing |
The date in a name is optional. I recommend it when the template contains choices that may change, such as a delivery specification, a subtitle convention, or a color-managed pipeline. It lets you keep a known-good master while you build a replacement instead of changing the floor under an active job.
If you’re using a cloud project library, select the intended library before creating the project. Blackmagic’s cloud-project instructions describe choosing Cloud in the Project Manager, selecting a project library, and using New Project. A cloud template is still a project. The storage location changes, but the need for a clean master does not.
Step 2: Decide what belongs in the master
Put a setting in the template when changing it for every new project would be annoying, easy to forget, or likely to create an inconsistent result. Leave a setting out when it depends on the camera, client, delivery platform, or one unusual job.
| Keep in the template | Usually leave out |
|---|---|
| Repeatable frame rate and timeline resolution | A client’s source clips |
| A consistent color-management starting point | Temporary camera LUTs |
| Standard bin and timeline organization | One project’s music license |
| Track names and standard audio routing | Old render cache and optimized media |
| Generic graphics used in every episode | A one-off title with a client name |
| Empty placeholder timelines | Unapproved creative decisions |
| A delivery preset you verify often | A destination path tied to one drive |
| A naming convention and marker scheme | Personal notes that will confuse the next editor |
This is a judgment call, not a checklist to follow blindly. If every video in a series uses the same intro, the intro belongs in the master. If only one client uses the intro, make a client-specific template or a separate timeline template. If the intro points to a media file stored on a drive that other editors cannot access, the master creates a broken reference rather than saving time.
A project template should contain repeatable decisions, not client-specific footage.
The most useful template is often less exciting than the project it produces. Empty bins, named tracks, clean project settings, and a tested delivery preset don’t look impressive in a thumbnail. They prevent small inconsistencies from appearing across a series.
What project settings should I put in a DaVinci Resolve template?
Set only the project settings that define the type of work the template is for, especially timeline format, frame rate, image scaling, color management, audio sample rate, and save behavior. Leave camera-dependent and delivery-dependent choices editable when projects vary.
Project Settings are project-level choices, so they are a major reason to build a project template instead of starting from a blank project each time. In Resolve 21, Blackmagic added search bars to Preferences and Project Settings, which makes it easier to locate a setting without manually opening every category. The detail is documented in the DaVinci Resolve 21 New Features Guide.
Timeline resolution and frame rate
Choose a template per production format when frame rate and aspect ratio are stable. A 3840 x 2160 landscape template should not be the default for a vertical series. A 23.976 fps template should not quietly become the source of 25 fps broadcast work.
The important decision is not whether one setting is universally best. It is whether the setting is known before the first clip arrives. If it is known, put it in the template. If it depends on the source footage, create a neutral template or make a deliberate choice when you create the first project.
Frame rate deserves extra care because a project template can make the choice feel invisible. Put the frame rate in the template name. Put it in a readme marker or a text note inside the project if the team needs a second reminder. Then test the template with a short clip before you build a real edit.
Image scaling
Set the default scaling behavior only when you understand the media you normally receive. A documentary template may need a consistent approach for mixed camera formats. A social template may need a portrait layout and a known crop strategy. A general-purpose template should avoid pretending that every source has the same shape.
This is a good place for a template note. Add a marker named CHECK IMAGE SCALING in a setup timeline, or create an empty text clip that tells the next editor to review the choice. The note is not a substitute for judgment, but it prevents a default from hiding in the background.
Color management
Color management belongs in the template when your workflow has a stable, documented target. It does not belong in a generic template merely because a setting exists.
If one template is for camera-original material from a known pipeline and another is for phone clips and screen recordings, keep them separate. A single “universal” template with a complicated color setup can create more confusion than two small templates with clear names.
Use a neutral test project to verify the template. Bring in a clip whose color space you understand. Look at the image on the Color page. Confirm that the timeline and output assumptions make sense. Don’t call the template finished because the menu item is selected.
Audio sample rate and track structure
A repeated audio structure is one of the best uses of a template. Name tracks by function rather than by a vague number: DX Main, DX Backup, Music, SFX, and VO communicate more than A1 through A5.
Do not pre-load plug-ins just because you might use them. Every effect in a master is a future question for the person opening it. Add the effect when it is part of the standard workflow, and label the track or bus so the reason is clear.
Save behavior and project backups
The master needs protection because accidental edits to the master can spread to every future project. Enable the save and backup features that match your risk tolerance, then keep the working master in a controlled library or folder.
Blackmagic’s Resolve guides distinguish ordinary saving from project backups and describe Live Save and Project Backups as separate save mechanisms. The older DaVinci Resolve reference material is useful for the underlying concept, while the current 21.1 manual should be your authority when a label differs in your build.
Settings that should usually stay job-specific
A template should not force a media-storage path that only exists on your machine. It should not force the name of a client. It should not carry old source paths merely because a placeholder clip was never removed. It should not silently apply a delivery location that points to last month’s external drive.
When you do include a default path, write down the assumption. A marker called VERIFY CACHE AND MEDIA STORAGE is enough. The point is to create a deliberate pause before the editor starts importing footage, not to pretend the template can know the future.
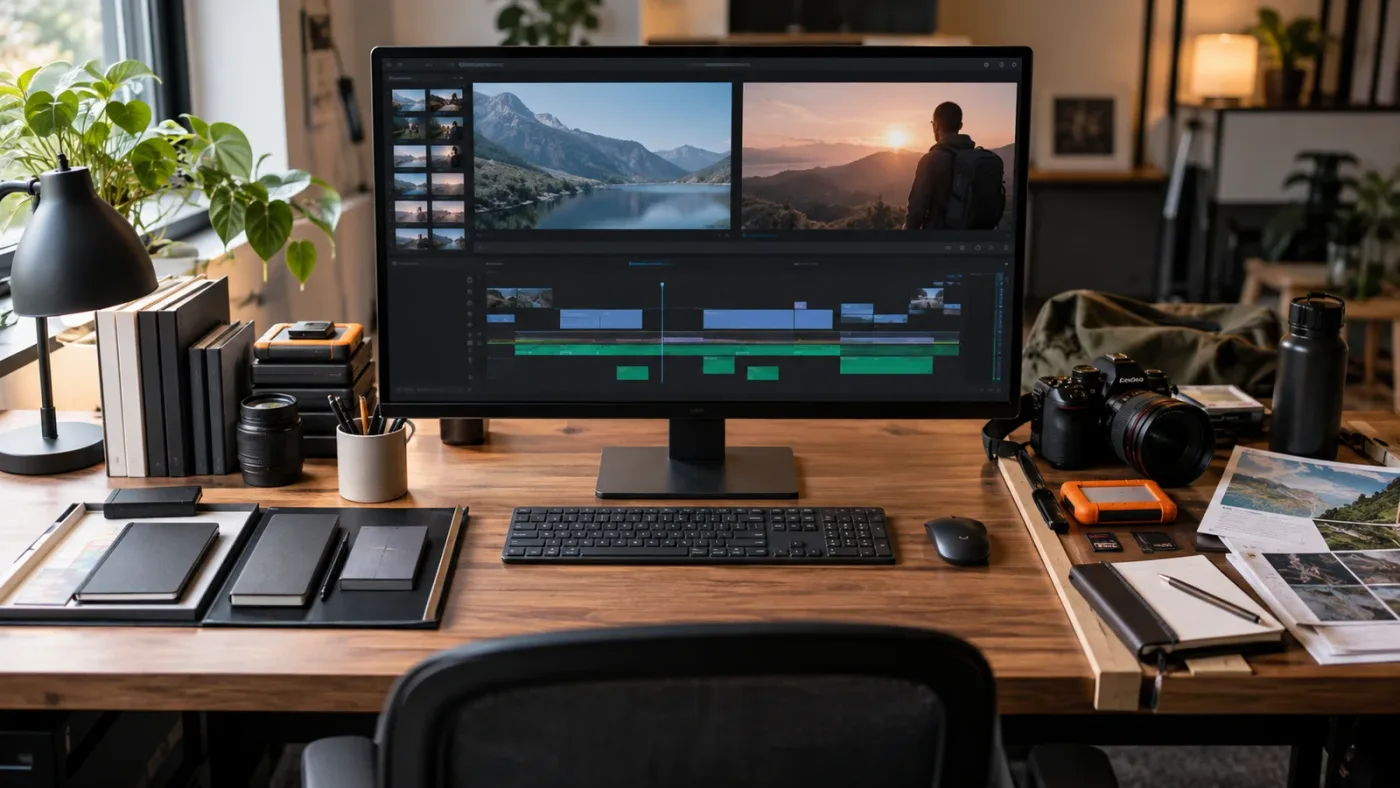
How do I organize bins and timelines inside the template?
Create a small, obvious bin structure, a separate place for timelines, and one setup timeline that explains what the next editor should verify. Bins are most useful when they reflect the work, not when they multiply empty folders.
A simple starting structure for a recurring interview series could be:
00_ADMIN
01_FOOTAGE
02_AUDIO
03_GRAPHICS
04_MUSIC
05_SFX
06_STILLS
07_TIMELINES
08_EXPORTS
99_ARCHIVE
Inside 07_TIMELINES, create empty or placeholder timelines with names such as:
00_SETUP - READ ME
01_MAIN - LANDSCAPE
02_SHORT - VERTICAL
03_CAPTIONS - CHECK
04_DELIVERY - REVIEW
The numbers are not magic. They create a stable visual order. If your team uses words instead, use words. If Resolve’s timeline-bin behavior differs in your workflow, test the structure before you commit to it. The template should make the next step obvious, not force every editor to learn your private numbering system.
Use an empty setup timeline as a checklist
An empty timeline can hold a title card, a sample adjustment clip, a safe-area guide, a marker, or a text note. It can tell the next editor which timeline to duplicate and which settings to verify.
Keep the setup timeline visibly separate from the real edit. Name it 00_SETUP - DO NOT EDIT or use another convention your team understands. The warning should not rely on color alone. A new editor may miss a color label, but a clear name survives more workflows.
If your project template includes a sample clip, make it a generic asset with permission to reuse. Better still, use a text card or a marker for instructions. A media file can go offline, carry a hidden license restriction, or create a false impression that the template is ready for delivery.
Make tracks useful before they become crowded
Create only tracks you actually use. A five-track template can be useful for an interview. A twenty-track template that is mostly empty makes it harder to see the edit.
Name the tracks. Set standard roles only when the role is part of your repeatable workflow. If every episode starts with dialogue, music, and effects, preloading those tracks is sensible. If some projects are voiceover-only, keep a smaller base template and add extra tracks when needed.
Add generic graphics with a clear replacement path
If every episode uses the same lower-third style, include a generic version with obvious placeholder text. Name the clip REPLACE NAME rather than leaving John Smith in the master. If every episode uses the same animated opener, include the opener only when the media and fonts can travel with the workflow.
This is where many templates fail. A graphic appears reusable, but it may depend on a font, image, Fusion composition, plug-in, or external media path. A good template either contains what it needs or tells the editor what it needs.
The current Resolve 21 family also includes reusable Fusion effect workflows. Blackmagic’s Fusion 21 product information describes Fusion compositions saved as templates and used on the Edit or Cut page. That is a different kind of reuse from a project template. Use a Fusion template for a reusable effect, and use a project template for the project-level environment around that effect.
Keep placeholders obvious
Use a consistent placeholder convention:
| Placeholder | Meaning |
|---|---|
REPLACE | The next project must supply a new value |
CHECK | The setting is a deliberate decision, not a universal default |
OPTIONAL | Keep it only when the job needs it |
DO NOT EDIT | Structural material that should stay unchanged |
REMOVE BEFORE EXPORT | Temporary guide or sample content |
Write the convention in the setup timeline. A template is shared documentation disguised as a project file, so make the documentation visible.
How do I save a Resolve project as a template?
Save the cleaned project as a master in the Project Manager, then save a second copy or export a .drp before using it for real work. The safest pattern is to keep the master untouched and do all project-specific work in a duplicate.
There are three closely related ways to create that reusable master.
Method 1: Keep a master in the Project Manager
This is the fastest method for one computer or one shared local library.
- Open the finished master project.
- Save it.
- Return to the Project Manager.
- Put the master in a folder named
TEMPLATESif folders help your team. - Make a duplicate when a new job begins.
- Rename the duplicate before importing media.
Project folders help people find a master, but a folder is not a backup. If the library is lost, the folder inside that library does not rescue the project. Keep an exported copy or a library backup according to the value of the work.
Method 2: Use Save Project As for a new job
When you already have the master open, File > Save Project As creates a copy with a new name in the project library. The current Resolve documentation uses Save Project As for creating a copy with a new name. The exact menu wording or shortcut can vary by version and operating system, so use the command shown in your build rather than relying on a keyboard shortcut from a different guide.
On macOS, older official reference material lists Command-Shift-S for Save Project As and Command-S for Save Project. Windows users should check the menu’s displayed shortcut because modifier names differ. The menu command is the source of truth.
The sequence is simple:
- Open the template.
- Choose Save Project As.
- Enter the new project name.
- Confirm the destination library or folder.
- Save.
- Close or switch away from the master before importing job media.
The last step is a habit, not a software requirement. It prevents the classic mistake of importing a client’s clips into the master because the editor forgot which project was open.
Method 3: Export the master as a DRP file
Export a .drp when you need a portable project file. In the Project Manager, select the project and use the export command. In a current Resolve workflow, you can also use the project export command from inside the open project.
Blackmagic’s Resolve 20 Editors Guide explains that .drp files contain project settings, organization, imported clips, and timelines, but do not contain the media used by the project. The same guide describes importing a .drp by using the Project Manager, dragging it onto the Project Manager, or choosing File > Import Project.
A .drp file carries project structure and settings, but it does not carry the source media.
That makes .drp a good template package when the template consists of empty bins, timelines, settings, and generic project data. It is not a complete production handoff. If the template includes media that must travel with it, use an archive workflow and verify the result.
Method 4: Copy the project to another project library
If the destination library is already visible in the Project Manager, use the library-copy workflow instead of creating a loose file and importing it. Blackmagic’s Resolve 20 guide identifies Copy Project To as a way to copy projects between libraries.
This method is useful for a local library, a network library, or a cloud-enabled workflow where the destination is already configured. The project still has dependencies. Fonts, plug-ins, LUTs, media, and paths don’t become universal just because the project moved.
Which saved copy is the real master?
Choose one authoritative master. If you export a .drp, name it with the template name and a review date. If you keep a project in a library, add a note to the project description or setup timeline. If several editors can modify the library version, define who owns template changes.
Do not edit the library master because a new client project seems faster that way. A master that changes invisibly is not a template. It is an unannounced release.
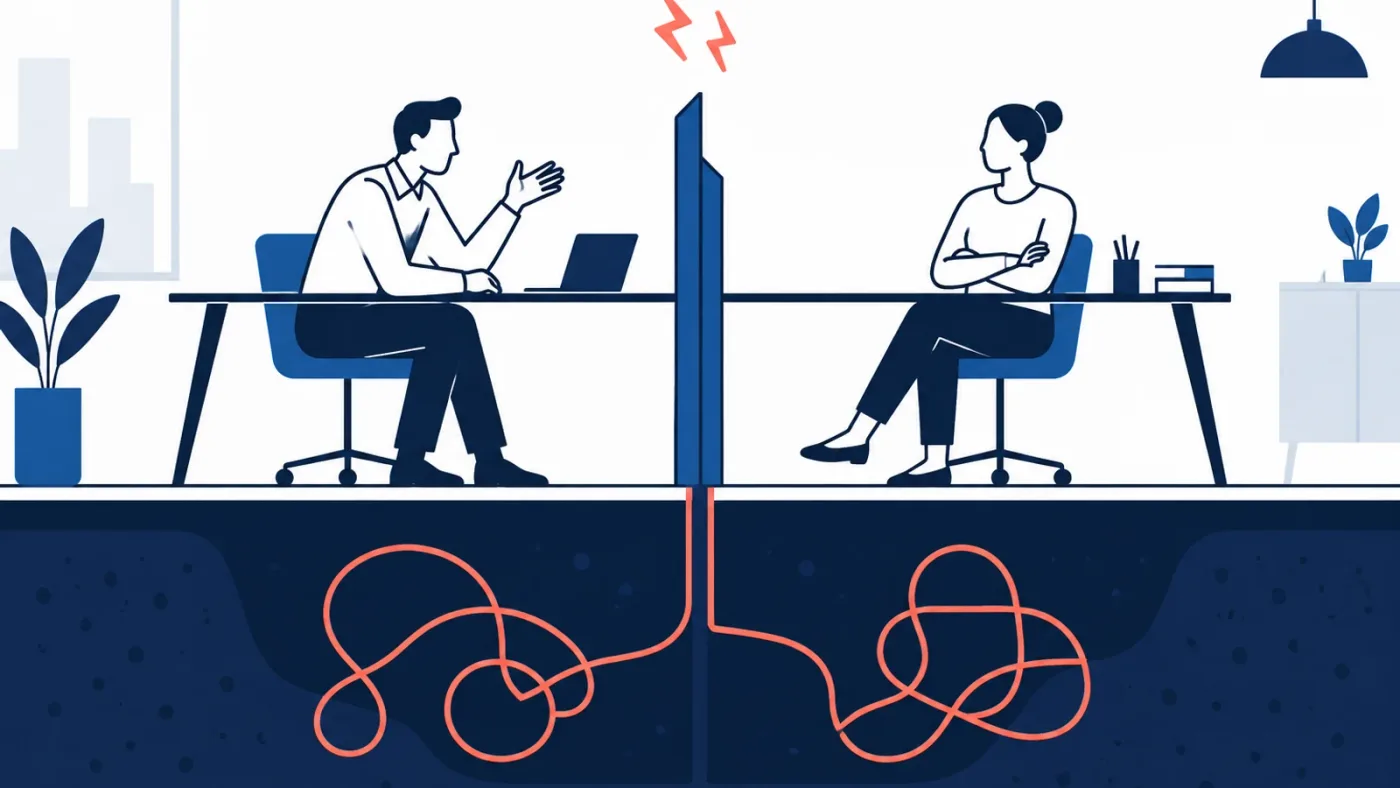
How do I reuse a project template in DaVinci Resolve for a new edit?
Open or import the master, make a new copy, rename the copy, and only then bring in the new project’s media. Check the timeline and project settings before you start cutting.
Here is the clean start routine I use as a teaching model:
- Open the Project Manager.
- Find the correct template by its full name.
- Confirm the template’s format and frame rate from the name or project information.
- Duplicate it, use Save Project As, or import the
.drpinto the intended library. - Rename the working copy with the client, episode, or job identifier.
- Open the working copy and confirm that the project name changed.
- Review Project Settings.
- Verify cache, proxy, and media locations.
- Import the new footage and audio into the correct bins.
- Replace generic placeholders.
- Duplicate the main template timeline if the master contains a reusable structure.
- Save and begin the edit.
The name check sounds trivial. It is not. If the title bar still shows TEMPLATE, stop. You are still in the master or in a copy that wasn’t renamed correctly. Fix that before you import anything.
What should happen to placeholder timelines?
Keep the placeholder timeline until you’ve used it to create the real timeline. Then duplicate it and rename the new timeline for the job. If the template contains a timeline with a generic intro, you can often duplicate the timeline, remove the old placeholder content, and keep the track structure and generic graphics that matter.
Don’t delete the setup timeline immediately. Use it as a reference until the project passes its first review. After that, remove it if it creates clutter, or keep it if the project is part of a repeatable series.
What should happen to the template’s bins?
Keep the bins that describe the workflow. Rename a bin only when the job requires it. Avoid importing everything into the root of the Media Pool because it defeats the reason the template exists.
A folder named 01_FOOTAGE is a starting point, not a promise that every camera card belongs in one pile. If you have multiple cameras, create 01_FOOTAGE/CAM_A and 01_FOOTAGE/CAM_B in the working project. Don’t turn the master into a camera-card archive.
What should happen to old markers and notes?
Delete client-specific markers from the master. Keep markers that teach the workflow, such as CHECK FRAME RATE or REVIEW COLOR MANAGEMENT. A marker that names an old client can be mistaken for a live instruction.
If the master uses markers as a checklist, give them a consistent color and name. Use text when the instruction matters. Color is helpful, but words are what make the template legible to somebody else.
Can a template contain a first timeline?
Yes. A first timeline is useful when every project starts with the same structure. It is risky when the format changes from job to job. A project template for a podcast can contain an interview timeline. A project template for mixed client work should probably contain a setup timeline and let the editor create the actual delivery timeline after checking the source.
How do I test the new copy?
Test it as if you were a new editor. Import one short video, one audio file, one still, and one generic graphic. Check the bins. Check the timeline. Check the viewer. Check the audio routing. Check the delivery page. Then close and reopen the project if that is part of your normal workflow.
The test is not a performance benchmark. It is a dependency check. You are asking whether the template opens into a usable project on the machine where the real work will happen.
Should I use Duplicate Project, Save Project As, or a DRP file?
Use a duplicate or Save Project As for a new job in the same library, use a .drp for a portable project structure, and use a .dra archive when the project must travel with selected media and dependencies. These options solve different problems.
| Goal | Best choice | What it preserves | What it does not solve |
|---|---|---|---|
| Start a new local job from a master | Duplicate Project or Save Project As | Project structure, settings, bins, and timelines | Missing external media, fonts, plug-ins, or paths |
| Move a clean template to another library | Export and import .drp | Project data and organization | Source video and audio |
| Move a project with its media | Export Project Archive .dra | Project plus selected archived contents | A careless archive selection or missing dependency |
| Reuse one edit structure inside the current project | Duplicate Timeline or export .drt where appropriate | Timeline layout and edit structure | Project-wide settings |
| Reuse one Fusion effect | Fusion template or macro workflow | The effect’s reusable setup | The whole project environment |
| Share color decisions | Gallery stills, PowerGrades, or project copy | Depending on the method, grades or stills | A complete project template |
Blackmagic’s training guides make the same basic distinction. The DaVinci Resolve 20 Colorist Guide describes .drp as a way to share project bins and timelines, .drt as a timeline format, and .dra as a project archive for the entire project and its contents. The labels in your version may change, but the scope of each format is the useful part.
The safest Resolve template is a versioned master plus a portable .drp copy.
When is Duplicate Project the right choice?
Use Duplicate Project when the master and the new project belong in the same library and the library is already part of your backup plan. It is quick, easy to find, and keeps the project inside Resolve’s normal organization.
It is not enough when you need to hand the template to another editor, send it to another computer, or preserve it outside the library. Export a .drp for those jobs.
When is Save Project As the right choice?
Use Save Project As when you have the master open and want to create the working copy immediately. It keeps you in the current workflow and makes the new name explicit.
The risk is human error. If you click Save instead of Save Project As, you modify the master. Slow down for the one menu choice that matters.
When is a DRP the right choice?
Use a .drp when the receiving Resolve installation can access or relink the media separately. It is small enough to move easily compared with a project archive, but its small size is also the warning: it does not contain the source media.
Blackmagic’s Resolve 20 Editors Guide gives a useful portable-file workflow: import from the Project Manager, drag the .drp into the Project Manager, or use File > Import Project. After importing, open the copy and verify the project name before you start editing.
When is a DRA the right choice?
Use a .dra archive when the project needs to travel as a package. Blackmagic’s beginner and colorist guides describe Export Project Archive as a way to consolidate the project file, timelines, and media into an archive for sharing or future retrieval.
An archive is not automatically a perfect backup. Check what you selected, where the archive was written, and whether the archive can be restored. If a template contains only empty bins and settings, a DRA may be unnecessary bulk. If it contains a licensed music bed, a custom graphic, and sample media required for a training exercise, an archive may be the honest choice.
When is a timeline template better?
Use a timeline template when you want to reuse an edit structure inside a new or existing project. This is useful for a standard intro, a podcast conversation layout, a branded end card, or a set of placeholder tracks.
Timeline reuse is smaller and more targeted. It doesn’t need to carry the entire project library environment. That makes it a good answer when the question is “How do I reuse this sequence?” rather than “How do I start every project with the same settings?”
A timeline template solves reuse inside a project, while a project template solves reuse across projects.
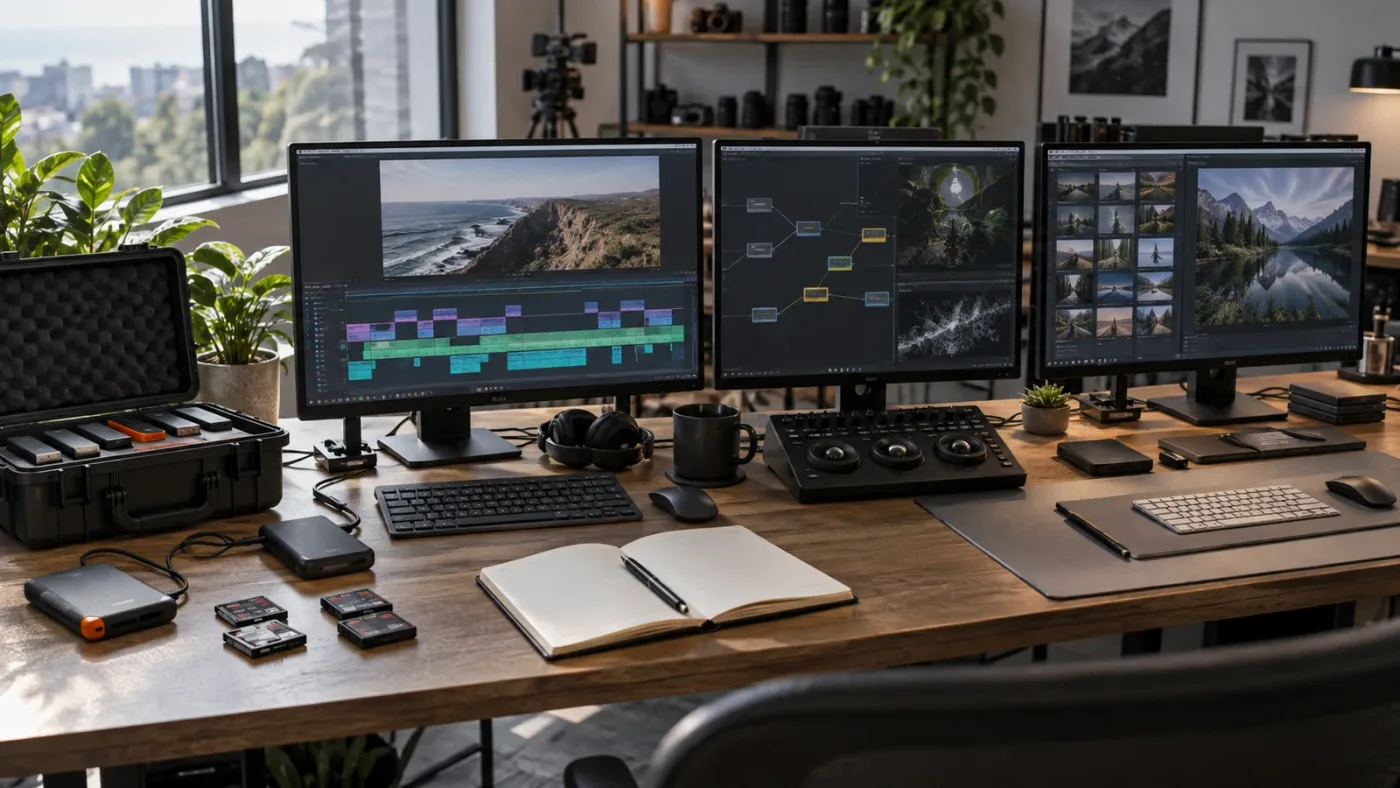
Why is my DaVinci Resolve project template missing media?
Your template is probably a .drp or a project-library copy, and those formats preserve project data without automatically carrying the source video and audio. Import or relink the media, or use a tested .dra archive when the media must travel with the project.
This is the most common template surprise because the project opens successfully. The bins exist. The timeline exists. The titles exist. The clips show as offline. Nothing is necessarily broken. The file you moved was never designed to contain the source media.
A template is not a backup.
Blackmagic’s Resolve 20 Editors Guide states that .drp files contain project setup and organization but not the media files. That means a .drp can preserve the map while leaving the territory somewhere else.
What should I do after importing a DRP?
First, identify whether the template was supposed to contain media. If the answer is no, import the new job’s media into the correct bins. If the answer is yes, look for the original media location, connect the drive, or use Resolve’s relink controls.
Next, check dependencies beyond media:
- Fonts used by titles and Fusion compositions.
- LUTs referenced by a grade.
- Third-party plug-ins used by effects.
- Still images and logos linked from another folder.
- Audio files used by generic intros or sample timelines.
- Cache and proxy files, which are performance aids rather than the source project.
The exact repair depends on the missing dependency. Don’t “fix” a missing logo by adding a random replacement to the master. Repair the working copy, then decide whether the master needs a documented, portable replacement.
When should I use an archive instead?
Use a project archive when the receiver needs the project and selected contents in one package. Blackmagic’s DaVinci Resolve 20 Beginners Guide shows the Project Manager archive workflow and explains that the archive contains the project file and copied media, while the original media remains in its original location.
An archive can be large. That is not a defect if the goal is a self-contained handoff. It is a poor choice if the goal is a small, reusable settings template.
Why did the graphics change after moving the template?
The graphics may depend on fonts, plug-ins, or external media that were present on the original system. A project file can remember the design without carrying every ingredient needed to reproduce it.
Create a dependency list in the setup timeline. Write the font names. Identify the plug-in. Note whether the graphic is native, Fusion-based, or linked to an external asset. This turns a mysterious offline element into a setup task.
Close the main fix section with the right expectation: Uncle can point at the exact button in your own Resolve project while you work if the missing-media path or import control is the part you can’t find.
Why is my template missing bins, timelines, or project settings?
The usual cause is that you copied the wrong level of the workflow. A timeline copy can’t reproduce every project setting, and a .drp imported into the wrong library can look different from the master because the receiving project or version has different dependencies.
Start by deciding what you copied:
| What you copied | What should come with it | What may remain outside it |
|---|---|---|
| A project duplicate | Project settings, bins, timelines, and project data | External media and dependencies |
A .drp | Project structure, settings, bins, and timelines | Media, fonts, plug-ins, and some external assets |
A .drt or timeline copy | A timeline and its edit structure | Project-level settings and unrelated bins |
| A Fusion template | A reusable Fusion effect | The project’s bins, delivery, and global settings |
A .dra archive | Project plus selected archive contents | Anything excluded or unavailable during archive creation |
Then check whether the source master was saved before you copied it. If the master had unsaved changes, the copy may reflect an earlier state. Resolve’s interface indicates edited or unsaved project state, so save before export or duplication.
Why are the bins present but empty?
Empty bins are usually a successful template result. The project template contains organization, not the future job’s media. Import new media into the bins rather than expecting the master to know which files belong in the next project.
If the bins themselves are missing, confirm that you copied the project rather than only the timeline. Then check that you opened the correct imported copy. Duplicate names are dangerous. Add a date, client, or version to working projects so you can identify the file you are looking at.
Why did the frame rate or resolution change?
Check the project settings in the working copy before importing media. Some project choices become consequential early in the project, and a timeline may have its own settings that differ from the project defaults. A template name that contains resolution and frame rate helps you spot an accidental mismatch before editing.
If the project comes from an older Resolve version, don’t infer compatibility from the filename alone. Open it in the intended version and inspect the project. Keep the original .drp untouched while you test a copy.
Why did the template open in the wrong project library?
A project library is a container for projects. The same project name can appear in more than one library, and the library that is active in the Project Manager controls what you see. If you use several local, network, or cloud libraries, confirm the library name before importing or copying.
The sibling guide on DaVinci Resolve project libraries and databases covers that distinction in more depth. The practical template rule is short: know where the master lives, and don’t trust a familiar thumbnail until you check the library.
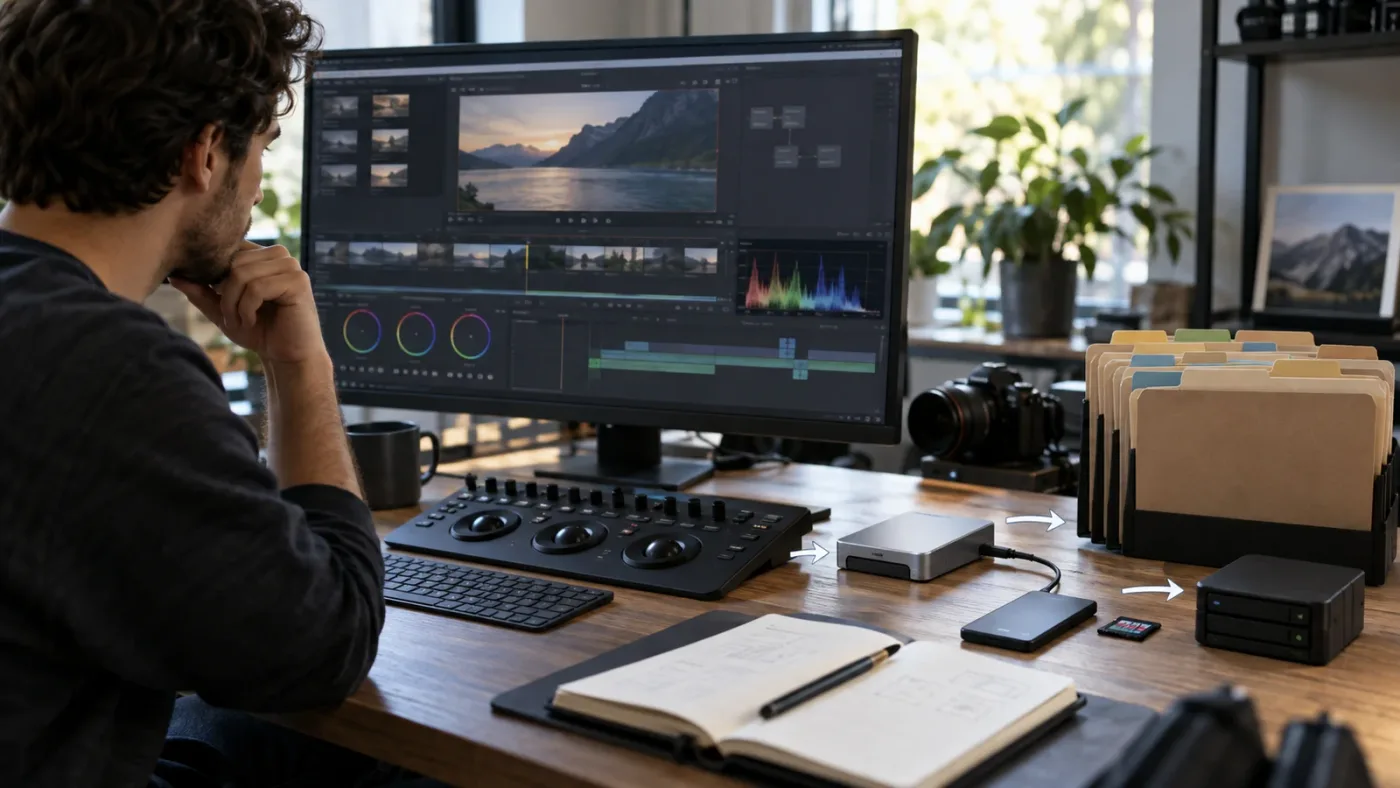
How do I create separate templates for YouTube, vertical video, and client work?
Create small purpose-built templates instead of one universal project that tries to cover every aspect ratio, frame rate, color workflow, and client convention. Separate templates make the starting decision visible.
Here is a practical three-template set:
The landscape publishing template
Use this for a recurring long-form channel or training series. Include the channel’s standard timeline format, bin structure, audio tracks, generic intro, subtitle or caption setup, and delivery checklist. Leave episode footage, music, guests, and titles out.
Name the output assumption. TEMPLATE - LANDSCAPE - 4K - 24fps tells the editor more than MASTER PROJECT.
The vertical social template
Use this for a project that begins in a portrait timeline. Include a vertical-safe title style, a caption area, and a short-form track structure. Don’t assume that a landscape project will crop cleanly into this format. A vertical template is valuable because the composition decision happens before the edit fills with footage.
You can still make a vertical version from a landscape project, but that is a separate creative decision. Don’t hide it behind a template button.
The client-neutral template
Use this when the client or source format is unknown. Keep the bins, naming convention, a setup timeline, and basic audio organization. Leave frame rate, color management, and output choices deliberately open or make the decision visible in the setup checklist.
This template is less automatic. That is its purpose. It gives the editor a clean room instead of choosing a technical path that the footage may not support.
Should I create one template per client?
Create a client-specific template when the client has stable brand assets, recurring delivery rules, and repeatable approval stages. Create a general template when those things change often.
A client template should not become a private archive. Keep the brand elements that are approved and reusable. Remove old campaign names, old talent, and old review comments. If the client changes its logo, update a new template version and retire the old one clearly.
Should I include an export preset?
Include a delivery preset when the destination and codec are stable and you review the preset regularly. Otherwise, include a delivery checklist that asks the editor to confirm resolution, frame rate, codec, audio, filename, and destination.
The template should reduce mistakes, not disguise them. A preset that silently exports the wrong frame rate is worse than a visible checklist.
Should a template include subtitles?
Include subtitle tracks, caption naming, and a review timeline if your workflow uses them every time. Don’t include old text. Use clear placeholder strings such as REPLACE CAPTION STYLE and remove them before export.
If your subtitle workflow varies by platform, create separate templates or keep the platform choice as a deliberate step. A single project can contain multiple subtitle conventions, but that makes the starting state harder to read.
How do I keep a project template safe across DaVinci Resolve 20, 21, and 21.1?
Keep the master versioned, export a known-good .drp, and test a copy in the Resolve version used for the next job. Don’t overwrite the only master during a version change.
As of September 2026, Blackmagic’s current support materials list DaVinci Resolve 21.1, and Blackmagic’s release announcement dates that update to September 8, 2026. Resolve 21.1 added many features, but a template page should focus on the project behavior you actually reuse rather than assuming every new feature belongs in the master.
Use a version label in the template name
Examples:
TEMPLATE - LANDSCAPE - 4K - 24fps - Resolve21.1
TEMPLATE - VERTICAL - 1080x1920 - 30fps - Resolve21
TEMPLATE - CLIENT NEUTRAL - BASE - Resolve20
The label tells you what was tested. It is not a guarantee that the project can never open elsewhere. It is a prompt to verify.
Keep old exports
When you update a master, export the previous version before changing it. Store the .drp beside a short text note that says what changed. The note might mention a frame-rate correction, a new subtitle track, or a replaced graphic.
Avoid overwriting every old file with template-final-final-2. Use a naming convention that describes the file:
ResolveTemplate_Landscape_4K_24fps_v03_2026-09-29.drp
The filename is long, but it answers three useful questions: which template, which revision, and when it was exported.
Test the template after an upgrade
Open a copy. Check the project settings. Check one timeline. Check one generic graphic. Check one audio path. Check one delivery preset. If the project depends on a plug-in, verify the plug-in. If the project depends on a font, verify the font.
Do not test by opening the only master and making random edits. Test the copy. If the update changes the project, decide whether to adopt the change, rebuild the master, or keep using the old version for active work.
What about collaboration and Blackmagic Cloud?
Cloud and multi-user workflows change where the project is stored and how people access it, but they don’t remove the need for template ownership. Blackmagic describes Cloud project libraries as a way to create and share Resolve projects, with options such as multiple users and storage synchronization in the cloud-project workflow.
For a shared template, define who can edit the master. If everybody can change it, the template will drift. Make a copy for each job, and reserve the master for intentional updates.
What about Mac, Windows, and Linux?
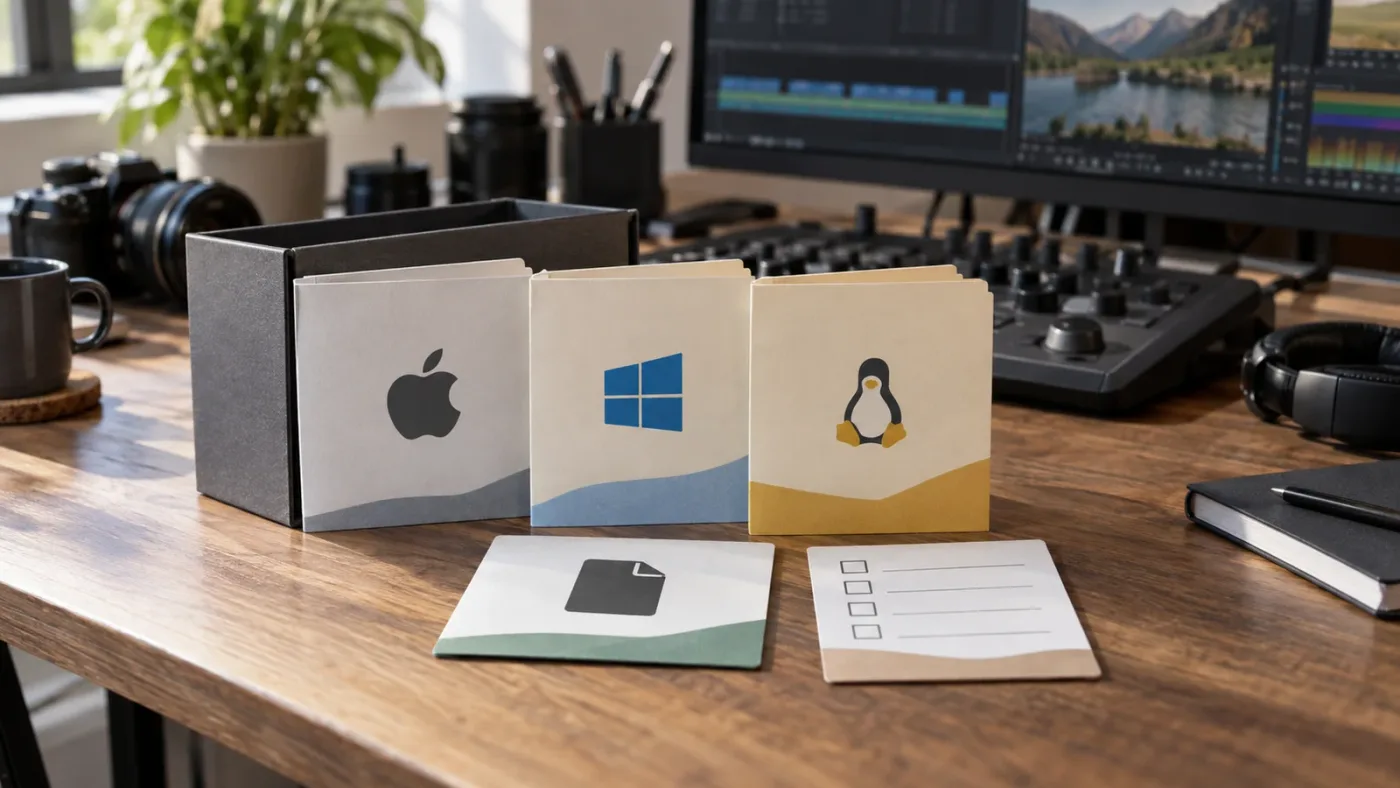
Blackmagic lists DaVinci Resolve 21 for Mac, Windows, and Linux on its product materials. A .drp can move between supported installations, but a project is not isolated from the operating system. File paths, fonts, LUT folders, plug-ins, and external drives can differ.
Treat cross-platform use as a dependency exercise. Put media in a shared or predictable location. Use common fonts or document replacements. Confirm that the receiving computer has the effects and plug-ins the project uses. Then open a copy and relink deliberately.
Can I use a timeline, Power Bin, or Fusion template instead of a project template?
Yes, if you only need to reuse a smaller part of the workflow. Choose the smallest reusable object that solves the problem: project for project-wide defaults, timeline for edit structure, Power Bin for shared media, Fusion template for an effect, and archive for a self-contained package.
Project template versus timeline template
A project template gives you the room around the edit. It can preserve project settings, bins, timelines, audio structure, and delivery assumptions. A timeline template gives you the edit shape itself.
Use a timeline when you want an intro and outro sequence that can be copied into many projects. Use a project when every new job should open with the same settings and organization.
Project template versus Power Bin
A Power Bin is useful for sharing media elements across projects in a project library, such as logos, approved music, generic title elements, or stock clips your team is allowed to reuse. It is not a replacement for project settings or a project-level template.
If the goal is “make this approved logo available everywhere,” look at shared media organization. If the goal is “start every new project with the same 4K 24 fps timeline and bins,” use a project template.
Project template versus Fusion template
Fusion templates are for reusable visual effects or compositions. Blackmagic’s Fusion materials describe creating effects that can be saved as templates and used on the Edit or Cut page. That is excellent for a branded title, an animated callout, or a repeatable effect.
It doesn’t replace a project template because the effect doesn’t define the project’s media organization, timeline defaults, or delivery setup.
Project template versus archive
An archive is for moving or preserving a project with selected content. It may contain much more than a reusable blank template. Use it when contents must travel together. Use a .drp when project structure is enough.
A quick choice rule
Ask what you want to reuse:
| If you want to reuse... | Choose... |
|---|---|
| Frame rate, resolution, color setup, bins, and tracks | Project template |
| An intro, outro, or standard sequence | Timeline template |
| A logo, approved asset, or shared clip | Power Bin or shared media workflow |
| A title, transition, or visual effect | Fusion template or macro workflow |
| A project with media and dependencies | Project archive |
The smallest tool is usually easier to understand and easier to repair. Don’t create a project template when one timeline would do.
How do I prevent a template from creating project corruption or clutter?
Keep the master small, remove unused assets, separate active jobs from templates, and retain a tested export outside the working library. A template becomes risky when it carries hidden complexity that every new project inherits.
The project-manager structure is useful, but it can also hide what the project contains. Review the master periodically. Open the bins. Check the timelines. Look for media that is no longer available, effects that are no longer installed, and markers that refer to a person or project from the past.
The related guide on how to prevent DaVinci Resolve project corruption is the better destination for a broader safety plan. For the template itself, use these rules.
Keep the template lean
Remove cache, proxies, obsolete render files, and sample material you don’t need. A clean template opens faster and presents fewer mysteries. If a sample file teaches a process, keep one clearly labeled example, not an entire old production.
Separate working projects from masters
Use a TEMPLATES folder and a separate folder for active work. Put the template name first so it sorts predictably. Don’t move a working project back into the master folder because it feels tidy. Keep the categories meaningful.
Avoid simultaneous edits to the master
If two people need different changes, duplicate the master and compare the proposed versions. Don’t ask both people to edit the only master while a production project depends on it.
Preserve a recovery copy
Export the master as .drp after every deliberate revision. Store it where the team can find it, and verify that the file can be imported. The point of a recovery copy is not to exist. The point is to be usable when the library is unavailable.
Archive only when it solves a real problem
The Resolve project archive workflow is designed to copy a project and its media into an archive. That is valuable for a self-contained job, but it is unnecessary for a blank settings template. Choose the package size that matches the handoff.
Is an app that helps you while using DaVinci Resolve useful for template setup?
An on-screen assistant is useful when you know what you want to do but cannot find the relevant Project Manager command, Project Settings control, or import option in your Resolve version. It complements documentation and practice; it doesn’t replace the decision about what your template should contain.
TryUncle is the on-screen assistant for DaVinci Resolve on Mac and Windows. Ask in plain words and Uncle points at the exact control on your screen.
That distinction matters. A guide can tell you to use Save Project As. An on-screen assistant can help when your current screen looks different, when you’ve opened the wrong panel, or when you’re unsure where the project-library control is. The master-project decision still belongs to you.
If you’re comparing an AI tool to learn DaVinci Resolve with an AI editor that changes a timeline, keep the jobs separate. Sottocut describes a local-first assistant editor for an open Resolve project that scores footage, proposes edits, and verifies changes. Eddie AI describes importing clips and timelines from Resolve, building rough cuts in its app, and sending edits back to Resolve. CutAgent positions itself as an agent that can plan and execute DaVinci Resolve editing workflows. PremiereCopilot is a text-to-edit tool for Adobe Premiere Pro, so it is a relevant automation comparison but not a direct Resolve template solution.
Those tools may be useful when the problem is repetitive editing. They are not interchangeable with a learning guide or a project template. A project template gives you a repeatable starting state. An editor agent may perform or propose operations. An on-screen assistant such as Uncle helps you find the control and understand the workflow while you remain in Resolve.
We built and run a 100,000+ member professional video-editing community, and we’ve taught and worked with Fortune 500 companies. In that environment, the useful question is rarely “Can Resolve save a template?” It is “Which part of this workflow should become a reusable default, and which part must stay a fresh decision?”
If you want help while you build the template, TryUncle can point at the control on your Mac or Windows screen while you follow the steps.
What is the best way to learn DaVinci Resolve template workflows?
The best way to learn a Resolve template workflow is to build one small master, create a copy, and test the copy with real sample media. Blackmagic’s official training material and guides are useful for learning the software’s model, while a working template teaches you which decisions your own projects repeat.
You don’t need to choose between documentation, video courses, and practice. Use each for a different job:
| Learning source | Good for | Limitation |
|---|---|---|
| Blackmagic Design manuals and training | Official terminology, project libraries, timelines, settings, and archives | The information is broad, so you still need to design your workflow |
| A focused YouTube tutorial | Seeing a specific sequence of clicks | The screen may show a different Resolve version or a different project goal |
| A course with project files | Guided practice with a complete example | The course project is not automatically the right master for your work |
| A community forum | Edge cases and alternate workflows | Advice can depend on version, operating system, and the author’s setup |
| A screen-aware assistant | Finding the control while you work in your own project | It cannot choose your production rules or verify a license and dependency |
Blackmagic’s official training page is a sensible starting point for the vocabulary behind projects, timelines, and media management. If you learn best from Casey Faris or another editor on YouTube, use the video to observe the clicks, then rebuild the result in your own clean project. If you prefer Udemy or Coursera, choose a course whose project files and version match your needs, and treat the supplied files as learning material rather than a permanent master.
The phrase “learn DaVinci Resolve fast” can make template work sound like a shortcut around fundamentals. It isn’t. A template helps you practice the same useful structure repeatedly, which is better than copying a tutorial project you don’t understand. The goal is not to avoid learning. The goal is to stop spending learning time on the same empty setup.
“Best way to learn DaVinci Resolve” is therefore a workflow question. Read the official explanation, watch one focused demonstration, build a small version, make one change without the tutorial, and then use the template on a real but low-risk project.
What should I check before I trust a DaVinci Resolve project template?
Before trusting a template, make a working copy and verify its name, library, settings, bins, timelines, dependencies, and delivery path with sample media. A template is ready when it makes a new project clearer, not merely when it opens.
Use this acceptance check:
Identity
- Does the master name say what format and frame rate it expects?
- Is the working copy visibly different from the master?
- Is the version or review date clear?
Project setup
- Does the timeline resolution match the intended work?
- Is the frame rate correct for that template?
- Is color management intentional?
- Are image scaling and audio settings sensible?
- Are the cache and media locations visible and editable?
Organization
- Are the bins named by purpose?
- Is there a dedicated timeline bin?
- Is the setup timeline clearly marked?
- Are tracks named and limited to what the workflow needs?
- Are client-specific files absent?
Creative dependencies
- Do generic titles use placeholder words rather than old client names?
- Are fonts available on the receiving machine?
- Are plug-ins and LUTs documented?
- Are logos and sample graphics licensed and portable?
Delivery
- Does the delivery page open with the expected format?
- Is the export destination safe for the current computer?
- Are temporary guides or sample clips marked for removal?
- Does a short test export produce the expected result?
Portability
- Can the
.drpbe imported into a second project library? - Does the receiving copy show the expected bins and settings?
- Can missing media be relinked without editing the master?
- If a
.drais required, can the archive be restored?
The most valuable test is the one that catches a false sense of readiness. Import sample media. Replace a placeholder. Change a title. Make a short export. Then reopen the project. If the workflow still makes sense, the template is doing its job.
How do I maintain a project template after the first version?
Review a template when the production workflow changes, not every time you finish a random edit. Create a new version, test it, and retire the old version deliberately. That keeps the master understandable and gives active projects a stable starting point.
Use a change log
Keep a short note in the setup timeline or beside the exported .drp files:
v03 - 2026-09-29
- Changed vertical template frame rate after delivery review.
- Replaced old lower-third placeholder.
- Added CHECK MEDIA STORAGE marker.
This is enough. The change log exists to explain why the master changed, not to become another document nobody reads.
Review after a real project
After finishing an edit, note which setup step you repeated. If the same step appears in every project, consider adding it to the template. If a template setting caused confusion twice, remove it or make the choice more visible.
Do not add every fix to the template. A one-off problem is not automatically a reusable default. Add a rule when the problem repeats and the rule applies to the template’s intended scope.
Retire old versions
Keep old versions when active projects still depend on them or when you need a record of a delivered workflow. Move obsolete versions out of the main Templates folder. Put RETIRED in the name instead of deleting a file that may still be referenced.
Know when to split the template
Split one master into two when it needs conditional instructions for different formats, camera sources, and delivery targets. A short list of templates is easier to use than one master with ten warnings.
The best template is not the one with the most assets. It is the one that gives the next project a clear first move.
What is the final workflow for creating a DaVinci Resolve project template?
Build one clean master, configure only stable choices, make the structure obvious, save it in a protected location, export a portable .drp, and test a duplicate before using it on real work.
Use this compact sequence:
- Decide what kind of projects the template supports.
- Create a blank Resolve project with a clear name.
- Set the timeline, frame rate, resolution, color, audio, and scaling choices that truly repeat.
- Build small bins and named tracks.
- Add a setup timeline and generic elements only when they are portable and approved.
- Remove client footage, old titles, cache, proxies, and temporary files.
- Save the master and enable the save and backup behavior you need.
- Duplicate the project or use Save Project As for a test job.
- Import sample media, replace placeholders, and test a short export.
- Export the tested master as a
.drpand label the version. - Keep the master unchanged while you work in the new project.
- Review the template when the workflow changes, then publish a new version.
The best answer to “how to create a project template in DaVinci Resolve” is not a hidden preset or a complicated automation layer. It is a clean project with a clear boundary between what should repeat and what should be decided again.
Make that boundary visible. Your future projects will start faster, and your future self will have fewer mysteries to solve.
Frequently asked questions
- How do I create a project template in DaVinci Resolve?
- Build and clean a master project, configure the settings and reusable structure, save it with a clear TEMPLATE name, and duplicate it for each new job. Use a .drp export if the template must move between project libraries or computers.
- Does a DaVinci Resolve project template include media?
- A .drp project file includes project organization, timelines, settings, and references to imported clips, but not the source video or audio. Use Export Project Archive when you need a self-contained copy with selected media.
- What is the difference between a project template and a timeline template in Resolve?
- A project template is a reusable starting project with settings, bins, timelines, and other project-level structure. A timeline template is a reusable edit structure inside a project, so it is better for copying an intro, track layout, or graphics sequence.
- Why is my DaVinci Resolve template missing media?
- The template probably contains project data without source media, which is normal for a .drp. Import the media into the new project and relink it, or create and restore a .dra archive when the template really needs bundled media.
- Can I use the same Resolve project template on Mac and Windows?
- Yes, a .drp can be imported on supported Mac, Windows, and Linux installations, but the source media, fonts, LUTs, plug-ins, and file paths still need to be available or relinked on the other computer.
Sources
- Blackmagic Design DaVinci Resolve 21.1 support and manuals
- Blackmagic Design announces DaVinci Resolve 21.1
- DaVinci Resolve 20 Editors Guide
- DaVinci Resolve 20 Beginners Guide
- DaVinci Resolve 20 Colorist Guide
- DaVinci Resolve 21 New Features Guide
- Blackmagic Design DaVinci Resolve product page
- Blackmagic Design Fusion product information
- Blackmagic Design DaVinci Resolve training
- Blackmagic Cloud guide for creating a cloud project
- Sottocut for DaVinci Resolve
- Eddie AI DaVinci Resolve workflow
- CutAgent for DaVinci Resolve
- PremiereCopilot text-to-edit workflow
- TryUncle learning hub
Learn by doing, not watching
Stop translating tutorials to your timeline.
TryUncle stays beside Resolve on Mac and Windows. When you ask, Uncle sees your screen and points at the exact control you need. No hunting through tabs, timestamps, or mismatched tutorials.
Meet TryUncleKeep reading
 GuidesAug 12, 202642 min read
DaVinci Resolve Project Library vs Database: What's Different?
DaVinci Resolve Project Library vs database explained: old vs new terms, storage types, projects, media, backups, collaboration, and migration.
 GuidesJul 12, 202638 min read
How to Archive a DaVinci Resolve Project Without Losing Media
The right way to archive a DaVinci Resolve project so every clip travels with it: Export Project Archive vs Media Management vs Backups, compared.
 FixesJul 16, 202630 min read
How to Prevent DaVinci Resolve Project Corruption
The real causes of DaVinci Resolve project corruption, from cloud-synced databases to power loss, and the exact habits that prevent it in 2026.