
Learn / DaVinci Resolveupdated for DaVinci Resolve 21.0.3 (July 2026)
DaVinci Resolve Workflow for Editing OBS Stream Recordings
Quick answer
The DaVinci Resolve workflow for editing OBS stream recordings starts before you record: match OBS's frame rate to your timeline, split mic and game audio onto separate tracks, then organize footage by session, fix any drift, sync tracks in Clip Attributes, rough-cut on the Cut page, duck audio, and export per platform.
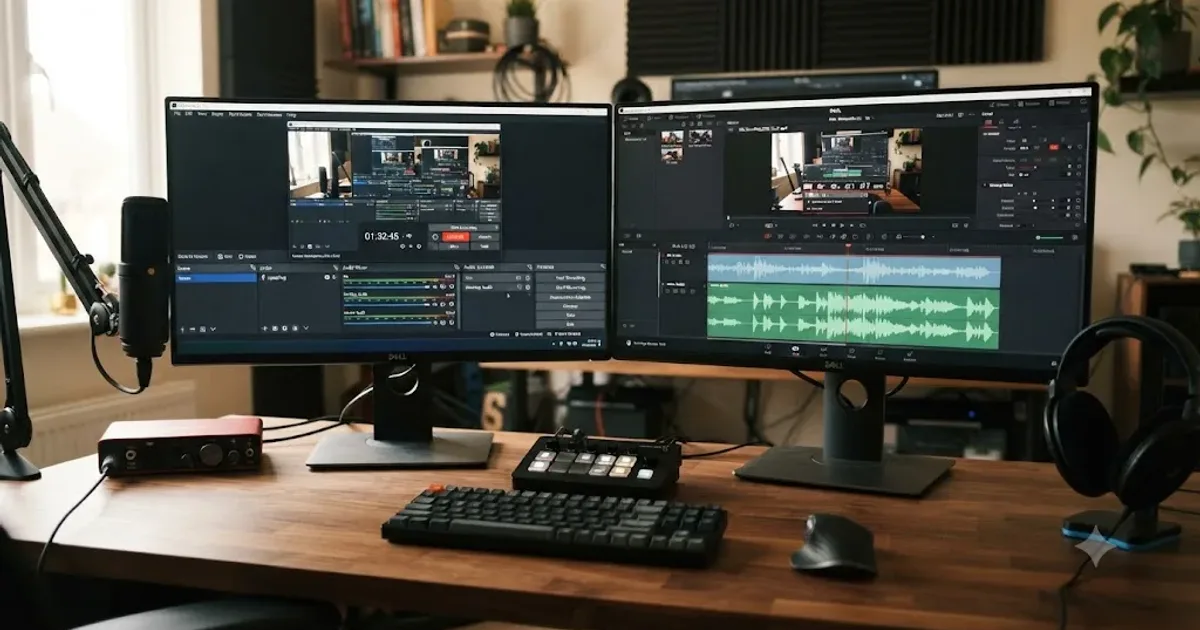
I've spent seven years cutting commercial video for a living, and one of the messiest files that ever landed on my timeline wasn't from a camera. It was a three-hour OBS recording of a client's live product demo: mic and system audio baked into one track, picture drifting further from sound every time I scrubbed past the one-hour mark. Untangling it took longer than the demo itself ran. The workflow that prevents that mess takes about ten minutes, done once, before you ever press record.
This guide is that workflow: the OBS settings, the DaVinci Resolve settings, and the order to run them in, so an OBS stream recording, gameplay, a podcast, a coaching call, a software walkthrough, a full multi-hour stream, imports clean, syncs clean, and cuts fast. We also run a 100,000+ member professional video-editing community, and some version of "why won't my OBS recording sync in Resolve" comes up in it constantly. As of July 2026, every setting below is current for DaVinci Resolve 21.0.3, sourced to Blackmagic Design's own documentation, OBS Project's own knowledge base, or a named source, never guessed at.
Why is editing an OBS recording different from editing camera footage in DaVinci Resolve?
An OBS recording is a software capture with its own frame-timing and audio-mixing behavior, not a camera file, and DaVinci Resolve's defaults are built around the assumption that whatever lands in the Media Pool came from a camera with a fixed, honest frame rate and one clean audio track. That assumption breaks in two specific, predictable ways with OBS footage, and both have real fixes covered later in this guide.
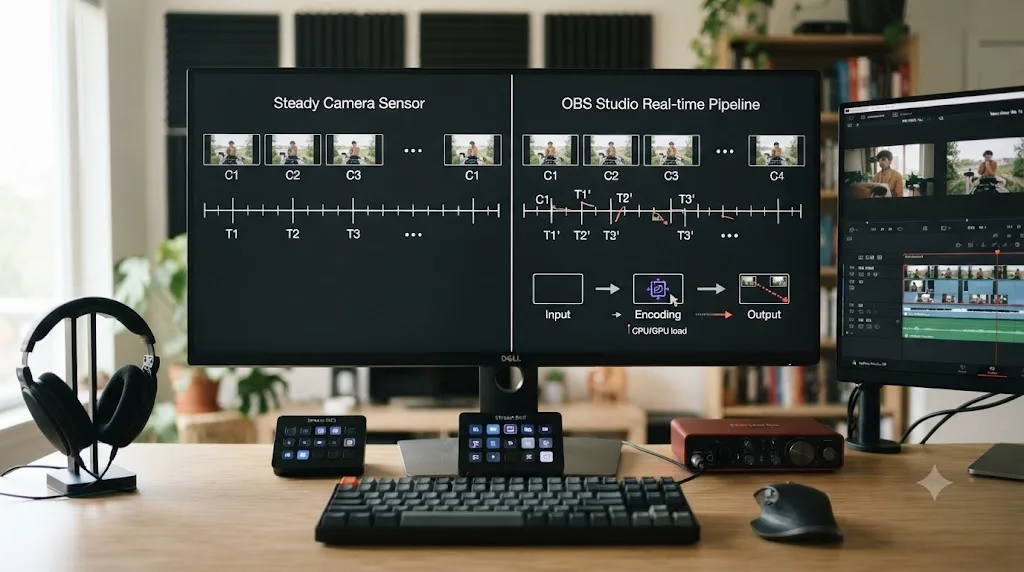
The first break is timing. A camera's sensor reads out frames at a genuinely fixed interval, so a 30fps camera file is 30fps for its entire length, no exceptions. OBS is a real-time software encoder running on a shared CPU and GPU, and it prioritizes keeping your actual stream or recording smooth over guaranteeing perfectly even frame spacing. DaVinci Resolve expects a constant frame rate to keep audio aligned to picture, and OBS makes no hard promise that every recording delivers one. The second break is audio structure. A documentary shoot usually arrives with one clean production audio track per source. An OBS recording of a stream, a podcast, or a screen-recorded tutorial frequently has two audio sources, your voice and whatever the software or game is making sound, that were never recorded as separate files the way a lav mic and a camera usually are.
| Factor | Typical camera footage | OBS stream recording |
|---|---|---|
| Frame timing | Fixed by the sensor, genuinely constant | Software-encoded in real time; can drift slightly even at a fixed target rate |
| Audio sources | Usually one clean production track | Often two or more (mic, game or desktop, sometimes Discord) mixed or multi-tracked in one file |
| Container format | Usually a single well-supported codec (ProRes, H.264) | MKV, MP4, or Hybrid MP4, with encoder and audio codec choices that matter for editing compatibility |
| Corruption risk | Low outside of card failure | Higher if OBS or the PC crashes mid-recording, unless you picked a resilient container |
| Recording length | Minutes to a couple hours | Frequently 1 to 6+ hours in one continuous file |
None of this means DaVinci Resolve handles OBS footage worse than camera footage. It means the same core tools, project settings, audio routing, footage triage, apply to a fundamentally different kind of source file, and getting the order right matters more here than it does on a single-camera interview. That order is what the rest of this guide walks through, starting with the settings you choose before you ever open Resolve.
What OBS recording settings should you use before you ever open DaVinci Resolve?
Set your recording format, encoder, and frame rate in OBS to match what you'll edit in, since every fix covered later in this guide is cheaper to prevent at the recording stage than to repair after the fact. A widely referenced OBS configuration guide aimed specifically at editors finishing in Resolve lays out a specific, concrete set of values worth using as your starting point.
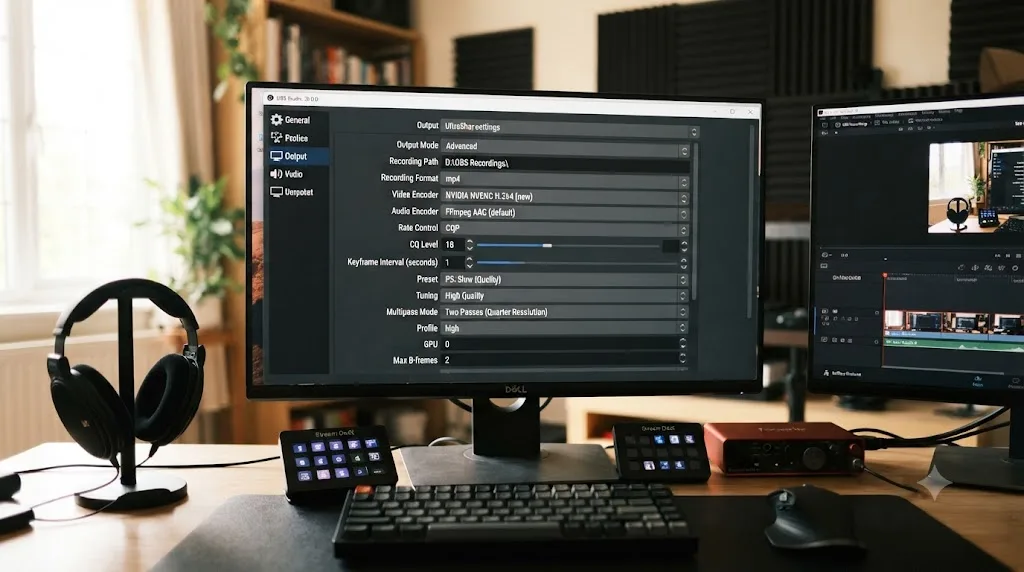
That guide recommends a hardware encoder, NVIDIA NVENC, AMD's hardware encoder, or Intel QuickSync depending on your GPU, set to CQP (Constant Quantization Parameter) rate control with a "CQ Level" between 15 and 20, where a lower number means higher quality at a larger file size. It also recommends a keyframe interval of 1 to 2 seconds specifically because DaVinci Resolve needs regular keyframes to scrub smoothly through the timeline, according to Best OBS Settings for DaVinci Resolve. For audio, the same guide recommends Linear PCM, an uncompressed, high-fidelity codec well suited to post-production editing rather than a lossy codec meant purely for streaming efficiency.
| Setting | Recommended value | Why it matters for editing |
|---|---|---|
| Video encoder | Hardware encoder (NVENC, AMD HW, or QuickSync) | Faster encode, frees your CPU during a live stream |
| Rate control | CQP | Constant quality target rather than a fluctuating bitrate |
| CQ Level | 15 to 20 | Balances editing-grade quality against file size |
| Keyframe interval | 1 to 2 seconds | Resolve needs regular keyframes to scrub the timeline smoothly |
| Audio codec | Linear PCM (or FLAC/AAC for smaller files) | Uncompressed audio edits and grades more predictably than a lossy stream codec |
| Frame rate | Match your Resolve timeline exactly | Prevents the conform and drift problems covered later in this guide |
| Color space | Rec.709, Limited range | Matches what most delivery platforms and DaVinci Resolve's default expect |
Resolution follows your actual capture setting, not your monitor's native resolution. A lot of streamers capture at 1080p even on a 1440p or 4K display, since that keeps encoding overhead manageable while the stream is actually live, and there's no reason to build a 4K DaVinci Resolve timeline around 1080p source material. Whatever you pick, write it down somewhere you'll actually check before your next session, since the entire next section of this guide exists because that one number, frame rate, is the setting streamers change without noticing most often.
Every setting in this table costs nothing to get right the first time and costs real editing hours to fix after a long recording is already in the can. OBS doesn't warn you when a setting is wrong for editing purposes, because none of these settings hurt your live stream. They only matter once you sit down to cut.
Should you record in MKV, MP4, or Hybrid MP4 if you're editing in DaVinci Resolve?
Record in Hybrid MP4 if your OBS version supports it, and fall back to MKV if it doesn't, since both protect a long recording from a crash in a way that standard MP4 cannot. This decision matters more for OBS recordings than for almost any other footage type in DaVinci Resolve's typical workflows, because a multi-hour recording session has more time in it for something to go wrong.
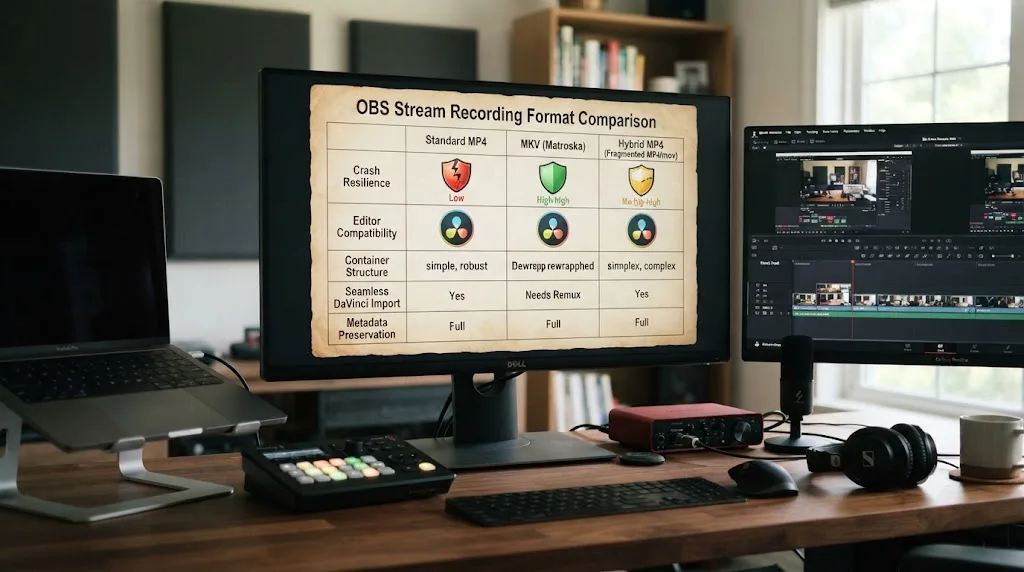
Standard MP4 and MOV files write crucial indexing information only after the recording finishes cleanly. According to OBS Project's own Audio/Video Formats Guide, these formats "require 'finalisation' of a file to be playable," so if OBS, your PC, or your power crashes mid-recording, "the entire MP4 becomes unusable," in the words of independent reporting on the same tradeoff. MKV avoids this entirely: it's "failsafe," according to the same OBS Project guide, meaning "an unfinished recording due to power loss or other causes will remain playable and recoverable." The tradeoff historically was that MKV needed a remux, a fast, lossless repackaging step, into MP4 before some editors and platforms would accept it cleanly.
OBS Studio 30.2 removed that tradeoff for most editors with Hybrid MP4, a format that writes as a fragmented file during recording and finalizes itself through a process OBS calls a "soft-remux," producing "the resilience of fragmentation with the wider compatibility of a regular file," according to OBS Studio's 30.2 release notes. Rodney, writing on the OBS Project blog about why the format exists, put the core idea plainly: "It's resilient against data loss like MKV, but widely compatible like regular MP4." Hybrid MP4 became the default recording format on Windows and Linux, with a parallel Hybrid MOV format for macOS added in OBS 32.0, according to OBS Project's Hybrid MP4 & Hybrid MOV documentation.
| Format | Crash resilience | Editor compatibility | When to use it |
|---|---|---|---|
| Standard MP4/MOV | Low; an interrupted file can become fully unplayable | High, no remux needed | Short recordings where you'll babysit the session and crash risk is low |
| MKV | High; stays playable even if writing is interrupted | Moderate; sometimes needs a remux or a codec conversion for reliable Resolve import | Long unattended sessions on OBS versions before Hybrid MP4/MOV |
| Hybrid MP4 (OBS 30.2+, Windows/Linux default) or Hybrid MOV (OBS 32.0+, macOS default) | High, same resilience as MKV | High, same compatibility as standard MP4, no remux step | The current default recommendation for most editors finishing in DaVinci Resolve |
If you're still on an older OBS version or recording to plain MKV by choice, let OBS's automatic remux-to-MP4 feature run once the recording finishes, since that repackaging is lossless and instant compared to a full re-encode. If DaVinci Resolve still has trouble with the specific codec combination inside an MKV, that's a decoder problem covered in the troubleshooting section further down this guide, not a reason to give up on MKV's crash safety altogether.
How do you split mic and game or desktop audio into separate tracks in OBS?
Set this up in OBS's Advanced output mode before you record, not after, since the split happens at the recording stage and can't be recovered from an already-mixed file. This is the single OBS-specific workflow decision that saves the most editing time later, and it costs one settings change made once.
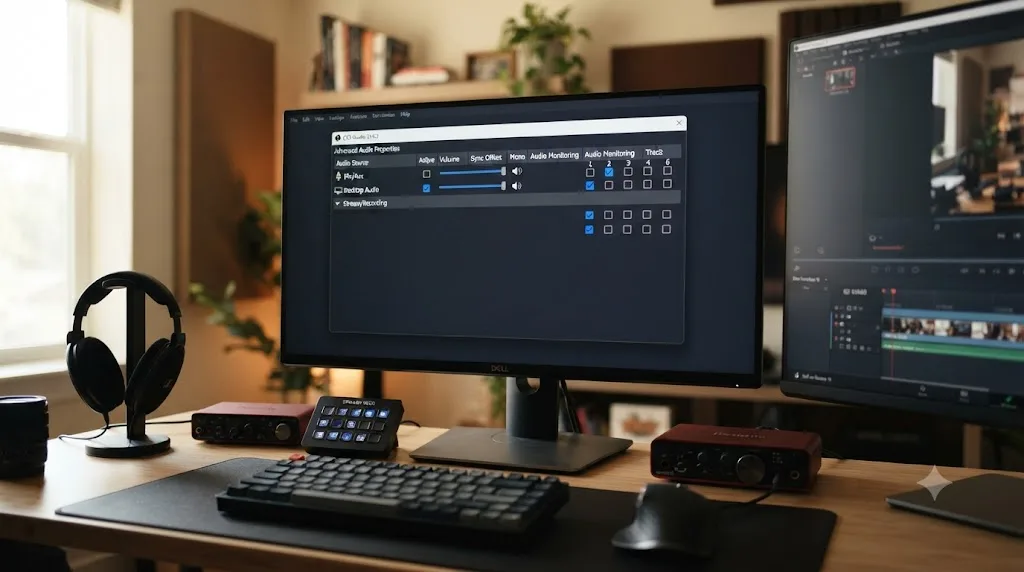
OBS Studio can record up to six separate audio tracks into a single output file, according to OBS Project's Multiple Audio Track Recording Guide. To use this, switch Output Mode to Advanced in Settings, open the Output tab's Recording section, and check the boxes for however many tracks you want to record, typically two: one for everything that should play back normally on any device, and a second isolated to just your mic. From there, open Advanced Audio Properties, accessible from the gear icon in the Audio Mixer dock, and for each source, tick which track or tracks it should record to. The same guide is direct about the tradeoff: "all standard video players will only play back one audio track at a time so if you are not planning on processing every video through an editor before publishing it, send all of your audio sources to track 1." If you know you're editing in DaVinci Resolve afterward, that tradeoff doesn't apply to you; split the tracks.
A practical, common setup for a gaming or commentary stream: assign your microphone to track 1 and track 2, and assign desktop or game audio to track 1 only. Track 1 becomes your normal, everything-mixed-together reference file, useful for quickly reviewing a session without opening an editor. Track 2 becomes an isolated mic-only file, embedded in the same recording, that DaVinci Resolve can pull out on its own once you're ready to duck or clean it up separately from the game or desktop sound.
| Track | What to assign | Why |
|---|---|---|
| Track 1 | Everything mixed (mic + game/desktop + any co-host or Discord audio) | A normal, playable-anywhere reference of exactly what the stream sounded like |
| Track 2 | Mic only | Isolated dialogue for ducking, the Dialogue Leveler, or noise cleanup without touching game audio |
| Track 3 (optional) | Game or desktop audio only | Isolated game sound if you want to remix its level independently rather than relying on track 1's balance |
| Track 4+ (optional) | A co-host's Discord feed, alert sounds, or any other source you'd want isolated later | Anything you might need to mute, replace, or adjust on its own during the edit |
Splitting mic and game audio into separate OBS tracks costs one extra checkbox before you record and saves an entire afternoon of manual audio separation after. Once your session is recorded with everything mixed into a single track, there's no clean way to pull the mic back out from underneath the game sound. The split has to happen at capture time, which is exactly why this section comes before the rest of this guide's editing steps rather than after them.
How does DaVinci Resolve handle a file with multiple embedded audio tracks from OBS?
DaVinci Resolve imports a multi-track OBS recording as one clip with several embedded audio channels, not as a file that's automatically split into separate timeline tracks the moment you drop it in. That distinction confuses a lot of editors seeing this for the first time, since the Media Pool and the Inspector don't make it obvious that a second channel is even present until you go looking for it.
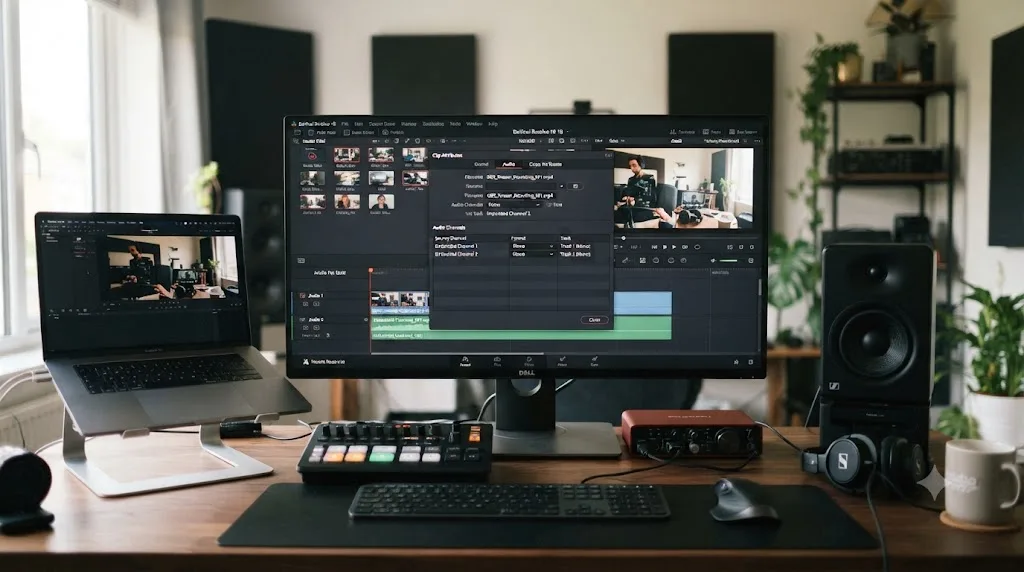
This is a common enough stuck point that it shows up repeatedly in OBS's own community forums, with one thread specifically about pulling separated mic and game audio into Resolve. The fix lives in Clip Attributes, not in any OBS setting: right-click the clip in the Media Pool, choose Clip Attributes, and open the Audio panel. According to DaVinci Resolve's own reference manual, "a set of controls at the top of the Track/Channel list lets you add additional tracks to a clip," and the manual walks through exactly this scenario: set the first track to Mono using the first embedded channel, then use the Add controls to create additional Mono tracks and remap the remaining embedded channels onto them, one channel per new track.
The payoff for doing this correctly is concrete and worth quoting directly, since it's the entire reason this step exists: "Editing such a clip into the Timeline results in five linked audio items appearing on five separate audio tracks, each of which can be edited separately in the Timeline," according to the same manual. Substitute "two" for "five" if your OBS session recorded a simple mic-plus-game split, and you've got exactly the outcome you want: a mic item and a game-audio item, linked to the same picture, sitting on two separate Fairlight tracks you can duck, mute, or clean independently.
- Right-click the imported clip in the Media Pool and choose Clip Attributes.
- Open the Audio panel.
- Confirm the first track is set to Mono, mapped to the first embedded channel.
- Use the Add Track controls to create one new Mono track per additional embedded channel your OBS recording contains.
- Remap each embedded channel to its corresponding new track.
- Edit the clip onto the Timeline. Each track now appears as its own linked audio item.
If you did the split correctly in OBS but Resolve still shows only the mixed track, the most common cause is recording without actually checking the second track's box in Output settings before you hit record, not a Resolve import bug. Confirm both the track count in OBS's Output settings and the per-source track assignment in Advanced Audio Properties matched what you intended before troubleshooting Resolve's side of the import.
Why does OBS footage drift out of sync in DaVinci Resolve?
Almost always variable frame rate, not a genuine bug in either program. This is the single most common OBS-specific complaint in editor forums, and it's worth understanding the mechanism once so you can diagnose it in thirty seconds instead of an hour of guessing.
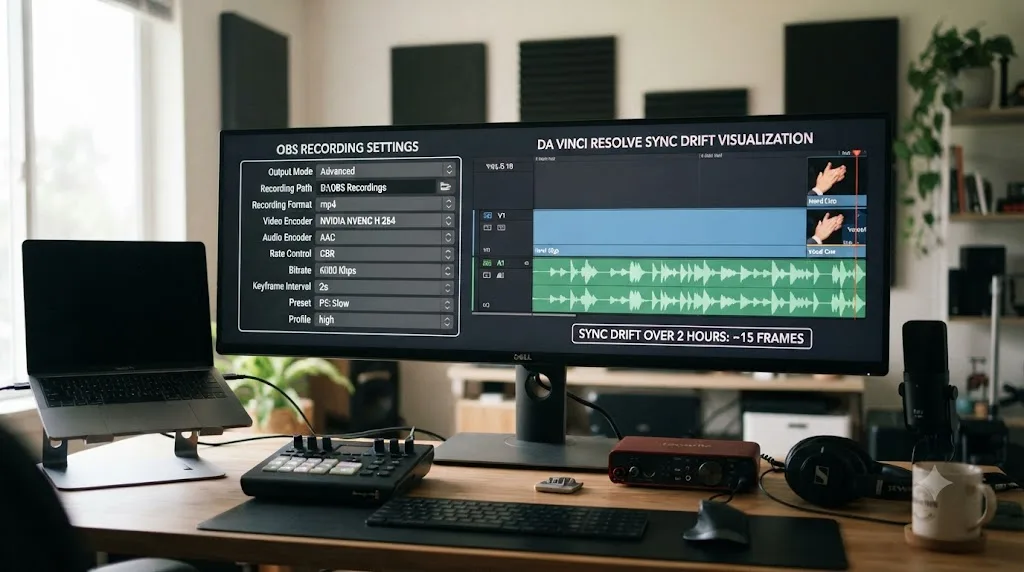
OBS is designed to protect your stream's smoothness over guaranteeing an exactly even frame rate, and when your computer's resources get stressed during a long recording, it can drop or duplicate a frame here and there rather than stall the whole encode. DaVinci Resolve, on the other hand, expects a genuinely constant frame rate to keep audio aligned with picture over the length of a clip. When those two assumptions collide on a long session, the picture and the audio start walking apart, slowly, in a way that's invisible in the first few minutes and obvious by the one-hour mark. DaVinci Resolve's reference manual on Mixed Frame Rates confirms the core mechanism: Resolve "conforms and processes all clips in the Timeline to play at the project's frame rate," which means any inconsistency in the source file's actual frame timing compounds the longer the clip runs.
| Symptom | Likely cause | Fix |
|---|---|---|
| Audio pops or cracks intermittently, worse in longer sessions | Slight frame rate variability baked into the OBS recording | Re-encode to a constant frame rate with HandBrake or Resolve's own transcode tool before importing |
| Audio drifts progressively worse the longer the clip runs | Your Resolve Timeline Frame Rate doesn't match your OBS output frame rate exactly | Check both values; a mismatch of even a fraction of a frame per second compounds across a multi-hour session |
| The clip's FPS matches your timeline on paper but it still stutters on scrub | Genuine variable frame rate (VFR) source media, common from screen recordings | Transcode to a constant frame rate codec like ProRes 422 Proxy or DNxHR LB before you ever bring it into a project |
| Only one specific session drifts, not others | That session's OBS output frame rate setting was accidentally different from your usual configuration | Check Clip Attributes for the file's actual recorded rate against your other sessions |
The fix that actually scales happens in OBS, not in DaVinci Resolve after the fact. Set your OBS output frame rate to a value you commit to using every session, 60fps for fast motion, 30fps for slower-paced or talking content, and confirm it matches your Resolve timeline's frame rate exactly before you ever import a clip. If a recording is already drifting and re-encoding isn't practical, Resolve's Elastic Wave retiming tool on the audio clip can stretch it back into alignment case by case, but that's a repair, not a prevention.
A drifting OBS recording almost always means a settings mismatch, not corrupted footage. Genuine corruption looks completely different: a file that won't open at all, usually because OBS or the recording PC lost power or crashed mid-write, which is exactly the failure mode Hybrid MP4 and MKV exist to prevent in the first place.
What DaVinci Resolve project settings should match your OBS output?
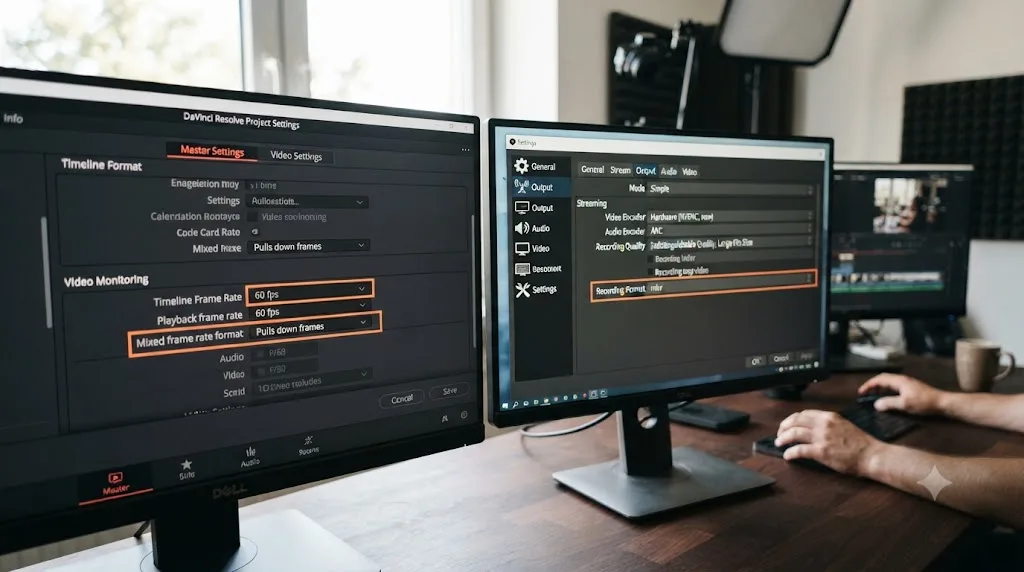
Set your Timeline Frame Rate and resolution in Project Settings > Master Settings to exactly what OBS recorded, before you import a single clip, and confirm the Mixed Frame Rate Format is set correctly if you're bringing in footage from more than one source. Get either wrong and you'll spend your first editing session chasing a problem that has nothing to do with your cutting skill.
Frame rate deserves particular care because DaVinci Resolve locks the Timeline Frame Rate field the moment your Media Pool has any media in it. According to the manual's page on Mixed Frame Rates, once media is imported "this setting can no longer be changed" without deleting everything from the Media Pool first. If your OBS output is 60fps and the first clip you happen to drag in is an old 30fps screen test, your project silently locks to 30fps, and every subsequent OBS session imports as the mismatched clip instead of the other way around. Check and set this before your first import, every project, no exceptions.
| Content type | Typical OBS output | Timeline frame rate | Timeline resolution | Color space |
|---|---|---|---|---|
| Fast-motion gaming or high-energy content | 1080p or 1440p, 60fps | 60fps | Match capture, usually 1920x1080 | Rec.709 |
| Podcasts, coaching calls, "just chatting" streams | 1080p, 30fps | 30fps | 1920x1080 | Rec.709 |
| Software demos and tutorial screen recordings | 1080p or higher, 30fps | 30fps | Match capture | Rec.709 |
| Multi-source streams (facecam + game + slides) | Whatever the highest-motion source needs | Match the fastest-motion source's rate | Match capture | Rec.709 |
Rec.709 is the right color space for nearly every OBS recording. You're not grading camera log footage that needs a wide color pipeline, you're correcting a screen or webcam capture that's already close to color-accurate to whatever it recorded. Reaching for ACES or a complex color management setup here adds a layer of work that doesn't pay off for content bound for a stream platform, YouTube, or a podcast feed.
If you're mixing OBS recordings from different sessions with genuinely different frame rates in the same project, set Mixed Frame Rate Format to Resolve under Project Settings > General Options, which is the correct choice for native Resolve projects and anything not originating from a Final Cut Pro edit. Our guide to fixing a jittery mixed frame rate timeline covers the full decision tree for that setting, plus the Retime Process options, Nearest, Frame Blend, and Optical Flow, that determine how smoothly a mismatched clip conforms once it's on your timeline.
How do you organize a DaVinci Resolve project full of OBS recordings?
By session first, by source second, before you touch a single clip, and generate proxies for anything captured above 1080p before you start scrubbing. An OBS backlog accumulates differently than camera footage does; a three-hour recording from two weeks ago blurs into every other three-hour recording unless the folder and bin structure tells you which session is which the moment you open the project.
Build the folder structure on disk before the footage lands there: one top-level folder per session, with subfolders for the full recording, any separately captured mic-only or Discord audio if you didn't use OBS's multi-track feature, and pulled clips once you start cutting highlights. Mirror that inside DaVinci Resolve with bins, one bin per session rather than one bin per source type, since you're usually pulling from the full recording and any separate audio together when building one session's edit.
Generate proxies for anything above 1080p, and prioritize your longest sessions first, since those files are most likely to stutter on scrub during the review stage that a long OBS recording specifically demands. DaVinci Resolve's reference manual describes proxy media as smaller, easier-to-decode copies that Resolve edits from instead of the full-resolution original, then automatically swaps back to full resolution at render time regardless of what proxy resolution you generated at. On a multi-hour 4K session, this is the difference between smooth scrubbing on ordinary hardware and a machine that chokes every time you drag the playhead.
Keep a Power Bin open for anything reused across every session's edit: an intro, an outro, a recurring lower-third with your username or socials, a watermark. A Power Bin persists across projects in the same database, so a graphic built once for your first stream edit is available in every project after that without rebuilding it. If you're recording a co-host's audio separately rather than through OBS's own multi-track feature, whether over Discord or a second microphone feed, drop the video and every separate audio source into a Sync Bin together instead of syncing pairs one at a time; our guide to syncing audio in DaVinci Resolve covers Auto Sync Audio in full, including what to do when Resolve reports that clips don't match.
A backlog of unclipped OBS recordings imported all at once into one Media Pool makes triage slower on every single clip inside it, not just the newest one. Import and organize session by session, and let a growing backlog stay a backlog rather than one bloated, sluggish project file.
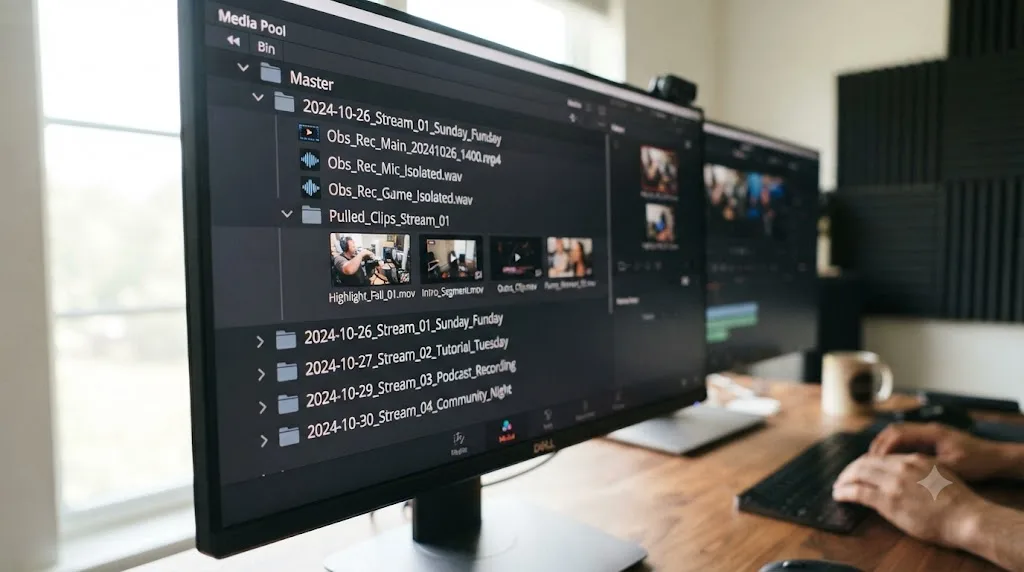
Should you rough-cut an OBS recording on the Cut page or the Edit page?
Start on the Cut page almost every time for a long OBS recording, because its Source Tape feature is built for exactly the problem hours of raw footage creates: too much material to review clip by clip before you've made a single cut. This is a real production choice, not just a tutorial recommendation.
RealmSmith.tv, a Toronto-based tabletop gaming livestreaming company, runs a weekly three-hour Dungeons & Dragons livestream on Twitch and turns each week's stream into a YouTube recap using this exact workflow. Joel Augé, co-owner of RealmSmith.tv, described the process in a Blackmagic Design case study covering their production: "We go through the full stream the day after a show goes live and highlight markers and times in the episode that we want to emphasize in the recap, and then pass that on to the editor. Essentially, three hours of game play is cut down to about three minutes for the recaps. Using the cut page's streamlined editing workflow allows us to quickly turn around the content, so we can post it to YouTube as soon as possible," according to KitPlus's coverage of the production.
That ratio, three hours down to three minutes, is the review problem an OBS recording creates in one sentence, whether the content is tabletop gameplay, a podcast, or a software walkthrough. Source Tape is the specific Cut page feature that makes triaging that much raw footage tractable: it turns every clip in a bin into one continuous, scrollable strip, so reviewing an entire session feels like scrubbing one long recording rather than clicking in and out of individual files.
| Cut page | Edit page | |
|---|---|---|
| Best for | Fast triage of a multi-hour OBS recording | Layering facecam, overlays, and titles once moments are found |
| Source review | Source Tape, scrolls an entire bin as one strip | Standard Source Viewer, one clip at a time |
| Track visibility | Simplified, two-timeline view | Full track stack, unlimited video and audio tracks |
| Typical use on OBS footage | Marking highlight or usable moments across the full recording | Everything from ducking, captions, and overlays onward |
Move to the Edit page once you need more than a single video track, which happens fast once you're past marking moments: a facecam layered over a screen recording, a title card naming the topic or segment, a caption track for a clip going out to a platform where autoplay is silent by default. The Edit page's full Inspector and unlimited track stack are exactly what the Cut page strips away in exchange for the review speed a long recording actually needs first.
One of the recurring questions in our 100,000+ member professional video-editing community is some version of "why does DaVinci Resolve have two pages that both look like an editor," and the honest answer is that they're built for two different jobs in the same edit, not two different skill levels. Our guide to editing faster in DaVinci Resolve goes deeper into removing friction from whichever page you land on next.
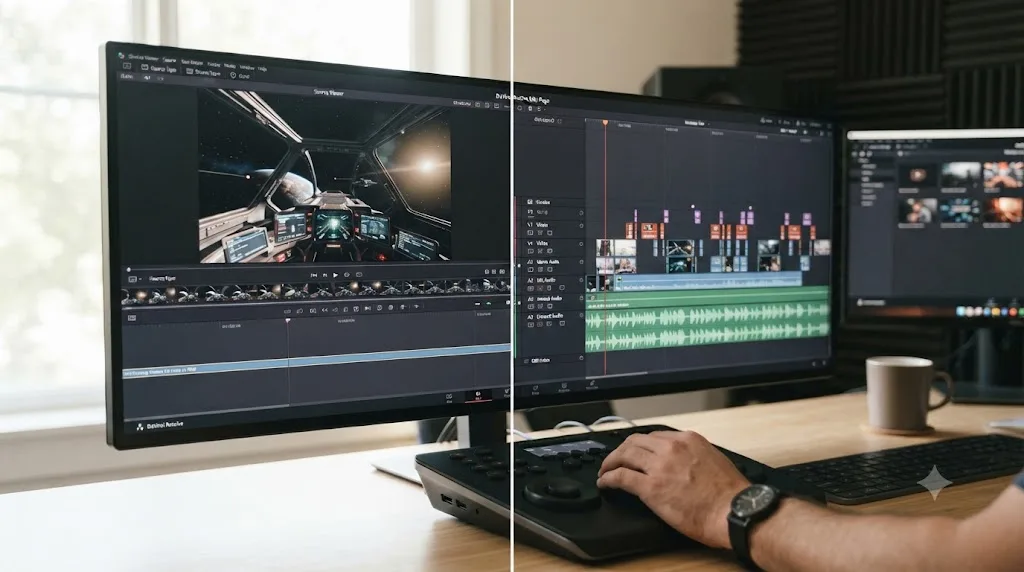
How do you mix mic audio over game or desktop audio from an OBS recording?
Duck the game or desktop audio automatically whenever your mic is active, rather than manually riding two faders through an entire session. This is the audio problem an OBS recording creates that almost nothing else in DaVinci Resolve's typical workflows does: two sources that are both meant to be heard, at different times, without one drowning out the other every time a sound effect or a notification happens to land on a sentence.
If you split your mic and game or desktop audio onto separate OBS tracks earlier in this workflow, you're set up to do this properly rather than fighting a single mixed-down file. Sidechain compression, sometimes called ducking, is the reliable approach for a full session. On the Fairlight page, right-click your game or desktop audio track, open the Audio section in the Inspector, and enable the Ducker option with your mic track set as the source. Then open the Dynamics window on your mic track's channel strip in the mixer and adjust the Attack, Hold, and Release settings until the other audio dips the moment you start talking and recovers naturally once you stop, according to guides covering this exact Fairlight workflow, including Hollyland Store's walkthrough of audio ducking in DaVinci Resolve. For a short clip rather than a full session, keyframe automation directly on the Edit page gets you there faster without setting up sidechain routing at all.
Run the Dialogue Leveler on your mic track regardless of which ducking method you use. Blackmagic Design added the Dialogue Leveler to both the free and Studio editions of Resolve in version 18.1, released in November 2022, specifically to smooth out uneven volume across a clip or track without manual gain riding. Announcing that release, Blackmagic Design CEO Grant Petty described the update as adding "the new DaVinci Neural Engine AI enabled voice isolation tools," according to Blackmagic Design's own press release. Voice Isolation itself is Studio-only, built for separating your voice from background noise baked into a recording, but the Dialogue Leveler ships free and handles the more common problem an OBS session creates: your mic sounding louder or quieter depending on how close you leaned in during an intense or excited moment.
Set your target loudness before you finish the mix, and match it to where the edit is going rather than a single universal number. DaVinci Resolve's reference manual identifies -14 LUFS as the target for YouTube specifically, distinct from Resolve's -23 LUFS broadcast default, set under Project Settings' Fairlight tab. A podcast feed or a stream platform upload benefits from the same target, since it keeps your mix from getting quietly turned down by a platform's own loudness normalization on playback.
A mic that gets buried under a loud effect once will get buried again on every loud moment in the edit unless the ducking is automated, not manual. Riding two faders by hand across a multi-hour OBS recording is real work that a sidechain setup, configured once per project template, removes entirely. If you're stuck on where the Ducker option actually lives in the Fairlight Inspector mid-edit, that's the kind of moment an assistant that watches your Resolve screen can point at directly, without pausing your session to look it up.
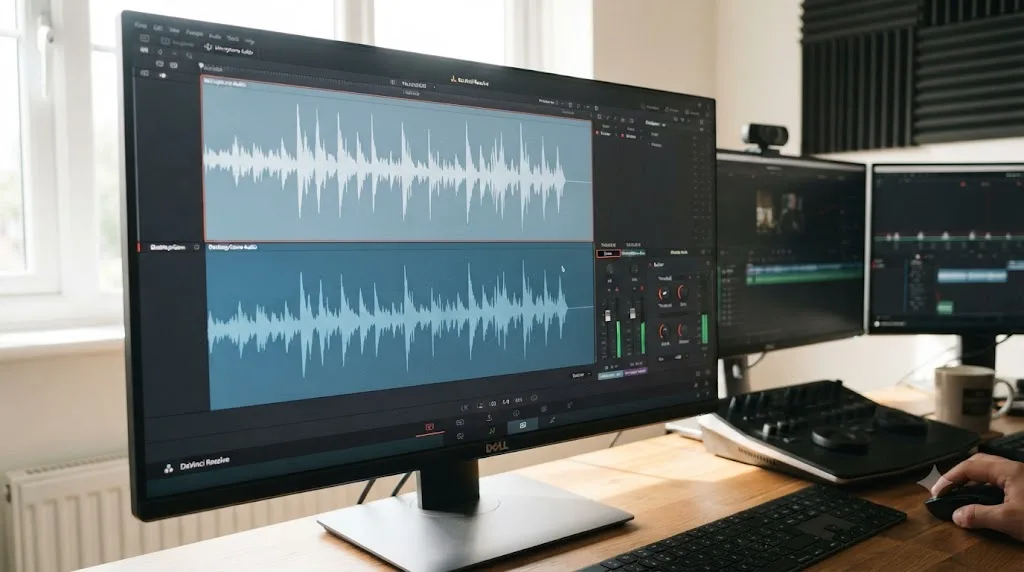
What does a realistic OBS-to-DaVinci-Resolve workflow look like start to finish?
Concrete examples beat abstractions here, since "an OBS recording" covers wildly different content that all runs through the same stages. Here's how this guide's order actually plays out on three different sessions.
A three-hour co-op gameplay stream, captured through OBS at 1080p60 with the streamer's mic recorded to track 2 and desktop/game audio to track 1. Project setup happens first: a timeline built at 1080p, 60fps, Rec.709, matching OBS exactly, confirmed before importing anything. The recording gets remapped in Clip Attributes so the mic and game audio each land on their own Fairlight track. A co-host's separate Discord recording gets synced to the main file with Auto Sync Audio, Based on Waveform. The full three hours get reviewed on the Cut page's Source Tape, with color-coded markers dropped at recap-worthy moments. Sidechain ducking triggers off the isolated mic track, and the Dialogue Leveler smooths the moments where the streamer got loud during a fight. The recap builds from the markers on the Edit page, gets a light single-node color pass, and exports at -14 LUFS for YouTube alongside a couple of duplicated vertical timelines for standalone clips.
A weekly two-person podcast recorded through OBS, each host on their own mic assigned to separate tracks, no game audio at all. This session needs almost no color work and no HUD-aware reframing, but it needs the same audio-track discipline: each host's mic remapped to its own Fairlight track in Clip Attributes, then leveled independently with the Dialogue Leveler before either voice gets mixed against the other. Because there's no game or desktop audio competing for space, ducking may not be necessary at all; simple, separate leveling per host often solves the whole mix.
A one-hour software tutorial recorded as a screen capture in OBS, mic on track 2, no game audio, occasional notification sounds on the desktop track that need to be muted individually rather than ducked automatically, since they're rare and specific rather than constant. This session's frame rate risk is actually lower than gaming footage, since a static desktop with occasional cursor movement rarely stresses the encoder the way fast motion does, but the same check, confirming the Media Pool's FPS column against the Timeline Frame Rate, is still worth thirty seconds before assuming a stutter is something more complicated.
Nothing about these three sessions needs a different piece of software or a secret setting nobody talks about. What changes between them is how much audio-track separation, frame-rate vigilance, and triage each one needs before the actual editing starts, not the underlying stages themselves. That's the pattern worth carrying into your own OBS backlog: the workflow is the same shape every time, the settings that matter shift depending on what your specific recording actually contains.
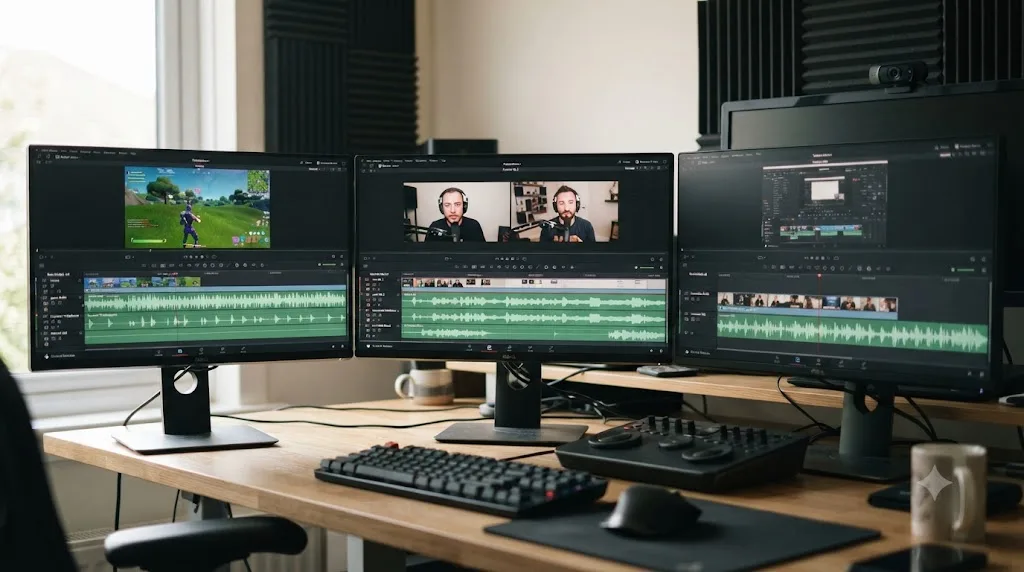
How do you turn a long OBS recording into short clips for YouTube, TikTok, and Twitch?
Cut the moment out cleanly, reframe it if the source needs it, then export per platform, since each platform enforces different length limits that decide what you're even allowed to post. This matters more for OBS recordings than for most other footage, because a single long session usually needs to become several differently sized outputs, not just one finished video.
Twitch is the strictest outlier. According to Twitch's own developer documentation, a published Clip is capped between 5 and 60 seconds, with no exceptions whether a viewer creates it live or you generate it from your own recording afterward. That hard ceiling means a Twitch clip functions less like a trailer for longer content and more like a single, self-contained moment.
| Platform | Length limit | Source |
|---|---|---|
| Twitch Clips | 5 to 60 seconds, hard cap | Twitch Developers API documentation |
| YouTube Shorts | Under 3 minutes, vertical or square | YouTube Help |
| TikTok | Up to 60 minutes for uploaded pre-recorded files | TikTok's own upload guidelines |
| Instagram Reels | Up to 20 minutes on eligible accounts, though shorter clips generally perform better | Instagram Help Center |
Twitch VODs don't stick around forever either, which matters if you're planning to mine a session for clips days after it aired rather than the same day. According to guides covering Twitch's storage policy, regular broadcasters get 7 days of VOD storage, Affiliates get 14, and Partners get 60, and Twitch's manual "Save Highlight" feature caps each saved highlight at 60 minutes regardless of account tier, nowhere near enough for a multi-hour session. If you're recording locally in OBS in the first place, this pressure doesn't apply to you the same way, but if you're editing from a downloaded Twitch VOD instead of your own local OBS file, download and archive it promptly.
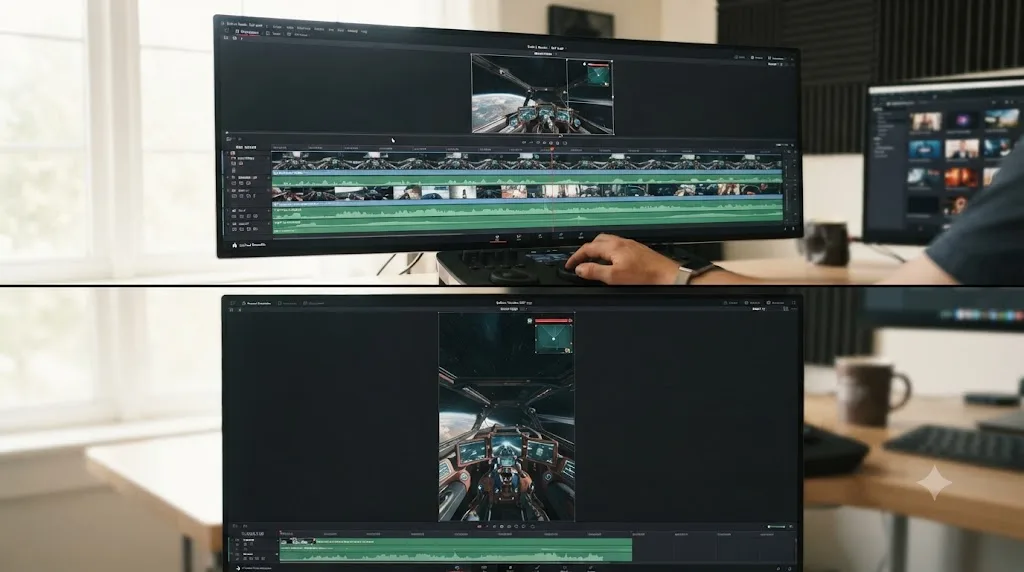
Reframing screen-captured or gameplay footage into a vertical crop has one wrinkle a talking-head video doesn't: a HUD, chat overlay, or on-screen UI was composed for a 16:9 frame, and a naive crop can cut off exactly the information that made the moment make sense. Smart Reframe, a Studio-only feature, uses the Neural Engine to track a subject automatically, but it's built to track a person or object, not necessarily to preserve a fixed-position HUD element. A manual Transform crop, positioned deliberately to keep both the action and any critical on-screen element in frame, often produces a more reliable result on this specific kind of footage.
If your goal from the start is a batch of short clips rather than one long recap, our guide to turning a long video into short clips in DaVinci Resolve covers the marker-to-export pipeline in more depth than this section's scope, including captioning and the Smart Reframe versus manual crop decision.
Do you need DaVinci Resolve Studio to edit OBS stream recordings?
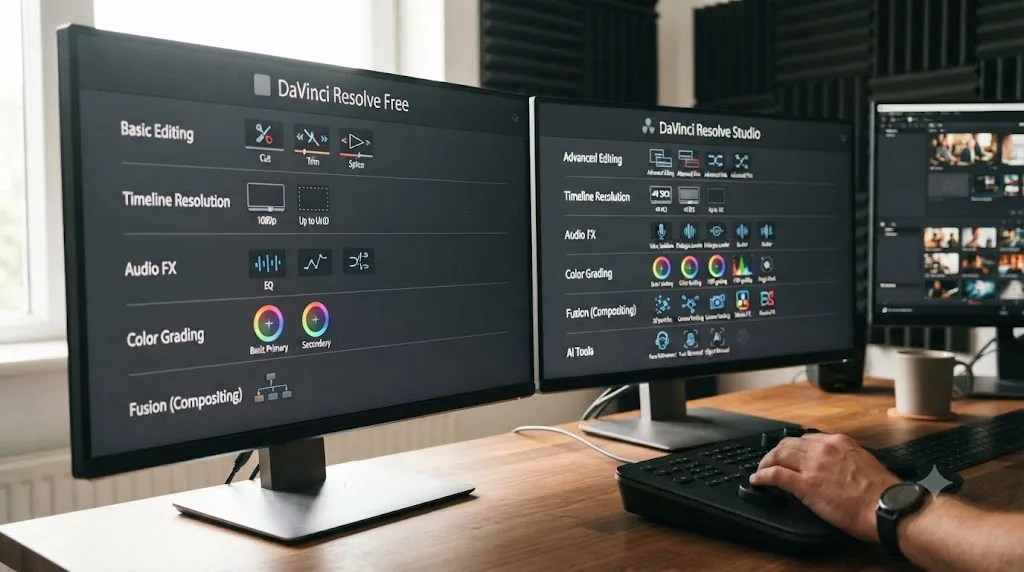
Not to make your first cut, but the answer shifts once turnaround time and export volume become part of your actual routine. Everything covered so far in this guide, project setup, Clip Attributes audio remapping, proxies, markers, sidechain ducking, the Dialogue Leveler, manual reframing, and export to every major platform, runs fully in the free version.
| Feature | Free version | Studio |
|---|---|---|
| Project setup, proxies, bins, Power Bins | Included | Included |
| Clip Attributes audio track remapping | Included | Included |
| Markers, Source Tape, manual sidechain ducking | Included | Included |
| Dialogue Leveler | Included | Included |
| Manual Transform reframing | Included | Included |
| Export to YouTube, Twitch clip, TikTok, Reels, Shorts formats | Included | Included |
| NVENC hardware-accelerated encoding (Nvidia GPUs, Windows/Linux) | Not available | Included |
| Smart Reframe (automatic AI reframing) | Not included | Included |
| Voice Isolation | Not included | Included |
| IntelliSearch (transcript and visual content search, still in beta on Resolve 21) | Not included | Included |
For most creators editing OBS recordings, the decision comes down to one question: how many clips are you exporting per week, and how fast do you need them out the door? A creator posting one recap and a couple of clips a week can run the entire free workflow with no compromise. A creator pulling many clips from every session, on a same-day posting schedule, will feel the missing NVENC encoder path first, since Blackmagic Design's own tech specs page and reports on Blackmagic's forum confirm NVENC hardware encoding on Windows and Linux sits behind Studio, and it's specifically the thing that turns a slow render queue into a fast one when you're exporting the same footage repeatedly at different aspect ratios.
Beyond encode speed, Studio's real value for this workflow is time saved on repetitive, judgment-light tasks that scale badly across a large backlog: Voice Isolation removes a manual noise pass on any session with background hum baked in, Smart Reframe removes manual crop keyframing across dozens of vertical clips, and IntelliSearch, still in beta as of Resolve 21, removes some manual scrubbing across hours of footage once you trust its transcript matches. None of these unlock something the free version fundamentally can't do. They remove steps a high-volume schedule makes expensive to do by hand.
What are the most common OBS-to-DaVinci-Resolve problems, and how do you fix them?
A handful of predictable problems account for most of the wasted time in a first OBS-to-Resolve workflow, and every one has a specific, documented fix rather than a vague "just restart Resolve" answer.
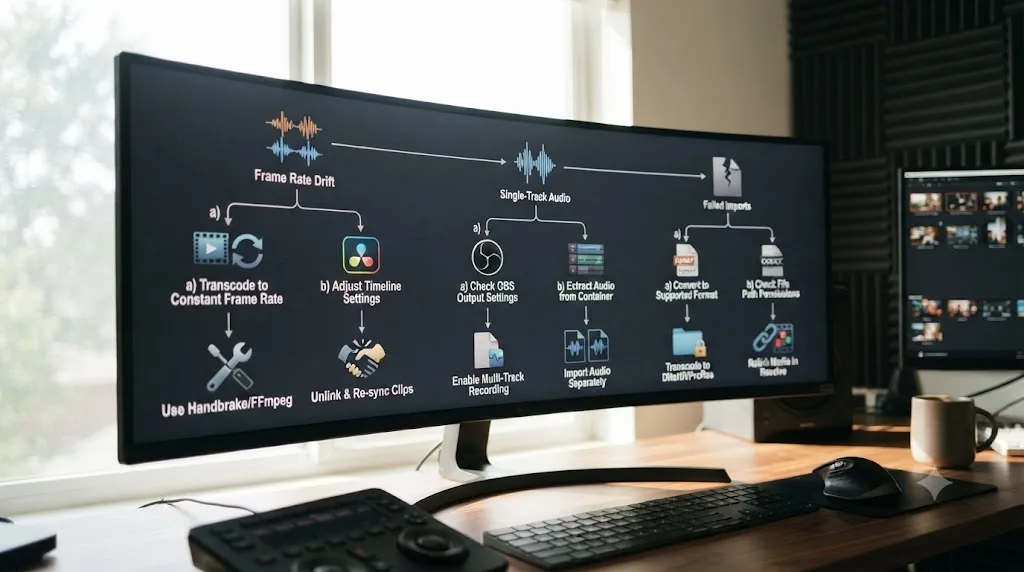
Recording without checking your OBS output frame rate first. This is the single most common cause of audio drift compounding across a long session, and it's invisible for the first several minutes, which is exactly why it goes unnoticed until you're deep into editing. Check your OBS Output settings before your next session, not after you notice a problem three hours into your recording.
Recording an entire session mixed to one audio track when you meant to edit it later. Once a mixed-down file is recorded, there's no clean way to pull an isolated mic track back out of it. Set up multi-track recording in OBS's Advanced output mode before your next session if you know you're editing in Resolve afterward.
Importing your whole unclipped backlog into one project. A bloated Media Pool holding every unclipped session from the last month makes triage slower and the project file itself heavier to work with. Import and organize session by session, combining finished clips later if you're building a compilation.
Manually riding mic and game or desktop audio levels for a whole session instead of setting up ducking once. This costs real time on every edit going forward, when a sidechain ducking setup, configured once per project template, handles it automatically for the rest of the session and every session after.
A recording that won't import, or imports with no audio. According to reports across editor forums, this is frequently an HEVC decode issue on systems without the right decoder installed, or a codec inside an MKV container that Resolve doesn't fully support. Recording in Hybrid MP4 avoids most of this; if you're already stuck with a problem file, transcoding it once with HandBrake or a dedicated tool usually resolves it faster than troubleshooting the original file further.
Trusting a streaming platform to hold onto your VOD indefinitely. If you're editing from a downloaded Twitch VOD rather than your own local OBS recording, storage tiers cap out at 60 days even for Partners. Download and archive anything you plan to clip from later, the same week it airs.
| Mistake | Symptom | Fix |
|---|---|---|
| No frame rate check before recording | Audio drift, worse over time | Confirm OBS output frame rate before every session, match timeline rate exactly |
| Single mixed audio track recorded | No way to isolate mic from game/desktop audio in editing | Set up multi-track recording in OBS's Advanced output mode before the next session |
| Whole backlog imported at once | Sluggish Media Pool, slow proxy generation | Import and organize session by session |
| Manual audio riding every edit | Wasted time, inconsistent mix quality | Set up sidechain ducking once, reuse the template |
| Import fails or arrives with no audio | Codec or decoder mismatch, common with certain MKV codec combinations | Record Hybrid MP4 when available, or transcode a problem file before reimporting |
| Relying on a platform's own VOD storage | Footage expires before you've clipped it | Download and archive VODs promptly regardless of tier |
None of these mistakes mean you're bad at this. They're the specific, predictable failure points of editing a long software capture with two competing audio sources instead of one clean camera file, and nearly every editor working with OBS footage has hit at least one of them.
What's the best way to learn DaVinci Resolve for editing OBS recordings specifically?
Whatever gets you cutting your own footage fastest, and for most people that's a mix of resources rather than one single course. After seven years of professional, commercial video editing and teaching over 100,000 students on Udemy as an official Udemy Business Partner, the pattern that holds true across every niche we've taught, OBS-based content included, is that structured resources teach concepts well and your own footage teaches you the specific problems your specific setup creates.
Blackmagic Design publishes six free training guides as downloadable PDFs covering editing, color, audio, and effects, each with lesson project files and a free online exam, and they remain a solid, accurate starting point because Blackmagic built the software they're teaching. Structured YouTube channels, Casey Faris chief among them for general editing and color fundamentals, cover individual pages in more real-time depth than a written guide can. Reddit's r/DaVinciResolve is reasonable for sanity-checking a specific, narrow setting question, though it's not a substitute for structured learning. Udemy courses exist here too and are a fine option if you want a paced, video-first curriculum with an instructor narrating decisions, though no course can see your actual project or your specific OBS recording mid-edit.
| Resource | Cost | Best for |
|---|---|---|
| Blackmagic's free training PDFs | Free | Structured fundamentals, straight from the source |
| Casey Faris (YouTube) | Free | Deep, real-time walkthroughs of specific pages |
| Reddit r/DaVinciResolve | Free | Sanity-checking a specific setting or error |
| Udemy courses | Paid, one-time | A paced, video-first curriculum with an instructor |
None of these close the same gap. Every one teaches declaratively, here's what a setting does, here's how a technique works, but none of them can see your actual project mid-edit and tell you why your specific OBS recording isn't syncing or where a specific control lives on your specific screen. That's a different kind of help, and it's worth naming the alternatives honestly, since several categories of tool exist specifically for this kind of editing problem and they solve genuinely different jobs.
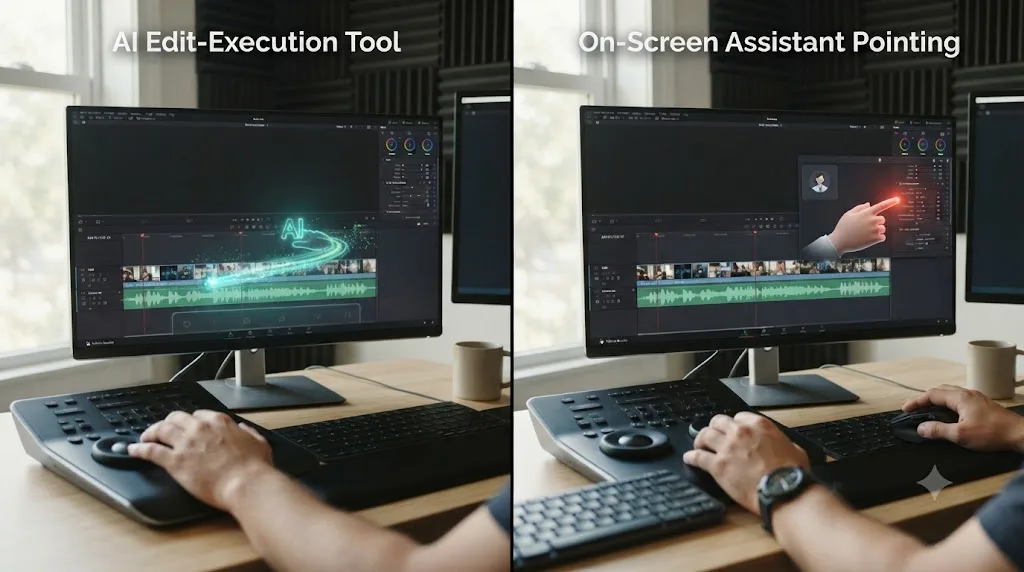
One category executes edits for you from a typed instruction, aimed broadly at any editor's footage. CutAgent, Sottocut, PremiereCopilot, and Eddie AI all fall here: you describe a cut or a silence removal, and the tool acts on your timeline directly. That's a real time saver on mechanical tasks, silence removal across a long, rambling OBS recording especially, but it hands the editorial decision, which moments actually matter, to the tool rather than to you.
TryUncle is the on-screen assistant for DaVinci Resolve on macOS. Ask in plain words and Uncle points at the exact control on your screen. It doesn't touch your timeline at all, and it doesn't try to guess which moments in your recording matter either. It watches your project live, across the Edit, Color, and Fairlight pages, and instead of executing an edit for you, it shows you where the setting, node, or button you're actually looking for lives, right when you're stuck mid-edit rather than before you've started. That's a different job from CutAgent, Sottocut, PremiereCopilot, or Eddie AI: those tools save you time by acting on your footage for you; TryUncle saves you time by removing the seconds you'd otherwise lose to a menu hunt, while you stay the one deciding what's actually worth keeping in your recording.
| Tool | What it does | What it doesn't do |
|---|---|---|
| CutAgent, Sottocut, PremiereCopilot, Eddie AI | Execute typed edit instructions directly on your timeline | Make the editorial call on which moments matter |
| TryUncle | Watches your live project and points at the exact control you need | Touch your timeline, cut anything, or auto-detect highlights |
Watching a course about editing OBS recordings is not the same as finishing a cut on your own last session. Every resource in this section, free guide, paid course, or AI tool, gets you closer to starting. Only actually finishing an edit on your own footage teaches you the specific problems your specific capture setup and your specific mic create.
TryUncle isn't free. It's a paid subscription, currently $34.99 a month with cancel-anytime billing and no free tier, macOS only, so check TryUncle for the current rate before deciding whether it fits how you edit between sessions.
Where do you go from here?
Pick your most recent OBS recording, and run this guide's order on just that one session before you touch your backlog. Confirm OBS's output settings first, format, encoder, frame rate, and whether your audio actually recorded to separate tracks the way you intended. Match Resolve's project settings to what you actually recorded, remap any embedded audio tracks in Clip Attributes, organize the session into its own bin with proxies if it needs them, review it on the Cut page's Source Tape, duck the audio once, and export to wherever that specific recording is actually meant to go.
That one finished edit will teach you more about how DaVinci Resolve handles your specific OBS setup than reading about the rest of your unclipped backlog still sitting on a drive. What actually gets harder as your posting schedule grows isn't the workflow itself, it's remembering which fix applies to which problem at midnight after a long session, when a co-host's audio won't sync and you're not sure if it's a frame rate issue or a genuine file problem. If you get stuck mid-edit trying to find exactly where a setting like the Ducker or the Audio panel's track remapping actually lives on your own screen, that's less a knowledge gap than a lookup problem, and it's exactly the moment an in-app assistant that can point at the right control on your actual project earns its keep over pausing to search a guide from the top. Whatever gets you there, the only version of this workflow that actually teaches you anything is the one you run on your own last recording, messy the first time, faster every time after.
Frequently asked questions
- What is the best DaVinci Resolve workflow for editing OBS stream recordings?
- Set OBS to record a constant frame rate that matches your DaVinci Resolve timeline, split mic and game or desktop audio onto separate tracks before you record, then import, remap those tracks in Clip Attributes, organize by session with proxies on anything above 1080p, rough-cut on the Cut page's Source Tape, duck audio once, and export per platform. Most edit problems trace back to a setting OBS got wrong before recording started, not to anything DaVinci Resolve did.
- Why does my OBS recording go out of sync when I import it into DaVinci Resolve?
- Almost always variable frame rate, not a bug in either program. OBS prioritizes keeping your stream smooth over holding a perfectly constant frame rate, so a long recording can drift by a few frames here and there even when its metadata reports a clean number like 60fps. DaVinci Resolve expects a constant rate to keep audio aligned to picture, so that drift shows up as audio slipping further out of sync the longer the recording runs.
- How do I split mic and game audio into separate tracks in DaVinci Resolve after recording in OBS?
- Set this up in OBS before you record, not after in Resolve. In OBS's Advanced output mode, open Settings > Output > Recording, enable a second audio track, then open Advanced Audio Properties and assign your mic to track 2 while leaving desktop or game audio on track 1. Import the resulting file into DaVinci Resolve and use Clip Attributes' Audio panel to remap each embedded track so it appears as its own linked item on the Timeline.
- Should I record in OBS as MKV or MP4 if I'm editing in DaVinci Resolve?
- Record in Hybrid MP4 if you're on OBS 30.2 or newer, since it combines MKV's crash resilience with standard MP4's editor compatibility and needs no remux step. On older versions, record to MKV for safety and let OBS auto-remux to MP4 after the recording finishes, or transcode before importing if Resolve has trouble with the specific codec inside the MKV.
- Why does DaVinci Resolve only show one audio track from my OBS recording?
- Because DaVinci Resolve imports a multi-track file as one clip with several embedded channels, not as automatically separated timeline tracks. Open Clip Attributes on the clip, go to the Audio panel, add a new track set to Mono for each embedded channel beyond the first, and remap each channel to its own track. Editing that clip onto the Timeline then produces one linked audio item per track instead of a single mixed-down channel.
- Do I need DaVinci Resolve Studio to edit OBS stream recordings?
- No. Project setup, proxy media, Clip Attributes audio remapping, markers, the Cut page's Source Tape, manual sidechain ducking, the Dialogue Leveler, and export to every major platform all run in the free version. Studio adds NVENC hardware encoding on Windows and Linux, Smart Reframe, Voice Isolation, and IntelliSearch, which matter more for turnaround speed and volume than for whether the workflow itself works at all.
- What's the best way to learn DaVinci Resolve for editing stream recordings specifically?
- Start with a short orientation on project setup and the Cut page from Blackmagic's own free training or a channel like Casey Faris, then apply it immediately to one real OBS recording rather than a sample project. Reddit's r/DaVinciResolve is fine for a narrow setting question. None of these resources can see your specific project mid-edit, which is a different kind of help than a course provides.
- Is there an AI tool that helps while I'm editing OBS recordings in DaVinci Resolve?
- Yes, and it's worth naming what kind of help you're actually looking for. Tools like CutAgent, Sottocut, PremiereCopilot, and Eddie AI execute cuts on your timeline from a typed instruction. TryUncle does something different: it's the on-screen assistant for DaVinci Resolve on macOS, watching your project live and pointing at the exact control you need across the Edit, Color, and Fairlight pages, without touching your timeline itself. It's a paid subscription, not a free tool.
Sources
- OBS Project: Multiple Audio Track Recording Guide
- OBS Project: Advanced Recording Guide And Multi Track Audio
- OBS Project: Audio/Video Formats Guide
- OBS Project: Hybrid MP4 & Hybrid MOV Formats
- OBS Project Blog: Writing an MP4 Muxer for Fun and Profit (Hybrid MP4, by Rodney)
- OBS Studio 30.2 Release Notes
- Best OBS Settings for DaVinci Resolve
- OBS Forums: How to setup instant replay in OBS Studio
- OBS Forums: I can't get OBS to have separate tracks to put into DaVinci Resolve
- OBS Forums: OBS Automatically splits the Output Recordings
- DaVinci Resolve Reference Manual: How to Assign Audio Channels (Blackmagic Design, mirrored)
- DaVinci Resolve Reference Manual: Mixed Frame Rates (Blackmagic Design, mirrored)
- DaVinci Resolve Reference Manual: Using Proxy Media (Blackmagic Design, mirrored)
- DaVinci Resolve Reference Manual: Target Loudness Level (Blackmagic Design, mirrored)
- DaVinci Resolve - Tech Specs (Blackmagic Design)
- DaVinci Resolve product page, pricing and free vs. Studio (Blackmagic Design)
- DaVinci Resolve Training (Blackmagic Design)
- DaVinci Resolve - What's New (Blackmagic Design, Resolve 21)
- Blackmagic Design Announces DaVinci Resolve 18.1 (official press release, Dialogue Leveler)
- Blackmagic Forum: Resolve and Variable Framerate recordings (OBS, NVENC)
- Pocket Cinema Camera 4Ks and DaVinci Resolve Studio Cut Page Used for "Into the Mist" Tabletop Gaming Series (KitPlus, quoting Joel Augé)
- How to Do Audio Ducking in DaVinci Resolve (Hollyland Store)
- Clips (Twitch Developers documentation, 60-second clip limit)
- Understand three-minute YouTube Shorts (YouTube Help)
- Instagram Help Center: Reels length
- How long do Twitch VODs stay available (VOD Manager)
- NVIDIA ShadowPlay (official product page, Instant Replay)
- CutAgent (product site: features, pricing, FAQ)
- Sottocut (product site: features, pricing, platform requirements)
- PremiereCopilot pricing
- Eddie AI for DaVinci Resolve (native integration workflow page)
- TryUncle
- TryUncle FAQ
Learn by doing, not watching
Learn Resolve inside Resolve.
TryUncle watches your screen and points at the exact control when you ask. No tabs, no timestamps, no rewatching tutorials.
Download for MacKeep reading
 GuidesJul 26, 202635 min read
DaVinci Resolve for Gaming and Streaming Creators: Where to Start
Where to start with DaVinci Resolve as a gaming or streaming creator: capture settings, OBS sync fixes, mixing mic over game audio, and highlight clipping.
 FixesJul 12, 202629 min read
DaVinci Resolve Mixed Frame Rate Timeline Jittery: The Fix
DaVinci Resolve timeline jitters when clips have mixed frame rates. Here's why it happens, the setting that locks after import, and every real fix.
 GuidesJul 8, 202639 min read
How to Sync Audio in DaVinci Resolve, Every Method
Sync audio and video in DaVinci Resolve with Auto Sync Audio, timecode, the Sync Bin, or a manual clap, plus fixes for drift and failed matches.