
Learn / DaVinci Resolveupdated for DaVinci Resolve 21.0 (July 2026)
How to Remove an Object From a Video in DaVinci Resolve
Quick answer
DaVinci Resolve removes objects from video three ways: Patch Replacer on the Edit page for static objects (free), the Fusion Paint node's clone mode tracked frame by frame (free), or the Studio-only Object Removal tool, which uses Scene Analysis and Build Clean Plate to erase moving objects automatically. Pick based on motion and your license.
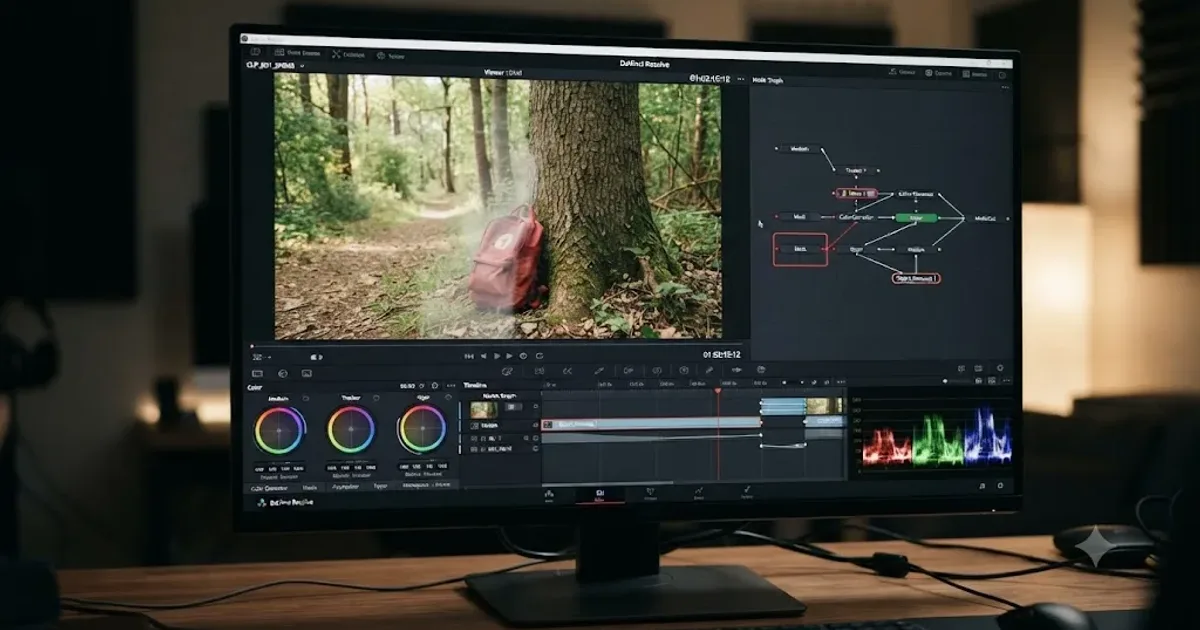
Someone walks through your background. A boom mic dips into frame for two seconds. A stray water bottle sits on the table in every single take. You don't want to reshoot, and you don't want to crop half your frame away to hide it. DaVinci Resolve can erase it, but the tutorials online split into three different answers depending on which page they were filmed on, and none of them tell you which one actually fits your shot.
I'm going to walk through all three: Patch Replacer on the Edit page, the Paint node on the Fusion page, and the Studio-only Object Removal tool on the Color page. They solve the same basic problem with three different amounts of manual work, and picking the wrong one for your footage is the single biggest reason this task takes an afternoon instead of ten minutes.
What are the three ways to remove an object from video in DaVinci Resolve?
DaVinci Resolve doesn't have one "remove object" button. It has three separate tools built for three separate situations, spread across three different pages, and each one made different tradeoffs between speed, control, and license cost.
Patch Replacer lives on the Edit page as an OpenFX effect. It's a simple clone-brush: you place one oval over the thing you want to hide and another oval over the area you want to clone from, and Resolve copies pixels from one to the other. According to Lewis McGregor's writeup for PremiumBeat, Patch Replacer was introduced back in DaVinci Resolve 15 and still ships in the free version today. It's fast, but it has one hard limit worth knowing before you touch it.
The Paint node lives on the Fusion page. It's a vector-based clone and paint tool, closer to Photoshop's clone stamp than a one-click effect, and it's also free. You paint strokes by hand, sampling from a clean area with Alt or Option-click, and if the camera or object moves, you attach a Tracker node set to carry the patch across frames automatically.
Object Removal lives on the Color page and requires DaVinci Resolve Studio. Per EasyEdit's comparison of all three methods, it's "the most accurate, due to the specifics of the Object Removal effect and the ability to mask the object as you want," and it's built specifically to handle moving objects and moving cameras without you hand-keyframing anything. It runs on the DaVinci Neural Engine, and instead of copying one static patch, it analyzes many surrounding frames and synthesizes a background that was never actually filmed.
| Method | Page | License | Handles motion automatically | Setup time |
|---|---|---|---|---|
| Patch Replacer | Edit | Free | No, static only | Under a minute |
| Fusion Paint node | Fusion | Free | Yes, with a manually added Tracker | 5-20 minutes |
| Object Removal | Color | Studio only | Yes, via Scene Analysis | 5-15 minutes |
The fastest way to remove an object from a DaVinci Resolve video is almost never the AI tool, it's whichever tool matches how much the object and the camera actually move. A completely static shot with a completely static unwanted object is a thirty-second Patch Replacer job even if you own Studio. Reaching straight for Object Removal on a shot that didn't need it wastes time running Scene Analysis on footage a clone brush would have fixed instantly.
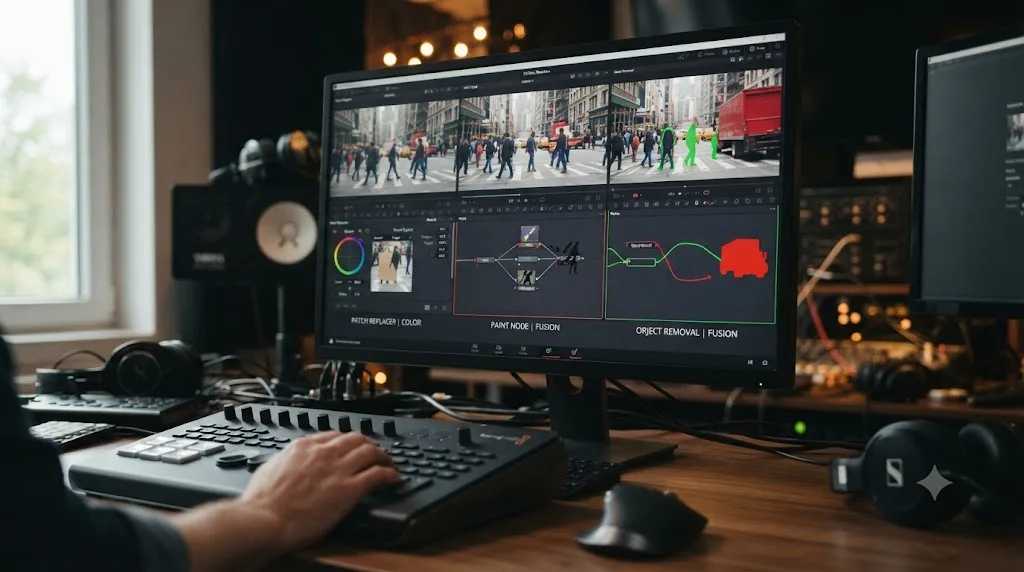
Is the object moving or static, and why does that decide everything?
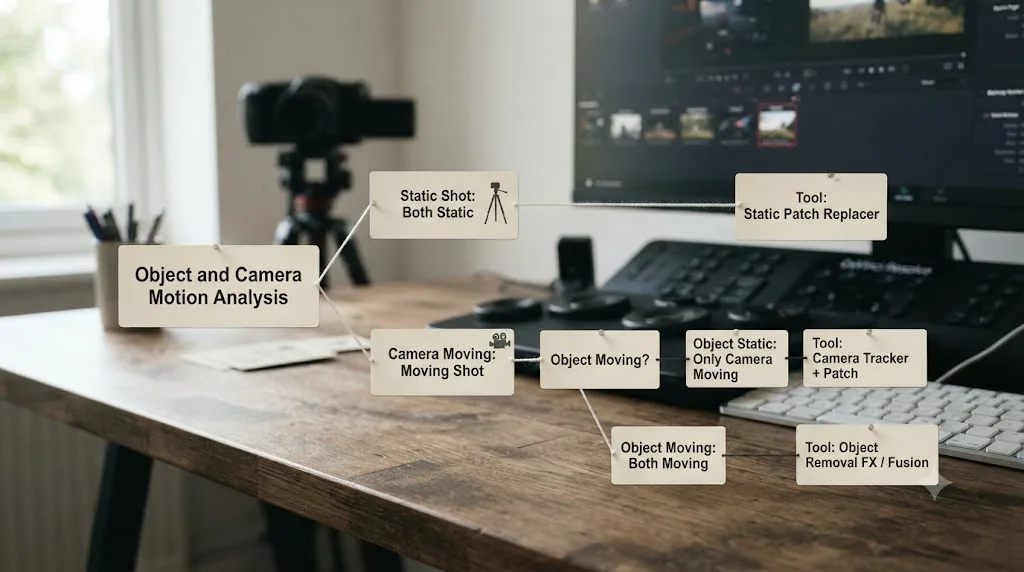
Before you open any effect, answer one question: does the object move, does the camera move, or do both stay locked in place for the whole shot? This single answer eliminates two of the three tools before you've touched a single setting.
Scrub through your clip slowly, from the first frame you need the object gone to the last. Watch two things at once: whether the unwanted object itself moves (a person walking, a boom mic swinging, a car driving past) and whether the camera moves relative to the background (a pan, a handheld wobble, a dolly, even a slight tripod bump). If either one moves, you need a tool that tracks. If neither moves, you need a tool that copies.
This matters because Patch Replacer, per Larry Jordan's writeup of DaVinci Resolve 20's removal tools, "works provided the element you want to hide and the area you are replacing it with don't move." That's not a soft limitation you can work around with a setting. If the object or the camera moves even slightly, the static oval drifts off target and the patch slides visibly across the frame. You'd have to hand-keyframe the oval's position every few frames to compensate, at which point you've built a worse, manual version of what the tracked tools already do automatically.
| Object motion | Camera motion | Recommended tool |
|---|---|---|
| Static | Static | Patch Replacer (Edit page) |
| Moving | Static | Object Removal (Studio) or Fusion Paint + Tracker |
| Static | Moving | Object Removal (Studio) or Fusion Paint + Planar Tracker |
| Moving | Moving | Object Removal (Studio) with a full tracked Power Window, or Fusion Paint + Planar Tracker for complex moves |
A locked-off tripod shot of an interview with a coffee cup you forgot to move off the table is the easiest case in this entire guide. A handheld shot of someone walking through a crowded street where you need to erase a specific pedestrian is the hardest, because both the subject and the camera are moving independently, and the background behind that pedestrian is different in every single frame.
Whether an object or the camera moves determines your entire toolset before you've opened a single effect, so diagnose motion first and pick the tool second. Skipping this step is the single most common reason people end up fighting Patch Replacer on a shot that needed tracking, or building an elaborate tracked Object Removal setup on a static shot that a thirty-second clone brush would have solved.
How do you remove a static object with Patch Replacer on the Edit page?
This is the tool to reach for first if your test above showed a static object and a static camera, because it's the fastest path in this entire guide, and it works identically whether you're on the free version or Studio.
Here's the full workflow, drawn from EasyEdit's and Larry Jordan's step-by-step walkthroughs:
- Select your clip on the Edit page timeline.
- Open the Effects panel, click the magnifying glass, and search "Patch."
- Drag Patch Replacer from the OpenFX category onto the clip.
- Open the OpenFX Overlay. Click the menu icon in the lower-left corner of the Viewer and select Open FX Overlay to see the two on-screen controls.
- Position the target oval (the blurry one) directly over the object you want to hide.
- Position the source oval (the open circle) over a clean area of the frame you want to clone from, ideally something with similar lighting, texture, and color to what's actually behind the object.
- Adjust the size of both ovals to cover the object with minimal excess, since a smaller patch blends more convincingly than an oversized one.
- Choose your fill method. Per PremiumBeat's breakdown of the tool, Patch Replacer offers three: Adaptive Blend (the default, which blends source pixel data with the surrounding color and lighting for an organic result), Clone (a direct, sharp-edged copy, softenable with a Blur Sharp Edges slider), and Fast Mask (a quick blend from neighboring pixels, useful only for tiny errors like a water droplet on the lens).
Adaptive Blend is the right starting point for almost everything. Reach for plain Clone only when Adaptive Blend's automatic blending is smearing detail you need to keep sharp, like fine text or a hard geometric edge.
A source patch that matches the destination's lighting and texture blends invisibly, and a source patch that doesn't sits on top of your shot like a sticker no matter which fill method you pick. This is the entire skill of using Patch Replacer well: spend your time picking the right source area, not fighting the blend settings. If your background has a repeating pattern (a brick wall, a striped shirt, a patterned rug), find a section of that same pattern elsewhere in frame rather than a plain area, since a mismatched pattern is far more visible than a mismatched color.
The tool has real controls beyond the two ovals. A red slider in the OpenFX Overlay disables the effect entirely for quick before-and-after comparisons, a trash icon removes it, and a circular reset icon returns both ovals to their default position. Use the disable slider liberally while you're dialing in placement. It's the fastest way to check whether your patch is actually convincing or just looks fine because you've been staring at it for five minutes.
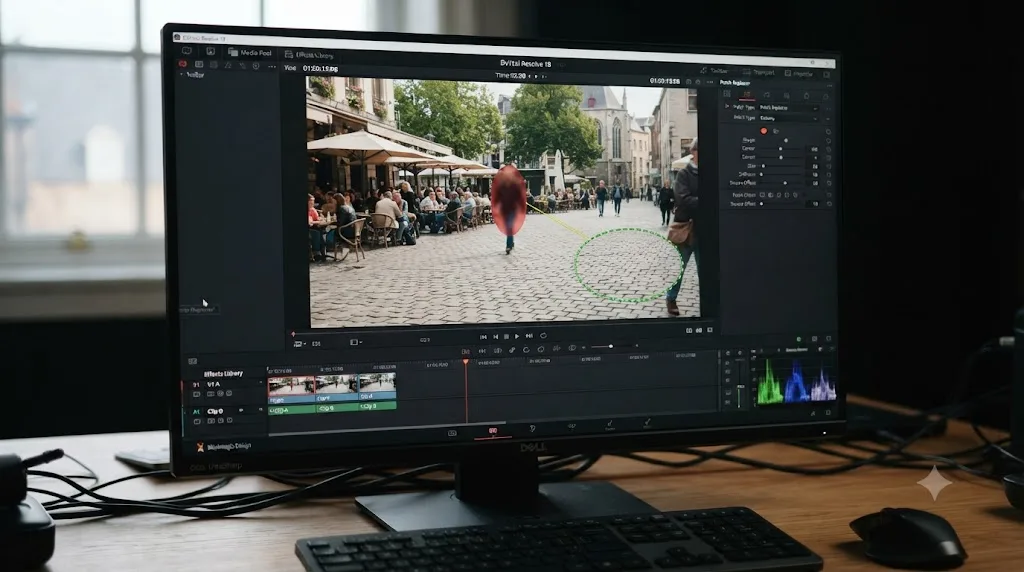
How do you remove a moving object with DaVinci Resolve's Object Removal tool?
This is the Studio-only tool, and it's the one built specifically for the hard case: an object that moves, a camera that moves, or both, against a background that stays visually consistent enough for the Neural Engine to reconstruct.
Colorist Heather Hay, writing for Frame.io's Insider blog, sums up the appeal directly: "Object Remover is a fun tool, and I like the idea of not needing to go into the Fusion Page to do minor compositing." That's the actual value proposition. For a shot that would otherwise mean building a tracked comp in Fusion, Object Removal solves it without leaving the Color page.
Here's the full workflow:
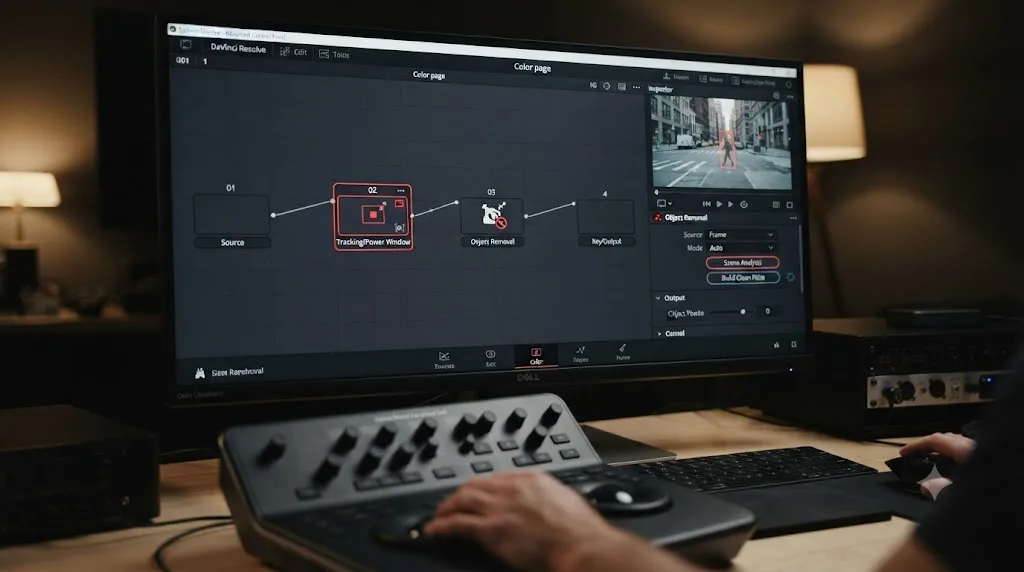
- Switch to the Color page and select your clip.
- Draw a Power Window around the object using the shape that fits it best, circle, polygon, or curve.
- Enable the tracker in the Window Tracker palette and track the window through the clip, matching the object's actual motion.
- Add a serial node downstream of your tracked window node, using Add Node Serial from the right-click menu.
- Drag Object Removal onto that new serial node from the effects or OpenFX library.
- Connect the key output from your tracked shape node into the Object Removal node's mask input.
- Click Scene Analysis. This is the step that makes the tool work: Resolve analyzes the surrounding frames to figure out what's actually behind the object across the whole clip, not just the current frame.
- Click Build Clean Plate. This generates the actual replacement background from whatever clean data Scene Analysis found.
According to Blackmagic's own manual page on the Clean Plate and Object Removal controls, there's a specific checkbox worth knowing before you run Scene Analysis: Assume No Motion. Check this when the object itself is moving but the camera is completely locked off. It tells the algorithm it doesn't need to compensate for camera movement, which produces a cleaner result faster on exactly that kind of shot. Leave it unchecked for handheld or moving-camera footage, where the algorithm genuinely needs to solve for both kinds of motion at once.
Per Frame.io's coverage, Object Removal works best on "moving objects against a stable background or dirt on a moving camera lens," and results improve with smaller objects. That's a real, honest limitation worth internalizing before you reach for this tool on a shot it isn't suited for. A person walking across a static background is a strong candidate. A large vehicle taking up half the frame against a background with almost nothing else visible around it gives the algorithm very little clean data to reconstruct from, and results degrade accordingly.
Object Removal doesn't need a clean plate you shot separately, it manufactures one from frames of your existing footage, which is exactly what separates it from a manual clone tool. That's the entire reason it exists as a Studio feature rather than a free one: generating synthetic background data that was never actually filmed is genuinely harder computational work than copying pixels from one place to another, and it's the Neural Engine doing that reconstruction, not a simple algorithm.
How do you remove an object using the Fusion Paint node?
This is the free-version answer for a moving object or moving camera, and it takes more manual work than Object Removal in exchange for costing nothing and giving you finer control over exactly what gets painted where.
Per EasyEdit's Fusion tab walkthrough and Mixing Light's tutorial on paint and rotoscoping tools in Fusion, here's the process:
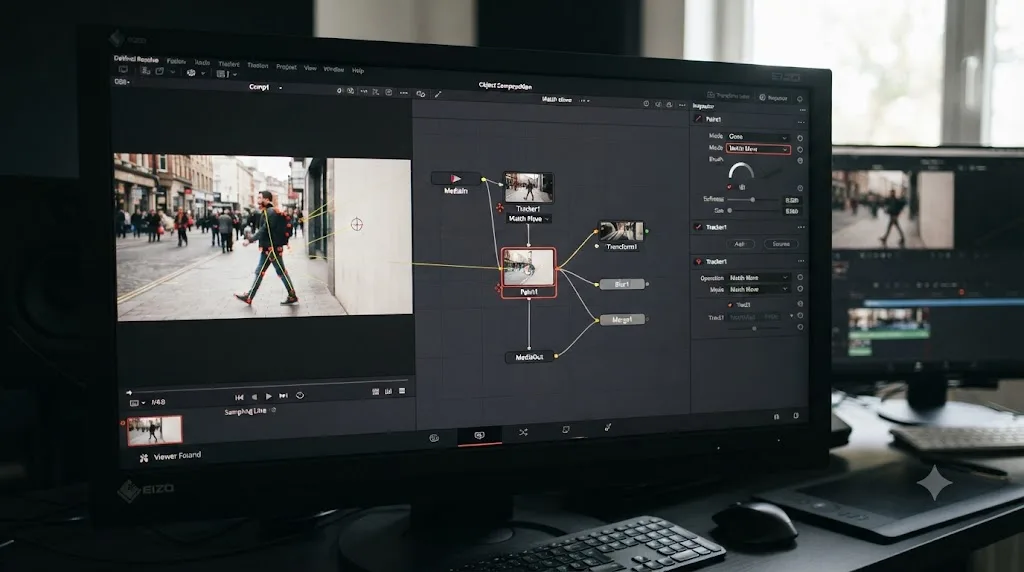
- Open the Fusion page and add a Paint node downstream of your MediaIn.
- Select the Stroke tool, not the default Multistroke, since Stroke gives you the clean, editable brush strokes you need for cloning.
- Set Apply Mode to Clone instead of the default Paint Bucket mode. Clone is what lets you sample from one part of the image and paint it onto another, the same underlying idea as Photoshop's clone stamp.
- Alt or Option-click a clean area of the frame to set your sample point.
- Brush over the unwanted object. The Paint node copies pixels from your sample point relative to wherever your brush moves, the same way a clone stamp works in any image editor.
- Add a Tracker node upstream or alongside your paint strokes if the object or camera moves.
- Set the Tracker's operation to Match Move, specifically "merge FG over BG" per EasyEdit's guide, which converts the tracker into a merge operation that locks your painted patch to the tracked motion instead of leaving it floating in a fixed screen position.
The advantage of doing this in Fusion instead of relying on Patch Replacer's static ovals is that a Fusion Paint node's clone strokes are vector-based and fully editable after the fact. You can add more strokes for a section that still shows through, adjust brush size per-stroke, and layer multiple clone sources for a patch made up of pixels from several different clean areas rather than one single source. That flexibility is exactly what a hand-tracked object with complex motion or partial occlusions actually needs.
This is also where DaVinci Resolve's tracking split matters. The Fusion page gives you two distinct trackers for a job like this: the general-purpose Tracker node, good for following a point or small feature, and the Planar Tracker, built specifically for tracking a flat surface's position, rotation, and perspective distortion over time. If the object you're erasing sits on a genuinely flat plane, a wall, a table, a sign, a Planar Tracker locked to Steady mode gives you a rock-solid reference to paint against, since it neutralizes the camera's motion relative to that surface entirely rather than just following a single point.
In fact, there's a dedicated Fusion node built around exactly this combination. Per Creative Video Tips' walkthrough of the Fusion Patch Replacer node, the professional version of this workflow uses a Planar Tracker set to Steady mode to lock a moving surface in place, applies a PatchReplace node with a custom alpha shape and Blend Clone fill method against that stabilized footage, then reapplies the original motion afterward to composite the clean patch back into the moving shot. It's more setup than the basic Paint-and-Tracker combo, but it produces a cleaner result on footage with real camera movement, because you're painting against a stabilized, motion-free version of the plate instead of trying to clone-brush a moving target directly.
Painting against a stabilized plate and reapplying motion afterward is more setup than a straight Paint-plus-Tracker combo, but it turns a moving target into a static one before you ever pick up the brush, which is a fundamentally easier problem. If your first attempt at Fusion Paint clone strokes keeps drifting or smearing on a shot with real camera movement, this stabilize-paint-unstabilize order is the fix, not a bigger brush or a different clone source.
Which method should you actually use for your specific shot?
The motion test from earlier gets you most of the way there, but a few real-world scenarios need a more specific answer than "moving versus static."
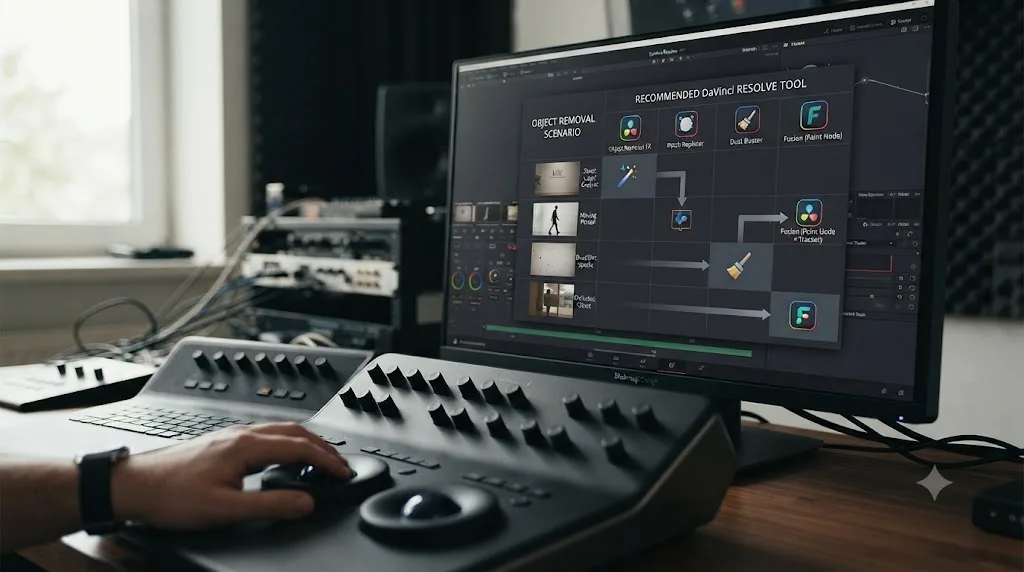
| Scenario | Recommended tool | Why |
|---|---|---|
| A logo or timestamp burned into a locked-off shot | Patch Replacer | Static object, static camera, fastest possible fix |
| A person walking across a static background, Studio license | Object Removal | Built specifically for moving objects on a stable background |
| A person walking across a static background, free version | Fusion Paint + Tracker | Manual version of the same job, more setup, no license needed |
| Dust or a hair on the camera lens, visible across a whole scene | Object Removal | Explicitly one of the strongest documented use cases for this tool |
| A boom mic dipping into frame for two seconds | Patch Replacer, keyframed manually, or a short Object Removal pass isolated to those frames | Short, predictable duration; often not worth a full tracked setup |
| A large vehicle filling much of the frame against a busy background | Fusion Paint with a rotoscoped mask and multiple clone sources | Object Removal's Scene Analysis has too little clean background data to reconstruct convincingly |
| A flat surface, sign, or screen you're erasing while the camera dollies past it | Fusion Paint + Planar Tracker in Steady mode | Neutralizes the camera's perspective change before you paint, avoiding drift |
| An object that's occluded by something else partway through the shot | Object Removal with a manually corrected mask, or Fusion Paint with segmented clone passes | Neither tool's automatic tracking handles occlusion cleanly on its own |
Notice that license availability isn't the only variable here. Even with Studio installed, a busy, cluttered background with little clean data anywhere in frame is a genuinely bad fit for Object Removal's automatic reconstruction, and a manual, rotoscoped Fusion Paint approach, however more tedious, gives you the control to hand-pick exactly which clean pixels go where. The Studio-only tool isn't a universal upgrade over the free ones, it's a faster version of one specific job: filling a hole in the frame from data that already exists somewhere nearby in the shot.
What is Scene Analysis and Build Clean Plate, and how do you get good results from them?
These two buttons do the actual work behind Object Removal, and understanding what each one is doing separately makes troubleshooting a bad result far faster than randomly clicking both again and hoping.
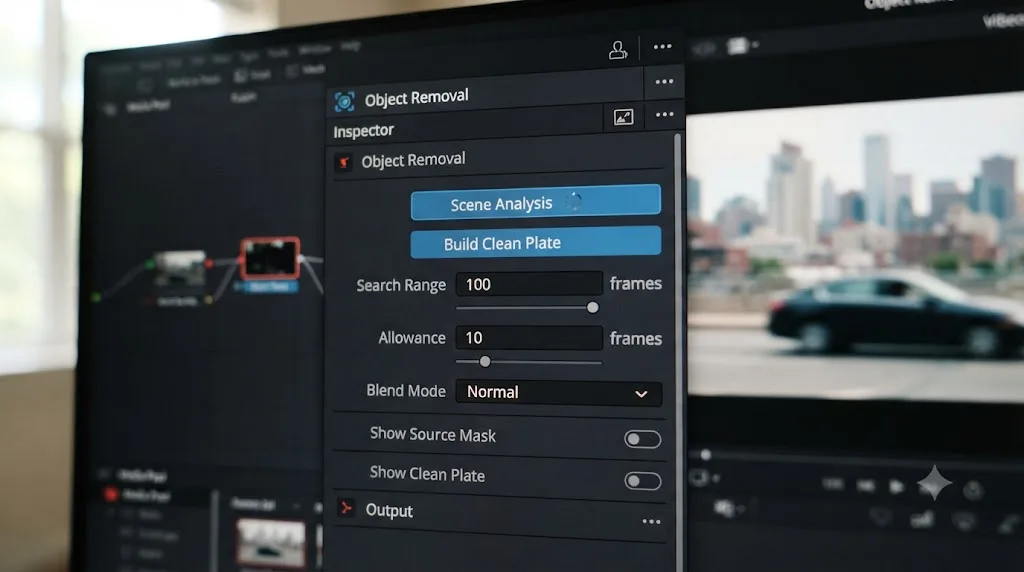
Scene Analysis looks at frames near the one you're on, inside a range you control, and tries to identify which pixels in that range represent genuine background rather than the object you're removing. Per Creative Video Tips' clean plate tutorial, the two controls that shape this process are Search Range and Allowance. Search Range sets how many frames on either side of the current one get analyzed. A range of 20 examines plus and minus 20 frames, 40 frames total. Allowance controls how frequently within that range Resolve samples, essentially trading thoroughness for speed. The documented advice is to use the smallest range that still gives an acceptable result, since a wider range costs more processing time without necessarily improving the outcome, and can actually introduce more mismatched lighting or focus into the analysis.
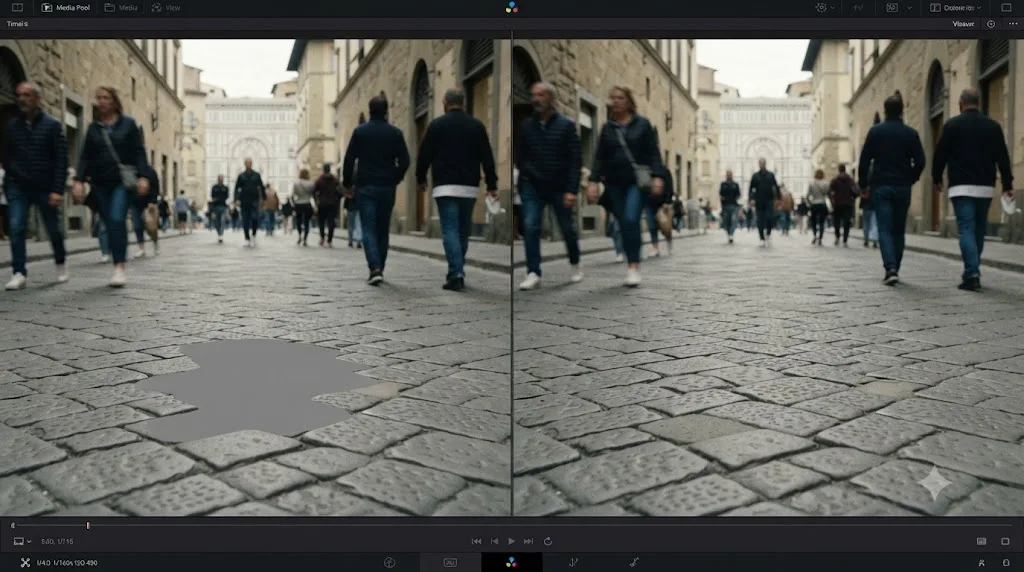
Build Clean Plate takes what Scene Analysis found and actually assembles it into a usable background image. This step matters especially when Scene Analysis alone leaves you with a gray fill instead of a real image, which means it didn't find enough clean data at the frame you're viewing. Build Clean Plate gives you three source options: Gray Image (no attempt at a source, an intentional fallback), Internal (the default useful choice, where Resolve auto-generates and integrates a background from wherever in the clip clean pixels exist), and External (where you connect an actual separate clean plate you shot or built yourself, useful when you genuinely have one available, like a locked-off B-roll pass of the same location without your subject in frame).
Once you've got a background, Blend Mode decides how it merges with your original footage at the edges of the mask. Linear performs simple, direct cloning, pasting the generated background pixels straight in. Adaptive Blend does more work at the seam, matching color and brightness between the patch and the surrounding footage. Per the manual, Adaptive typically gives better results, "except in certain situations where the edges of the replacement patch have a different color or brightness than the background," which is a real edge case worth testing both for rather than assuming Adaptive always wins.
A Show Clean Plate checkbox lets you preview the generated background on its own, without your original footage composited over it, which is the fastest way to spot problems, warping, ghosting, obvious gray patches, before they're hidden underneath your subject.
A good clean plate result depends more on your mask hugging the object closely with soft edges than on any Scene Analysis setting you can tweak afterward. Per the manual's guidance, windows and masks should hug the feature being removed fairly closely, with some edge softness. A loose, oversized mask forces the algorithm to reconstruct more of the frame than it actually needs to, which both slows the process and increases the odds it grabs a chunk of something that wasn't actually background.
Why does Object Removal produce a gray patch, blur, or ghosting, and how do you fix it?
Every one of these three symptoms has a specific, identifiable cause, and none of them mean the tool is broken.
A flat gray fill where the object used to be means Scene Analysis genuinely couldn't find clean background pixels within its search range at that frame. This happens most often near the very start or end of a clip, where there aren't enough neighboring frames on one side to analyze, or on a shot where the object covers nearly the entire visible background for an extended stretch. The fix is Build Clean Plate set to Internal, which pulls from anywhere in the clip rather than just the immediate local range, or widening the Search Range if you haven't already, though widening should be your second attempt, not your first, since it costs more processing time.
A soft, blurred patch usually comes from a Search Range that's too wide relative to how much the scene actually changes, averaging together slightly misaligned frames into a mushy result, or from motion blur in the source frames themselves getting baked into the reconstructed background. Narrow the Search Range first. If the underlying footage genuinely has motion blur in every candidate frame, no amount of range tuning fixes that, since there's no sharp data anywhere nearby to draw from.
Ghosting, a faint double-image or smear trailing behind where the object was almost always means the reconstructed background is blending frames that aren't quite aligned with each other, usually from camera movement Scene Analysis didn't fully compensate for. Check whether Assume No Motion is checked when it shouldn't be, since that setting tells the algorithm to skip camera-motion compensation entirely. If the camera is actually moving and that box is checked, ghosting is the direct, predictable result.
| Symptom | Likely cause | Fix |
|---|---|---|
| Flat gray fill | Not enough clean background found in the search range | Build Clean Plate, set to Internal; widen Search Range only if needed |
| Soft, blurred patch | Search Range too wide, or genuine motion blur in source frames | Narrow Search Range first; accept the limit if the blur is baked into the footage |
| Ghosting or smearing | Camera motion not compensated for, often Assume No Motion checked incorrectly | Uncheck Assume No Motion for moving-camera shots; rerun Scene Analysis |
| Visible seam around the mask edge | Blend Mode set to Linear on footage with changing light | Switch to Adaptive Blend; feather the mask edge slightly |
| Result looks fine in preview but shows seams on export | Reviewing at reduced playback resolution | Set Timeline Playback Resolution to full before judging the final composite |
That last row catches more people than any of the others, because it's invisible until you've already exported and moved on. Resolve's playback resolution setting, found under Playback in the Preferences or the Timeline menu, renders a lower-resolution preview during scrubbing and playback by default on demanding timelines. A clean plate that looks seamless at half or quarter resolution can reveal a visible edge once you're actually looking at every pixel. Bump Timeline Playback Resolution to full before you sign off on a shot, the same check that matters for DaVinci Resolve's Fusion Planar Tracker, where a track that looks locked in the normal viewer can hide real drift the same way.
How do you track the removal patch so it follows a moving camera?
Both the Studio and free-version workflows depend on tracking once the camera moves, and DaVinci Resolve splits that job across two genuinely different tools depending on which page you're on.
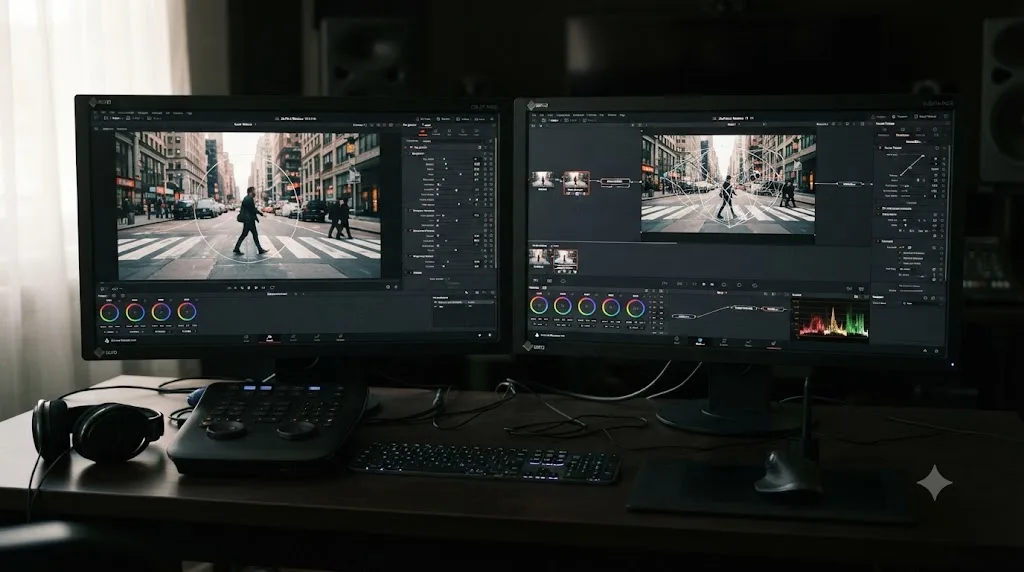
On the Color page, tracking happens through the Window Tracker palette attached to your Power Window. Per Blackmagic's manual on Motion Tracking Windows, the tracker analyzes "a cloud of tracking points that follow the vectors of every trackable group of pixels within the window you've created," and it can solve for Pan and Tilt, Zoom, Rotate, and Perspective 3D independently. For most object removal work, leave Zoom, Rotate, and Perspective 3D unchecked unless the object itself is genuinely scaling or rotating relative to the frame, since asking the tracker to solve for motion that isn't actually happening is the single most common cause of drift, covered in full in our guide to Power Windows that keep losing tracking.
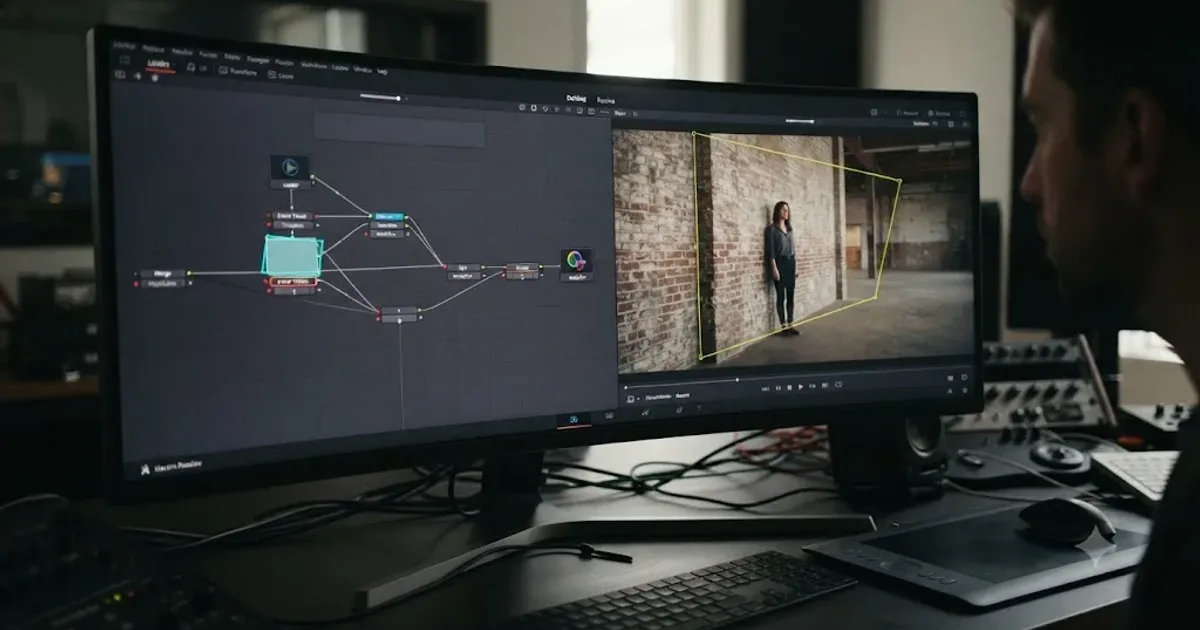
On the Fusion page, you have a choice between the general Tracker node and the Planar Tracker. The general Tracker follows a point or small feature and works well for tracking an object's rough position. The Planar Tracker tracks an entire flat surface's perspective distortion over time, which is the better fit whenever the thing you're painting over sits on or near a genuinely flat plane, since it gives you a stabilized reference to paint against rather than just a moving anchor point. Our guide on the Fusion Planar Tracker failing to track covers reference frame setup, Motion Type selection, and occlusion masking in full detail, all of which apply directly to a Planar Tracker you're using to stabilize a removal patch.
| Tracker | Page | Best for object removal | Weakness |
|---|---|---|---|
| Window Tracker | Color | Tracking a Power Window around a moving object for Object Removal | Can drift if too many transforms are enabled unnecessarily |
| Point Tracker | Fusion | Following a single feature to carry a Paint clone patch | Less useful for a whole flat surface's perspective change |
| Planar Tracker | Fusion | Stabilizing a flat surface before painting, or before applying PatchReplace | Requires a genuinely flat surface to track meaningfully |
A detail worth knowing regardless of which tracker you use: neither one handles occlusion, something else crossing in front of your tracked area, without help. If a second object crosses through your removal zone partway through the shot, that's a separate problem from tracking itself, and it needs an occlusion mask or a manually corrected keyframe section rather than a different tracker setting.
Can you remove an object without DaVinci Resolve Studio?
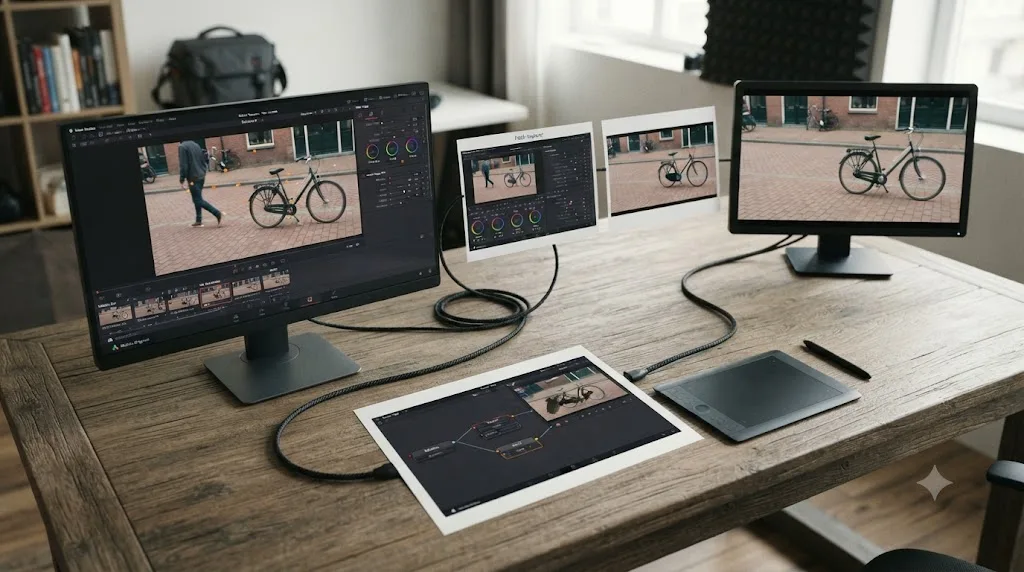
Yes, completely. Both Patch Replacer and the Fusion Paint node are included in the free version with no feature gate, and between them they cover the same fundamental range of situations Object Removal handles, just with more manual setup.
The practical free-version workflow looks like this:
- Run the motion test first, exactly as covered earlier. This matters even more on the free version, since the extra manual work of the tracked Fusion approach is only worth doing when the object or camera genuinely moves.
- Static object, static camera: Patch Replacer, full stop. There's no reason to touch Fusion for this case regardless of which license you have.
- Moving object or camera, flat surface involved: Planar Tracker in Steady mode plus a Paint node in Clone mode, painting against the stabilized plate, then letting the tracker reapply the original motion.
- Moving object or camera, no flat surface: A general Tracker node set to Match Move, feeding a Paint node's clone strokes, rebuilding the patch by hand across any frames where a single tracked patch isn't enough on its own.
- Multiple objects or a long, complex shot: Break the clip into shorter sections in your head, even if you don't physically split it, and solve each section's clean plate separately rather than trying to build one universal patch that survives the whole shot.
Neither free-version tool generates pixels that were never filmed, which is both their real limitation and the reason they're predictable in a way Object Removal sometimes isn't. Patch Replacer and Fusion Paint always copy real pixels from somewhere else in your actual frame. That means you, not an algorithm, are responsible for finding a source area that actually looks right, but it also means you'll never get a surprising, uncanny result from a neural network guessing wrong. What you see while you're painting is what you get.
The real cost of the free path is time, not quality. A shot that takes Object Removal five minutes of Scene Analysis and Build Clean Plate can take twenty or thirty minutes of manual clone strokes and tracker setup in Fusion for an equally clean result on the right kind of footage. If you're doing this regularly across a whole project, that time difference is the actual case for Studio, not a quality gap on any single shot.
How do you remove an object that crosses in front of something else, or has complex motion?
This is the case every tutorial skips, and it's the one that actually eats an afternoon if you don't plan for it upfront: your removal target isn't just moving, something else moves through the same area while you're trying to erase it.
Neither Object Removal's Scene Analysis nor a basic Fusion Tracker has any built-in concept of "ignore this other thing that's also moving through my mask." Both assume the area inside your mask, across the frames they're analyzing, represents a single coherent problem to solve. When a second object crosses through partway, the result is usually a visible glitch, a flash of the wrong content, or a section where the clean plate briefly reconstructs the crossing object instead of the actual background.
The fix is the same underlying idea in both the Studio and free workflows: segment the shot around the interruption instead of trying to solve it in one continuous pass.
For Object Removal on the Color page:
- Identify exactly which frames the second object overlaps your removal mask.
- Consider whether you can shrink your Power Window's Search Range so Scene Analysis simply avoids sampling those specific problem frames as source material, if the object you're removing is otherwise static enough that a narrower range still finds clean data elsewhere.
- If the overlap is unavoidable within your range, split the clip into a Compound Clip at the point where the interruption starts and ends, apply Object Removal separately to the section before and after, and hand-treat the interruption itself with a Patch Replacer pass or a short manual Fusion patch.
For the Fusion Paint approach:
- Track and paint the clean sections normally, letting the Tracker carry your clone strokes through frames where nothing else interferes.
- At the frames where the occlusion happens, either pause your paint strokes entirely, since the crossing object often naturally covers your removal target anyway during that window, or build a second, separate patch specifically for those frames using a different, still-visible clean source.
- Use the Keyframe Editor or Curve Editor to hand-adjust exactly where each patch's opacity or visibility turns on and off, rather than relying on a single continuous paint pass to survive an interruption it was never built to survive.
Complex motion and occlusion aren't edge cases this guide is warning you about as an afterthought, they're the actual default on most real, unscripted footage, and planning to segment a shot from the start saves far more time than discovering the need for it halfway through a failed Scene Analysis pass. A single uninterrupted static shot is genuinely rare outside of interview setups and locked-off product shots. Most footage worth removing something from has at least one moment where the clean, continuous assumption breaks.
Can Magic Mask give Object Removal a tighter mask on hard shots?
Sometimes a hand-tracked Power Window just isn't precise enough. A subject with flyaway hair, a shirt with loose fabric that moves independently of the body, motion blur at the edges of a fast-moving arm, all of these fight a simple circle or polygon shape. The shape either misses thin detail at the edges or has to be oversized to stay safe, and an oversized mask forces Object Removal to reconstruct more of the frame than it actually needs to.
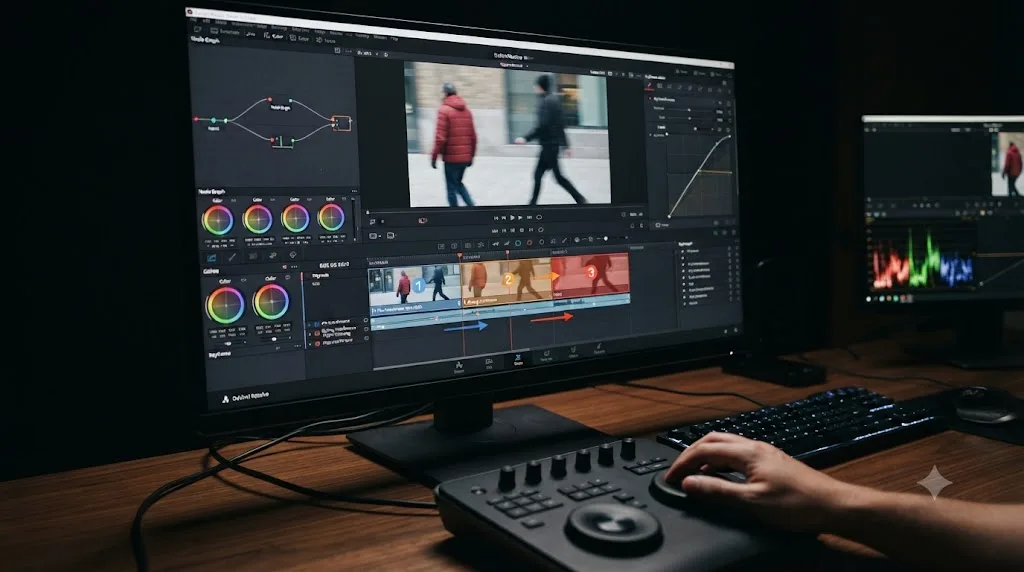
This is where Magic Mask comes in, not as a replacement for Object Removal, but as its mask source. Per TourBox Tech's walkthrough of the combined workflow, the process starts with Magic Mask instead of a Power Window:
- Open the Magic Mask panel in the Color page toolbar and use the Add Click tool to click directly on the object or person you want removed. Resolve's Neural Engine generates an initial mask and tracks it automatically, frame by frame.
- Refine the mask with Magic Mask's Add and Subtract click tools if the initial selection grabs too much or too little, the same refinement pass you'd use when keying a green screen subject.
- Route the mask into Object Removal. Add a serial node downstream of your Magic Mask node, drag Object Removal onto it, and connect the Magic Mask node's alpha output into that new node's mask input, the same connection pattern you'd use for a tracked Power Window's key output.
- Run Scene Analysis and Build Clean Plate exactly as you would with a Power Window-based mask, checking Assume No Motion if the camera is locked off.
A Magic Mask-generated matte hugs a subject's actual edges frame by frame instead of approximating them with a static shape, which is exactly the precision Object Removal's Scene Analysis needs on a subject with soft or moving edges. That precision comes with a real tradeoff. Magic Mask tracking is itself a Neural Engine process, so you're now running two AI passes back to back instead of one, and it adds noticeable time to your grade on longer clips.
| Mask source | Best for | Tradeoff |
|---|---|---|
| Power Window (circle, polygon, curve) | Simple, rigid shapes: bottles, signs, boom mics, vehicles | Fast to set up, but a loose fit on irregular or soft edges |
| Magic Mask | Subjects with hair, loose fabric, motion blur, complex silhouettes | Tighter, frame-accurate matte, but a second Neural Engine pass and more render time |
Reach for this combination when a tracked Power Window keeps leaving a visible fringe or halo around your subject, not as your default starting point. It's especially useful in scenarios with subject movement, motion blur, and complex backgrounds, exactly the cases where a simple geometric shape can't keep up. For the earlier example of a large vehicle dominating the frame, Magic Mask won't help, since the problem there is a lack of clean background data, not an imprecise mask. Match the technique to the actual failure mode, not just to "this shot seems hard."
Does the method change based on what kind of object you're removing?
The three tools stay the same regardless of subject, but the practical setup shifts meaningfully depending on what you're actually erasing. Here's how the common cases break down.
A logo, sign, or brand mark on a static background. Almost always a Patch Replacer job. These are usually flat, small, and locked in place relative to the camera, exactly the profile Patch Replacer handles fastest. If the surface it's on genuinely moves with camera motion, drop to Fusion Paint with a Planar Tracker instead, since a logo on a moving product or a person's clothing rarely stays static for long.
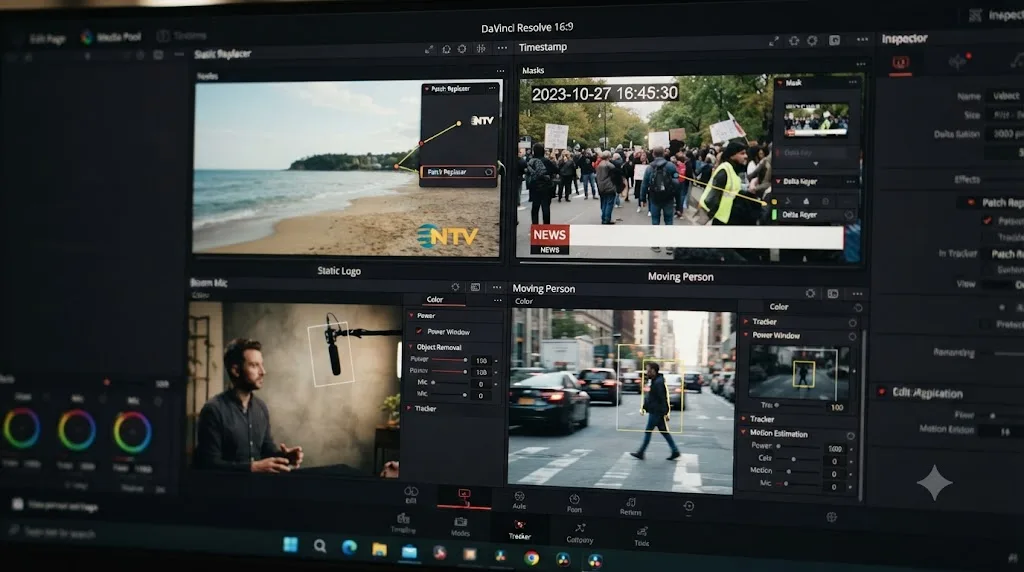
A timestamp or on-screen graphic burned into footage. Also a strong Patch Replacer candidate if it sits in a fixed screen position, which burned-in timestamps almost always do. This is one of the very few cases where you can genuinely ignore the motion test, since the graphic itself is locked to the frame regardless of what the camera underneath it is doing. Sample from a clean area of footage where the timestamp doesn't obscure important detail, and don't worry about tracking at all.
A boom mic dipping into frame. Usually short, usually only a handful of frames, and usually crosses a background that's otherwise static behind an interview subject. Per Frame.io's coverage of Object Removal's strong use cases, a small, brief intrusion like this is close to ideal for Scene Analysis, since the search range only needs to look a short distance in either direction to find plenty of clean frames. If you're on the free version, this is also a case where simply keyframing a Patch Replacer oval across a handful of frames by hand, rather than building a full tracked Fusion setup, is often genuinely faster than the "correct" tracked approach, precisely because the intrusion is so brief.
A person walking through a background. The scenario most of this guide has used as its running example, and the one where the gap between the three tools is widest. Object Removal handles it cleanly when Studio is available and the background behind the walking path stays visually consistent. Fusion Paint with a tracker handles it on the free version, at real added setup cost. Patch Replacer cannot handle it at all unless the person's path is so short and predictable that hand-keyframing the oval across a handful of frames is genuinely less work than the tracked alternative, which is rare.
Dust, hair, or a smudge on the camera lens, visible across an entire scene. This is a slightly different category from the rest, since the "object" isn't in the scene at all, it's an artifact of the capture itself, appearing in exactly the same screen position across every single frame regardless of camera movement, because it moves with the lens rather than with anything in the world. That fixed-screen-position behavior makes it one of the strongest, most reliable Object Removal use cases on record, and it's explicitly called out as a good fit in Frame.io's coverage of the tool. It's also a fine Patch Replacer candidate for the same reason: a screen-locked artifact doesn't need tracking even on a moving-camera shot, since its position relative to the frame edges never actually changes.
A large vehicle or structure that dominates the frame. The hardest case in this whole guide, and worth naming honestly rather than pretending every object removal request has an equally easy answer. When the object you're removing covers most of the visible background, there's very little clean data anywhere nearby for any of the three tools to draw from. Object Removal's Scene Analysis has nothing substantial to reconstruct from. A Patch Replacer clone source has nowhere convincing to sample from. Fusion Paint, with full manual control and a rotoscoped mask built from multiple different clean angles or frames pieced together by hand, is usually the only path that produces a genuinely convincing result, and even then it's real compositing work, not a quick fix.
Does hardware or platform affect object removal performance in DaVinci Resolve?
Yes, meaningfully, though it affects speed far more than it affects whether a given technique works at all.
Scene Analysis and Build Clean Plate are Neural Engine workloads, the same processing category as Magic Mask and Smart Reframe, and they lean heavily on GPU acceleration. A wider Search Range, a larger Power Window, and higher-resolution source footage all multiply the amount of data the analysis has to churn through. On a system with a modest or older GPU, a Scene Analysis pass that takes seconds on a high-end card can genuinely take minutes, and it's worth narrowing your Search Range and isolating just the section of the clip you need analyzed, using a Compound Clip if necessary, before assuming the tool itself is slow or broken.
The Fusion Paint node's clone brushing is comparatively lightweight, since you're painting real-time strokes rather than running a batch analysis, but tracking, whether the general Tracker or the Planar Tracker, adds real GPU and CPU load proportional to clip length and resolution, the same performance profile covered in our guide to Fusion Planar Tracker troubleshooting.
None of the three tools behave differently in terms of what they can accomplish across Mac, Windows, or Linux. Object Removal, Patch Replacer, and the Fusion Paint node all ship in the same feature form regardless of platform, since none of them are platform-gated the way a handful of Resolve's other tools have historically been. Where platform matters is purely the underlying GPU acceleration path, Metal on Mac versus CUDA or OpenCL on Windows and Linux, and that affects raw processing speed on demanding footage, not the quality or availability of the removal techniques themselves.
If tracking or Scene Analysis is running unusually slowly rather than producing an outright wrong result, that's the performance category, not the accuracy category, and it's worth checking your GPU processing mode under Preferences before assuming your footage or your mask is the problem.
How do you reuse a removal setup across multiple similar clips?
A recurring problem doesn't always show up once. A trade show booth interview might have the same passerby crossing behind five different takes. A product shoot might have the same reflection or crew shadow in a dozen near-identical setups. Rebuilding Patch Replacer, a tracked Power Window, or a Fusion Paint setup from scratch on every single clip is exactly the kind of repetitive work Resolve has features to avoid.
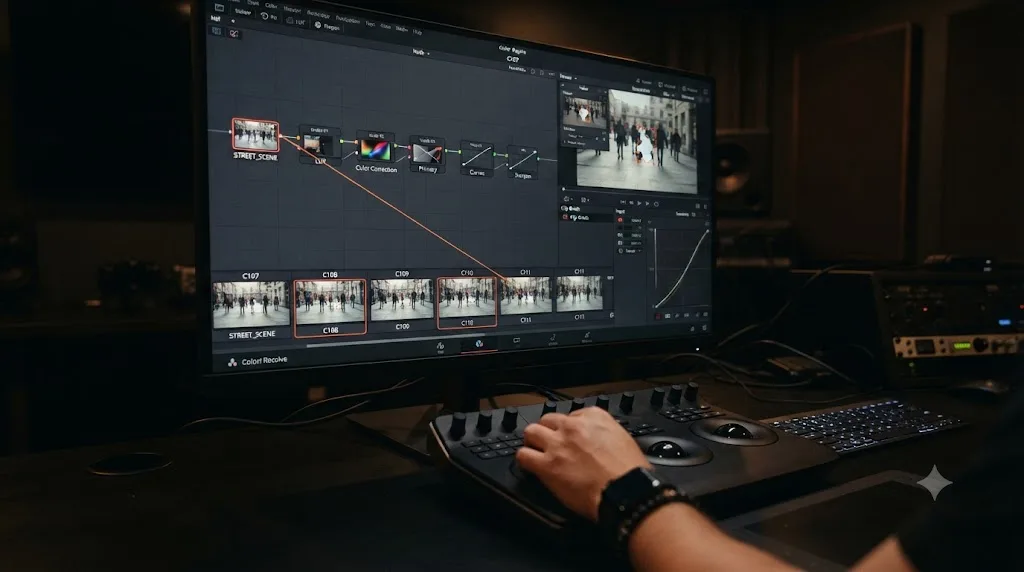
On the Color page, the tool is Append Node to Selected Clips. Per Blackmagic's manual on appending a node to multiple clips, select the node carrying your Object Removal or Patch Replacer settings, then Ctrl or Command-click the other clips in the Color page's thumbnail timeline you want it applied to, and choose Append Node to Selected Clips from the Color menu. Resolve copies that node, effect and all, onto the end of every selected clip's node tree.
Know what actually carries over before you rely on this. Blend Mode, Search Range, Allowance, and fill method settings copy cleanly, since they're just parameter values. Tracking data does not carry over, because a Power Window's track or a Magic Mask's matte is solved against one specific clip's motion, and pasting it onto different footage just puts the shape in the wrong place. You'll still need to redraw and retrack the window, or reclick the Magic Mask, on each clip individually. What Append Node saves you is the setup time on every parameter you'd otherwise have to re-enter by hand, not the tracking itself.
There's one case where even the spatial position carries over cleanly: multiple takes from a genuinely locked-off camera that never moved between takes, the classic interview b-roll setup. If the object you're removing sits in the exact same pixel position across every take, per PremiumBeat's coverage of Resolve's Shared Node feature, you can convert your Patch Replacer node into a Shared Node instead. A Shared Node applies the identical node, position and all, across every clip it's attached to, and editing it on one clip updates every instance at once. That's a genuinely different tool from Append Node: Append Node copies a snapshot once, while a Shared Node stays linked, so a later tweak to the oval position or blend mode propagates everywhere automatically.
| Situation | Tool | What transfers |
|---|---|---|
| Same static object, same locked-off framing, across multiple takes | Shared Node | Everything, including oval or mask position, and it stays linked for future edits |
| Same object type, different framing or camera position per clip | Append Node to Selected Clips | Effect settings and parameters only; retrack or reposition per clip |
| One-off removal that won't repeat elsewhere in the project | Neither, build it directly on the clip | Not applicable |
If you're already leaning on this kind of shared setup across clips, our guide on copying a color grade to multiple clips in DaVinci Resolve covers the broader grade-matching tools, Shared Nodes among them, in more depth than fits here.
What does a full worked example look like, start to finish?
Here's the whole process applied to a realistic shot, so you can see how the pieces above fit together in the order they actually get used.
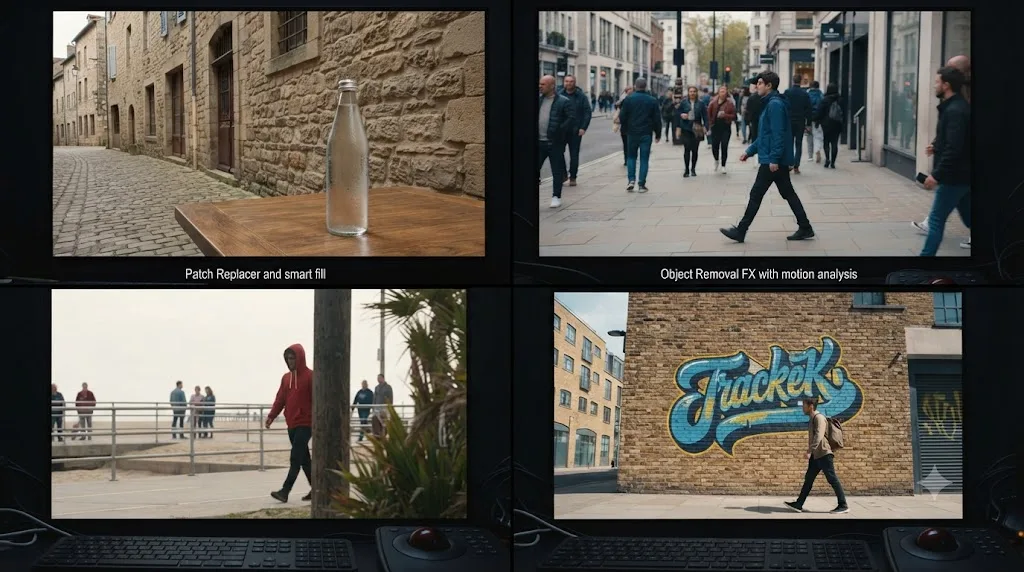
You're grading an interview, locked-off tripod frame, and there's a water bottle sitting in the background the whole time, never moving, camera never moving. You check the motion test first: static object, static camera. That's Patch Replacer, no need to open Fusion or think about Studio at all. You drag the effect onto the clip, position the target oval over the bottle, find a clean patch of wall nearby with similar lighting for the source oval, and Adaptive Blend handles the rest. Total time: about ninety seconds, and you're back to grading.
Same interview, different problem: a production assistant walks through the background about six seconds in, crossing left to right for roughly two seconds before leaving frame. Camera is still locked off, so this is a moving-object, static-camera case. You have Studio, so you draw a Power Window around the walking path (not just the person's current position, since you need to cover the whole path they'll travel), track it forward through the two seconds of motion with Zoom, Rotate, and Perspective 3D unchecked, since a walking person doesn't need those. You add a serial node, apply Object Removal, and since the camera is locked off, you check Assume No Motion before running Scene Analysis. The first pass leaves a slightly gray patch near the start of the walk, so you click Build Clean Plate set to Internal, and it fills in cleanly using background data pulled from elsewhere in the clip.
Now a harder version: the same walking assistant, but this time the camera has a slight handheld wobble, and there's a plant in the foreground that briefly overlaps the walking path around the one-second mark. You track the Power Window as before, but this time you leave Assume No Motion unchecked, since the camera genuinely moves. The initial Scene Analysis pass produces a visible glitch right at the one-second mark, where the plant crosses through your mask. You isolate that specific half-second, split it into a short Compound Clip, and treat that narrow window with a separate, hand-corrected pass using Build Clean Plate with an External source drawn from a slightly earlier frame where both the assistant and the plant's crossing branch are absent. The two sections stitch back together cleanly once you match Blend Mode and feathering between them.
A completely different shot: a product demo video where you need to erase a competitor's logo from a phone case lying on a table, camera slowly dollying past it. This is a flat surface with real camera movement, so you're in Fusion. You add a Planar Tracker, set a clean reference frame where the case is fully visible, track it in Steady mode to lock the surface in place, then add a Paint node in Clone mode and paint over the logo using a clean patch of the case's material as your source, working entirely against the now-stabilized footage. Once the paint strokes look right, you reapply the tracked motion, and the patch rides along with the case's actual movement through the dolly.
Four different shots, four different starting complaints that all sound like "I need to remove something," and four genuinely different paths through the same three tools, because the actual variable driving every decision was motion, not subject matter.
Quick troubleshooting reference
Bookmark this table. It condenses every fix covered above into one lookup.
| Symptom | Likely cause | Fix |
|---|---|---|
| Patch slides off target as the shot plays | Object or camera is moving, but you're using Patch Replacer | Switch to Object Removal (Studio) or Fusion Paint + Tracker |
| Gray fill inside the removal mask | Scene Analysis found no clean background in its search range | Build Clean Plate, set to Internal; widen Search Range only if that fails |
| Blurred or mushy patch | Search Range too wide, or genuine motion blur in the source frames | Narrow the Search Range first |
| Ghosting or a faint double image | Camera motion not compensated for | Uncheck Assume No Motion if the camera actually moves; rerun Scene Analysis |
| Visible seam or color mismatch at the mask edge | Blend Mode set to Linear on footage with changing light | Switch to Adaptive Blend; add slight edge softness to the mask |
| Result looks clean in preview but shows a seam on export | Reviewing at reduced Timeline Playback Resolution | Set playback resolution to full before final judgment |
| Removal glitches at one specific moment | Something else crosses through the mask at that point | Segment the clip and hand-treat that narrow window separately |
| Fusion Paint clone patch drifts on a moving-camera shot | Painting directly against unstabilized footage | Add a Planar Tracker in Steady mode, paint against the stabilized plate, reapply motion after |
| Object Removal never appears in the effects list | Studio license not active | Confirm you're running DaVinci Resolve Studio, not the free version |
| Scene Analysis takes a very long time on one clip | Large search range, high resolution, or a big mask, on limited GPU hardware | Narrow the mask and search range; isolate the section into a Compound Clip |
The verdict
Removing an object from a DaVinci Resolve video isn't one workflow with settings to tweak, it's three genuinely different tools that solve the same visible problem for three different kinds of footage. Patch Replacer wins on anything static, full stop, regardless of which license you're running. Object Removal wins on moving subjects the moment Studio is available and the background behind them has enough clean data to reconstruct from. The Fusion Paint node, paired with the right tracker for the surface you're painting against, covers everything the free version needs to handle on its own, at the cost of your time rather than a subscription.
Diagnose motion before you open a single effect, and the rest of this guide turns into a lookup table instead of a guessing game. That one habit, checking whether the object and the camera move before picking a tool, is worth more than knowing every setting inside Object Removal's Inspector panel, because the wrong tool applied perfectly still produces a worse result than the right tool applied roughly.
If you'd rather have something watch your actual Fusion page or Color page and tell you which of these three paths fits the shot in front of you right now, that's exactly the gap TryUncle is built to close, an assistant that looks at your real project instead of a generic tutorial clip. And once your removal patch is tracking cleanly, our guide to DaVinci Resolve's Power Window tracker losing tracking covers the same drift and occlusion problems from the other direction, for anyone building the tracked mask this whole guide depends on.
Frequently asked questions
- Is Object Removal in DaVinci Resolve free or Studio-only?
- Object Removal is Studio-only. It lives on the Color page, runs on the DaVinci Neural Engine, and requires a Power Window, Scene Analysis, and Build Clean Plate to work. The free version doesn't include it. If you're on the free version, Patch Replacer on the Edit page and the Fusion Paint node's clone mode cover most of the same ground manually.
- Why does DaVinci Resolve's Object Removal tool turn my subject gray?
- A gray fill inside your Power Window means Scene Analysis couldn't find usable background pixels in the frame range it searched, so it gave up rather than guessing. Click Build Clean Plate and choose Internal so Resolve generates and stores a background plate from wherever in the clip the clean pixels actually exist, then run Scene Analysis again against that plate instead of raw neighboring frames.
- Can Patch Replacer track a moving object?
- No, not on its own. Patch Replacer's source and target ovals are static unless you manually keyframe their position, and it only produces a clean result when the element you're hiding and the area you're replacing it with don't change position or size. For a moving object or a moving camera, use the Studio Object Removal tool with a tracked Power Window, or the Fusion Paint node with a Tracker set to Match Move.
- What's the difference between Patch Replacer and Object Removal?
- Patch Replacer is a simple clone-brush effect on the Edit page that copies one static area of the frame over another, available in the free version, with no automatic tracking. Object Removal is a Studio-only Color page tool that uses the Neural Engine to analyze motion across many frames and generate a synthetic clean plate automatically, which is what makes it work on moving subjects without manual keyframing.
- Does the free version of DaVinci Resolve have any way to remove objects?
- Yes. Patch Replacer on the Edit page and the Paint node on the Fusion page are both included in the free version. Neither uses AI-generated clean plates, so both take more manual tracking and clone work than Object Removal, but they solve the same problem: static objects with Patch Replacer, and moving objects with Fusion Paint plus a tracker.
- Why does my removed object leave a ghost or smear behind?
- A ghost or smear usually means the search range for Scene Analysis is too wide, so it's blending in frames where the replacement area still isn't clean, or the Blend Mode is set to Linear on footage with changing light and shadow. Narrow the search range to the smallest number of frames that still gives a clean result, and switch Blend Mode from Linear to Adaptive so Resolve matches color and brightness at the seam instead of pasting pixels directly.
- Should I use Magic Mask instead of Object Removal to remove something?
- No, they solve different problems. Magic Mask isolates and tracks a subject so you can grade or key it separately, but it doesn't generate replacement pixels for what's behind it. Object Removal is built specifically to erase something and fill the hole with synthetic background. You could combine them, using Magic Mask to build a clean matte of a moving object, then feeding that matte into Object Removal, but Magic Mask alone won't make anything disappear.
Sources
- Blackmagic Design DaVinci Resolve Manual: Object Removal and Clean Plate
- Blackmagic Design DaVinci Resolve Manual: Motion Tracking Windows
- Blackmagic Design DaVinci Resolve Manual: Controls in the Window Tracker Palette
- Blackmagic Design DaVinci Resolve Manual: Planar Tracker Node [PTra]
- Blackmagic Design DaVinci Resolve Manual: Appending a Node to Multiple Clips
- Frame.io Insider: Insider Tips: How to Use Resolve's Object Removal Tool, by Heather Hay
- Larry Jordan: Two Amazing Ways to Clean Up a Shot in DaVinci Resolve 20
- EasyEdit: How to Remove Objects in DaVinci Resolve (in Color, Fusion or Edit tabs)
- Creative Video Tips: Clean Plate Object Removal for DaVinci Resolve
- Creative Video Tips: DaVinci Resolve Fusion Patch Replacer
- PremiumBeat: Remove Unwanted Shot Features with Resolve 15's Patch Replacer, by Lewis McGregor
- PremiumBeat: How to Use the Shared Node Feature in DaVinci Resolve 15
- Mixing Light: Using Paint and Rotoscoping Tools in Resolve Fusion
- TourBox Tech: How to Remove Objects in DaVinci Resolve?
- Blackmagic Design product page: DaVinci Resolve - Fusion
Learn by doing, not watching
Stop translating tutorials to your timeline.
TryUncle stays beside Resolve on Mac and Windows. When you ask, Uncle sees your screen and points at the exact control you need. No hunting through tabs, timestamps, or mismatched tutorials.
Meet TryUncleKeep reading
 FixesJul 10, 202628 min read
DaVinci Resolve Power Window Keeps Losing Tracking: The Fix
Power Window tracker in DaVinci Resolve drifting, breaking, or losing your subject mid-clip? Here's every real cause, in order, and the exact fix for each.
 GuidesJul 10, 202637 min read
DaVinci Resolve Fusion Planar Tracker Not Tracking: Every Fix
Why DaVinci Resolve's Fusion Planar Tracker won't move, drifts, or loses lock, and the reference frame, tracker type, and mask fixes that solve it.
 GuidesJul 9, 202634 min read
How to Keyframe Effects in DaVinci Resolve: The Complete Guide
Every way to keyframe effects in DaVinci Resolve: Inspector diamonds, the Keyframe Editor, ease curves, Fusion splines, and what changed in Resolve 21.