
Learn / DaVinci Resolveupdated for DaVinci Resolve 21.1 (September 2026)
DaVinci Resolve Paste Attributes Not Working? Fix It
Quick answer
If DaVinci Resolve Paste Attributes is not working, select the source clip in the timeline, press Cmd/Ctrl+C, select the target timeline clip or clips, then choose Edit > Paste Attributes or Option/Alt+V. Select the category containing the change, then Apply; generators and text objects may need a different workflow.
We start with one ordinary timeline clip, one visible change, and one target. You copied the clip. You selected the other clips. You opened Paste Attributes, clicked Apply, and nothing changed. That feels like a bug, but it usually means Resolve is waiting for a more exact selection or a different checkbox.
As of September 2026, this workflow applies to DaVinci Resolve 21.1, the current release listed by Blackmagic Design. We run a 100,000+ member professional video-editing community, and our team has spent 7+ years on commercial video work. Paste Attributes is one of those small Resolve tasks where knowing the exact order matters more than knowing a clever trick.
TryUncle is the on-screen assistant for DaVinci Resolve on Mac and Windows. Ask in plain words and Uncle points at the exact control on your screen.
Why is DaVinci Resolve Paste Attributes not working?
DaVinci Resolve Paste Attributes usually fails because the source was not copied as a normal timeline clip, the destination is not selected in the timeline, or the Paste Attributes dialog does not include the category that contains your change. The quickest repair is to repeat the operation with one ordinary video clip and one destination clip.
Paste Attributes is selective. It does not mean “copy every visible setting no matter where that setting lives.” The dialog asks which groups to transfer, and the result depends on the type of source and destination clip, the page you are using, and the category you tick.
Paste Attributes only copies the categories you select in the dialog.
The reliable baseline is short:
- Go to the Edit page and select the source clip in the timeline.
- Press
Cmd+Con macOS orCtrl+Con Windows and Linux. - Select the destination clip or clips in the timeline.
- Choose Edit > Paste Attributes, or press
Option+Von macOS orAlt+Von Windows and Linux. - Select the category that contains the setting you changed.
- Click Apply.
Blackmagic’s DaVinci Resolve 20 Beginner's Guide documents the same sequence for copying audio attributes: select the other timeline clips, choose Edit > Paste Attributes or use Option+V or Alt+V, then select the required attribute and apply it.
Do this test before you change versions, reset preferences, or reinstall Resolve. Use a normal video clip with an obvious transform change, such as a different zoom value. If that test works, your original problem is probably the source type, the target type, or the checkbox selection rather than the clipboard itself.
If the menu is the part you cannot find, Uncle can point at the exact Paste Attributes control in your own project while you work.
How do I use Paste Attributes correctly in DaVinci Resolve 21.1?
In DaVinci Resolve 21.1, use a timeline clip as the source, copy it with the standard copy command, select the destination timeline clips, and open Paste Attributes from the Edit menu or the platform shortcut. The source is the clip with the change, not the one you want to fix.
The default Resolve shortcut is Cmd/Ctrl+C to copy and Option/Alt+V to open Paste Attributes.
Use the menu when the shortcut seems unreliable. The menu makes it easier to see whether you are invoking Paste Attributes rather than ordinary Paste. It also removes a common Mac mistake: using Option+C as if it were a separate “copy attributes” command. Blackmagic’s documented workflow starts with ordinary Copy, then uses Paste Attributes for the selective step.
What should be selected before you press Paste Attributes?
Select the source first and the destination second in the timeline. Media Pool, Viewer, Inspector, and Effects Library selections do not count as timeline targets.
For testing:
- Source: one ordinary video clip in the timeline.
- Copy:
Cmd+CorCtrl+C. - Destination: one ordinary video clip in the timeline.
- Paste: Edit > Paste Attributes or
Option+VorAlt+V. - Verification: one visible setting, such as Zoom, Position, Rotation Angle, or Volume.
If you select a clip in the Media Pool after copying, you have changed the focus but not selected a timeline destination. Return to the timeline and click the destination clip there. If you want several destinations, select them in the timeline after copying the source. The DaVinci Resolve 20 Beginner's Guide shows the source-to-multiple-clips pattern in its editing lessons.
What happens if the source and destination clips have different lengths?
The attributes can still be pasted, but keyframes need a timing choice. In the Paste Attributes window, Maintain Timing keeps the keyframes at their original timing, while Stretch to Fit maps them across the destination duration.
That distinction matters for animated Zoom, Position, Opacity, audio fades, and other changes with keyframes. If a two-second move lands too early on a ten-second target, the paste may have worked exactly as instructed. Reopen the dialog and choose the timing mode that matches the edit you want.
Which Paste Attributes checkbox should I select?
Select the checkbox that matches where the setting was created. Transform changes belong to the video attributes area, clip volume belongs to audio attributes, OpenFX belongs to Plugins, and Fusion work belongs to Fusion Effects. Selecting the wrong group can make a successful paste look broken.
Use this decision table as a map, not as a promise that every clip type exposes every row:
| What you changed | Category to look for | What to verify after Apply |
|---|---|---|
| Zoom, Position, Rotation, Crop, Opacity | Video Attributes | Open the Inspector on the target and compare the control values |
| Clip volume or clip pan | Audio Attributes | Play the target and inspect the clip-level audio controls |
| An OpenFX or Resolve FX effect | Plugins | Confirm the effect and its settings appear on the target |
| A Fusion effect or Fusion composition setting | Fusion Effects | Open the target’s Fusion or effect controls and check the result |
| Color correction properties | Color Correction, where available | Compare the target in the Color page and inspect the node or correction state |
| Speed, retime, or keyframed timing | Retime Effects or the related retime control | Play through the target and check timing, not just one still frame |
| Clip color, flags, or markers in Resolve 21 | The new matching Paste Attributes options | Check the clip label, marker, or flag on the target |
Resolve distinguishes plugins from Fusion effects. A Blackmagic forum answer about a Resolve FX Transform effect explains that the effect is an OpenFX effect and therefore requires the Plugins checkbox, not Fusion Effects. That is the kind of mismatch that produces the classic “the dialog worked, but my effect did not” report.
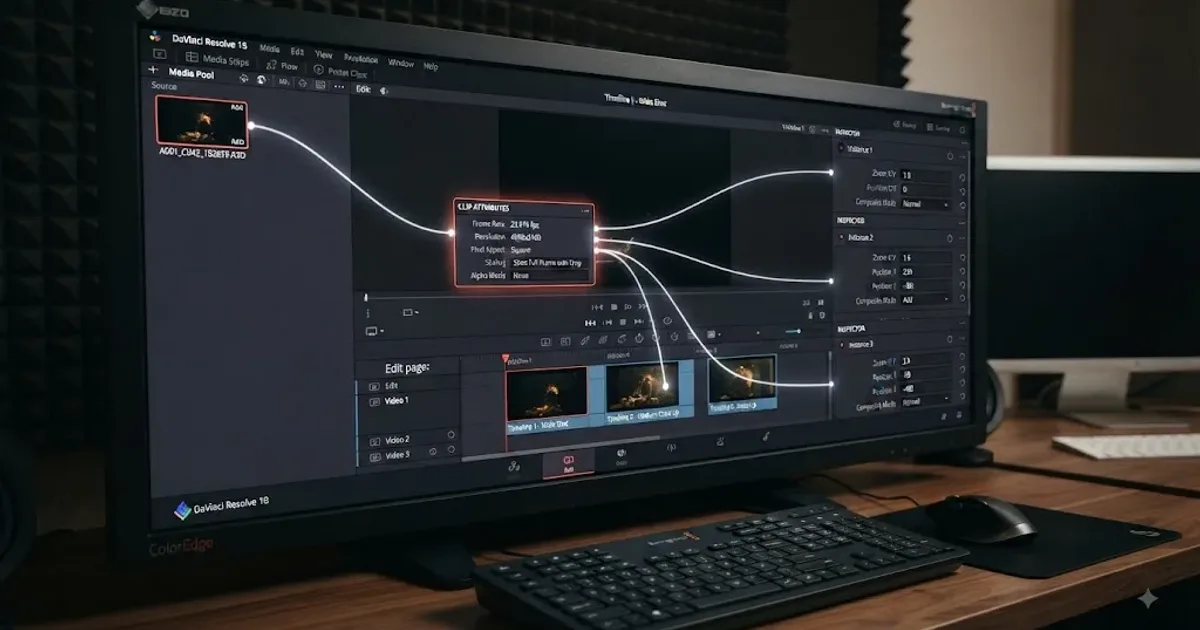
The DaVinci Resolve Inspector vs Clip Attributes guide is useful when the setting you want is not where you expected. The Inspector changes a selected clip’s controls in the current timeline context; Clip Attributes changes technical clip properties. Paste Attributes is a third operation that transfers selected groups from one timeline clip to another.
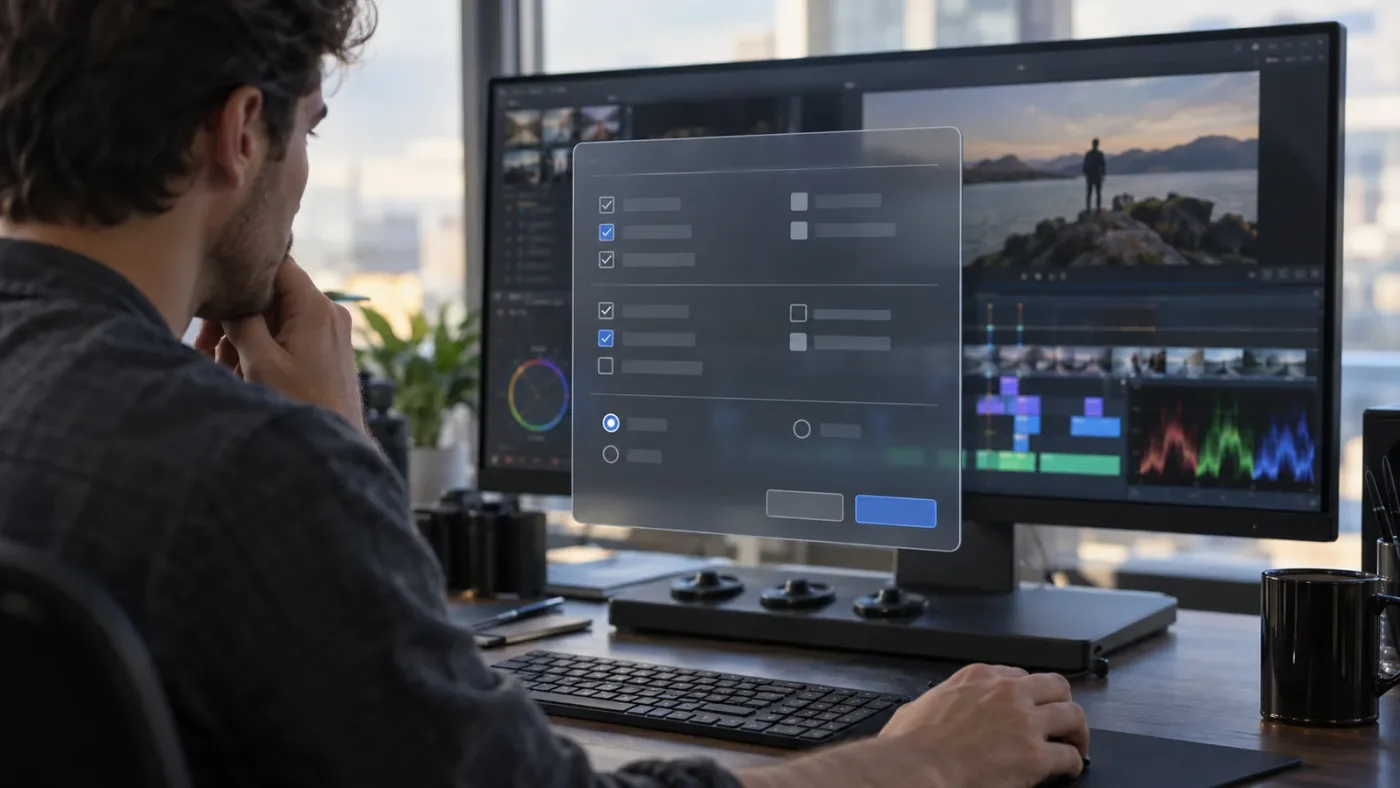
Why does Paste Attributes show the dialog but change nothing?
When Paste Attributes opens but Apply appears to do nothing, first check the selected category, then check the destination type, and finally check whether the source change is actually a timeline attribute. The dialog opening proves only that Resolve received a Paste Attributes command. It does not prove that the chosen checkbox can affect the target.
Did you select the category that contains the change?
If you adjusted an OpenFX effect but selected Fusion Effects, the destination will not receive the OpenFX settings. If you changed Volume but selected only Video Attributes, the destination will not change its clip-level volume. If you animated Zoom but left the video transform options unselected, the keyframes will not transfer.
The safest check is to make one deliberate source change, such as moving Zoom from 1.00 to 1.20, then paste only the matching video attribute. Use a value large enough to see immediately. After Apply, select the destination and open the Inspector. If the destination changes, the workflow is sound and the original setting belongs to another category.
Did you copy the clip, or did you copy a control?
Paste Attributes works from a copied clip or node context, not from the expectation that clicking a control automatically created a reusable preset. Select the source clip, press Cmd+C or Ctrl+C, and do not replace the clipboard contents before selecting the destination.
If you are working on the Color page, the focus changes what copy and paste mean. A selected node can be copied to another node, while a clip-focused operation can copy a broader grade. The same Cmd+C or Ctrl+C keys do not always mean “copy the entire clip” when the Node Editor has focus.
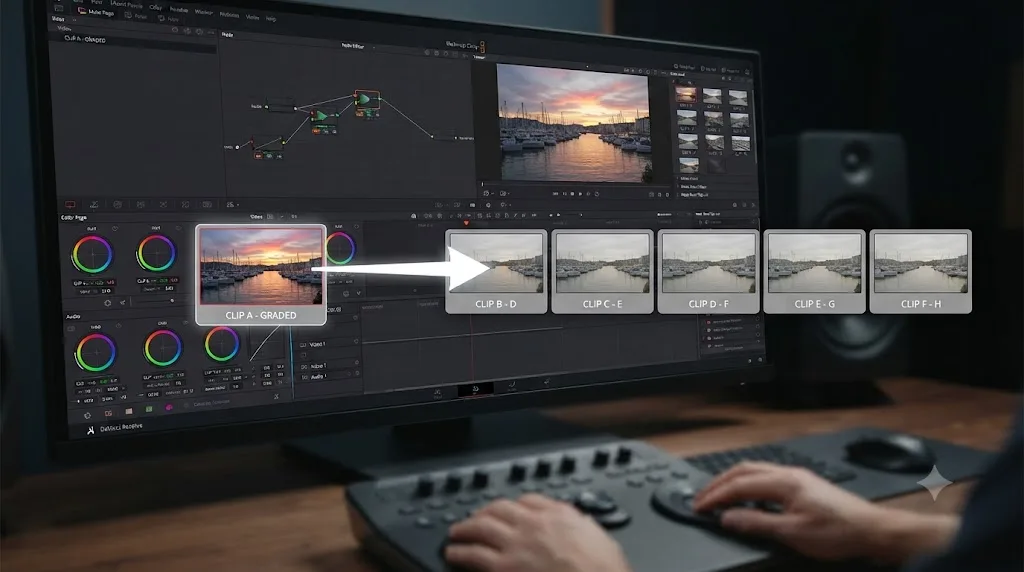
For a whole color grade across multiple clips, the guide to copying a color grade to multiple clips in DaVinci Resolve covers the color-page choices. Do not use an Edit-page clip-attribute diagnosis to explain a Color-page node operation.
Did Resolve paste onto one clip but not the rest?
If one destination changes and the others do not, test the selection one clip at a time. The remaining clips may be different media types, generators, titles, compound clips, or clips with a setting that is not represented by the selected category. A mixed selection can hide the real cause because the dialog applies one set of choices to unlike targets.
Select the source, copy once, select one target, and apply. Then repeat with a second target of the same type. If the first target works and the second fails, compare the clips rather than the shortcut. The difference is probably the clip structure or the attribute category.
Does the clip type change whether Paste Attributes works?
Yes. Ordinary video and audio timeline clips are the best test targets, while generators, text objects, and some compound or nested structures can require a different reuse method. If Paste Attributes works on a normal video clip but fails on a title or generator, the command is not the main problem.
A generator or text object can require a different reuse workflow than an ordinary timeline clip.
Why will Paste Attributes not work on a generator?
A Blackmagic Design forum thread about Resolve 19.1 reports that Paste Attributes did not work when the destination was a Solid Color generator. The accepted community guidance was to make the generator a compound clip first, then try Paste Attributes.
Treat that as a targeted workaround, not a universal rule for every generator in every build. Make a project backup, test the compound clip on one duplicate, and check whether the compound clip changes how you need to edit the material afterward. Compound clips can change the level at which you are editing, so they are useful only when that trade-off fits your project.
Why will Paste Attributes not work on a title or text object?
Text objects may not accept ordinary clip-attribute copying for font, shadow, stroke, position, or other title styling in the way a normal video clip does. In a Blackmagic forum discussion, the practical recommendation was to copy the entire text clip and then edit the words on the duplicate.
For a repeated lower third, duplicate the finished title clip, replace the text, and preserve its structure. If the title is a Fusion composition, test a duplicate before reusing it across different title types.
What if the source is a compound clip?
A compound clip is its own container, so decide whether you want to copy settings on the outside clip or work inside the compound clip. Select a normal clip at the same level as the destination when possible. If the effect exists inside the compound, opening the compound and copying at that level may be necessary.
The diagnostic rule is simple: source and destination should be comparable. A clip-level transform copied from an outside compound clip is not the same operation as a Fusion or Edit-page change made inside that compound clip. When the levels differ, Paste Attributes can be doing exactly what you asked while leaving the visible result unchanged.
Does the page matter: Edit, Cut, or Color?
Yes. Edit-page Paste Attributes is the familiar timeline workflow, Cut page has its own context-menu path, and Color page uses node and grade context. Use the command that matches the page and object you are editing.
What is different on the Edit page?
On the Edit page, select a source timeline clip, copy it, select destination clips, and choose Edit > Paste Attributes or the platform shortcut. The dialog exposes video, audio, plugin, Fusion, color, retime, and related choices according to the clip and version.
What is different on the Cut page?
In DaVinci Resolve 20, Blackmagic added copy, paste, and remove attributes for clips in the Cut page timeline through the clip context menu. The documented path is to right-click the source clip and choose Copy, select the destination clip, right-click, choose Paste Attributes, and then select the specific attributes.
If you cannot find the expected menu entry, right-click the clip in the Cut page timeline rather than the Media Pool. Resolve 21.1 is newer, but the page distinction remains the useful diagnostic: you are acting on a timeline clip, not a media-pool asset.
What is different on the Color page?
On the Color page, copy and paste can operate on a node or on a clip grade depending on what has focus. If you copy a node, select the destination node before pasting. If you want a broader grade transfer, use the clip-level workflow and verify the result in the node graph.
Do not expect Edit-page Video Attributes to copy a Color-page node tree. Do not paste a node onto a destination that does not have the intended node selected. The Color page is a separate context with its own copy, paste, node, and grade behavior.
The DaVinci Resolve keyboard shortcuts guide can help you separate the ordinary copy command from the Paste Attributes command when you are moving between Edit and Color.
What changed between Resolve 20 and Resolve 21.1?
DaVinci Resolve 21 added more choices to Paste Attributes, while DaVinci Resolve 21.1 is the current release as of September 2026. The new choices make selective copying more useful, but they also give you more ways to leave the needed option unchecked.
The official DaVinci Resolve 21 New Features Guide lists Clip Color, Markers, and Flags as parameters that can be selected for Paste Attributes and Remove Attributes. It also documents a Retain Image Position checkbox in the Crop section for keeping crop parameters in place when you resize an image with the Transform tool.
Resolve 21.1 adds more Paste Attributes choices, but it does not remove the need to select a real timeline target.
Blackmagic announced Resolve 21.1 on September 8, 2026. The release added broader features, including new tools and AI assistant integration, but Paste Attributes troubleshooting still depends on the same basic clip-selection discipline. Grant Petty, Blackmagic Design CEO, described the broader release this way:
“With AI assistant support, our customers can now ask Claude or ChatGPT to handle repetitive tasks such as create highlight edits, organizing media or batch rendering, which frees them up to focus on creative decisions,” said Grant Petty, Blackmagic Design CEO.
That quote is about new automation options, not a promise that Resolve will infer which attributes you intended to paste. Paste Attributes remains explicit. You choose the source, the target, the category, and the keyframe behavior.
If you are on an older Resolve 20 build, update only after saving a project backup and confirming the project library is protected. Blackmagic’s support center lists separate free and Studio updates for the Resolve 21 line. Version differences are worth checking when the missing control is one of the new clip color, marker, flag, or crop-position options.
How can I diagnose the exact failure in five minutes?
Use a controlled test instead of repeating the same paste on a complex timeline. Five minutes is enough to separate a shortcut problem, a selection problem, a category problem, and a clip-type problem when you test one variable at a time.
Minute one: confirm the version and page
Open the DaVinci Resolve menu on macOS or the Help menu on Windows and Linux, then confirm the installed version. As of September 2026, the current release is DaVinci Resolve 21.1. Note whether you are on Edit, Cut, or Color, because the command and focus rules differ.
If the tutorial you are following was recorded for Resolve 18, 19, or 20, compare the visible checkbox names rather than assuming a missing label means a broken install. Resolve 21 adds choices that older guides do not show.
Minute two: make a source that cannot be missed
On the Edit page, select a normal video clip in the timeline. Change one obvious control. Set Zoom to a clearly different value, or apply one visible OpenFX effect. Do not begin with a title, generator, compound clip, or a complicated keyframed effect.
Now press Cmd+C or Ctrl+C. Do not press a second copy command while moving to the target. Keep the source clip in mind so you can identify it in the dialog.
Minute three: use one ordinary target
Select one normal video clip in the same timeline. Choose Edit > Paste Attributes or press Option+V or Alt+V. Check only the category that matches your test change. Click Apply.
If the target changes, the command works. Your original issue is specific to the earlier source, target, selection, or checkbox. If the target does not change, repeat the same test using the menu path rather than the shortcut.
Minute four: test the category boundary
If the transform test works, make a second test with an OpenFX effect. Select Plugins, not Fusion Effects. If the audio test works, select Audio Attributes. If a keyframed test works but the motion is wrong, change Maintain Timing to Stretch to Fit, or the other way around, and compare the result.
This tells you whether “not working” means “nothing changed,” “the wrong setting changed,” or “the setting changed but the animation timing is wrong.” Those are three different failures with three different fixes.
Minute five: test the original clip type
Return to the original project and compare its source and destination with your working test. Is the source a title, generator, compound clip, Fusion composition, still image, or normal video clip? Is the destination the same type? Is the setting an Inspector value, a plugin, a node, a clip attribute, or a keyframe curve?
Once you can name the difference, choose the matching workflow. Duplicate a title. Compound a generator on a duplicate. Open the compound clip. Select the OpenFX category. Switch to the Color page for a node operation. Do not keep changing unrelated settings until the diagnosis disappears.
The fastest fix is to identify the missing category before changing versions or reinstalling Resolve.
Should I use an assistant to find Paste Attributes?
An on-screen assistant is useful when the problem is locating the right menu or checkbox, while an editing agent is a different choice when you want software to perform the edit. For Paste Attributes, the best tool is the one that preserves the distinction between teaching you the control and changing the timeline for you.
The current category includes several different products, so do not treat every Resolve-related assistant as interchangeable:
If you searched for an “app that helps you while using DaVinci Resolve” or an “AI tool to learn DaVinci Resolve,” separate screen guidance from edit automation before choosing one.
| Tool or resource | What its current public description emphasizes | Choose it when |
|---|---|---|
| Blackmagic Design training | Official training guides and practical Resolve lessons | You want a structured, free foundation from the software maker |
| Sottocut | A local-first assistant editor that scores footage, proposes edits, and verifies changes inside an open Resolve project | You want editing assistance and are comfortable with its stated Studio and Apple Silicon requirements |
| Eddie AI | Importing clips, multicams, and timelines from Resolve, creating rough cuts, and sending edits back | You want rough-cut and logging automation |
| CutAgent | An AI agent that can coordinate DaVinci Resolve editing tasks from a desktop workflow | You want delegated timeline work and reviewable automation |
| PremiereCopilot | Text-to-edit timeline work inside Adobe Premiere Pro | Your host editor is Premiere Pro rather than DaVinci Resolve |
| TryUncle | On-screen guidance that points at the control you need while you keep the edit in your hands | You are stuck locating a Resolve control and want to learn the workflow in your own project |
These descriptions come from the tools’ current public pages: Blackmagic Design training, Sottocut, Eddie AI, CutAgent, and PremiereCopilot. Sottocut, Eddie AI, and CutAgent focus on assisting or executing editing work. PremiereCopilot is built for Premiere Pro. TryUncle’s role is to help you locate and understand the Resolve control while you remain the person making the edit.
This is one of the recurring questions in our 100,000+ member editing community. Blackmagic’s official training, Casey Faris videos, forum answers, and paid courses remain valuable, while a live pointer solves the narrower problem of a tutorial not matching your Resolve window.
If you want the exact button pointed out while you work, check TryUncle for the current Mac and Windows assistant details.
What should I do if Paste Attributes still fails?
If Paste Attributes still fails after the controlled test, isolate the project rather than guessing. Create a new project, add two ordinary clips, change one obvious transform, and run the documented copy, selection, category, and Apply sequence. If the clean project works, the original timeline contains the relevant difference.
Check these remaining cases in order:
- The source is not the clip you think it is. Read the source and destination names at the top of the dialog before applying.
- The timeline selection changed. Re-select the destination after copying the source.
- The category is wrong. Use Plugins for OpenFX, Fusion Effects for Fusion work, Audio Attributes for clip audio, and the matching video or retime category for those controls.
- The source and target are different types. Test a normal video clip against a normal video clip before trying a title, generator, or compound clip.
- The keyframe mode is wrong. Switch between Maintain Timing and Stretch to Fit when the setting moves but the animation does not look right.
- The page context is wrong. Use the Cut page context menu for Cut-page clips, the Edit-page workflow for Edit-page clip attributes, and Color-page node or grade operations for Color-page work.
- The build is old. Compare the installed build with Resolve 21.1 and read the relevant Blackmagic release notes before updating.
If the clean project also fails for two ordinary video clips, save the project, record the exact Resolve version and operating system, and search the Blackmagic Design community forum for that combination. Include the page, source type, destination type, selected category, and whether the dialog appeared. “Paste Attributes not working” is too broad for a useful bug report; “Resolve 21.1 on Windows, Edit page, OpenFX copied from a normal video clip, Plugins checked, Apply produces no effect” is actionable.
What is the final fix for DaVinci Resolve Paste Attributes not working?
The final fix is usually a precise sequence, not a reset: copy the source timeline clip with Cmd+C or Ctrl+C, select the destination timeline clip or clips, open Paste Attributes with Edit > Paste Attributes or Option+V or Alt+V, choose the category that contains the change, choose the right keyframe timing, and click Apply.
If that sequence works on ordinary video clips, the original failure is a context problem. Use a duplicate title for text, a tested compound-clip workaround for a generator, Plugins for OpenFX, the Cut-page context menu on the Cut page, and node or grade copying on the Color page. Resolve 21.1 adds more selectable attributes, so confirm the new option instead of trusting an older tutorial’s checkbox list.
A correct Paste Attributes workflow is a source, target, category, and timing decision.
Fix the smallest mismatch first. Then paste once, inspect one destination, and only after that apply the same choice across the rest of the timeline.
Frequently asked questions
- Why is DaVinci Resolve Paste Attributes not working?
- The usual cause is an incomplete copy and selection sequence. Copy the source timeline clip with Cmd/Ctrl+C, select the target timeline clip or clips, open Edit > Paste Attributes or Option/Alt+V, select the needed category, and click Apply.
- What is the shortcut for Paste Attributes in DaVinci Resolve?
- The default shortcut is Option+V on macOS and Alt+V on Windows or Linux. Copy the source with Cmd+C on macOS or Ctrl+C on Windows or Linux first.
- Why does Paste Attributes show the dialog but change nothing?
- Usually the needed checkbox is not selected, the source change belongs to another category, or the destination is a generator or text object. Test with one ordinary timeline clip and one clearly selected category.
- Can I Paste Attributes to multiple clips in DaVinci Resolve?
- Yes. Copy one source timeline clip, select multiple destination clips, choose Edit > Paste Attributes or Option/Alt+V, select the categories, and apply them to the selection.
- Why will Paste Attributes not work on a generator or title?
- Generators and text objects do not always accept the same clip attributes as ordinary video clips. For a generator, the Blackmagic forum workaround is to make it a compound clip first; for a text object, copy the whole title clip and replace its text.
Sources
- DaVinci Resolve 20 Beginner's Guide
- DaVinci Resolve 20 New Features Guide
- DaVinci Resolve 21 New Features Guide
- DaVinci Resolve 21.1 announcement
- DaVinci Resolve product page
- Blackmagic Design support center
- Blackmagic Design training
- Blackmagic forum: DaVinci Resolve 19.1 pasting clip attributes no longer work
- Blackmagic forum: Paste Attributes
- Blackmagic forum: Resolve FX Transform changes not pasting
- Sottocut for DaVinci Resolve
- Eddie AI for DaVinci Resolve
- CutAgent
- PremiereCopilot
- Blackmagic Design community forum
Learn by doing, not watching
Stop translating tutorials to your timeline.
TryUncle stays beside Resolve on Mac and Windows. When you ask, Uncle sees your screen and points at the exact control you need. No hunting through tabs, timestamps, or mismatched tutorials.
Meet TryUncleKeep reading
 ComparisonsAug 12, 202648 min read
DaVinci Resolve Inspector vs Clip Attributes: What's Different?
DaVinci Resolve Inspector vs Clip Attributes explained: source vs timeline scope, frame rate, audio mapping, data levels, transforms, and common traps.
 GuidesJul 8, 202639 min read
How to Copy a Color Grade to Multiple Clips in DaVinci Resolve
Every way to copy a DaVinci Resolve color grade to multiple clips: copy/paste, middle-click, Gallery stills, PowerGrades, Color Groups, and more.
 GuidesJul 20, 202638 min read
DaVinci Resolve Keyboard Shortcuts Every Colorist Should Know
Every keyboard shortcut a DaVinci Resolve colorist needs: node commands, bypass and compare keys, gallery stills, and how to customize your own layout.