
Learn / DaVinci Resolveupdated for DaVinci Resolve 21.0.3 (July 2026)
Deliver Both 16:9 and 9:16 From One DaVinci Resolve Timeline
Quick answer
DaVinci Resolve has no one-timeline way to deliver both 16:9 and 9:16 at once; timeline resolution is a single setting per timeline. Duplicate the timeline, switch the copy to 9:16 (or check Use Vertical Resolution), reframe with Smart Reframe or Transform, then queue both timelines together on the Deliver page for one render pass.
I've spent seven years cutting commercial video in DaVinci Resolve, and "just make it work in both formats" is one of the most common notes a client gives without knowing what they're actually asking for. It comes up constantly in the 100,000-member editing community we run, usually phrased exactly the way you probably typed it into a search bar: one timeline, delivering both 16:9 and 9:16. As of July 2026, running current DaVinci Resolve 21.0.3, the honest answer hasn't changed in years. There's no button for it. There's a fast, learnable workaround, and most of the pages ranking for this question either don't explain why the feature doesn't exist or sell you a template instead of showing you the free, native path.
This guide covers both. Why DaVinci Resolve treats resolution as a single per-timeline setting instead of something you can multiply. The exact duplicate-and-reframe sequence that gets you two deliverables from one edit. What survives the conversion automatically (your cut, most of your grade) and what doesn't (titles, some Fusion effects, anything keyframed to a 16:9 frame). And where paid templates and AI reframing tools actually earn their price, versus where they're solving a problem the free workflow already handles in under a minute.
Why can't DaVinci Resolve deliver 16:9 and 9:16 from the same timeline?
Because Timeline Resolution is a single value, not a list. Every DaVinci Resolve timeline stores one width, one height, and one Timeline Format under Project Settings or its own per-timeline override, and every clip, transform, and title on that timeline is positioned relative to that one canvas. There's no field anywhere in Resolve that accepts two resolutions for one timeline, because the entire compositing pipeline, from the Edit page's viewer down to the render engine, assumes exactly one frame size per timeline at any given moment.
That's not an oversight Blackmagic is expected to fix. It's the same reason no NLE, Resolve, Premiere, Final Cut, lets you render "both" from a single sequence: a timeline is a spatial container, and 16:9 and 9:16 are two different shapes of container. A clip's Transform position that centers a face at 1920x1080 sits somewhere else entirely once the canvas becomes 1080x1920. Fitting one edit inside two incompatible shapes at once isn't a missing checkbox; it's a geometry problem, and geometry problems get solved by making a second container, not by stretching the first one into two forms simultaneously.
That framing matters because it changes what you're actually looking for. You're not hunting for a hidden "export both" setting, because it doesn't exist and searching for it wastes real time. DaVinci Resolve renders one timeline at one resolution per job, so two aspect ratios always means two timelines, full stop. The real question, and the one this guide actually answers, is how to get from one finished edit to two correctly framed timelines without redoing the cut, the grade, or the color work twice.
There's a real market that's grown up around this exact gap. Search for a solution and you'll find paid template packs, Creator Timelines' DUO PACK among them, that sell prebuilt project structures with adjustment clips and pan-and-zoom keyframes already set up for exactly this conversion. Their existence tells you something true: enough editors hit this wall that people pay to skip the setup. It doesn't mean you need to buy one. The native workflow below does the same job with tools already in your copy of Resolve, free or Studio, and it takes about the same amount of time to learn as it takes to read this section twice.
What's the fastest real fix: duplicate, reframe, deliver
Cut and grade once, in 16:9, the way you always do. Then duplicate that finished timeline, convert only the duplicate to 9:16, reframe its clips, and queue both timelines together for one render pass. That's the entire workflow, and every step below exists in the free edition except the specific reframing tool you choose.
- Finish the 16:9 edit first. Lock picture, finalize the grade, add your final titles. Doing the duplicate-and-convert step on a finished cut means you do the reframing work exactly once, not every time you tweak the edit.
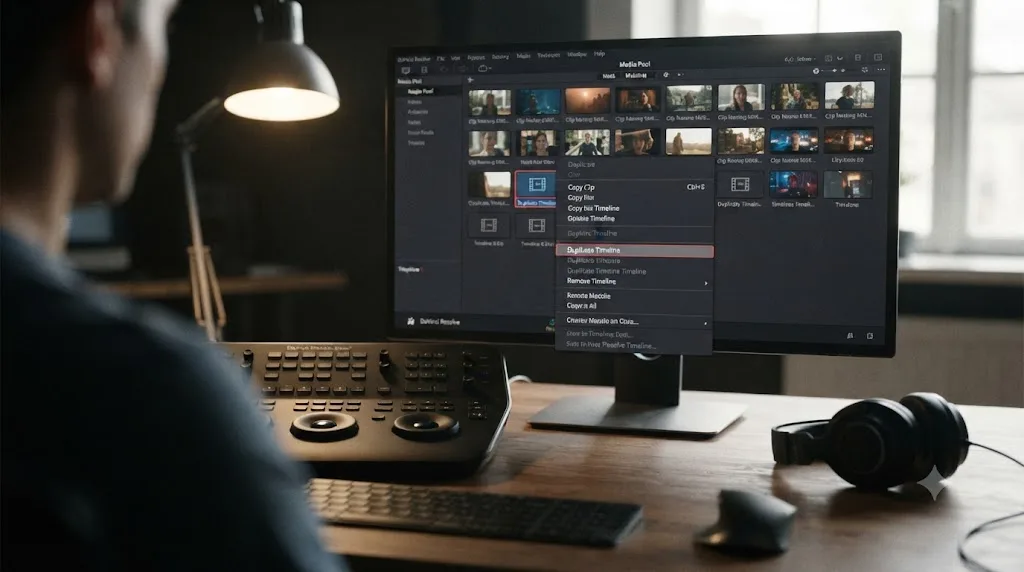
- Duplicate the timeline. Right-click it in the Media Pool and choose Duplicate Timeline, or select it and use Edit > Duplicate Timeline from the menu bar. Per Blackmagic's manual, the copy appears in the Media Pool with the same clips, edits, and effects as the original, and changes to the duplicate never touch the source timeline. Rename it immediately.
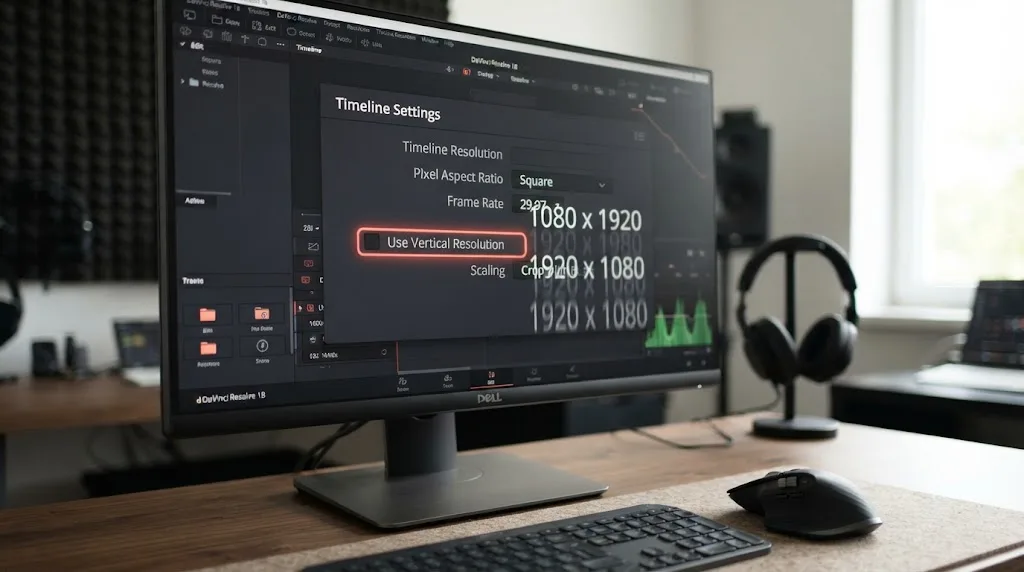
- Switch the duplicate to vertical. Open the duplicate's Timeline Settings, uncheck Use Project Settings so it can diverge from the rest of the project, and either check Use Vertical Resolution or manually enter 1080 for width and 1920 for height.
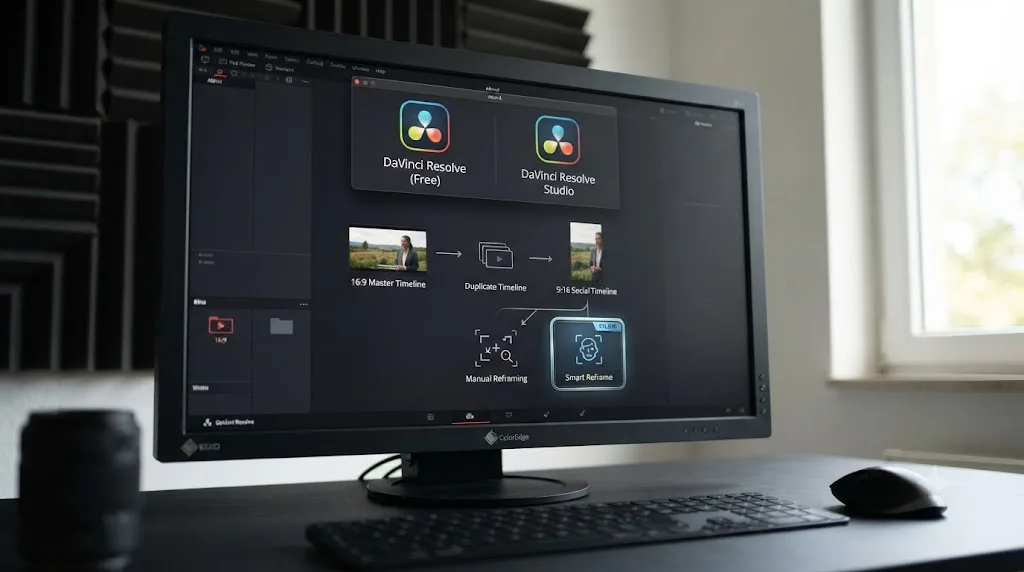
- Reframe every clip on the vertical duplicate. Use Smart Reframe if you have Studio, or the Transform tool's Zoom and Position controls if you're on the free edition.
- Rebuild titles for the new frame. Anything built for a 16:9 canvas needs a specific pass on the vertical duplicate.
- Confirm the grade still matches. Group-based grades carry over automatically; per-clip primary nodes do too, since they're part of the clip itself.
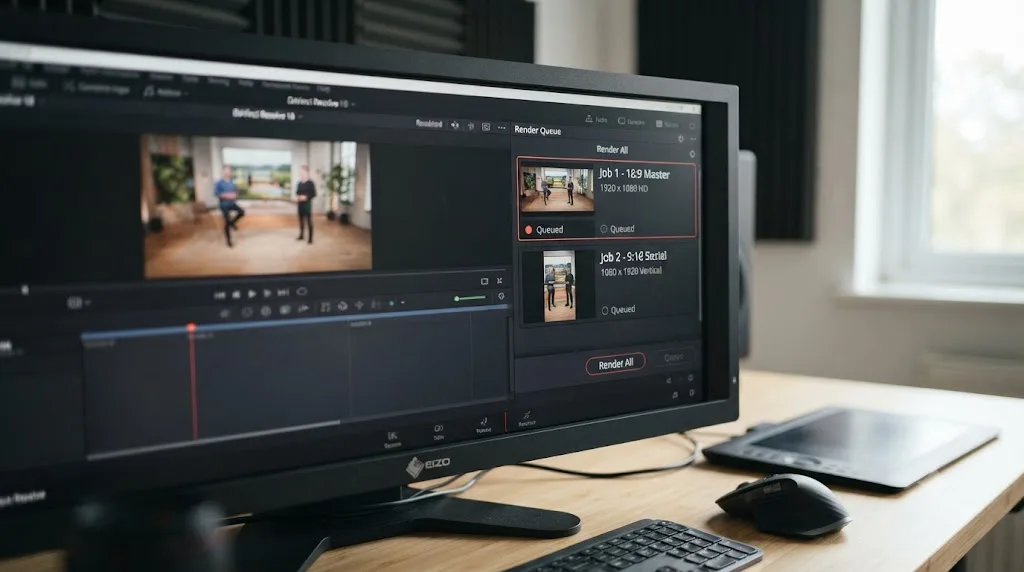
- Queue both timelines together. Select both in the Media Pool, add them to the Render Queue, and click Render All.
Each of those steps has its own gotchas, which is why the rest of this guide breaks them out individually instead of leaving you to discover them mid-render. But if you only read one section of this page, that numbered list is the actual answer to "how do I deliver both formats from one project."
How do you duplicate a timeline in DaVinci Resolve without losing your edit or grade?
You duplicate it the same way you'd duplicate any other Media Pool object, and everything on it, cuts, transitions, effects, and grading, comes along intact because a duplicate is a full independent copy, not a linked reference. Right-click the timeline in the Media Pool and choose Duplicate Timeline from the contextual menu, or select the timeline first and choose Edit > Duplicate Timeline from the top menu bar. Both paths produce the same result: a new timeline object, sitting next to the original in your Media Pool, carrying an identical copy of every edit, transition, effect, and grade the original had at the moment you duplicated it.
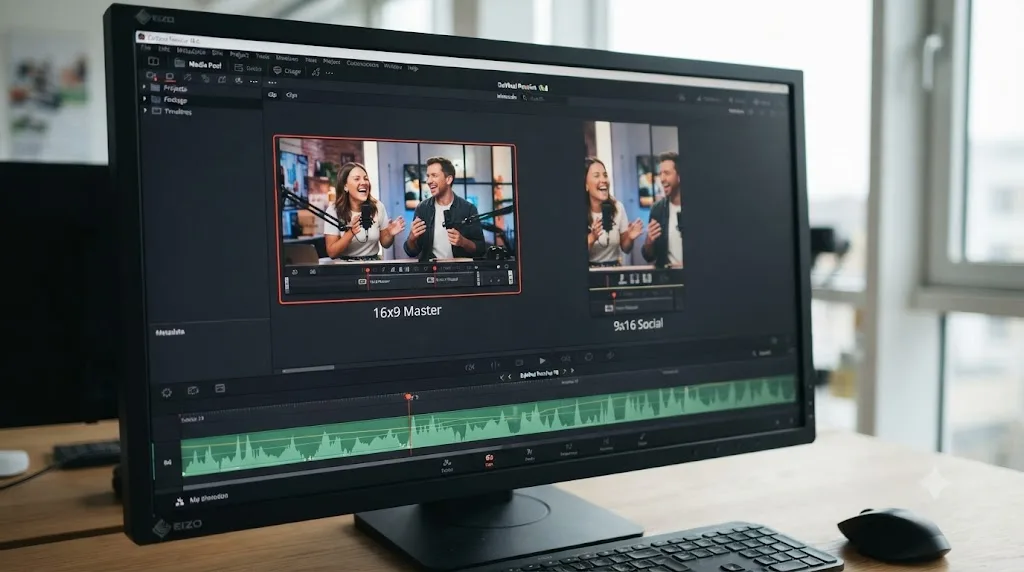
Rename the duplicate before you do anything else to it. Resolve appends a number or "copy" to the duplicate's name by default, and two similarly named timelines in a busy Media Pool is exactly how the wrong version ends up in a render queue at 2am. Something explicit, MyProject_16x9_Master and MyProject_9x16_Social, costs five seconds and saves you from re-rendering later.
One thing worth internalizing here, since it comes up constantly in our community: duplicating a timeline creates two fully independent objects, so any edit you make to one afterward, a trim, a new title, a color tweak, has zero effect on the other. That independence is exactly what you want for this workflow. It also means if you go back and fix something in the 16:9 master after you've already reframed the vertical duplicate, that fix does not propagate automatically. Lock your edit before duplicating, or be prepared to redo the reframing pass on the vertical version if the master changes underneath it.
If you're staring at your own Media Pool right now, unsure whether the option you're looking for is called Duplicate Timeline, Rename Timeline, or something else in your specific version, Uncle can point at the exact menu item on your own screen while you work through it, rather than you guessing between similarly worded context menu entries.
How do you switch the duplicate to a 9:16 vertical resolution?
Open the duplicate's own Timeline Settings, not Project Settings, so the change only affects that one timeline. Right-click the duplicate, choose Timeline Settings > Format, and uncheck Use Project Settings at the top of the panel. That single checkbox is what lets one timeline in your project run at a different resolution than every other timeline in the same project; leave it checked, and any resolution change you make there applies project-wide instead.
With Use Project Settings unchecked, you have two ways to get to 1080x1920:
- Check Use Vertical Resolution. Per Blackmagic's manual, this checkbox "swaps the horizontal and vertical pixels of the Timeline resolution," so if your project was already set to 1920x1080, checking it flips the duplicate to 1080x1920 in one click.
- Enter the resolution manually. Set Width to 1080 and Height to 1920 directly in the Timeline Resolution fields, useful if you want a non-standard vertical size, like 1080x1350 for a 4:5 Instagram feed post instead of full 9:16.
DaVinci Resolve added this specific capability, working timelines in vertical resolutions like 1080x1920 through the project settings, in version 18.1, released November 11, 2022, per Blackmagic's own release announcement. Before that update, editors had to fake vertical delivery with pillarboxing or third-party plugins. If you're on anything from 18.1 onward, including current 21.0.3, the vertical resolution workflow described here is fully native.
A duplicate timeline's resolution change is scoped to that timeline alone once Use Project Settings is unchecked, so your 16:9 master keeps its own resolution untouched no matter what you set the vertical duplicate to. That independence is exactly what makes duplicate-and-convert safe: there's no risk of accidentally flipping your entire project vertical by adjusting one timeline's settings.
One documented quirk worth flagging before you build a whole batch around this: some editors on DaVinci Resolve 18.1 reported that a vertical-resolution timeline could revert to horizontal, with Use Vertical Resolution unchecking itself, after a save and reopen. If you hit this on your version, re-enter the resolution manually with the checkbox on rather than assuming it holds, and double-check Timeline Settings before an unattended overnight render.
| Setting | Where it lives | What it does |
|---|---|---|
| Use Project Settings (Timeline Settings > Format) | Per timeline | Unchecked, lets this one timeline diverge in resolution from the rest of the project |
| Use Vertical Resolution | Timeline Settings > Format, or Project Settings > Master Settings | Swaps the timeline's width and height values |
| Timeline Resolution (manual entry) | Timeline Settings > Format | Sets any custom width and height, not limited to a swap of the existing values |
| Mismatched Resolution Files | Project Settings > Image Scaling | Controls how clips shot at a different resolution than the timeline get scaled once the timeline resolution changes |
Smart Reframe, manual Transform, or Dynamic Zoom: which reframing method should you use?
Whichever one matches your budget of time, footage type, and Resolve edition, because none of the three is universally better, they trade automation for control in different amounts. Once your duplicate is set to 9:16, every clip on it needs its framing adjusted, since a shot composed for a wide 16:9 frame almost never looks correct simply cropped into a tall, narrow one.
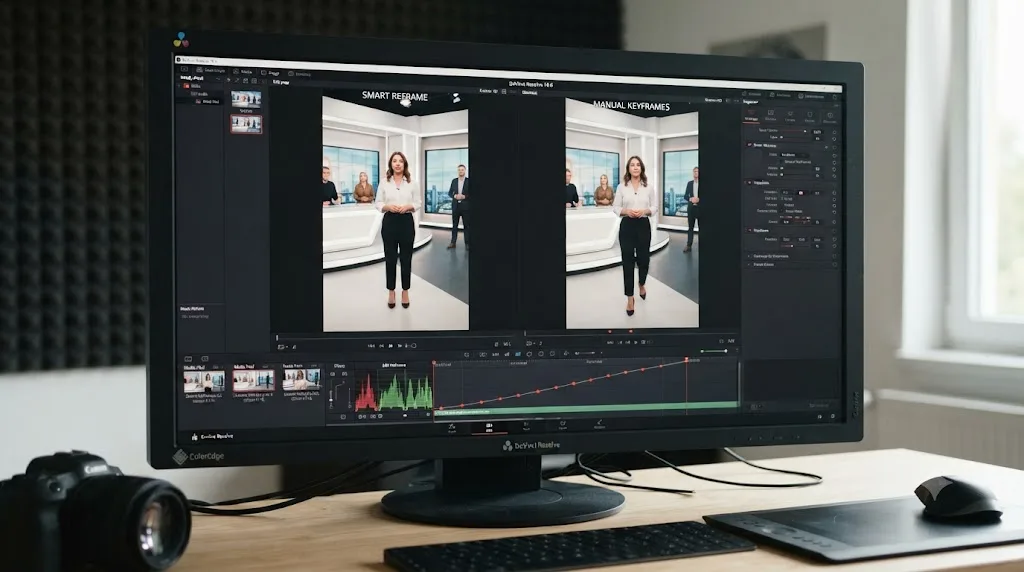
Smart Reframe (Studio only) analyzes each clip through Resolve's Neural Engine and automatically keyframes a Transform to keep a detected subject inside the new frame. It's fast, and for straightforward talking-head content it's genuinely close to hands-off. Editor and trainer Larry Jordan, writing about converting a horizontal talking-head timeline to vertical in DaVinci Resolve 19, put it plainly: "While you can manually reframe a shot once the automatic reframing is done, for most talking heads, you won't have to," a claim he backed up by describing the whole process as "extremely easy, but not obvious." That "not obvious" part is real; Smart Reframe lives in the Inspector's Video tab and won't announce itself, and it's gated entirely to Studio, so free-edition users don't have this option at all. It also struggles with fast motion, busy wide shots, and multicam or compound clips, covered in full in our Smart Reframe troubleshooting guide if it's producing bad keyframes or doing nothing at all on your footage.
Manual Transform with keyframes works identically in the free edition and Studio, and it's the fallback for anything Smart Reframe handles poorly. Select the clip, open the Inspector's Video tab, and adjust Zoom and Position under Transform, adding keyframes if the subject moves enough during the shot to need it. It's slower per clip. It's also completely predictable, which matters on a shot Smart Reframe keeps getting wrong.
Dynamic Zoom is built for a different job: a static or slow-moving wide shot where you want a deliberate push or pan rather than subject tracking. It's not really a reframing tool for "keep the person in frame," it's a virtual camera move you're choosing on purpose, and it works on both editions.
| Method | Edition required | Best for | Weakest on |
|---|---|---|---|
| Smart Reframe | Studio only | Talking heads, single clear subject, moderate motion | Fast motion, busy wide shots, multicam, compound clips |
| Manual Transform + keyframes | Free or Studio | Anything, full control, predictable results | Time cost scales with clip count |
| Dynamic Zoom | Free or Studio | Deliberate push/pan on static or slow wide shots | Not subject-tracking; wrong tool for "follow the person" |
| Adjustment clip + template keyframes | Free or Studio | Reusable pan/zoom presets across many similar clips | Still needs per-clip fine-tuning; not truly automatic |
Reframing a clip is a per-clip decision, not a project-wide setting, so a single timeline can mix Smart Reframe on the easy shots with manual Transform on the two or three that need a human's judgment. You don't have to pick one method for the whole vertical duplicate. Run Smart Reframe first, review the result clip by clip, and manually fix only the ones that came out wrong, which is usually faster than manually reframing everything from scratch.
Does duplicating a timeline duplicate your color grade too?
Mostly, yes, and the part that doesn't technically "duplicate" doesn't need to, because it was never stored per-timeline in the first place. Any grading you've done directly on a clip's own nodes, primary correction, secondary windows, power windows, copies over with the duplicate exactly as it looked on the original, since that grade lives on the clip instance itself.
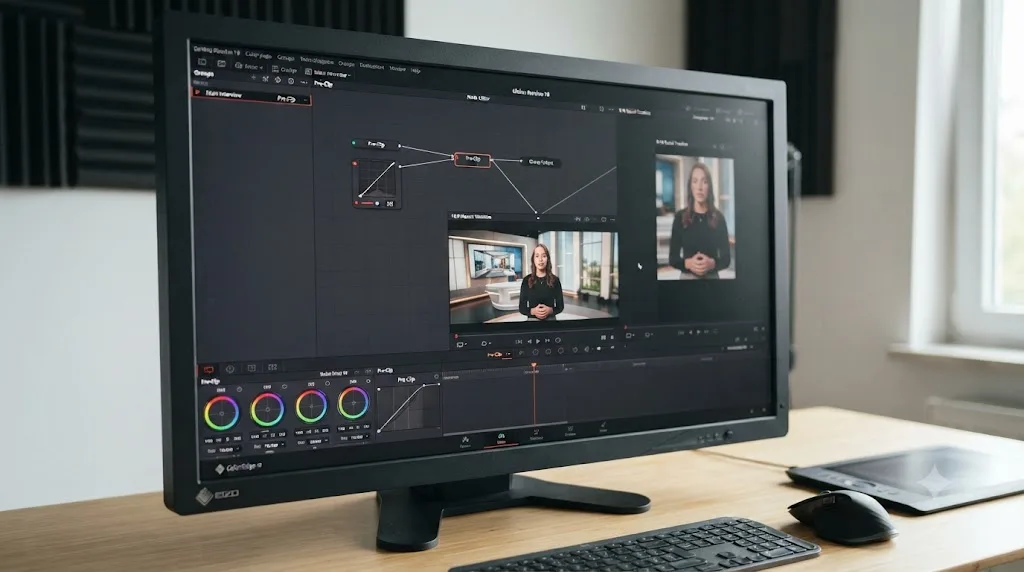
Where it gets slightly more subtle is Color Groups. Group Grades in DaVinci Resolve split into layers: Group Pre-Clip, applied before a clip's own nodes, ideal for a technical correction like a Color Space Transform that gets every shot in the group into the same working space; Clip, the individual per-shot adjustments; Group Post-Clip, a shared creative look applied after each clip's individual tweaks; and finally the Timeline node, applied last. Because Group Pre-Clip and Post-Clip grades belong to the group, not to any one timeline, a clip that's a member of a group carries that shared grade into every timeline it appears in, the original and any duplicate, automatically, with nothing extra required from you.
That's genuinely convenient here. It means if you built your grade using Groups the way most colorists eventually learn to, your vertical duplicate should look identical to your 16:9 master without a single extra click. If your two deliverables look different in color despite an identical duplicate, the Group Pre-Clip or Post-Clip layer is the first place to check, not your grading skills. A Timeline-level node, applied to only one of the two timelines, or a last-minute tweak made after duplicating, is the other usual suspect; the Timeline node sits outside the group structure entirely and has to be reapplied by hand on each timeline it's meant to affect.
If you didn't use Groups and instead graded every clip individually, the grade still copies over correctly with the duplicate, since it's part of the clip's own node tree either way. Groups just save you from having to notice a mismatch in the first place.
What happens to titles, graphics, and Fusion effects when you switch a timeline to vertical?
They don't automatically reflow, and this is the single most commonly skipped step in every quick tutorial on this topic. A Text+ title or Fusion title is positioned with X/Y coordinates relative to the frame it was built in. Change that frame from 1920x1080 to 1080x1920 and the title's coordinates don't recalculate to the new center; the text can end up off to one side, partially cropped, or in some reported cases resized in ways that don't match how it looked in the horizontal version.
Treat titles as a separate pass on the vertical duplicate, not something that comes along for free with the clips underneath them. For each title:
- Select the title clip on the vertical duplicate.
- Open its Inspector (Text+) or the Fusion page (Fusion titles) and check its current position against the new 1080x1920 frame.
- Reposition, and resize if needed, so it sits where you actually want it on the vertical canvas, typically higher up to clear space for platform UI like captions or a scroll bar at the bottom of a Reels or Shorts player.
- If a title uses Render In Place already or you want to lock it once it's correct, that's an option too, though it means redoing the title from scratch if you need to adjust the underlying edit later.
Lower thirds and full-screen title cards both need this treatment, and if your project uses a lot of Fusion compositing beyond simple titles, complex comps with multiple layers referencing specific pixel coordinates are the most likely thing to visibly break, since Fusion nodes inside a title reference absolute positions, not relative ones, by default.
A title built for a 16:9 frame does not automatically reposition itself when the timeline underneath it goes vertical, so budget real time for a titles pass on every reframed duplicate, not just a quick glance. Skipping this step is the fastest way to ship a vertical export with text running off the edge of the frame, and it's an easy mistake to miss on a quick preview scrub since the clip content itself looks fine.
How do you queue and render both versions without doing double work?
You queue them together, the same way you'd queue any two timelines you want rendered in one unattended pass, our full guide to rendering multiple timelines at once covers this mechanic in depth if you want the complete picture. For this specific workflow, the short version:
- Open the Edit page and find both timelines, the 16:9 master and the 9:16 duplicate, in the Media Pool.
- Select both, using Cmd-click (Mac) or Ctrl-click (Windows) since they're not adjacent in most Media Pools.
- Right-click the selection and choose Add to Render Queue Using, then pick a preset. This queues both timelines in one action, though the same preset applies to both by default.
- Open the Deliver page, find the vertical job specifically, and double-click it to correct its output resolution to 1080x1920 if the shared preset applied your horizontal settings to it.
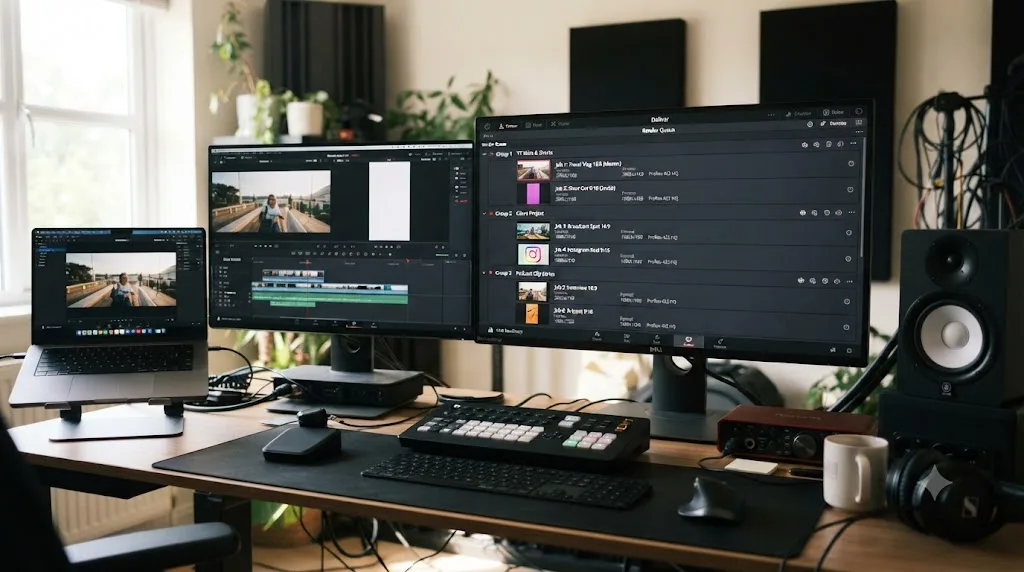
- Confirm nothing is selected in the queue (so Render All processes everything) and click Render All.
DaVinci Resolve renders queued jobs sequentially, one after another, starting with the highest job in the list, never simultaneously, regardless of edition or hardware. That's not a limitation specific to this workflow; it's how the Render Queue works for any batch. Plan your total render time as the sum of both jobs' individual render times, not the length of the longer one, and if you're running this overnight, put whichever job you're less confident about first so you can catch a mistake early rather than discovering it after both renders finish.
One mistake worth calling out here specifically, since it's easy to make with exactly this two-version setup: don't build "both versions" by toggling tracks or visibility on a single timeline and queuing it twice. Resolve's render queue stores a reference to the timeline, not a snapshot of its state, so both queued jobs would render whatever the timeline's current state happens to be when Render All actually runs, not the state each was in when you queued it. Genuinely separate timelines, which is exactly what duplicating gives you, sidestep this entirely; each queued job points at its own independent timeline object.
If you're mid-render right now and can't tell whether the vertical job's resolution actually took, or which menu confirms it, Uncle can point at the exact field on your Deliver page while you check it, rather than you guessing from a screenshot in an old tutorial.
Do you need DaVinci Resolve Studio for this, or does the free edition work?
The free edition covers nearly the entire workflow. Duplicate Timeline, Timeline Resolution, Use Vertical Resolution, Output Scaling, Retime and Scaling overrides, and queuing multiple render jobs together are all present with no watermark and no feature gate, confirmed against Blackmagic's own product pages for the free and Studio editions. The one piece of this specific workflow locked to Studio is Smart Reframe.
That single gap is meaningful but not blocking. On the free edition, you reframe each clip manually with the Transform tool instead of letting Smart Reframe's Neural Engine do it automatically. It costs more of your time per clip, especially on a long timeline with many shots, and it costs nothing in terms of the final result; a well-executed manual reframe looks identical to viewers as a well-executed automatic one. Studio's $295 one-time license buys back time on this specific task, not capability you can't otherwise reach.
| Capability | Free edition | Studio |
|---|---|---|
| Duplicate Timeline | Yes | Yes |
| Use Vertical Resolution / manual resolution entry | Yes | Yes |
| Output Scaling and Retime and Scaling overrides | Yes | Yes |
| Queue multiple timelines together on Deliver | Yes | Yes |
| Manual Transform reframing | Yes | Yes |
| Smart Reframe (automatic AI reframing) | No | Yes |
| Maximum export resolution | 4K (UHD) | Beyond 4K |
Delivering both 16:9 and 9:16 from one project runs entirely on DaVinci Resolve's free edition except the specific step of automatic AI reframing, which is Studio-only. If you're deciding whether this workflow alone justifies the upgrade, the honest answer is: only if you're reframing enough clips, or enough footage that resists manual tracking, that the time saved is worth more to you than the license cost. For an occasional single video needing both formats, manual Transform work is a perfectly reasonable free-edition path.
What if your source footage is already mixed resolutions or frame rates?
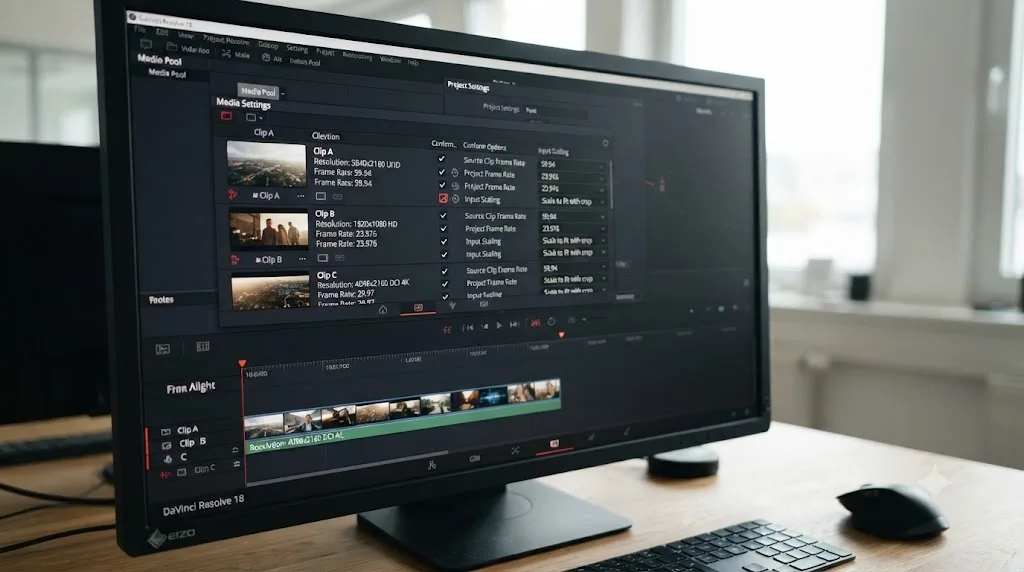
Handle it the same way you'd handle any mismatched source, before you start duplicating for aspect ratio, not after. If your project mixes 4K and 1080p clips, or 23.976 and 29.97 fps footage, sort that out at the project and Media Pool level first, since a resolution or frame-rate mismatch compounds with an aspect-ratio mismatch instead of canceling it out.
For mismatched clip resolution against your timeline, Project Settings' Image Scaling tab controls what happens automatically. Setting Mismatched Resolution Files to Scale Full Frame With Crop fills the frame instead of adding black bars, per Blackmagic's manual, and this setting applies independently on your 16:9 master and your 9:16 duplicate, since each timeline can hold its own Image Scaling override once Use Project Settings is unchecked. If you're seeing black bars specifically instead of a crop, our black bars and wrong aspect ratio guide covers every setting that produces that symptom and how to fix each one.
For mixed frame rates, the project's own timeline frame rate, set once in Project Settings, is what everything conforms to on playback and render; a 60fps clip on a 23.976 timeline gets conformed, not rendered at its native rate, and that conform happens identically regardless of which aspect ratio duplicate you're working on. Sort your frame rate strategy out at the project level before duplicating for aspect ratio, since fixing a frame-rate mismatch after you've already reframed forty clips on a vertical duplicate means redoing that reframing work if the conform shifts anything.
For footage shot specifically for vertical delivery already, phone footage recorded in portrait, for instance, the reframing step for your 9:16 duplicate is often trivial or unnecessary, since the source is already close to the target shape. It's your 16:9 master that then needs the reframing work, in the opposite direction from what this guide has assumed so far, cropping a tall frame down into a wide one instead of the reverse. The same duplicate-and-convert mechanic applies either direction; only which timeline needs the reframing pass changes.
Sorting out resolution and frame-rate mismatches at the project level, before you duplicate for aspect ratio, keeps one class of problem from compounding with another. Fixing them in the wrong order, reframing first and discovering a frame-rate conform issue afterward, means redoing reframing work that a five-minute Project Settings check would have prevented.
What breaks with multicam, compound clips, and adjustment clips when you reframe?
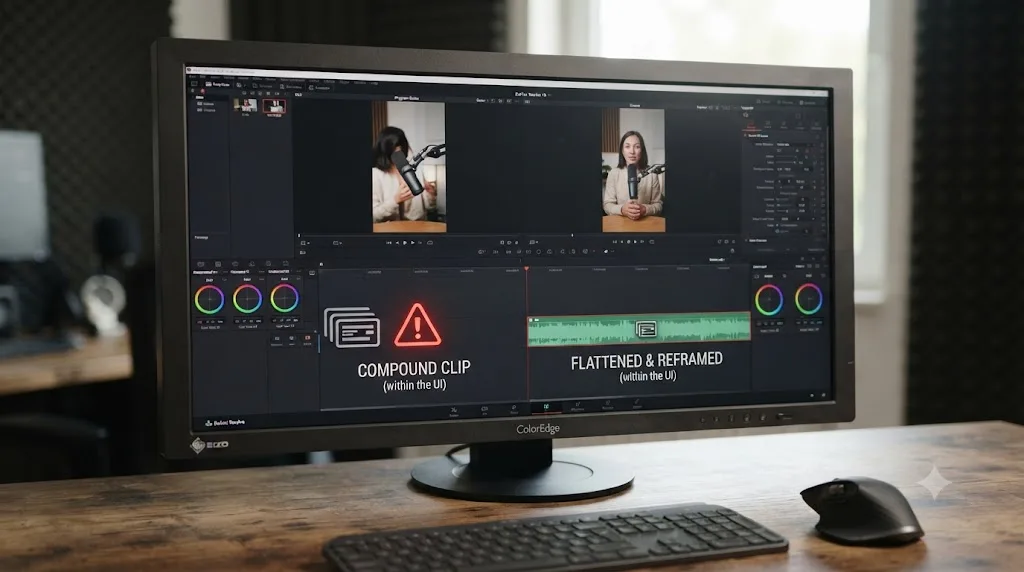
More than you'd expect, and specifically around Smart Reframe rather than the manual Transform path, which handles these cases more predictably. Multicam clips and compound clips are both "container" objects, bundling multiple underlying sources or edits into a single timeline item, and Smart Reframe's automatic tracking has documented trouble with both. Running Smart Reframe directly on a compound clip has been reported to crash DaVinci Resolve outright, and reframing a multicam clip can appear to succeed, only for its Transform keyframes to disappear the moment that clip moves into a new timeline, exactly the kind of surprise you don't want to discover after you've already queued a render.
The workaround is the same for both: flatten the compound clip, or the specific multicam angle you're using, to a single video track, or render it out to an intermediate file, before running Smart Reframe on it. Manual Transform reframing doesn't have this specific crash risk, but it still needs to be applied to the flattened result rather than the live multicam or compound object if you want the keyframes to reliably follow that clip into other timelines. Our Smart Reframe troubleshooting guide covers this failure mode, and several others, in more depth if you're seeing it firsthand.
Adjustment clips behave differently again. An adjustment clip applies an effect, commonly a Transform, to everything beneath it on lower tracks, which is exactly the mechanic several paid template packs use to build reusable pan-and-zoom presets: drop the template's adjustment clip above your footage, and its pre-built keyframes crop and reposition whatever's underneath. That's a genuinely useful pattern for repetitive content, the same style of shot across dozens of similar clips, since you set the framing once on the adjustment clip instead of per clip. It's less useful for varied footage, where every shot needs different framing and an adjustment clip's one-size keyframe set doesn't fit the next clip down the timeline any better than a direct Transform would.
| Object type | Smart Reframe risk | Safer approach |
|---|---|---|
| Standard clip | Low; works as documented | Use Smart Reframe or manual Transform directly |
| Compound clip | Can crash Resolve when reframed directly | Flatten to a single video track first, or render to an intermediate file |
| Multicam clip | Keyframes can disappear when moved to a new timeline | Flatten the active angle before reframing, don't reframe the live multicam object |
| Adjustment clip | Not applicable to Smart Reframe directly; used for manual template-style keyframes | Best for repetitive, similar shots; less useful for varied framing needs |
Reframe the flattened, final version of a compound or multicam clip, not the live container object, and Smart Reframe's crash and dropped-keyframe risks mostly disappear. It's an extra render or flatten step, and it's considerably faster than losing an afternoon's reframing work to a crash on your fortieth clip.
Are paid templates or third-party AI tools worth it for this specific job?
Sometimes, and it depends on which problem you're actually trying to solve, repetitive framing at scale, or getting unstuck on a single project right now. It's worth naming the real alternatives honestly rather than pretending the native workflow is the only option people use, because it isn't.
Template packs, like Creator Timelines' DUO PACK and similar Gumroad products, sell prebuilt project structures with adjustment-clip-based pan-and-zoom presets already keyframed. For a channel producing dozens of visually similar clips a week, talking-head content especially, a good template genuinely saves setup time you'd otherwise spend building your own reframing presets from scratch. For a one-off video with varied shots, a template's generic keyframes usually need as much per-clip adjustment as starting from Transform directly would, so the time saved shrinks toward zero.
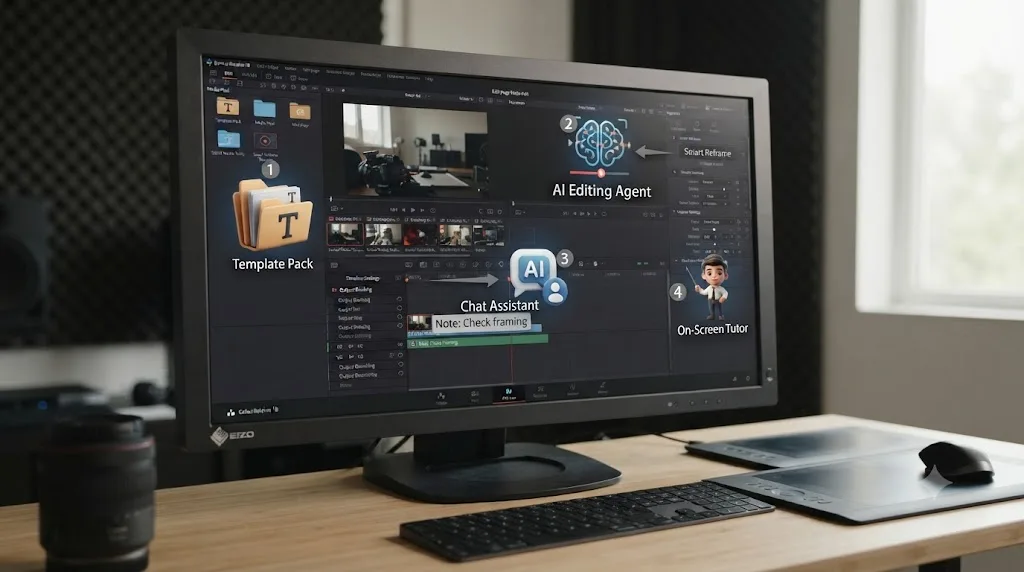
AI editing agents like CutAgent, Sottocut, and PremiereCopilot take a typed instruction and execute edits or automate parts of a cut directly on your timeline, a genuinely different job from reframing specifically, useful once you already know Resolve well enough to review what an agent changed. Chat-based assistants like heyeddie.ai answer questions about your project in a conversation window, separate again from actually touching your timeline.
TryUncle is the on-screen assistant for DaVinci Resolve on macOS. Ask in plain words, and Uncle points at the exact control on your screen, live, inside the project you're already working in. It doesn't reframe a clip for you the way Smart Reframe does, and it doesn't automate an edit the way an agent does. It's for the specific moment mid-project when you know what you want, a vertical duplicate, a matching grade, a title that needs repositioning, and can't immediately find where that control lives in your version of Resolve.
| Tool | What it actually does | Where it fits this workflow |
|---|---|---|
| Smart Reframe (built into Resolve Studio) | Automatically keyframes a Transform to track a subject | The native, no-cost-beyond-Studio reframing option |
| Template packs (Gumroad, etc.) | Prebuilt adjustment-clip keyframe presets | Saves time on repetitive, similar-shot content; less useful on varied footage |
| CutAgent, Sottocut, PremiereCopilot | Execute typed edit instructions directly on a timeline | Automating cuts, not specifically this reframing task |
| heyeddie.ai | Chat-based Q&A about your project | Answers questions; doesn't touch your timeline |
| TryUncle | Points at the exact on-screen control, live, in your project | Getting unstuck on where a setting lives, mid-project |
None of these tools replace understanding why DaVinci Resolve treats resolution as one value per timeline; they each speed up a different piece of the work once you already know that. Pick based on the actual bottleneck: template packs for volume and repetition, an editing agent for automating a cut you'd otherwise do by hand, TryUncle for the moment you're stuck finding a control in your own project. Buying a template because you can't find Use Vertical Resolution solves the wrong problem.
Does this workflow differ between Mac and Windows, or by GPU?
Barely, and where it does, it's about render time, not about whether the duplicate-and-reframe steps themselves work differently. Duplicate Timeline, Timeline Resolution, Use Vertical Resolution, and the Render Queue all behave identically on macOS, Windows, and Linux, since they're project-file-level and UI-level features, not platform-specific code paths.
Where hardware matters is Smart Reframe specifically, since it runs through Resolve's Neural Engine, which is GPU-accelerated on every supported platform. It has no separate documented GPU requirement beyond what the rest of Resolve Studio needs, but AI features are typically the first thing to slow down if your GPU is already close to its memory limit from a heavy grade, noise reduction, or a demanding multi-layer timeline. If Smart Reframe stalls specifically while everything else in your project runs fine, closing other GPU-heavy tools before reframing is worth trying before you assume the feature itself is broken.
Rendering two timelines sequentially, your 16:9 master and 9:16 duplicate, simply takes roughly the sum of both jobs' individual render times, regardless of platform. A faster GPU shortens each individual job; it doesn't let the two render simultaneously, since DaVinci Resolve's Render Queue processes jobs one at a time on every platform and every edition, a design choice, not a hardware limitation you can buy your way around.
One practical difference worth knowing if you're on an older Intel-based Windows system specifically: the DaVinci Resolve 21.0.3 update, released July 2026, reinstated QuickSync hardware-accelerated H.264 and H.265 rendering for select older Intel systems in Studio, which can meaningfully speed up the render step of this workflow on qualifying hardware without changing anything about the duplicate-and-reframe steps themselves.
The duplicate, resolution-switch, and reframe steps in this workflow behave identically on macOS, Windows, and Linux; only render speed and Smart Reframe's GPU headroom vary by hardware. If your specific setup is struggling, it's almost always a GPU memory or render-time question, not a feature gap between platforms.
What are the most common mistakes and how do you fix them?
Most problems with this specific workflow trace back to one of a small number of repeat causes, and nearly all of them show up only after you review the finished export, not during the edit itself. Diagnose by symptom.
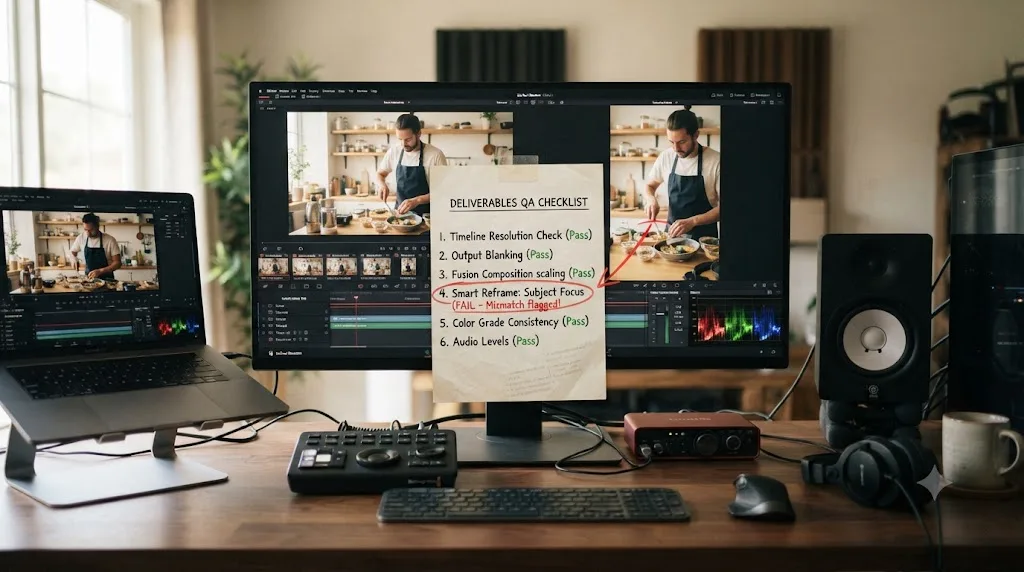
| Symptom | Likely cause | Fix |
|---|---|---|
| Vertical duplicate still shows the 16:9 frame's content, just cropped oddly | Reframing step skipped entirely, or applied inconsistently across clips | Run Smart Reframe or manual Transform on every clip on the duplicate, not just the obvious ones |
| Titles run off the edge or sit in the wrong spot on the vertical version | Titles inherited their 16:9 position and were never repositioned for the new frame | Reposition or resize every title on the vertical duplicate as its own pass |
| The 9:16 version looks color-different from the 16:9 master | A Timeline-level grading node exists on one timeline but not the other, or a Group Pre-Clip/Post-Clip layer is missing on the duplicate's clips | Check Group Pre-Clip and Post-Clip assignment first, then confirm any Timeline node was applied to both timelines |
| Both queued render jobs came out identical | Tracks were toggled on one timeline to fake two versions instead of using genuinely separate timelines | Always duplicate for a second aspect ratio; never toggle visibility on a single timeline and queue it twice |
| Black bars appear on the vertical export instead of a filled frame | Mismatched Resolution Files is set to Scale Entire Image to Fit rather than Scale Full Frame With Crop | See our black bars troubleshooting guide for the full settings walkthrough |
| Smart Reframe does nothing, or produces dozens of jittery keyframes | Proxy media mismatch, a scaled-down timeline resolution, or a low-confidence tracking target | See our Smart Reframe troubleshooting guide for every documented cause and fix |
| The vertical timeline reverts to horizontal after reopening the project | A documented DaVinci Resolve 18.1-era issue with Use Vertical Resolution unchecking itself on save/reopen | Re-enter the vertical resolution manually and confirm it in Timeline Settings before any unattended render |
| Resolve crashes when reframing a specific clip | The clip is a live compound clip or multicam angle, not a flattened single-track clip | Flatten the compound or multicam clip to a single track, or render to an intermediate file, before reframing |
The pattern across nearly every row: this workflow is genuinely reliable once you internalize that a timeline is one canvas, that grading through Groups is shared while Timeline nodes aren't, and that Resolve's render queue holds references, not snapshots. Almost every surprise on this list is someone's mental model expecting one of those three facts to work differently than it actually does.
What do three real setups for this look like end to end?
Settings read differently once you see them applied to an actual project. Here are three worked scenarios, each using a different part of this guide.
A single YouTube video that also needs a Shorts cutdown of the same footage. Finish and grade the 16:9 master timeline in full. Duplicate it, rename the copy MyVideo_9x16_Short, and switch its Timeline Settings to Use Vertical Resolution. Trim the duplicate down to your Shorts-length section (under three minutes, per YouTube's own Shorts rules) using the Blade tool, exactly the process covered in our long-video-to-short-clips guide. Reframe the trimmed section's clips with Smart Reframe or manual Transform, reposition your titles for the vertical frame, and confirm the grade matches by checking your Group Pre-Clip assignment. Queue the 16:9 master and the 9:16 Short together and render both overnight.
A client deliverable requiring a horizontal broadcast master and a vertical social cutdown, same edit. Duplicate the finished, client-approved 16:9 master immediately after approval, before any further changes, so both versions start from an identical locked edit. Convert the duplicate to 1080x1920, run Smart Reframe across it if you have Studio, and specifically review any b-roll or wide establishing shots by hand, since those are the clips most likely to need manual correction after an automatic pass. Rebuild the client's logo bug and lower-third titles for the vertical frame's proportions, since a broadcast-style title block rarely fits a 9:16 canvas without redesign. Queue both for delivery, with distinct filenames per the client's naming convention.
A talking-head podcast clip series, one long recording, many short vertical clips for social. Mark good moments in the long recording with keyworded markers, or IntelliSearch if you have Studio, following our long-video-to-short-clips guide. For each marked moment, duplicate the relevant section into its own short vertical timeline rather than trying to reframe the entire multi-hour recording at once. Smart Reframe handles this content type especially well, per Larry Jordan's own experience converting talking-head footage, since a single speaker with limited movement is close to the ideal case for automatic subject tracking. Queue all the short clips together in one Render Queue pass once each is reframed and titled.
A DaVinci Resolve render job stores a reference to a timeline, not a snapshot of it, and that single fact is why building genuinely separate timelines for each aspect ratio, rather than toggling one timeline's state, is the difference between this workflow working and silently failing. Every worked example above leans on that same underlying mechanic, whether it's one video needing two formats or ten clips needing the same treatment at scale.
The short version
DaVinci Resolve doesn't have a one-timeline way to deliver both 16:9 and 9:16, because Timeline Resolution is a single value per timeline, and no version of Resolve, including current 21.0.3, changes that. The fix that every experienced editor actually uses: finish your edit once, duplicate the timeline, convert the copy to vertical with Use Vertical Resolution or a manual resolution entry, reframe its clips with Smart Reframe or manual Transform, rebuild any titles for the new frame, confirm the grade still matches through your Color Groups, and queue both timelines together on the Deliver page for one render pass. It's a handful of extra minutes of setup, not a redo of your entire edit.
Two deliverables from one edit means two timelines, one reframing pass, and one combined render queue, and every piece of that is available in DaVinci Resolve's free edition except automatic AI reframing. If you're stuck on a specific step of this inside your own project right now, unsure which checkbox or menu path your version actually shows, Uncle can point at the exact control on your screen while you work through it, live, in the project you already have open.
Frequently asked questions
- Can DaVinci Resolve export 16:9 and 9:16 from the same timeline in a single render?
- No. A DaVinci Resolve timeline has exactly one Timeline Resolution at a time, set in Project Settings or per-timeline in Timeline Settings, and one render job renders one timeline at one resolution. There is no output-both toggle, no dual-canvas mode, and no setting that produces two aspect ratios from a single Deliver page job. The workflow every experienced editor actually uses is duplicating the timeline once per aspect ratio and queuing both duplicates together, which takes seconds to set up and produces two independent, correctly framed files.
- Does duplicating a timeline in DaVinci Resolve also duplicate my color grade?
- Yes, for the grading you've applied directly on that timeline's clip and timeline nodes; those copy along with everything else. What does not automatically duplicate is anything you built through Color Groups: Group Pre-Clip and Group Post-Clip grades live on the group itself, not the timeline, so a clip assigned to a group keeps that shared grade in every timeline it appears in, original or duplicate, without you doing anything extra. If your 16:9 and 9:16 versions still look different, check the Group Pre-Clip layer before you assume the duplicate broke something.
- What resolution should I use for a 9:16 vertical export from DaVinci Resolve?
- 1080x1920 is the standard full-HD vertical resolution for TikTok, Instagram Reels, and YouTube Shorts, and it's what Blackmagic's own vertical-resolution presets default to since DaVinci Resolve 18.1. Set it either by choosing a vertical preset in Project Settings' Master Settings, or by manually entering 1080 for width and 1920 for height and checking Use Vertical Resolution, which swaps the two values for you if you started from a 1920x1080 timeline.
- Will my titles and graphics survive switching a duplicated timeline to vertical?
- Not automatically, and this is the step most tutorials skip. Text+ titles and Fusion titles are usually built and positioned for a 16:9 frame, so when the duplicate's canvas becomes taller and narrower, text can run off the sides, sit in the wrong spot, or in some reported cases resize unpredictably. Plan to rebuild or reposition every title on the vertical duplicate as its own pass; don't assume a title that looked right in 16:9 will look right in 9:16 just because the clip carried over.
- Do I need DaVinci Resolve Studio to duplicate a timeline and deliver two aspect ratios?
- No. Duplicate Timeline, Timeline Resolution, Use Vertical Resolution, Output Scaling, and queuing multiple render jobs together are all in the free edition. The one piece gated to Studio is Smart Reframe, the AI tool that repositions a subject automatically when you convert aspect ratios. On the free edition, you do the same reframe manually with the Transform tool and keyframes, which takes longer per clip but produces the same two deliverables.
- Why does my vertical timeline revert to horizontal after I close and reopen the project?
- This matches a documented issue reported around DaVinci Resolve 18.1, where a vertical-resolution timeline could uncheck Use Vertical Resolution and revert its dimensions after a save and reopen. If you hit this on a current build, re-enter the vertical resolution manually with the checkbox on rather than trusting it to persist, and confirm the values in Timeline Settings before you start a render, especially on an overnight or unattended batch.
- What's the fastest way to actually get comfortable with workflows like this in DaVinci Resolve?
- Blackmagic's own free training and manual cover every setting involved, and YouTube channels like Larry Jordan's and Casey Faris's walk through the exact clicks with a working timeline on screen, which is where most editors reasonably start. Reddit's r/davinciresolve is honest about where the workflow gets fiddly. Where all three fall short is your specific project, at 11pm, when the button isn't where the tutorial's screenshot says it is. That's the gap TryUncle is built for, not a replacement for learning the workflow, a way to find the control the moment you're stuck inside it.
- Is there an app that helps while I'm actually inside DaVinci Resolve duplicating and reframing a timeline?
- Yes. TryUncle is the on-screen assistant for DaVinci Resolve on macOS. Ask in plain words, and Uncle points at the exact control on your screen, live, inside your own project, whether that's finding Use Vertical Resolution buried in Timeline Settings or locating the Object of Interest dropdown in Smart Reframe's controls. It's a paid subscription, currently in founder pricing at $29.99 a month for the first 100 seats, cancel anytime, macOS only. It doesn't touch your timeline or reframe anything for you; it just gets you to the right control faster than a forum search would.
Sources
- DaVinci Resolve Manual - Master Settings and Use Vertical Resolution (Blackmagic Design, mirrored)
- DaVinci Resolve Manual - Timeline Resolution and Mismatched Resolution Files (Blackmagic Design, mirrored)
- DaVinci Resolve Manual - Output Scaling (Blackmagic Design, mirrored)
- DaVinci Resolve Manual - Retime and Scaling (Blackmagic Design, mirrored)
- DaVinci Resolve Manual - Duplicating Timelines (Blackmagic Design, mirrored)
- DaVinci Resolve Manual - Smart Reframe (Blackmagic Design, mirrored)
- Larry Jordan: Convert Horizontal Video to Vertical Video in DaVinci Resolve 19
- iClarified: Blackmagic Design Announces DaVinci Resolve 18.1 With Support for Editing Social Media Vertical Resolutions
- PetaPixel: DaVinci Resolve 21 Officially Released With New Photo Editing, AI Tools, and Much More
- Newsshooter: DaVinci Resolve 21.0.3 Update
- DVResolve.com: Reformatting Timelines to a Vertical Video for Social Media
- DaVinci Resolve Studio product page (Blackmagic Design)
- DaVinci Resolve product page (Blackmagic Design)
- Creator Timelines DUO PACK for DaVinci Resolve and Premiere Pro (Gumroad, Cameron Radice)
Learn by doing, not watching
Learn Resolve inside Resolve.
TryUncle watches your screen and points at the exact control when you ask. No tabs, no timestamps, no rewatching tutorials.
Download for MacKeep reading
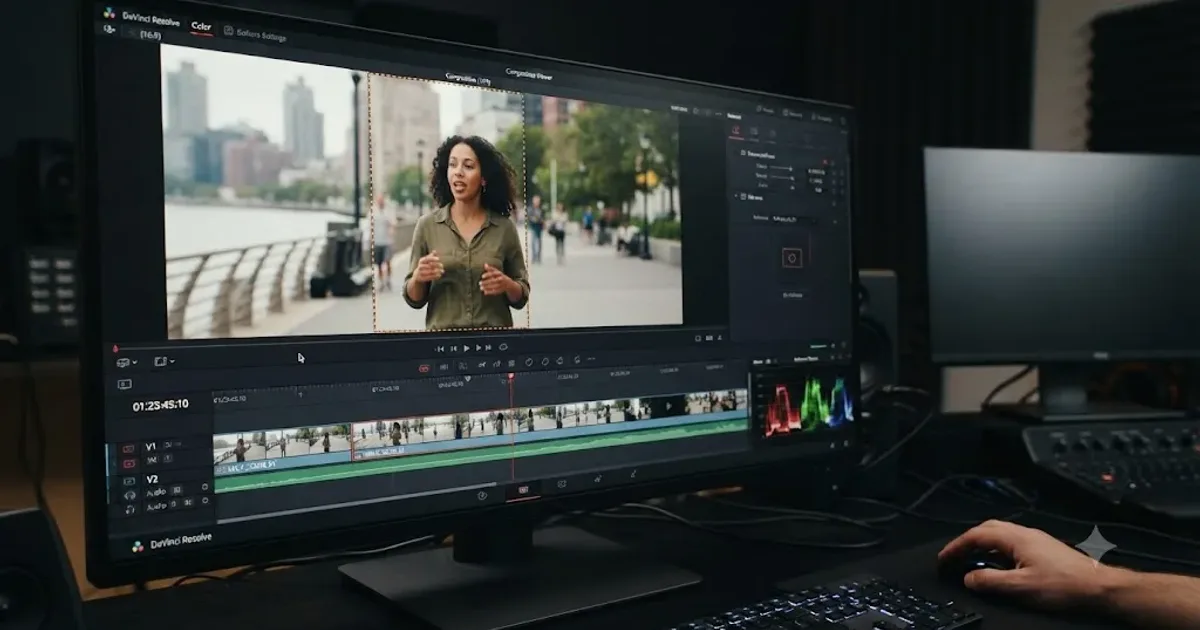 GuidesJul 9, 202638 min read
DaVinci Resolve Smart Reframe Not Working: Every Fix
Why DaVinci Resolve's Smart Reframe does nothing, drifts off the subject, or fights your timeline, and the proxy, resolution, and GPU fixes that solve it.
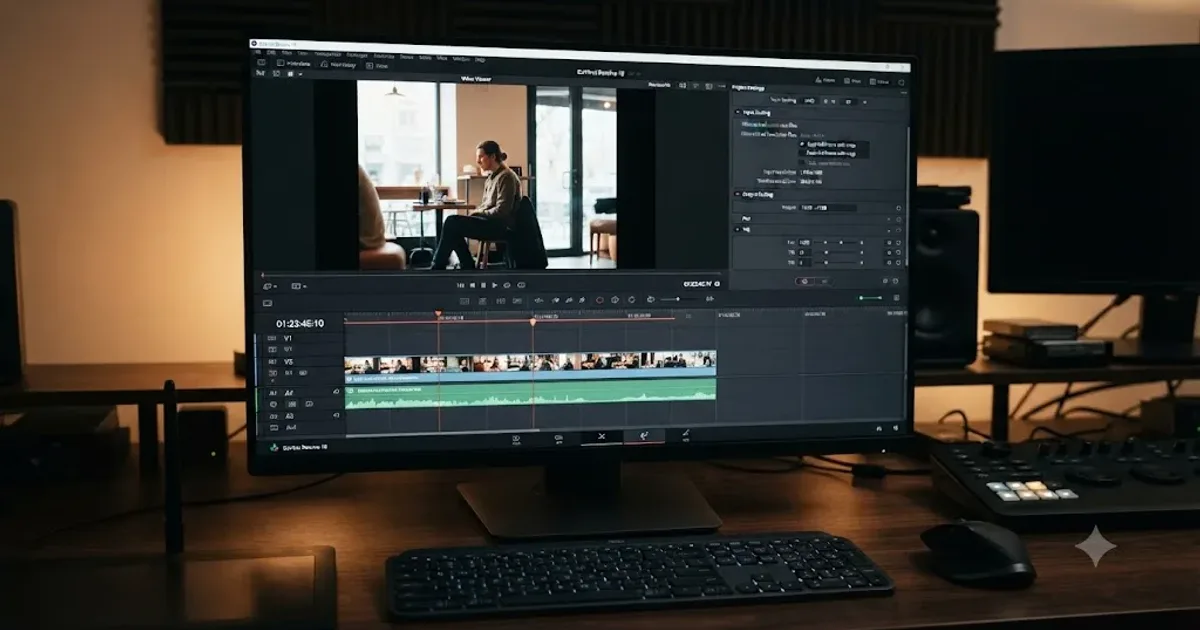 GuidesJul 12, 202630 min read
DaVinci Resolve Black Bars: Every Wrong Aspect Ratio Fix
Why DaVinci Resolve shows black bars around your footage, the Timeline Resolution vs Input Scaling mixup behind it, and the exact settings that fix it.
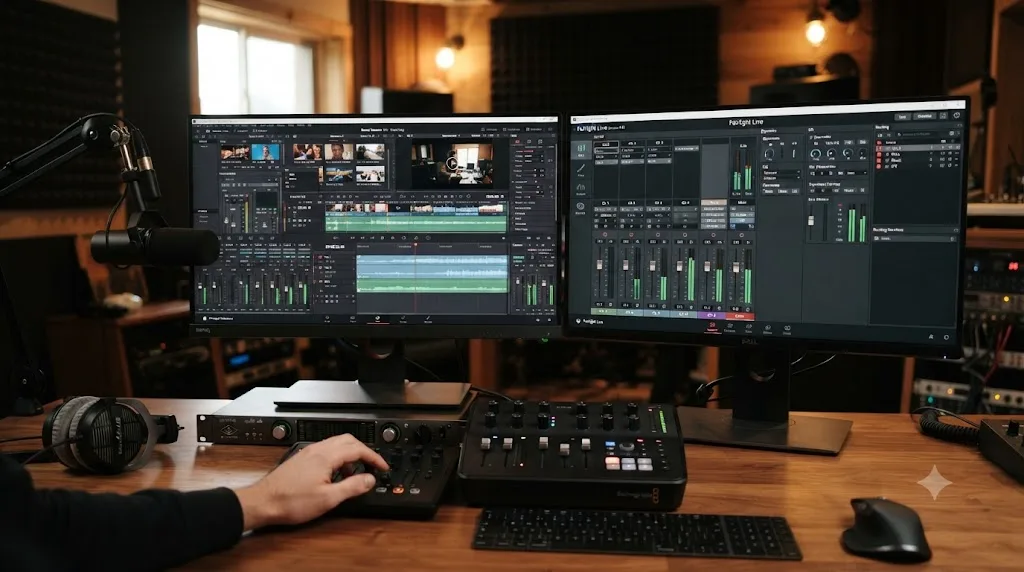 GuidesJul 17, 202627 min read
How to Render Multiple Timelines at Once in DaVinci Resolve
Queue multiple DaVinci Resolve timelines at once from the Media Pool, understand sequential rendering, and avoid the batch-export version gotcha.