
Learn / DaVinci Resolveupdated for DaVinci Resolve 21.1 (September 2026)
DaVinci Resolve Insert Edit Not Working? Fix the 7 Causes
Quick answer
When DaVinci Resolve insert edit is not working, load the source clip in the Edit page Source Viewer, set an In and Out point, place the timeline playhead, enable the correct red destination controls, and press Insert Clip or F9. If nothing happens, check that the track is unlocked and that macOS is not capturing the function key.
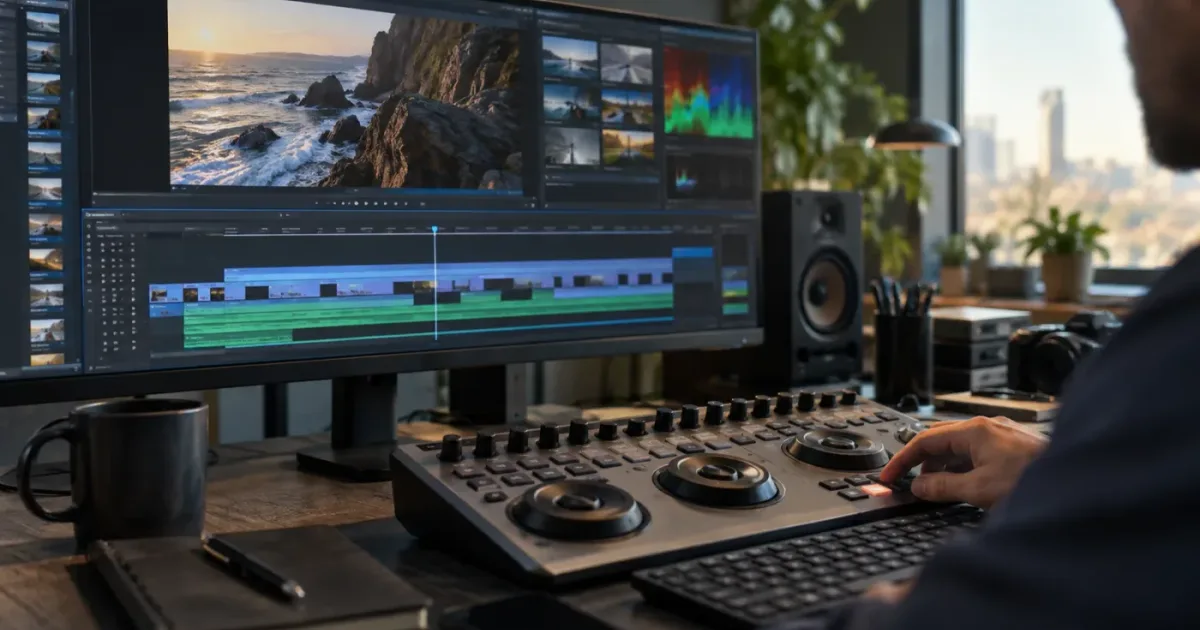
DaVinci Resolve insert edit not working usually means one small part of the edit is missing. I diagnose it by checking the source, timeline, destination, and shortcut in that order. That keeps a dead F9 key from sending me into a needless reinstall.
As of September 2026, the current major release is DaVinci Resolve 21.1. The fix below uses the Edit page workflow and points out where DaVinci Resolve 20.1 and 20.2 changed the controls.
This is one of the recurring questions in our 100,000+ member editing community. After 7+ years of professional, commercial video editing, we’ve learned to diagnose the edit as a chain of decisions instead of treating every failed F9 press as a software bug.
Why is DaVinci Resolve insert edit not working?
DaVinci Resolve insert edit is most often blocked by a missing source range, an inactive destination track, a locked timeline track, or a shortcut that never reaches Resolve. Check the toolbar command before changing settings, because that quickly tells you whether the problem is the edit setup or the keyboard.
An insert edit takes the marked part of a source clip and places it at the timeline playhead. Later timeline material moves down to make room, and a playhead in the middle of an existing clip can split that clip. Blackmagic Design describes those exact behaviors in its Edit page documentation. Read Blackmagic Design’s insert-edit definition before troubleshooting more complicated cases.
Run this short check in order:
| What you see | Most likely cause | First check |
|---|---|---|
| F9 does nothing, but the button works | Function-key mapping, page focus, or a custom shortcut | Click the Insert Clip button in the timeline toolbar |
| The clip inserts with no video | Video destination control is disabled or the source video track is not patched | Enable the red V destination and inspect the blue source selector |
| The clip inserts with no audio | Audio destination control is disabled | Enable the intended red A destination, or choose the correct audio-only mode |
| Nothing enters the timeline | No source clip, no usable range, locked track, or no destination | Load a source clip, clear confusing marks, unlock the target track, and enable a destination |
| The clip goes to V1 or A1 | The active destination is still V1 or A1 | Turn on the destination control beside the track you actually want |
| The edit replaces footage instead of pushing it down | You used Overwrite instead of Insert | Use Insert Clip or F9, not Overwrite or F10 |
The fastest reliable test is deliberately plain. Open the Edit page, double-click one video clip in the Media Pool, click inside the timeline, place the playhead in the middle of a known clip, and click Insert Clip. If that works, your original problem is probably a source range, track target, or shortcut issue. If it fails, continue with the branches below.
How do I make a basic insert edit in DaVinci Resolve?
To make a basic insert edit, load a source clip, mark its range, set the timeline playhead, choose the destination tracks, and activate Insert Clip. The official Editor’s Guide documents the same sequence and gives F9 as the default shortcut for the command.
Use this clean five-step test:
- Go to the Edit page. DaVinci Resolve has separate workspaces for editing, color, Fusion, Fairlight, and delivery, so start in the page whose timeline and source viewer expose the edit controls.
- Double-click the source clip in the Media Pool. It should appear in the Source Viewer on the left. The official Edit page guide uses the Source Viewer as the place to review a clip before sending it to the timeline.
- Set an In point with
Iand an Out point withO, or use the viewer buttons. Blackmagic Design documentsIandOas the shortcuts for marking the range you want to edit. - Click in the timeline and place the playhead at the desired insertion point. Do not confuse the source playhead with the timeline playhead. The source playhead chooses which frames come in; the timeline playhead chooses where those frames land.
- Click the Insert Clip button in the timeline toolbar, or press
F9. The source range should appear at the timeline playhead, with later material pushed to the right.
If you want the whole source clip, clear an accidental In or Out point first. A marked range is useful when you need only a sentence or a B-roll moment, but it also explains why an insert can look too short. The Edit page documentation states that In and Out marks refine the portion of the clip used in the edit. (Source: Blackmagic Design’s Edit page guide.)
The test should use a normal video clip, a visible timeline, and an unlocked video track. Leave audio enabled for the first pass. Once the basic edit works, test video-only or audio-only behavior separately. Mixing several unknowns into the first test makes a simple targeting problem look like a broken application.
An insert edit is a timeline operation, not a drag-and-drop replacement.
When the button works but F9 does not, the edit engine is healthy. Do not reinstall Resolve yet. Move to the shortcut check.
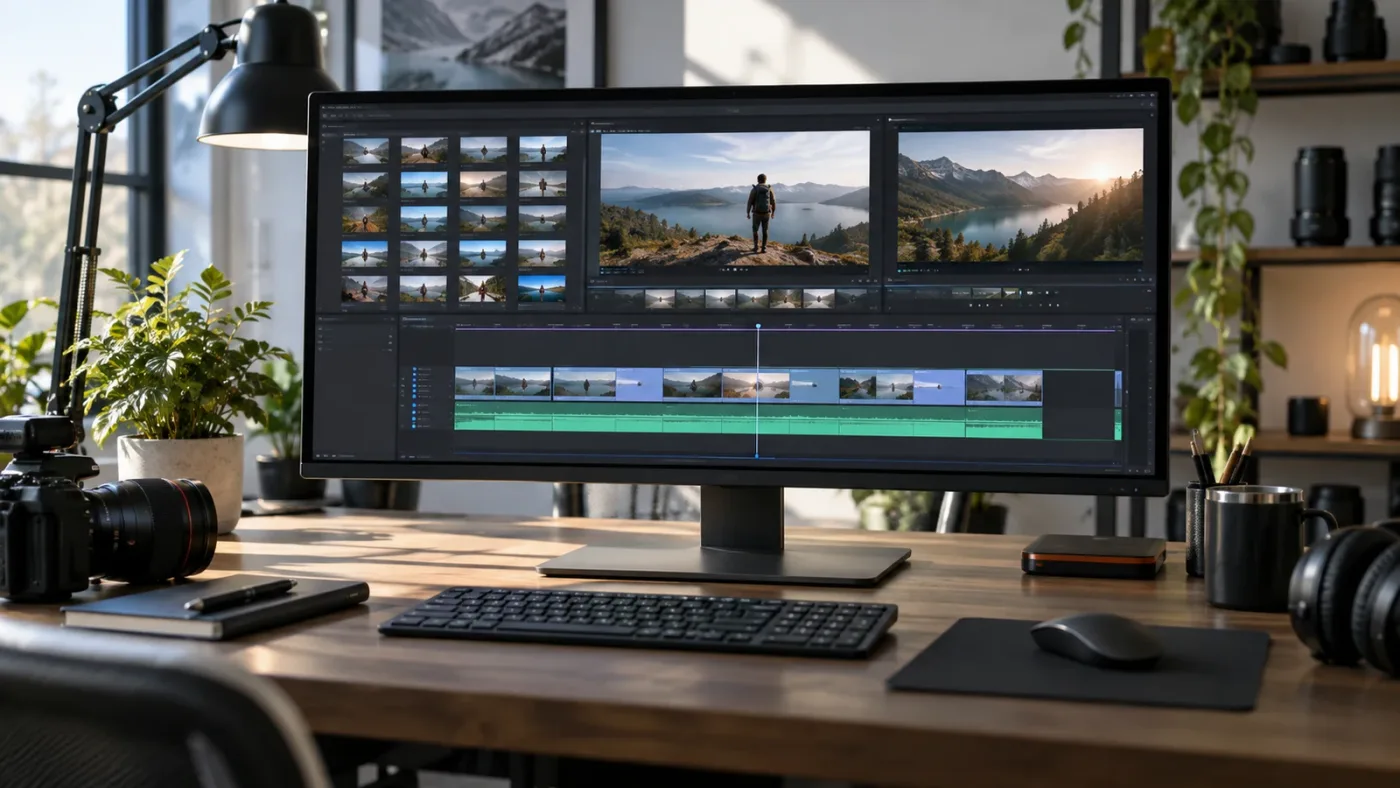
Why does F9 do nothing when I try an insert edit?
F9 can appear broken even when Insert Clip is configured correctly. The toolbar command is the control test: if clicking Insert Clip works, inspect macOS function-key behavior, keyboard focus, and custom keyboard mappings instead of the timeline.
On macOS, the top-row keys may be assigned to system functions such as brightness or Mission Control. The official DaVinci Resolve 20 Beginner’s Guide tells Mac users to enable standard function keys in system settings or hold fn while pressing an F-key. The setting names can move between macOS releases, but the diagnostic remains useful: try fn-F9 and compare it with the toolbar button. (Source: DaVinci Resolve 20 Beginner’s Guide.)
On Windows, check whether another application, keyboard utility, or laptop manufacturer has assigned F9. Some compact keyboards require an Fn modifier. That is an operating-system or hardware mapping issue, not an insert-edit rule inside Resolve.
Then check keyboard customization inside Resolve:
- Open the Keyboard Customization window.
- Search for
Insert Clip. - Confirm that
F9is assigned, or assign a shortcut you can remember. - Click Save before testing again.
The current DaVinci Resolve product page says the Edit page has fully customizable keyboard shortcuts. That matters because a tutorial may show F9 while your active profile uses a different key or a preset modeled on another NLE. (Source: DaVinci Resolve 21 Edit page overview.)
Also check focus. If your cursor is inside a text field, a search box, the Inspector, or another panel, the key may go to that control. Click the timeline once, then try the shortcut. If you are in the Cut page, switch to the Edit page for this diagnostic. The two pages have different editing layouts and tools, and the official product overview describes the Cut page as a compact workspace with its own source-overwrite workflow.
If the button and fn-F9 both fail, the problem is not just the F9 key. Return to the source and destination checks. A disabled command can be a symptom of missing edit context, not a bad keyboard.
For a broader reference, our guide to DaVinci Resolve keyboard shortcuts explains how to build a shortcut workflow without memorizing every command at once.
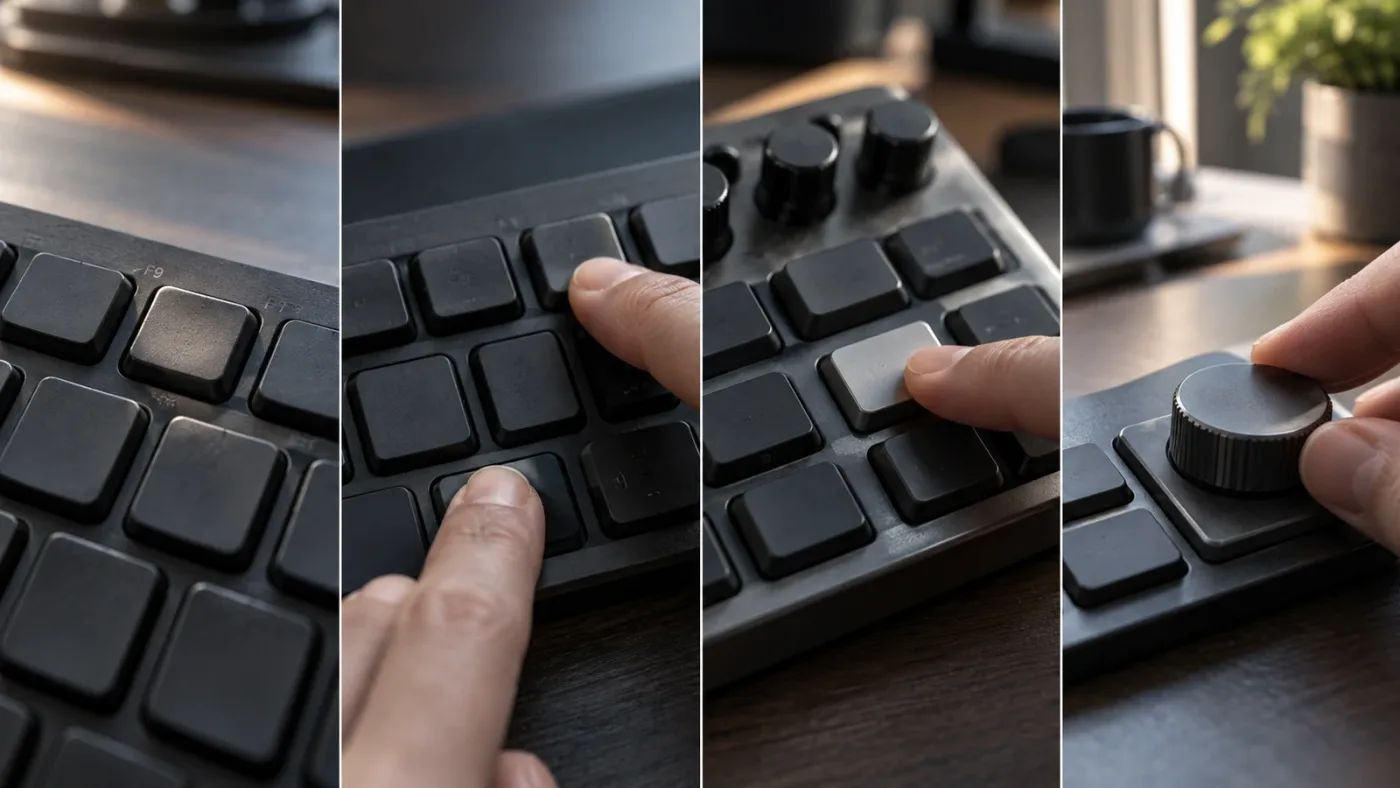
Why does the insert edit add the wrong track, no video, or no audio?
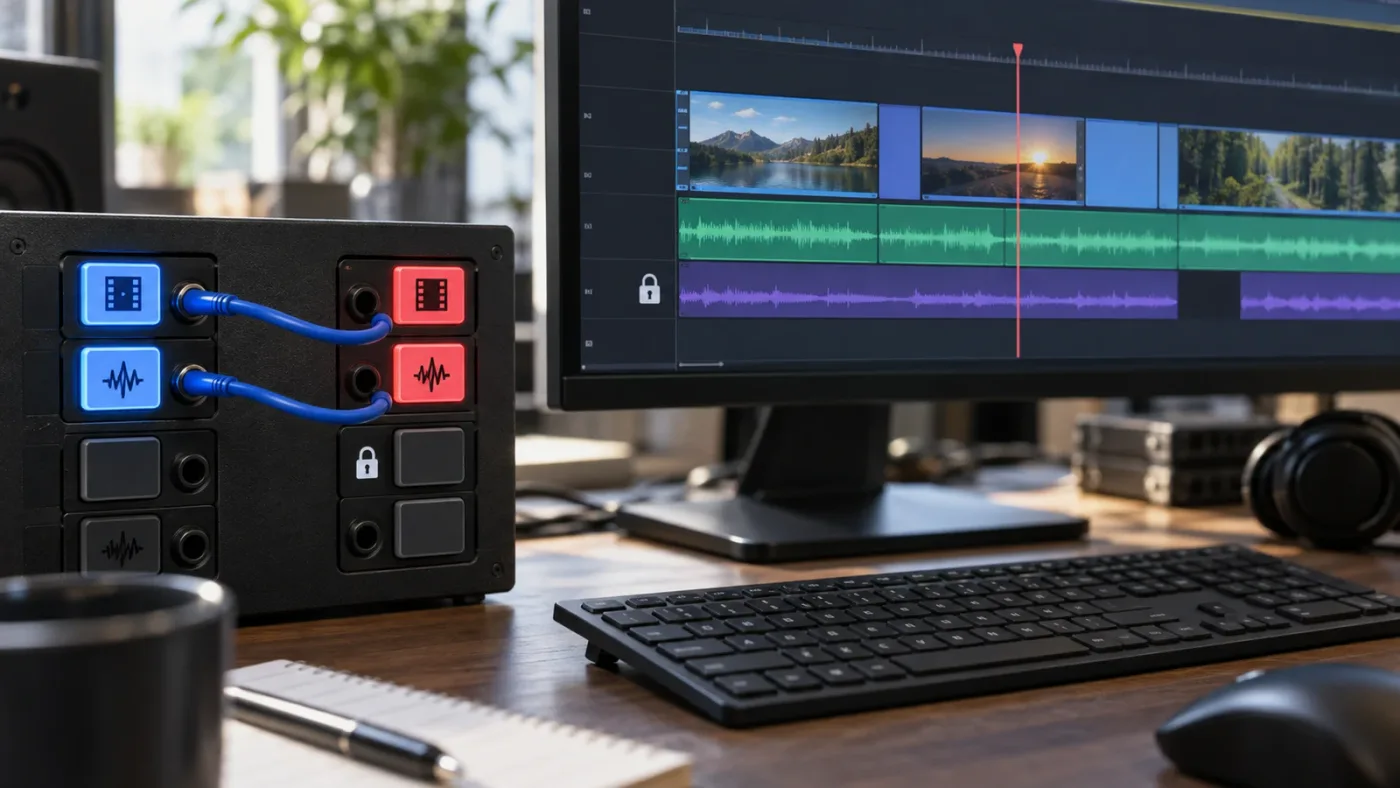
An insert edit follows the active destination controls and source track routing. Clicking a track name is not enough. The intended video and audio destinations must be enabled, and the source tracks must be available to those destinations.
Blackmagic’s Editor’s Guide explains the destination control in practical terms: the red control beside a timeline track determines whether incoming source material can be edited into that track. The same guide shows disabling A1 when the editor wants video without the source audio. (Source: The Editor’s Guide to DaVinci Resolve 20.)
Use the track header as a small routing panel:
- Red V controls decide which timeline video track receives the source video.
- Red A controls decide which timeline audio track receives the source audio.
- A gray or disabled destination control means that source type will not be inserted there.
- A locked track cannot accept the edit, even if it looks like the intended target.
- The source viewer can contain multiple source audio tracks, so audio routing may need an explicit patch.
Jim Simon, answering a question on the Blackmagic Design forum, summarizes the relationship in one sentence:
“Track Destination Selection determines where Insert and Overwrite go.”
That is the rule to keep in mind when the clip keeps appearing on V1 or A1. Read Jim Simon’s full forum answer.
When the clip lands on V1 instead of V3
Look for the active red video destination control. If V1 is active and V3 is not, an insert can follow V1 even if you were looking at V3. Click the destination control on V3 to move the video destination there. If your timeline has many tracks, scroll the track area until the intended destination is visible.
Resolve 20.2 changed how several track-selection controls are presented. Blackmagic’s 20.2 New Features Guide says the previous auto track selector icon was redesigned into independent controls, while source-track patching can be handled with the blue source controls and red timeline controls. In a current project, use the visible track controls rather than hunting for the older icon shown in a tutorial. (Source: DaVinci Resolve 20.2 New Features Guide.)
When the clip has video but no audio
First, inspect the red A destination controls. If the audio destination is off, Resolve can insert video without sending audio to the timeline. Second, inspect the source clip. A source clip may have several audio tracks, and the source track selector can route a particular source channel to a timeline destination.
If you are working from an older tutorial, the language may be different. Older guides talk about destination controls and auto track selectors. Resolve 20.2 describes source-track selectors and the redesigned track controls. The practical question stays the same: which source track is patched to which timeline track, and is that destination enabled?
When the clip has audio but no video
Enable the red V destination control and confirm that the source clip contains video. If you selected an audio-only insert mode, switch back to Video and Audio. If the source is an audio file, no video destination can create a picture that does not exist.
When the insert does nothing on a track that looks available
Check the lock icon first. Then check whether the intended destination is enabled. Finally, try a new empty video track as a diagnostic. If the insert works on the new track, the original track state or routing is the problem. If it still fails, return to the source clip and timeline playhead.
This is also where the difference between destination control and Auto Track Selector matters. Destination controls answer “where should incoming source material go?” Auto Track Selector affects which tracks participate in some timeline operations. In Resolve 20.2, Blackmagic says those functions are represented by independent track controls. Do not turn random selectors on and off until the visual state makes sense.
The active red destination control matters more than the track name you last clicked.
How do I insert video only or audio only?
In DaVinci Resolve 20.1 and later, choose Video and Audio, Video Only, or Audio Only from the persistent insert controls below the Source Viewer. On older versions, disable the unwanted destination controls before running the insert.
Blackmagic added those persistent source-viewer controls in DaVinci Resolve 20.1. The New Features Guide names the three choices directly: Video and Audio, Video Only, and Audio Only. (Source: DaVinci Resolve 20.1 New Features Guide.)
Video-only insert
- Load the source clip in the Edit page Source Viewer.
- Set the source In and Out points.
- Open the insert mode menu below the Source Viewer.
- Choose Video Only.
- Confirm that the target video destination is enabled.
- Click Insert Clip or press F9.
This is the cleanest method in current Resolve because the insert mode describes the operation directly. If you do not see the menu, use the older routing method: disable the relevant red audio destination controls and run a normal insert. The official Editor’s Guide uses that destination-control workflow for a video-only edit.
Audio-only insert
Choose Audio Only, enable the intended audio destination, and inspect the source track routing. Audio-only edits are useful for replacing dialogue, adding a short sound effect, or placing a separately recorded performance at a precise timeline position. They can also look like a failed video edit if you expected a picture to appear.
If the audio lands on the wrong track, patch the source audio track to the intended timeline audio track. In Resolve 20.2, Blackmagic documents dragging the blue source track selector to a red timeline track, or using the track context menu to select the source track. (Source: DaVinci Resolve 20.2 New Features Guide.)
Why the mode seems to reset
The insert controls are persistent in the Edit page workflow introduced in 20.1, but a tutorial, project layout, or page switch can make the control hard to find. Look below the Source Viewer rather than beside the timeline toolbar. If you are following a 20.0 or older lesson, use destination controls instead of expecting the newer menu.
Why does Insert replace footage or move the timeline unexpectedly?
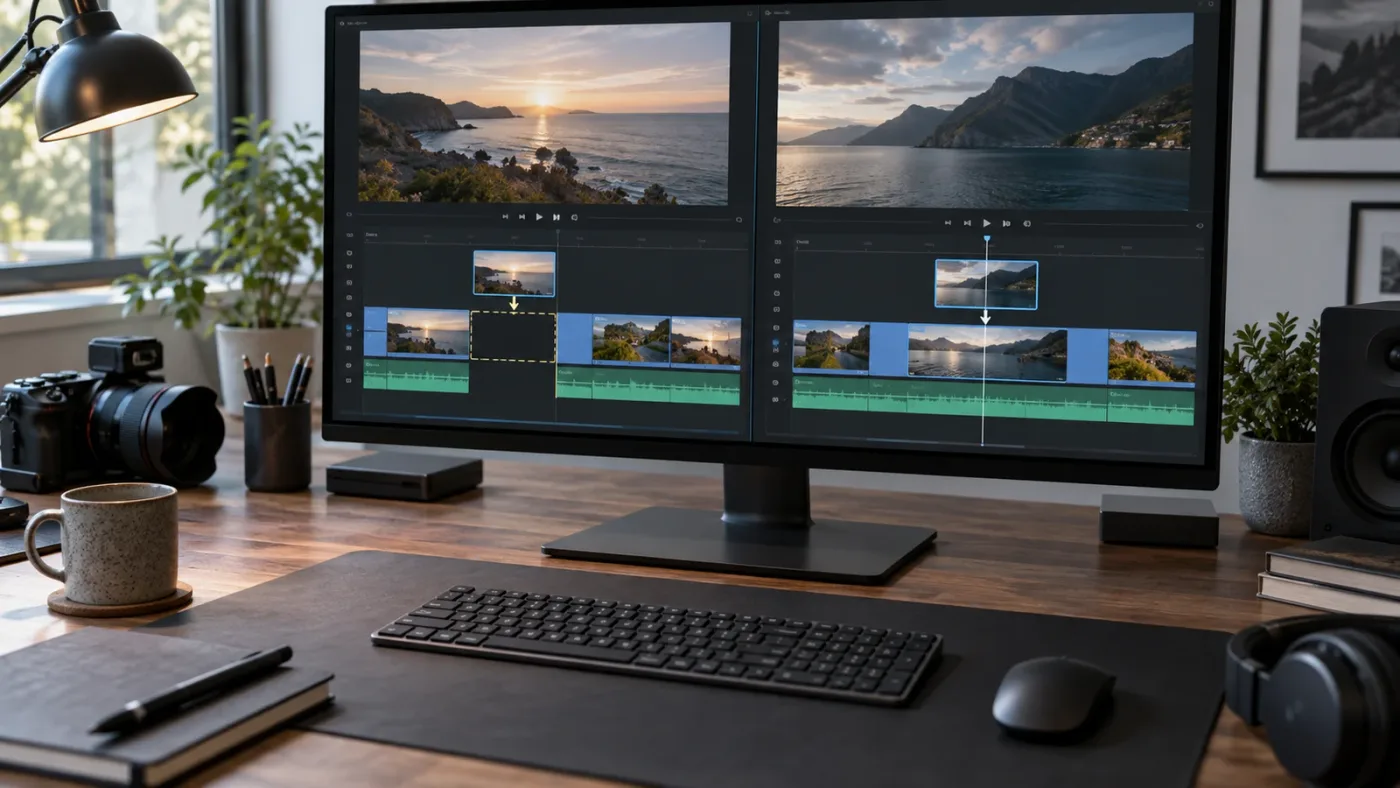
Insert and Overwrite are different edit commands. Insert pushes later material down, while Overwrite replaces the material under the playhead for the duration of the source range. An unexpected result often means the wrong command was selected or the source marks are longer than expected.
Blackmagic’s Edit page documentation defines Insert as a command that pushes material down and Overwrite as a command that writes over existing material. The same page lists Replace, Fit to Fill, Place on Top, Append at End, and Ripple Overwrite as separate operations. (Source: Blackmagic Design edit operations.)
Use the timeline result as a clue:
| Result after pressing a command | What it means | Correct response |
|---|---|---|
| Existing clips move later in time | Insert worked | Keep the result or undo and choose a different playhead position |
| Existing clips remain in place and are covered | Overwrite was used | Undo and use Insert Clip or F9 |
| The inserted section is unexpectedly long | Source Out point is later than you thought | Load the source and reset I and O |
| The edit begins somewhere unexpected | Timeline playhead was not where you assumed | Click the timeline ruler or use the playhead position as the target |
| Audio and video drift into different positions | Source and destination track routing or split marks differ | Check audio and video destination controls and source marks |
| A gap appears at the end of the inserted material | The timeline already had a gap or the source range contains one | Inspect the surrounding clips before trimming anything |
An insert can split a clip. That is not a failure. If the timeline playhead sits in the middle of a clip, the inserted source is meant to divide the existing clip and move its later portion down. Blackmagic’s definition explicitly describes this behavior.
The source In and Out points are another common source of surprise. I and O belong to the active viewer. If the timeline is active when you press them, you may create timeline marks instead of source marks. Click the Source Viewer before setting the range, then click the timeline before choosing the insertion position.
Resolve also has a shortcut for Append at End. It is useful when you want the clip after the last timeline edit, but it is not a substitute for an insert at the current playhead. If the reader’s intended result is “put this clip here and push the rest,” use Insert.
If the timeline does not move later, you probably did not run an insert edit.
Does DaVinci Resolve 21.1 change the insert edit workflow?
DaVinci Resolve 21.1 is the current major update in September 2026, but the useful troubleshooting model remains the same: source range, timeline position, track destination, and command choice. The 21.1 announcement focuses on the Photo page, multicam controls, the trim editor, project archiving, media management, and new tools rather than replacing the basic Edit page insert command.
Blackmagic announced DaVinci Resolve 21.1 on September 8, 2026, and describes it as available for Mac, Windows, and Linux. The product page also presents DaVinci Resolve 21 as the current editing line. (Sources: Blackmagic Design’s Resolve 21.1 announcement and DaVinci Resolve product page.)
Grant Petty, Blackmagic Design CEO, described the release’s assistant integration this way: “With AI assistant support, our customers can now ask Claude or ChatGPT to handle repetitive tasks.” That is a useful distinction here. Resolve’s assistant integration is about supported tasks, while this post is about understanding the manual insert workflow in your current timeline. (Source: Blackmagic Design’s Resolve 21.1 announcement.)
That version context matters when you follow tutorials:
- A Resolve 17 or 18 lesson may show F9 and destination controls without the newer Source Viewer insert-mode menu.
- A Resolve 20.1 lesson may show persistent Video Only and Audio Only controls that are absent in older tutorials.
- A Resolve 20.2 lesson may show the redesigned source and timeline track selectors.
- A Resolve 21.1 screen may include updated trim and track-selection details, but the basic Insert Clip action is still the right diagnostic command.
Do not downgrade just because an older tutorial has a different icon. First identify whether the tutorial is showing the same operation under an older label. The underlying question is always concrete: what source range is active, where is the timeline playhead, which destination is enabled, and which edit command did you invoke?
What should I check when I need a fast decision tree?
Use the toolbar first, then branch based on the result. This keeps the diagnosis short and avoids changing several controls at once.
| Step | Test | If it works | If it fails |
|---|---|---|---|
| 1 | Load a normal video clip into the Source Viewer | Continue | The source clip or Edit page is the issue |
| 2 | Set I and O in the Source Viewer | Continue | Clear marks and confirm focus |
| 3 | Click the timeline and place the playhead | Continue | Open or create a timeline |
| 4 | Enable one video destination and one audio destination | Continue | Unlock the track or create a test track |
| 5 | Click Insert Clip in the toolbar | The edit command works | Check source, timeline, and track state again |
| 6 | Press F9 | Shortcut works | Check macOS fn, Windows keyboard utilities, and Keyboard Customization |
| 7 | Choose Video Only or Audio Only | Targeted insert works | Check Resolve version and source-track patching |
If step 5 works and step 6 fails, do not troubleshoot the media. If step 5 fails and step 2 is uncertain, do not troubleshoot the keyboard. Each test isolates one layer.
Our DaVinci Resolve editing workflow guide covers the larger rhythm of source review, selection, insertion, trimming, and review. Use it after this fix, once the command behaves predictably.
Is an app that helps you while using DaVinci Resolve better than another tutorial?
If you searched for the best way to learn DaVinci Resolve, how to learn DaVinci Resolve fast, an AI tool to learn DaVinci Resolve, or an app that helps you while using DaVinci Resolve, you are comparing different jobs under one label. Blackmagic’s free training and long-form creators such as Casey Faris are useful for building a mental model. Automation tools can reduce repetitive editing. A screen-aware assistant serves a different need: finding the exact control while your project is open.
The consensus options deserve a fair comparison:
| Option | Best for | Trade-off on this insert-edit problem |
|---|---|---|
| Blackmagic Design official training | A structured, free path through the Edit, Cut, Color, Fusion, Fairlight, and Deliver pages | It teaches the workflow, but a lesson cannot inspect your current timeline and point to the inactive destination control |
| Casey Faris YouTube courses | A clear, practical overview with long beginner lessons | A video can show a different Resolve version, project layout, or keyboard profile from yours |
| ChatGPT or another chat assistant | Explaining what Insert, Overwrite, source marks, and track targeting mean | Text advice depends on the details you provide and cannot necessarily identify the exact inactive control in your open project |
| Sottocut | Resolve editing assistance that scores footage, proposes cuts, and verifies timeline changes | It is an editing assistant with its own requirements, not a general lesson that points at any control on your screen; its site currently lists Apple Silicon Mac and Resolve Studio 21 requirements |
| PremiereCopilot | Text-to-edit actions inside Adobe Premiere Pro | It targets Premiere Pro, so it is not the right fix for a DaVinci Resolve insert command |
| heyeddie.ai | Rough cuts and other editing tasks that can round-trip to an NLE | It helps create edits from footage, but that is a different job from learning why the Insert Clip command is not responding |
| CutAgent | Delegating editing tasks to an agent connected to DaVinci Resolve | It is aimed at edit automation on real timelines, while a beginner may need an explanation of destination controls first |
| TryUncle | Help while your own Resolve project is open | It uses the stated $29.99/mo founder pricing, so it is not a free replacement for Blackmagic’s training or a full course |
TryUncle is an on-screen assistant for DaVinci Resolve on Mac and Windows. Ask in plain words, and Uncle points at the relevant control while you work. That is useful for this particular failure because the answer often depends on what your timeline actually shows: whether V2 is active, whether A1 is disabled, whether a track is locked, or whether the insert-mode menu is set to Video Only.
We have taught 100,000+ students on Udemy, are an official Udemy Business Partner, and have taught and worked with Fortune 500 companies. That background shapes the recommendation here: use a course when you need a sequence, use official documentation when you need a definition, and use a screen-aware assistant when you are stuck in the live project and cannot identify the control.
For a broader comparison, see the best AI assistant options for DaVinci Resolve beginners. The choice is not “AI or learning.” It is whether the tool helps you understand and repeat the operation.
If you want on-screen help while you work through the same project, TryUncle is the relevant product to check. It supports Mac and Windows, and Uncle’s job is to point you toward the control in your current Resolve window.
Guided practice inside Resolve beats watching courses about Resolve when the problem is a hidden control.
How do I prevent DaVinci Resolve insert edits from failing again?
Prevent repeat failures by making the edit state visible before you press the command. A ten-second setup is faster than guessing after a clip lands on the wrong track.
Use this preflight:
- Confirm the Edit page is active.
- Load the source clip in the Source Viewer.
- Confirm the source playhead is on the material you want.
- Set or clear the source In and Out points intentionally.
- Confirm the timeline playhead is at the intended insertion point.
- Enable only the video and audio destinations you need.
- Check that the target tracks are unlocked.
- Choose Video and Audio, Video Only, or Audio Only deliberately.
- Click Insert Clip for the first test.
- Use F9 after the toolbar command works.
For interview editing, keep destination routing simple while you build the rough cut. Enable one video destination and the dialogue track you expect to use. For B-roll, use Video Only when you want to preserve the existing dialogue. For sound design, use Audio Only and patch the source sound to the intended track.
Save a keyboard preset after you have a layout you like. DaVinci Resolve supports customizable keyboard shortcuts, but a preset can make a tutorial’s F9 instruction misleading if your active mapping came from another editing application. Write down your own Insert Clip shortcut in the notes for the project, especially if you move between Resolve and another NLE.
Keep version context with project notes. A lesson written for Resolve 18 may use older track-selector language, while a Resolve 20.1 or 20.2 lesson may refer to controls added or redesigned in those releases. The command is easier to find when you know which vocabulary belongs to your version.
And do not treat every unexpected timeline result as a bug. Insert is supposed to split and push. Overwrite is supposed to cover. Video-only is supposed to omit audio. Audio-only is supposed to omit video. Once the command’s contract is clear, the visual result becomes a useful diagnostic.
A visible source range and a visible destination target prevent most insert-edit surprises.
What is the final fix for DaVinci Resolve insert edit not working?
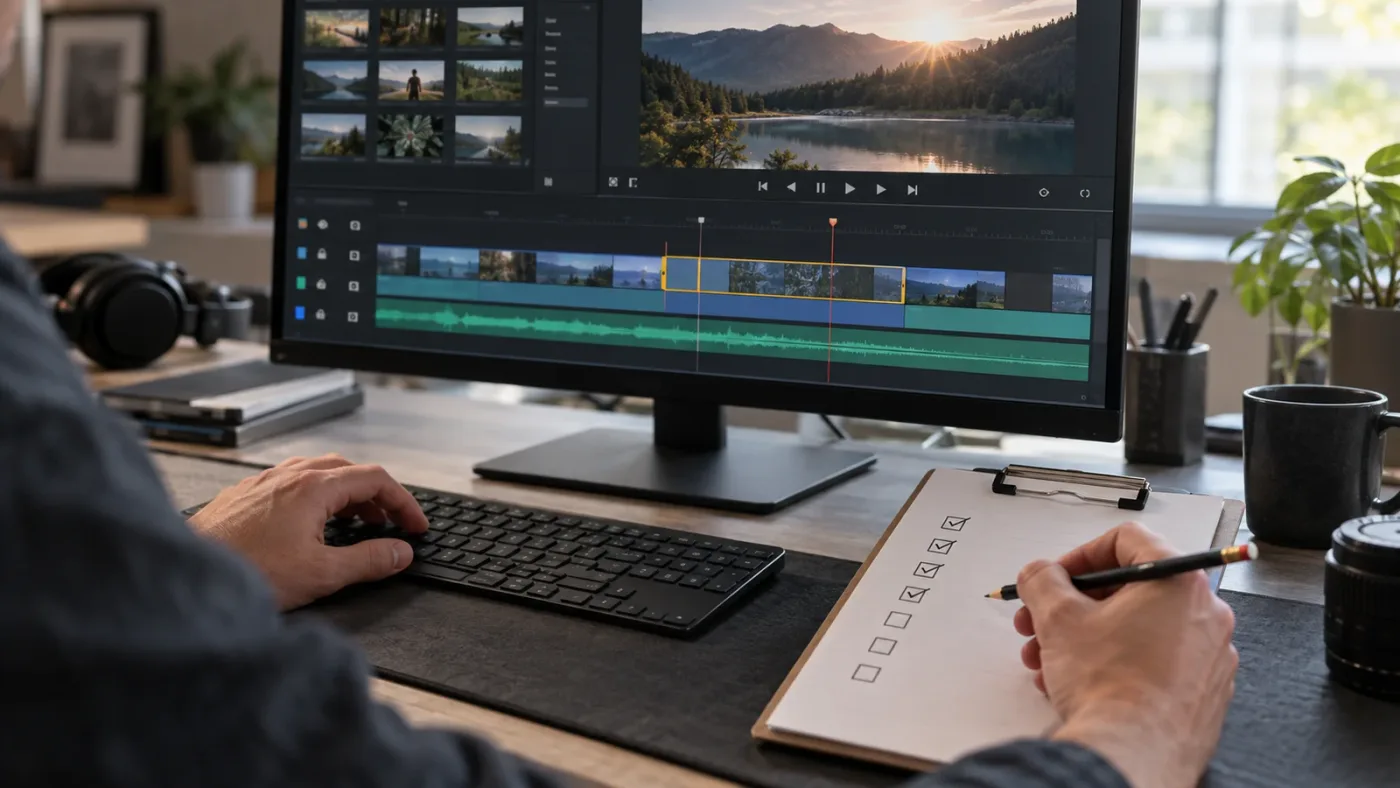
Start with the toolbar, not F9. Load a source clip, set its In and Out points, place the timeline playhead, enable the correct red destination controls, unlock the target track, and click Insert Clip. If that works, fix the shortcut with fn-F9 on macOS or Keyboard Customization. If it does not, fix the source range or track routing before touching the installation.
The important distinction is simple. The source viewer decides what comes in. The timeline playhead decides where it goes. The destination controls decide which tracks receive it. The Insert command decides whether later material moves down.
If you are still stuck in your own project, Uncle can point at the exact button or track control while you work.
Frequently asked questions
- Why is DaVinci Resolve insert edit not working when I press F9?
- F9 only works when the Edit page has a source clip, a timeline, and an available destination track. On macOS, press fn-F9 if the system is treating F9 as a hardware key, or click Insert Clip in the timeline toolbar to separate the edit problem from the shortcut problem.
- How do I insert a clip into the timeline without audio in DaVinci Resolve?
- In the Edit page, choose Insert Video Only from the Source Viewer insert menu in DaVinci Resolve 20.1 and later. On older versions, disable the audio destination control before using Insert Clip or F9.
- Why does DaVinci Resolve insert edit go to the wrong track?
- An insert edit follows the active red destination controls and source track patching, not simply the track header you last clicked. Enable the intended video and audio destinations, then patch source tracks to those destinations if your layout uses the newer track selectors.
- What is the difference between Insert and Overwrite in DaVinci Resolve?
- Insert places the marked source range at the timeline playhead and pushes later material down. Overwrite places the source at the playhead and replaces material already there for the source duration.
- Does DaVinci Resolve 21.1 change the insert edit shortcut?
- DaVinci Resolve 21.1 still supports the Edit page Insert Clip command and customizable keyboard shortcuts. If F9 does not respond, use the toolbar command first, then check the keyboard mapping, page focus, function-key settings, and track state.
Sources
- DaVinci Resolve 21.1 announcement
- DaVinci Resolve Edit page overview
- The Editor's Guide to DaVinci Resolve 20
- DaVinci Resolve 20.1 New Features Guide
- DaVinci Resolve 20.2 New Features Guide
- DaVinci Resolve 20 Beginner's Guide
- Jim Simon on track destination selection
- Blackmagic Design DaVinci Resolve training
- Casey Faris DaVinci Resolve 21 beginner course
- Sottocut for DaVinci Resolve
- PremiereCopilot text-to-edit assistant
- Eddie AI video editor
- CutAgent AI editing for DaVinci Resolve
- TryUncle landing page
Learn by doing, not watching
Stop translating tutorials to your timeline.
TryUncle stays beside Resolve on Mac and Windows. When you ask, Uncle sees your screen and points at the exact control you need. No hunting through tabs, timestamps, or mismatched tutorials.
Meet TryUncleKeep reading
 GuidesJul 15, 202638 min read
How to Edit Faster in DaVinci Resolve: A Workflow Guide
The workflow fixes that actually speed up DaVinci Resolve editing: proxy media, render cache, GPU/decode settings, hardware controllers, batch tools, and where AI helps.
 GuidesJul 20, 202638 min read
DaVinci Resolve Keyboard Shortcuts Every Colorist Should Know
Every keyboard shortcut a DaVinci Resolve colorist needs: node commands, bypass and compare keys, gallery stills, and how to customize your own layout.
 ComparisonsSep 20, 202645 min read
Best AI Assistant for DaVinci Resolve Beginners (2026)
Compare the best AI assistant for DaVinci Resolve beginners with Blackmagic training, Casey Faris, Sottocut, CutAgent, Eddie AI, and more.