
Learn / DaVinci Resolveupdated for DaVinci Resolve 21.0.3 (July 2026)
DaVinci Resolve Frame Rate: 23.976 vs 24 vs 25 Explained
Quick answer
DaVinci Resolve's 23.976, 24, and 25 fps aren't interchangeable: 23.976 is the US broadcast rate born from 1953 NTSC color TV, 24 is the pure international cinema rate from 1927 film sound, and 25 is Europe's PAL broadcast rate tied to 50Hz mains power. Pick based on where you're delivering, not habit.
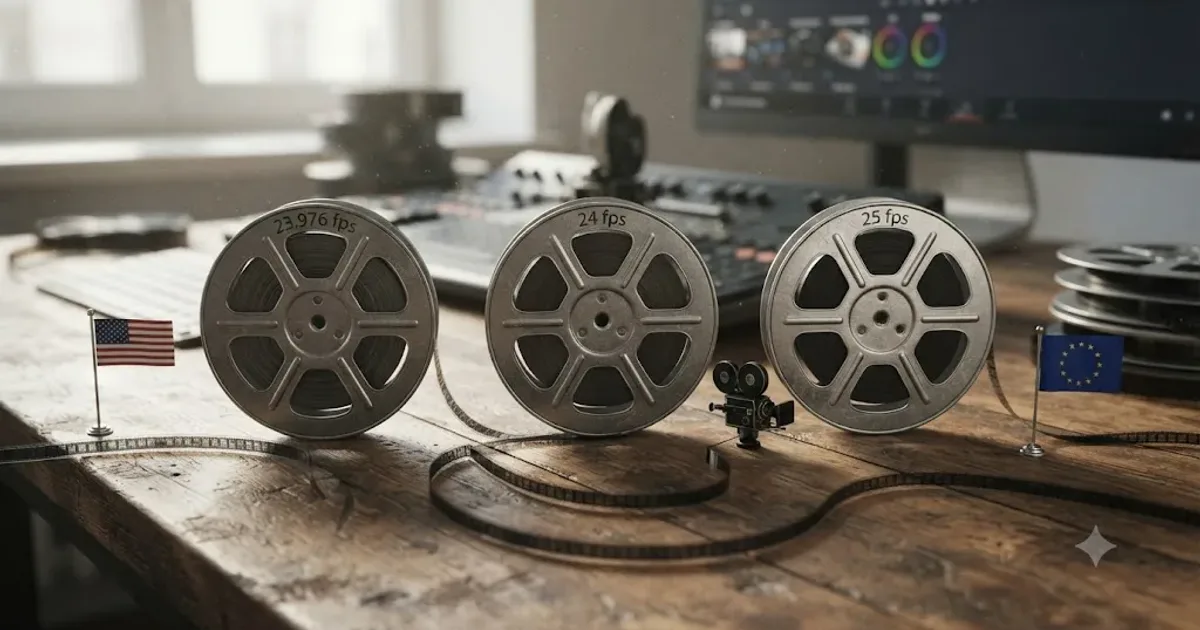
Someone tells you to set your project to 23.976 and you nod, because that's what you do when a number looks like a typo but everyone else seems to already know why. It isn't a typo. As of August 2026, running DaVinci Resolve 21.0.3, that one dropdown in Project Settings still confuses more new editors than almost any other setting in the app, and the confusion is fair: none of these three numbers explain themselves.
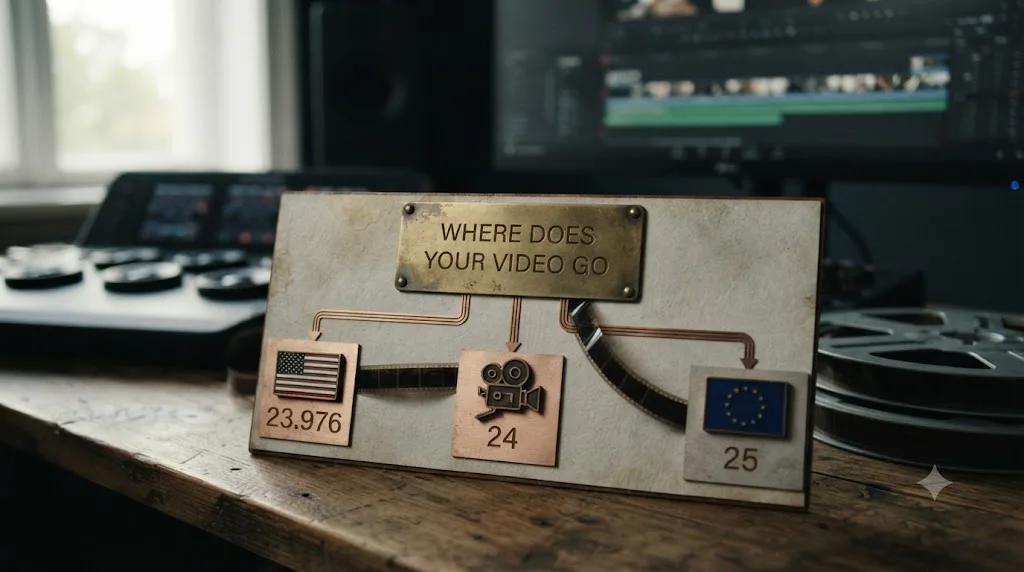
Here's the short version. 23.976, 24, and 25 fps are not three flavors of the same thing. They come from three different problems, solved decades apart, by three different industries, and picking the wrong one for your delivery target costs you real time later, not just a settings headache now.
What's the actual difference between 23.976, 24, and 25 fps in DaVinci Resolve?
24 fps is a clean whole number: exactly 24 frames every second, no fractions involved. 23.976 fps is 24 divided by 1.001, which works out to roughly 23.976023976 fps, a number that only exists because of a 1953 engineering compromise. 25 fps is also a clean whole number, but it has nothing to do with film at all.
| Frame rate | Exact value | Where it's the default | Why it exists |
|---|---|---|---|
| 23.976 fps | 24000 ÷ 1001 ≈ 23.976023 fps | United States, Canada, Japan, South Korea, most NTSC-legacy markets | 24 fps film slowed by 0.1 percent in 1953 so NTSC color TV could work without breaking black and white sets |
| 24 fps | Exactly 24.000 fps | International cinema, DCPs, festival masters | Locked in between 1927 and 1930 as the practical minimum frame rate for usable optical sound on 35mm film |
| 25 fps | Exactly 25.000 fps | Europe, most of Asia, Africa, Australia, PAL and SECAM-legacy markets | Matches half of the 50Hz European mains electricity frequency early television synced to |
Twenty-four frames a second was never chosen for how a movie looks. It was chosen for how a 1927 optical soundtrack sounded good enough to sell tickets. Everything downstream of that, including the fractional 23.976 and the electricity-driven 25, exists because engineers kept adapting that one 1920s number to problems nobody in 1927 could have predicted.
Over one hour of finished footage, the practical difference between 23.976 and 24 fps is about 3.6 seconds of runtime, invisible to a viewer but very much not invisible to an audio sync check or a DCP conform. The difference between either of those and 25 fps is a real four percent speed change, the kind you can actually see and hear.
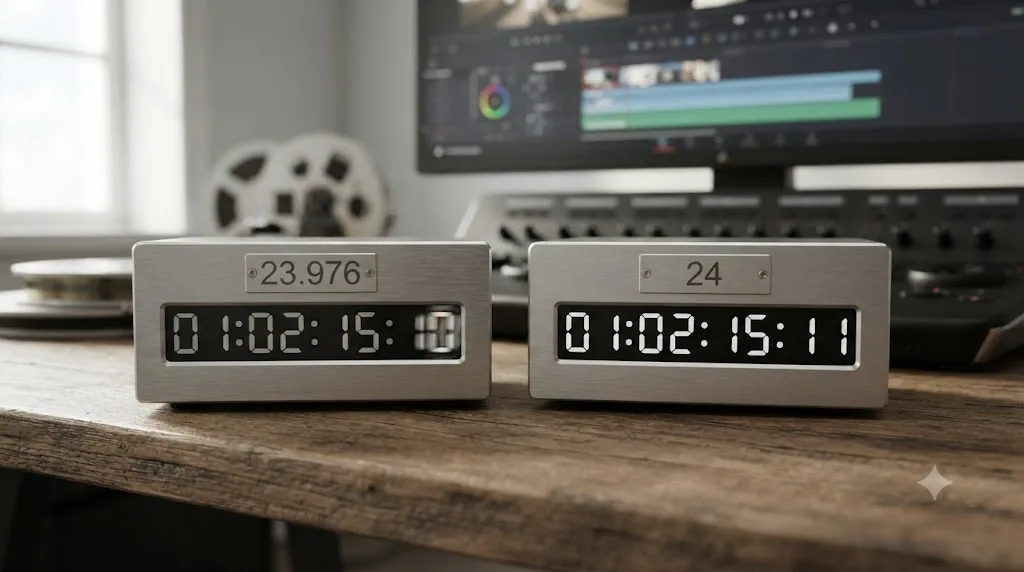
Why does 23.976 fps exist instead of a clean 24 fps?
23.976 fps exists because American television needed a way to broadcast color without breaking every black and white set already in people's living rooms in 1953.
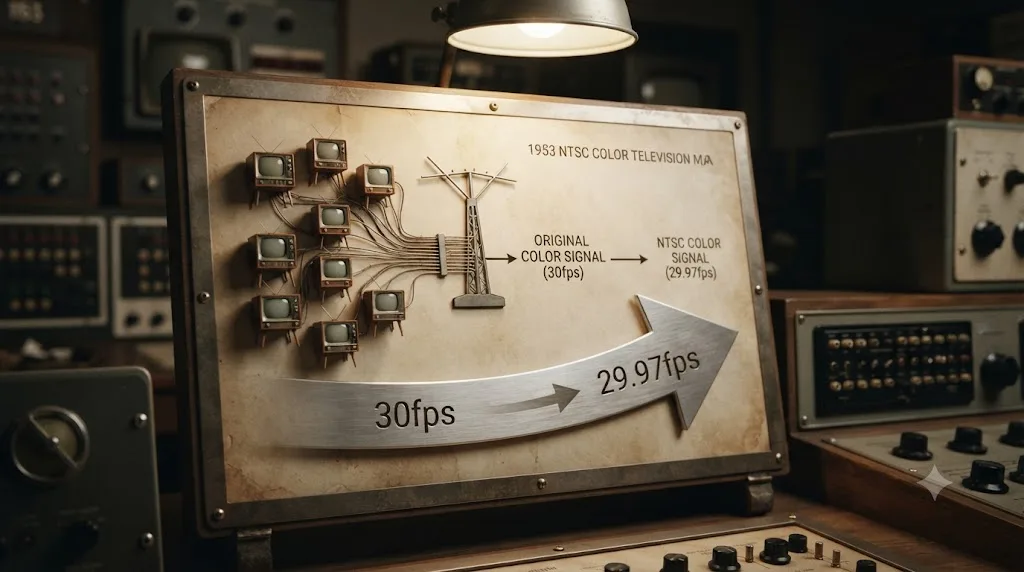
The NTSC standard, adopted in December 1953, faced a hard problem. Adding color information to the existing black and white broadcast signal risked interfering with the audio carrier. Engineers found a fix: slow the frame rate down by exactly 0.1 percent, which shifted the color subcarrier just enough to avoid the conflict. According to Wikipedia's entry on NTSC, the frame rate was reduced to "30/1.001 ≈ 29.970 fps," and that same 0.1 percent adjustment "amounted to 0.1 percent, and were tolerated by existing TV sets." The 30 fps video rate became 29.97 fps, and any film shot at the cinema standard of 24 fps had to be slowed by that same 0.1 percent to convert cleanly, landing on 24000/1001, or 23.976 fps.
23.976 fps is not a rounding error. It is 24 fps deliberately slowed by exactly 0.1 percent so 1953 color television could work on black and white sets. That single engineering decision, made for a broadcast problem that no longer exists on a streaming platform or a digital cinema screen, is still the reason your camera has a "23.976" option in its frame rate menu more than seventy years later.
There's a second reason 23.976 stuck around long after NTSC broadcast stopped mattering: 3:2 pulldown. Film shot at 23.976 fps converts to NTSC's 29.97 fps display rate through a repeating pattern that duplicates fields in a 2-3-2-3 sequence, according to Wikipedia's entry on 24p, which notes 24 fps is "uniquely suited to conversion to both 50 Hz systems (through 2:2 pulldown, 4% fast) and 59.94 Hz systems (through 2:3 pulldown, 0.1% slow)." That 0.1 percent slowdown is nearly free. The 4 percent conversion to 50Hz systems, which is what you'd need going to 25 fps, is not.
What's the difference between 23.976, 29.97, and drop-frame timecode?
23.976 fps is not the only number NTSC's color-television fix produced, and confusing it with its sibling, 29.97 fps, trips up more editors than the film-versus-video split ever does.
The same 0.1 percent slowdown that turned 24 fps into 23.976 fps also turned NTSC's native video rate of 30 fps into 29.97 fps, exactly 30000/1001. The difference between the two numbers is what they were slowing down. 23.976 fps is film content, originally shot at a true 24 fps, adjusted for an NTSC broadcast pipeline. 29.97 fps is video content that was always electronic, never film, and got the same 0.1 percent haircut for the same color-subcarrier reason. In DaVinci Resolve, you'll see 29.97 fps as a project or clip option any time you're working with footage that originated as native video at the US broadcast standard rather than footage that started life as 24 fps film or a modern cinema-style digital capture.
That 0.1 percent slowdown creates a second problem 23.976 mostly avoids: timecode drift. According to Wikipedia's entry on SMPTE timecode, "the altered frame rate meant that an hour of timecode at a nominal frame rate of 29.97 frame/s was longer than an hour of wall-clock time by 3.6 seconds," the same 3.6-second gap this page already covered for 23.976. For a broadcaster counting exact program length against a clock on the wall, 3.6 seconds an hour adds up, and the industry built a fix for it: drop-frame timecode.
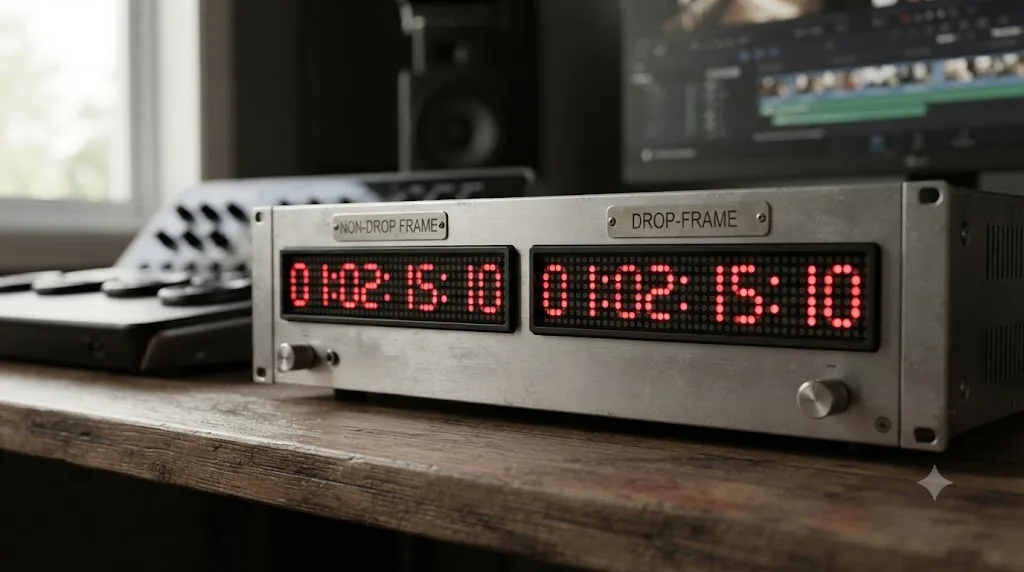
Drop-frame timecode doesn't drop any actual frames. It drops frame numbers. Per Wikipedia, "drop-frame timecode skips frame numbers 0 and 1 of the first second of every minute, except when the number of minutes is divisible by ten." That skipped-numbering pattern removes 18 frame numbers every ten minutes, close enough to cancel out the 3.6-second-per-hour drift and keep timecode reading close to real clock time. Every frame of picture still plays. Only the label attached to it changes. Visually, the two conventions look different on screen too: "non-drop timecode is displayed with colons separating the digit pairs, HH:MM:SS:FF," while "drop-frame is usually represented with a semicolon (;) or period (.) as the divider," commonly written as HH;MM;SS;FF or with just the last separator swapped to HH:MM:SS;FF. Editors shorthand the two as DF and NDF.
Drop-frame timecode isn't a frame rate. It's a counting trick that keeps 29.97 fps timecode numbers matching a wall clock, and it exists only for 29.97 and 59.94 fps footage. 23.976 and 24 fps carry the identical 0.1 percent math but never get a drop-frame convention, because film and cinema-style workflows were never built around matching a broadcast clock to the second the way live NTSC programming was.
| Rate | Timecode convention | Where you'll actually see it in Resolve |
|---|---|---|
| 23.976 fps | Non-drop only | Film-original US delivery, streaming, most cinema-style digital cameras |
| 24 fps | Non-drop only | DCP, festival masters, international projects |
| 25 fps | Non-drop (no drift to correct) | PAL broadcast, no NTSC-style fraction ever applied |
| 29.97 fps | Drop-frame or non-drop, selectable | Native NTSC video, commercial spot lengths, broadcast traffic and slotting |
Most editors will never touch the drop-frame toggle. If you're cutting a film-originated project for streaming at 23.976, it stays out of the conversation entirely. It becomes relevant the moment a client hands you a spec sheet that says "drop-frame" explicitly, usually for a broadcast commercial where the exact runtime against a wall clock has to match a contractual :30 or :60 slot to the frame. If you see that instruction and your project is sitting at 23.976 or 24 instead of 29.97, that's a delivery-spec mismatch worth flagging before you render, not after.
Why is 25 fps the standard in Europe and other PAL regions?
25 fps is Europe's video standard because early television engineers synced broadcast frame rates to the continent's electrical power frequency, not because anyone chose it for how film looks.
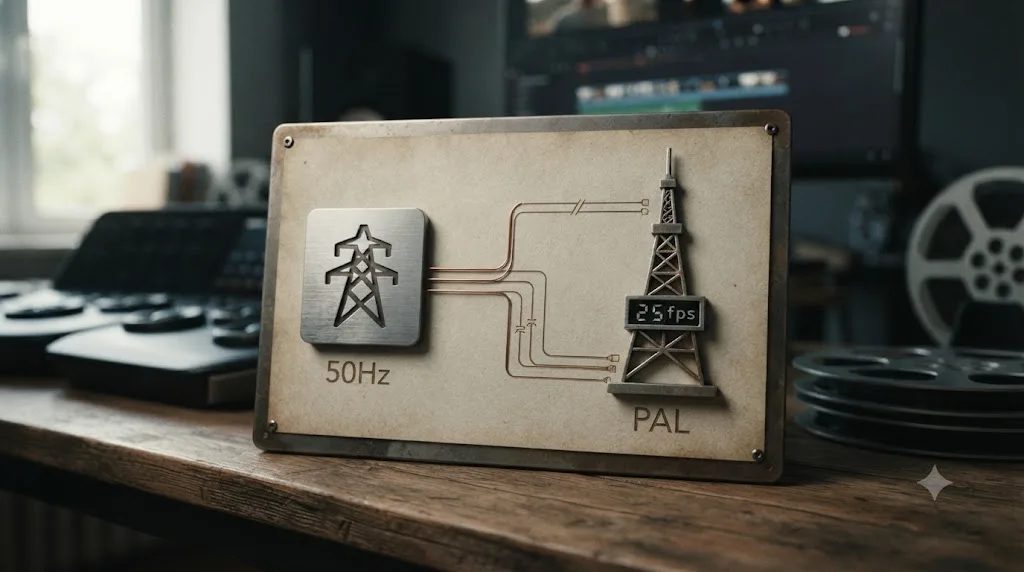
European mains power runs at 50Hz, compared to 60Hz in North America. According to Wikipedia's entry on PAL, the format "operates at 625 lines, 50 fields per second," producing 25 frames per second, and it was developed by Walter Bruch at Telefunken in West Germany, patented in December 1962, and unveiled to the European Broadcasting Union on January 3, 1963. The first PAL broadcasts began in the United Kingdom in July 1967. Because 50Hz was already Europe's electrical standard decades before color television, the frame rate inherited that number directly, with no fractional adjustment ever needed.
25 fps has nothing to do with film aesthetics and everything to do with the frequency of European wall power. That's why, unlike NTSC's 29.97 fps, PAL's 25 fps stayed a perfectly clean whole number. There was never a color-signal conflict to engineer around, because the underlying 50Hz power frequency didn't share NTSC's problem with the color subcarrier.
This history explains something a lot of editors run into without understanding why: footage shot on film and broadcast in PAL territories historically ran about 4 percent faster than its original 24 fps, with audio pitch-shifted up to match, a technique called PAL speedup that television broadcasters used for decades before digital conform tools made true frame-rate conversion practical. If you've ever noticed an old European TV broadcast of an American film feeling subtly "off" in pacing or pitch, that 4 percent speedup is very likely why.
Why did 24 fps become the cinema standard in the first place?
24 fps became the film industry's standard between 1927 and 1930, and the reason is sound, not motion.
Silent films had no fixed frame rate. Projectionists ran film anywhere from about 16 to 26 frames per second depending on the theater, the projectionist, and even the mood of the scene. That flexibility disappeared the moment optical soundtracks arrived. A soundtrack recorded directly onto the film's edge needed the film moving fast enough for the audio to sound acceptable, and 24 frames per second turned out to be roughly the slowest speed that produced a usable soundtrack while still keeping film stock costs under control, since every additional frame per second meant more expensive film burned per minute of runtime. Industry-wide standardization on 24 fps for 35mm sound film took hold between 1927 and 1930 as studios converted their theaters for sound.
Twenty-four frames a second was an audio engineering compromise from the silent-to-sound transition, not a cinematographer's aesthetic choice. Decades of audiences associating 24 fps motion with "how movies look" turned an economic and technical decision into a creative standard, which is why filmmakers today still shoot 24 fps even on formats with no physical film stock or optical soundtrack limitation at all.

Which frame rate should you pick for a new DaVinci Resolve project?
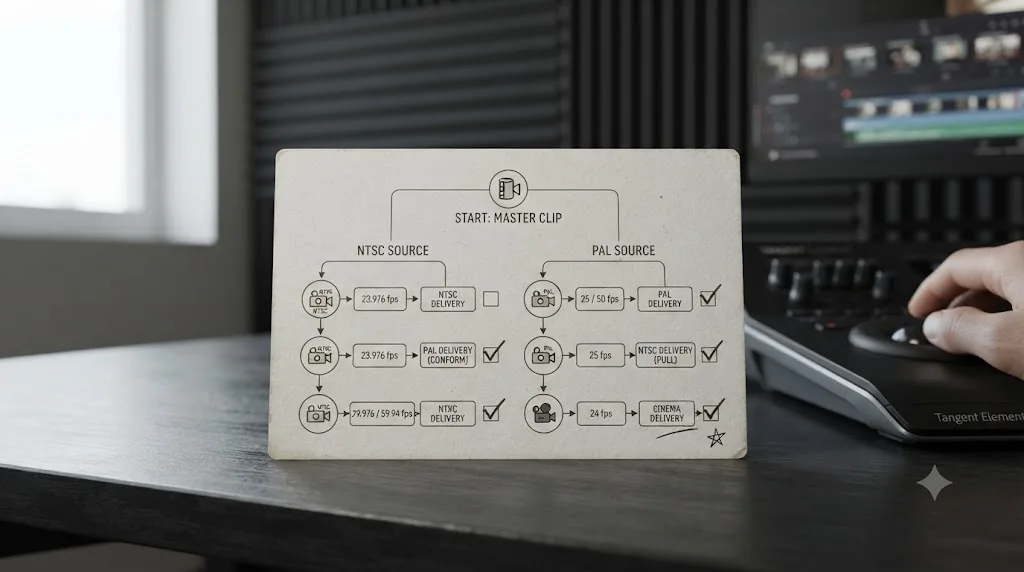
Pick the frame rate your delivery target actually uses, not the one you're used to shooting.
| If you're delivering to... | Set your DaVinci Resolve Timeline Frame Rate to |
|---|---|
| A US-based platform, US broadcast, or you honestly don't know yet | 23.976 fps |
| A European broadcaster or any PAL-legacy market (UK, Germany, most of Asia, Australia) | 25 fps |
| A film festival DCP, theatrical distribution, or an international co-production with no single home market | 24 fps |
| Whatever your camera already recorded | Check the clip's actual frame rate in the Media Pool before assuming |
Dan Swierenga, writing for the Frame.io blog's mixed frame rate series, gives the clearest tiebreaker available if you genuinely don't know your delivery target yet: "If you're not sure which project frame rate to pick or don't have all the information for a particular project, 23.976 is a good place to start. For most projects in the United States, project frame rates are set to 23.976. For US-based projects, 23.976 offers the most flexibility for delivery, because it's easier to convert than other formats." That flexibility comes from the near-free 0.1 percent conversion between 23.976 and 24, versus the real 4 percent conversion either of those needs to reach 25.
In our own 100,000+ member professional video-editing community, this exact question, 23.976 or 24 or 25, is one of the most common a beginner asks in their first week with DaVinci Resolve. After 7+ years of professional, commercial editing work across broadcast and streaming deliverables, the answer we give is always the same: match your delivery target first, and only fall back to 23.976 as a default when that target genuinely isn't known yet.
A DaVinci Resolve project's frame rate locks the moment you import your first clip, so the five seconds you spend choosing it now save the hour you'd spend rebuilding it later. The Timeline Frame Rate field in Project Settings > Master Settings goes grey and unclickable the instant your Media Pool has media in it, and there's no partial undo, only emptying the Media Pool entirely and starting the import over, or building a new timeline at the correct rate, which we cover in detail further down this page.
What happens if you mix 23.976, 24, 25, and 29.97 fps clips on one timeline?
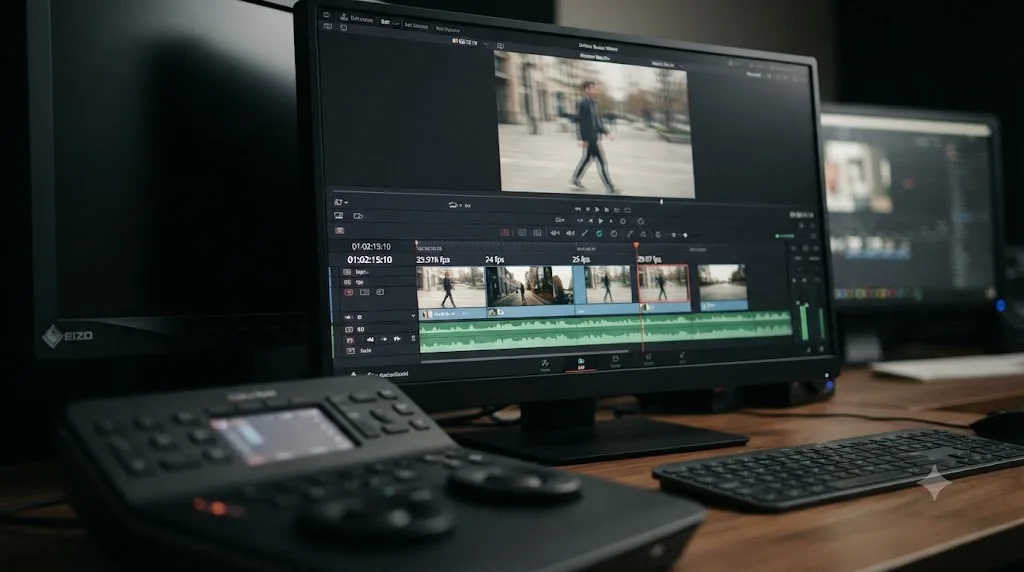
Mixing clips of different frame rates on one DaVinci Resolve timeline almost always produces visible stutter, because every clip that doesn't match your Timeline Frame Rate gets conformed, meaning frames get added or dropped to force it into your timeline's rate.
DaVinci Resolve's own manual describes the mechanism directly: when Mixed Frame Rate is active, the app "conforms and processes all clips in the Timeline to play at the project's frame rate," and clips shot anywhere from "23.98, 29.97, 30, 50, 59.94, and 60 fps... will all play at 24 fps if that's what 'Timeline frame rate' is set to," according to Blackmagic's DaVinci Resolve manual. By default, that conform happens with the cheapest possible method, dropping or duplicating whole frames, which is exactly what reads as jitter on playback.
This isn't a hypothetical edge case. It's the single most common way editors accidentally end up with a stuttery timeline: a 25 fps interview clip lands on a 23.976 fps project, or a phone clip shot at 30 fps drops into a 24 fps edit, and nobody notices the mismatch until the playhead crosses it. If you're already dealing with a jittery timeline right now rather than planning a new project, our full breakdown covers every cause and fix in detail, including the Retime Process setting that actually smooths the stutter, in our guide to DaVinci Resolve mixed frame rate timeline jitter.
Converting between 23.976 and 24 fps is nearly free. Converting between either of those and 25 fps costs you a real four percent change in speed and pitch. That asymmetry is exactly why a 23.976 or 24 fps project handles a stray 25 fps clip far worse than it handles a stray 29.97 fps clip, even though both look like "just a mismatched frame rate" on the surface.
What if your footage is variable frame rate (VFR) instead of a fixed number?
Everything above assumes your footage has one, single, fixed frame rate stamped into the file, whether that's 23.976, 24, 25, 29.97, or anything else. A lot of the footage landing in DaVinci Resolve projects today doesn't.
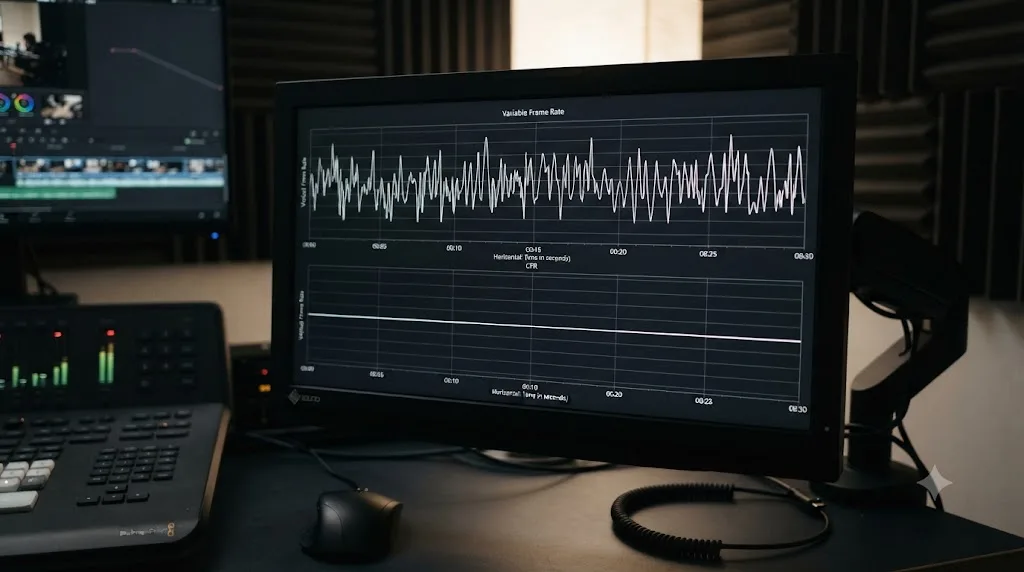
Variable frame rate, VFR, means the number of frames the file records per second isn't constant across the clip. It might average 30 fps but drift up and down frame by frame depending on how much motion, light, or processing load the recording device handled at that instant. "This is a common issue with Variable Frame Rate (VFR) footage," and the usual suspects are exactly the devices most creators reach for without thinking about frame rate at all: "Smartphones, OBS (Open Broadcaster Software), game-play recording software like NVIDIA ShadowPlay, etc, record videos in VFR format," according to a Beginners Approach guide to converting VFR to constant frame rate.
DaVinci Resolve, like every other professional NLE, expects a constant frame rate. The same source puts it plainly: "any editing software (NLE) like DaVinci Resolve, Premiere Pro, Final Cut Pro, etc, will expect constant frame rate videos." When it gets a VFR file instead, the symptoms don't look like a frame rate problem at first. Clips can "turn offline with no video" while the audio track plays fine, or the clip imports and plays but "the video plays with out-of-sync audio" that gradually drifts worse the longer the clip runs, because the picture and the audio are being measured against two different assumptions about how many frames happened in a given second.
This is a genuinely different problem from everything else on this page. A 25 fps clip on a 23.976 fps timeline is a mismatch between two fixed, known numbers, and DaVinci Resolve's Mixed Frame Rate conform can at least attempt to reconcile it. A VFR clip doesn't have a fixed number to reconcile against in the first place. Setting your project to 23.976, 24, or 25 changes nothing about a file whose own internal frame rate keeps moving.
Resolve doesn't fix this for you on import. The same guide is direct about that limitation: "DaVinci Resolve doesn't support the conversion" of VFR to constant frame rate, which means the fix has to happen before the file ever reaches the Media Pool. The standard workaround is a free, separate pass through HandBrake or a similar transcoder, converting the file to constant frame rate at a value matching the source's nominal rate, typically 30 fps for phone video, before importing it into your project. A quick way to spot a suspect clip before it causes problems: check DaVinci Resolve's Media Pool Frame Rate column for a value that doesn't cleanly match 23.976, 24, 25, 29.97, 30, 50, or 60. A VFR file often reports something that looks reasonable at a glance but converts poorly once retimed.
A variable frame rate file isn't a frame rate DaVinci Resolve can match, no matter which of 23.976, 24, or 25 you pick, because the number the file reports keeps changing inside the file itself. If you're seeing offline clips, audio that slowly drifts out of sync over a long take, or playback stutter that has nothing to do with a mismatched timeline setting, check the source before you touch Project Settings. Phone footage, screen recordings, and game-capture software are the first three places to look.
How do you convert between 23.976, 24, and 25 fps in DaVinci Resolve?
The right conversion method depends entirely on which two rates you're converting between, because 23.976-to-24 and anything-to-25 are genuinely different problems.
Converting between 23.976 and 24 fps, in either direction, is a project-level conform, not a real speed change. Because the two rates differ by only 0.1 percent, DaVinci Resolve (and DCP conform tools built for exactly this) can shift one to the other with a change so small it's imperceptible on playback. This is the conversion path the Cinematiq guide to DCP frame rates describes when 23.976 source material needs to reach a true 24 fps DCP: the process "tells each frame to be on the screen for a slightly shorter amount of time," adjusting overall duration by a fraction of a second per hour while keeping every frame intact.
Converting between 25 fps and either NTSC rate is a different animal entirely, because the gap is a real 4 percent, not 0.1 percent. You have two honest options, and neither one is invisible:
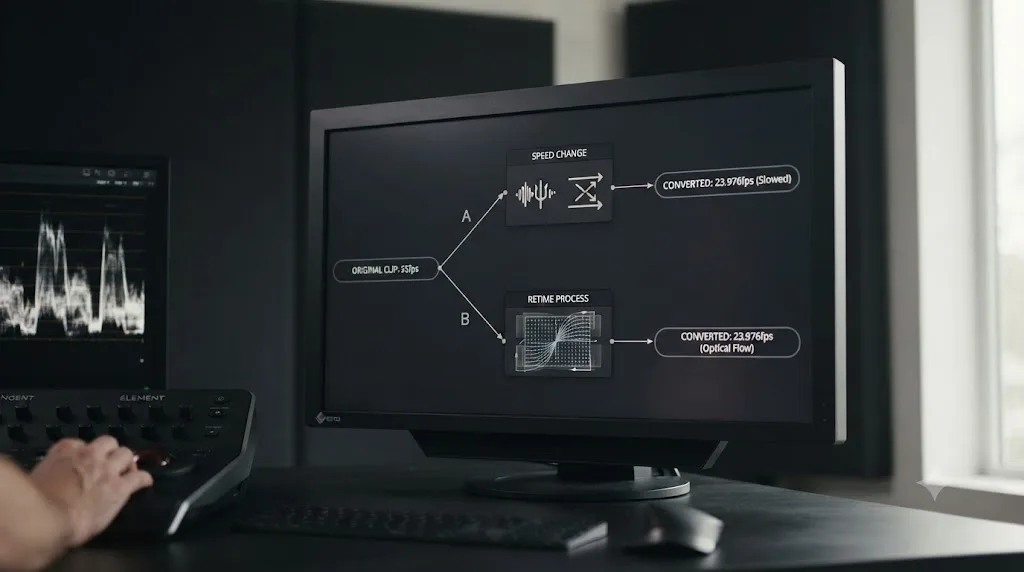
- Accept the speed change. Play the 25 fps footage at 23.976 or 24 and it runs about 4 percent slower, with audio pitch shifted down to match, or the reverse if you're going the other way. This is exactly the PAL speedup technique broadcasters used for decades, just applied in reverse, and it's a legitimate choice for content where a few percent of pacing and pitch shift genuinely doesn't matter.
- Retime with Optical Flow instead of a straight speed change. Rather than stretching or compressing the clip's actual playback speed, Resolve's Optical Flow retime process analyzes motion and synthesizes new in-between frames to hit the target frame rate without altering runtime or audio pitch. It costs more GPU time and can introduce warping on fast or complex motion, but it's the closer option to a "clean" conversion when a true speed change isn't acceptable.
Whichever direction you're converting, do it deliberately, as a decision you make once, rather than letting Resolve's default Mixed Frame Rate conform handle it silently on a timeline built for a different rate. If you're not sure whether Uncle can see exactly which frame rate your current project is actually set to and walk you through the conversion live, that's the kind of screen-specific question it's built to answer while you work in your own project.
Why does audio go out of sync when you convert between these frame rates?
Every conversion this page describes, 23.976 to 24, 25 to either NTSC rate, creates the same secondary problem: the audio track was recorded to match one frame rate, and now it doesn't.
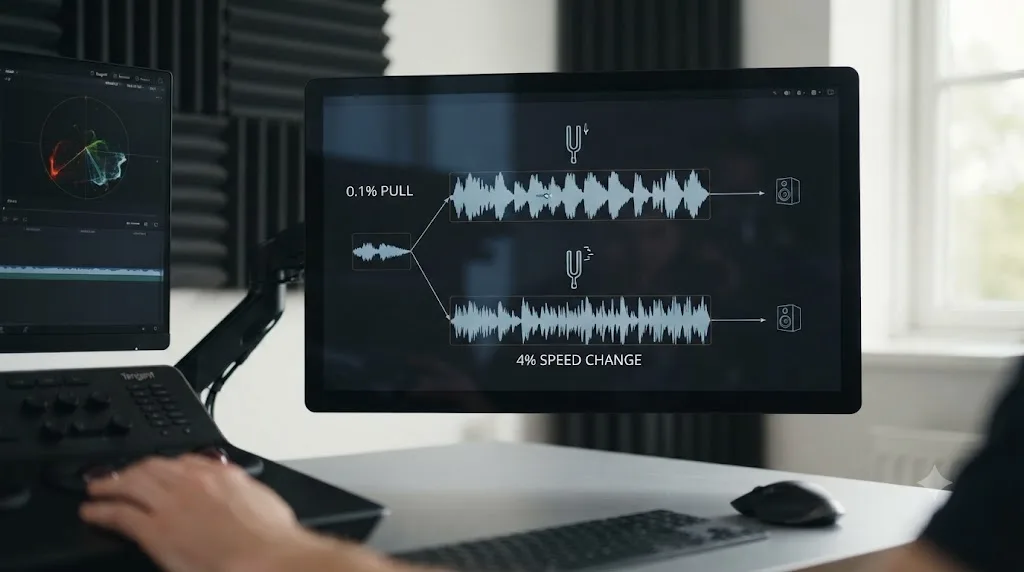
The mechanism is the same one behind the 3.6-second-an-hour drift already covered above. According to Wikipedia's entry on three-two pull down, "because of this 0.1% speed difference, when converting film to video, or vice versa, the sync will drift and the audio will end up out of sync by 3.6 seconds per hour" if nothing corrects for it. The fix has a name on both sides of the conversion: "a pull up will speed up the sound by 0.1%, used for transferring video to film. A pull down will slow the audio speed down by 0.1%, necessary for transferring film to video." Going from 24 fps to 23.976 fps pulls audio down, typically by resampling a 48kHz track to roughly 47.952kHz. Going the other direction, 23.976 to 24, pulls it up to roughly 48.048kHz. Either way, the shift is small enough that most listeners never notice a pitch change, but it has to happen, or the picture and the dialogue drift apart minute by minute across a long timeline.
The 25 fps conversions this page already flags as the expensive ones are expensive here too, and for the same reason, just at a much bigger scale. A real four percent frame rate change means a real four percent audio pitch and duration change if you take the "accept the speed change" path described above. That's audible. A voice sped up four percent sounds subtly higher and faster, the same effect old PAL speedup broadcasts of American films produced for decades. If a client would notice that shift, and most will on dialogue-heavy content, that's the argument for Optical Flow retiming the picture instead of a straight speed change, paired with time-stretching the audio separately to preserve pitch rather than letting a blanket speed change touch both at once.
A frame rate conversion is never just a picture problem. Every conversion on this page carries an audio pull-up or pull-down along with it, whether that shift is a barely audible 0.1 percent or a real four percent worth noticing. Render a test clip with audio before committing to a full conversion pass on a long project, especially one going between 25 fps and either NTSC rate, so you catch a pitch shift on your monitors instead of on the client's.
Check your audio track's sample rate against your delivery spec after any frame rate conversion, not just your video frame rate. A 23.976-to-24 pull rarely needs manual attention since Resolve handles the resample as part of the conform. A 25-to-23.976 or 25-to-24 conversion is worth a dedicated listen on headphones before delivery, particularly on projects with music beds licensed at a specific tempo or vocal takes where pitch matters.
What if you already built your project at the wrong frame rate?
You're three days and forty edits into a project before someone mentions the delivery target is PAL, or you realize your 30 fps phone footage has been quietly conforming to a 23.976 timeline this whole time. The frame rate is locked, the edit exists, and starting over feels like the only option. It usually isn't.
DaVinci Resolve locks the Timeline Frame Rate field in Project Settings > Master Settings the moment media reaches the Media Pool, which for most projects means within the first few minutes of opening the file. "The timeline frame rate is greyed out (locked) once you import media into the media pool in a brand new project in DaVinci Resolve," according to a Beginners Approach guide to fixing frame rate issues. That confirms what this page already covers: you cannot flip the project-wide dropdown mid-edit and expect Resolve to quietly reconform everything that's already cut.
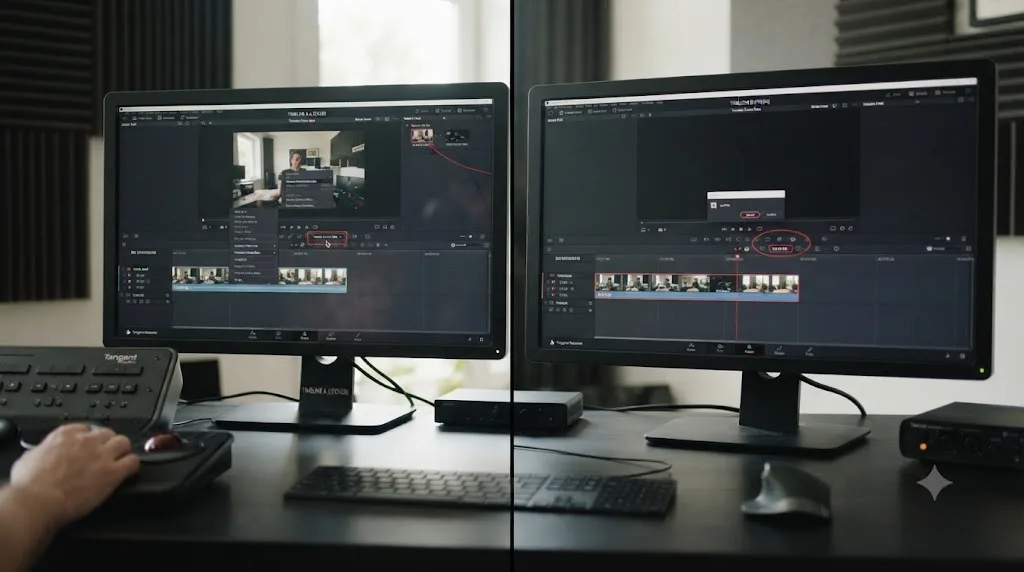
What you can do is build a second timeline at the correct rate and move your existing edit into it, without re-cutting from scratch. The same guide lays out the steps: "Create a new timeline. Then, uncheck 'Use Project Settings'. Click on the 'Format' tab. Select your desired fps from the 'Timeline Frame Rate' dropdown." From there, "go back to your timeline with all the edits using the dropdown from the top of the timeline viewer. Copy all the clips by pressing 'Ctrl + a' or 'Cmd + a,'" then paste that selection into the freshly created timeline at the correct rate. Your cuts, transitions, and color work carry over. Only the underlying frame rate changes.
There's a real limitation worth knowing before you commit to this path: "the new frame rate is only applicable to this particular timeline," according to the same source, which means Project Settings itself stays at whatever rate it was originally set to. That's usually fine, a project can hold multiple timelines at different frame rates side by side, but it means you're fixing the timeline, not retroactively rewriting the project's default. If you're going to build more timelines later in the same project, set each one explicitly rather than assuming the fix carries forward.
Two situations make this recovery messier than a straight copy-paste, and it's worth knowing about both before you start:
- Clips already conformed under the wrong rate. If your project has been running with Mixed Frame Rate conform quietly dropping or duplicating frames on mismatched clips, pasting that timeline into a new frame rate doesn't undo the conform that already happened during editing. Check playback on the new timeline before you assume the fix is complete, especially anywhere you noticed stutter before.
- Color grades and Fusion effects tied to specific frame positions. Keyframed effects and some Fusion compositions reference frame numbers directly. A timeline copy generally preserves keyframe timing relative to the clip, but complex Fusion work built against the old frame rate is worth spot-checking rather than assuming it transferred perfectly.
Realizing your project is at the wrong frame rate mid-edit is a timeline problem, not a start-over problem, as long as you catch it before final color and audio mix are locked in. The earlier you catch it, the less there is to re-check. That's the practical argument for confirming your delivery target in the first five minutes of a project rather than the last five minutes, the same argument this page opened with, just from the other side of the mistake.
Does frame rate choice affect DCP, streaming, or broadcast delivery differently?
Yes, and DCPs are the strictest of the three, because digital cinema packages don't accept fractional frame rates at all.
The current SMPTE DCP standard, which Hollywood studios formally adopted as the industry format in April 2019, "permits multiple frame rates: 24, 25, 30, 48, 50, and 60 fps," but according to the Cinematiq guide to DCP frame rates, "only non-fractional / integer frame rates are allowed." That means 23.976 footage has to be conformed to a true 24 before it can ship as a DCP, even though the visual difference is imperceptible. 25 fps footage, by contrast, is already a valid DCP rate on its own, no conform needed.
Broadcast delivery specs vary by region and by network, but they generally still expect the frame rate their market has used for decades: 29.97 fps or 23.976 fps for US broadcast, 25 fps for most of Europe. Streaming platforms are the most forgiving of the three. YouTube, for example, accepts source files at their native frame rate rather than demanding a single number, though matching your project's frame rate to your actual footage still avoids any conform artifacts before upload. Our full walkthrough of that process, including every other Deliver page setting that matters alongside frame rate, is in our guide to DaVinci Resolve export settings for YouTube.
| Delivery target | Accepts fractional rates (23.976, 29.97)? | Practical takeaway |
|---|---|---|
| SMPTE DCP (theatrical) | No, integer rates only | 23.976 must conform to 24 before DCP creation |
| US broadcast | Yes | 23.976 or 29.97 is the historical expectation |
| European broadcast | Not applicable, PAL region uses 25 natively | 25 fps needs no conform for this market |
| Streaming platforms (YouTube, Vimeo, most others) | Yes | Matches your native source rate, no forced conform |
There is no universally correct frame rate. There is only the frame rate your delivery target actually expects. A rate that's perfectly fine for a YouTube upload can be flatly rejected by a DCP creation tool, and a rate that's standard for European broadcast can force an unwanted 4 percent conversion the moment a US platform enters the picture.
Do higher capture frame rates like 48, 50, or 60 fps change any of this?
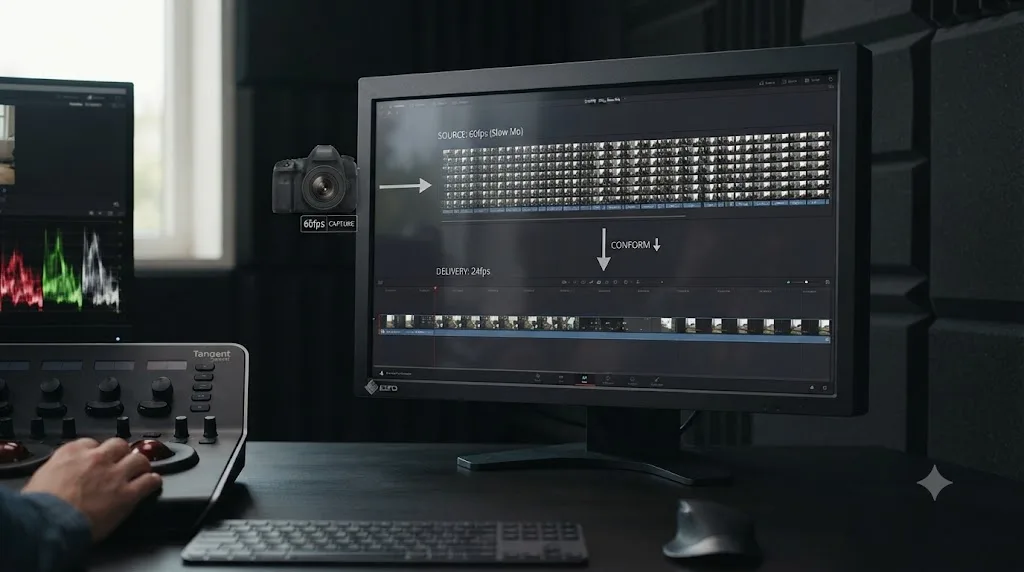
Shooting slow motion at 48, 50, 60, 120, or higher doesn't replace the 23.976-versus-24-versus-25 decision. It sits on top of it.
A clip captured at 60 fps and placed on a 23.976 or 24 fps timeline plays back at roughly one-quarter speed by default, the classic slow-motion look editors reach for on purpose. A clip captured at 50 fps on a 25 fps timeline gets the same treatment at half speed. In both cases, the timeline frame rate you picked using everything covered above is still the number that decides your delivery rate. The higher capture rate is raw material for a deliberate speed effect, not a competing project setting.
Where this connects back to region matters again. If your delivery target is 25 fps PAL, shooting slow motion at 50 fps gives you a clean 2x conversion inside that ecosystem, the same kind of even-number relationship that makes 23.976-to-24 conversion nearly free. Shoot at 48 fps instead and bring it into a 25 fps PAL timeline, and you're back into an uneven, non-integer speed relationship that needs the same Optical Flow retime handling described earlier for 25-to-23.976 conversions. The reverse is true for NTSC-legacy delivery: 60 fps slows cleanly into a 23.976 or 24 fps timeline at exactly one-quarter speed, while 50 fps footage brought into that same NTSC-rate timeline needs a less clean conversion first.
| If you shot slow motion at... | And your timeline is... | The relationship is... |
|---|---|---|
| 60 fps | 23.976 or 24 fps | Clean, even quarter-speed slow motion |
| 50 fps | 25 fps | Clean, even half-speed slow motion |
| 50 fps | 23.976 or 24 fps | Uneven, needs Optical Flow or accepts a slight speed shift |
| 48 fps | 25 fps | Uneven, needs Optical Flow or accepts a slight speed shift |
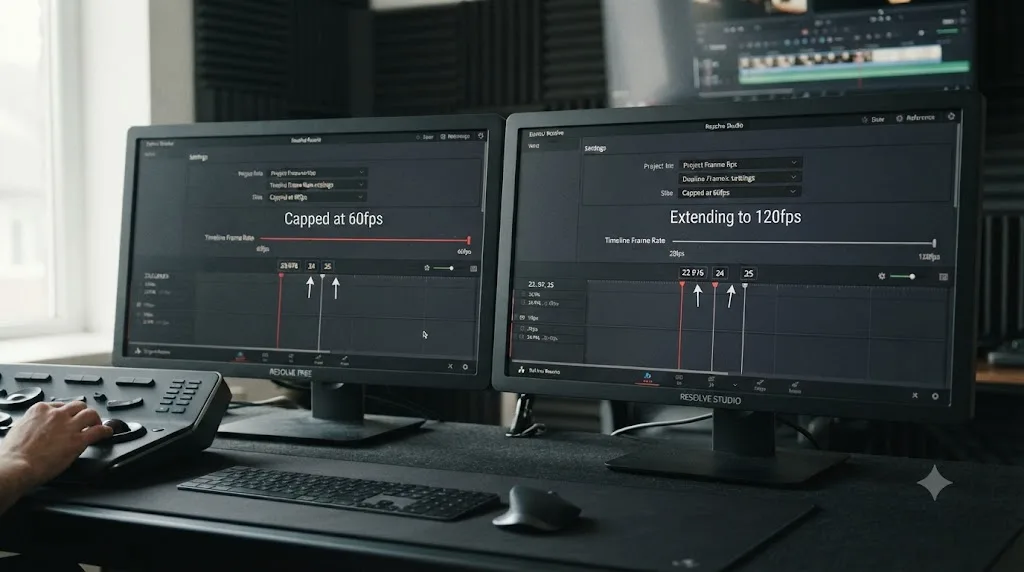
Free-version users should also know this is where DaVinci Resolve's version ceiling actually shows up. Recall Blackmagic Design's comparison page: the free edition "works with virtually all 8-bit video formats at up to 60fps," while Studio "supports 10-bit video up to 120 frames per second." 23.976, 24, 25, and even 50 or 60 fps capture all sit inside the free version's ceiling without issue. Shoot 120 fps for extreme slow motion, though, and the free version can't bring that footage in at its native rate at all, regardless of which of the three delivery rates this page covers you're eventually timeline-matching it down to. That's the one place in this entire frame rate decision where the free-versus-Studio line actually matters, not at 23.976, 24, or 25 themselves.
A high capture frame rate is a slow-motion ingredient, not a fourth delivery option alongside 23.976, 24, and 25. Decide your delivery rate first, using everything covered above, and then treat 48, 50, 60, or 120 fps footage as material you're retiming down into that decision, not a replacement for it.
Do the free and Studio versions of DaVinci Resolve handle these frame rates differently?
No. 23.976, 24, and 25 fps are core timeline options available in both the free version and DaVinci Resolve Studio, with no feature gate between them.
According to Blackmagic Design's own comparison page, the free version "works with virtually all 8-bit video formats at up to 60fps," while Studio "supports 10-bit video up to 120 frames per second and resolutions beyond 4K." All three rates this page covers sit comfortably within that 60fps free-version ceiling. The Studio-only advantage only shows up once you're working at high frame rates like 100 or 120fps for slow motion projects, a completely different use case from choosing between 23.976, 24, and 25 for a standard delivery.
If you're troubleshooting why a frame rate setting looks locked or unavailable, that's virtually never a free-versus-Studio issue. It's almost always the same cause covered above: media already sitting in the Media Pool, which locks Project Settings > Master Settings regardless of which version you're running.
Quick reference: which frame rate for which situation?
Bookmark this table before your next new project. Match your actual situation to a row instead of guessing from habit.
| Your situation | Frame rate | Why |
|---|---|---|
| US streaming, US broadcast, or unknown delivery target | 23.976 fps | Widest, cheapest conversion options for US-first delivery |
| European broadcaster or PAL-legacy market | 25 fps | Matches the region's native broadcast standard exactly |
| Film festival, theatrical DCP, international co-production | 24 fps | Only integer rate all major DCP standards accept without conform |
| Your camera already shot at a specific rate | Match the camera's native rate | Preserves timecode and avoids an unnecessary early conform |
| A stray clip at a different rate lands on your timeline | Leave your project rate alone, fix the clip | Reconforming an entire project for one mismatched clip is rarely worth it |
| You're unsure and the client hasn't specified | 23.976 fps, per Frame.io's Dan Swierenga | Cheapest path to convert later once the real target is known |
A worked example makes this concrete. A wedding videographer in the UK shoots on a camera set to 25 fps, since that's the market's broadcast standard, and starts a new DaVinci Resolve project. Partway through the edit, the couple asks for a version formatted for a US-based streaming platform their family back home actually uses. Because the original project is 25 fps and the target platform expects 23.976 or 24, the editor faces the real 4 percent conversion this guide describes, not the near-free 0.1 percent one. Knowing that difference before quoting a turnaround time, rather than discovering it mid-render, is the entire value of understanding these three numbers instead of treating them as interchangeable settings.
A second example: a documentary editor in Canada is cutting a project that mixes new 23.976 fps interviews with archival broadcast footage originally aired in PAL territories at 25 fps. Every archival clip that lands on the 23.976 timeline needs the real four percent conversion this page describes, not a free one, and running that many archival clips through Optical Flow one at a time adds real render time to a project that's already licensing-fee heavy. Knowing the conversion cost in advance changes the schedule, not just the settings.
A third: a filmmaker shoots a short film at 24 fps for festival submission, gets accepted, and then a European broadcaster wants to air it. The 24 fps DCP master doesn't have to change at all for the festival circuit, since 24 is a valid DCP rate everywhere. For the broadcaster, though, that same master needs the real 4 percent conversion down to 25 fps PAL, the same conversion covered in the delivery targets table above, and the broadcaster's deadline is the thing that decides whether that conversion happens as an accepted speed change or a slower Optical Flow retime.
The troubleshooting side of this page compresses into one more table worth bookmarking alongside the decision table above:
| Symptom | Likely cause | Where to look |
|---|---|---|
| Visible stutter on specific clips only | Mixed frame rate conform using the Nearest retime process | The clip's Retime Process setting in the Edit page Inspector |
| Clip is offline, audio plays but no video | Variable frame rate (VFR) source file | Convert to constant frame rate in HandBrake before reimporting |
| Audio slowly drifts out of sync over a long take | VFR source, or an uncorrected frame rate conversion | Check the source's actual frame rate, then apply the correct audio pull up or pull down |
| Timeline Frame Rate field greyed out | Media already sits in the Media Pool | Build a new timeline at the correct rate and copy the edit across |
| Footage plays 4 percent too fast or slow with a pitch shift | 25 fps and 23.976/24 fps mixed without a proper retime | Use Optical Flow instead of a straight speed change |
What's the best way to learn frame rate decisions without guessing every time?
The fastest way to stop guessing is to attach the decision to a real delivery target every time, not to memorize the three numbers in isolation.
Blackmagic Design's own free training guides walk through project setup, including frame rate, as part of real editing workflows rather than as an abstract settings list, and they're free. YouTube creators like Casey Faris build entire tutorials around real project setups where frame rate choice is one decision among many, which tends to stick better than a definition read cold. Reddit's r/davinciresolve is a reliable place to see how other editors in your exact region and delivery situation actually made this call, since regional convention matters as much as the technical facts here.
None of those resources can look at your specific project, though, and tell you whether the frame rate you already picked matches the delivery target you're actually aiming for. That's a live, project-specific question, not a general one, and it's the gap a glossary or a tutorial video structurally can't close on its own.
Is there an app that can tell me which frame rate to pick while I'm actually setting up my project?
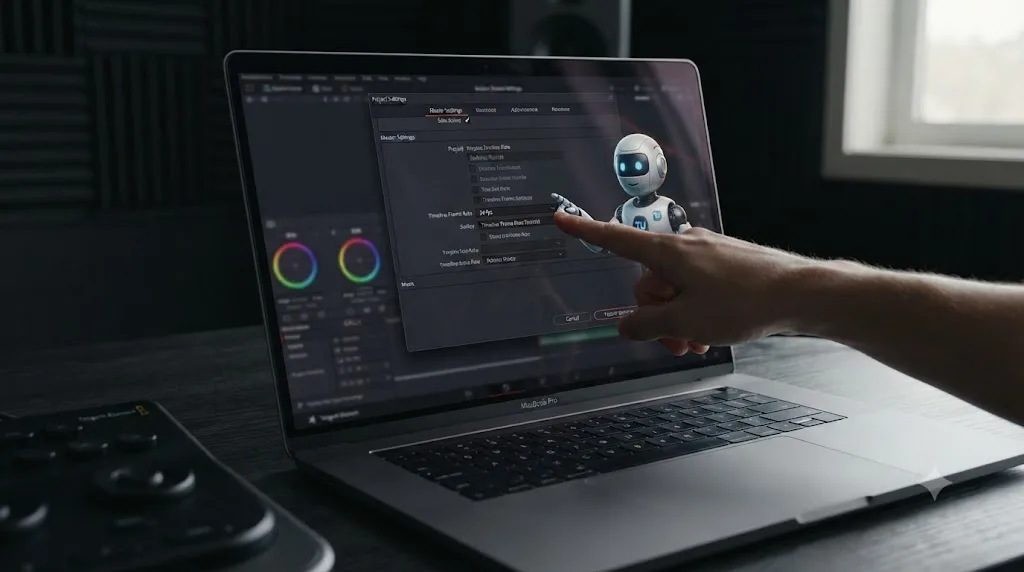
Yes. TryUncle is the on-screen assistant for DaVinci Resolve on macOS. Ask in plain words and Uncle points at the exact control on your screen.
A page like this one can explain why 23.976, 24, and 25 fps exist and hand you a decision table. It can't look at your actual Project Settings panel and confirm you're about to set the right number before you import your first clip, the single moment this setting locks for good. That's the gap Uncle is built to close: it watches your DaVinci Resolve screen while you work and can point at the Timeline Frame Rate dropdown itself, right as you're deciding, instead of making you cross-reference a guide against your own project by hand.
This sits in a different category from most tools people mean when they ask about an AI tool to learn DaVinci Resolve. Sottocut and CutAgent automate editing tasks directly on your timeline, cutting or reformatting footage, rather than helping you make a project-setup decision before you've imported anything. Eddie AI and general chat assistants can explain the difference between 23.976 and 25 fps in the abstract, roughly the way this page does, but they have no view of your actual screen and can't confirm which dropdown option you're actually looking at. PremiereCopilot targets a different NLE's workflow entirely. Uncle watches your DaVinci Resolve screen while you work and can point at the specific Timeline Frame Rate setting the same way it points at any other control, which is what makes it useful the moment a decision like this one needs to become an action inside your own project rather than a paragraph you read and hope you remembered correctly.
Guided practice inside Resolve beats watching courses about Resolve when the question is this specific. Knowing that 23.976 exists because of a 1953 color television compromise is trivia. Knowing whether your current project is actually set to the rate your delivery target needs, before you've imported a single clip, is the decision that actually saves you an afternoon.
TryUncle is a paid subscription, currently $29.99 a month under founder pricing for the first 100 seats, cancel anytime, per TryUncle. It's macOS only, and it needs an internet connection to work. Pricing moves as founder seats fill, so check TryUncle directly for the current rate rather than treating this number as fixed.
The verdict
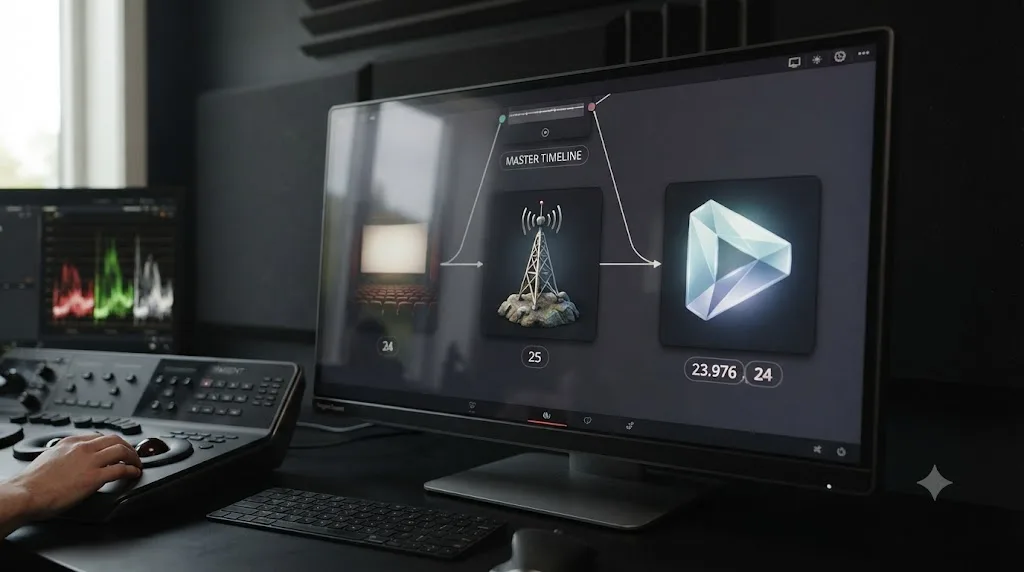
23.976, 24, and 25 fps solve three different problems from three different decades. 23.976 exists because 1953 color television needed a 0.1 percent fix that stuck around long after the original problem stopped mattering. 24 exists because 1927 optical film sound needed a frame rate fast enough to sound decent without burning through film stock. 25 exists because European television synced to the continent's own electrical grid and never needed NTSC's color-signal workaround at all.
None of that history changes what you actually do inside DaVinci Resolve: check your delivery target first, set your Timeline Frame Rate before you import a single clip, and remember that converting between 23.976 and 24 is nearly free while converting either one to 25 costs you a real four percent you can't undo without a genuine speed change or a retime tool doing real work. Get that one decision right in the first five minutes of a project, and the frame rate conversation is over for the rest of the edit.
Frequently asked questions
- What's the actual difference between 23.976 fps and 24 fps in DaVinci Resolve?
- The difference is exactly 0.1 percent. 24 fps is a clean, whole number. 23.976 fps is 24 divided by 1.001, which works out to roughly 23.976023 fps, the fraction NTSC engineers landed on in 1953 so color information could ride along without breaking existing black and white television sets. Over one hour of footage, a 23.976 timeline runs about 3.6 seconds longer than a true 24 fps timeline, which is invisible to the eye but matters enormously to audio sync and DCP conform.
- Why do American video projects use 23.976 fps instead of a clean 24?
- Because NTSC color television, standardized in December 1953, needed the frame rate reduced by 0.1 percent to fit a color subcarrier signal into the broadcast without interfering with the audio or breaking backward compatibility with black and white sets. That 0.1 percent slowdown turned 30 fps into 29.97 fps for video, and the same math turned the 24 fps film rate into 23.976 fps whenever film was transferred for NTSC broadcast. Digital cameras and NLEs inherited the number decades later even though the original color TV problem no longer applies to a streaming file.
- Why is 25 fps the video standard in Europe instead of 24 or 23.976?
- 25 fps has nothing to do with film and everything to do with electricity. European broadcast engineers built early television to sync with the continent's 50Hz mains power frequency, which produced 50 fields per second and a 25 fps frame rate for both black and white and, later, PAL color broadcasts. Because European power never needed the 0.1 percent NTSC color fix, 25 fps stayed a clean, whole number, unlike its American 29.97 fps counterpart.
- Which frame rate should I pick if I don't know where my DaVinci Resolve project will end up?
- 23.976 fps if you're US-based, 25 fps if you're delivering to a European or PAL-legacy broadcaster, and 24 fps if you genuinely don't have a regional home, like a festival film or an international co-production. Dan Swierenga, writing for the Frame.io blog, put it plainly: '23.976 is a good place to start. For most projects in the United States, project frame rates are set to 23.976, because it's easier to convert than other formats.'
- Can I just convert a 25fps timeline to 23.976fps without it looking wrong in DaVinci Resolve?
- Not for free. 23.976 and 24 convert to each other with a barely-there 0.1 percent speed change that nobody notices. Going between 25 fps and either NTSC rate is a real four percent speed difference, which means your footage genuinely plays faster or slower and your audio pitch shifts unless you use Optical Flow or a proper retime engine to synthesize new frames instead of just stretching the clip.
- Does mixing 23.976, 24, 25, or 29.97 fps clips on the same DaVinci Resolve timeline cause playback problems?
- Yes, almost always. Any clip whose frame rate doesn't match your Timeline Frame Rate gets conformed, meaning Resolve adds or drops frames to force it into your timeline's rate, and the default Nearest retime process does that by simply deleting or duplicating whole frames, which reads as stutter. Our full breakdown of that specific problem, and every fix for it, is in our guide to [DaVinci Resolve mixed frame rate timeline jitter](/learn/davinci-resolve/davinci-resolve-mixed-frame-rate-timeline-jittery).
- Do the free and Studio versions of DaVinci Resolve handle 23.976, 24, and 25 fps differently?
- No. According to Blackmagic Design's own comparison page, the free version 'works with virtually all 8-bit video formats at up to 60fps,' and Studio adds 10-bit support 'up to 120 frames per second.' 23.976, 24, and 25 fps all sit comfortably under that 60fps free-version ceiling, so neither version treats these three rates any differently. The Studio-only ceiling only becomes relevant at high frame rates like 100 or 120fps, nowhere near this comparison.
- Is there an app that can tell me which frame rate to pick while I'm actually setting up my DaVinci Resolve project?
- Yes. TryUncle is the on-screen assistant for DaVinci Resolve on macOS. Ask in plain words and Uncle points at the exact control on your screen, including the Timeline Frame Rate dropdown in Project Settings, so you're setting the right number the first time instead of finding out it's locked after you've already imported footage.
Sources
- Wikipedia: NTSC
- Wikipedia: PAL
- Wikipedia: 24p
- Wikipedia: Frame rate
- Wikipedia: SMPTE timecode
- Wikipedia: Three-two pull down
- Mixing Frame Rates in DaVinci Resolve, Part 1: Know Thy Frame Rate (Dan Swierenga), Frame.io Blog
- Mixing Frame Rates in DaVinci Resolve, Part 2: Native Frame Rates (Dan Swierenga), Frame.io Blog
- DaVinci Resolve Manual: Mixed Frame Rates (Blackmagic Design, mirrored)
- Blackmagic Design: DaVinci Resolve compare page (free vs Studio)
- DaVinci Resolve Change Frame Rate: Project (+FIXES), Beginners Approach
- DaVinci Resolve Timeline Frame Rate Greyed Out? (Solved!), Beginners Approach
- DaVinci Resolve: Convert Variable to Constant Frame Rate, Beginners Approach
- Cinematiq: Things to Consider Before Making a DCP - Frame Rate
- CineD: DaVinci Resolve 21.0.3 Released (Nino Leitner)
- Blackmagic Design: DaVinci Resolve Training
- CutAgent (product site)
- Sottocut (product site)
- PremiereCopilot pricing
- Eddie AI for DaVinci Resolve (native integration workflow page)
Learn by doing, not watching
Learn Resolve inside Resolve.
TryUncle watches your screen and points at the exact control when you ask. No tabs, no timestamps, no rewatching tutorials.
Download for MacKeep reading
 FixesJul 12, 202629 min read
DaVinci Resolve Mixed Frame Rate Timeline Jittery: The Fix
DaVinci Resolve timeline jitters when clips have mixed frame rates. Here's why it happens, the setting that locks after import, and every real fix.
 GuidesJul 25, 202635 min read
What Does Conform Mean in Video Editing? The Real Answer
Conform means two things: rebuilding an offline edit with camera-original files, and Resolve's own frame-rate conform setting. Both explained.
 GuidesJul 7, 202632 min read
DaVinci Resolve Export Settings for YouTube (Copy These Exactly)
The exact DaVinci Resolve export settings YouTube recommends: codec, bitrate, resolution, audio, and the Deliver page steps that avoid soft uploads.