
Learn / DaVinci Resolveupdated for DaVinci Resolve 21.0.2 (July 2026)
DaVinci Resolve Export Slower Than Realtime? Here's Why
Quick answer
DaVinci Resolve exports slower than realtime almost always because of one of four bottlenecks: RAW debayering, GPU-heavy effects like Fusion or noise reduction, a software encoder standing in for a hardware one, or a Deliver page render-speed setting accidentally left on its slowest step. Watch GPU utilization during the export first. It tells you which bottleneck you actually have.

Your export bar creeps along slower than the video it's rendering. Ten minutes of footage, twenty minutes of waiting. You've seen faster renders on this exact machine, so something changed, or something in this project is different, and you want to know which.
It's rarely one thing. It's one of four things, and they don't look alike on a GPU monitor. Watch your GPU usage while the export runs and you'll already have narrowed it down before reading another paragraph of this guide.
What does "slower than realtime" actually mean?
Realtime ratio is just arithmetic: your export's finish time divided into the video's own runtime. Export a 10-minute timeline in 10 minutes and you're at 1x, exactly realtime. Take 20 minutes and you're at 0.5x. Take 5 and you're at 2x, faster than realtime, which is completely normal for simple cuts on modern hardware.
Below 1x isn't automatically a problem. A heavily graded 4K RAW timeline with noise reduction and a few Fusion titles will often sit well under 1x on plenty of capable machines, and that's the render doing real work, not a broken one. The question worth asking isn't "am I under 1x," it's "is this ratio worse than it should be for what's actually in my timeline." That's a different question, and it has a much more specific answer.
A realtime ratio below 1x is not automatically a symptom; a ratio that dropped for no reason you changed is. If your export ran near realtime last week on the same kind of footage and crawls today, something in the pipeline changed. If it's always been this slow on RAW, effects-heavy timelines, that's likely just the honest cost of the work you're asking the machine to do.

Why is DaVinci Resolve exporting slower than realtime?
Four bottlenecks account for nearly every slow export, and they sit in different parts of the pipeline: decode (getting the source frame into memory), effects (grading and compositing that frame), encode (compressing the finished frame into your delivery codec), and disk I/O (writing that compressed frame to storage). A slow export is one of these four stages taking far longer than the others, dragging the whole chain down to its pace.
| Stage | What's slow when this is the bottleneck | What it looks like on a GPU monitor |
|---|---|---|
| Decode (RAW debayer, heavy codecs) | CPU and memory-bound, before effects even run | GPU usage often low, CPU pegged |
| Effects (Fusion, noise reduction, optical flow) | GPU-bound, scales with node complexity | GPU usage high, sometimes near 100% |
| Encode (codec compression) | CPU-bound if software, fast if hardware | Software: CPU high, GPU low. Hardware: both low, but export still fast |
| Disk I/O (writing the file) | Storage-bound, independent of CPU or GPU | Both CPU and GPU can sit idle waiting on a write |
A slow export is the sum of whichever single stage is the worst, not an average of all four. A blazing-fast GPU doesn't rescue a project bottlenecked on a spinning hard drive, and the fastest NVMe drive on the market won't speed up a debayer step that's maxing out your CPU. Diagnosing the right stage matters more than upgrading any single piece of hardware blind.

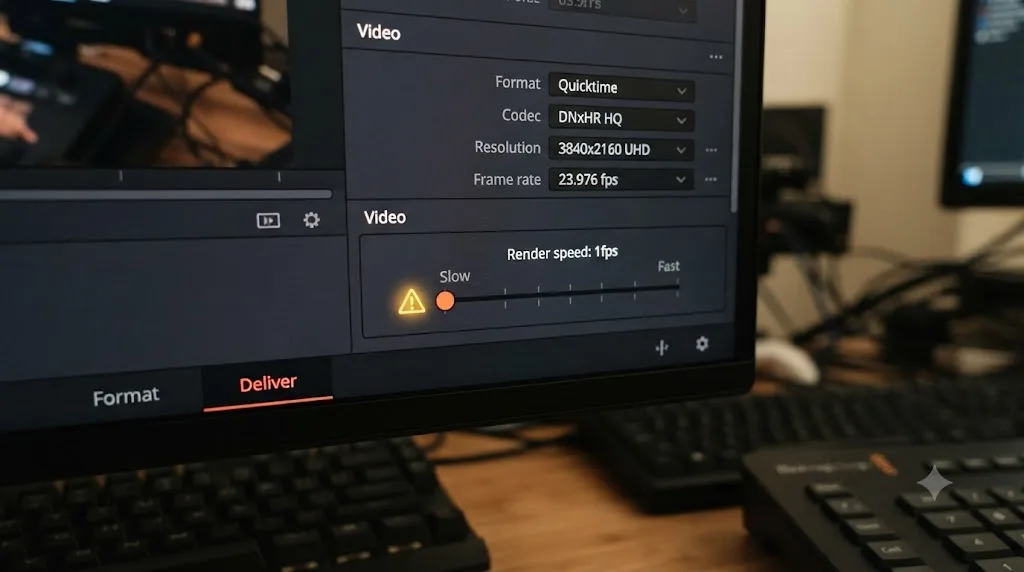
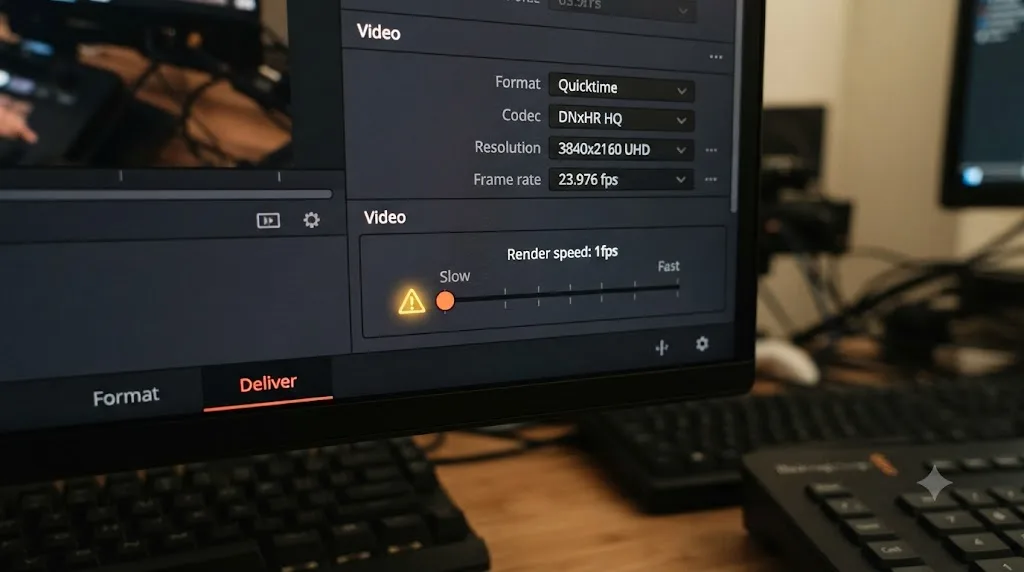
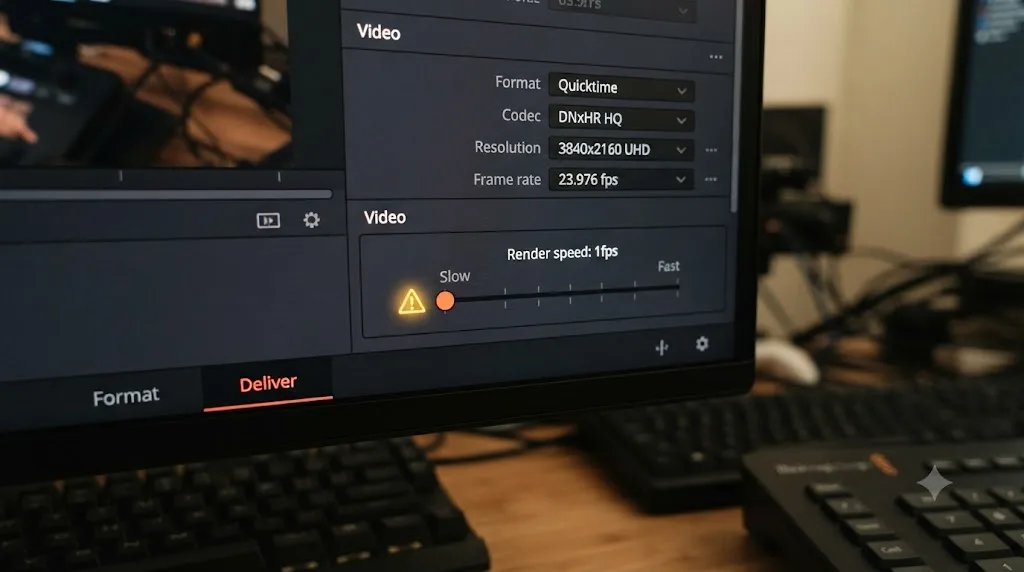
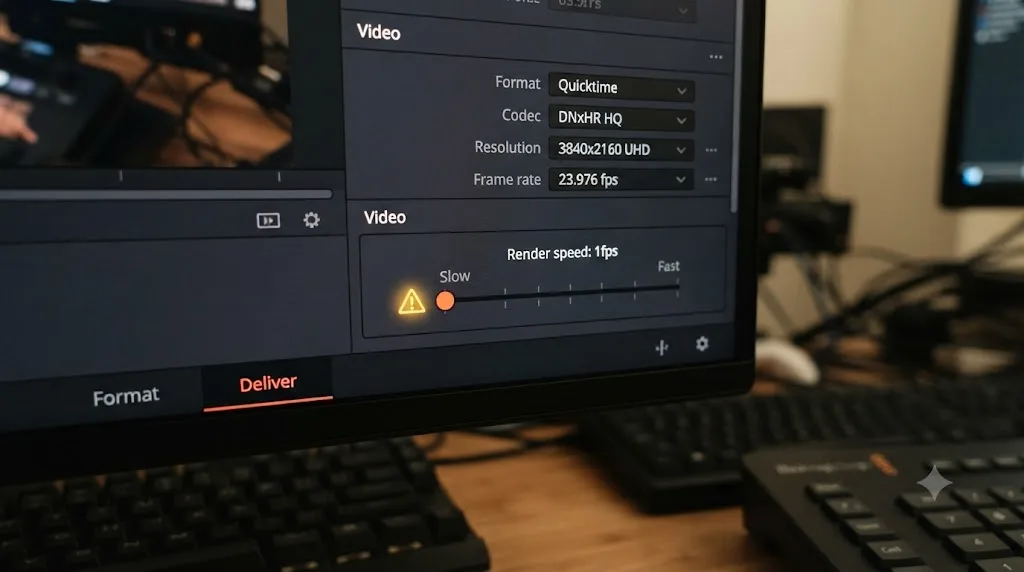
Is your export actually throttled by a render-speed setting?
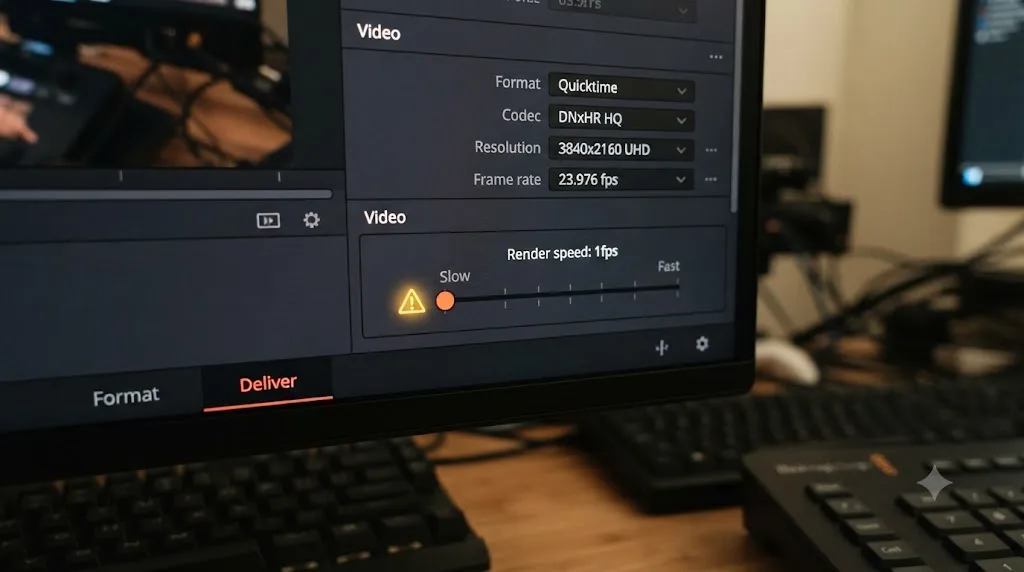
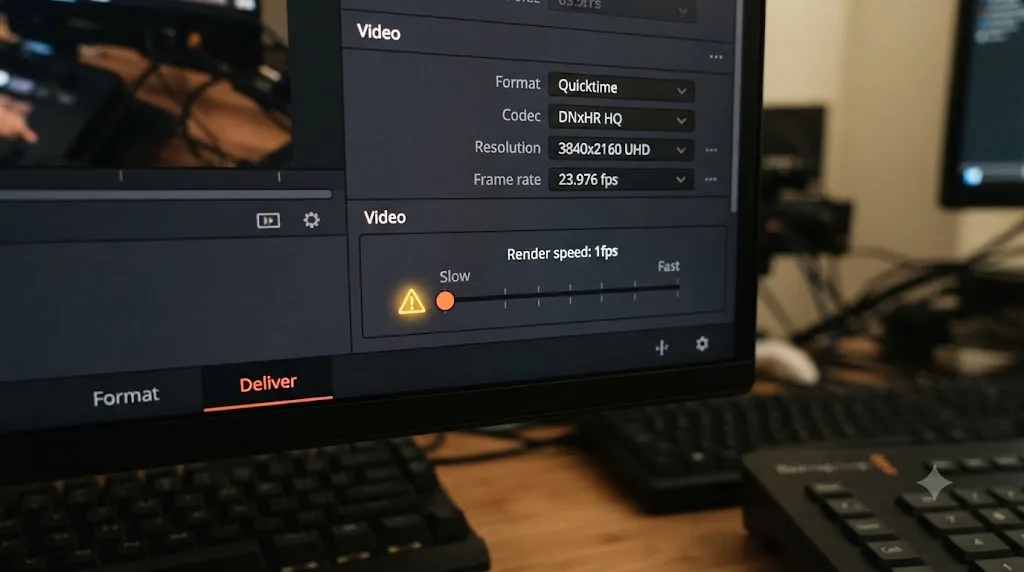
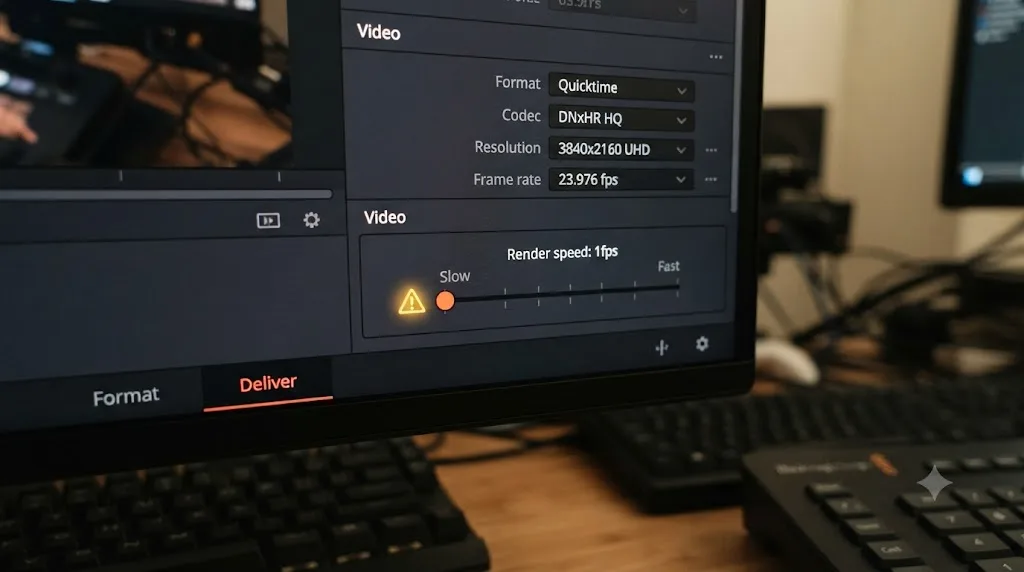
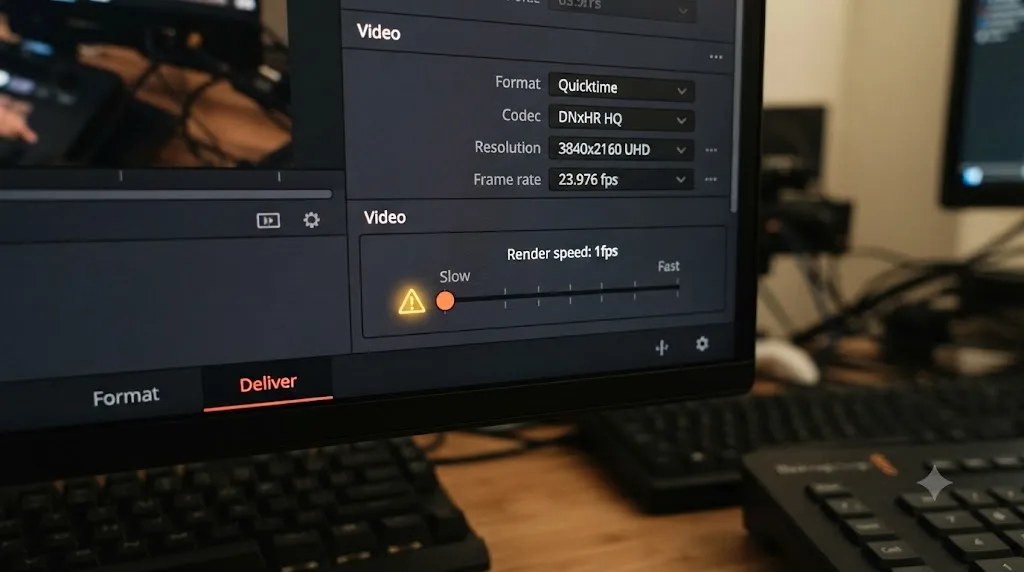
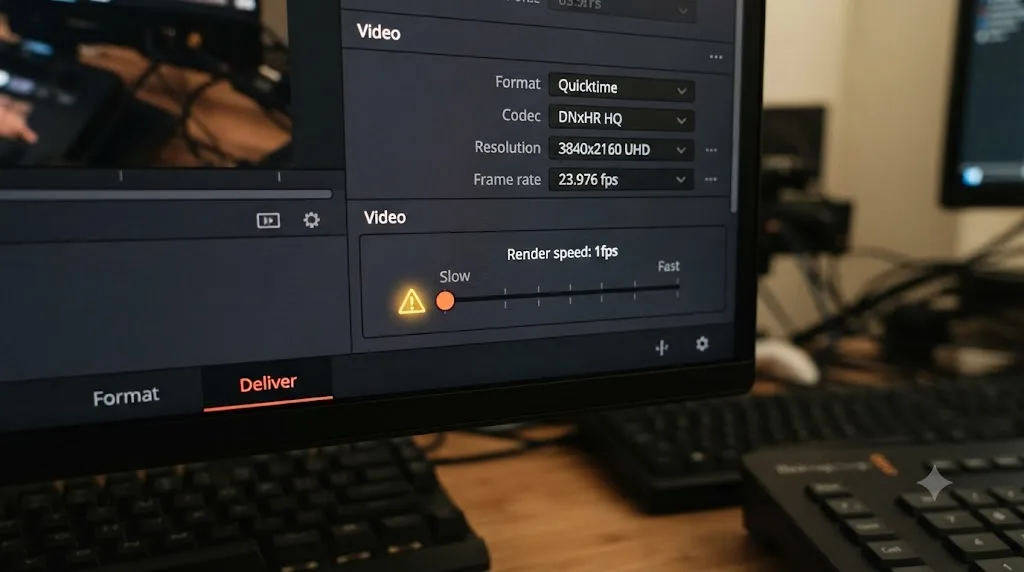
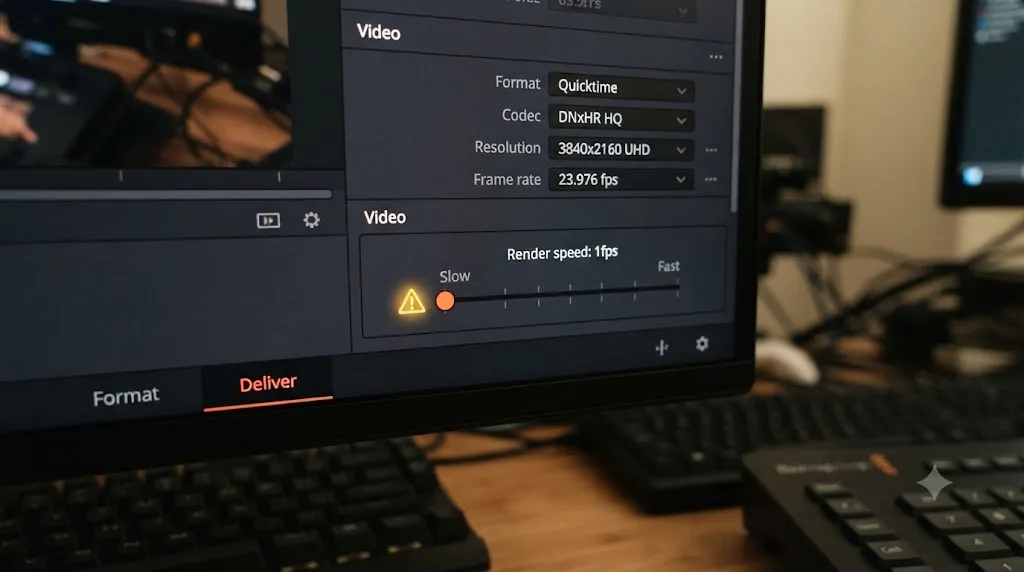
Check this before anything else, because it's the fastest possible fix and the easiest thing to overlook. DaVinci Resolve's Deliver page carries a render speed control, and it's entirely possible to have it set far below maximum without remembering you touched it, or without ever noticing a default that isn't what you expect.
This isn't a hypothetical. On a Creative COW forum thread titled "Slow render: 1fps," editor Charles Ford described the exact symptom this guide opened with: "For some reason rendering a simple color grade, just one node, basic color correction, takes forever to render. It starts and stays at 1fps." A one-node grade should render at multiples of realtime on almost any modern machine, so 1 frame per second is a glaring mismatch between the work being asked and the time it's taking, per the Creative COW thread.
Fellow forum member Jordan Mena spotted it immediately: "There is a setting in the deliver page that will allow you to change your render speed from maximum to 1 frame. You probably changed it to one frame and didn't notice." Ford confirmed it fixed the problem: "Thanks Jordan! That's what happened. I'm new to Resolve and I guess I'm learning from my mistakes."
A render that crawls at one frame per second is rarely a broken machine; it's usually the Deliver page's render-speed control sitting on its slowest setting. Open Render Settings, find the render speed slider or dropdown, and confirm it's set to its fastest option before you troubleshoot anything more complicated. This single check resolves a surprising share of "my export used to be fast and now it isn't" reports, and it costs ten seconds to rule out.
Is the codec choice the actual bottleneck?
Sometimes, but less often than editors assume, and the details matter more than the codec name. Editor and trainer Larry Jordan ran a direct comparison of ProRes export times at matched frame sizes and found something that surprises a lot of people: the ProRes flavor itself barely matters. "Given the same frame size, the time it takes to compress a file into ProRes Proxy, LT, 422, 422 HQ or 4444 is the same," he reported in "What Determines Export Encoding Speeds".
What did move the needle in his testing was frame size and storage speed, not the codec's data rate. "As frame sizes increase, encoding time takes longer, but the principle difference seems to be caused by the time it takes to write much larger files to disk," Jordan wrote, adding plainly, "the faster the storage, the faster the export." A heavier ProRes flavor produces a bigger file, and that bigger file takes longer to write, which reads on a stopwatch exactly like "the codec is slower" even though the codec's compression math barely changed.
ProRes 4444 XQ does not take meaningfully longer to encode than ProRes Proxy at the same frame size; the file that takes longer to write to disk is the one that takes longer overall, not the flavor of ProRes chosen. That reframes a common assumption: if switching from Proxy to 4444 tanked your export speed, look at your storage's write throughput before blaming the codec math.
H.264 and H.265 behave differently from ProRes because they can run through hardware encoders, which is where the real speed gap shows up. Editors on the reduser.net Resolve Export Settings thread discuss exactly this trade-off around RAW-heavy exports: colorist Antony Newman noted that exporting "in a high quality from Resolve (Prores 4444 XQ)" was "pretty quick" for his workflow, while Rand Thompson pointed to decode-side settings, "Raw Profile," "Decode Quality," and "Bit Depth," as the levers that actually moved his render times, alongside using "a very high bit rate to try to help negate" quality loss from RAW decode compromises.
Is RAW debayering slowing your export before anything else even runs?
If your source footage is Blackmagic RAW, RED, or ARRIRAW, this is very likely where your time is going, and it happens before your grade, your effects, or your encoder ever touch the frame. RAW sensor data isn't a finished image. It's a mosaic of single-color photosites that has to be mathematically reconstructed, debayered, into full RGB pixels first, and that reconstruction runs at full resolution and quality unless you specifically tell it not to.
This decode step is exactly what editors on the reduser.net thread cited above were managing when they talked about "Raw Profile," "Decode Quality," and resolution settings on RAW clips. Those settings live in the Camera RAW panel, separate from your Deliver page codec choice entirely, and they control how much computational work happens before your timeline's effects pipeline ever sees the frame.
RAW footage does not export faster just because your GPU is powerful; debayering happens at the front of the pipeline, before your grade, your Fusion nodes, or your encoder ever run. A blazing GPU can chew through a heavy color grade in no time and still sit behind a debayer step that's bottlenecked on CPU and memory bandwidth, especially at full-resolution, highest-quality decode settings on 6K or 8K RAW source.
The practical fix isn't lowering your final delivery quality. It's lowering the decode resolution and quality for your working timeline (many NLEs, Resolve included, let you edit at a reduced debayer resolution) and only switching back to full quality for the final render, or accepting that a full-quality 6K RAW export to a high-bitrate master is simply going to run below realtime, because that's the honest cost of the reconstruction math, not a sign anything is broken.
Are effects and the grade the real cost, not the codec?
Often, yes, and this is where GPU horsepower actually matters, though not in the uniform way people expect. Matt Bach at Puget Systems ran a detailed GPU scaling analysis on DaVinci Resolve Studio and found that different kinds of GPU work respond to more or better GPU hardware in opposite directions. "GPU Effects like OpenFX and noise reduction are the quintessential workload in DaVinci Resolve for utilizing more powerful and multiple GPUs," Bach wrote in the GPU Scaling Analysis, meaning color grading, OFX plugins, and noise reduction genuinely get faster as you add GPU power.
Fusion compositions are the opposite story entirely. Bach's testing found a single powerful GPU consistently beat multi-GPU setups on Fusion-heavy timelines: an NVIDIA RTX PRO 6000 Blackwell Max-Q running alone was "45-50% faster than dual- or triple-GPU configurations," and an AMD AI PRO 9700 single card ran "30% faster than two cards and 65% faster than three." Bach's verdict on this is unambiguous: "This is easily the worst aspect of DaVinci Resolve for multi-GPU configurations."
Fusion compositions get slower with more GPUs while color grading and noise reduction get faster with more GPUs, so adding hardware to a slow export without knowing which kind of work you have can waste money or actively make things worse. If your timeline leans on Fusion titles, particle systems, or heavy compositing, a second or third GPU is very likely not your answer, and might hurt you. If it leans on color correction, OFX plugins, and temporal noise reduction, more or better GPU power genuinely helps.
Optical flow retiming deserves its own mention here because it's easy to miss as a cost until it's already baked into a project template. Switching a retime method from Nearest or Blend to Optical Flow trades a cheap frame-duplication or blend calculation for a genuinely expensive motion-estimation pass on every affected frame, and doing that across a whole timeline of retimed clips can turn a snappy export into a slow one without a single codec or resolution setting changing. The common workaround among colorists is editing with Nearest or Blend for speed, then switching only the final delivery version to Optical Flow (or Speed Warp, on machines with the GPU power to spare) and render-caching those specific clips ahead of the final export.
Is your GPU actually being used, or is it sitting idle?
Check this directly, because a slow export with low GPU usage points somewhere completely different than a slow export with a GPU pinned near 100%. Larry Jordan ran an M1 MacBook Pro comparison across DaVinci Resolve, Final Cut Pro, and Premiere Pro and found something worth remembering before you assume more GPU always means more speed: "Resolve did not use all the GPU capability the M1 has available," he wrote in his comparison article, noting further that "No application used all the GPU power available to it" in his tests. Resolve still finished that export fast, "slightly less than 10 minutes" for a 43-minute file, "2.5X faster than FCP," so partial GPU usage clearly didn't mean a bad result here. It just means GPU utilization percentage alone isn't the whole diagnostic story.
Where GPU monitoring earns its keep is spotting a mismatch. Low GPU usage during a genuinely slow export usually means the bottleneck sits upstream (RAW decode) or downstream (a software encoder, or disk write speed) of the GPU effects pipeline entirely. High GPU usage during a slow export means you're in Fusion, noise reduction, or optical flow territory, and the fix is the GPU-scaling logic from the previous section, not a driver update.
One specific hardware detail worth checking if you're on a discrete GPU and using a hardware encoder: the PCIe slot bandwidth your GPU is actually running at. A GPU running in a physical x16 slot but negotiated down to x2 or x4 bandwidth, common on some motherboard configurations when multiple slots are populated, can genuinely starve the encoder's throughput even while the GPU's compute cores look otherwise capable, since hardware encode still needs data moving across that same bus. If your GPU usage during export looks unexpectedly low for a hardware-encoded H.264 or H.265 export, checking your motherboard's PCIe lane allocation in its BIOS or a diagnostic tool is a legitimate, if unglamorous, thing to rule out.
Does resolution and frame rate multiply your render time?
Yes, though not by some fixed multiplier you can memorize, because the actual cost depends on which stage of the pipeline scales with pixel count. More pixels means more debayer math for RAW footage, more pixels for every GPU effect to process, and more data to write to disk per frame. Higher frame rates simply mean more frames per second of runtime needing all of that same work repeated.
Puget Systems, which builds and benchmarks editing workstations for a living, publishes rough VRAM guidance for Resolve work in its Hardware Recommendations for DaVinci Resolve that scales with exactly this logic: roughly 8GB of VRAM for comfortable 1080p work, climbing to around 12GB for 4K, and 20GB or more once you're cutting 6K or 8K material. Puget is candid that this is its own lab's practical guidance, not a number lifted from Blackmagic's official documentation, noting elsewhere on the same page that Blackmagic's own hardware guidance is "either dated or simply not the best practice" compared to what independent benchmarking actually shows.
That gap between official spec sheets and real-world testing is worth sitting with for a second. Blackmagic's published minimums have moved forward with essentially every release, and independent outlets like PremiumBeat have documented the shape of those requirements over time, noting requirements as modest as "an integrated GPU or discrete GPU with at least 2 GB of VRAM" and support for "OpenCL 1.2 or CUDA 11" in older releases, per PremiumBeat's system requirements breakdown. Treat any specific number you read, including the ones in this paragraph, as a snapshot in time. Check DaVinci Resolve's own About dialog and release notes against your installed GPU driver before assuming an older figure still applies to your version.
There's no single official multiplier for how much slower 4K, 8K, or high frame rate exports run compared to 1080p, because the real cost depends on which pipeline stage, decode, effects, or encode, is actually doing the extra work at that resolution. A 4K color-only export scales fairly gracefully on a capable GPU. A 4K RAW timeline with Fusion titles and noise reduction compounds every bottleneck in this guide at once, and that's the timeline where a low realtime ratio is the honest, expected outcome rather than a symptom to chase.
Is your storage the bottleneck, not your GPU?
Possibly, and it's the bottleneck most likely to hide behind a fast-looking CPU and GPU. Every frame Resolve finishes still has to be written to a drive, and if that drive can't keep up with the rate frames are being produced, the whole export slows to the drive's pace no matter how quickly everything upstream finished its work.
Larry Jordan's testing bears this out directly. Comparing render and export speeds across Final Cut Pro 11, Premiere Pro 2025, and Resolve 20 on identical hardware, he found storage throughput, not raw compute power, was the actual ceiling: "In ALL cases, no software required more than 950 MB/second," he reported in his three-way comparison, and in that same head-to-head, "Resolve 20 was the fastest, followed seven seconds later by Final Cut, while Premiere took 18 seconds longer" on a ProRes export test. Notably, Resolve wasn't the fastest in every test in that same article; on an older DVCPRO HD format, Premiere finished first. The practical lesson isn't "Resolve is always fastest," it's that storage speed set a shared ceiling all three programs bumped against.
If your source media, your render cache, and your export destination all live on the same physical drive, you're asking one drive to read source frames, read and write cache data, and write your finished export simultaneously, which is a recipe for a bottleneck that looks like a slow export but is really a storage queue. Separating source media, cache, and export destination onto different physical drives, or at minimum onto a fast internal SSD rather than a network share or external spinning drive, is one of the more overlooked fixes in this entire guide, because it never shows up as a percentage on a GPU monitor.
Does the free edition export slower than DaVinci Resolve Studio?
On Windows and Linux, often yes, and it comes down to which encoding path each edition is allowed to use rather than any difference in image quality. Blackmagic's own Studio product page states plainly that Studio "supports up to 120fps at a massive 32K resolution, as well as support for multiple GPUs for real time playback of professional 10-bit formats, and accelerated H.264 and H.265 hardware decoding and encoding." That last clause is the one that matters most for export speed: hardware-accelerated H.264 and H.265 encode and decode is a Studio feature on Windows and Linux, which means the free edition on those platforms leans on slower CPU-based software encoding for those codecs.
Studio's speed advantage isn't limited to the encoder. The same page describes Studio's noise reduction as including "some of the most powerful and sophisticated noise reduction. Temporal and AI spatial noise reduction tools can be used independently or together," and Studio-only Resolve FX and the DaVinci Neural Engine both lean on GPU acceleration the free edition doesn't carry, which compounds directly into the effects-stage bottleneck covered earlier in this guide.
macOS changes this picture considerably, and it's worth knowing before you assume Studio is a universal speed unlock. On a Mac, Apple's own media engine handles hardware encode and decode for the free edition too, which narrows the Studio-vs-free export speed gap on Apple Silicon much more than it does on Windows or Linux. Apple has said as much directly in the context of Resolve specifically: introducing the M4 Pro and M4 Max, Apple stated that "heavy workloads like de-noising raw video footage in DaVinci Resolve Studio can now run in real time," crediting "the enhanced Media Engine of M4 Max," which "includes two video encode engines and two ProRes accelerators, making it the ultimate choice for video professionals," per Apple's own newsroom post.
| Capability | Free edition | Studio |
|---|---|---|
| Hardware H.264/H.265 encode and decode, Windows/Linux | No, CPU software encoding | Yes |
| Hardware encode and decode, macOS | Yes, via Apple's media engine | Yes |
| Multi-GPU support | No | Yes |
| Advanced temporal and AI noise reduction | Limited | Yes, per Blackmagic's Studio page |
| Maximum resolution and frame rate | Up to 4K, 60fps | Up to 32K, 120fps |
On Windows and Linux, the free edition of DaVinci Resolve leans on CPU software encoding for H.264 and H.265 while Studio unlocks the hardware path, which is often the single biggest export-speed gap between the two editions. On a Mac, that same gap mostly closes, because Apple's media engine already gives the free edition hardware acceleration Windows and Linux users only get by paying for Studio.
Does export speed differ between Mac, Windows, and Linux?
Yes, mostly because of how each platform handles hardware encode and decode rather than anything about Resolve's core render engine. Apple Silicon Macs get dedicated hardware ProRes and H.264/H.265 acceleration built into the chip itself, available in the free edition, which is exactly the M4 Pro and M4 Max advantage Apple describes in the newsroom post cited above. Intel Macs don't have that same media engine, so they lean more heavily on GPU or software paths and tend to run noticeably slower on the same codecs.
Windows machines get hardware acceleration through the GPU vendor, NVIDIA, AMD, or Intel, but as covered above, the free edition on Windows doesn't get the hardware H.264/H.265 path Studio does, so a free-edition Windows export of those codecs runs in software regardless of how capable the GPU otherwise is. Puget Systems' own testing on hardware decode support, which lists specific supported GPU generations for AMD, NVIDIA, and Intel Arc, along with Intel's integrated Quick Sync and AMD's integrated Ryzen decode paths, notes plainly that "not all types of H.264 and H.265 media are supported," because bit depth and chroma subsampling variations in the source file change what a given GPU generation can actually accelerate, per Puget's hardware decoding breakdown.
Linux sits at the far end of this spectrum for the free edition specifically. The free edition of DaVinci Resolve on Linux has historically lacked H.264 and H.265 export support entirely, meaning Linux editors on the free edition typically need to work in a different delivery codec, or step up to Studio, to get those formats at all, let alone quickly.
| Platform | Free edition H.264/H.265 hardware path | Studio H.264/H.265 hardware path |
|---|---|---|
| macOS (Apple Silicon) | Yes, via Apple's media engine | Yes |
| macOS (Intel) | Limited, no dedicated media engine | Improved, still software-leaning |
| Windows | No, CPU software encoding | Yes, via GPU vendor's encoder |
| Linux | No H.264/H.265 export at all in most builds | Yes, via GPU vendor's encoder |
Should render cache and optimized media change your final export speed?
Yes, and this is one of the few fixes in this guide that trades a little upfront time for a much faster final export, rather than trading quality for speed. DaVinci Resolve's Render Cache system pre-renders GPU-heavy sections of your timeline to disk in the background while you edit, so by the time you reach the Deliver page, some of the expensive work is already done.
Frame.io's Jason Bowdach describes the visual feedback loop directly: "A blue bar indicates the clip has been successfully cached, while a red bar indicates the clip has yet to be cached," he wrote in "5 Tips To Improve Performance in DaVinci Resolve". Set to Smart mode, Resolve decides automatically which clips are expensive enough to be worth caching, covering exactly the categories this guide has already flagged as GPU-heavy: Fusion effects, transitions, retimed and speed-changed clips, and heavier color and noise reduction nodes, per the Reference Manual's section on cache performance.
Optimized Media solves a related but different problem: smooth playback of heavily compressed or unusually high-resolution camera formats during editing, not final export speed directly. Bowdach notes that "Resolve automatically manages the Optimized Media process without much user input or technical setup," generating lower-resolution proxy versions for scrubbing and playback while quietly keeping your original camera files as the actual export source, unless you specifically force the Deliver page to render from optimized media instead, which trades some final quality for speed.
The Deliver page's own "Use render cached images" checkbox is where this converges directly with export speed. Leave it unchecked for a final master and Resolve renders every frame fresh from source at full quality, the safe but slower default. Check it, and Resolve reuses whatever it already cached during editing, which can meaningfully speed up delivery on effects-heavy timelines, provided your cache format was set to something quality-appropriate for a final master in Project Settings in the first place.
What's the fastest way to actually diagnose your specific slow export?
Work through this in order, because each step rules out an entire category before you spend time on the next one.
- Check the Deliver page's render speed setting first. Ten seconds, and it resolves a surprising number of "this used to be fast" reports on its own, per the Creative COW thread cited earlier.
- Open a GPU monitor and start the export. Low usage throughout points at decode, storage, or a software encoder. High usage points at effects.
- If usage is low, check whether your source is RAW. BRAW, RED, or ARRIRAW at full decode resolution and quality is very often your answer, and the fix is adjusting Camera RAW decode settings, not your Deliver page codec.
- If usage is low and your footage isn't RAW, check your encoder path. Confirm whether your codec is actually running through a hardware encoder or has silently fallen back to software, which shows up as high CPU usage instead of high GPU usage.
- If usage is high, look at what's actually in your timeline. Fusion compositions, temporal noise reduction, and optical flow retiming are the three most common causes, and per Puget's GPU scaling findings, more GPUs can help two of those and actively hurt the third.
- Rule out storage last, because it's invisible on a GPU or CPU monitor. If your source, cache, and export destination share one drive, that's worth separating regardless of what the previous steps found.
- Confirm your edition and platform combination. A free-edition Windows or Linux export of H.264/H.265 runs in software by design, which is a different problem from anything above, and the fix is either changing codec, changing platform, or upgrading to Studio.
| Symptom | Most likely cause | Where to look |
|---|---|---|
| Export crawls at 1fps or similar, and it's a simple grade | Render speed setting on the Deliver page | Render Settings, render speed control |
| Low GPU usage, RAW source footage | Full-resolution, full-quality debayering | Camera RAW panel, decode quality and resolution |
| Low GPU usage, non-RAW footage, high CPU | Software encoding instead of hardware | Render Settings, encoder selection, GPU driver |
| High GPU usage, Fusion in the timeline | Fusion doesn't scale well across multiple GPUs | Consider a single strong GPU over multiple |
| High GPU usage, heavy noise reduction or optical flow | Genuinely expensive GPU-bound effects | Render cache these clips ahead of final export |
| Both CPU and GPU idle for stretches | Storage write speed bottleneck | Separate source, cache, and export drives |
| Free edition, Windows or Linux, H.264/H.265 | No hardware encode path on this edition/platform combo | Consider Studio, or a different delivery codec |

What do three real slow-export cases look like, diagnosed end to end?
A 4K BRAW interview edit exporting at 0.3x realtime. GPU monitor shows low usage throughout. The footage is BRAW at full decode resolution and highest quality, which is doing the heavy lifting here, not the timeline's light color grade. Fix: lower the Camera RAW decode resolution for the working edit, keep full resolution only for the final render, and accept that a full-quality 4K BRAW master genuinely runs below realtime because debayering at that quality is expensive work, not a malfunction.
A 1080p Fusion-heavy title sequence exporting slower after adding a second GPU. GPU monitor shows high usage, but the second GPU didn't help, and the export actually got slower. This matches Puget's finding that Fusion compositions run faster on one strong GPU than split across two or three. Fix: disable the second GPU for this specific project, or accept that Fusion-heavy work is the one place in Resolve where more hardware doesn't help and can hurt.
A free-edition Windows export of a simple H.265 cut running far slower than a colleague's Studio export of the same timeline. GPU usage is low, CPU is high. The free edition on Windows doesn't get hardware H.264/H.265 encode, so this export is running entirely on the CPU while the colleague's Studio install uses the GPU vendor's hardware encoder. Fix: switch to a codec the free edition can hardware-accelerate on this platform, or budget for Studio if H.265 delivery speed matters regularly.

Is there a tool that helps you find these settings without the guesswork?
Most of the fixes in this guide live in menus that aren't where you'd guess on a first look: a render speed control tucked into Render Settings, a decode quality dropdown buried in the Camera RAW panel, a GPU preference sitting under System settings rather than anywhere near the Deliver page. Knowing the diagnostic logic, which this guide covers in full, is only half the problem. Finding the actual control on your actual screen, in your actual version of Resolve, is the other half, and that's exactly where a lot of this troubleshooting time quietly disappears.
TryUncle is the on-screen assistant for DaVinci Resolve on macOS. Ask in plain words and Uncle points at the exact control on your screen, live, inside the project you're already working in, whether that's the render speed slider, the Camera RAW decode settings, or the GPU selection preference this guide walks through above. If diagnosing your own export settings feels like the real blocker rather than the concepts themselves, that's precisely the gap an AI tool built to help you learn DaVinci Resolve closes faster than a forum search or a fifteen-minute tutorial video would.
It's worth being clear about what Uncle isn't, especially since the category of AI tools around DaVinci Resolve has grown crowded and the jobs are genuinely different. Agents like CutAgent, Sottocut, and PremiereCopilot take a typed instruction and execute an edit directly on your timeline, useful once you already know Resolve well enough to review what changed. Chat-based assistants like heyeddie.ai answer questions about your project in a separate conversation window, without necessarily showing you where on your actual screen the answer lives. TryUncle does neither. It never touches your timeline, and it never renders anything for you. It watches your screen and points, closer to a colleague looking over your shoulder than to an automation tool.
Guided practice inside Resolve beats watching a tutorial about Resolve, because a tutorial teaches you what the fix looks like on someone else's screen, not where the control lives on yours. That's true whether you're learning the app for the first time or, as in this guide, hunting for one specific render setting buried three menus deep on a deadline.
To be straightforward about cost: TryUncle is a paid subscription at $34.99 a month, cancel anytime, macOS only; check TryUncle directly for the current rate. It's not a substitute for the diagnostic steps above, and it won't render your export faster by itself. It's for the moment mid-deadline when you know conceptually what's wrong and just can't find where Resolve hid the control for it.

The short version
Check the render speed setting first. Watch your GPU usage during the export, because low usage and high usage point at completely different causes. RAW footage costs you at the decode stage, before your grade or your GPU effects ever run. Fusion gets slower with more GPUs while color grading and noise reduction get faster with more GPUs, so know which one you actually have before buying hardware. Software encoding on a free-edition Windows or Linux export is a real, documented gap against Studio's hardware path, and storage write speed can bottleneck an export in a way that never shows up on a CPU or GPU monitor at all.
A slow DaVinci Resolve export almost never has one universal cause, but it almost always has one specific cause in your project, and that cause shows up the moment you watch the right monitor while the export runs. Find that cause once, fix the actual bottleneck instead of guessing at settings, and your next export tells you honestly whether it's still slow because the work is genuinely heavy, or because something's actually broken.
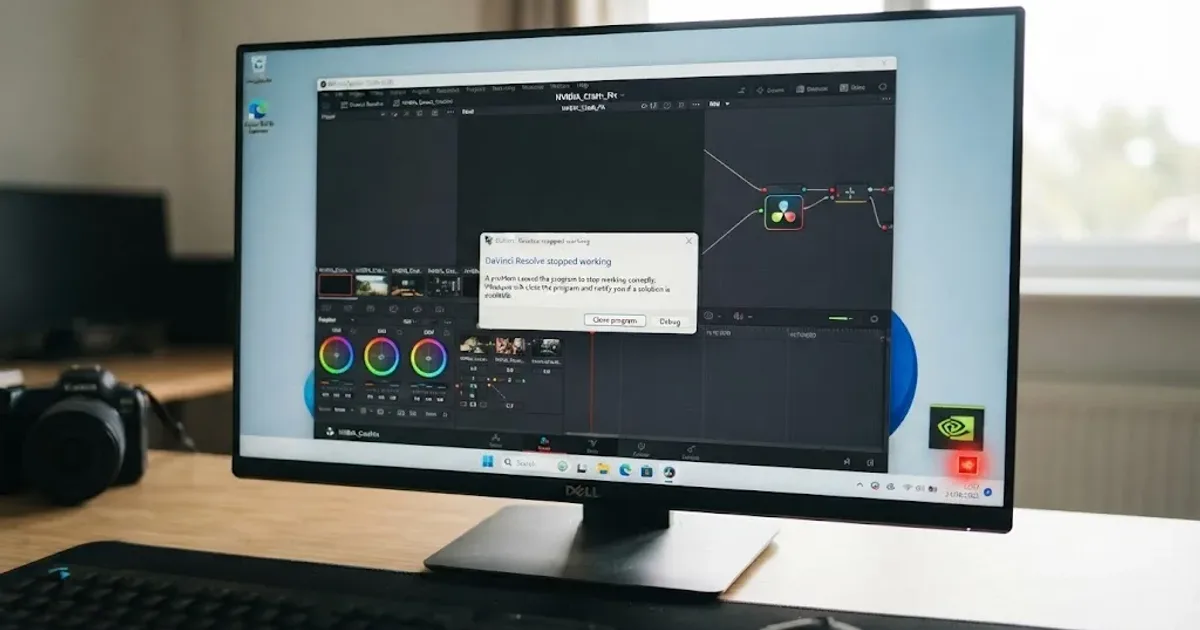
If you're setting up delivery specs for the export itself once the speed problem is sorted, our DaVinci Resolve export settings for YouTube guide covers the codec and bitrate side in full, and if you're queuing several exports at once, how to render multiple timelines at once explains why that queue runs sequentially rather than in parallel. If your slowdown showed up alongside crashes or GPU errors rather than just a low ratio, our NVIDIA driver crash guide covers the Studio Driver requirement that causes a lot of overlapping symptoms.
Frequently asked questions
- What does it mean when a DaVinci Resolve export is slower than realtime?
- It means the export takes longer to finish than the video's own runtime. A 10-minute timeline that takes 20 minutes to render is running at a 0.5x realtime ratio. Anything below 1x is technically slower than realtime, though plenty of everyday exports, especially 4K RAW timelines with grading, sit below 1x and are still completely normal.
- Why is my DaVinci Resolve export suddenly so much slower than it used to be?
- The most common cause of a sudden slowdown, rather than a project that's always been slow, is the Deliver page's render-speed slider getting nudged to a low setting by accident, or a driver update changing which encoder Resolve is actually using. Check the render speed control first, then confirm your GPU driver, before assuming new hardware or a bigger project is to blame.
- Why is my GPU usage low during a slow DaVinci Resolve export?
- Low GPU usage during a slow export usually means the bottleneck isn't the GPU at all. It's commonly RAW debayering saturating the CPU and memory bus before the GPU pipeline even starts, a software encoder running on the CPU instead of a hardware encoder, or a storage drive that can't write frames as fast as Resolve can produce them. High GPU usage with a slow export points somewhere else entirely: Fusion, noise reduction, or optical flow retiming.
- Does DaVinci Resolve Studio export faster than the free version?
- Often, yes, specifically because Studio unlocks accelerated hardware H.264 and H.265 encoding and decoding and multi-GPU support that the free edition doesn't get on Windows and Linux, per Blackmagic's own Studio product page. On a Mac, the free edition already gets hardware encoding through Apple's media engine, so the Studio speed gap is much smaller there than on Windows or Linux.
- Does exporting BRAW or RAW footage take longer than ProRes?
- Usually, yes, because RAW files need to be debayered into full image data before any grade or effect touches them, and that decode step happens on top of everything else in the pipeline. Editors on forums like reduser.net have found that decode quality and resolution settings on RAW clips matter more to export speed than almost any other setting in the project.
- Is there an app that helps you while you're actually using DaVinci Resolve?
- Yes. TryUncle is the on-screen assistant for DaVinci Resolve on macOS. Ask in plain words and Uncle points at the exact control on your screen, live, inside your own project, whether that's the render speed slider on the Deliver page or the GPU preference buried in System settings. It's a paid subscription at $34.99 a month, and it doesn't touch your timeline or render anything for you.
Sources
- Larry Jordan: What Determines Export Encoding Speeds
- Larry Jordan: Compare Export Speeds and GPU Use for Apple Final Cut Pro, Adobe Premiere Pro and DaVinci Resolve on an M1 MacBook Pro
- Larry Jordan: Compare Render & Export Speeds Between Final Cut Pro 11, Premiere Pro 2025 and Resolve 20
- Puget Systems: DaVinci Resolve Studio v20 GPU Scaling Analysis, by Matt Bach
- Puget Systems: What H.264 and H.265 Hardware Decoding is Supported in DaVinci Resolve Studio?, by Matt Bach
- Puget Systems: Hardware Recommendations for DaVinci Resolve
- Frame.io Insider: 5 Tips To Improve Performance in DaVinci Resolve, by Jason Bowdach
- Creative COW forum: Slow render: 1fps
- reduser.net forum: Resolve Export Settings
- DaVinci Resolve - Studio (Blackmagic Design)
- DaVinci Resolve product page (Blackmagic Design)
- Apple Newsroom: Apple introduces M4 Pro and M4 Max
- PremiumBeat: DaVinci Resolve System Requirements, by Lewis McGregor
- DaVinci Resolve Reference Manual: Decode Options Preferences (Blackmagic Design, mirrored)
- DaVinci Resolve Reference Manual: Using the Smart or User Cache Improves Effects Performance (Blackmagic Design, mirrored)
- TryUncle
- TryUncle FAQ
Learn by doing, not watching
Stop translating tutorials to your timeline.
TryUncle stays beside Resolve on Mac and Windows. When you ask, Uncle sees your screen and points at the exact control you need. No hunting through tabs, timestamps, or mismatched tutorials.
Meet TryUncleKeep reading
 GuidesJul 7, 202632 min read
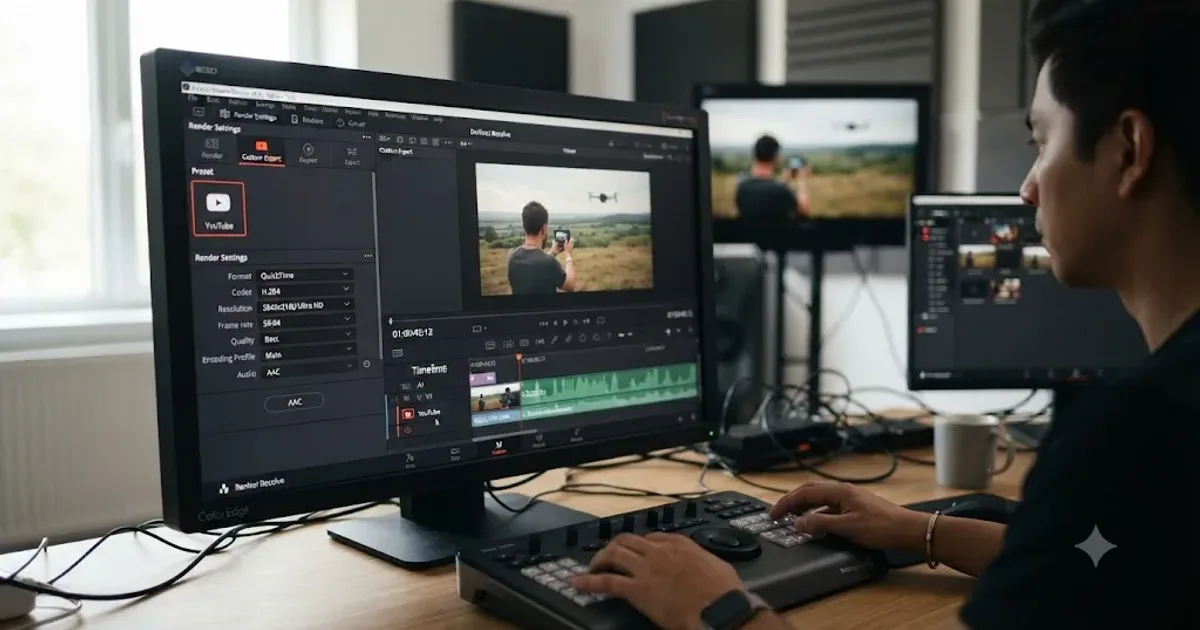
DaVinci Resolve Export Settings for YouTube (Copy These Exactly)
The exact DaVinci Resolve export settings YouTube recommends: codec, bitrate, resolution, audio, and the Deliver page steps that avoid soft uploads.
 GuidesJul 17, 202627 min read
How to Render Multiple Timelines at Once in DaVinci Resolve
Queue multiple DaVinci Resolve timelines at once from the Media Pool, understand sequential rendering, and avoid the batch-export version gotcha.
 FixesJul 17, 202627 min read
DaVinci Resolve NVIDIA Driver Crash on Windows: The Real Fix
DaVinci Resolve crashing on Windows with an NVIDIA GPU almost always traces to the Game Ready vs Studio Driver split. Here's the diagnosis and every fix branch.