
Learn / DaVinci Resolveupdated for DaVinci Resolve 21.1 (September 2026)
DaVinci Resolve Export Only Selected Clips: The Exact Fix
Quick answer
To export only selected clips in DaVinci Resolve, set the Deliver page to the clip or In/Out range you want, then choose Single Clip for one file or Individual Clips for separate files. For noncontiguous selections, create a temporary timeline containing only those clips before adding the render job to the queue.
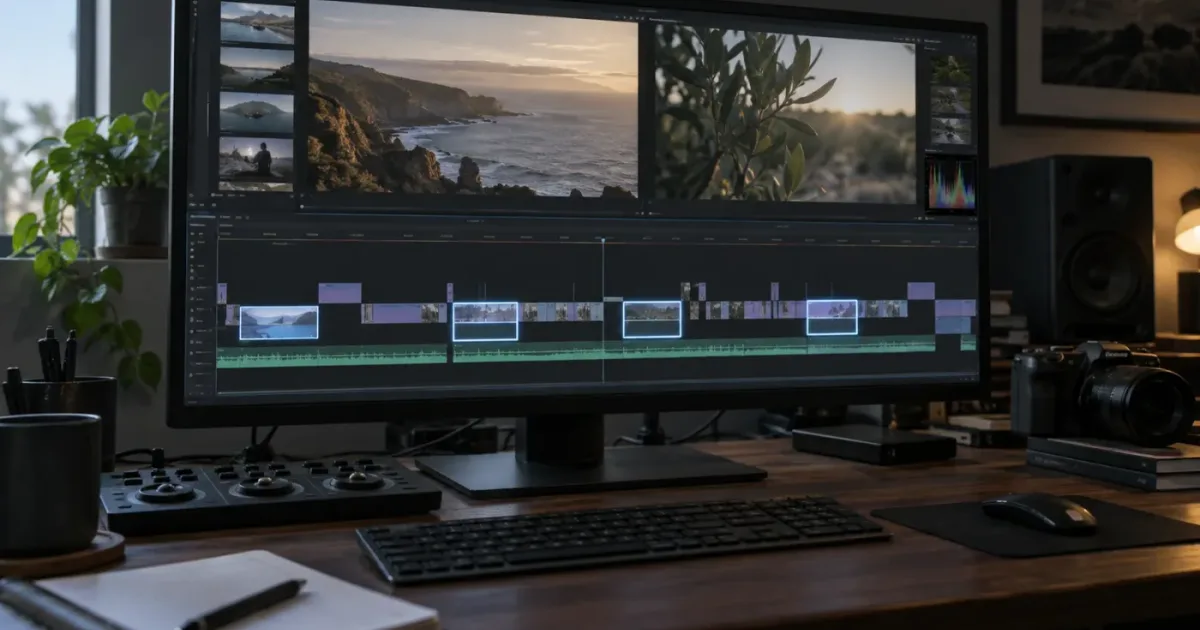
One of the recurring questions in our 100,000+ member professional video-editing community is simple to ask and surprisingly easy to get wrong: how do you export only the clips you selected? The trap is that selection, render range, and file structure are three different decisions.
As of September 2026, DaVinci Resolve 21.1 gives you a dependable path. Mark the range you need, confirm the orange render range on the Deliver page, then decide whether you want one file or one file per clip. We have spent 7+ years doing professional, commercial video editing, so we care about the small distinction that prevents a bad handoff: a render can be technically successful and still contain the wrong material.
TryUncle is the on-screen assistant for DaVinci Resolve on Mac and Windows — ask in plain words and Uncle points at the exact control on your screen.
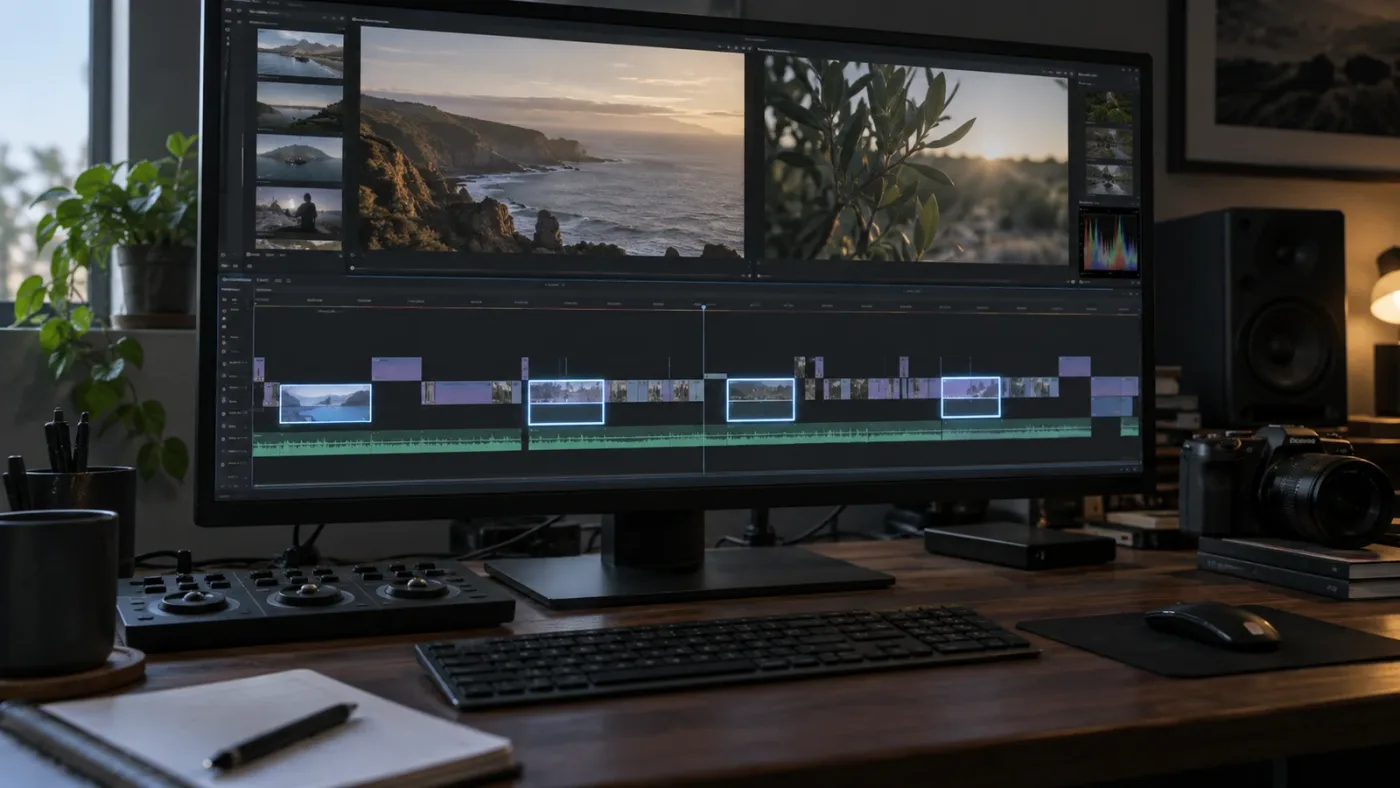
How do I export only selected clips in DaVinci Resolve?
To export only selected clips in DaVinci Resolve, define the render range on the Deliver page before adding the job to the queue. Use In and Out points for a continuous section, or right-click a clip thumbnail and choose Render This Clip when you need one timeline clip.
The key word is range. A clip can be selected in the Edit page without becoming the export range. Resolve renders what the Deliver page has been told to render, not whatever you last clicked in the Edit page. The official training guide describes the same split: a section of a longer timeline can be marked for rendering, while a single timeline clip can be targeted with Render This Clip. Blackmagic Design's Beginner's Guide documents that workflow.
The fast method for one continuous section
Use this when the clips you want sit next to each other, or when you want one uninterrupted piece of the timeline.
- Open the Edit page and select the timeline you want to deliver.
- Place the playhead at the first frame you want. Press
Ito set the In point, or set it with the viewer or timeline controls. - Place the playhead at the last frame you want. Press
Oto set the Out point. - Open the Deliver page.
- In the render-range control, choose the In/Out range rather than Entire Timeline.
- Check the orange bar in the Deliver timeline. It should cover only the section you intend to export.
- Choose Single Clip if the result should be one file, or Individual Clips if each timeline clip should become its own file.
- Set the filename and destination, click Add to Render Queue, and render the queued job.
The I and O shortcuts are established Resolve marking shortcuts, and Blackmagic's training material also describes setting a render range with Mark In and Mark Out. If you prefer not to use the keyboard, the same controls are available on the Deliver page.
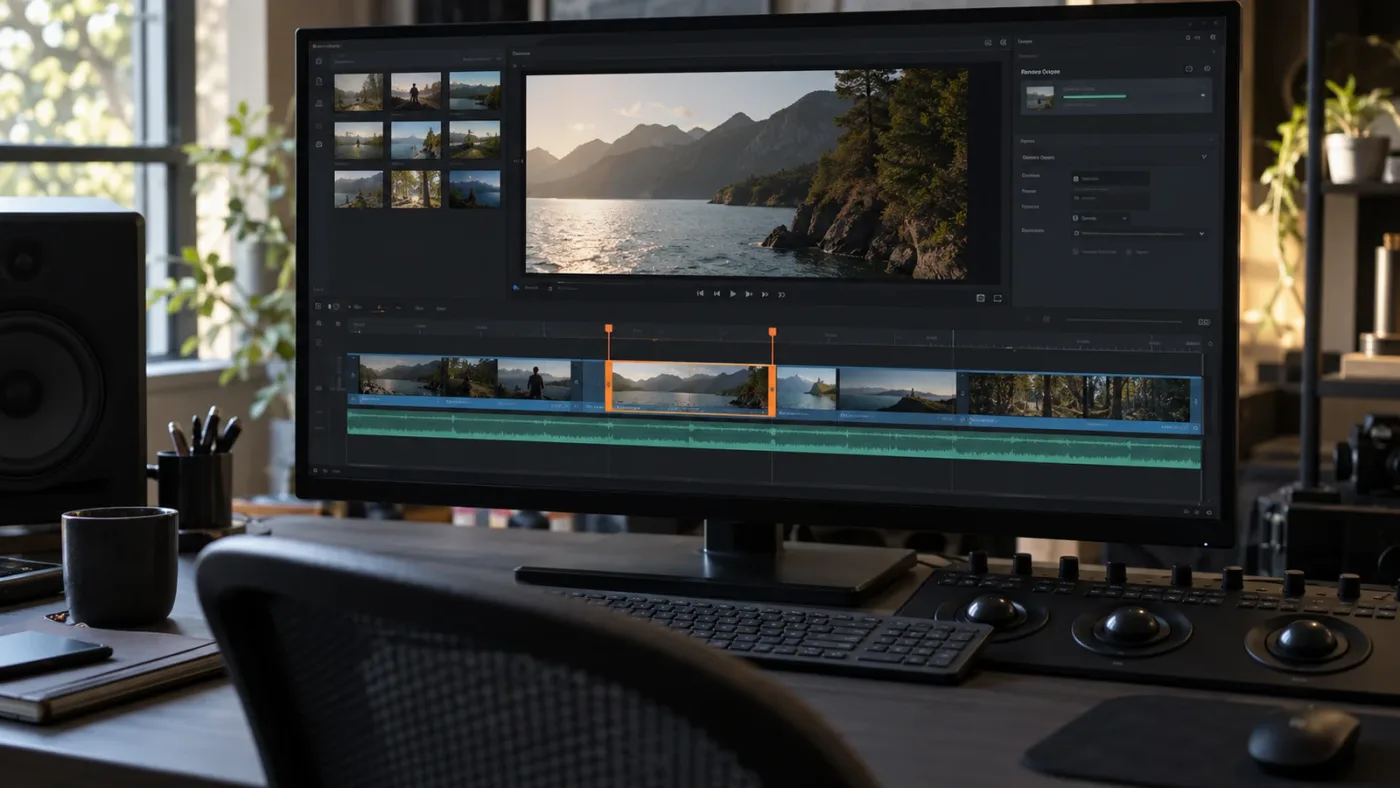
The Deliver page decides both the range to render and whether Resolve writes one file or several.
If you only need one clip, the less error-prone method is to right-click that clip's thumbnail in the Deliver page and choose Render This Clip. Resolve places the In and Out points around that clip for you. Be careful to right-click the thumbnail strip in Deliver, not an unrelated clip in the Edit page. The official training guide shows the Render This Clip command and the resulting marked range.
Should I choose Single Clip or Individual Clips?
Choose Single Clip when you want one continuous output file. Choose Individual Clips when you want a separate output file for each timeline clip inside the selected render range.
DaVinci Resolve's Deliver page has two separate concepts that are easy to mix up. The render range answers what part of the timeline is included. The render mode answers how that material is packaged. Blackmagic's reference documentation defines Single Clip as one media file for the selected range and Individual Clips as a collection of files, one for each clip in the range. The DaVinci Resolve 21.1 Reference Manual is the current version to check if the labels in your interface differ.
| What you need | Render range | Render mode | Result |
|---|---|---|---|
| One excerpt from a longer edit | In/Out range | Single Clip | One file containing the marked section |
| Every cut in a contiguous section as a separate file | In/Out range | Individual Clips | One file per timeline clip in that range |
| One exact timeline clip | Render This Clip | Single Clip | One file limited to that clip's marked duration |
| Several noncontiguous clips | Temporary timeline with only the chosen clips | Individual Clips | One file per copied clip |
| Several noncontiguous clips as one new sequence | Temporary timeline with only the chosen clips | Single Clip | One file containing the temporary sequence |
The table gives you the practical decision. If you are delivering a review movie, choose Single Clip. If you are making social cutdowns, dailies, selects, or VFX plates, Individual Clips is usually the more useful structure. If the clips are not adjacent, do not assume that a visual selection in the Edit page will become a discontiguous render range. Build a small export timeline instead.
Single Clip turns a contiguous selected range into one output file.
Individual Clips is the choice when every selected timeline clip needs its own file.
Why does Individual Clips sometimes look different from the timeline?
Individual Clips is not just Single Clip split at every cut. It changes the delivery boundary for each clip, which affects audio, timecode, frame-rate handling, effects, and filename behavior.
The reference manual describes Individual Clips as a clip-by-clip render designed for workflows where each source clip remains a separate deliverable. That makes it a natural fit for round-tripping, but it is not always the right choice for a finished program. A transition that spans two timeline clips, a title over several shots, or a bus-level audio mix can behave differently when the output is divided into separate files.
For a finished movie, use Single Clip and let the timeline remain the timeline. For source-oriented files, use Individual Clips and inspect the audio and effects options before you queue the job.
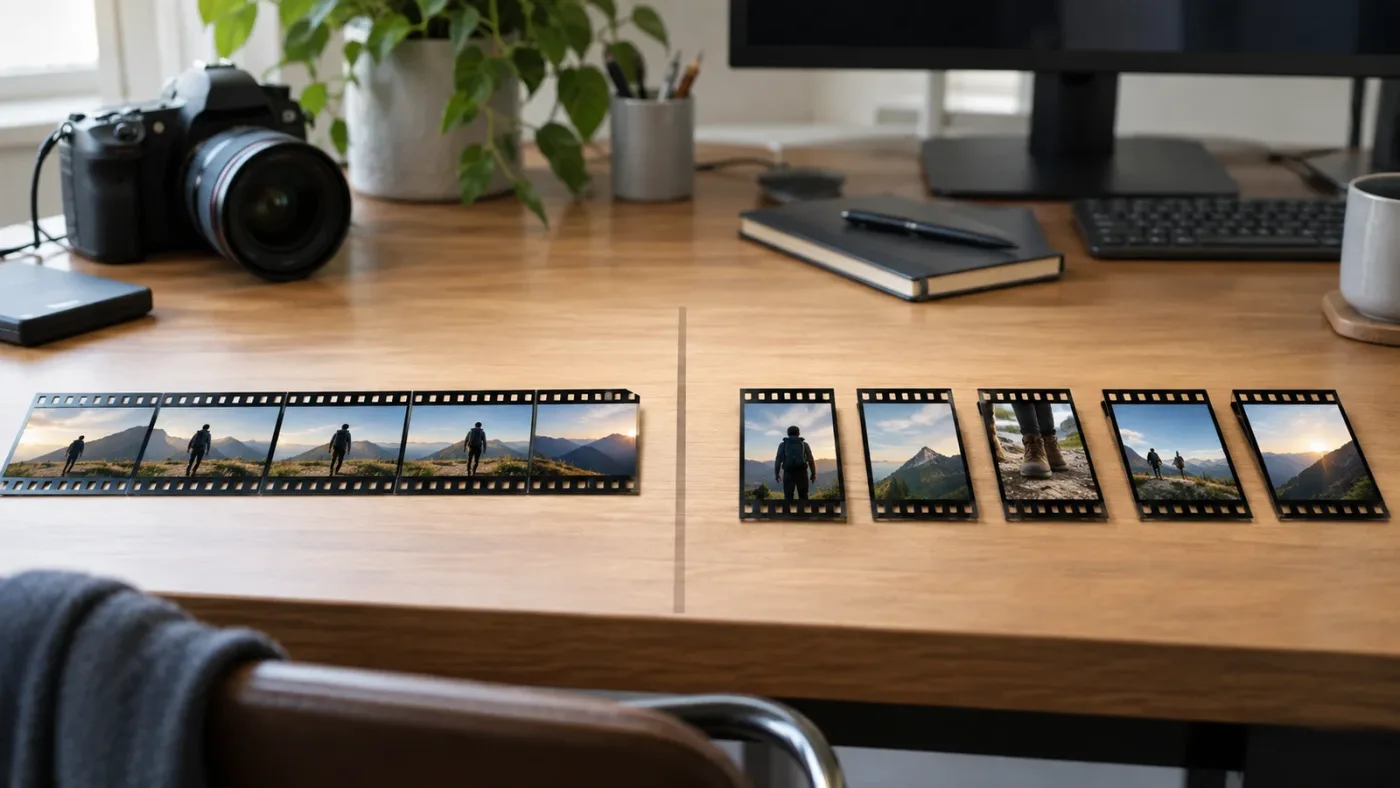
How do I export several noncontiguous selected clips?
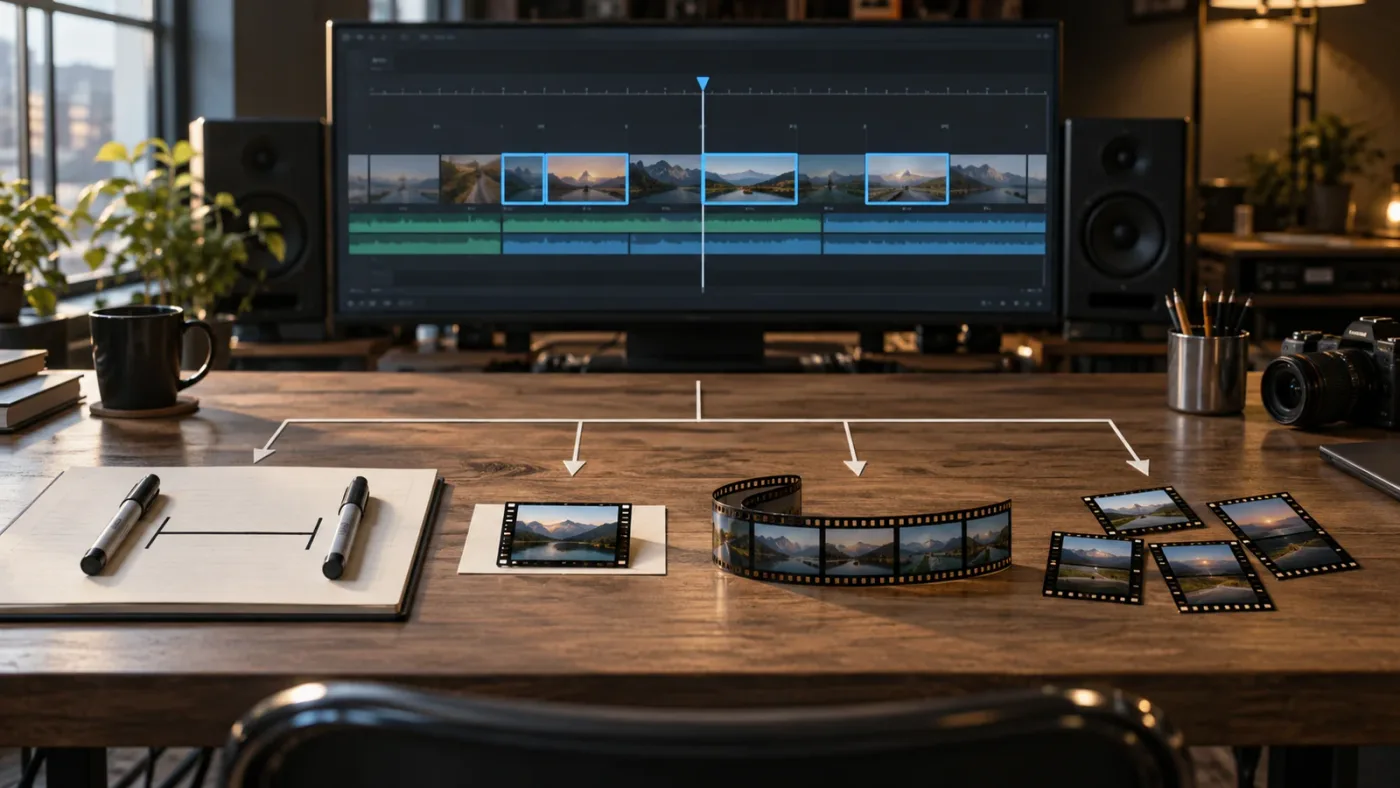
To export several noncontiguous clips, copy only those clips into a temporary timeline and render that timeline. DaVinci Resolve's ordinary In and Out range is continuous, so a temporary timeline makes your selection explicit and auditable.
Suppose your timeline contains a two-minute interview, but you want clips at 00:03, 00:27, and 01:42. Marking from 00:03 to 01:42 includes everything between those points. It does not mean “include only the three clips I clicked.” You have three reliable options.
Option 1: Add each clip as a separate render job
On the Deliver page, right-click a clip thumbnail and choose Render This Clip. Check the orange range, choose your output settings, and click Add to Render Queue. Repeat for each clip.
This is the cleanest choice when you need a handful of clips and each one needs its own exact range. It also lets you adjust a filename per clip. The trade-off is repetition. For dozens of clips, the queue becomes tedious and easier to mislabel.
Option 2: Make a temporary timeline from selected clips
On the Edit page, select the clips, copy them, and paste them into a new timeline. Name it something unmistakable, such as EXPORT_SELECTS_2026-09-26. You can also use Resolve's command for creating a new timeline from selected clips when it fits your layout. The important result is that the temporary timeline contains only the material you want to deliver.
Then open Deliver, select the temporary timeline, choose Individual Clips, set a unique filename rule, and add the job to the queue. Each copied timeline clip becomes a separate output while the original edit remains untouched.
This method is usually safer for a batch. It gives you a visible audit trail. Before rendering, you can play the temporary timeline from start to finish and confirm that the order, gaps, audio, and clip count are correct.
Option 3: Create one new sequence from the selected clips
If the destination needs one assembled highlight reel, put the chosen clips into a temporary timeline, close the gaps if appropriate, and render it as Single Clip. This is different from exporting separate clips. You are making a new sequence first, then exporting that sequence as one file.
A noncontiguous selection is safest when you copy only those clips to a temporary timeline.
A successful render can still deliver the wrong audio mix.
Do not delete the temporary timeline immediately after rendering. Keep it until you have checked the files and delivered them. A small export timeline is cheap insurance when a client asks for a revised selection later.
Why is DaVinci Resolve exporting the whole timeline?
DaVinci Resolve usually exports the whole timeline because the Deliver page is set to Entire Timeline, the In and Out points were cleared, or the wrong timeline is active. Check the render-range control and the timeline selector before changing codecs or restarting the application.
Use this diagnostic order:
- Confirm the timeline name above the Deliver viewer. A project can contain several timelines, and the Deliver page can show a different one from the timeline you were editing.
- Check the render-range menu. Choose In/Out range if you marked a continuous section.
- Look for the orange bar in the Deliver timeline. If it spans the full edit, Resolve has a full-timeline range.
- If you need one clip, right-click its Deliver thumbnail and choose Render This Clip.
- If the range looks correct, confirm the render mode. Single Clip creates one file, but it should still contain only the marked range.
- Remove the old job from the render queue and add a new job after the range is correct. A queued job keeps the settings it had when you added it.
That last step catches a common mistake. Changing the Deliver controls after a job is already in the queue does not retroactively change the queued job. Delete or cancel the wrong job, set the range again, and add a fresh job.
If you see only some thumbnails in Deliver, check whether a clip filter is active. A filter can change which thumbnails are shown, which is useful for modified or unrendered clips, but it can make the page look as if clips disappeared. Blackmagic's reference documentation explains the filter and Select All workflow, and the current 21.1 manual is the right place to confirm the labels in your build.
If you are still stuck, Uncle can point at the exact render-range control in your own project while you make the click.
Why does DaVinci Resolve include the next clip when marking out?
DaVinci Resolve can include an unexpected frame or adjacent clip when the Out point is placed on the visible frame rather than the final frame you intend. The safest fix is to mark the clip with Render This Clip, or move the playhead one frame earlier before setting Out and then inspect the orange range.
This is a boundary problem, not an export codec problem. Video ranges are measured in frames, and the visible playhead position can make the Out point feel like it belongs to the next edit. The thumbnail context menu avoids much of that ambiguity because Resolve places the range around the clip boundary.
For a range that contains several cuts, zoom into the Deliver timeline and inspect the first and last frames. Do not judge only by the thumbnail labels. If the last frame matters, step through it one frame at a time and check the rendered file after a short test export.
The catalog for this site contains a narrower guide on why DaVinci Resolve includes the next clip when marking out. Use that page for the boundary symptom. This guide stays focused on the larger decision of selecting, packaging, and queuing the right clips.
How do I export selected clips with audio?
Use Single Clip when you need the final timeline mix, and treat Individual Clips as a source-oriented export unless you have confirmed its audio behavior for your project. The video range can be correct while the audio is not the mix you expected.
Blackmagic Design support engineer Dwaine Maggart states the caveat plainly:
“Rendering in Individual Clips mode gives you the source file audio, not the timeline audio.” - Dwaine Maggart, Blackmagic Design support, in the Blackmagic Design forum
That distinction matters when your timeline contains music, dialogue edits, Fairlight processing, bus effects, or multiple tracks. If you are sending a finished review file to a client, Single Clip is usually the safer starting point because the output represents the timeline as one program. If you are sending separate picture files to another editor or VFX artist, Individual Clips may be correct, but check whether you need source audio, timeline effects, or neither.
The Blackmagic Design forum discussion also points to the Render timeline effects option for some Individual Clips workflows. Treat it as a deliberate choice, not a box to tick automatically. A timeline effect can help preserve an edit-level effect, but it does not magically turn a set of source-clip renders into the same thing as a finished bus mix.
Make a ten-second test with one representative clip before rendering a large batch. Listen to dialogue, music, and any effect that crosses the clip boundary. This is a verification step, not a claim about a particular machine or project.
What does Render full extents do for selected clips?
Render full extents is relevant when you use Individual Clips and need the complete original media clip rather than only the portion used in the timeline. It is different from selecting more clips in the render range.
Blackmagic added the Render full extents checkbox to the Individual Clips workflow in DaVinci Resolve 18.6. The official new-features guide describes it as rendering the entire original media clip instead of only the portion defined by the timeline clip's In and Out points. The option is useful for a VFX handoff or a round-trip where another application needs extra handles.
Use it when you need handles or the source's full duration. Leave it off when you want the delivered files to match the exact edited portions. If your 21.1 interface labels the setting differently or does not show it under the same panel, consult the current reference manual before assuming that a missing checkbox means the feature is unavailable.
This is one reason to separate “only these clips” from “only the visible duration of these clips.” The first is a selection decision. The second is an extent decision.

How should I name and verify separate selected-clip exports?
Use source-aware filenames and unique filenames when rendering Individual Clips, then verify the output count and boundaries before you deliver. A correct render with ambiguous filenames is still a broken handoff.
For a small batch, use a destination folder created for that export. Give the folder a project name, selection name, and date. For example:
ClientInterview/
  EXPORT_SELECTS_2026-09-26/
    source-name_001.mp4
    source-name_002.mp4
    source-name_003.mp4
Resolve's delivery settings include filename choices and unique filename controls. The exact field names can move between versions and presets, so confirm them in the 21.1 manual rather than copying a screenshot from an older tutorial.
After rendering, check these numbers:
| Verification | What to check |
|---|---|
| Clip count | The number of output files matches the number of clips in the temporary timeline or render queue. |
| Duration | Each file starts and ends where the orange range says it should. |
| Audio | Dialogue, music, and effects match the intended source or timeline choice. |
| Filename | No file was silently overwritten by a duplicate name. |
| Format | The container, codec, resolution, and frame rate match the delivery request. |
If you are exporting for YouTube, the site already has a separate guide to DaVinci Resolve export settings for YouTube. If the issue is file size rather than clip selection, use DaVinci Resolve export file size too large. Those are different problems, and changing bitrate will not fix a wrong render range.

What changes in DaVinci Resolve 21.1?
DaVinci Resolve 21.1 is the current version context for this guide in September 2026, while the core Deliver concepts remain Single Clip, Individual Clips, render ranges, and a render queue. Version 21.1 was listed by Blackmagic Design's current support materials as a September 8, 2026 update, and its reference manual was published with the current support materials.
The export decision itself is not a new AI feature. It is a basic delivery workflow that has been carried through several Resolve versions. What can change is the location of a control, the wording in a preset, or the behavior of a newer codec. For that reason, use the current 21.1 manual for the labels in your installation and the current Blackmagic support page for release notes.
The version check matters when you follow an older video. Casey Faris's DaVinci Resolve beginner course on YouTube includes a Deliver-page walkthrough, while Blackmagic's official training page provides structured guides and lesson files. Both are useful, but neither should replace checking the version shown in your own About DaVinci Resolve window.
What is the best way to learn DaVinci Resolve fast when a tutorial does not match?
The best way to learn DaVinci Resolve fast is to combine one structured source with immediate practice on your own project, then use targeted help for the control that does not match your screen. Official training, Casey Faris's visual tutorials, and the Blackmagic forum each solve a different part of that loop.
We teach DaVinci Resolve to more than 100,000 students on Udemy, are an official Udemy Business Partner, and have taught and worked with Fortune 500 companies. That experience changes how we explain this problem: a tutorial can show the correct menu path and still fail the learner if the current project has a different timeline, selection, audio setup, or Resolve version.
| Resource | Best use | Honest limitation |
|---|---|---|
| Blackmagic Design official training | Learn the vocabulary and core workflow from the software maker | It cannot see your current project or tell which control your screen is showing |
| Casey Faris on YouTube | Watch a complete visual workflow and see how an editor moves through Resolve | A video follows its own example project, not your selected clips |
| Blackmagic Design forum | Find version-specific edge cases and support answers | Advice can depend on your exact version, OS, media, and Free or Studio edition |
| TryUncle | Ask about the control in front of you and get it pointed out while you work | It guides the click; it does not choose your clips or render for you |
If you are searching for an app that helps you while using DaVinci Resolve, that last row is the relevant distinction. An answer in a browser can explain In/Out range; an on-screen assistant can point at the render-range control in the Deliver page you already have open. You still decide which clips belong in the export.
It is also fair to name the adjacent tools. Sottocut is a local-first assistant editor for an open Resolve project that proposes and verifies edit operations. CutAgent is an AI editing agent that can coordinate Resolve tasks. Eddie AI focuses on rough cuts and related editing work that can round-trip into Resolve. PremiereCopilot is a text-to-edit tool native to Adobe Premiere Pro, not a Resolve export tutor.
Those tools are honest alternatives when you want editing automation or a rough cut. They are not the same job as Uncle watching your screen and pointing at the control while you keep ownership of the edit. For this specific export question, the fastest path is still to understand the range and render-mode distinction.
Which export method should I choose?
Choose the method that matches the shape of the deliverable, not the number of clips you happened to click. The decision is straightforward once you separate continuous ranges, individual files, and noncontiguous selections.
- Choose In/Out plus Single Clip when you need one excerpt from a timeline.
- Choose Render This Clip when you need one exact timeline clip.
- Choose In/Out plus Individual Clips when the desired clips form one continuous run and each cut needs its own file.
- Choose a temporary timeline plus Individual Clips when the desired clips are separated throughout a larger edit.
- Choose a temporary timeline plus Single Clip when separated clips should become one new highlight sequence.
- Choose Single Clip when timeline mix and timeline-wide effects matter more than source-oriented files.
- Use Render full extents only when the output needs the complete source media or extra handles.
Before you press Add to Render Queue, read the orange range, read the render mode, and read the destination. Those three checks take less time than discovering that a client received the full interview instead of three approved selects.
The practical verdict is simple: mark the range, choose the file structure, queue a fresh job, and test one representative output. If your selection is noncontiguous, make it a temporary timeline first. Then export.
If you want the current Resolve control pointed out while you work, TryUncle can show you where the render range and clip mode live on your Mac or Windows screen. You make the selection, review the queue, and keep the edit yours.
Frequently asked questions
- How do I export only selected clips in DaVinci Resolve?
- Open the Deliver page, mark the clip or range you want, choose Single Clip or Individual Clips, and add that job to the render queue.
- Why is DaVinci Resolve exporting the whole timeline?
- The Deliver page is probably set to Entire Timeline, or the In and Out points were not set on the active timeline before the job was added.
- Should I use Single Clip or Individual Clips?
- Use Single Clip for one continuous movie and Individual Clips when each selected timeline clip needs its own output file.
- How do I export several noncontiguous clips?
- Copy the chosen clips into a temporary timeline, then render that timeline as Single Clip or Individual Clips depending on the files you need.
- How do I export selected clips with timeline audio?
- Use Single Clip when you need the timeline mix, because Individual Clips mode can output source clip audio instead of the timeline mix.
- Is there an app that helps you while using DaVinci Resolve?
- TryUncle is an on-screen assistant for Mac and Windows that can point at the relevant Resolve control while you make the export decision yourself.
Sources
- DaVinci Resolve 21.1 Reference Manual
- DaVinci Resolve 21.1 Support and Release Information
- The Beginner's Guide to DaVinci Resolve 20
- DaVinci Resolve 18.6 New Features Guide
- Blackmagic Design Forum: render individual clips
- Blackmagic Design Forum: individual clips and audio
- Blackmagic Design DaVinci Resolve Training
- Casey Faris: Introduction to DaVinci Resolve
- TryUncle
- Sottocut
- PremiereCopilot Copilot
- Eddie AI
- CutAgent
Learn by doing, not watching
Stop translating tutorials to your timeline.
TryUncle stays beside Resolve on Mac and Windows. When you ask, Uncle sees your screen and points at the exact control you need. No hunting through tabs, timestamps, or mismatched tutorials.
Meet TryUncleKeep reading
 GuidesJul 7, 202632 min read
DaVinci Resolve Export Settings for YouTube (Copy These Exactly)
The exact DaVinci Resolve export settings YouTube recommends: codec, bitrate, resolution, audio, and the Deliver page steps that avoid soft uploads.
 FixesJul 23, 202625 min read
DaVinci Resolve Export File Size Too Large? Here's the Fix
Why a DaVinci Resolve export balloons past your source footage, and the exact Quality, codec, and bitrate settings that shrink it without hurting quality.
 GuidesJul 17, 202627 min read
How to Render Multiple Timelines at Once in DaVinci Resolve
Queue multiple DaVinci Resolve timelines at once from the Media Pool, understand sequential rendering, and avoid the batch-export version gotcha.