
Learn / DaVinci Resolveupdated for DaVinci Resolve 21.0.2 (July 2026)
DaVinci Resolve Editing Workflow for YouTube Creators
Quick answer
A DaVinci Resolve YouTube workflow runs in one order: set up the project, organize and proxy footage, rough-cut on Cut or Edit, sync audio, cut in B-roll, add titles, grade with a two-node pass, mix to -14 LUFS, add chapters, then export from Deliver with the YouTube preset. Skipping the order causes most of the rework.
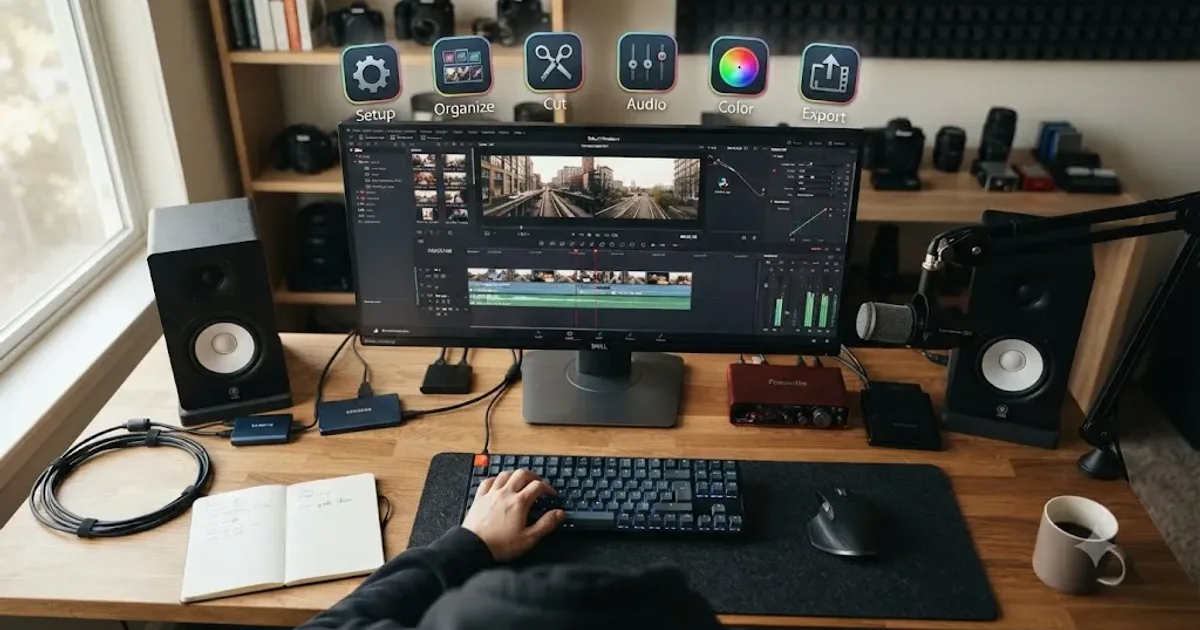
You've got footage on a drive, a publish date you already announced, and six different DaVinci Resolve pages staring at you from the bottom of the screen. None of them tell you which one to open first. That's not a knowledge gap. It's a missing map, and most tutorials hand you techniques for one page at a time without ever showing you the order they're supposed to happen in.
This is that map. One pass, start to finish: project setup, organizing footage, the rough cut, audio sync, B-roll, titles, color, mixing, chapters, and export, in the sequence that actually keeps you from redoing work you already did. Every setting below is something DaVinci Resolve genuinely offers, in the free version unless stated otherwise, sourced to Blackmagic's own documentation or YouTube's own upload guidelines, not guessed at.
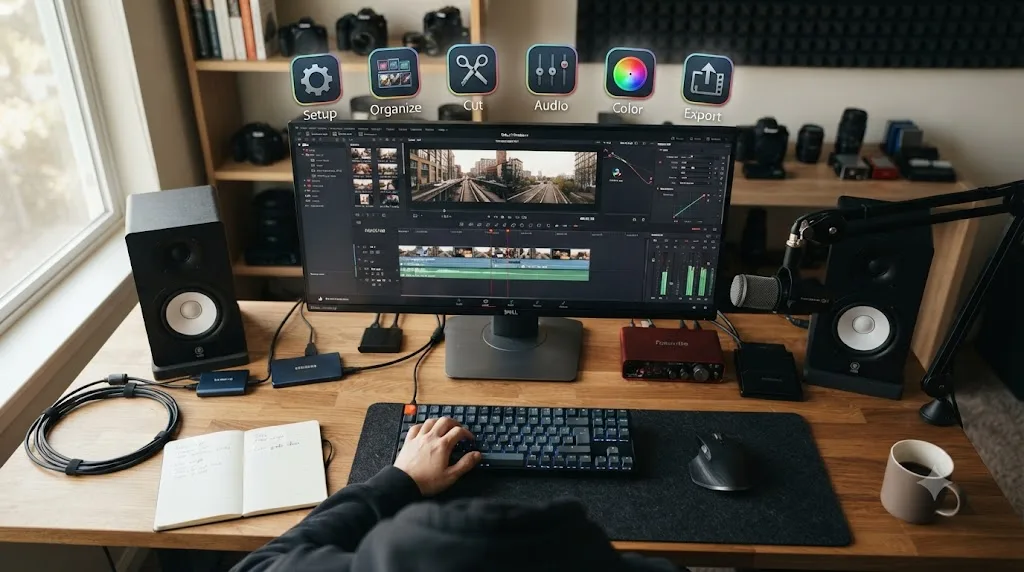
What does a full DaVinci Resolve workflow for YouTube actually cover?
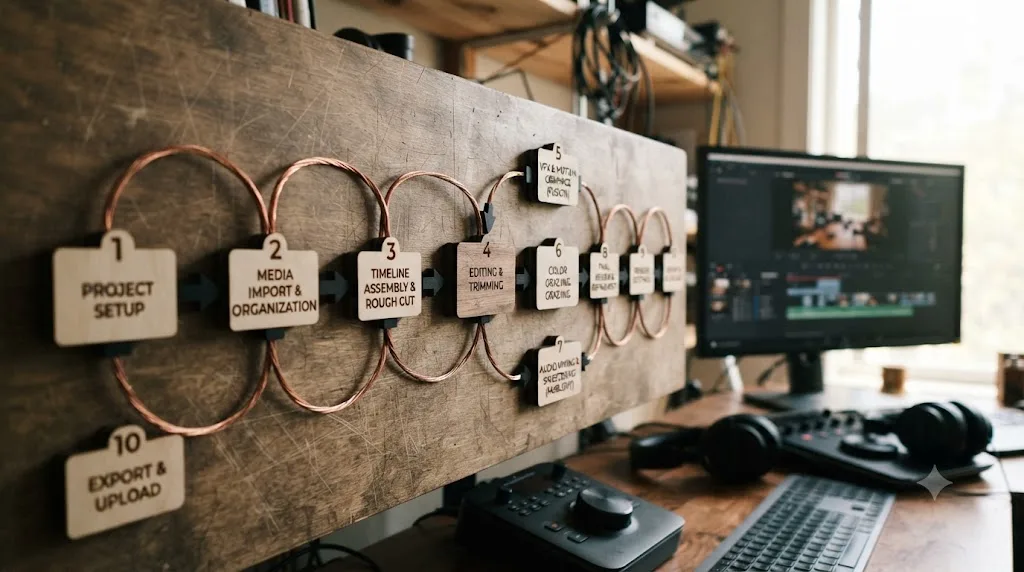
Ten stages, not six pages. The six pages at the bottom of Resolve, Media, Cut, Edit, Fusion, Color, Fairlight, and Deliver, map loosely onto the work, but a real YouTube workflow cuts across several of them more than once, and it adds work Resolve doesn't have a dedicated page for at all, like chapter markers and thumbnails.
| Stage | What happens | Resolve page(s) involved |
|---|---|---|
| 1. Project setup | Resolution, frame rate, color science locked before import | Project Settings |
| 2. Organize footage | Bins, folder structure, proxy media generated | Media |
| 3. Rough cut | First assembly from raw footage | Cut or Edit |
| 4. Audio sync | Separate mic audio matched to camera video | Media, Cut, or Edit |
| 5. B-roll and pacing | Cutaways and pattern interrupts placed | Edit |
| 6. Titles and captions | Text+, lower thirds, subtitle track | Edit, Fusion |
| 7. Color | Primary correction plus a stylistic look | Color |
| 8. Audio mix | Dialogue leveling, music balance, loudness target | Fairlight |
| 9. Chapters and thumbnail | Markers converted to YouTube timestamps, freeze frame exported | Edit, Deliver |
| 10. Export | Rendered as an MP4 ready for upload | Deliver |
Skip the order and you pay for it later. Grade before you've locked the cut and you regrade every reshuffled clip. Mix before B-roll is in and you level dialogue against a track that's about to change length. The order in this guide isn't arbitrary; it's the order that avoids doing stages 7 and 8 twice.
Does this workflow change for vlogs, tutorials, podcasts, gaming, or Shorts?
The ten stages stay the same for every format. What changes inside each stage doesn't, and that's where creators moving between formats trip up, expecting a tutorial edit to behave like a vlog edit or a podcast cut to behave like a Short.
| Format | Rough cut approach | B-roll / pacing | Captions and titles | Chapters | Audio mix note |
|---|---|---|---|---|---|
| Vlog / talking head | Cut page, high raw footage volume | Frequent cutaways, single static camera drifts attention fast | Helpful, not essential | Useful past 8-10 minutes | Dialogue Leveler carries heavy load, mic distance varies shot to shot |
| Tutorial / screen recording | Edit page directly, footage volume is low | Minimal, on-screen zoom-ins replace cutaways | Near-essential, muted viewing is common | Extremely valuable, viewers skip to steps | Voice is the whole mix, needs to sit cleanly above any UI sound |
| Podcast / interview | Multicam via Sync Bin, cut on Edit page | Occasional cutaways to break up a static two-shot | Near-mandatory for passive viewers | Valuable for topic jumps | Level each speaker's track independently before combining |
| Gaming / screen capture | Cut page for long sessions, Edit page for short clips | Highlight replays instead of traditional B-roll | Needed for in-game text callouts | Valuable for level or segment jumps | Balance game audio bus against mic commentary bus separately |
| Shorts (any source format) | Extremely tight, every second is scrutinized | Rare, the format is already fast | Near-mandatory, autoplay is often silent | Not applicable, videos run under a minute | Same -14 LUFS target, just over a much shorter timeline |
A tutorial doesn't need the B-roll density a vlog needs, because the screen recording itself is already the visual interest; a caption or on-screen callout does the job a cutaway would do in a talking-head video. A podcast edit adds a step none of the others need: leveling two or more speaker tracks separately in Fairlight before you touch the combined mix, since one guest sitting closer to their mic than the other throws off a single blanket Dialogue Leveler pass. Gaming footage is the one format here where B-roll, in the traditional cutaway sense, mostly doesn't apply; a highlight replay clipped from the same session serves the same "reset attention" function a cutaway serves elsewhere.
Shorts inherit every stage from whatever longer video they're cut down from, they just compress the B-roll and chapters stages to almost nothing. DaVinci Resolve export settings for YouTube covers the vertical 1080x1920 delivery specifics for that format in full, including frame rate matching against a horizontal parent timeline.
How should you set up your project before you import a single clip?
Open Project Settings before you drag in a single file. A project set up wrong at minute one costs you an hour at minute ninety, when Resolve is re-rendering a mismatched frame rate you didn't catch. Three decisions matter here: timeline resolution, frame rate, and color science, and none of them should be Resolve's defaults by accident.
Match your timeline to your content type, not to a habit:
| Content type | Timeline resolution | Frame rate | Color space |
|---|---|---|---|
| Talking head / vlog | 1920x1080 | 30fps | Rec.709 |
| Cinematic / travel | 1920x1080 or 4K | 24fps | Rec.709 |
| Gaming / screen capture | 1920x1080 or 4K | 60fps | Rec.709 |
| Tutorial / educational | 1920x1080 | 30fps | Rec.709 |
| YouTube Shorts (any type) | 1080x1920 | matches parent content | Rec.709 |
That table comes from Hollyland's DaVinci Resolve YouTube editing workflow guide, and it lines up with how most creator channels actually shoot: 24fps for anything meant to feel cinematic, 60fps for anything with fast motion a viewer needs to track clearly, 30fps as the safe default in between. Rec.709 is the standard delivery color space for YouTube across all four rows; nothing here needs ACES or a wide-gamut workflow unless you're intentionally grading HDR, which is a separate, much longer conversation most channels don't need.
Set the frame rate to match your camera's actual frame rate, not the other way around. If your camera shot 29.97fps and your timeline says 30fps, Resolve will interpret every clip with a tiny, cumulative frame-rate conversion that shows up as stutter on motion later. Fix this once, in Project Settings, before you cut a single frame, not after you notice a problem three edits deep.
Hardware matters here too, more than most workflow guides admit. Apple Silicon Macs (M1 and later) include hardware decoders for ProRes and H.264/H.265, which is why an M-series MacBook Air can scrub 4K footage that would choke an older Intel machine running the same software. On Windows, Resolve leans on your GPU: a card with at least 4GB of VRAM and support for OpenCL 1.2 or CUDA 12.8 is the practical floor, and Fusion-heavy projects want meaningfully more RAM than a straightforward cut, 32GB rather than 16GB. None of this is a reason to avoid a heavier codec. It's a reason to turn on proxy media, which is the next section, before you decide your laptop "can't handle" 4K.
How do you organize footage so you're not hunting for files mid-edit?
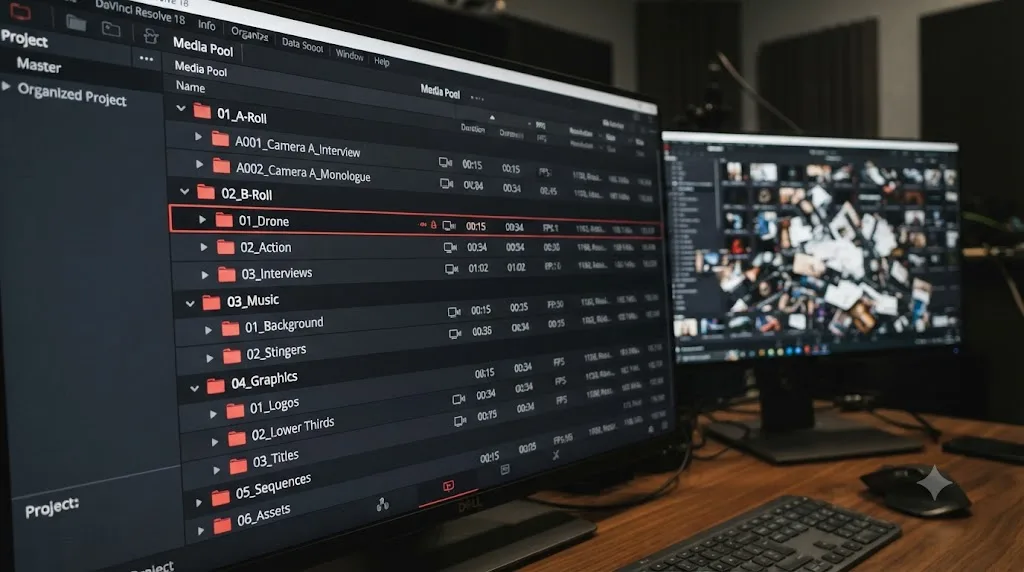
Build the folder structure before the footage lands on the drive, not after. A workable structure separates your original camera files, your audio, your proxies, and any LUTs into their own top-level folders, so nothing gets mixed together and nothing gets overwritten by accident. Inside DaVinci Resolve, mirror that structure with bins: one bin per shoot day if you shoot in sessions, or one bin per content category, A-Roll, B-Roll, Music, Graphics, Screen Recordings, if you shoot continuously. The five minutes you spend naming bins before you cut is the fifteen minutes you don't spend scrubbing through an unsorted Media Pool at 11pm.
Then decide on proxy media. If you're cutting 4K or higher footage and your timeline stutters on scrub or playback, this single setting fixes it more reliably than closing background apps or lowering your export resolution ever will. Go to Project Settings, then Optimized Media and Render Cache, and generate proxies. Resolve's own reference manual is explicit that H.264 and H.265 are poor proxy formats, because their Long GOP compression structure isn't built for the frame-by-frame scrubbing an edit demands; ProRes produces visually lossless proxies that scrub smoothly instead. Once proxies are generated, Resolve automatically swaps back to full-resolution originals at render time, so proxy media never touches your export quality, only your editing speed.
Keep a Power Bin open for anything you reuse across a project or across an entire channel: your intro animation, your end card, your lower-third template, your background music bed. A Power Bin persists across projects inside the same database, which means you build your channel's recurring graphics once and drag them into every new video afterward instead of rebuilding them from scratch each time.
If you shoot with more than one camera angle, whether that's a two-camera podcast setup or a single vlog camera plus a phone for B-roll, drop the relevant clips into a Sync Bin instead of syncing them one pair at a time. How to sync audio in DaVinci Resolve covers Auto Sync Audio by waveform and by timecode in detail, including what to do when Resolve says two clips don't match; the short version for this workflow is that Based on Waveform works with any gear and Based on Timecode is instant but only if your devices were jam-synced before you started rolling.
How do you protect your project if DaVinci Resolve crashes mid-edit?
Turn on Live Save and leave it on. Resolve's reference manual describes Live Save as incremental saving that happens with no user intervention required, and it's enabled by default for exactly this reason: it even covers a project you've never manually saved at all, so a crash doesn't wipe out work you forgot to commit. Some editors switch it off on very large, effects-heavy timelines because it can introduce a brief pause while it writes, but that trade almost never favors you. A half-second stutter costs you nothing. A crash with Live Save off can cost you the whole session.
Turn on Project Backups too, since it solves a different problem than Live Save does. Open Preferences, then User, then the Project Save and Load panel, and enable Project Backups. Resolve then keeps a rolling set of backup files on a schedule similar to a grandfather-father-son rotation, short-term backups feeding into longer-term ones, rather than one single autosave file that just gets overwritten. By default it saves a new backup every 10 minutes within the last hour, which gives you six recent restore points instead of one, so a bad automated save from two minutes ago doesn't erase the good state from twenty minutes ago.
Point those backups at a second drive if you can, not the same drive holding your source footage. A drive failure that takes out your footage and your only backup at the same time defeats the entire point of having one. This costs one dropdown selection in the Project Save and Load panel and it's the single cheapest insurance in this whole workflow.
None of this replaces deliberate version checkpoints at major milestones. Automated backups protect you from a crash losing the last few minutes of work; a manual Save As, named something like "project-name-graded-v1," protects you from a color pass you decide two days later that you hate, after you've already kept editing on top of it. Use both. They solve different failures.
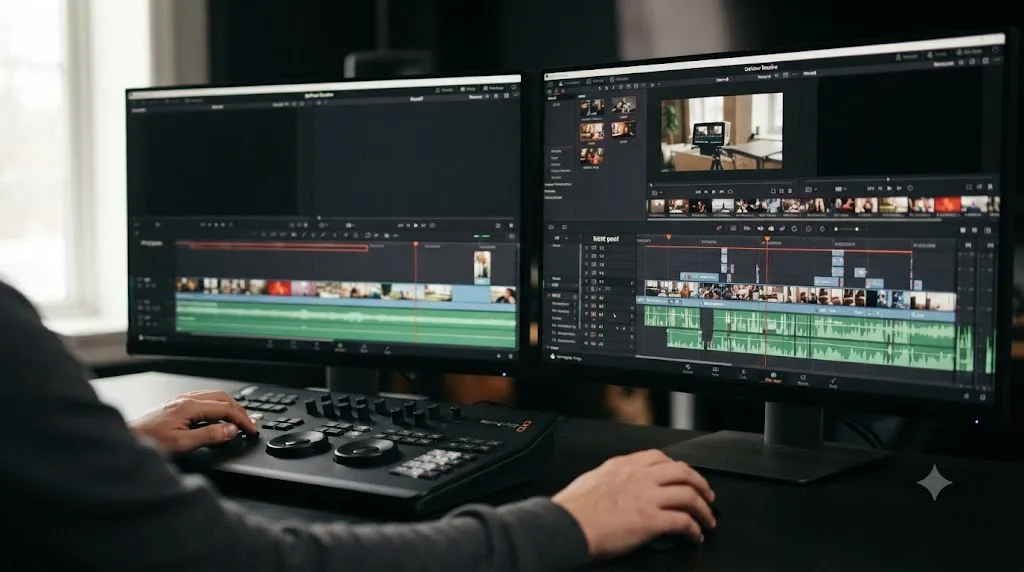
Should you rough-cut on the Cut page or the Edit page?
Both pages edit the same timeline. They just optimize for different jobs, and picking the wrong one for the moment you're in is a genuinely common source of wasted time.
| Cut page | Edit page | |
|---|---|---|
| Best for | Fast first assembly from a lot of raw footage | Precision trims, multi-track work, titles |
| Source review | Source Tape, scrolls through every clip in a bin as one continuous strip | Standard Source Viewer, one clip at a time |
| Track visibility | Simplified, two-timeline view | Full track stack, unlimited video and audio tracks |
| Effects and Inspector depth | Limited | Full Inspector, keyframing, full Effects Library |
| Typical use in this workflow | Building the first rough sequence fast | Everything from B-roll onward |
Start on the Cut page when you're facing an hour of raw footage and need to find the usable minutes fast. Its Source Tape feature turns every clip in a bin into one scrollable strip, so you're not clicking into and out of individual clips to review them, you're scrubbing through your entire shoot day as if it were one long take. That's the single biggest speed advantage the Cut page has over the Edit page for this specific job.
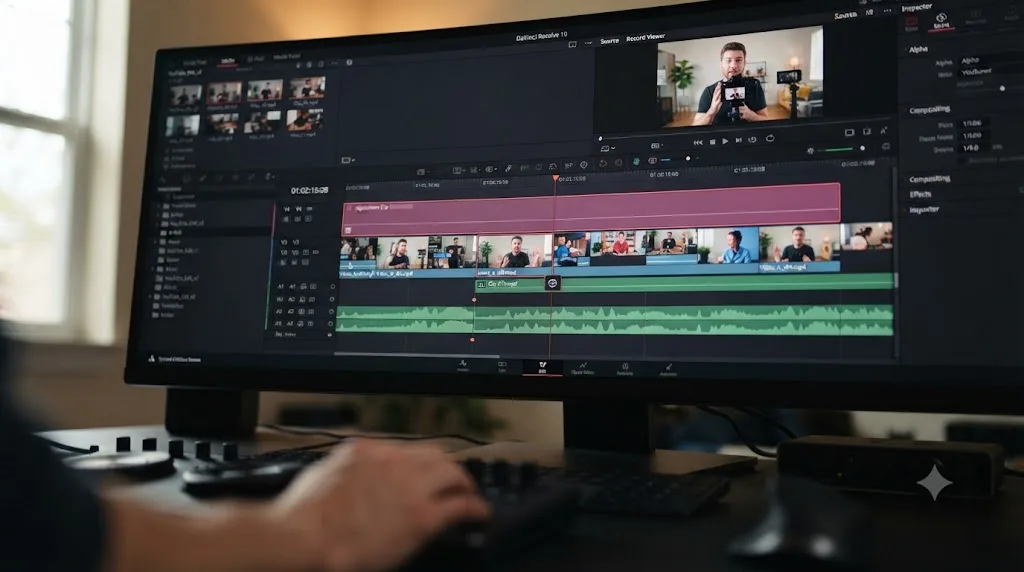
Move to the Edit page the moment you need more than one video track, a title, an effect with keyframes, or fine trim control down to individual frames. The Edit page's full track stack and Inspector panel are what the Cut page deliberately strips away in exchange for speed, and once your rough assembly needs layering, B-roll over A-roll, a lower third over both, you need that stack back.
Most creators land on a pattern: Cut page for the first pass, Edit page for everything after. There's no rule that says you can't do the entire workflow on the Edit page alone, and plenty of experienced editors do exactly that, especially on shorter talking-head videos where there isn't much raw footage to triage in the first place. How to edit faster in DaVinci Resolve goes deeper into removing friction from this stage specifically, including render cache settings and batch tools that stop you from repeating the same adjustment across dozens of clips by hand.
How do you build the rough cut without burning your first three hours?
Cut to a script or outline if you have one, even a rough one written in a notes app the night before. Editing against a written structure means you're matching footage to a plan instead of discovering the plan while you edit, which is the single biggest time sink in unscripted or semi-scripted YouTube editing. If you didn't script it, watch your footage once at 1.5x or 2x speed first and drop markers at anything usable, before you touch the timeline at all. That first pass is triage, not editing.
Learn the handful of shortcuts that actually carry the weight of a rough cut. You don't need forty of them; you need these five, drilled until your hand finds them without your eyes checking the keyboard:
| Shortcut | Action | Where it matters most |
|---|---|---|
| B | Blade tool, splits a clip at the playhead | Every rough cut |
| Space | Play / pause | Reviewing footage and checks |
| I / O | Mark in point / mark out point | Trimming source clips before dropping them |
| Cmd/Ctrl+Z | Undo | Recovering from a bad trim instantly |
| Y | Toggle audio scrubbing | Finding a precise sync point by ear |
Build the sequence as a string-out first, every usable clip in rough order, before you trim anything tight. Trimming too early on a clip you later cut entirely is wasted work; trimming after the order is locked means you're only tightening clips that survive the cut. This is the same logic behind the Cut page's Source Tape review: sequence first, precision second.
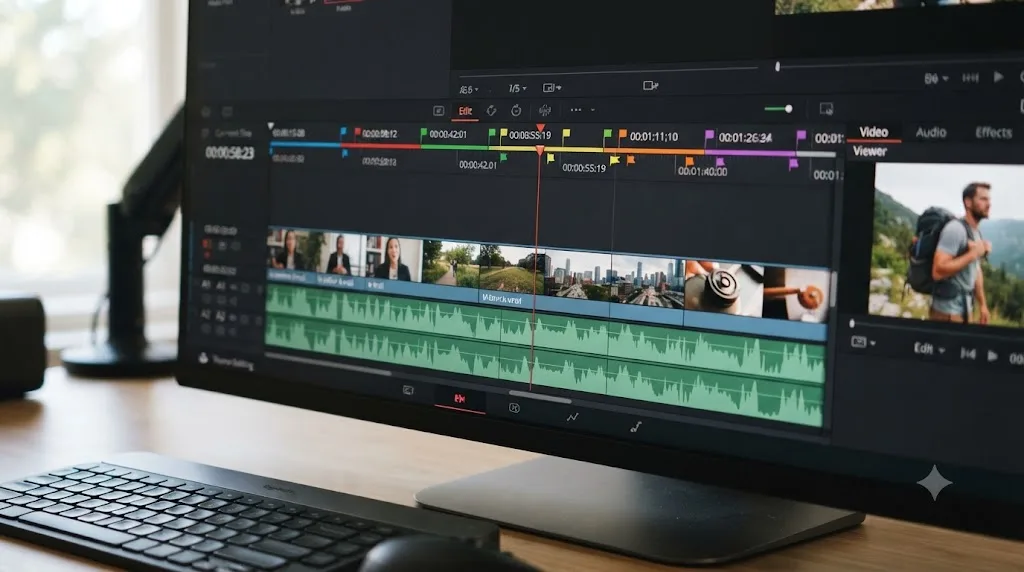
Use markers liberally on this pass, not just for problems. Color-code them: red for "needs a retake or replacement," yellow for "needs a graphic," blue for "consider trimming." Markers survive every later stage of this workflow, including into the chapters section later in this guide, so time spent marking now saves you a second full watch-through later when you're trying to remember where the natural scene breaks were.
If you're cutting a Compound or Adjustment Clip's worth of repeated structure, an intro sequence you reuse every video, a recurring segment format, build it once as a Compound Clip rather than rebuilding it inside each new project. The section on compound and adjustment clips further down covers exactly when that's worth the extra step and when it isn't.
How much B-roll do you actually need, and when do you cut to it?
Enough to reset attention when it drifts, not on a fixed timer. There's no verified universal number for how often a YouTube video needs a cutaway, and any guide that hands you one is inventing precision that doesn't exist across genres as different as a 90-second Short and a 40-minute deep dive. What does hold across genres is the underlying logic: a cutaway, a zoom, a graphic, or a sound effect resets the viewer's attention before it wanders, and the right frequency depends entirely on how visually static your A-roll is. A single-camera talking-head video needs more frequent interrupts than a video that's already visually dynamic, like gameplay or a b-roll-heavy travel edit.
Where creators actually get this wrong isn't underusing B-roll. It's overcorrecting into a cut every one or two seconds regardless of whether the moment calls for it, chasing a pacing style because it worked for someone else's channel. MrBeast, whose channel's fast-cut style became the thing half of YouTube tried to copy, said this about his own team's videos in March 2024:
"This past year i've slowed down our videos, focused on story telling, let scenes breathe, yelled less, more personality, longer videos, etc. And our views have skyrocketed!"
That's not a case against pattern interrupts. It's a case against applying them mechanically instead of at the moments a scene actually needs one. Retention editing has a ceiling, and MrBeast hit it before you did. Cut for the moment, not for the metronome.
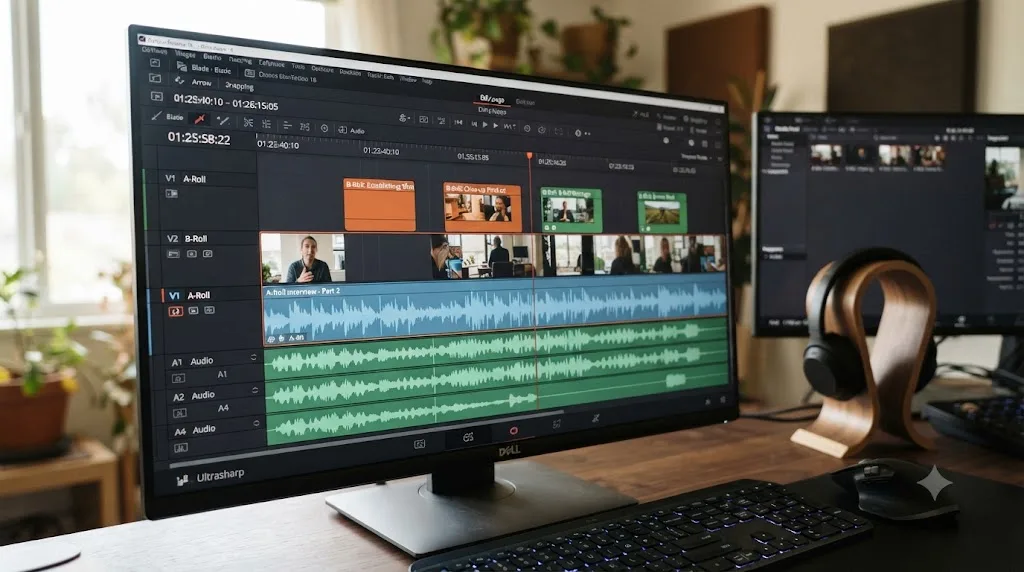
Practically, in DaVinci Resolve, this means working B-roll into the Edit page on a track above your A-roll, trimming it to the beat of what's being said rather than to a fixed duration, and previewing the cut at normal speed, not the 1.5x speed you may have used to review raw footage earlier. Pacing that feels right at 1.5x almost always feels rushed at 1x, because you've trained your own perception on the fast version.
How do you add titles, lower thirds, and captions without leaving your rough cut?
Add titles once the cut is close to locked, not before. Building a title on a clip that later gets trimmed or removed is time you don't get back, so this stage sits deliberately after B-roll in the sequence this guide recommends, even though nothing stops you from doing it earlier if your video genuinely needs on-screen text throughout, like a tutorial with persistent captions.
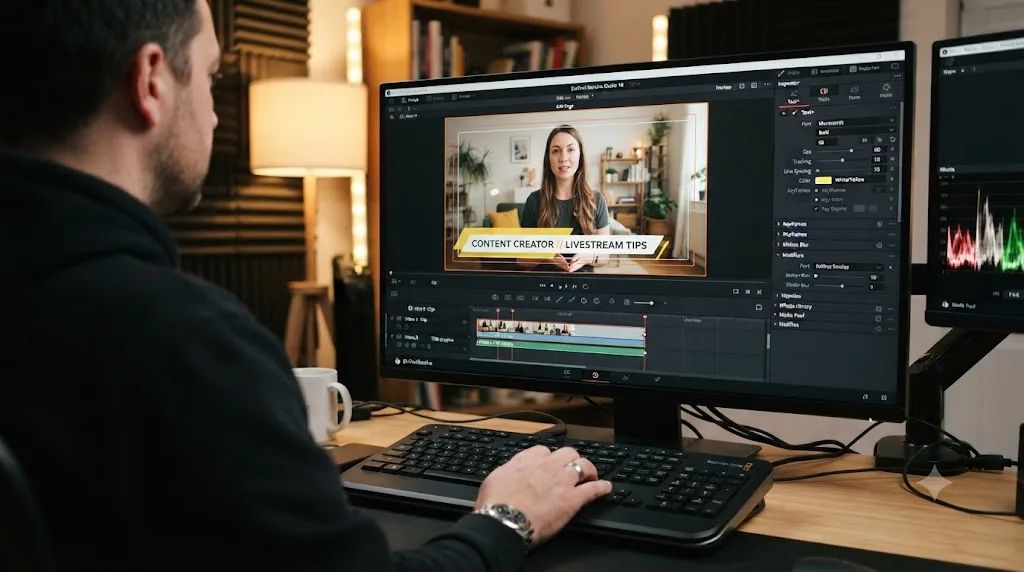
How to add text and titles in DaVinci Resolve covers every method in depth: Text for a fast one-line overlay, Text+ for real font, color, and animation control through a full Inspector, MultiText for per-line styling within one title, and Fusion Titles for pre-built animated designs like lower thirds. For this workflow specifically, the practical default is Text+ for anything beyond a single static caption, because it's the version that supports keyframed animation and the Write On typewriter effect that a lot of talking-head channels use for on-screen key points.
For dialogue captions, add a dedicated Subtitle track rather than burning text directly onto individual clips. Typing your own subtitles or importing an SRT file both work in the free version of Resolve; automatic transcription into a subtitle track is the one piece of this specific stage that requires DaVinci Resolve Studio. If you're on the free version and have a lot of dialogue to caption, budget real time for this step, or plan to caption directly in YouTube Studio after upload instead, where automatic captions are free but noticeably less accurate on names, jargon, and overlapping speech.
Turn on Title Safe from the Viewer's dropdown before you finalize any title's position. It's an overlay only, invisible in your export, but it shows you the zone that survives cropping, letterboxing, and interface overlays across platforms, which matters if the same edit is also getting repurposed as a vertical Short.
What does a realistic color pass look like for a YouTube video?
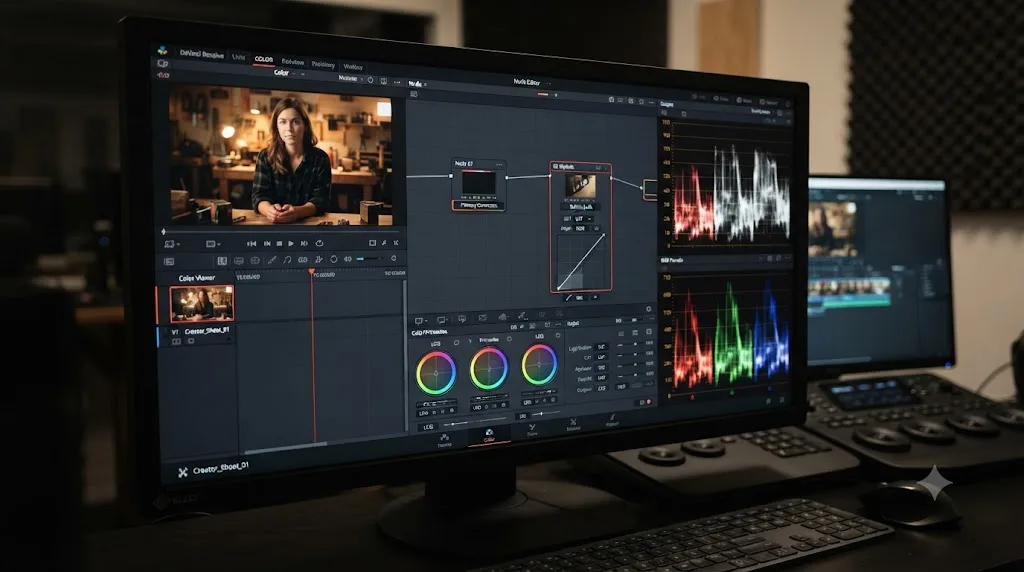
Two nodes, most of the time. Not the elaborate node trees you see in feature-film color breakdowns, and not the twelve-node stack a tutorial built to show off Resolve's Color page depth. A YouTube color pass has a narrower job than a film grade: make the footage look consistent from shot to shot, correct anything that's actually wrong, and apply a look, if you want one, without drawing attention to itself.
Node 1 does primary correction: balance shadows, midtones, and highlights using the Lift, Gamma, and Gain wheels until skin tones look natural and exposure is even across every clip in the sequence, not just the one you're currently looking at. Node 2 applies your look, whether that's a subtle contrast boost, a LUT you bought or built, or a color cast that matches your channel's visual identity. Keep the look on its own node, separate from the correction node, so you can toggle it off instantly to check whether a problem is coming from your grade or from your footage.
Watch the scopes, not just the image, especially on a display that isn't calibrated. For standard YouTube delivery in Rec.709, keep highlights below 100 IRE and shadows above 0 IRE; going outside that range risks clipping detail that YouTube's own compression will make worse, not better, once it re-encodes your upload.
If you're shooting the same setup repeatedly, the same desk, the same lighting, the same camera, build your Node 1 correction once and save it as a PowerGrade or apply it via Color Groups across every clip from that setup instead of rebuilding it from scratch each video. This is the color-page equivalent of the Power Bin habit from earlier: build the repeatable thing once, reuse it everywhere.
Don't confuse a YouTube color pass with a broadcast or cinema deliverable. You almost never need ACES color management for a standard YouTube upload, and reaching for it by default adds a layer of complexity most channels don't have a reason to carry. Rec.709 gamma 2.4 out is the standard target, and it's what Resolve's YouTube export preset assumes you're delivering.
How do you mix audio so people don't turn the video off?
Audio decides whether people finish watching more than any single visual choice you'll make in this whole workflow. It's the stage most beginner YouTube edits skip or rush, and it's the stage DaVinci Resolve has quietly gotten much better at handling automatically.
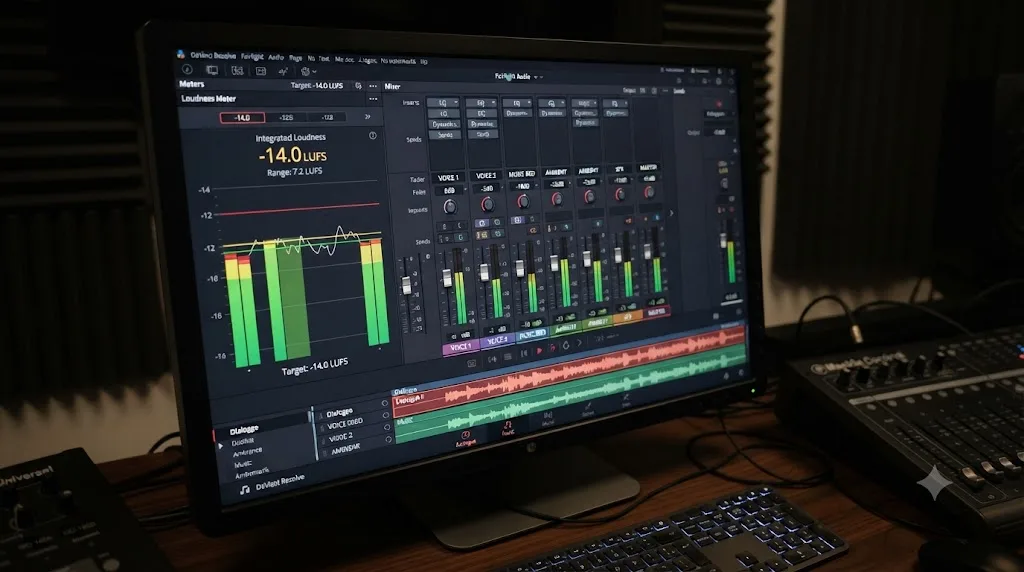
Start with the Dialogue Leveler, which Blackmagic added to both the free and Studio editions of Resolve in version 18.1, back in November 2022. It balances volume across an entire clip or track without you manually riding levels or reaching for a compressor, which matters enormously on talking-head footage where someone leans toward or away from a mic mid-sentence. Enable it from the Inspector or the track FX section in the Fairlight mixer, start with the "Optimize most sources" preset, and only dig into the module switches if the default result sounds obviously wrong on your specific voice.
Set your target loudness before you mix, not after. In Project Settings, under the Fairlight tab, set Target Loudness Level to -14 LUFS, which Resolve's own reference manual identifies specifically as the YouTube target loudness specification, distinct from Resolve's -23 LUFS broadcast default. Once that's set, the "0" mark on your Fairlight Loudness meter represents -14 LUFS, and your job during the mix is getting your Main bus as close to that zero mark as possible without going over. This matters because YouTube normalizes audio down, not up: exceed -14 LUFS and YouTube quietly turns your mix down on playback, which can make a hot mix sound thin or make dynamic range feel squashed in ways you didn't intend.
Within that target, keep dialogue peaking somewhere in the -12 to -6 dBFS range on your meters, with music and ambient sound sitting a further 15 to 20dB below dialogue whenever someone is talking over them. That gap is what keeps a voiceover intelligible against a music bed instead of fighting it for attention.
A loudness meter set to -14 LUFS is the closest thing DaVinci Resolve has to a guarantee that YouTube won't touch your mix. It costs one setting change in Project Settings and it removes an entire category of "why does my audio sound different on YouTube than it did in my edit" confusion later.
How do you use compound clips and adjustment clips to stop repeating work?
Both let you treat a group of clips as one unit, but they solve different problems, and mixing them up costs you time you'll notice immediately once you understand the difference.
A Compound Clip takes a series of clips, whether stacked one after another or layered in parallel, and packages them into a single clip in the Timeline, governed by one set of Inspector controls and connectable to the rest of your timeline through a single transition. According to Resolve's reference manual, a compound clip appears as a single MediaIn node on the Fusion page and grades as a single clip on the Color page, which makes it the right tool for a recurring segment structure, your intro, a repeated interview format, anything you'd otherwise rebuild clip by clip in every new video.
An Adjustment Clip is different: it's an empty clip you place on a track above other clips, and any effect or filter you apply to it applies to everything underneath it. This is the right tool when you want to apply one correction, a slight exposure lift, a consistent LUT, a subtle vignette, across a whole section of your timeline without touching each individual clip's own grade. Where a Compound Clip packages content, an Adjustment Clip only carries effects.
Use a Compound Clip for your channel's recurring intro sequence, built once, dragged into every new project from a Power Bin. Use an Adjustment Clip for a look you want applied across an entire scene or an entire video without disturbing the individual grades underneath it, especially useful when you're not sure yet whether you'll keep the effect and want the ability to remove it in one click instead of undoing it across a dozen clips.
How do you build chapters and a thumbnail without leaving Resolve?
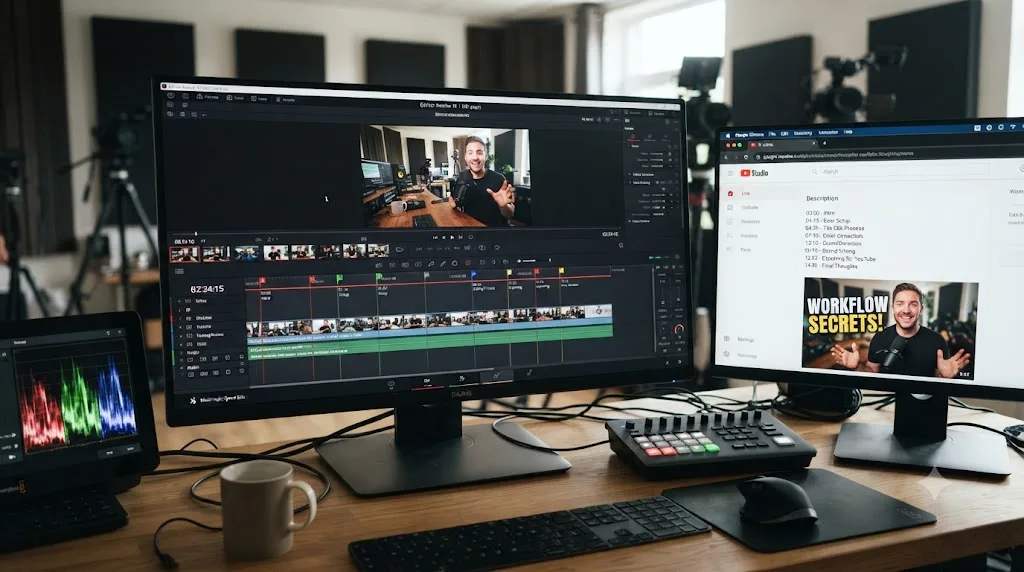
Go back to the markers you dropped during the rough cut. YouTube's own help documentation lays out three hard rules for chapters: you need at least three timestamps listed in ascending order, the first timestamp has to start at 00:00, and each chapter needs to be at least 10 seconds long. Resolve doesn't export a chapters file directly to YouTube, so the practical workflow is manual but fast if you marked scene changes as you cut: open your marker list, note each marker's timecode, convert those timecodes to the mm:ss format YouTube expects, and paste the list into your video's description at upload time, each line reading as a timestamp followed by a label.
For a thumbnail, use a freeze frame pulled directly from your graded, color-corrected timeline rather than a separate unrelated image, which keeps the thumbnail visually consistent with what viewers actually see once they click. Park the playhead on a strong frame, right-click it, and export a still image; because you're pulling it after the color pass, you're capturing the frame with your finished grade already baked in, not the flat, uncorrected version you'd get by grabbing a frame before color. If you want a thumbnail with more graphic elements than a single frame provides, a background solid, larger text, an arrow, build that as its own quick Fusion composition or a Text+ overlay on a duplicated frame, then export just that frame as your still.
How do you export without losing quality or waiting forever?
Open the Deliver page and select the YouTube preset at the top of Render Settings; it sets the container, codec, and a sensible starting bitrate for you. DaVinci Resolve export settings for YouTube covers this stage in full detail, including HDR, vertical Shorts, and mismatched frame rates, but the numbers that matter for this workflow are straightforward: MP4 container, H.264 codec for 1080p or H.265 for smaller 4K files, your timeline's native resolution and frame rate, AAC audio at 48 kHz, and a bitrate around 8Mbps for standard 1080p, 12Mbps for 1080p at 50 or 60fps, or 35 to 45Mbps for 4K, which matches YouTube's own published recommended upload encoding settings. Content with a lot of fast motion, gaming footage or action sports, benefits from sitting toward the higher end of that range, since motion-heavy footage is where compression artifacts show up first after YouTube's own re-encoding pass.
Set Render Settings to Single Clip and the render range to Entire Timeline, so your whole edit renders as one file instead of a folder of separate clips. Then save your finished settings as a preset, through the three-dot menu at the top of Render Settings, so this configuration step never costs you more than one click on your next video.
Budget your upload timing around YouTube's own processing behavior, not just your render time. YouTube's help documentation notes that a 60-minute 4K video at 30fps can take up to four hours before high-resolution playback is fully available, and it processes lower resolutions first, so a video that looks soft in the first minutes after upload is very likely still finishing its higher-resolution encodes, not a sign your export was actually bad. Upload hours ahead of a scheduled premiere, never minutes.
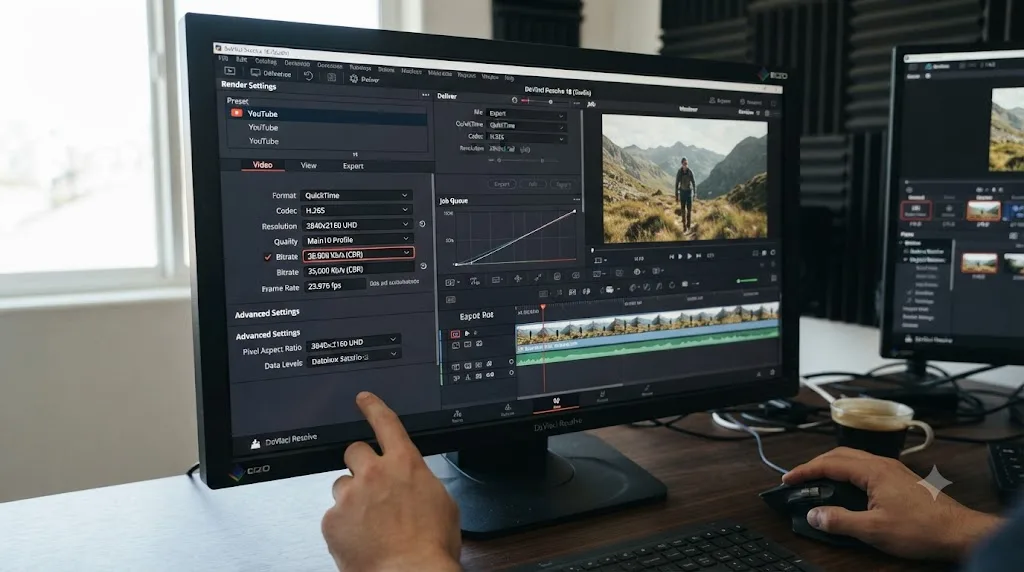
Should you use an AI tool anywhere in this workflow?
Depends entirely on which kind of tool, because "AI tool for DaVinci Resolve" currently covers two genuinely different jobs, and conflating them is where most comparisons of this category go wrong.
One category executes edits for you from a typed instruction. CutAgent, Sottocut, PremiereCopilot, and Eddie AI all fall here: you describe a cut, a silence removal, a rough assembly, and the tool acts on your timeline directly. That's a real time saver on mechanical, repetitive tasks, particularly silence removal on long-form talking-head footage, but it hands the editorial decision to the tool. You're reviewing its output, not making the cut yourself, which is a fine tradeoff on some tasks and a bad one on the tasks where your judgment about pacing and story is the actual value of the edit.
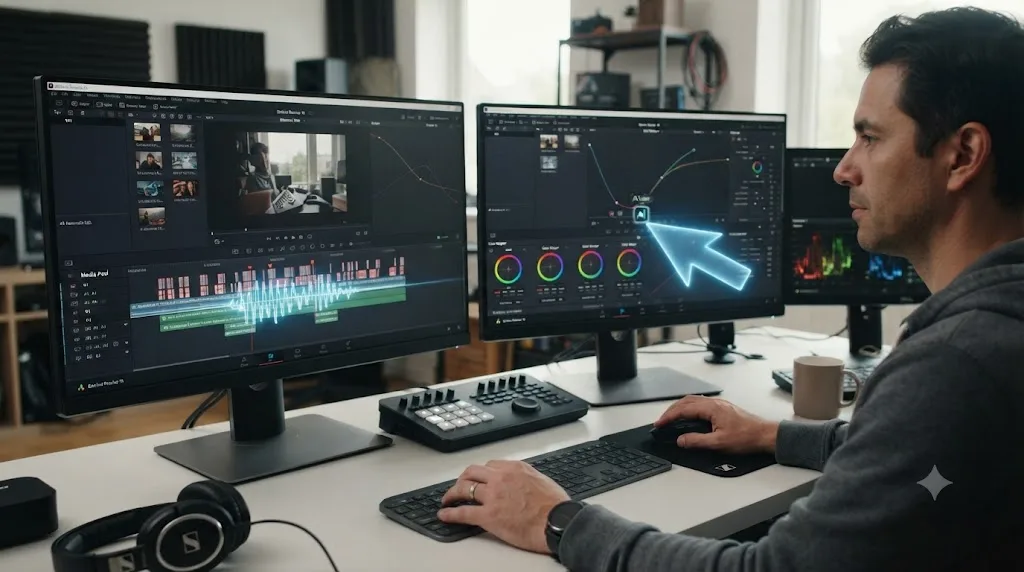
The other category doesn't touch your timeline at all. TryUncle is the on-screen assistant for DaVinci Resolve on macOS. Ask in plain words, and Uncle points at the exact control on your screen. It watches your project live, across the Edit, Color, and Fusion pages, and instead of executing an edit, it shows you where the button, node, or setting you're looking for actually is. That's a fundamentally different job from CutAgent, Sottocut, PremiereCopilot, or Eddie AI: those tools save you time by doing the edit; TryUncle saves you time by removing the seconds you'd otherwise lose to a menu hunt, while you stay the one making the decision.
Neither category replaces the two things that still teach this workflow best: Blackmagic's own free training guides, six downloadable PDF courses covering editing, color, audio, and effects with lesson project files and a free online exam, and structured YouTube channels like Casey Faris, whose tutorials remain a solid, genuinely well-regarded way to get oriented on a page you've never used before. A general chatbot like ChatGPT or Claude answers declarative questions well, where a setting lives, what a term means, but has no view of your actual project, and users on the Blackmagic Forum have reported it giving flawed guidance on Fusion-specific node work in particular. None of these are wrong to use. They're just answering different questions, and picking the wrong one for the moment wastes exactly the time you're trying to save.
Watching a tutorial about your workflow is not the same as running your workflow. Every tool in this section, human-made course or AI, gets you closer to starting. Only finishing an actual edit on your own footage teaches you the workflow itself.
TryUncle isn't free. It's a paid subscription at $34.99 a month with cancel-anytime billing, macOS only, so check TryUncle for the current rate before deciding it fits your channel's workflow.
What breaks most often in this workflow, and how do you fix it?
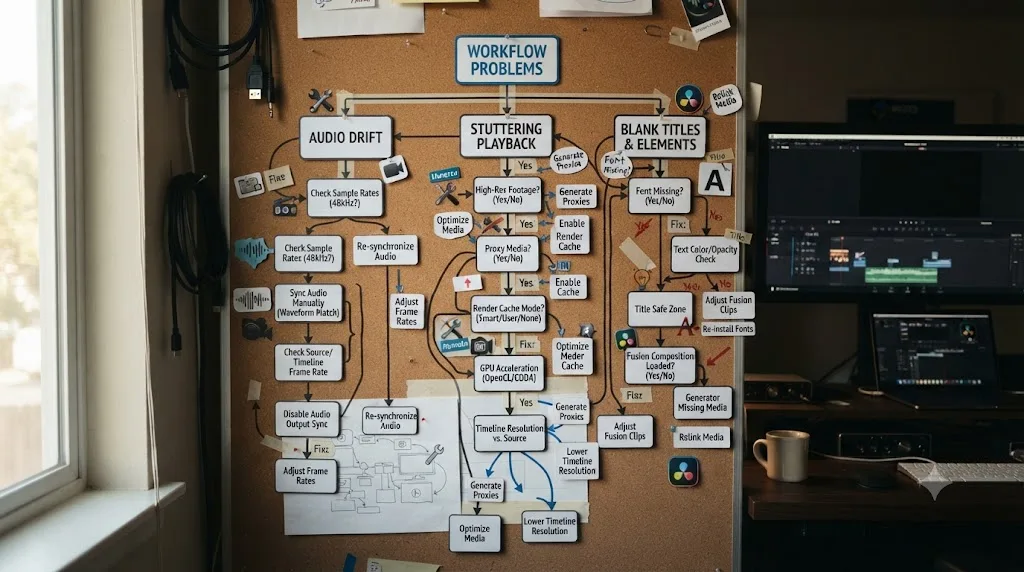
A handful of problems account for most of the time creators lose in this exact ten-stage sequence, and every one of them has a specific, known fix rather than a "just restart Resolve" shrug.
Playback stutters even with proxies on. Check that your proxy resolution isn't set higher than it needs to be for a 1080p or even 4K timeline; Half or Quarter resolution proxies are usually enough for editing decisions and only need to go back to full resolution for your final color review. Also confirm Render Cache is set to Smart in the Playback menu, not off, since Smart cache automatically pre-renders effects-heavy sections like your color grade and titles that proxy media alone doesn't address.
Audio and video drift out of sync over a long clip. This is almost always a sample rate mismatch between your camera and an external recorder, 48kHz against 44.1kHz being the most common pairing, or drift from an inaccurate internal clock in consumer-grade recording hardware. Match sample rates on both devices before you shoot next time, and use Elastic Wave retiming to stretch the existing audio back into alignment on the footage you've already got.
Auto Sync Audio says clips don't match when you know they should. The waveform channel reference is probably set to Auto when it should be a specific channel, or your two clips don't actually overlap in time. Switch the channel reference manually, trim both clips so they share the same moment, and confirm the standalone audio file plays back correctly on its own before troubleshooting Resolve further.
A Text+ title shows up blank in the timeline. Nearly always a missing or corrupted font, or a track that's accidentally muted. Open the Inspector's Layout tab and swap to any installed system font; if text reappears, the original font was the actual problem.
Render fails or the export looks wrong after upload. Confirm your Render Settings range is set to Entire Timeline and not a leftover in/out selection from earlier editing. If the video looks soft immediately after upload, give YouTube time to finish processing higher resolutions before judging the export; that's expected behavior, not a failed render.
What do you do if you catch a problem after you've already moved past that stage?
This workflow is sequential, but mistakes don't always announce themselves on schedule. You catch a lot of problems late, during color, during the mix, sometimes after you've already hit publish, and the fix depends entirely on what data that later stage actually touches. Resolve keeps each stage's work reasonably separate: clip position lives on the timeline, the grade lives in a node graph attached to each clip, the mix lives in Fairlight, markers live independent of all of it. That separation is what saves you from a full restart most of the time.
| Problem noticed at | What's already been done on top of it | The least destructive fix |
|---|---|---|
| Wrong take chosen, caught during color | Full grade applied to the wrong clip | Swap the clip on the timeline, then re-balance Node 1 only, since Node 2's look survives a straight swap |
| Audio drifts out of sync, caught during the final mix | B-roll, titles, and color already locked | Elastic Wave retiming on just the drifting clip, not a full resync of the track |
| B-roll timing feels off, caught after color | That B-roll clip already has its own grade | Trim or reposition the clip; only redo the grade if you're swapping in a different, ungraded clip |
| Mix comes in too hot, caught after export and upload | Video is already live | Re-render from Deliver only; cut, color, and B-roll don't need to be touched, since the mix lives in Fairlight independent of them |
| Chapter timestamps wrong, caught after publish | Video file is already rendered and uploaded | Edit the description text directly in YouTube Studio; chapters are text, not baked into the render |
| Captions missing, caught after publish | Video file is already rendered and uploaded | Add captions in YouTube Studio after the fact, or add a Resolve subtitle track and only re-render if you specifically want them burned in |
The pattern across every row is the same: a problem confined to one stage's data model usually has a fix confined to that same stage, not a rebuild of everything downstream of it. The one genuine exception is a structural cut change, removing or reordering whole sections after color is done, since that reshuffles which grade belongs to which clip and does force you back into the Color page to reassign or rebalance nodes. That's the one scenario in this whole guide worth locking the cut hard before you touch it, precisely because it's the one mistake this stage separation can't fully protect you from.
What does this workflow look like on an actual video, start to finish?
Take a concrete case: an 8-minute software tutorial, shot on a single 4K camera with a lav mic recording separately, plus one screen recording insert and a handful of B-roll shots of hands on a keyboard. Here's how the ten stages actually play out on that specific footage, not in the abstract.
Project setup: the timeline gets built at 1080p, 30fps, Rec.709, even though the camera shot 4K, since a talking-head tutorial doesn't need 4K delivery and the smaller timeline keeps playback smoother on modest hardware. The screen recording, already captured at 1080p, drops straight in without any resolution conversion.
Organize and proxy: three bins, Camera, Screen Recording, and B-Roll. Proxy media gets generated for the 4K camera clips only; the screen recording is a lightweight capture that scrubs fine without one.
Rough cut: because the footage volume is modest and the video follows a written outline, the edit starts directly on the Edit page instead of the Cut page, skipping the Source Tape review that pays off more on a video with an hour of raw footage to triage.
Audio sync: the lav mic recorded to a separate audio recorder with no timecode jam-sync set up beforehand, so Auto Sync Audio runs Based on Waveform instead of Based on Timecode.
B-roll: the screen recording goes in as a full-screen cutaway during the technical explanation, and the keyboard B-roll covers the setup narration, both trimmed to match the rhythm of what's actually being said rather than to a fixed duration.
Titles: on-screen text callouts mark each keyboard shortcut mentioned out loud, built in Text+ with the Write On effect, and a subtitle track goes in because tutorial content gets watched muted often enough that it's not optional.
Color: a two-node pass on the camera footage, Node 1 for correction and Node 2 for a slight warmth, applied through a single Adjustment Clip across the whole camera track instead of node-by-node on each clip. The screen recording stays ungraded, since it's a flat capture with no "look" for a grade to improve.
Audio mix: the Dialogue Leveler runs on the lav mic track, target loudness set to -14 LUFS, and no music bed plays under the screen recording sections, since a bed under detailed instructions competes with clarity rather than adding to it. A thin music bed comes back in only under the intro and outro.
Chapters and thumbnail: the markers dropped during the rough cut, one per major topic shift, get read off and typed into the video description as timestamps; the thumbnail comes from a freeze frame of the presenter mid-gesture, pulled after the color pass so it matches the graded footage.
Export: the YouTube preset on the Deliver page, H.264, 1080p, the entire timeline rendered as a single file.
Nothing about this example needed Fusion, Studio-only features, or a complicated node tree. It's the same ten stages as the master workflow above, just with the choices a specific piece of footage actually calls for.
What does this workflow look like across a real week, solo versus with an editor?
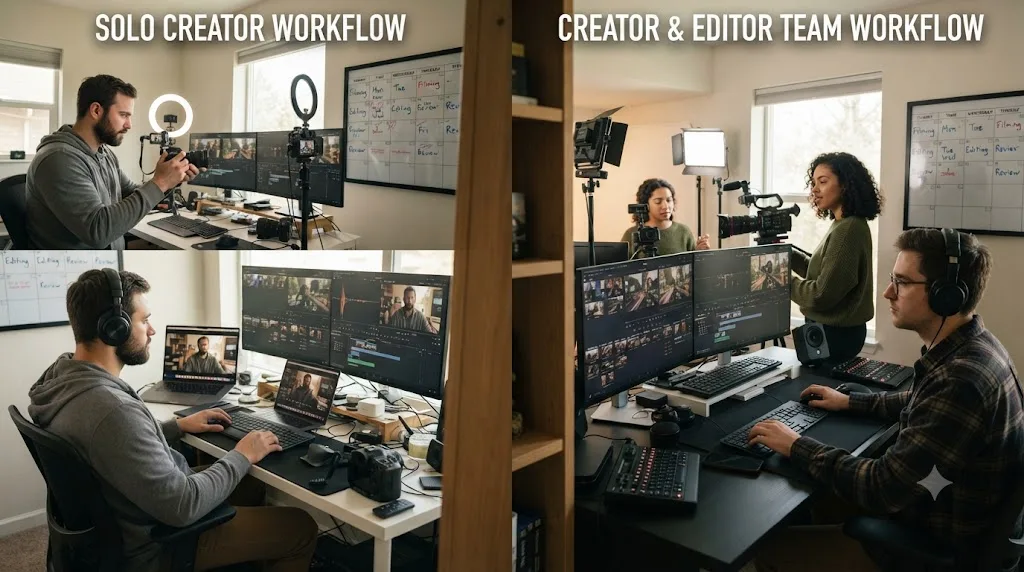
A solo creator publishing weekly typically spreads this workflow across several sessions rather than one marathon sit-down: organizing and proxying footage the day after filming, a rough cut session, a separate session for B-roll and titles once the structure is locked, and a final session for color, audio, chapters, and export. Splitting it this way matters more than it sounds; grading and mixing in the same session as a rough cut means you're making creative color and audio decisions on a cut that's still going to change, which is exactly the rework this guide's stage order is built to avoid.
A two-person setup, creator plus editor, benefits from Resolve's project-sharing structure even without full Collaboration Mode: the creator handles filming and a rough marker pass noting keep/cut moments, then hands the project off for the editor to run stages three through ten. If you're working with a remote editor and sharing a live project rather than handing off files, Resolve's Collaboration Mode lets both of you work in the same project simultaneously, though it introduces its own locking behavior around who can edit which bin or timeline at a given moment, which is worth understanding before you rely on it under a publish deadline.
Either way, the stages don't compress just because there's more than one person on them. What changes is who's doing which stage, not the order they happen in.
Where do you go from here?
Run this workflow once, start to finish, on your next video before you try to optimize any single stage of it. The order matters more than any individual setting in this guide, because it's the order that keeps you from grading a cut that isn't locked or mixing audio against a track that's about to change length. Once the full sequence feels familiar, go back and tighten the stage that's actually costing you the most time, whether that's a slow rough cut, a color pass you're second-guessing, or an export queue you keep misconfiguring, rather than trying to speed up all ten stages at once.
If a specific stage keeps stalling you mid-project, not before you start, but in the middle of it, staring at a menu you can't find, that's the exact gap an in-app tutor is built for rather than another full tutorial watched from the beginning. Whatever gets you there, the only version of this workflow that actually teaches you anything is the one you run on your own footage, badly the first time, better the second.
Frequently asked questions
- What is the best DaVinci Resolve workflow for YouTube videos?
- Set up the project first (resolution, frame rate, color science), then organize and proxy the footage, rough-cut on the Cut or Edit page, sync any separate audio, cut in B-roll, add titles and captions, grade with a simple two-node pass, mix audio to -14 LUFS, add chapter markers, and export from Deliver with the built-in YouTube preset. Doing these in a different order is what causes most of the rework.
- How long should a full YouTube editing workflow take in DaVinci Resolve?
- It depends entirely on footage volume and video length, and there's no verified industry-wide number worth repeating here. What actually predicts your time isn't the software, it's whether your footage is organized before you start cutting and whether you're grading and mixing once at the end instead of repeatedly mid-edit.
- Do I need DaVinci Resolve Studio to build a full YouTube workflow?
- No. Every stage in this workflow, project setup, proxy media, the Cut and Edit pages, Compound and Adjustment Clips, the Dialogue Leveler, the Fairlight loudness meter, and YouTube export, runs in the free version. Studio adds Neural Engine automation like Magic Mask, Speed Warp, and Voice Isolation, plus external scripting, on top of this workflow, not underneath it.
- What's the best way to learn DaVinci Resolve fast enough to run this workflow on deadline?
- Watch one short orientation video per stage, not a full course, then run that stage on your own footage immediately. Blackmagic's free official training PDFs are a solid structured starting point, and YouTube channels like Casey Faris are good for orientation, but neither replaces actually finishing an edit on your own clips.
- Can an AI tool help me while I'm actually editing in DaVinci Resolve?
- Two different things get called that. Tools like CutAgent, Sottocut, PremiereCopilot, and Eddie AI take a typed instruction and execute cuts on your timeline for you. An in-app tutor like TryUncle watches your screen and points at the control you need instead, so you're still the one making the edit, just without the time lost hunting for where a setting lives.
- Should YouTube creators edit on the Cut page or the Edit page?
- Use the Cut page for the first rough assembly, especially with a lot of source footage, because its source tape and dual-timeline view are built for speed over precision. Switch to the Edit page once you're refining trims, stacking multiple video and audio tracks, or adding titles, since it gives you the full track and Inspector control the Cut page deliberately leaves out.
- How do I stop DaVinci Resolve from stuttering on 4K YouTube footage?
- Turn on Proxy or Optimized Media in Project Settings under Optimized Media and Render Cache, generate proxies in a format like ProRes rather than H.264 or H.265, and set Render Cache to Smart so Resolve pre-renders effects-heavy sections automatically. This fixes the vast majority of playback stutter on mid-range hardware without touching your export quality.
- Is there an app that helps you while you're using DaVinci Resolve for YouTube specifically?
- Yes. TryUncle is the on-screen assistant for DaVinci Resolve on macOS that watches your screen while you work and points at the exact control you need, live, inside the Edit, Color, and Fusion pages. It's a paid subscription at $34.99 a month, not a free tool, and it doesn't cut anything on your timeline for you.
Sources
- YouTube Help: Recommended upload encoding settings
- YouTube Help: Video chapters
- YouTube Help: Video quality after you upload
- DaVinci Resolve Reference Manual: Using Proxy Media (Blackmagic Design, mirrored)
- DaVinci Resolve Reference Manual: Using the Smart or User Cache Improves Effects Performance (Blackmagic Design, mirrored)
- DaVinci Resolve Reference Manual: Target Loudness Level (Blackmagic Design, mirrored)
- DaVinci Resolve Reference Manual: Compound Clips (Blackmagic Design, mirrored)
- DaVinci Resolve Reference Manual: Adjustment Clips (Blackmagic Design, mirrored)
- DaVinci Resolve Reference Manual: Syncing Audio to Video by Matching Waveforms (Blackmagic Design, mirrored)
- DaVinci Resolve Reference Manual: Live Save (Blackmagic Design, mirrored)
- DaVinci Resolve Reference Manual: Project Backups (Blackmagic Design, mirrored)
- Blackmagic Design Announces DaVinci Resolve 18.1 (official press release, Dialogue Leveler)
- DaVinci Resolve - What's New (Blackmagic Design, Resolve 21)
- DaVinci Resolve Training (Blackmagic Design)
- DaVinci Resolve product page and Studio pricing (Blackmagic Design)
- DaVinci Resolve YouTube Video Editing: Complete Workflow Guide (Hollyland Store)
- MrBeast (@MrBeast) on X, March 2024
- Terel Gibson, quoted in 'How Cutting in Resolve Brought This Editor Closer to the Camera' (No Film School)
- CutAgent (product site: features, pricing, FAQ)
- Sottocut (product site: features, pricing, platform requirements)
- PremiereCopilot pricing
- Eddie AI for DaVinci Resolve (native integration workflow page)
- TryUncle
- TryUncle FAQ
Learn by doing, not watching
Stop translating tutorials to your timeline.
TryUncle stays beside Resolve on Mac and Windows. When you ask, Uncle sees your screen and points at the exact control you need. No hunting through tabs, timestamps, or mismatched tutorials.
Meet TryUncleKeep reading
 GuidesJul 15, 202638 min read
How to Edit Faster in DaVinci Resolve: A Workflow Guide
The workflow fixes that actually speed up DaVinci Resolve editing: proxy media, render cache, GPU/decode settings, hardware controllers, batch tools, and where AI helps.
 GuidesJul 7, 202632 min read
DaVinci Resolve Export Settings for YouTube (Copy These Exactly)
The exact DaVinci Resolve export settings YouTube recommends: codec, bitrate, resolution, audio, and the Deliver page steps that avoid soft uploads.
 GuidesJul 8, 202639 min read
How to Sync Audio in DaVinci Resolve, Every Method
Sync audio and video in DaVinci Resolve with Auto Sync Audio, timecode, the Sync Bin, or a manual clap, plus fixes for drift and failed matches.