
Learn / DaVinci Resolveupdated for DaVinci Resolve 21.0.2 and iMovie 10.4.4 (macOS, July 2026)
Switching From iMovie to DaVinci Resolve: The Complete Guide
Quick answer
There's no direct import: iMovie can't export XML or AAF, so you re-import your original footage into DaVinci Resolve's free Media Pool and rebuild your cut by hand. Learn the Cut page first, since its simplified toolset is closer to iMovie than the Edit page. Expect a real learning curve for Color and Fairlight, since iMovie has no equivalent.
You made your first video in iMovie. Maybe your tenth, maybe your hundredth. It was free, it came with your Mac, and it did the job without ever asking you to think about codecs or nodes. Then something changed: a client wants a proper grade, your church wants multicam for the livestream, or you just watched one too many "DaVinci Resolve is free and better than what you're using" videos and got curious.
Whatever pulled you here, the actual mechanics of the move rarely get spelled out. iMovie's biggest surprise waits at the front door: unlike switching from Premiere Pro or Final Cut, there's no file you can export and hand to DaVinci Resolve. This guide covers what that actually means, what iMovie's simple vocabulary maps to inside Resolve's much bigger one, and the order to learn things in so the first month doesn't feel like starting over from zero.
Why are iMovie editors switching to DaVinci Resolve?
Three things push people past iMovie, and they show up in a predictable order. The first is a ceiling on color. iMovie's Color Correction panel gives you shadows, brightness, contrast, highlights, saturation, and color temperature sliders, plus an auto white balance and skin tone balance button, according to Apple's own support documentation. That's genuinely useful for a quick fix. It's not a grade. There's no way to isolate just the sky, just a face, or just one shot in a sequence without touching everything else, because there's no node system, no qualifiers, and no power windows underneath those sliders.
The second is audio. iMovie can adjust volume, trim clips, change speed, and run a basic per-clip noise reduction and equalizer, per Apple's audio support page. MakeUseOf's Declan Kirkwood put it plainly in a direct comparison of the two apps: iMovie's audio tools allow "the basics: adjusting volume, trimming clips, and changing speed, but it doesn't offer much else." There's no dedicated audio workspace, no channel strip, no multi-band EQ per track. The third pressure is simpler and less technical: someone else on the project, a client, a collaborator, a school program, standardized on Resolve, and now you need to as well.
None of those three reasons require you to think iMovie failed you. iMovie is genuinely good at the thing it was built for: a fast, free, low-friction first cut with almost no menu to learn. Kirkwood's own verdict captures the honest trade rather than a takedown: iMovie's interface is "minimalist, which is suitable for beginners," while Resolve is "simple, yet complex, with many useful features." You're not leaving a broken tool. You're outgrowing a narrow one, on purpose, because the next thing you want to make needs depth iMovie was never built to have.
What's the fastest way to translate iMovie's terms into DaVinci Resolve's?
This is the single most useful thing you can do before you open Resolve for the first time. iMovie and Resolve use genuinely different vocabulary for adjacent concepts, and half the early confusion in a switch is just not knowing which word means what. Here's the direct mapping.
| iMovie term | What it means in iMovie | Closest DaVinci Resolve equivalent |
|---|---|---|
| Library (.imovielibrary) | A single package file holding all your Events and Projects, per FileInfo's format breakdown | A Resolve Project Database, browsable in the Project Manager, though Resolve stores media references rather than bundling raw files the same way |
| Event | A folder of imported raw clips, organized by import date or camera | A Bin inside the Media Pool |
| Project | Your actual edited timeline | A Timeline |
| Theme | A pre-built set of titles, transitions, and music matched to a visual style | No direct equivalent; closest is manually building a consistent look with Text+ templates and the Transitions bin |
| Storyboards / Magic Movie | An AI auto-assembly feature that builds a rough cut from selected photos and clips (iOS/iPadOS) | No equivalent; Resolve has no one-tap auto-edit feature |
| Cutaway / Picture in Picture | Dragging a clip above another to overlay or replace it, per Apple's picture-in-picture guide | Stacking clips on additional video tracks and using Composite mode or a Transform node |
| Color Correction panel | Shadows, brightness, contrast, highlights, saturation, and color temperature sliders | The Color page's primary wheels, curves, and RGB Mixer, one node in a graph rather than one fixed panel |
| Color Balance / White Balance / Skin Tone Balance | Click-to-correct buttons | Manual white balance via the Color Wheels, or a Qualifier isolating skin tone specifically |
| Green/Blue Screen effect | Drag a clip above another and choose Green/Blue Screen from a pop-up menu, per Apple's chroma key guide | Ultra Key effect (Edit page) or a Qualifier node built for chroma keying (Color page) |
| Noise Reduction and Equalizer button | Per-clip automatic background noise reduction | Fairlight's Noise Reduction Fairlight FX plugin, applied per track or per clip with adjustable parameters |
| Share | Export a finished movie file to your Photos library, YouTube, or a file | The Deliver page's render queue |
Notice the pattern running through that whole table. iMovie names a single button for a single action; Resolve names a page, a node type, or a plugin category for the same broad idea. That's not Resolve being needlessly complicated. It's the direct cost of the extra control you're switching for. A button can only ever do one fixed thing. A node graph can do anything you can wire together, at the price of having to wire it yourself the first few times.
Is DaVinci Resolve actually harder to use than iMovie?
Yes, and there's no honest version of this guide that says otherwise. iMovie's current release (10.4.4, per its App Store listing) runs on macOS 15.6 or later, needs just 4GB of memory and 3.5GB of disk space, and asks nothing of your graphics card. DaVinci Resolve 21 requires macOS 13 Ventura or 14 Sonoma or later per Blackmagic's own tech specs page, and while it'll run on a modest Mac, real color and Fusion work wants a dedicated or capable integrated GPU with real VRAM behind it. That gap in system requirements is a preview of the gap in the interface itself.
| iMovie | DaVinci Resolve | |
|---|---|---|
| Price | Free, no paid tier | Free edition, or $295 one-time Studio license |
| macOS required | 15.6 or later | 13 Ventura / 14 Sonoma or later |
| RAM needed | 4GB minimum | 8GB minimum, 16GB+ recommended |
| Dedicated GPU needed | No | Effectively yes for real color and Fusion work |
| Interface | Single window, one toolbar | Seven pages: Media, Cut, Edit, Fusion, Color, Fairlight, Deliver |
| Color tools | Six sliders plus auto buttons | Full node-based grading system |
| Audio tools | Volume, trim, speed, per-clip noise reduction | Fairlight: full channel strip mixer, per Blackmagic's Fairlight page |
| Time to first edit | Under an hour for most new users | Days to weeks for comparable comfort |
A forum discussion on DPReview about whether Resolve is "really that formidable" landed on a fair summary of why the gap feels so wide: opening Resolve for the first time can seem overwhelming for someone with little video editing experience, but most of that overwhelm comes from being new to editing concepts generally, not from Resolve's interface specifically, and it stacks with the unfamiliar UI on top. That distinction matters for you specifically, because you're not new to editing concepts. You already know what a cut, a transition, and a color adjustment are, because you've made dozens of them in iMovie. What's actually new is Resolve's structure and its depth, not the underlying idea of editing itself.
The learning curve you're about to climb isn't "how do I edit a video." It's "where did the thing I already know how to do move to, and how much deeper does it go now." That's a narrower, faster climb than starting from nothing, even though it doesn't always feel that way in week one.
How is DaVinci Resolve's workspace organized differently from iMovie's single window?
iMovie is one window, always. A Projects browser, an Events browser (or a unified Library sidebar in current versions), a viewer, and a single timeline strip across the bottom, all visible together, with almost nothing hidden behind a second layer of menus. You never leave that window to color grade, mix audio, or add a title. Everything happens in the same toolbar.
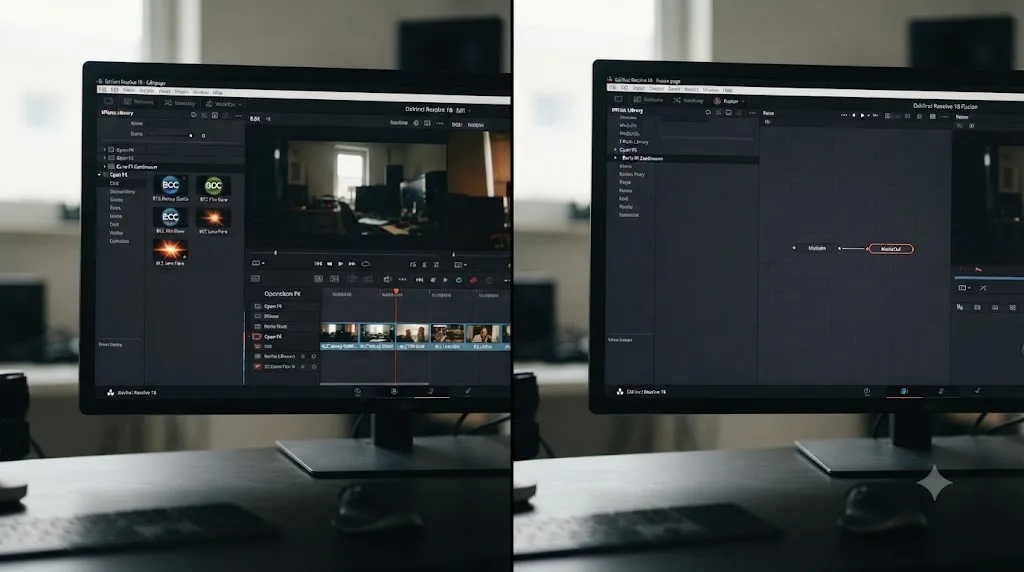
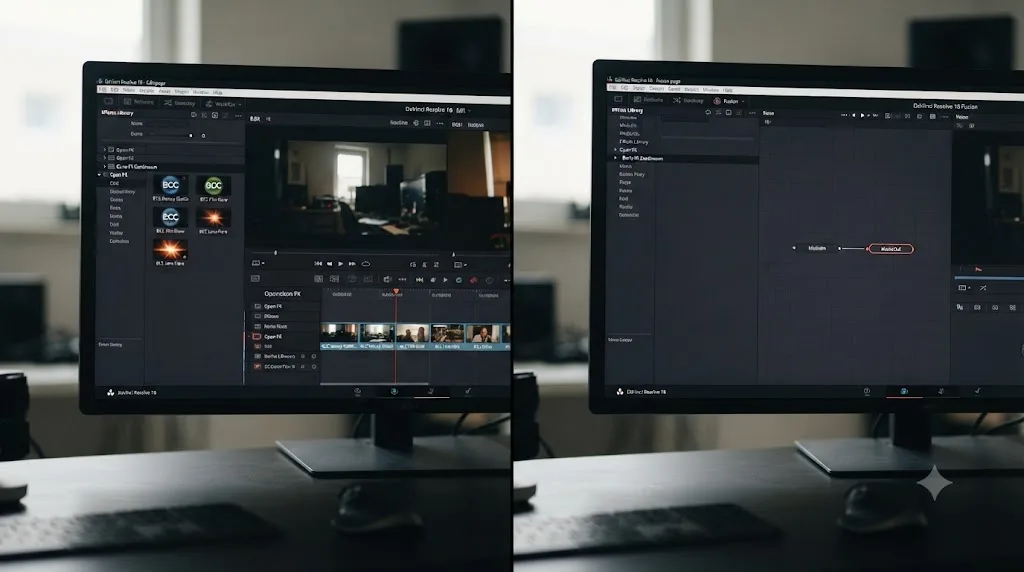
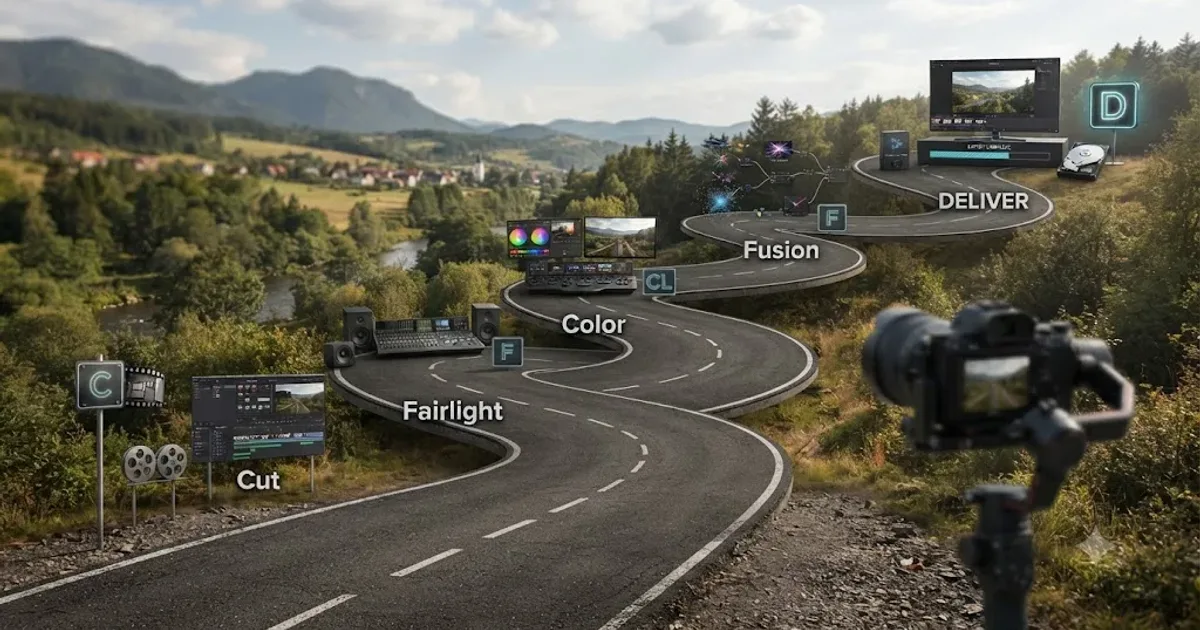
DaVinci Resolve splits the entire application into seven distinct pages, selected from tabs along the bottom of the window: Media, Cut, Edit, Fusion, Color, Fairlight, and Deliver. Each page is closer to its own dedicated application wearing a shared interface than a panel you toggle inside one window. The Media page is for organizing and tagging clips before you cut. Cut and Edit both handle timeline editing, at two different speeds and complexity levels covered in the next section. Fusion is node-based compositing, roughly Resolve's answer to a program like After Effects, described by Blackmagic as a 3D compositing workspace with more than 250 tools. Color is the node-based grading page. Fairlight is a full digital audio workstation. Deliver is where you set up and run your final export.
There's no iMovie page that maps onto this seven-page split, because iMovie never needed one: its color tools, its (limited) audio tools, and its export options all live as small side panels inside the one window it has. Seven pages that each feel like a separate application is the direct tradeoff Resolve makes for keeping every stage of a real production, cutting, mixing, grading, compositing, and delivery, inside one project file instead of four separate apps. It's more surface area to learn in week one. It's also the reason a colorist, a sound mixer, and a compositor can all work on the exact same project without exporting between programs, something iMovie was never built to need.
Can you import your iMovie project directly into DaVinci Resolve?
No, and this is the single biggest difference between switching from iMovie and switching from almost any other editor. Premiere Pro and Final Cut Pro can both export an XML, AAF, or EDL interchange file that Resolve reads to rebuild a timeline. iMovie has no export option like that at all. A Blackmagic Forum thread on exactly this question confirms the gap directly: iMovie has no ability to export an XML file, full stop, which rules out the standard interchange path every other switching guide relies on.
An Apple Community discussion about exporting an iMovie timeline landed on the same wall from a different angle. When a user asked about pulling a timeline out of iMovie to use elsewhere, a reply from user Rich839 clarified the actual limit:
"iMovie only allows sharing out an entire project, not individual clips of a project."
That's the ceiling. iMovie's Share function exports a finished, flattened video file, your titles baked in, your transitions rendered, your color grade committed. It does not export an editable timeline structure of any kind. There's no menu path, no plugin, and no third-party converter that changes this, because the limitation is that iMovie never wrote an export format for it in the first place.
One indirect workaround exists if you specifically have access to a Final Cut Pro trial: iMovie for Mac and Final Cut Pro share enough underlying structure that a Final Cut Pro trial can sometimes read an iMovie project and let you export a proper XML from there for Resolve to import, since Final Cut Pro does have real XML export. That's a real path, documented across several editor forums, but it requires installing a second Apple app you may not otherwise want, and it still won't carry over anything Premiere or Final Cut interchange files typically lose either, like third-party effects.
A tool that can't export your timeline isn't broken. It was simply never built to hand your work to another application, because Apple designed it as a destination, not a waypoint. For almost everyone reading this, the honest, reliable path is the one covered in the next section: skip the interchange workaround entirely and bring your raw footage into Resolve instead.
What do you lose when you can't import the project, and how do you rebuild it?
Everything that lived only inside the iMovie project file, rather than in your original footage. Here's what that actually breaks down to, category by category.
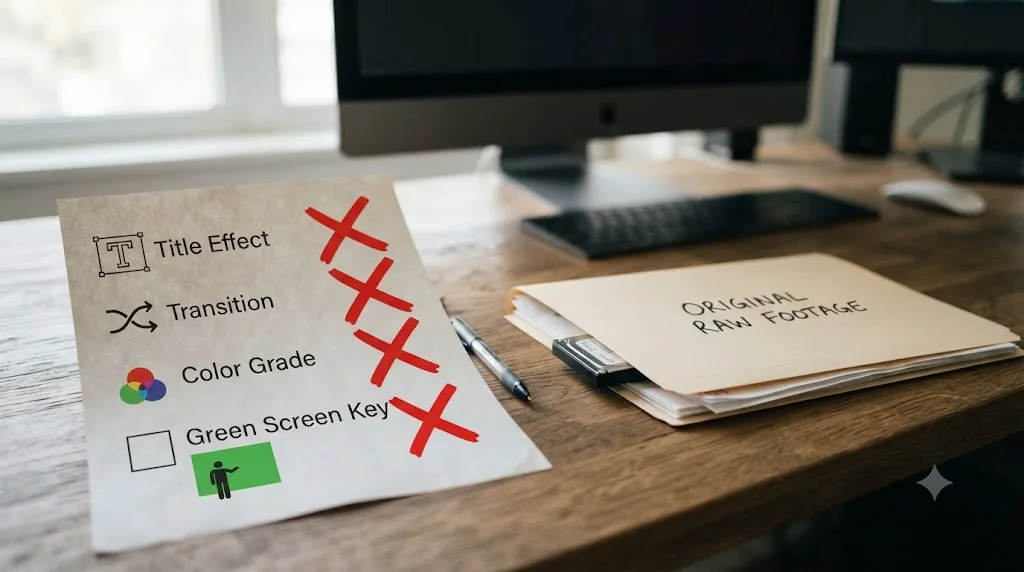
Your cut, your trims, and your clip order. None of it transfers. You'll need to watch your finished iMovie export (or your original footage, if you still remember the rough order) and rebuild the sequence of cuts by hand inside Resolve. This is the single biggest time cost of the switch, and it's worth being honest about upfront rather than discovering it mid-project.
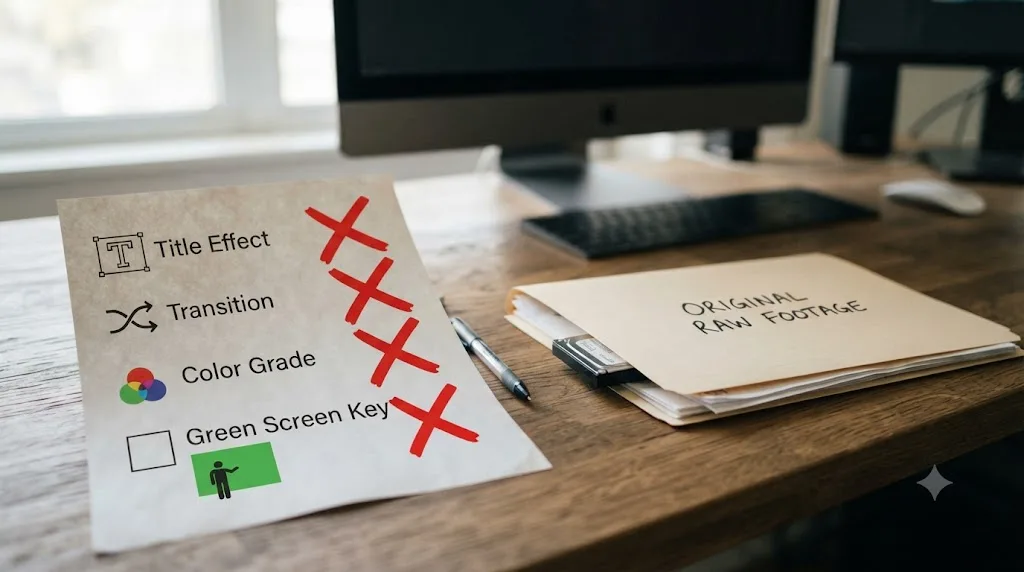
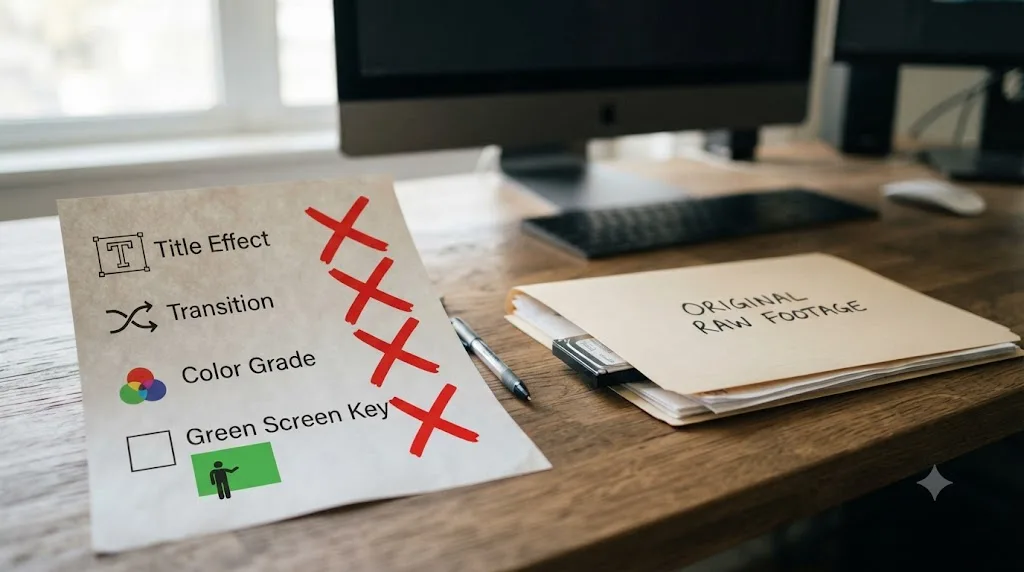
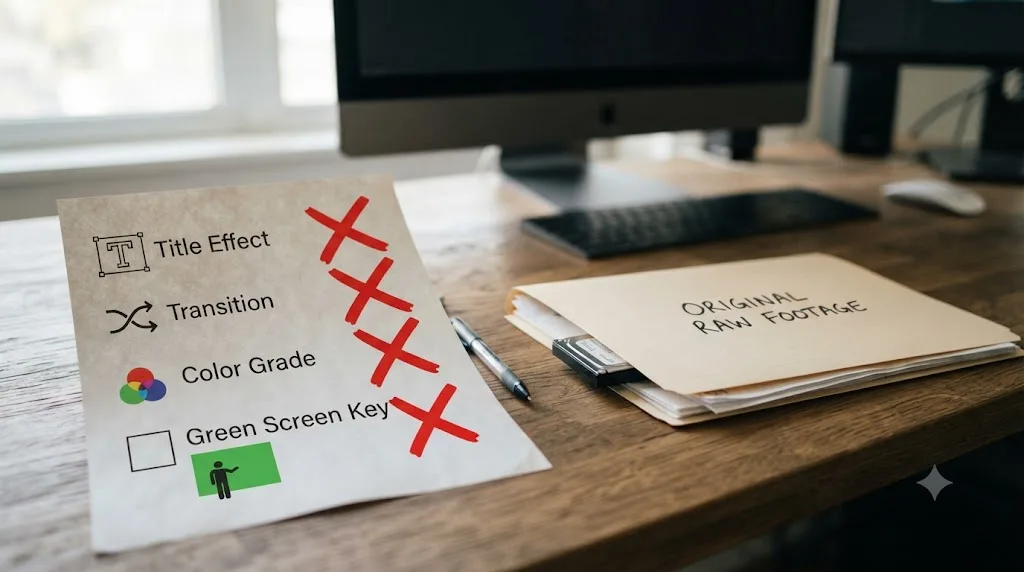
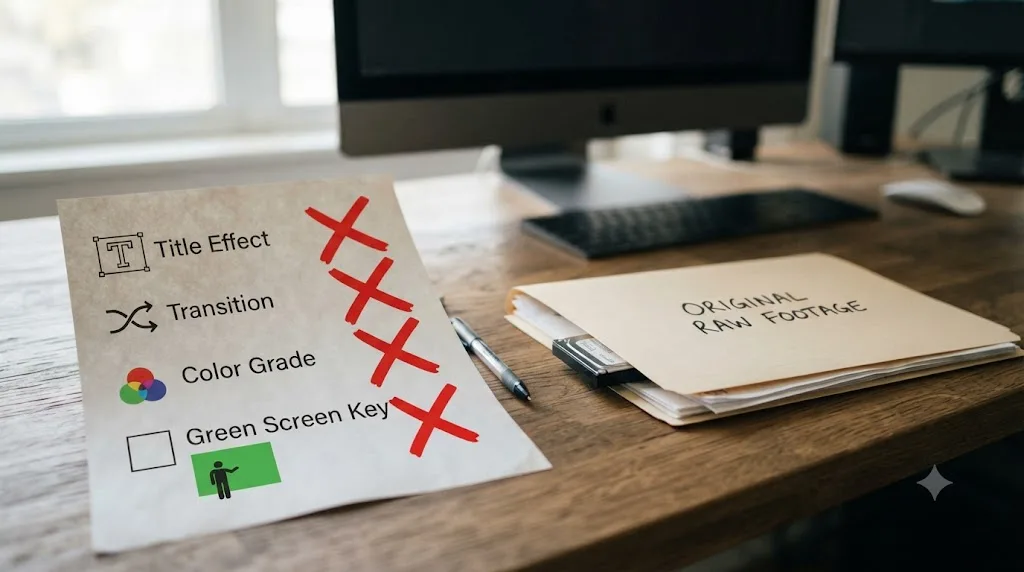
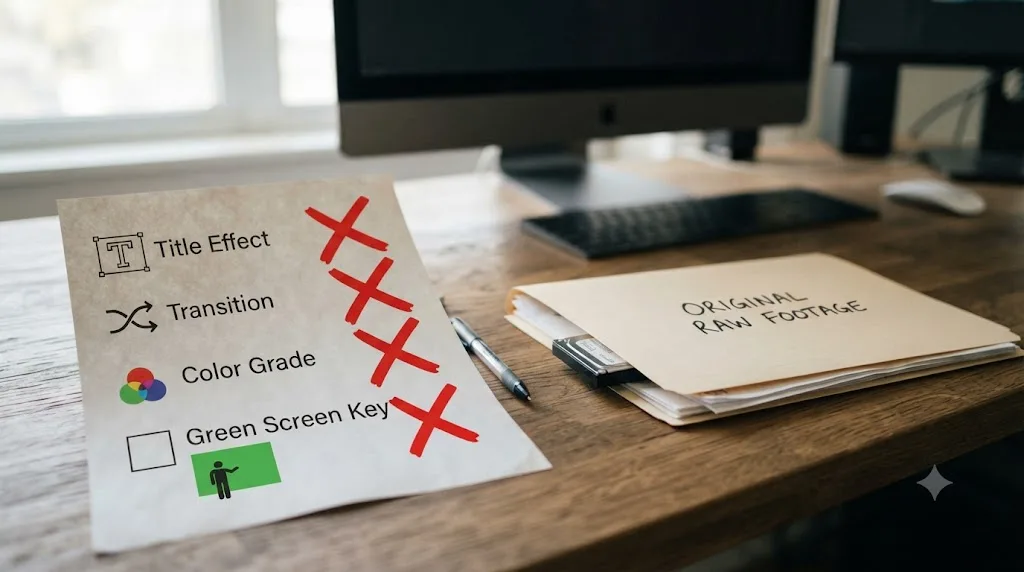
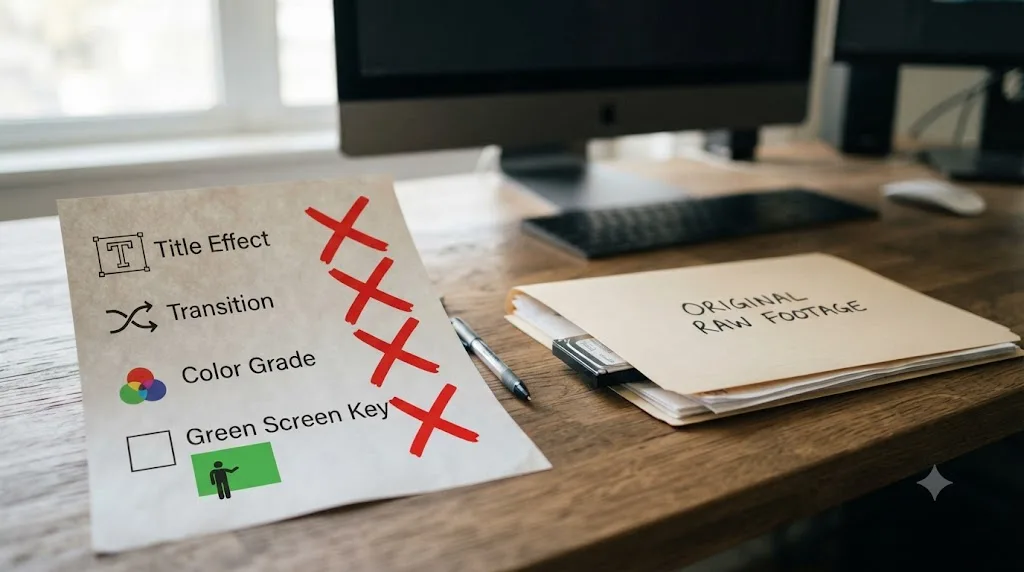
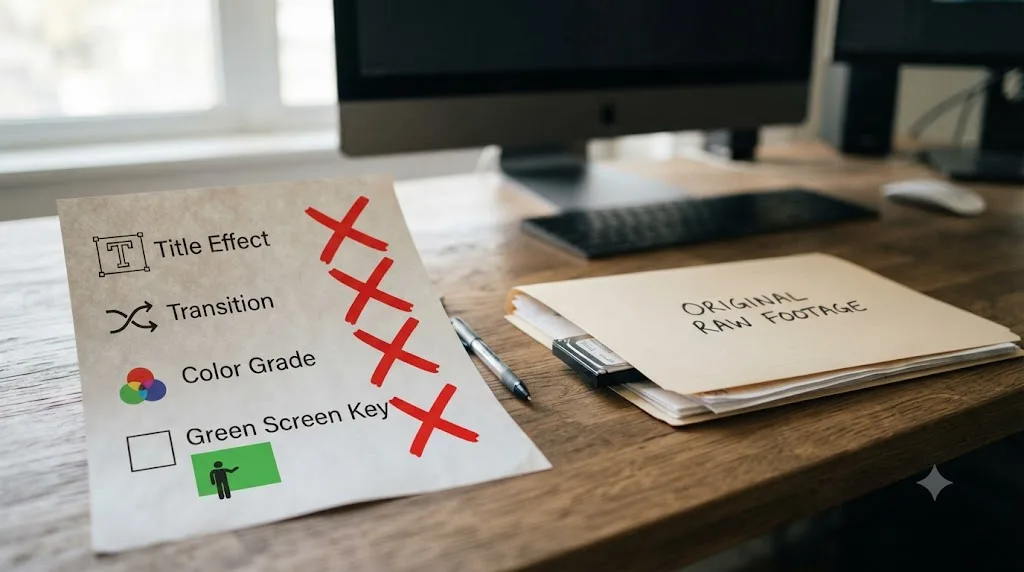
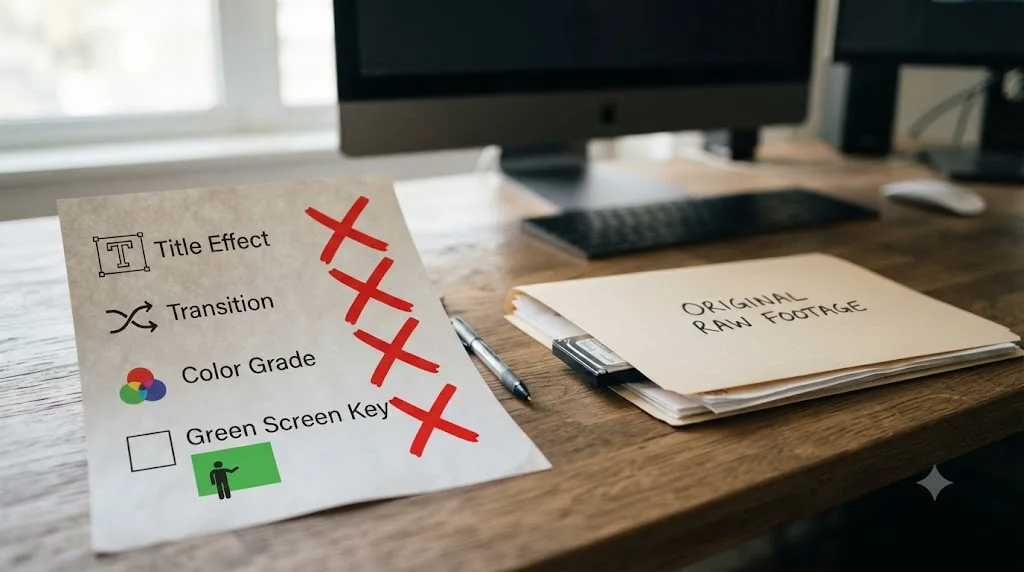
Titles built with iMovie's Theme system. These are iMovie-native graphics with no file format that travels anywhere else. Rebuild them using Resolve's Text+ tool on the Edit or Fusion page.
Transitions. Same story. iMovie's built-in transitions (dissolves, wipes, slides) exist only as iMovie's own rendering logic. Resolve ships its own transition library in the Effects Library's Transitions bin; you'll pick the closest visual match and reapply it.
Color adjustments made with the Color Correction panel or Color Balance buttons. These are iMovie-specific slider values with no export path. If your grade was simple (a white balance click, a saturation bump) this is a few minutes of rework once you know Resolve's Color Wheels. If you leaned on it heavily across a whole project, budget real time to rebuild it shot by shot.
Green screen and picture-in-picture composites. iMovie's Green/Blue Screen effect and Picture in Picture layering both exist as iMovie-only instructions layered on top of your clips, not as a file Resolve can read. Rebuild green screen with the Ultra Key effect or a Qualifier node; rebuild picture-in-picture by stacking clips on additional video tracks and adjusting a Transform or Sizing node.
Audio noise reduction and level adjustments. iMovie's per-clip noise reduction settings don't transfer as data, but the effect they had on your original audio is baked into iMovie's preview only, not your source files. Your original audio is unaffected and ready to be reprocessed inside Fairlight from scratch.
| What's lost | Why | How to rebuild it |
|---|---|---|
| Clip order and trims | No export format carries timeline structure | Manually recut against your finished export or original footage |
| Theme titles | iMovie-proprietary graphics, no shared file format | Rebuild with Resolve's Text+ tool |
| Transitions | iMovie-native rendering logic | Reapply from Resolve's Transitions bin |
| Color Correction / Balance adjustments | No node data, no export path | Rebuild manually with Color Wheels, Qualifiers, and Curves |
| Green screen and Picture in Picture | Composite instructions live only inside the iMovie project | Rebuild with Ultra Key, a Qualifier, or stacked video tracks |
| Audio noise reduction settings | Applied as a preview-time effect, not exported as data | Original audio is unaffected; reprocess in Fairlight |
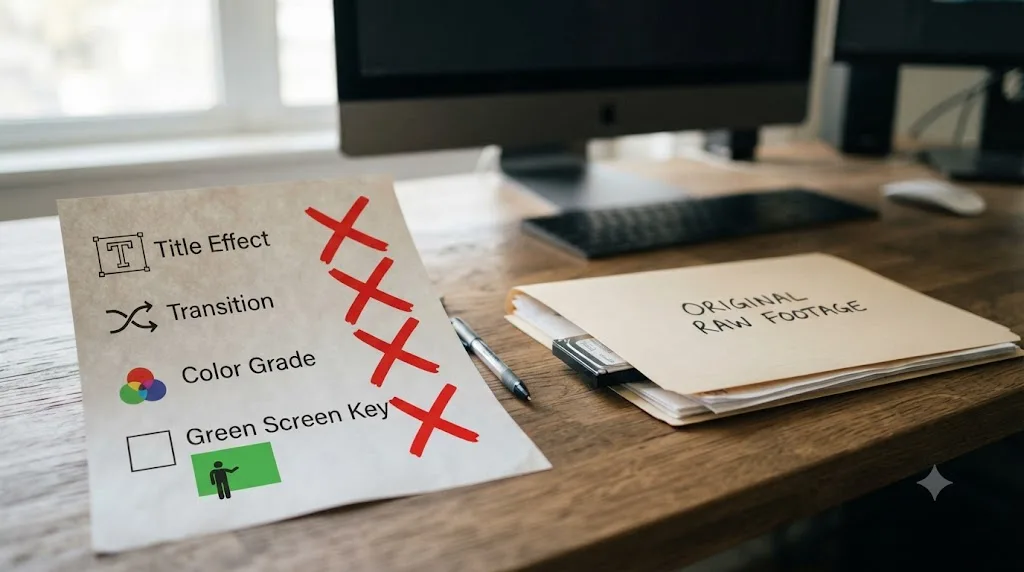
What does survive intact is the one thing that actually matters most: your original video and audio files. Nothing about switching to Resolve touches your camera-original footage. You're not starting the project over. You're starting the timeline over, on footage that's exactly as good as it was the day you shot it. That distinction is worth holding onto through the rebuild, because it's the difference between "I lost my work" and "I have to reassemble my work," and only one of those is true.
Where does DaVinci Resolve actually find your old iMovie footage?
Before you can rebuild anything, you need your original clips out of iMovie's storage system, and this trips up more new switchers than it should. iMovie doesn't store your video as loose files in a normal folder you can just browse in Finder. Everything lives inside a single package file with the .imovielibrary extension, typically sitting in your Movies folder, that bundles your raw clips, your Events, your Projects, and your app-generated preview files together into what looks to Finder like one file, according to FileInfo's breakdown of the format. It's genuinely one file from the outside and a full folder structure of files on the inside.
To get your original footage out, right click the .imovielibrary file in Finder and choose "Show Package Contents." That opens the internal folder structure, where your Events (and the raw clips inside them) live as individual, standard video files you can drag directly into DaVinci Resolve's Media Pool. If you originally imported footage from an SD card, a phone, or an external drive and never deleted the source afterward, that original location is often a cleaner and more reliably named source than digging through the library package, since iMovie sometimes renames or restructures files internally.
One practical snag worth knowing before you start: if you've ever moved your iMovie Library to an external drive (a common move once a library gets large, and something Apple's own support documentation covers directly), your original footage may be split across your internal drive and that external one. Check both before you assume a clip is missing.
Should you start free or pay for DaVinci Resolve Studio, coming from a free tool?
Start free, and this isn't a close call for someone coming from iMovie specifically. You're used to paying nothing, and DaVinci Resolve's free edition keeps that true for almost everyone in your position. Per Blackmagic's own tech specs page, the free edition supports the full Edit, Cut, Color, Fairlight, and Fusion pages and caps export resolution at Ultra HD (3840x2160). What it leaves out, per Blackmagic's Studio product page, is the DaVinci Neural Engine's automatic AI region tracking, stereoscopic tools, additional Resolve FX filters, additional Fairlight FX audio plugins, and advanced HDR grading.
| Feature | iMovie | DaVinci Resolve Free | DaVinci Resolve Studio |
|---|---|---|---|
| Price | Free | Free | $295 one time, no subscription |
| Max export resolution | Up to 4K | Ultra HD (3840x2160) | Unlimited |
| Node-based color grading | No | Yes | Yes |
| Fairlight audio page | No (basic per-clip tools only) | Yes | Yes |
| Fusion compositing | No | Yes | Yes |
| Neural Engine AI tools | No | No | Yes |
| Multi-user collaboration | No | No | Yes |
For a project made up of short social clips, home movies, or standard YouTube-length content, none of what Studio adds is likely to matter on day one. Save the $295 until you specifically hit a wall: exporting above 4K, needing a Studio-exclusive Neural Engine tool, or working with a team that needs Resolve's multi-user collaboration mode. Moving from one free tool to another free tool is the actual financial story of this switch, at least until your ambitions outgrow the free tier the same way they outgrew iMovie.
Which DaVinci Resolve page should a former iMovie editor start on: Cut or Edit?
Cut page, and this is a genuinely different recommendation than the one given to editors switching from Premiere Pro or Final Cut. Those switchers are typically pointed toward Resolve's Edit page, since its multi-track, project-panel-plus-timeline layout is the closest match to what a professional NLE already looks like. You're coming from somewhere simpler than that, and the Cut page is built to be simpler too.
The Cut page strips editing down to a source viewer, a single primary timeline, and a small, focused toolbar, deliberately built for fast, low-friction assembly rather than frame-precise multi-track work. It defaults to a dual-timeline view, a zoomed-out full timeline on top and a zoomed-in working section below, that has no iMovie equivalent, but its overall philosophy, get a rough cut down fast without hunting through menus, is the closest thing in Resolve to iMovie's own approach to a first pass. You won't find multiple video tracks demanding attention immediately, and you won't be staring at a full Inspector panel full of settings you don't recognize yet.
The Edit page is where you'll eventually do more precise, multi-track work: layering picture-in-picture shots, stacking titles on separate tracks, and fine-tuning trims frame by frame. It's more powerful and, correspondingly, busier. Move to it once basic cutting on the Cut page stops requiring conscious thought, the same rule that applies to every other page in Resolve.
The fastest way to feel productive in an unfamiliar application is to find the part of it built to feel like the thing you already know, and start there. For a former iMovie editor, that's the Cut page's fast, low-friction assembly mode, not the Edit page's fuller multi-track toolkit. Everything else, Color, Fairlight, Fusion, Deliver, and eventually the Edit page itself, can wait until that first layer feels automatic.
How does DaVinci Resolve's Color page compare to iMovie's Color Correction and Color Balance tools?
This is where the two applications stop feeling like variations on the same idea. iMovie's Color Correction panel, per Apple's own guide, is a fixed set of controls: a multislider for shadows, brightness, contrast, and highlights, a saturation control, and a color temperature control, plus separate Color Balance buttons for Auto, White Balance, and Skin Tone Balance. Every adjustment lives in the same panel, applied in a fixed order, to the whole frame at once.
Resolve's Color page is built entirely around nodes: discrete processing blocks you wire together in whatever order a shot actually needs. A primary correction node feeds into a qualifier isolating one color range, which feeds into a power window masking one part of the frame, which can run in parallel with an entirely separate node handling something else, all visible at once as a graph instead of hidden inside one panel. CrumplePop's comparison of the two apps frames the practical gap directly: iMovie offers "limited options that don't allow for a detailed color grade," while Resolve, even outside the Studio-only tools, has "more than enough options for beginner colorists" to genuinely isolate and adjust one part of a shot without touching the rest.
Take a concrete case: warming up a subject's skin tone without touching a blown-out sky in the same frame. In iMovie, there's no way to do this at all, since the Color Correction panel and Skin Tone Balance button both apply globally or auto-detect a single reference point, not isolate a region for independent adjustment. In Resolve, that's a Qualifier node isolating the skin tone, feeding a correction node, running parallel to a separate node handling the sky, both feeding into a final node before output. It's real setup work the first time. It's the exact capability gap that pushes editors past iMovie's color tools in the first place.
A fixed panel of sliders and a node graph aren't the same tool at two different skill levels. They're built on opposite assumptions about how a correction should work. iMovie assumes one adjustment, applied everywhere, in a fixed order. Resolve's Color page assumes multiple, independent adjustments that can run in isolation and recombine. Neither assumption is wrong for what each app is trying to be. Only one of them scales past a shot that needs more than one correction at once.
How does Fairlight compare to iMovie's audio tools?
There's no real contest, mostly because iMovie was never trying to compete on this ground. iMovie's audio editing, per Apple's own audio guide, covers volume adjustment, trimming, speed changes, and a Noise Reduction and Equalizer button that applies automatic background noise reduction per clip using a simple built-in algorithm. That covers a real and common need: clean up a slightly noisy clip, balance a music bed under dialogue, done.
Fairlight, described on Blackmagic's own Fairlight product page, is a complete digital audio workstation built into the same project file as your picture edit. It supports up to 2,000 tracks with realtime effects on a single system running Fairlight Audio Core, a full channel-strip mixer with faders, stereo and 3D panners, six effects slots per channel, a built-in 6-band parametric EQ and dynamics processing running on every track by default, and dedicated ADR and Foley recording tools built specifically for post-production sound work. iMovie has no dedicated audio workspace at all; Fairlight is an entire application's worth of tools sitting one tab away.
If your projects have never needed more than a clean dialogue level and a music bed that ducks appropriately, the practical gap won't hit you hard in week one, since iMovie's basic tools already cover that case reasonably well. If you're doing anything approaching a real mix, layered sound design, multiple dialogue tracks needing independent processing, or delivery specs beyond a casual upload, Fairlight is a materially deeper tool than anything iMovie ever offered, not a renamed version of a panel you already know.
Fairlight is a full audio post-production suite that happens to share a project file with your picture edit, not an audio tab bolted onto a video editor. That's the entire distinction, and it's a bigger jump for a former iMovie editor than for almost anyone else switching into Resolve, since iMovie's audio tools were the thinnest part of the app you're leaving behind.
Do iMovie's signature features have a home in DaVinci Resolve?
Some do, rebuilt from scratch with more control. Some genuinely don't exist in Resolve at all. It's worth knowing which is which before you go looking for a button that was never going to be there.
Magic Movie and Storyboards. These are iOS and iPadOS features, per Apple's own newsroom announcement, that auto-assemble a rough cut from selected photos and video, adding transitions, effects, and music automatically. iMovie for Mac doesn't even carry a native version of Magic Movie itself; per Apple's own guide, Mac updates only let you import a Magic Movie project that was created on iOS or iPadOS. Resolve has no equivalent feature in either direction. There's no one-tap auto-edit anywhere in the application; every cut is placed by a person.
Green/Blue Screen effect. iMovie's version, per Apple's chroma key guide, is a single pop-up menu choice with Softness, Crop, and Clean-up controls layered on top. Resolve rebuilds this as either the Ultra Key effect on the Edit page (fast, similarly simple) or a full Qualifier-based key on the Color page (slower, far more controllable for difficult lighting). Both exist; neither is a single dropdown menu item the way iMovie's is.
Picture in Picture and Cutaway. iMovie handles both by dragging a clip above another in the timeline, per Apple's support guide. Resolve does this with actual stacked video tracks and a Transform or Sizing node for positioning, which is more setup but also lets you animate, mask, and layer far more precisely than iMovie's fixed positioning presets allow.
Multicam. iMovie has no native multicam feature at all; switching between camera angles has always meant manually dragging a second camera's clip above the first and choosing Cutaway, trimmed by hand, shot by shot. Resolve's multicam tools go considerably further, with automatic clip syncing and dedicated angle-switching, a real capability gap rather than a renamed version of iMovie's cutaway workaround.
Themes. iMovie's Theme system bundles matched titles, transitions, and music into one applied style. Resolve has no bundled theme system; you build a consistent look manually from Text+ templates, the Transitions bin, and your own music choices, which takes longer the first time and gives you something entirely your own rather than a shared preset thousands of other iMovie users also picked.
| iMovie feature | Exists in Resolve? | What changes |
|---|---|---|
| Magic Movie / Storyboards | No | Every cut is placed manually; no auto-assembly feature exists |
| Green/Blue Screen | Yes, rebuilt | Ultra Key or Qualifier-based keying instead of one pop-up menu choice |
| Picture in Picture / Cutaway | Yes, rebuilt | Stacked tracks and Transform nodes instead of drag-and-drop presets |
| Multicam | Yes, more capable | Automatic sync and dedicated angle switching instead of manual cutaways |
| Themes | No direct equivalent | Manually build titles and transitions from Text+ and the Transitions bin |
What are the most common mistakes iMovie switchers make?
Most of these aren't about Resolve being hard. They're about carrying an iMovie-shaped expectation into a tool that doesn't share every one of iMovie's assumptions.
Looking for a project import option that doesn't exist. New switchers routinely spend their first session hunting through Resolve's File menu for an "Import iMovie Project" option. It isn't there, and it was never going to be, since iMovie never wrote an export format Resolve could read in the first place. Skip straight to importing raw footage instead of losing an hour to this search.
Trying to find iMovie's sliders inside the Color page. Editors who look for a single fixed panel matching iMovie's shadows-brightness-contrast-highlights layout end up frustrated by a node graph that doesn't work that way. The node model takes a genuine mental shift; give it real time on a low-stakes shot before you touch a real deadline's grade.
Assuming Resolve's free tier is more limited than it actually is. A surprising number of former iMovie users assume they need to pay $295 immediately just to access basic color or audio tools. They don't. The free edition includes full Color, Fairlight, and Fusion access; the paywall only affects export resolution above Ultra HD and a specific set of AI and collaboration features.
Not locating the original footage before starting. Diving into Resolve without first extracting your raw clips from the .imovielibrary package (or finding the original source folder) leads to an empty Media Pool and a stalled first session. Do this step before you even open Resolve for the first time.
Rebuilding the whole project from memory instead of against the finished export. Skipping a reference copy of your finished iMovie export means reconstructing your cut order purely from memory, which is slower and more error-prone than it needs to be. Export your finished iMovie project as a video file first, then use it as a visual reference while you rebuild the timeline in Resolve.
Trying to learn Color, Fairlight, and Fusion all at once. iMovie never asked you to learn three genuinely separate disciplines at the same time, because it never had three separate pages for them. Treating Resolve's depth as one thing to "get used to" instead of three distinct skills to build one at a time is the single most common source of switcher burnout.
| Mistake | What actually happens | Fix |
|---|---|---|
| Hunting for a project import option | Wasted time in Resolve's File menu | Go straight to importing raw footage; no import option exists |
| Looking for iMovie's sliders in the Color page | Frustration with a node graph that doesn't work that way | Learn the node model deliberately on a low-stakes shot |
| Assuming the free edition is too limited | Paying $295 before it's actually needed | Start free; Color, Fairlight, and Fusion are all included |
| Skipping the raw footage extraction step | An empty Media Pool and a stalled first session | Extract clips from the .imovielibrary package before opening Resolve |
| Rebuilding purely from memory | Slower, error-prone reconstruction of the cut | Export your finished iMovie project first as a visual reference |
| Learning Color, Fairlight, and Fusion simultaneously | Burnout from three new disciplines at once | Learn one page at a time, moving on only once it's automatic |
Every mistake on that list shares a root cause: assuming Resolve inherited iMovie's assumptions along with some of its vocabulary. It didn't, on purpose, because the two apps are solving genuinely different problems for genuinely different users, and the gap between them is exactly where a new switcher loses the most time if nobody names it upfront.
How long does it actually take to feel comfortable in DaVinci Resolve after iMovie?
It depends heavily on which page you're measuring, more so for a former iMovie editor than for someone switching from a professional NLE. Basic cutting on the Cut page is the fastest part to relearn, since its stripped-down, fast-assembly design is deliberately closer to iMovie's own simplicity than any other part of Resolve. Most new switchers describe feeling functional there within days rather than weeks, since the underlying idea, drag a clip onto a timeline and trim it, is exactly what iMovie already taught you.
Color and Fairlight don't get that same head start, and this is the part where a former iMovie editor's timeline diverges most sharply from a Premiere or Final Cut switcher's. You're not relearning a renamed version of a tool you already used; iMovie's Color Correction panel and basic audio controls simply don't have a deeper equivalent to draw muscle memory from. You're learning node-based color grading and multi-track audio mixing as genuinely new skills, the same ones anyone coming from any background has to learn from scratch.
| Skill area | Typical time to basic comfort | Why |
|---|---|---|
| Cutting on the Cut page | Days to a couple of weeks | Closest match to iMovie's own simplicity and workflow |
| Locating and organizing raw footage | A single session | One-time extraction step, not an ongoing skill |
| Color page (node-based grading) | Several weeks to a few months | Entirely new mental model; no iMovie equivalent to build from |
| Fairlight (audio mixing) | Several weeks | iMovie's audio tools cover almost none of the same ground |
| Fusion (compositing) | Weeks to months | The steepest curve of any page; comparable to learning a dedicated compositing app |
| Deliver page and export settings | A few hours | Conceptually similar to iMovie's Share function, just with more options |
The honest shape of this switch is one fast win followed by three separate, genuinely new skills to build at your own pace. Budgeting your first month around cutting getting comfortable quickly, while Color and Fairlight take real, dedicated time, sets expectations far more accurately than treating "learning DaVinci Resolve" as one single hill to climb.
What's the best way to learn DaVinci Resolve fast after switching from iMovie?
There's an honest, well-worn consensus on this, and it's worth naming plainly rather than pretending no other resources exist. Blackmagic Design publishes a full free training curriculum, six books deep, covering editing, color, Fairlight audio, and visual effects, downloadable from its own training page with lesson project files attached. It's ground truth, written by the people who built the software, and it's the right first stop for pure vocabulary questions: what a term means, where a category of tool generally lives.
YouTube channels built specifically around Resolve, Casey Faris among the most consistently recommended, cover real workflows at no cost and are worth working through in parallel with hands-on practice. Reddit's r/DaVinciResolve community is reliable for troubleshooting a specific, reproducible error, the kind of problem with one correct technical answer rather than a judgment call. A structured paid course, on Udemy or elsewhere, adds a fixed curriculum and a sense of order for someone who wants a syllabus rather than assembling one themselves from free resources.
None of those resources, free or paid, can see your specific project. They teach a demo clip, chosen because it behaves predictably, not your actual footage with your actual lighting problem or your actual audio issue. That's the exact gap a category of AI tools built specifically for Resolve has started to target, and it's worth naming honestly rather than pretending the free training and YouTube alone solve everything.
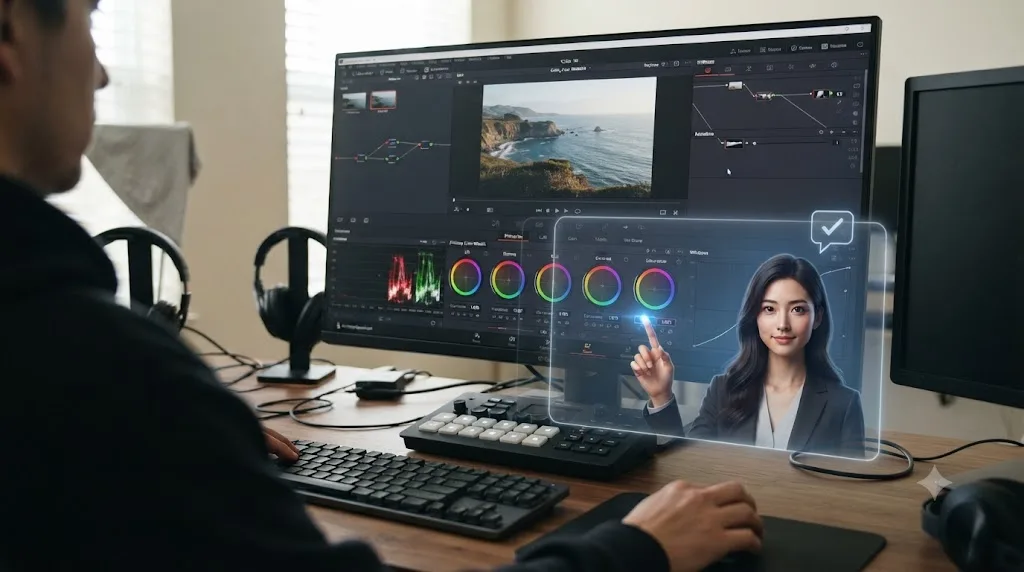
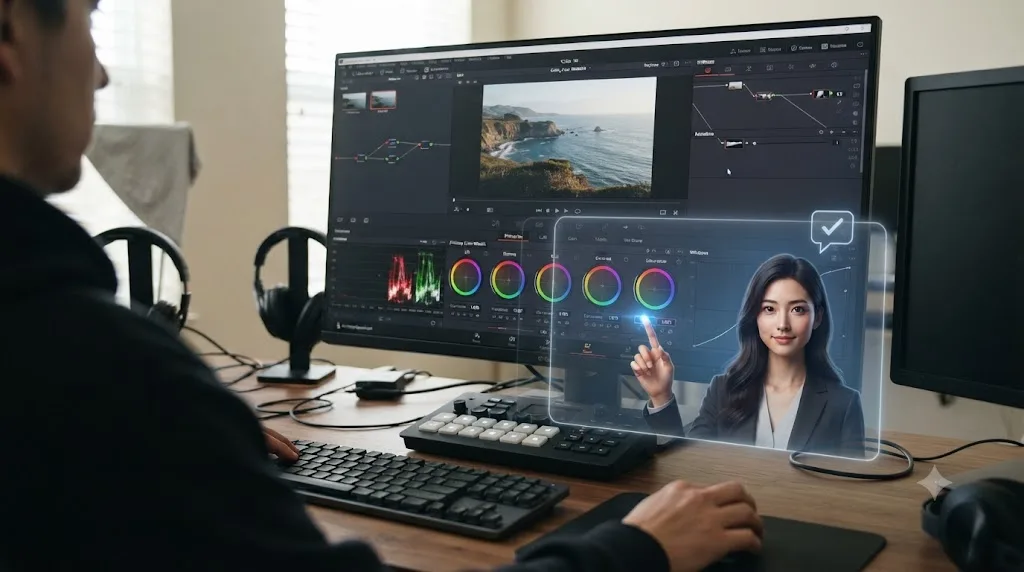
TryUncle is the on-screen assistant for DaVinci Resolve on macOS, ask in plain words and Uncle points at the exact control on your screen. Built specifically for editors mid-project, it doesn't ask you to pause, open a browser, and describe your problem to a chatbot that's never seen your timeline. It watches your Resolve session and points directly at the button, node, or panel you're actually asking about, live, inside the Edit, Color, and Fusion pages.
| Resource | Best for | Limitation for a former iMovie editor |
|---|---|---|
| Blackmagic's free training | Ground-truth vocabulary and structured fundamentals | Can't see your specific footage or your specific mistake |
| YouTube (Casey Faris and similar channels) | Real workflows demonstrated for free | Same demo-clip gap every tutorial shares |
| Reddit r/DaVinciResolve | Troubleshooting a specific, reproducible error | Slow, and only useful for problems with one clear technical answer |
| A structured course (Udemy) | A fixed syllabus if you want someone else's order | Still a video; can't react to your own project live |
| TryUncle | Live correction on your own project, inside the app | Paid, macOS only |
For someone switching from iMovie specifically, that live correction matters more than it might for a switcher from a professional NLE, precisely because you're relearning more from scratch. You're not asking "where did my old Premiere shortcut move." You're asking "what's the Resolve version of the thing iMovie used to do for me automatically," and that's exactly the kind of specific, in-context question an in-app tutor answers faster than a search or a forum thread ever will.
Can an assistant make the switch faster than tutorials alone?
Watching a tutorial teaches you what someone else already knows how to do, performed on their project, with their footage, chosen because it cooperates. It doesn't put your hands on your own timeline, mid-rebuild, staring at a node graph you've never touched, trying to remember which of Resolve's seven pages you're even supposed to be on for the task in front of you. That gap between watching and doing is exactly where the real friction in a switch from iMovie actually lives.
TryUncle is built around closing that specific gap. It's macOS-only, and it's $34.99 a month, cancel anytime; see TryUncle for full details. It's worth being direct about that upfront: it's a paid subscription, not free and not a trial gimmick, the same way it's worth being direct that iMovie cost you nothing and this is a genuinely different financial relationship with your editing software.
It's also worth being straightforward about where TryUncle sits next to the other AI tools showing up around DaVinci Resolve, since an honest comparison beats a sales pitch. Tools like CutAgent, Sottocut, Eddie AI, and PremiereCopilot all promise AI assistance around DaVinci Resolve or Premiere Pro workflows, but they're built to execute edits or answer chat-based questions about your footage, automating a task rather than teaching you where things actually live. If you let one of them cut or organize your timeline for you, that's a legitimate trade for speed against a deadline. It doesn't build the specific muscle memory a former iMovie editor actually needs while relearning where a familiar concept now lives inside an unfamiliar, much deeper page. TryUncle doesn't touch your timeline. It watches, and it points, the same way a mentor looking over your shoulder would, without you needing to describe your problem in a paragraph to a chatbot first. Our full roundup of the AI tools available for learning DaVinci Resolve covers the wider category, including ChatGPT and Claude, if you want the complete landscape before deciding what to add to your own workflow.
The best AI tool for learning a new application isn't the one that knows the most about it in the abstract. It's the one that can see the specific thing you're actually stuck on, right now, in your own project. That's the whole argument for an in-app tutor over a general chatbot during a switch like this: the exact context you'd otherwise have to type out in a paragraph, which page you're on, what your timeline looks like, what you already tried, is context TryUncle simply has, because it's watching the same screen you are.
What's the step-by-step plan for switching from iMovie to DaVinci Resolve?
Here's the full sequence in order, pulling everything above into one plan instead of a dozen sections to remember separately.
- Install DaVinci Resolve and start on the free edition. It covers editing, color, Fairlight, and Fusion up to Ultra HD export, which is enough for almost anyone switching from iMovie. Upgrade to the one-time $295 Studio license later only if you specifically need higher export resolutions or Neural Engine AI tools.
- Find your original footage, not just your iMovie Library. Right click your
.imovielibraryfile and choose Show Package Contents, or locate the original source folder you first imported from. Those raw files, not the iMovie project itself, are what you're bringing into Resolve. - Import your raw clips into Resolve's Media Pool. Create a new project, drag your original video files into the Media Pool on the Cut or Edit page, and organize them into bins the way you'd organized iMovie Events.
- Rebuild your cut on the Cut page first. Its simplified, fast-assembly toolset sits closer to iMovie's own simplicity than Resolve's full multi-track Edit page does. Reference your finished iMovie export as you go so you're rebuilding from a real sequence, not memory.
- Recreate titles, transitions, and green screen natively in Resolve. None of iMovie's Theme titles, transitions, or composites carry over. Rebuild titles with Text+, transitions from the Transitions bin, and green screen with Ultra Key or a Qualifier node.
- Learn the Color page as a genuinely new skill, not a bigger slider panel. Don't hunt for iMovie's shadows-brightness-contrast layout inside Resolve's node graph. Learn primary correction, then a qualifier, then a power window, one at a time, on your own footage.
- Move basic mixing into Fairlight once cutting feels normal. iMovie's audio tools handled volume, trims, and per-clip noise reduction. Fairlight is a full mixing console. Save it for once the Cut page and basic color no longer take conscious effort.
Do these roughly in order and most of the friction covered in this guide happens on your terms, before a deadline, rather than during one. The switch from iMovie isn't about leaving something bad. It's about outgrowing something that was never built to grow with you, and the plan above front-loads every place that outgrowing shows up, so you hit it once, deliberately, instead of discovering it piece by piece on a real project.
Should you actually make the switch?
If you've started running into iMovie's ceiling, wanting a color grade it can't do, audio depth it doesn't have, or a project bigger and more layered than a single-track timeline can comfortably hold, yes. And the mechanics covered here are the actual, concrete cost of that decision, not a vague "learning curve" a comparison chart can wave away with a single star rating. Expect a genuinely fast on-ramp for basic cutting on the Cut page, since it's the one part of Resolve deliberately built to feel closer to what you already know. Expect a real, separate investment in Color and Fairlight specifically, since iMovie never gave you anything to build muscle memory from in either area.
None of that investment is wasted, and none of it means iMovie failed you. iMovie did exactly what it was built to do: get you editing in an afternoon, for free, with no menu deep enough to get lost in. You're trading that immediacy for depth, in color, in audio, in compositing, and for almost everyone who makes this particular jump and sticks with it, that trade holds up well past the frustrating first weeks of not knowing where anything moved to. If our DaVinci Resolve learning roadmap for beginners sounds like the next thing you need once the basics of this switch settle in, that's the right place to go from here. Extract your footage, start on the Cut page, and give Color and Fairlight the dedicated time they actually need, rather than the time a five-minute comparison video implied they'd take.
Frequently asked questions
- Can you import an iMovie project directly into DaVinci Resolve?
- No. iMovie has no XML, AAF, or EDL export option of any kind, so there's no interchange file for Resolve to read. The practical path is to locate your original video files, either in the iMovie Library package or wherever you first imported them from, and bring those raw clips into Resolve's Media Pool, then rebuild your cut, titles, and effects natively inside Resolve.
- Is DaVinci Resolve harder to learn than iMovie?
- Yes, honestly, and pretending otherwise does new switchers no favors. iMovie is built for a five-minute first edit with almost no menu depth. DaVinci Resolve splits into seven pages (Media, Cut, Edit, Fusion, Color, Fairlight, Deliver) and exposes node-based color grading and a full digital audio workstation. Basic cutting comes back within a couple of weeks; Color and Fairlight take real, separate practice since iMovie has no equivalent to either.
- Where is my footage after I switch, since iMovie doesn't use regular folders?
- iMovie stores your media inside a single package file with the .imovielibrary extension, usually sitting in your Movies folder, that bundles your clips, photos, and project data together rather than as separate files you can browse normally. Right click the library file and choose Show Package Contents to find the original video files inside it, then drag those into DaVinci Resolve's Media Pool.
- Do iMovie's Magic Movie and Storyboards features exist in DaVinci Resolve?
- Not in the same automatic, one-tap form. Magic Movie and Storyboards are iOS and iPadOS features that auto-assemble a rough cut from selected photos and clips, and iMovie for Mac doesn't even carry a native version of Magic Movie itself. DaVinci Resolve has no equivalent one-click auto-edit; every cut, transition, and title in Resolve is placed by hand or built through its own tools, which is slower on day one and far more controllable after that.
- What's the best way to learn DaVinci Resolve fast after switching from iMovie?
- Pair one short orientation video, from Blackmagic's own free training or a channel like Casey Faris, with hands-on practice on your own footage rather than a demo clip. Reddit's r/DaVinciResolve is reliable for troubleshooting specific errors. A paid course like Udemy's helps with structure. None of those can see your actual project, which is the gap an in-app assistant like TryUncle is built to close.
- Does DaVinci Resolve cost more than iMovie?
- iMovie is free with no paid tier at all. DaVinci Resolve's free edition is also free and covers editing, color, Fairlight audio, and Fusion compositing up to Ultra HD export, which is enough for almost anyone switching from iMovie. DaVinci Resolve Studio adds unlimited export resolution and Neural Engine AI tools for a single $295 payment with no subscription, which only matters once you're delivering above 4K or need Studio-only effects.
- Is TryUncle worth it for someone switching from iMovie specifically?
- It's built for exactly this gap: you know how to finish a video, you just don't know where iMovie's version of a tool moved to inside Resolve's seven pages. TryUncle is a paid macOS app at $34.99 a month, cancel anytime. It watches your Resolve session and points at the control live, which answers 'where did that go' faster than searching a manual.
Sources
- Blackmagic Forum - Bring iMovie project into DaVinci Resolve?
- Export iMovie Timeline? (Apple Community, reply from Rich839)
- iMovie (App Store product page)
- .IMOVIELIBRARY File Extension (FileInfo)
- DaVinci Resolve - Tech Specs (Blackmagic Design)
- DaVinci Resolve - Studio (Blackmagic Design)
- DaVinci Resolve - Fairlight (Blackmagic Design)
- DaVinci Resolve - Fusion (Blackmagic Design)
- DaVinci Resolve Training (Blackmagic Design)
- DaVinci Resolve vs. iMovie: Which Is the Better Free Video Editing Software?, by Declan Kirkwood (MakeUseOf)
- DaVinci Resolve vs iMovie: Let's find out which one is Best! (CrumplePop)
- Is iMovie a Good Video Editor? (Shotkit)
- From iMovie to DaVinci Resolve, by Sze(Z) Wong (Medium)
- Create a green-screen effect in iMovie on Mac (Apple Support)
- Adjust a clip's color in iMovie on Mac (Apple Support)
- Correct and enhance audio in iMovie on Mac (Apple Support)
- Create a picture-in-picture effect in iMovie on Mac (Apple Support)
- Create a Magic Movie project in iMovie on iPad (Apple Support)
- Apple introduces new version of iMovie featuring Storyboards and Magic Movie (Apple Newsroom)
- CutAgent (product site: features, pricing, FAQ)
- Sottocut (product site: features, pricing, platform requirements)
- Eddie AI for DaVinci Resolve (native integration workflow page)
- PremiereCopilot pricing
- TryUncle
Learn by doing, not watching
Stop translating tutorials to your timeline.
TryUncle stays beside Resolve on Mac and Windows. When you ask, Uncle sees your screen and points at the exact control you need. No hunting through tabs, timestamps, or mismatched tutorials.
Meet TryUncleKeep reading
 GuidesJul 15, 202639 min read
The DaVinci Resolve Learning Roadmap for Beginners
The right order to learn DaVinci Resolve: Cut or Edit, then Fairlight, Color, and Fusion, checked against Blackmagic and Ripple Training's own paths.
 ComparisonsJul 11, 202626 min read
The Best AI Tools to Learn DaVinci Resolve in 2026
ChatGPT, Claude, Blackmagic's free training, Recut, and Resolve's Neural Engine compared for learning DaVinci Resolve, and the gap none of them close.
 GuidesJul 13, 202645 min read
TryUncle for Complete DaVinci Resolve Beginners: A Full Guide
How TryUncle helps a complete DaVinci Resolve beginner with the four-page layout, node-based color grading, and timeline basics, live inside the app.