
Learn / DaVinci Resolveupdated for DaVinci Resolve 21.0.4 (September 2026)
How to Make a Fusion Composition Reusable in DaVinci Resolve
Quick answer
To make a Fusion composition reusable in DaVinci Resolve, turn its nodes into a macro, expose only the controls you need, save the .setting file in the correct Fusion Templates folder, restart Resolve, then drag the template from the Effects Library. Use a referenced composition instead when you need linked updates across clips.
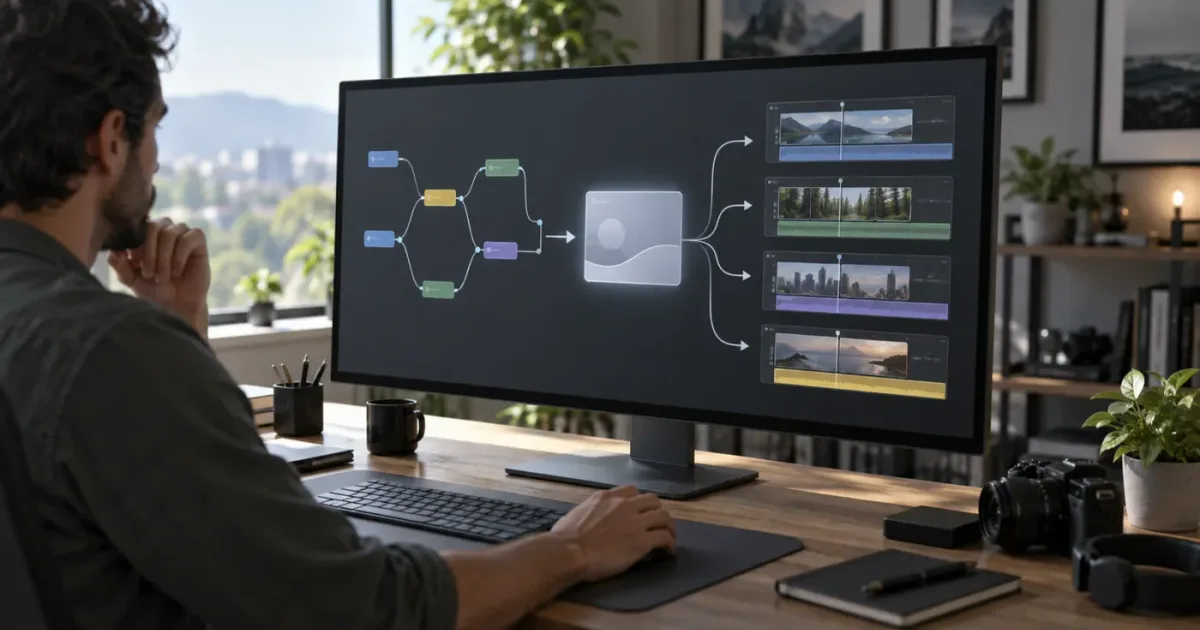
I used to treat a finished Fusion composition as reusable because it looked reusable. That was the trap. A node tree can work perfectly in one timeline and still fail the moment you drag it into another project.
The reliable approach is to decide what kind of reuse you actually need, remove hidden project dependencies, expose a small set of useful controls, and test the saved result outside the original composition. As of September 2026, this guide targets DaVinci Resolve 21.0.4 and explains the folder behavior that still matters when you open the same work in Resolve 20.
TryUncle is the on-screen assistant for DaVinci Resolve on Mac and Windows — ask in plain words and Uncle points at the exact control on your screen.
After seven years of professional commercial video editing, and after teaching more than 100,000 students on Udemy as an official Udemy Business Partner, we’ve learned that the difficult part is rarely clicking Create Macro. The difficult part is choosing the right container before you save.
What does “reusable” mean in DaVinci Resolve?
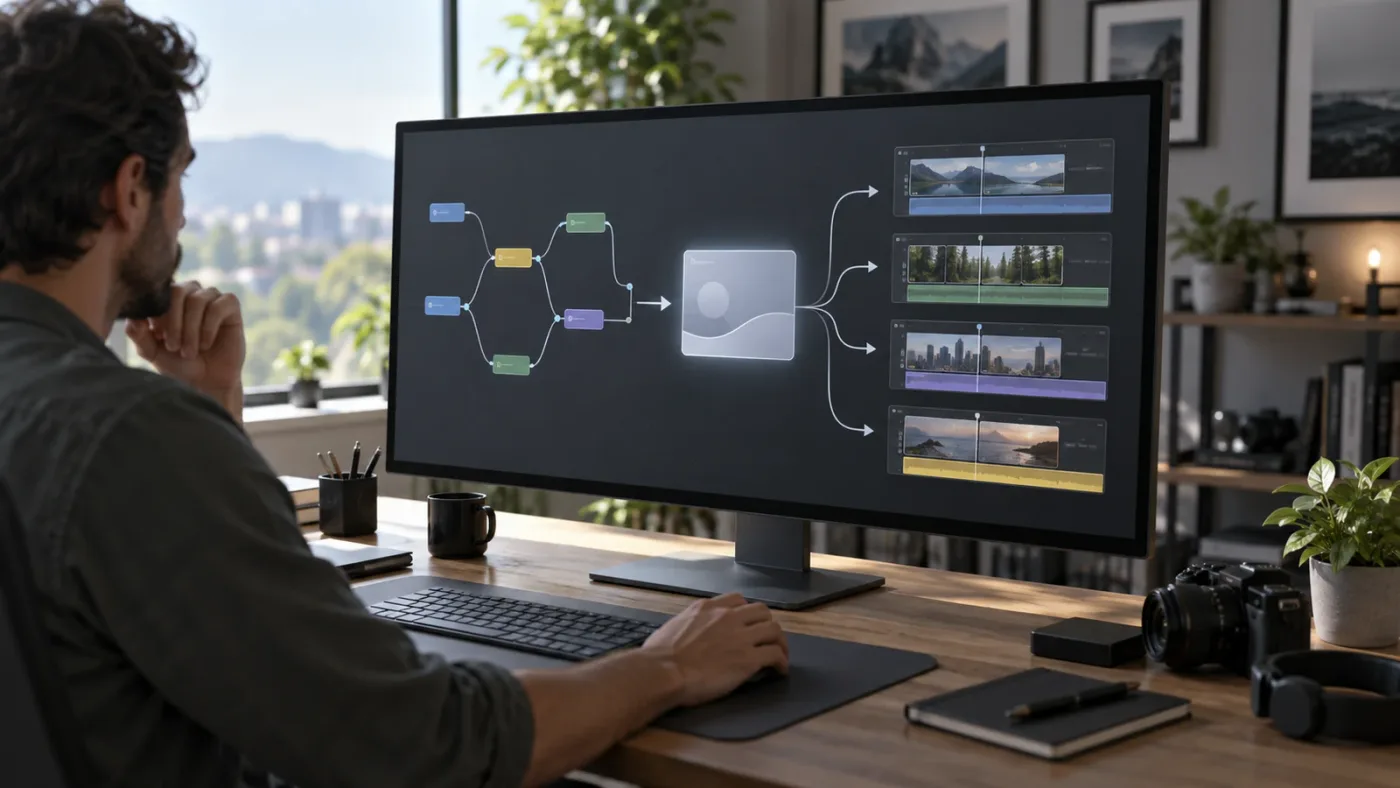
A reusable Fusion composition is a saved piece of node-based work that can be applied again without rebuilding the node tree. In practice, “reusable” can mean four different things: reusable inside one comp, reusable across clips in one project, reusable across projects on one computer, or portable to another editor’s computer.
Those four meanings lead to different tools. A group or macro is a compact node package. A Fusion template is a macro placed where the Edit page can find it. A referenced composition is a shared composition that several clips can link to. A Power Bin is a project-library location for assets you want available to other projects in that library.
The first decision saves more time than any shortcut. If the decision is wrong, the template may appear to work while hiding the exact dependency that breaks it later.
The official Fusion manual describes macros as building blocks for frequently used compositing work and also explains that the same macro system creates Generator templates for the DaVinci Resolve Edit page. Blackmagic’s Fusion page describes the practical sequence as building a composition, saving it as a macro, choosing visible parameters, and saving it in the correct location. (Fusion 20.3 Reference Manual; Blackmagic Design Fusion)
A reusable Fusion composition is a design decision about ownership, inputs, controls, and storage, not merely a saved node graph.
Which reusable Fusion method should you choose?
Use the following matrix before opening the Macro Editor. The “best” method is the one that preserves the relationship you need after the first save.
| Your actual need | Best starting point | Where the work lives | What changes later | Main risk |
|---|---|---|---|---|
| Repeat a small node recipe inside Fusion | Group or Fusion macro | The current composition or a Fusion macro folder | You edit the group or macro and insert it again | It may expose too many internal details or be hard to distribute |
| Drag a self-contained graphic onto clips | Fusion Effect template | Edit page Effects template folder | Each applied instance can have its exposed controls changed | A source clip or external asset may be hard-coded into the template |
| Create a title with editable text | Fusion Title template | Edit page Titles template folder | Text, font, color, animation, and other selected parameters can appear in Inspector | The title may be saved into the wrong category or depend on MediaIn |
| Create a generated background or animated graphic | Fusion Generator template | Edit page Generators template folder | Exposed parameters can be changed per timeline instance | A generator that needs clip media is the wrong architecture |
| Reuse two-input motion between adjacent clips | Fusion Transition template | Edit page Transitions template folder | Duration and selected controls change on the timeline | The transition needs both MediaIn nodes and must be built for that input model |
| Keep one Fusion setup synchronized across several clips | Referenced composition | Media Pool, optionally in a Power Bin | One linked composition can update connected clips | It is less portable than a self-contained template and can carry media assumptions |
| Preserve a complete reusable item for one project library | Fusion Composition in a Power Bin | Power Bins in the Media Pool | You can bring it into another project in the same library | The composition can still contain project-specific media references |
| Duplicate a finished result without shared updates | Copy or duplicate the nodes or clip | The destination composition or timeline | Each copy can be changed independently | Fixes made to the original do not propagate |
Blackmagic’s documentation describes referenced compositions as compositions that can be linked to other clips and updated across those linked clips. The same documentation says Power Bins are available across projects in the current Project Library. Those are useful distinctions: a reference is a shared relationship, while a Power Bin is a storage and organization choice. (DaVinci Resolve 19 New Features Guide; DaVinci Resolve 18 Editor’s Guide)
Macros are for portable interfaces, referenced compositions are for shared updates, and Power Bins are for project-library storage.
If you’re deciding between an adjustment clip and a Fusion composition for an effect that should sit above several clips, read DaVinci Resolve Adjustment Clip vs Fusion Composition before you build the template. The two choices can look similar in the timeline, but they do not create the same input and reuse behavior.
Should you use a macro, a referenced composition, or a Power Bin?
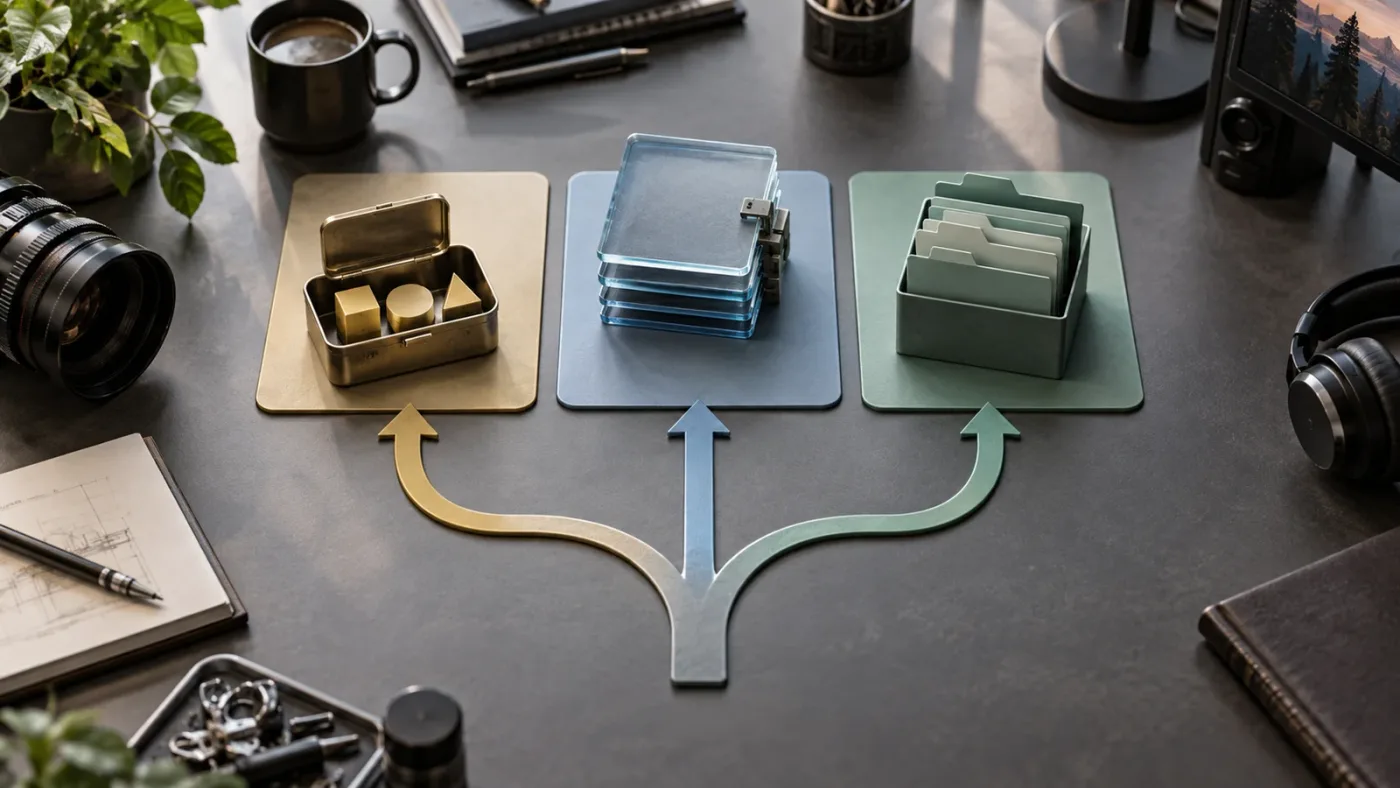
Use a macro when you want a portable, repeatable tool with a controlled Inspector interface. Use a referenced composition when the same underlying Fusion graph must update several linked clips. Use a Power Bin when you need a project-library home for reusable media or compositions, but do not mistake storage for portability.
The three options solve different problems, so comparing them as if they were competing file formats creates confusion.
When is a macro the right choice?
A macro is the right choice for a title, effect, generator, or transition that another editor should be able to apply from the Edit page Effects Library. A macro collapses selected Fusion nodes into a reusable tool and lets you choose which parameters appear as controls.
The Macro Editor is not a place to expose every parameter simply because it is available. It is an interface-design step. If the user only needs to change text, text color, accent color, and animation scale, expose those four things. Hide the node graph’s internal blur quality, merge order, mask softness, and helper expressions unless the user truly needs them.
Blackmagic’s Fusion 21 page says the updated Macro Editor includes an Inspector view for setting up, formatting, and publishing macros. That matters in Resolve 21 because a template’s control surface is part of the reusable asset, not an afterthought. (DaVinci Resolve 21 What’s New)
Macros are also the better boundary when you want to hand a graphic to a colleague without asking that colleague to understand your entire node tree. The graph stays behind the tool interface. The user sees the controls you selected.
When is a referenced composition the right choice?
A referenced composition is the right choice when you want several timeline clips to share one Fusion composition and receive the same later changes. It is especially useful for a repeated logo replacement, a brand treatment, or a multi-layer composite that needs a coordinated update.
Blackmagic’s Resolve 19 New Features Guide says you create one by selecting overlapping timeline clips, choosing Create Referenced Fusion Composition, and then linking the referenced composition to other target clips. It also says changes are applied across the connected clips because they refer to the same composition. (DaVinci Resolve 19 New Features Guide)
The tradeoff is deliberate coupling. A referenced composition is powerful because it is shared. That same shared relationship makes it a poor replacement for a portable title template. If one episode needs a variation, either duplicate the referenced composition for a new version or choose a macro whose instances can diverge independently.
Sam Steti, answering a reusable Fusion composition question in the Blackmagic Design forum, calls a “fusion reference composition” “the more powerful and flexible option” for a personal motion-graphics setup. That is useful advice when synchronized updates matter, but it is not a reason to use a reference for every project. (Blackmagic Design forum discussion)
When does a Power Bin help?
A Power Bin helps when you want an item to be available across projects in the same Project Library. It does not magically turn a project-dependent Fusion composition into a fully self-contained template.
The DaVinci Resolve Editor’s Guide describes Power Bins as a separate bin type whose contents appear in every project within the current database or Project Library, depending on the version’s terminology. It specifically lists graphics, titles, sound effects, and music as reusable examples. (DaVinci Resolve 18 Editor’s Guide)
For a Fusion Composition in a Power Bin, ask two questions before you rely on it:
- Does the composition need the original project’s MediaIn, timeline resolution, metadata, or frame range?
- Will the destination project have access to every still, font, plug-in, and external file the graph expects?
If the answer to either question is yes, the Power Bin has solved discoverability but not dependency management. You still need to test the item in a clean destination project.
What should you clean before saving the Fusion composition?
Clean the composition before creating the macro. A reusable node graph should have a clear output, predictable timing, intentional inputs, readable node names, and no accidental references to the project that created it.
This is the stage where a five-minute cleanup prevents a thirty-minute relink session.
Define the asset’s input model
Write one sentence that explains what the asset expects:
- “This is a generated lower third. It needs no source clip.”
- “This is a one-input effect. It modifies the clip it is applied to.”
- “This is a two-input transition. It needs the outgoing and incoming clips.”
- “This is a three-layer composite. It expects three timeline layers in a defined order.”
- “This is a reference composition. It links several clips to one shared graph.”
If you cannot write that sentence, the graph is not ready to be reused. The input model determines whether the correct asset is a Generator, Effect, Title, Transition, or referenced composition.
In a normal single-clip Fusion page, the MediaIn node represents the image brought from the timeline and MediaOut sends the processed result back to the Edit page. That is why a node tree that works on one selected clip is not automatically a generator or a portable effect. (Getting Started with Fusion in DaVinci Resolve)
Remove accidental project media
Look for MediaIn nodes, imported stills, loaders, expressions that refer to clip metadata, and paths that point to a personal drive. Any of these can be legitimate. The problem is accidental dependence.
For a generated title, a logo or background image may be part of the design. Decide whether you want that asset embedded as a reusable resource, supplied beside the template, or replaced by a user-controlled input. Do not leave the decision implicit.
For a clip effect, keep the timeline’s MediaIn as the input the effect is designed to receive. For a generator, do not build the visible result around a random clip from the original timeline. For a transition, keep the correct two-input structure and test the edit point.
The Blackmagic forum’s discussion of Fusion composition types warns that MediaIn references can depend on a project-specific database ID. The same discussion recommends using Loader nodes for deliberately external assets in reusable effects, with the important limitation that video footage should not be treated like a freely portable still sequence. Treat that forum explanation as a practical warning, then test the exact asset you plan to ship. (Fusion composition types and storage)
Decide what the user is allowed to change
Every exposed parameter becomes part of the template’s public interface. Once people start using the template, removing or renaming a control can make old projects harder to update.
Expose controls that answer editorial questions such as text, brand color, placement, scale, animation state, or input layer. Keep merge order, blur samples, helper expressions, and matte plumbing inside the graph. This separation turns a complex Fusion composition into a useful tool rather than a frozen screenshot made of nodes.
How do you make a Fusion composition reusable as a macro?
To make a Fusion composition reusable as a macro, select the nodes that belong to the reusable tool, choose Macro > Create Macro, select the parameters that should appear in Inspector, and save the resulting .setting file as the correct Edit page template type.
The exact node selection depends on the template type. The save dialog is not a universal “make reusable” button. It writes a file whose folder determines where Resolve presents the tool.
Step 1: Build a representative test composition
Start with the real kind of content the template will receive. Test a lower third over motion and a flat background, an effect on different movement and contrast, and a generator in an empty Fusion composition. Do not polish against one convenient frame. A graph can look correct at frame 0 and fail later because an animation, expression, or mask has no valid range.
If the asset should stretch when the timeline clip gets longer, design for duration changes instead of assuming the original keyframes will behave as desired. DaVinci Resolve 21 adds animation curve modifiers that can retime some animations when a Fusion title or effect changes duration, but test the parameters you expose. (Fusion 21)
Step 2: Select the correct nodes
Select only the nodes that belong in the reusable tool. If the composition includes temporary viewers, debug nodes, reference notes, or an alternate output that should not ship, leave them out.
The selection rules differ by template type:
| Template type | Node selection principle | Why |
|---|---|---|
| Title | Select the graphic nodes that create the title. Do not casually include the source clip path from the original timeline. | A title is normally a graphic you place over footage and edit with title controls. |
| Generator | Include the generated graphic’s output structure, including the required MediaOut for the Edit page generator workflow. | The generator must create its own image rather than depend on a source clip. |
| Effect | Include the nodes that modify the clip input and return the result to the output. | The effect needs the timeline clip as its input. |
| Transition | Include the two MediaIn nodes and the MediaOut node. | The transition must receive the outgoing and incoming clips. |
| Fusion-only macro | Select the internal node recipe you want to insert in another Fusion graph. | It is a node-building block, not necessarily an Edit page asset. |
The Fusion manual states that a Generator includes MediaOut, while a Transition includes two MediaIn nodes and MediaOut. Titles and internal Fusion macros use a different selection model, so follow the asset type you are creating. (Fusion 20.3 Reference Manual)
Step 3: Open Create Macro
Right-click one of the selected nodes in the Fusion Node Editor. Choose Macro, then Create Macro. Resolve opens the Macro Editor with the selected node hierarchy and available parameters.
If Macro does not appear, click inside the Node Editor first and confirm that the nodes are selected there. A selected timeline clip is not the same thing as selected Fusion nodes.
The Macro Editor can feel crowded because it shows many parameters from many nodes. Resist the urge to expose a control simply because you recognize the name. First choose the small interface you want to hand to the editor. Then expand only the node branches that contain useful controls.
Step 4: Expose useful controls in Inspector
Enable the checkboxes for the parameters the editor should change from the Edit page Inspector. A good first version of a lower third might expose:
- Headline text.
- Subtitle text.
- Headline font size.
- Accent color.
- Graphic position.
- Animation enable or a small set of animation controls.
That list is not a universal maximum. It is a reminder that every extra control increases the cognitive cost of using the template.
If the template has several text nodes, expose them under meaningful names. If the Macro Editor lets you organize or format controls in the current version, use that feature to put the most important controls at the top. Blackmagic’s Resolve 21 What’s New page specifically calls out the updated Macro Editor Inspector view for setting up, formatting, and publishing macros. (DaVinci Resolve 21 What’s New)
Step 5: Name the macro for the Effects Library
Use a name that tells the editor what the asset does and what type of asset it is. “Brand Lower Third - 2 Line” is clearer than “Final 3.” The macro name becomes part of the user-facing library, so treat it like interface copy.
Step 6: Save the .setting file in the correct category
After you close the Macro Editor and confirm the save prompt, place the file in the folder that matches the tool you built. The Fusion manual lists these Resolve template folders for macOS, Windows, and Linux:
| Platform | Resolve user template root | Example category |
|---|---|---|
| macOS | ~/Library/Application Support/Blackmagic Design/DaVinci Resolve/Fusion/Templates/Edit/ | Titles, Effects, Generators, or Transitions |
| Windows | C:\Users\<username>\AppData\Roaming\Blackmagic Design\DaVinci Resolve\Support\Fusion\Templates\Edit\ | Titles, Effects, Generators, or Transitions |
| Linux | ~/.local/share/DaVinciResolve/Fusion/Templates/Edit/ | Titles, Effects, Generators, or Transitions |
Use the exact folder Resolve shows when you right-click the relevant Effects Library category and choose Show Folder. This is safer than copying a path from a tutorial written for another major version or another installation type.
The file should keep the .setting extension. If your operating system hides known extensions, verify the real name so you do not accidentally create MyTitle.setting.txt. The manual also documents the Edit, Effects, Generators, Titles, and Transitions bundle structure. (Fusion 20.3 Reference Manual)
Step 7: Restart Resolve and locate the template
Restart DaVinci Resolve after placing a new template in the user folder. Then open the Edit page Effects Library and look in the category that matches the folder you used.
If the asset does not appear, do not rebuild the composition immediately. Check the folder, extension, category, and filename first. A missing library item is often a discovery problem rather than a Fusion graph problem.
Once it appears, drag it onto a new test clip or timeline location. Apply it to media that was not used to create the original composition. That single test catches many hidden MediaIn and timing assumptions.
A template’s folder determines where Resolve presents it, but a clean input model determines whether it works.
How do you make a title, effect, generator, or transition reusable?
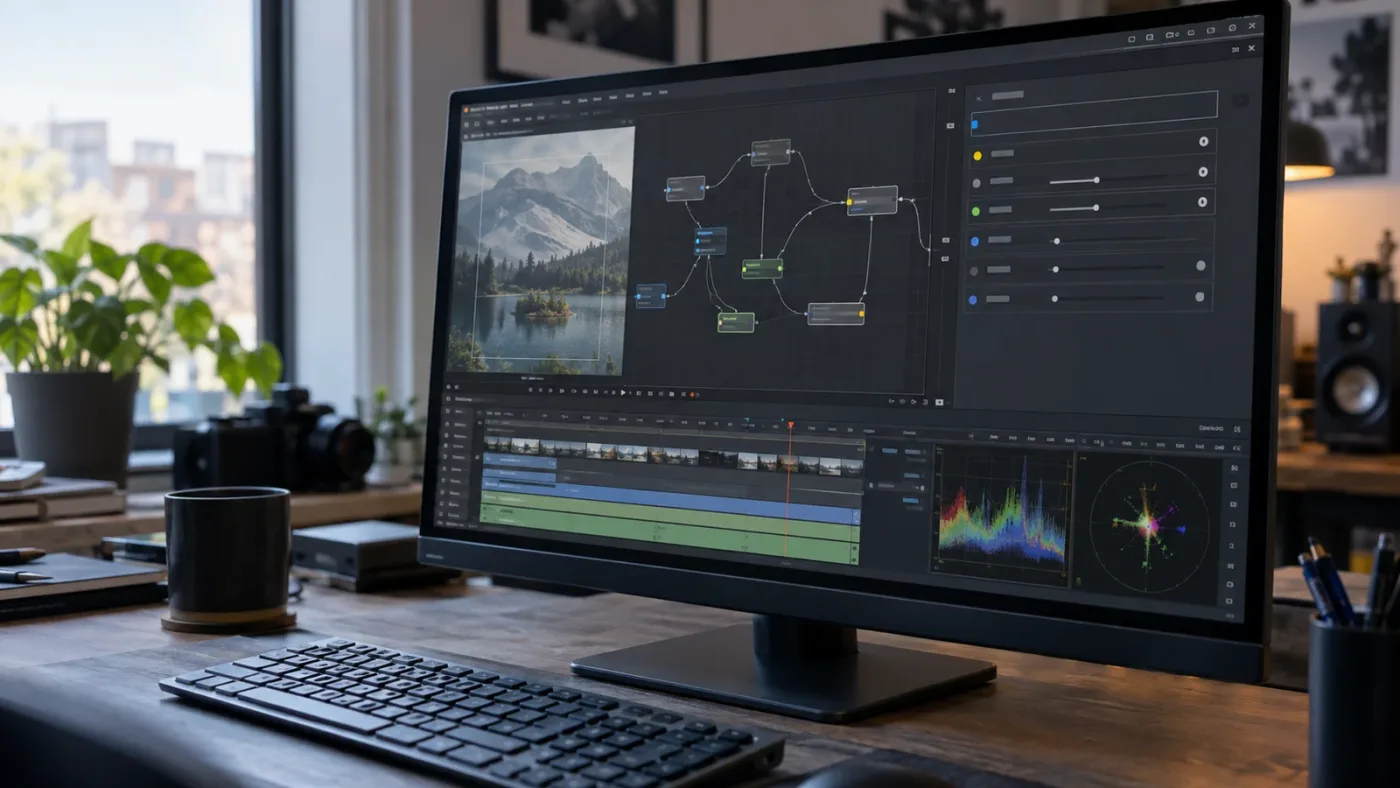
The reusable workflow is the same at a high level, but each Edit page template type has a different input model. Choose the category based on what the asset consumes, not what the graphic looks like.
How do you save a reusable Fusion title?
Create a Fusion title when the asset is a graphic placed over footage and changed through text or styling controls. A lower third is a typical title. Keep the graphic independent of the clip beneath it, expose the controls editors need, and test it over bright, dark, and moving footage.
For a title with a logo, decide whether the logo is embedded, supplied beside the template, or selected as an input. A Loader can be appropriate for a deliberately bundled asset, but its path must be stable on the destination machine.
If the graphic is mostly editable text, How to Add Text and Titles in DaVinci Resolve is the useful companion for deciding whether you need a reusable Fusion title at all. A full Fusion template is valuable when you are repeating a designed graphic system, not when you only need one line of text.
How do you save a reusable Fusion effect?
Create a Fusion Effect when the asset modifies a timeline clip. Keep a clear MediaIn-to-processing-to-MediaOut path, expose the controls that change the look, and test different resolutions, framing, and motion. If the graph expects a particular size, frame range, or source property, document that requirement.
Do not use a Generator folder for a clip-dependent effect. The library category communicates the input model to the next editor. A misleading category is a maintenance bug.
How do you save a reusable Fusion generator?
Create a Generator when the template creates its own image, background, pattern, graphic, or animation without needing a timeline clip as a visual input.
The Fusion manual describes a generator as an image built from Fusion tools and says to save the resulting macro in the Edit page Generator folder. In Resolve 21, the Fusion product page also describes custom effects templates that can be dragged from the library onto the timeline. (Fusion 20.3 Reference Manual; Fusion 21)
Keep the generator independent of a source clip. Test it at more than one duration, and decide whether its animation loops, stretches, or plays once.
How do you save a reusable Fusion transition?
Create a Fusion Transition when the asset needs the outgoing and incoming clips at an edit point. A transition is not just an effect placed on one clip. Its graph must understand both sides of the cut.
The Fusion manual says a transition template includes two MediaIn nodes and one MediaOut node. It also notes that a transition template’s final saving steps must be performed in DaVinci Resolve because the template needs those Resolve timeline inputs. (Fusion 20.3 Reference Manual)
Design the transition around duration changes. The manual describes using the Resolve Parameter Modifier so animated parameters can respond to duration through Scale and Offset. Test two different clips, shorten and lengthen the transition, and move the edit point.
Why is my reusable Fusion composition only working in the original project?
The usual cause is that the composition is reusable as a project item but not self-contained as a template. It may reference MediaIn nodes, timeline media, project metadata, a Power Bin asset, a font, or a file path that exists only on the original machine.
“Saved” and “portable” are different claims. A file can be saved correctly and still require the environment that created it.
How do MediaIn and Loader change portability?
MediaIn is a natural way to receive timeline media inside a Resolve composition. It is not automatically a portable asset reference. A Loader reads an external file path, which can be more appropriate for an intentionally bundled still or image sequence, but it introduces a filesystem dependency.
The Blackmagic forum’s explanation of Fusion composition types makes this distinction directly: project media accessed through MediaIn can use a project-specific database reference, while a reusable effect can use a Loader for media that is deliberately kept with the effect. The same explanation notes that video footage is not simply interchangeable with an image sequence in that setup. (Fusion composition types and storage)
The practical choices are:
| Need | Safer design |
|---|---|
| Modify whatever clip the effect is applied to | Use the template’s intended timeline input and avoid dragging a random MediaIn asset into the graph |
| Include a fixed logo | Package the logo intentionally or use a stable, documented asset path |
| Include a background animation | Use a deliberately bundled image sequence or a generated Fusion background |
| Let the editor choose the image | Expose a documented input workflow and test relinking on another machine |
| Keep several timeline layers linked | Use a referenced composition or a properly designed multi-input Fusion effect |
Never solve a Media Offline warning by randomly reconnecting nodes until the picture returns. First identify whether the missing item is a project clip, a Power Bin item, a still file, an image sequence, a font, or a plug-in. The fix depends on the dependency type.
Why does a Power Bin item still go offline?
A Power Bin can make the composition visible in another project, but it does not mean every referenced file is embedded in the composition. The destination project may still need the source media, and the path may still differ between machines.
If the composition contains a logo from the Media Pool, test it in a brand-new project. Open the Fusion graph and inspect every MediaIn node. If the node represents a project clip rather than a self-contained generated element, either replace the dependency with the intended template input or document the media that must travel with the project.
Power Bins are best treated as a shared library inside one Project Library. A template in the user Fusion Templates folder is a better cross-project boundary for a self-contained Edit page asset. Use both when appropriate: store the template in the template folder and keep source assets in a well-named Power Bin or package directory.
What happens when fonts or plug-ins are missing?
A Fusion template can depend on fonts, Resolve FX, third-party plug-ins, scripts, and version-specific tools. If the destination machine does not have the dependency, the template may load with a warning, show a different fallback, or fail to reproduce the original appearance.
Keep a dependency note with the template. It can be as short as:
Template: Brand Lower Third - 2 Line
Built for: DaVinci Resolve 21.0.4
Required fonts: Brand Sans, Brand Serif
Required plug-ins: none
External assets: logo-mark.png, packaged beside the template
Input model: one timeline clip
Known limit: test durations from 2 to 12 seconds
Do not claim that a template is portable just because it is a single .setting file. Portability includes the resources and assumptions that make the file render correctly.
Why is my Fusion macro not showing in the Effects Library?
If a Fusion macro is not showing in the Effects Library, check the template category, exact user folder, .setting extension, and Resolve restart before changing the node graph.
Check the category first
Titles belong in the Edit Titles folder. Effects belong in Edit Effects. Generators belong in Edit Generators. Transitions belong in Edit Transitions. A valid macro in the wrong category can be invisible where you expect it or appear as the wrong kind of asset.
Right-click the category in the Effects Library and choose Show Folder. Save one known-good test macro there. This gives you a live path from the current Resolve installation rather than a remembered path from an older article.
The official Fusion manual documents the category folders for macOS, Windows, and Linux, and its template-bundle instructions use the same Edit, Effects, Generators, Titles, and Transitions structure. (Fusion 20.3 Reference Manual)
Check the real filename
Confirm that the file ends in .setting. On systems that hide file extensions, a file that looks like MyEffect.setting may actually be MyEffect.setting.txt. Rename it only after revealing the real extension.
Use simple filenames while testing. Avoid symbols that may be treated specially by the operating system. Once the asset appears, add version naming only if it improves library organization.
Check whether the macro type matches the nodes
A macro intended for the Fusion page’s internal Macro menu is not automatically an Edit page template. An Edit page template needs the correct folder, output structure, and input model.
If the asset was built from a full clip composition and saved as a Generator, ask whether it should instead be an Effect. If it was built with two clip inputs and saved as an Effect, ask whether it is actually a Transition. The node graph can be valid while the template classification is wrong.
Restart after changes
Restart Resolve after adding or replacing a user template. If it still does not appear, move the file out of the folder temporarily, restart, and add it back as a controlled test. This separates a bad file from an indexing problem.
Do not debug ten variants at once. Start with a two-node test macro, confirm that it appears, then return to the full graph. A minimal visible test tells you whether the folder is correct before you spend time on parameter selection.
How do you test a reusable Fusion template before sharing it?
Test the template in a new project with different media, durations, resolutions, frame rates, and machine conditions. A template is finished when it survives the situations its users will actually face, not when it works once in the authoring timeline.
You do not need a huge test suite. You need a deliberate one.
Testing in a clean project is the shortest proof that a Fusion composition is reusable.
Test the input cases
For a one-input effect, use at least three clips:
- A bright clip with strong movement.
- A dark clip with low contrast.
- A different resolution or aspect ratio from the authoring clip.
For a title or generator, test against a bright background, a dark background, and a busy background. Check whether the graphic remains legible and whether the exposed controls preserve the design.
For a transition, use two clips with different motion and color. Then change the transition length and move the edit point. Confirm that the outgoing and incoming inputs remain mapped correctly.
For a multi-layer effect, change the order of the timeline layers. If the template exposes MediaIn layer controls, verify that the mapping is understandable. The Fusion 21 manual material describes layer mapping for multi-input templates as a meaningful part of the setup, so the order should be documented rather than guessed. (Fusion 21 manual chapter on templates)
Test duration changes
Apply the template to a short timeline clip, a medium clip, and a long clip. Scrub from the first frame to the last. Look for animation that ends before the clip, animation that never reaches its final state, expressions that produce invalid values, and masks that drift outside the visible frame.
For titles and generators, trim the timeline instance shorter and longer. For transitions, change the edit-point duration. If Resolve 21’s duration-aware tools are part of the design, test with those tools enabled and with the animation parameters you actually exposed.
The exact test durations depend on the intended asset. Do not invent a universal duration rule. A two-second stinger, a twelve-second title, and a thirty-second background loop have different timing requirements.
Test resolution and aspect ratio
Apply the template in a landscape timeline, then in a vertical timeline if you expect it to be used there. Watch for values that were authored in pixels rather than normalized coordinates, masks that clip, and text that no longer fits.
A graphic can be technically reusable and still be editorially unusable in a different aspect ratio. Expose position and scale controls when the template needs adaptation. If the design is only approved for one format, state that limit clearly.
Do not promise that a single layout will automatically become a good vertical layout. Automatic adaptation is a design feature that needs its own graph logic and tests.
Test the controls
Use every exposed control at its minimum, default, and maximum sensible value. Enter a short headline and a long headline. Try a two-word subtitle and a line that wraps. Choose a very light and very dark color if color is exposed.
If the Inspector shows a control that does nothing, remove it or fix the connection. A dead control teaches the editor not to trust the template. If a control breaks the graph at an extreme value, restrict or redesign the range.
Use clear defaults. The first drag onto a timeline should produce a usable result without a mandatory setup ritual.
Test the file in a clean project
Create a new project in the same Project Library. Do not rely on the original project’s Power Bin contents, clip metadata, or cached Fusion state. Add a new clip, locate the template in the Effects Library, and apply it.
Then test on another machine if the template will be shared. A second machine catches missing fonts, missing plug-ins, hard-coded file paths, and assumptions about user folders.
The DaVinci Resolve 21 support notes list Mac, Linux, Windows x86, and Windows ARM builds for the main application. Platform differences can affect the location of user files and the availability of external dependencies, so document the platform on which you created and tested the template. (Blackmagic Design support)
Test after reopening Resolve
Close and reopen Resolve, then reopen the test project. Confirm the template still appears and the applied instance still renders. If you edited the .setting file by hand, restart again after each controlled change.
How do you keep a reusable Fusion composition editable?
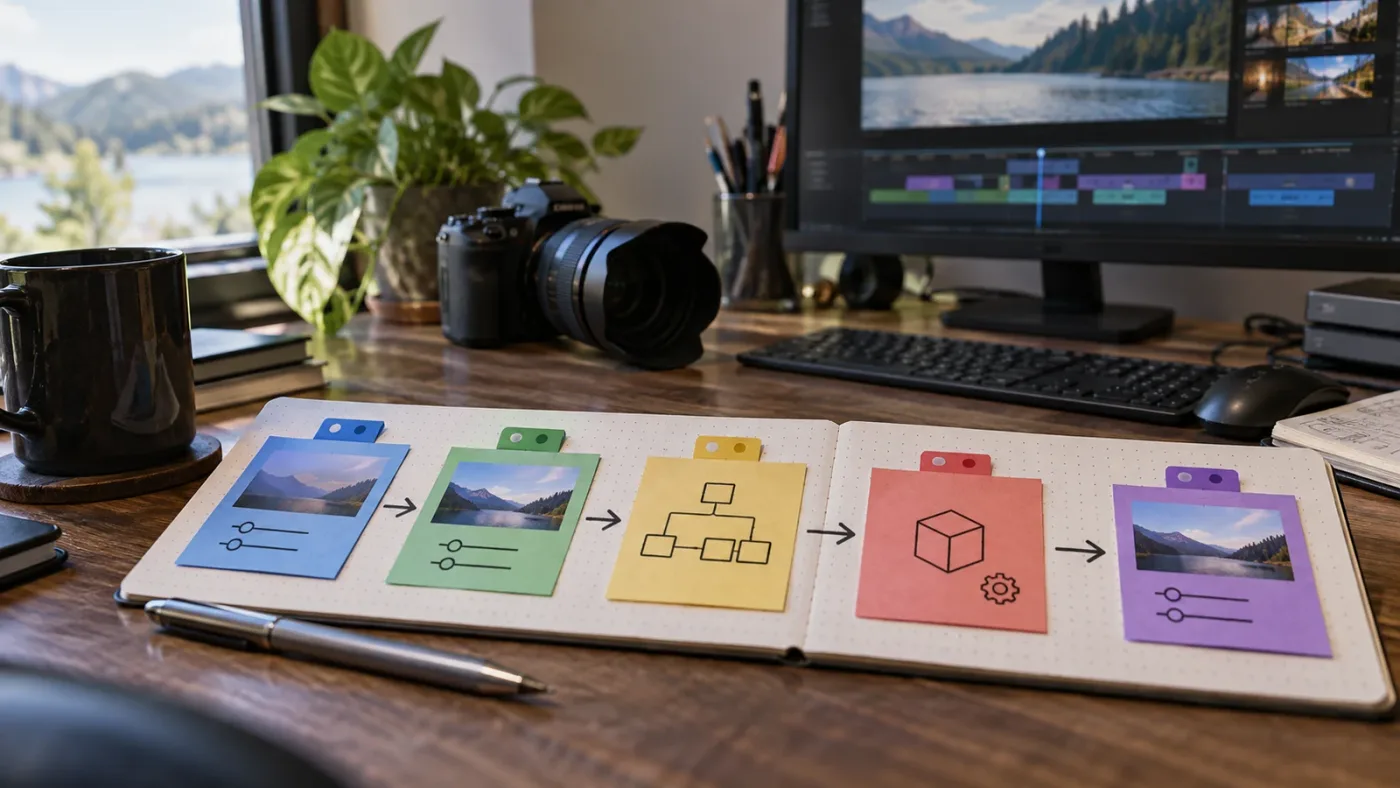
Keep the original authoring composition, the published template, and each major template version separate. Reuse becomes fragile when the only copy of the source graph is hidden inside a saved macro.
Keep an authoring master
Save a clean master composition with readable node names, notes, and test outputs. Do not rely on deconstructing the macro later to recover the original graph.
Keep a version note inside the composition or beside it. Record the Resolve version, date, intended template category, exposed controls, and known dependencies.
Use versions for meaningful changes
Use a new template version when you change the input model, rename exposed controls, remove a parameter, change the animation timing, or replace a required asset. A small color correction that preserves the interface may not need a new public version, but you should still know what changed.
Do not silently replace a template that many projects depend on when the new version changes its controls. Old timeline instances may continue to render while new instances behave differently, which makes troubleshooting harder.
Decide between a shared reference and independent instances
If every connected clip should change when you refine the design, keep a referenced composition. If each clip needs independent text, timing, or layout changes, a macro or duplicated instance is usually safer.
The key question is not whether sharing is technically possible. It is whether the future edit should be global or local.
For a repeated logo treatment across a single campaign, global updates can be ideal. For several client videos that need similar but not identical graphics, independent instances reduce surprise.
If you want a deeper explanation of why a duplicated Fusion setup can diverge from a shared instance, see DaVinci Resolve Fusion Instance vs Copy Nodes. The practical distinction is simple: an instance preserves a relationship, while a copy creates a separate piece of work.
How do you package a reusable Fusion template for another editor?
Package the .setting file with its dependency note, preview image if your workflow uses one, required fonts or assets, version information, and a short installation instruction. If you use a .drfx bundle, preserve the directory structure that Resolve expects.
What belongs in the package?
At minimum, include:
- The
.settingtemplate file. - The template type and destination category.
- The Resolve version used for creation and testing.
- The intended input model.
- The exposed control list.
- Required fonts and plug-ins.
- External assets and their expected paths.
- A short test instruction.
- A version number or date.
Should you use a DRFX bundle?
A .drfx bundle can package Fusion templates in a directory structure that Resolve can install. The Fusion manual describes creating a bundle by making an Edit folder with the relevant Effects, Generators, Titles, or Transitions folder, adding .setting files and optional icons or assets, compressing the structure, and changing the archive extension to .drfx. (Fusion 20.3 Reference Manual)
Use a bundle when it reduces installation mistakes or when several related templates and assets need to travel together. A loose .setting file is easier to inspect during development. Before sending a bundle, install it on a clean test machine and verify the category, preview, and render.
How should you explain installation?
Write instructions that name the visible result: install or copy the bundle, restart DaVinci Resolve, open Edit and the Effects Library, choose the documented category, drag the template onto the intended target, and change only the documented Inspector controls.
Do not tell the recipient to paste a file into a guessed folder if the Effects Library can reveal the current folder through Show Folder. The live application is a better authority than an old screenshot.

What are the most useful reusable Fusion examples?
The best first templates have a repeated editorial job, a stable input model, and a small control surface. They save reconstruction time without trying to automate an entire production.
Example 1: A two-line lower third
A two-line lower third is a strong first macro because its repeated inputs are obvious: headline, subtitle, brand color, and placement.
Build the graphic from text, shape, mask, transform, and merge nodes. Add animation only after the static layout is correct. Name the text nodes and the shared color control. Decide whether the lower third is a Title or a Generator based on the way you want it to behave in the Edit page.
Expose the text fields first. Then expose the controls that preserve brand consistency. Avoid exposing every transform inside every text node. A master position control is easier to use than separate X and Y controls for six nodes.
Test long words, empty subtitle, light and dark backgrounds, and a vertical timeline if the lower third may be used for short-form work. State any headline limit in the template note.
Example 2: A branded animated background
A branded animated background is a good Generator candidate when it creates its own image. It can contain gradients, shapes, particles, masks, and animated transforms without depending on the clip below.
Build the animation so its duration behavior is explicit. Decide whether the animation should loop, stretch, or play once. If it loops, check the seam. If it stretches, test more than one clip length. If it plays once, make the final state useful for the entire remaining duration.
Expose colors, scale, intensity, and animation speed only if an editor will actually change them. A brand template should preserve the design by default.
Example 3: A one-input highlight effect
A one-input highlight effect can combine a mask, glow, color treatment, and animation around the clip’s MediaIn. It should be saved as an Effect when the goal is to apply it to individual timeline clips.
Test it on moving and relatively static footage. If it tracks an object, document the manual tracking workflow.
Expose intensity and color, but keep the internal blur and mask plumbing private. The most useful reusable effect is the one that communicates its two or three creative decisions clearly.
What is the best way to learn reusable Fusion workflows?
The best way to learn reusable Fusion workflows is to combine an authoritative reference with a small build-and-test project. Blackmagic’s official manuals explain the node and template mechanics, focused creators such as Casey Faris demonstrate real editing workflows, and community forums reveal edge cases that appear after people try the feature in production.
The learning source should match the question:
| If you need to learn | Start with | Add next |
|---|---|---|
| What a macro or template is supposed to do | Blackmagic’s Fusion manual and official Fusion pages | Build a two-node test macro |
| How the interface looks in a real lesson | A focused Fusion tutorial such as Casey Faris’s Resolve teaching | Rebuild the result without copying every click |
| Why a template goes offline or fails across projects | Blackmagic community forum discussions | Test the dependency in a clean project |
| How to apply the idea to your own work | A small project with one repeated graphic | Save, reopen, package, and reinstall the result |
| How to get unstuck while you work | An app that helps you while using DaVinci Resolve | Still verify the answer against Resolve’s current UI and documentation |
There is no single best way to learn DaVinci Resolve fast if “fast” means skipping the test project. Watching a course shows the sequence; building a reusable template forces you to understand inputs, outputs, timing, and dependencies. An AI tool to learn DaVinci Resolve is useful when it helps you locate the control in the current project rather than encouraging an untested node recipe. TryUncle can point at the exact button in your own Resolve window while you work. For current product details, use TryUncle.
Guided practice inside Resolve beats watching courses about Resolve when the skill depends on context, timing, and project-specific inputs.
Why does the same Fusion template behave differently in Resolve 20 and 21?
The core macro and template workflow remains recognizable across Resolve 20 and 21, but version-specific changes can affect the Macro Editor, animation behavior, available tools, and the current support paths. Use the version that created the template as part of the template’s documentation.
As of September 2026, Blackmagic’s support pages list DaVinci Resolve 21.0.4 as the current 21.x update. The 21.0.4 update includes proxy relinking across different extensions, additional X-OCN support, selected-clip scripting API support, and playback improvements for timelines with large caches. Those changes are not the reason a basic macro becomes reusable, but they give the guide a current version anchor. (Blackmagic Design support)
Resolve 21 also adds or improves Fusion-facing features, including the updated Macro Editor Inspector view, animation curve modifiers, and the Krokodove toolset. Do not assume a template that uses a new tool will behave on an older major version. If a template must support Resolve 20, build and test it in Resolve 20 instead of relying on the fact that a .setting file exists. (DaVinci Resolve 21 What’s New; Fusion 21)
What should you put in the version note?
Record the major and point version, platform, template category, and any features that are known to be version-sensitive. A useful note might say:
Built and tested in DaVinci Resolve 21.0.4
Template category: Edit > Titles
Tested on: macOS and Windows
Uses: Text+, masks, transforms, animation curve modifier
Not tested in: Resolve 20 or Fusion Studio standalone
That note does not claim compatibility you have not verified. It tells the next editor where the boundary is.
How do you diagnose the most common reusable Fusion failures?
Diagnose reusable Fusion failures by identifying which boundary failed: the graph, the input, the template file, the dependency, the version, or the project relationship. Each category has a different fix.
The template appears but renders blank
Check the output connection first. A Generator must send its generated image to the required output. An Effect must return the processed MediaIn to MediaOut. A Transition must combine the expected incoming and outgoing inputs.
Load the final output node in the Fusion viewer and follow the flow backward. Look for disconnected nodes, disabled nodes, a mask with no visible region, a merge with the wrong input order, or an expression returning an invalid value.
If the template worked before you exposed controls, inspect the exposed parameter connections. A control can be visible in Inspector but disconnected from the creative node you thought it controlled.
The effect ignores the clip underneath
Check whether you saved a Generator instead of an Effect, or whether the graph contains a disconnected MediaIn. A Generator creates its own image. An Effect should process the clip input it is given.
Also check the layer order. A clip effect placed above an opaque clip can appear to do nothing if the timeline arrangement does not feed the expected image into Fusion.
The title works at one duration but not another
Check the animation keyframes, expression ranges, and any duration-aware modifiers. A title built with fixed keyframes may play correctly at its authoring duration and fail when the editor trims it.
Test the first, middle, and last frame after changing duration. If the design needs to stretch, build and verify that behavior. If the design should remain a fixed-length animation, state that the editor should not extend it beyond the supported range.
The macro works in Fusion but not on the Edit page
Check whether you saved a Fusion macro into a Fusion Macros folder instead of creating an Edit page template. Check the output structure and the category folder. A node building block and an Edit page library asset are related but not interchangeable.
Build a tiny proof template in the intended category. If the proof works, compare its node structure and save location with the full graph.
The .setting file appears corrupt
Do not edit the file blindly. Keep the original, create a copy for diagnosis, and compare the file’s extension and folder first. If you must inspect the text, use a plain-text editor and avoid changing encoding or adding a second extension.
If the macro was built in a newer Resolve version and fails in an older version, treat version compatibility as an open question. Rebuild and test in the destination version when compatibility matters.
The referenced composition does not update every clip
Check whether every target clip is actually linked to the same referenced composition. A copied clip or independent Fusion composition can look similar while no longer sharing the reference relationship.
Use the Media Pool item’s usage or linked-clip view where available. The official Resolve 19 guide describes the referenced composition workflow and says the Media Pool item persists even if the original referenced clip is deleted from the timeline. That persistence helps with organization, but it does not mean every visually similar clip is linked automatically. (DaVinci Resolve 19 New Features Guide)
The template changes when the original project changes
That behavior is expected for a reference relationship and unexpected for an independent macro instance. Decide which model you want. If you need a frozen version, duplicate the reference or publish a macro. If you need synchronized updates, keep the links and document them.
This is why a reusable workflow needs an ownership decision at the beginning. “Reusable” without “shared or independent” is incomplete.
How do you build a small reusable Fusion template from scratch?
Build the first reusable asset with the smallest graph that proves the workflow. A simple two-line title is enough to learn selection, parameters, save paths, restart behavior, and testing before you attempt a complex multi-layer effect.
Use this compact build as a repeatable procedure:
- Create a new project and a short test timeline.
- Add a representative clip and open the Fusion page.
- Build a small graphic with named nodes and a clear MediaOut.
- Decide whether the asset is a Title, Effect, Generator, Transition, or Fusion-only macro.
- Remove debug nodes, accidental media, and unused branches.
- Test the graphic at the start, middle, and end of the timeline clip.
- Select only the nodes belonging to the chosen template type.
- Choose Macro > Create Macro.
- Expose only the parameters an editor must change.
- Name the macro for the Effects Library.
- Save the
.settingfile in the matching user template folder. - Restart Resolve.
- Create a new project or use a clean test project.
- Apply the template to new media.
- Change every exposed control and test duration, resolution, and frame rate.
- Save the authoring master and publish the tested template with a dependency note.
The procedure is short because the quality comes from the decisions around it. The official Fusion documentation supplies the macro and template mechanics. Your test project supplies the evidence that the particular composition is reusable. (Fusion 20.3 Reference Manual)
When should you stop trying to make one Fusion composition do everything?
Stop when the template has more exceptions than normal use cases. A reusable asset should make a repeated job easier. If every new clip needs a different graph, a different input count, or a different timing system, split the asset into smaller templates or keep the work as an authoring composition.
The pressure to make one “universal” template usually creates a difficult Inspector, hidden branches, and unclear dependencies. A family of three focused templates can be easier to maintain than one asset with twenty unrelated controls.
Choose a new template when the input model changes. A one-input effect and a two-input transition are not the same tool. Choose a new version when the public controls change. Choose a referenced composition when synchronized updates matter. Choose a Power Bin when the main problem is project-library access.
The most reusable Fusion composition is not the one with the most nodes. It is the one with the clearest promise.
What is the final checklist for a reusable Fusion composition?
Before you call the composition reusable, verify each answer below:
- Can you state whether it is a macro, title, effect, generator, transition, reference, or Power Bin item?
- Does the input model match the template category?
- Are the nodes named well enough for another editor to diagnose?
- Are MediaIn and external assets intentional?
- Are the controls in Inspector limited to real editorial decisions?
- Does the
.settingfile have the correct extension? - Is the file in the current Resolve user template folder?
- Does the asset appear after a restart?
- Does it work in a clean project?
- Does it work on different media?
- Does it survive duration changes that users are expected to make?
- Does it survive the resolutions and aspect ratios the asset promises to support?
- Are fonts, plug-ins, and external assets documented?
- Is the authoring master saved separately?
- Is the shared-versus-independent behavior clear?
- Is the Resolve version written down?
If any answer is uncertain, the next action is not another layer of polish. It is a small test that turns the uncertainty into a fact.
A Fusion template is ready to share when a new project can use it without reopening the project that created it.
That is the durable answer to how to make a Fusion composition reusable in DaVinci Resolve: choose the right reuse model, clean the graph, create the matching macro or reference, expose a small interface, save it where Resolve expects it, and test it outside the original context.
When you get stuck on the final folder, category, or Inspector control, Uncle can point at the exact button in your own Resolve project while you work.
Frequently asked questions
- How do I make a Fusion composition reusable in DaVinci Resolve?
- Select the nodes you want to reuse, choose Macro > Create Macro, expose the controls you want in the Inspector, save the .setting file in the matching Fusion Templates folder, restart DaVinci Resolve, and drag the new template from the Effects Library.
- Why is my Fusion macro not showing in the Effects Library?
- The most common causes are a wrong template subfolder, a missing .setting extension, an unsupported template type, or Resolve not being restarted after the file was saved. Use the Effects Library folder's Show Folder command to confirm the exact location.
- Should I use a Fusion macro or a referenced composition?
- Use a Fusion macro for a portable template with selected Inspector controls. Use a referenced composition when several timeline clips should share one editable Fusion setup and update together.
- Can I reuse a Fusion composition in another project?
- A macro saved in the user Fusion Templates folder can be used across projects on that installation. A Fusion composition stored in a Power Bin can also be reused across projects in the same Project Library, but it can still depend on project media.
- Why does my reusable Fusion composition show Media Offline?
- A saved composition can still reference project-specific MediaIn nodes or external assets. Remove unnecessary MediaIn dependencies from a template, use a Loader only for deliberately bundled disk assets, or package the required assets and relink them before sharing.
Sources
Learn by doing, not watching
Stop translating tutorials to your timeline.
TryUncle stays beside Resolve on Mac and Windows. When you ask, Uncle sees your screen and points at the exact control you need. No hunting through tabs, timestamps, or mismatched tutorials.
Meet TryUncleKeep reading
 ComparisonsSep 20, 202644 min read
DaVinci Resolve Adjustment Clip vs Fusion Composition
DaVinci Resolve adjustment clip vs Fusion composition explained with a decision matrix, worked examples, limits, and a verdict for Resolve 21.
 ComparisonsAug 17, 202636 min read
DaVinci Resolve Fusion Instance vs Copy Nodes: Which Wins?
DaVinci Resolve Fusion instance vs copy nodes explained: linked controls, independent duplicates, deinstancing, keyframes, and safe reuse patterns.
 GuidesJul 8, 202639 min read
How to Add Text and Titles in DaVinci Resolve
Every way to add text in DaVinci Resolve: Text, Text+, MultiText, and Fusion Titles, plus subtitles, safe area, fonts, and export, for free and Studio.