
Learn / DaVinci Resolveupdated for DaVinci Resolve 21.1 (September 2026)
How to Learn DaVinci Resolve After Watching Beginner Tutorials
Quick answer
To learn DaVinci Resolve after watching beginner tutorials, stop collecting lessons and finish one small video from import to export. Repeat the workflow with new footage, solve only the problem in front of you, and keep a mistake log. Use official training for structure, YouTube for demonstrations, and screen-aware help for controls you cannot find.
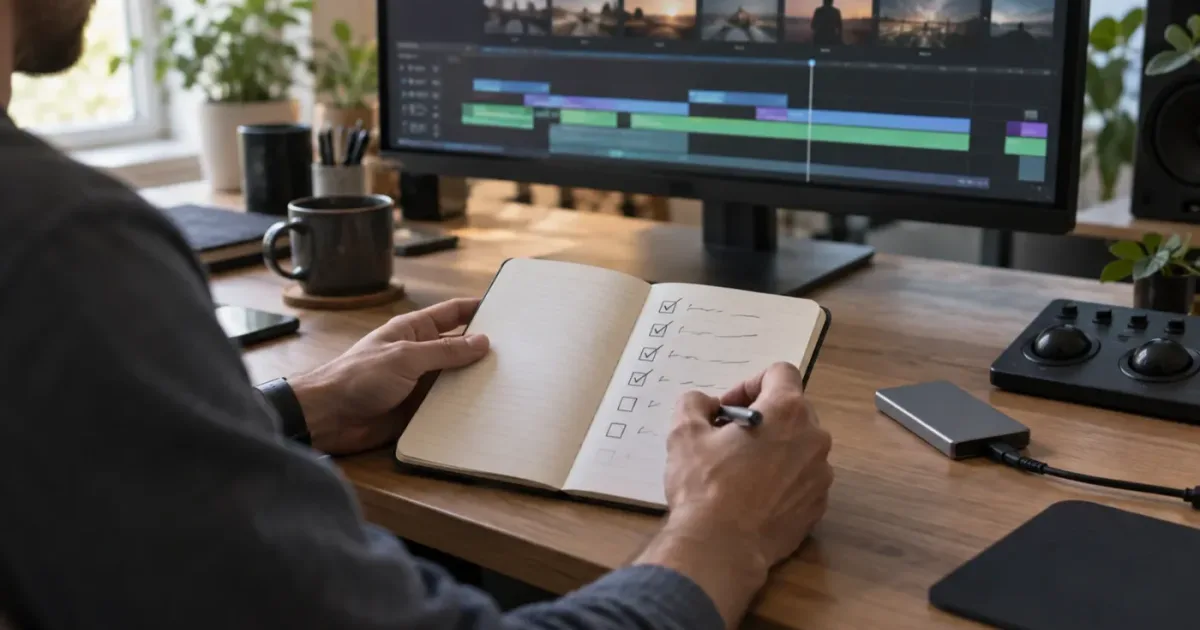
I know the feeling. You can follow a beginner tutorial perfectly, then open a blank project and forget where to begin.
That gap isn't proof that DaVinci Resolve is beyond you. It means the tutorial supplied the brief, the footage, the decisions, and the next click. Your practice must supply those things now.
As of September 2026, this guide uses DaVinci Resolve 21.1 as the version reference. Blackmagic Design's 21.1 release notice dates the release to September 8, 2026, and the current DaVinci Resolve 21.1 manual carries the same version label. The core learning method still works across versions, but names and features can move, so check your installed version before copying a screen from an older lesson.
TryUncle is the on-screen assistant for DaVinci Resolve on Mac and Windows - ask in plain words and Uncle points at the exact control on your screen.
What should you do immediately after watching beginner tutorials?
After watching beginner tutorials, make one small finished video before watching another full course. The first project is not a test of whether you remember every button. It is a controlled way to discover which decisions you can make without a narrator.
Start with a brief that fits on one page. For example:
Make a 45-second vertical video about a local coffee shop. Use one talking clip, three supporting shots, a music bed, a simple title, and a clear ending. Deliver an H.264 file for a phone screen.
That brief gives you a destination without dictating every edit. You decide which line starts the video, where a shot changes, whether the music is too loud, and which title is necessary.
Do not start with a 20-minute documentary, a multicamera concert, or a Fusion-heavy title sequence. A small project gives you enough room to encounter the full workflow while keeping the cost of mistakes low. The goal is completion, not spectacle.
Use this order:
- Pick one audience and one delivery format.
- Gather a small set of clips you can legally use.
- Write the finished video's one-sentence promise.
- Make a rough version quickly, without polishing every cut.
- Rewatch it and fix the largest communication problem first.
- Add only the text, music, color, and effects that support the promise.
- Export the result and watch the exported file.
The export matters. A timeline-only project has not tested delivery, audio, framing, or your patience. You need a finished file you can open tomorrow.
At TryUncle, we built and run a 100,000+ member professional video-editing community, have seven-plus years of commercial editing experience, have taught more than 100,000 students on Udemy as an official Udemy Business Partner, and have taught and worked with Fortune 500 companies. The pattern is clear: beginners improve faster when each lesson becomes a decision in their own project.
A finished small project teaches more than another beginner tutorial watched passively.
Why do beginner tutorials feel clear while the blank timeline feels impossible?
Beginner tutorials feel clear because the instructor removes uncertainty before you encounter it. The instructor chooses the clips, names the goal, demonstrates the result, and tells you which control matters. A blank timeline removes all four supports at once.
This is a transfer problem, not a memory problem. You may recognize the Edit page and still not know what your video needs. You may know how to drag a transition and still not know whether the cut should be earlier. You may understand a color wheel and still not know which shot should be your reference.
The remedy is to separate three kinds of knowledge:
Recognition
Recognition means you know a control when you see it. A tutorial is good at building recognition. You watch the instructor open the Inspector and think, “I know that panel.” Recognition is useful, but it is the weakest kind of independence.
Recall
Recall means you can name the control or shortcut without seeing it. You might remember that I sets an In point and O sets an Out point, as documented in the DaVinci Resolve 21.1 manual. Recall reduces hunting, but it still doesn't tell you when to use the command.
Judgment
Judgment means you can choose an action because it serves the story. You decide to trim a pause, hold on a reaction, lower the music, or leave a shot ungraded because the change would distract from the subject. Judgment is what turns tool knowledge into editing.
Your next projects should move deliberately from recognition toward judgment. Rewatching the same explanation can strengthen recognition, but a slightly uncomfortable independent pass develops recall and judgment.
Try this test after any lesson. Close the video and write down:
- What problem did the technique solve?
- What input did the instructor start with?
- What changed in the final result?
- What would make the technique a bad choice?
- Can you create a smaller version with different footage?
If you cannot answer the last question, you haven't failed. You have found the next practice task. Build the smaller version now, while the idea is fresh.
This is why the advice in beginner communities often sounds simple: watch a useful lesson, then go shoot or collect footage and edit several times. That advice is not a claim that every person learns at the same speed. It is a reminder that tutorial time and editing time are different activities. A discussion in r/davinciresolve makes the same practical point by pairing official documentation and Casey Faris's videos with repeated personal editing rather than endless preparation.
The course creator Casey Faris puts the priority plainly in a transcript of his Resolve 21 beginner course: “Get good at this first because that's what's really going to help your videos.” The surrounding lesson is about matching shots, but the rule applies to the whole learning path. Learn the basic workflow well before you collect advanced effects.
What should your first practice project prove?
Your first practice project should prove that you can move a small idea from media organization to a watchable export. It does not need to prove that you can use every page or produce a professional client deliverable.
Define success before opening Resolve. A useful first-project checklist has six results:
| Result | What success looks like | What you are practicing |
|---|---|---|
| Media | Clips are in named bins and easy to find | Organization and attention |
| Story | The video has a beginning, middle, and end | Selection and structure |
| Timing | Cuts support the words, action, or music | Editorial judgment |
| Sound | Speech is understandable and music supports it | Listening and balance |
| Picture | Shots feel consistent enough to follow | Basic image correction |
| Delivery | The exported file plays and looks as intended | Finishing discipline |
The table is deliberately modest. A first project can succeed with one timeline, a few bins, basic cuts, a simple title, and a sensible export. If you add advanced tracking, complex nodes, and elaborate sound design, you may be practicing frustration more than editing.
Give the project a constraint that creates decisions. “Make something good” is too vague. Choose one of these instead:
- Tell one story in under 60 seconds.
- Explain one process with five shots.
- Cut an interview into a clear answer and supporting example.
- Turn a long clip into three short moments with different openings.
- Make a calm version and a fast version of the same footage.
- Build a one-minute scene using only natural sound.
The constraint should be visible in the final export. If you cannot tell what the exercise was meant to teach, the brief is too loose.
Give yourself a project card beside you. It should include the intended viewer, duration, frame shape, source of the footage, and a single creative rule. The card becomes a substitute for the instructor's constant narration. It also lets you compare projects without relying on a vague feeling that you are improving.
Do not grade the first project on polish alone. Grade it on independence. Could you explain why the opening shot is first? Did you choose the music because it supports the tone, or because the tutorial used music? Did you remove a clip because it weakened the story, or because the lesson said to remove one?
The finished video may be rough. A rough complete video creates specific questions; an unfinished ambitious video creates fog.
How do you choose footage and constraints for a first real project?
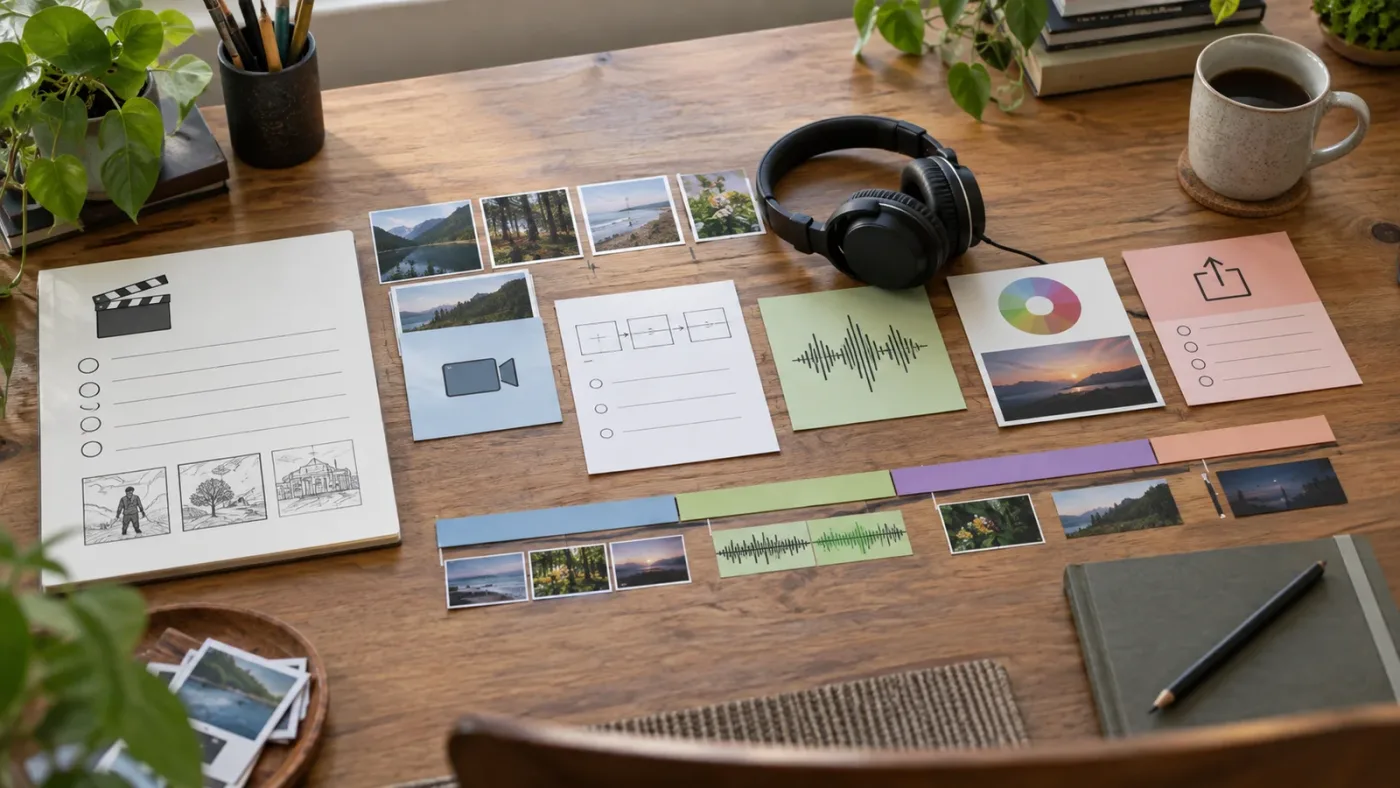
Choose footage that is easy to understand and hard enough to create real decisions. A practical set might contain one main subject, a few supporting shots, a clean audio recording, and one problem you must solve. You don't need a large media library.
There are three sensible sources:
- Your own footage. This is the most motivating option because you know why the material exists. A walk, cooking process, desk setup, interview, or short event can all work.
- Official lesson files. Blackmagic Design's training page provides project files and lesson files for its guides. Those files give you a controlled set of media and a structured route when you want more than random clips.
- A public practice library. Use footage with a clear license and keep a note of where it came from. Don't build a learning system around media you cannot legally publish.
Blackmagic's official training catalog is worth using because it is project-based rather than a list of isolated buttons. The catalog includes a Beginner's Guide, an Editor's Guide, a Fairlight Audio Guide, a Colorist Guide, and visual-effects guides, along with downloadable lesson files. At the time of writing, the books shown on the page are for DaVinci Resolve 20 even though the current software is 21.1. That version gap is a reason to verify labels in the current manual, not a reason to discard the exercises.
For a first project, impose one technical constraint and one storytelling constraint. For example:
| Project type | Technical constraint | Storytelling constraint |
|---|---|---|
| Talking-head lesson | 16:9, one camera, clean voice | Start with the clearest answer |
| Short vertical clip | 9:16, three supporting shots | Put the strongest moment in the opening |
| Mini travel piece | Mixed phone footage | Connect locations with one idea |
| Product demonstration | Screen recording plus camera shot | Show the result before the process |
| Interview excerpt | Two audio sources | Remove repetition without losing meaning |
The technical constraint teaches you to make a project setting early. The storytelling constraint makes you edit for meaning rather than merely arranging media.
Avoid changing five variables at once. If you use new footage, a new aspect ratio, a complex audio setup, and a new plug-in on the same project, a problem can have too many possible causes. Beginners often interpret that confusion as lack of talent. It is usually a poor experiment design.
Name the project with a version suffix. Use something like coffee_shop_v01, coffee_shop_v02, and coffee_shop_final_review. You can save versions inside a project, but simple names make your own thinking easier when you return after a day away.
The first project should be short enough that you can make a second one soon. A second project with a new brief is more valuable than a first project polished forever. Repetition creates comparisons. You start to see which problems came from the footage, which came from the brief, and which came from your process.
How do you turn one tutorial into a practice loop?
Turn each useful tutorial into a five-part loop: watch a small piece, predict the next action, reproduce the idea from memory, change one input, and explain the result. This prevents a tutorial from becoming a long uninterrupted performance by someone else.
Use the loop like this:
- Choose a narrow segment. Pick one topic, such as trimming dialogue, adding a title, balancing music, or setting a basic node.
- Watch for the problem, not the button. Write down what the instructor is trying to improve.
- Pause before the solution. Predict which page, panel, or mode might contain the control.
- Recreate the result once. Follow along if necessary, but keep the project small.
- Change one input. Use another clip, a different line of dialogue, a different title length, or a new music cue.
- Close the lesson. Rebuild the same idea without looking.
- Write one sentence. State when the technique helps and when it would be a distraction.
The change-one-input rule is important. If you change the footage, format, music, and goal at the same time, you cannot tell what you learned. One controlled variation reveals whether the technique transferred.
Suppose a tutorial demonstrates a lower third on a 16:9 talking-head video. Your transfer task could use the same title idea in a 9:16 clip, with a shorter name and less horizontal space. The challenge is no longer finding the Text+ control. It is deciding how the title should fit the new frame.
Suppose a tutorial demonstrates a music fade. Your transfer task could be a clip with spoken words over music. Now you must listen for the voice, set a useful level, and decide whether the music should duck for one sentence or the whole section.
Suppose a tutorial demonstrates a color correction. Your transfer task could be two shots of the same subject under different light. Now you must decide which shot is the reference and whether the correction should fix exposure, color, or both.
The practice loop also tells you when to stop watching. If you can state the problem, reproduce the basic move, and make one sensible variation, you have earned a project pass. You do not need to watch every related video before touching your own footage.
Make a question queue instead of interrupting every minute. Put questions into three columns:
| Question type | Example | When to solve it |
|---|---|---|
| Blocking | “Why is my clip silent?” | Immediately, using official help first |
| Useful later | “Can I customize every title animation?” | After the rough cut exports |
| Curiosity | “What does this obscure Fusion node do?” | During a dedicated exploration session |
This queue protects the project from rabbit holes. It also gives you a list of focused searches for the next session. A good learner is not the person who has no questions. A good learner knows which question deserves attention now.
Tutorials provide the route, but practice supplies the decisions.
How should you learn the Resolve pages without trying to master all of them?
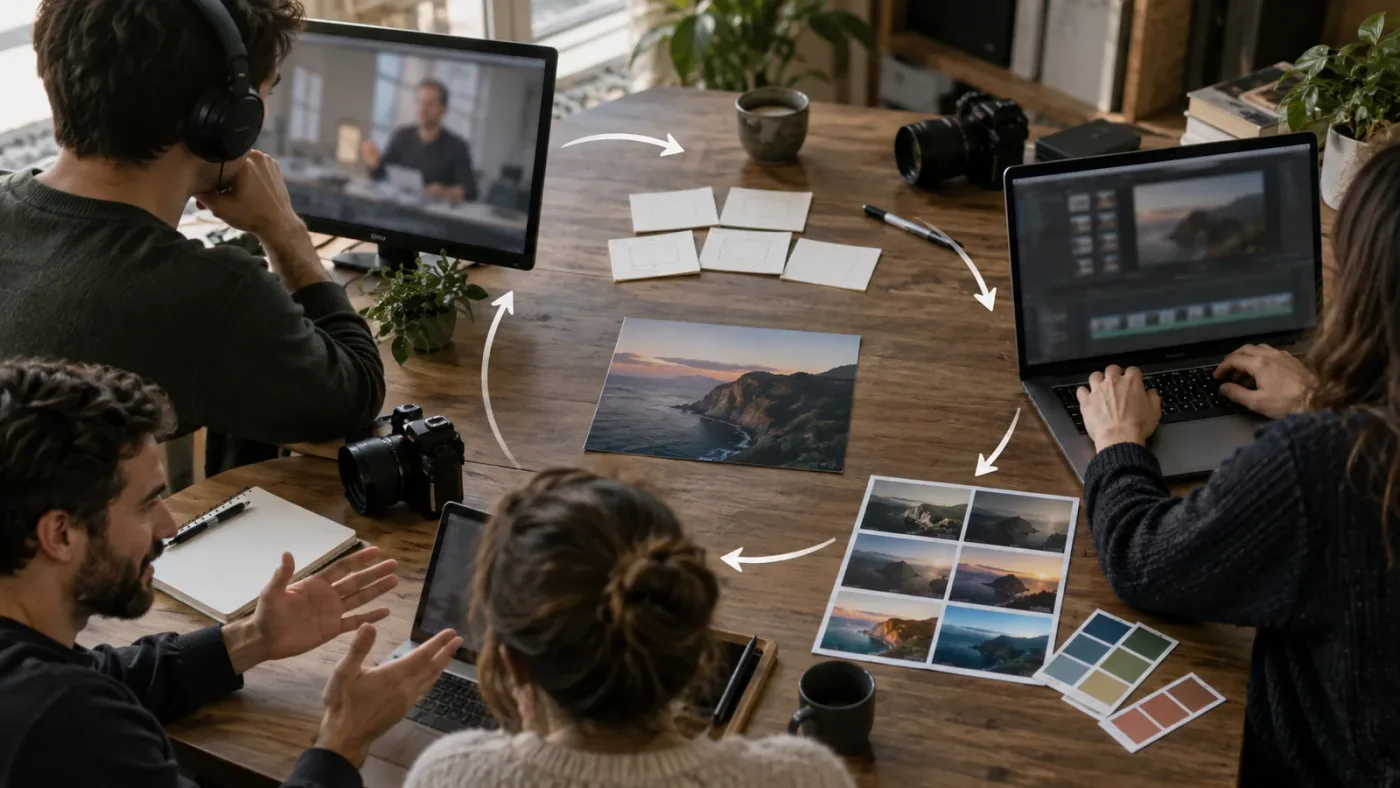
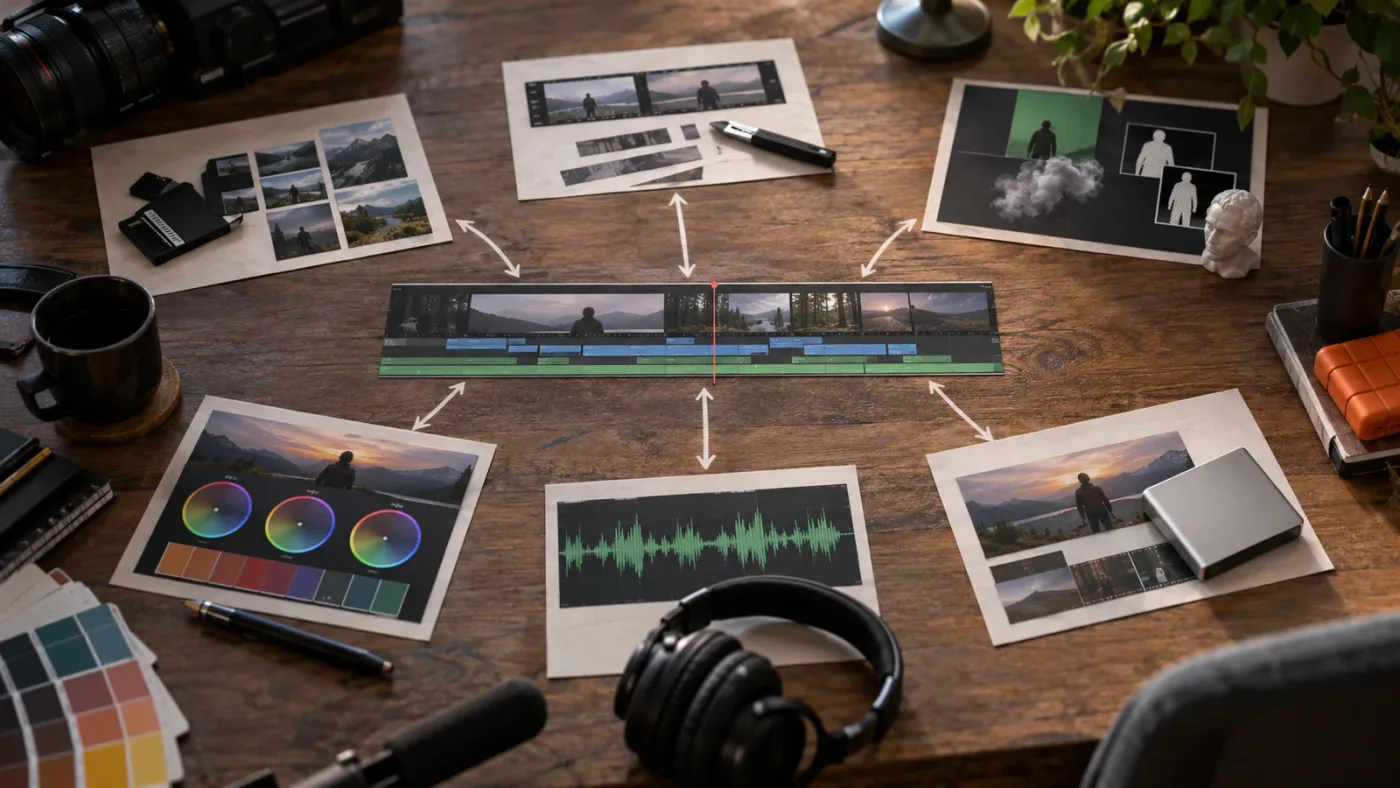
Learn the Resolve pages as stages in one workflow, not as seven separate applications you must master before editing. The page names are useful because they suggest different jobs, but you can move through a project without becoming an expert in every page.
Blackmagic Design describes DaVinci Resolve as a single post-production application with dedicated areas for editing, color, visual effects, audio, and delivery in its Resolve 21 overview. Resolve 21.1 also includes newer capabilities such as the Photo page and updated tools, which makes a complete feature tour even less useful as a first goal. Your job is to learn the smallest path that completes your brief.
Use this order for a first project:
Media and project setup
Bring in the footage, create bins, and decide the timeline format. You are learning to make the project understandable before you start cutting. Put interview, B-roll, music, sound effects, and graphics in separate bins even if each bin contains only a few files.
Cut and Edit
Use the page where you can make the main decisions comfortably. The Cut page is designed for quick assembly, while the Edit page exposes a broader set of controls for a more detailed timeline workflow. You don't need to debate which page is more professional. Pick the page that lets you see the story and make the next decision.
Fusion
Use Fusion only when the brief requires compositing or motion work. A simple title can stay simple. Beginners often enter Fusion because a tutorial promises a dramatic effect, then lose the original story under technical work. Learn nodes when the project gives you a reason to learn nodes.
Color
Start with correction and matching. Check exposure, contrast, white balance, and the relationship between neighboring shots before chasing a signature look. Casey Faris's current beginner-course transcript makes the same priority clear: get the basic match working before adding a vignette or advanced treatment.
Fairlight
Use Fairlight when the audio needs more room, more tracks, or more detailed mixing. You can still make basic audio changes from the Edit page. Resolve 21 adds Fairlight folders, which can help organize larger audio sessions, but a first project can learn volume, fades, dialogue clarity, and music balance without building a complex mixer layout.
Deliver
Export a version that matches the brief. A tutorial's export preset may be correct for its target and wrong for yours. Learn what the destination requires, then save a named preset once you understand the choices.
This order does not mean that every video must pass through every page. It means the page should answer a project question. If your question is “Can the audience hear the speaker?” go to the audio controls. If the question is “Why do these two shots feel unrelated?” go to color. If the question is “How can this title follow the moving subject?” go to Fusion or a simpler title workflow depending on the requirement.
The fastest learning path through DaVinci Resolve is the smallest complete workflow that finishes your current project.
What should you do in the first project pass?
The first pass should be fast, ugly, and complete enough to reveal the real problems. Do not polish the first clip for an hour while the ending remains imaginary.
Start with a paper or text outline. It can be five lines:
- The opening promise.
- The first useful detail.
- The moment that changes or proves the idea.
- The supporting example.
- The ending or next action.
Then make a selects timeline. Bring only the clips that might belong in the story. Label useful moments with markers or clip colors. You are not trying to create a beautiful media library. You are reducing the number of choices on the main timeline.
Build the rough cut before adding decorative work. Use hard cuts. Let titles be plain. Leave color correction basic. Keep music temporary if necessary. The rough cut answers one question: does the story make sense when the viewer knows nothing about your process?
Watch the rough cut without touching the mouse. Write down every place where your attention drops, but don't fix everything immediately. Circle the three largest problems. They may be a slow opening, a repeated idea, an unclear transition, or an ending that doesn't arrive.
Fix story before style. If a clip is in the wrong place, a better transition won't save it. If the first sentence is weak, a more elaborate title won't change the promise. If the audio is unintelligible, a color look is solving the wrong problem.
The second pass is where the software becomes more useful. Now you can make a title to clarify a name, use B-roll to hide an awkward cut, refine a music level, or make neighboring shots feel consistent. Each control has a reason because the rough cut exposed the need.
Use a rough-cut budget. Give yourself a fixed session for the first pass, then stop. The exact duration depends on your schedule and footage, so don't turn a timebox into a fake productivity statistic. The point is to prevent perfectionism from hiding the entire edit.
When you get stuck, write the problem as a sentence a stranger could understand. “Resolve is weird” produces weak searches. “How do I lower music under dialogue without changing the whole track?” produces a useful search. “My title is cut off in the vertical frame” tells you to inspect text layout, safe areas, and the timeline shape rather than opening random effects.
Use a three-question reset:
- What result am I trying to create?
- What part of the result is wrong?
- What is the smallest change that could test the cause?
This reset keeps you from clicking through menus without a hypothesis. It also makes screen-aware help more effective because you can describe the outcome, the visible problem, and the point where the tutorial diverged.
How do you practice editing decisions instead of button memory?
Practice decisions by making two or more versions of the same short section. Button memory tells you how to trim. Comparison tells you why one trim works better.
Choose a 20-to-40-second section and make these versions:
Version A: information first
Start with the clearest statement, remove repetition, and keep the pacing calm. This version teaches selection and comprehension.
Version B: energy first
Start with a surprising image or phrase, cut pauses more tightly, and use shorter supporting shots. This version teaches rhythm and attention.
Version C: atmosphere first
Hold shots longer, leave more natural sound, and let the edit breathe. This version teaches restraint.
Export or duplicate the timelines so you can compare them without relying on memory. Ask which version best serves the intended viewer. The answer may change when the brief changes. A fast cut is not automatically a better cut.
Do the same exercise with a title. Make one version with no title, one with a simple name card, and one with a title that explains the context. Watch each version at normal speed. You will learn that the question is not “How do I make a title?” It is “What does the viewer need to know, and when?”
Do the same with music. Make one version with the music lower, one with the music entering later, and one with no music. Listen with your eyes closed. If the music changes what you understand, you are practicing a real editorial decision rather than a volume shortcut.
Do the same with color. Choose a reference frame. Make a neutral correction, a warmer correction, and an exaggerated look. Compare them against the story and neighboring shots. The goal is not to learn every grading tool in one exercise. The goal is to see how picture changes affect meaning.
This is where the official training material can complement YouTube. Blackmagic's training page uses hands-on lessons and project files, while a creator such as Casey Faris can give you a friendly end-to-end demonstration. Use the lesson for a method, then use your own versions to discover the judgment the demonstration cannot make for you.
The best way to learn DaVinci Resolve is not a separate trick from this process. It is a useful companion if you want the larger principle behind project-based learning. This page narrows that principle to the moment after you have already watched beginner lessons and need a concrete next move.
How do you practice audio, color, titles, and delivery in one project?
Practice audio, color, titles, and delivery as a finishing pass on the same short edit. You learn more when each finishing choice responds to a visible problem than when you study four isolated tools with no story around them.
Use this pass order:
- Dialogue and primary sound. Make sure the words are understandable. Remove obvious distractions and use fades where a cut needs them.
- Music and ambience. Bring the supporting tracks in underneath the story. Listen for moments where the bed competes with speech or changes the mood by accident.
- Shot consistency. Correct the biggest exposure or color mismatch first. Compare shots that appear next to each other, not only isolated clips.
- Text and graphics. Add only the titles the viewer needs. Check the frame shape and the length of every title.
- Motion and effects. Add movement when it directs attention or clarifies the idea. Remove it when it only announces that you found a preset.
- Delivery. Export the format named in the brief, open the file, and watch it away from the timeline.
Audio practice: listen before you measure
Meters can help you notice extremes, but your first exercise is listening. Watch the speaker's mouth and listen for clear words. Then lower the music until the words remain easy to follow. Check the beginning and end of the music clip for abrupt starts or stops.
If your project contains multiple dialogue takes, put them on clearly named tracks. If the audio is noisy, don't begin by stacking every effect you find. First decide whether the problem is a level problem, a room problem, a performance problem, or a recording problem. A plugin cannot make every recording choice disappear.
Color practice: fix the largest difference
Put two adjacent shots next to each other. Ask what makes them feel different. Is one darker? Is the white balance warmer? Is the contrast flatter? Fix one large difference, then compare again.
The current Resolve 21 feature set includes expanded tools, but a beginner can learn a dependable correction workflow before exploring the new features. The official Blackmagic guide and training page are useful references when a control behaves differently from an older tutorial.
Title practice: design for the frame you actually deliver
Titles are not just words placed over a clip. They have to remain readable at the delivery size, stay on screen long enough to read, and avoid covering the subject. A vertical project can make a title that looked balanced in a wide tutorial feel cramped. A long name can require a smaller type size or a different line break.
Delivery practice: watch the file, not the timeline
After the render finishes, watch the exported file from the beginning. Check the first frame, the last frame, the audio, the title edges, and any section where you used a new effect. If the file is wrong, write down exactly what is wrong before changing the project.
The DaVinci Resolve learning roadmap for beginners can help you decide which finishing skill to deepen next. Use it to choose a direction, not as a reason to postpone your export.
How do you troubleshoot when the tutorial and your screen do not match?
When a tutorial and your screen do not match, identify the version, page, selected object, and desired result before searching for a replacement lesson. Many apparent software problems are context problems.
Use this diagnostic order:
- Read the tutorial's publication date and version reference.
- Confirm your Resolve version in the application.
- Confirm which page you are on.
- Confirm whether the clip, track, node, or title is selected.
- Check whether the control belongs to the Free or Studio version.
- Restate the desired result in plain language.
- Search the official manual or training material for the current term.
- Search a focused tutorial using the exact visible label or error.
DaVinci Resolve 21.1 is the current version anchor for this guide, but older training material remains useful for stable concepts. Blackmagic's current 21.1 manual is the best place to check current terminology. The Resolve 21 New Features Guide is useful when you need to know whether a behavior was introduced or changed in the 21 line.
Keep a version note at the top of your practice log:
Resolve: 21.1
Computer: Mac or Windows
Project format: 16:9 or 9:16
Page: Edit, Color, Fairlight, or Fusion
Problem: the exact visible result
Last action: the last step that worked
This is more useful than writing “the effect doesn't work.” For example, “In Resolve 21.1 on Windows, the title is selected on the Edit page, but the Inspector does not show the font controls after I changed the clip type” gives you several search terms and a clear stopping point.
Don't treat a version mismatch as a personal failure. Software changes. Resolve 21 introduced the Photo page, more than 100 motion graphic effects, and 50 new features according to Blackmagic Design's current product material, while 21.1 added further updates and AI assistant integration in the 21.1 release notice. A tutorial from an older release may show a sound workflow with a renamed button or a control in a different place.
A version mismatch is a research problem, not evidence that you cannot learn Resolve.
The correct response is not to memorize every version change. It is to learn how to verify the current path. That skill transfers to every update.
Why is DaVinci Resolve slow, missing media, or not behaving like the tutorial?
When DaVinci Resolve is slow, media is missing, or playback differs from a tutorial, isolate the problem before changing project settings. A beginner project can be made harder by trying three fixes at once.
If playback is slow
First ask whether the problem is the media, the timeline, or an effect. Disable a demanding effect temporarily, lower playback quality if the control is available, and check whether the same clip is slow in a new short timeline. The purpose is to identify a category, not to promise that one setting fixes every computer.
A tutorial may use different media, a different codec, or a different machine. Don't infer that your editing skill is the cause of every playback problem. Write the source format and the point where playback slows down.
If media is offline
Check whether the media was moved, renamed, disconnected, or stored on a drive that is not mounted. If a course project uses lesson files, preserve the folder structure described by the course when you extract or move the files. Blackmagic's training materials distinguish the project files from the lesson media, so download and store both when an exercise requires them.
If an effect is missing
Check the version and the edition. Some tutorials use Studio features, third-party effects, or a new Resolve 21 control. Search the exact effect name in the current manual, then decide whether the exercise still teaches a transferable idea without that effect.
If the button is in a different place
Check the selected object and workspace layout first. A clip control, a track control, and a project setting can sound similar while living in different contexts. Use the visible label in your search, not only the instructor's wording.
If the problem survives your checks
Make a tiny reproduction project. Import one clip, apply only the relevant operation, and see whether the behavior remains. If it does, you have a smaller question. If it does not, the original project contains a context difference.
One of the recurring questions in our 100,000+ member editing community is some version of “I followed the steps, but my screen doesn't look like the lesson.” The useful answer is rarely a mysterious hidden toggle. It is usually a short comparison of version, page, selection, media, and intended result.
When a concrete control remains hard to locate, Uncle can point at the exact button in your own Resolve project while you work.
Which learning path is best: Blackmagic training, YouTube, courses, community, or practice?
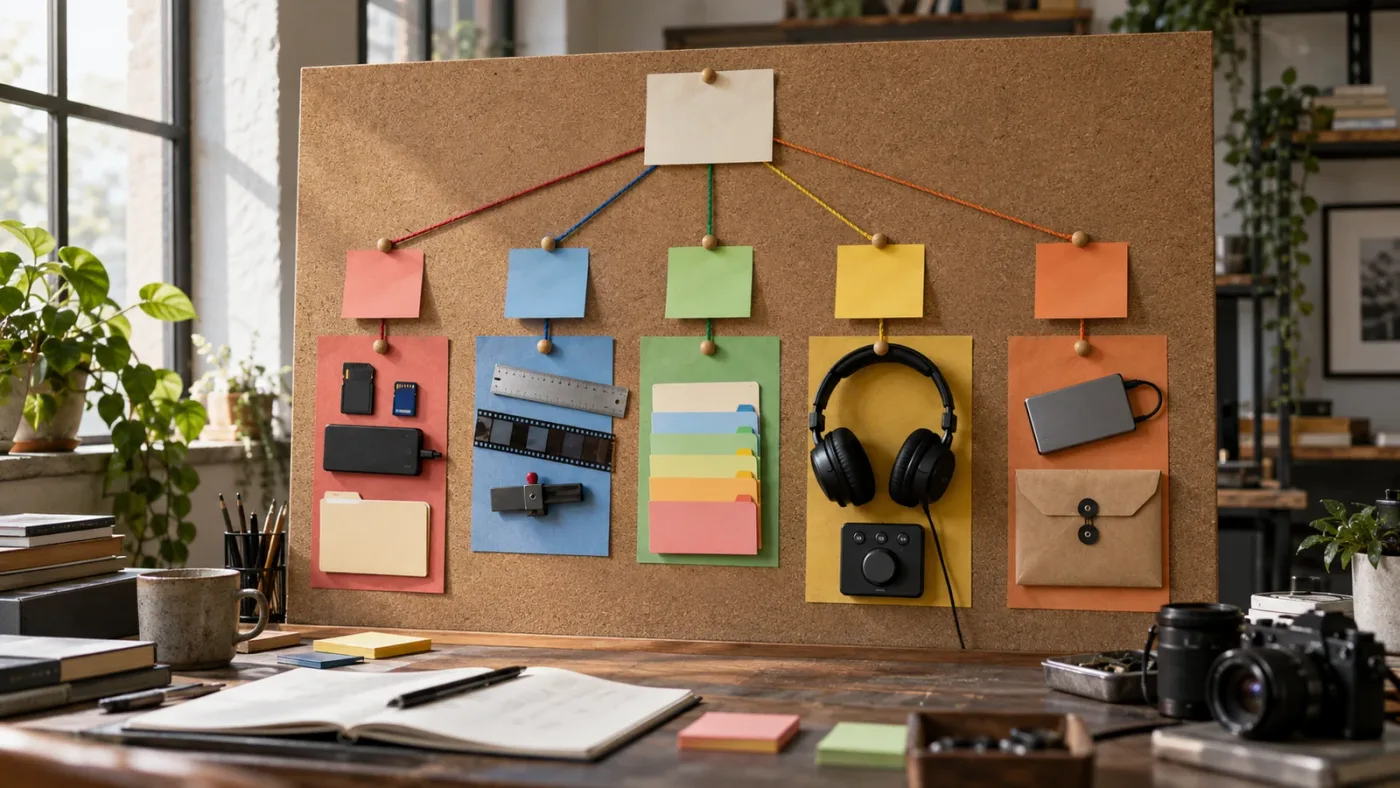
The best learning path combines sources by job. No single source is equally good at orientation, reference, repetition, feedback, and live troubleshooting.
| Source | Best use | Strength | Limitation |
|---|---|---|---|
| Blackmagic Design official training | Structured foundations | Project-based guides, videos, and lesson files | Some listed books may trail the current software version |
| Casey Faris and other YouTube educators | Orientation and visual demonstrations | Friendly end-to-end explanations and focused examples | Watching still does not create your brief or decisions |
| Udemy or Coursera courses | A scheduled curriculum or formal sequence | Chapters, assignments, and sometimes certificates | Quality, update date, project files, and feedback vary by course |
| Reddit and user communities | Narrow problems and workflow opinions | Real questions reveal where beginners get stuck | Advice is anecdotal and can conflict or age quickly |
| Your own practice projects | Transfer and judgment | Forces independent choices and creates a portfolio of attempts | Requires you to define the task and tolerate uncertainty |
| Screen-aware help | Locating a control in the current project | Connects plain-language questions to the visible context | It should explain the move, not replace your editorial decisions |
Blackmagic training should be your reference spine. Its official page lists training videos, books, and downloadable files, and it connects the lessons to editing, color, Fairlight, and Fusion workflows. Start there when you want dependable structure or need to understand a page's intended job.
YouTube is useful when you need to see a process happen. Casey Faris's full beginner course has a dedicated segment on learning Resolve, and his newer Resolve 21 material gives current context. The best way to use a long video is to treat it as a map. Watch enough to understand the route, then stop and rebuild the route in your own project.
Udemy and Coursera can be good choices when you need a calendar, a complete sequence, or an assessment structure. The course name alone is not enough evidence. Check the update date, the Resolve version, the exact project files, the instructor's scope, and whether feedback is included. A downloadable video is not the same as personal critique.
Reddit and other communities are good at showing the questions people ask when the lesson ends. Use them to find alternate explanations and practical warnings. Treat a single comment as a suggestion, not a universal method. Verify technical claims against the current manual when the cost of a mistake is high.
Practice is the part none of the other sources can do for you. A course can supply a project, but you still need to decide what to cut. A manual can name a control, but you still need to hear whether the music is too loud. A community can suggest a workflow, but you still need to test it against your footage.
For most beginners after a broad tutorial, the sequence should be:
- Use official material to fill a specific knowledge gap.
- Use a focused video to see the technique.
- Apply the technique to a different clip.
- Finish a complete small project.
- Ask a community or assistant only about the exact problem that remains.
That sequence keeps each resource in its strongest role and prevents switching platforms whenever the work becomes uncomfortable.
Is an AI tool to learn DaVinci Resolve useful after tutorials?
An AI tool can be useful after tutorials when it reduces interface friction while leaving the editing decision with you. It is less useful as a substitute for a brief, a rough cut, or repeated judgment.
People searching for an “AI tool to learn DaVinci Resolve” often mean one of four different things:
- A tool that explains a control in plain language.
- An app that helps you while using DaVinci Resolve.
- An editor that performs repetitive timeline work.
- A chat system that answers a question away from the project.
Those are different jobs. Confusing them leads to the wrong tool.
Here is the honest 2026 distinction:
| Tool or approach | What the official description supports | Best fit after beginner tutorials | What it does not replace |
|---|---|---|---|
| TryUncle | On-screen guidance for Resolve on Mac and Windows, with Uncle pointing to the relevant control | A learner who is stuck in a live project and needs the next control explained | Your brief, taste, and final editorial choices |
| Sottocut | A local-first assistant editor inside an open Resolve project that scores footage, proposes cuts, and verifies changes | A user who wants editing assistance with explicit approval steps | Foundational understanding of why a story works |
| CutAgent | AI agents that plan and execute controlled DaVinci Resolve workflows, with summaries of changes | Repetitive or structured editing tasks for users ready to review automation | The practice needed to build independent judgment |
| Eddie AI | Rough cuts, multicam, scripted edits, social clips, captions, and handoff to an editor | Turning larger footage collections into a starting cut | Learning every underlying decision from the result |
| PremiereCopilot | Text-to-edit actions inside Adobe Premiere Pro | A Premiere Pro user who wants direct timeline edits | It is not a Resolve learning path |
| General chat | Explanations, terminology, and possible troubleshooting paths | Forming a better question before checking the project | Seeing your exact screen or guaranteeing that a suggestion matches it |
Sottocut says it lives inside the open Resolve project, scores footage, proposes a cut, and verifies changes on its official product page. CutAgent presents agentic editing workflows that can read project context and execute supported operations in its DaVinci Resolve documentation. Eddie AI focuses on rough cuts and related post-production modes, then hands a file to the editor, according to its official features page. PremiereCopilot is explicitly native to Premiere Pro and performs timeline edits there, as its official Copilot page explains. Those are useful distinctions, not rankings.
The learning question is simple: do you need a teacher for a concept, an assistant for a visible control, or an agent to perform a repetitive operation? If you are still learning why a cut belongs where it does, choose the explanation and make the cut yourself. If you know the result you want but cannot find the control in the current layout, an on-screen assistant can reduce the search cost without making the decision for you.
That boundary protects the learning process. If an agent removes every silence, chooses every angle, generates every title, and grades every shot before you understand the choices, the export may improve while your judgment remains untrained. Automation can be useful, but use it after you can inspect and explain the result.
If you want that screen-aware form of help while using Resolve, check TryUncle for the current rate and platform details. TryUncle supports Mac and Windows, and the landing page owns the current download information.
What should you do when you finish the first project?
When you finish the first project, review the process rather than immediately starting another course. The review should produce a short list of improvements for the next brief.
Watch the export once for the viewer and once for the editor. On the viewer pass, don't touch the keyboard. Notice confusion, boredom, missing context, poor sound, distracting text, and an ending that arrives too late. On the editor pass, inspect the timeline for repeated actions, messy media, accidental gaps, and decisions you made without a reason.
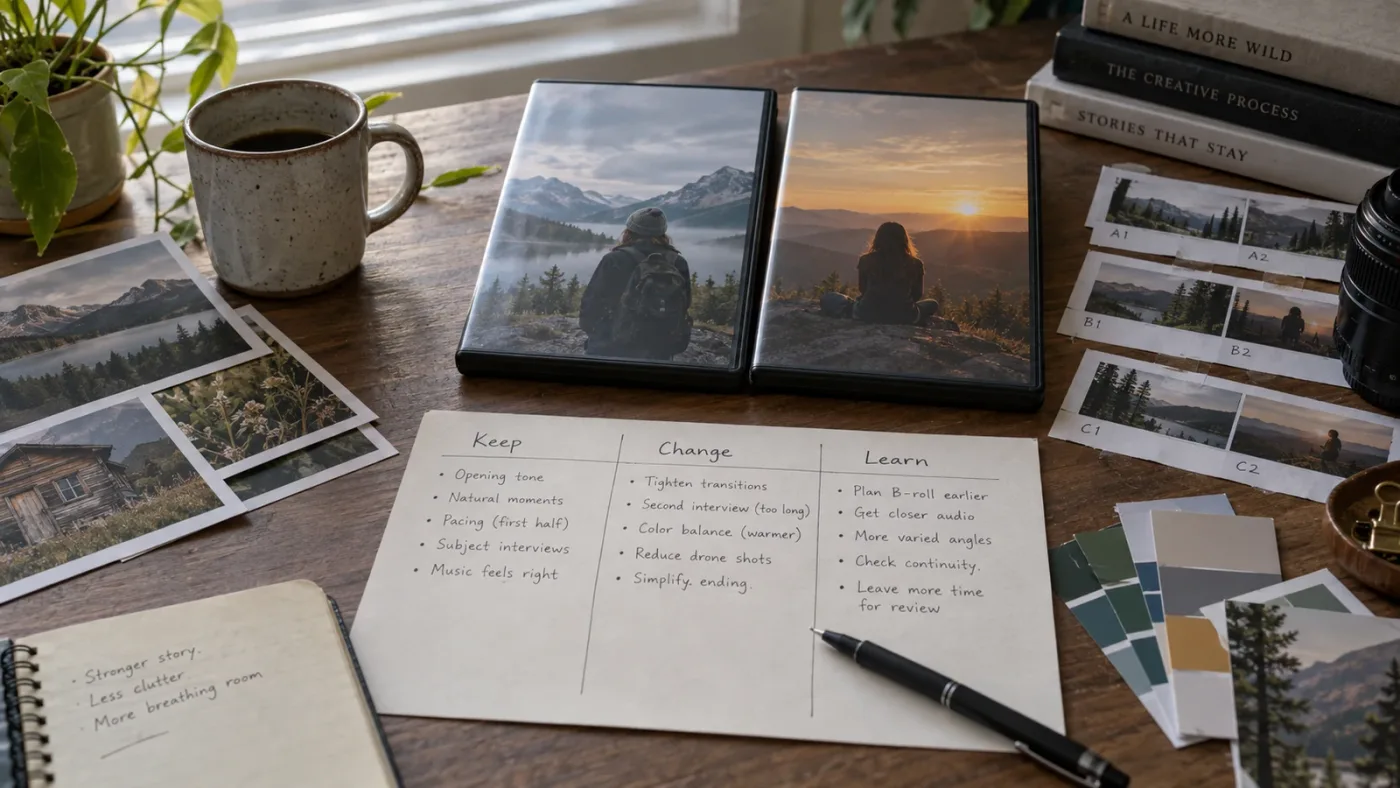
Write three notes in this format:
Keep: the decision that made the story clearer
Change: the biggest problem in the finished export
Learn: the one Resolve concept that blocked progress
“Keep” prevents you from treating the whole project as failure. “Change” gives the next project a target. “Learn” gives you a focused tutorial or manual search. This is a better review than writing “I need to learn everything.”
Then duplicate the brief and change one constraint. If the first project was wide, make the second vertical. If it was a talking head, make the second a process demonstration. If the first used music, make the second rely on natural sound. One new constraint reveals whether the workflow transferred.
Do not add complexity just to prove that you are advancing. A second project can use the same cut, audio, color, title, and delivery workflow with better selection. Skill often shows up as cleaner decisions, not a longer list of tools.
Use your practice files as evidence. Keep the rough cut, the first export, the revised export, and the review notes. You don't have to publish them. They let you answer concrete questions later: Are openings clearer? Are you cutting pauses more deliberately? Are your titles simpler? Do you export and review the file every time?
If you need more structured prompts, the DaVinci Resolve practice exercises for beginners page can supply a next assignment. Pick one exercise that creates a new decision, then finish it before opening a new playlist.
How do you know when to move from beginner exercises to real work?
Move from beginner exercises to real work when you can complete a small workflow, describe your decisions, and recover from a problem without abandoning the project. You don't need to feel ready first.
Use these signs:
- You can create a project brief without copying a tutorial's exact assignment.
- You can organize a small media set so you can find what you need.
- You can make a rough cut and identify its largest story problem.
- You can perform a basic audio, picture, title, and delivery pass.
- You can search for a narrow problem using the visible context.
- You can explain whether a fix changes the story, the interface, or the machine.
- You can export a version and inspect the file outside Resolve.
These signs are more useful than the number of pages you have visited. You might know enough Edit page work to make a short social clip while still knowing almost nothing about Fusion. That is not an incomplete person. It is a sensible scope.
Real work also includes constraints that tutorials can hide: a deadline, a revision, a different aspect ratio, a missing shot, a client note, a voice recording with noise, or a computer that cannot play the source smoothly. You learn to work by meeting one real constraint at a time.
Start with work that has a clear edge. Edit a short interview excerpt, a five-shot process video, a vertical cut from a longer recording, a simple event recap, or a product demonstration. Avoid promising a feature-length film as your first real assignment.
When someone gives you feedback, translate it into a decision. “Make it pop” is not a Resolve command. Ask whether they mean a faster opening, stronger contrast, clearer text, more sound energy, or a different emotional tone. Learning to clarify a vague note is part of editing.
The same applies to your own critique. Don't say “the color is bad.” Say “the face is darker than the previous shot,” “the white wall shifts green,” or “the background is competing with the speaker.” Specific observations lead to specific experiments.
What is a practical 30-day plan after beginner tutorials?
A practical 30-day plan uses four short cycles: complete a simple project, repeat it with a new constraint, solve one technical gap, and finish a project that resembles your intended work. The calendar is a container, not a promise that mastery arrives on day 30.
Days 1 to 7: rebuild the basic path
Choose a brief under one minute. Use a small media set. Make bins, create a timeline, assemble a rough cut, add simple sound and text, make a basic picture pass, and export.
Do not stop to learn every control. Put unknowns in the question queue. If a problem blocks the export, solve that problem. If it can wait, let it wait.
At the end of the week, write down the three points where you needed the most help. Those are your actual learning needs, not the topics a playlist happened to cover.
Days 8 to 14: repeat with a new constraint
Make a second short project. Change one major variable, such as frame shape, footage source, storytelling structure, or audio approach. Keep the workflow familiar so the new constraint has room to teach you.
Compare the second project with the first. Look for a change in decisions, not only a change in polish. Are you choosing better openings? Are you finding selects faster? Are your titles doing less work because the edit is clearer?
Days 15 to 21: solve one technical gap
Choose one problem from your log. It might be a title layout, audio cleanup, color matching, basic keyframing, media organization, or export setting. Use the current official manual and one focused tutorial. Recreate the idea on a tiny practice timeline, then use it in a complete short edit.
This is the right time to explore a page you have avoided. If the gap is Fusion, make one small animated title. If it is Fairlight, make one short mix with dialogue, ambience, and music. If it is Color, match two shots before trying a stylized grade.
Days 22 to 30: make a portfolio-shaped project
Choose a project that resembles the kind of work you want to make. A creator may choose a short vertical video. A filmmaker may choose a scene. A small business owner may choose a product demonstration. A student may choose a short interview or event recap.
Write a brief, collect the footage, make a rough cut, revise once, finish the sound and picture, export, and review the file. Keep the scope small enough that completion is plausible.
At the end of the month, create a one-page map of your process. Record the pages you use, the questions you ask, the problems you solve repeatedly, and the decisions you still avoid. That map becomes your next curriculum.
The best YouTube channels to learn DaVinci Resolve can help you choose a specialist once your practice reveals a real gap. A color-focused channel makes sense after you have a color problem. A Fusion-focused channel makes sense after you have a motion requirement. Don't collect specialists before your project tells you why you need them.
How do you keep learning without becoming a tutorial collector?
Keep learning by assigning every new lesson to a project, a question, or a deliberate experiment. If a lesson has no place to go, save it in a short list and return to your current work.
Use a simple weekly ratio: one piece of structured instruction, one focused troubleshooting session, one complete practice pass, and one review. The ratio is a planning device, not a measured law. It keeps watching from taking the whole week.
Create a “not yet” list for interesting topics. Put advanced Fusion effects, complex color management, custom macros, and elaborate delivery workflows there if they do not serve the current brief. A not-yet list is not avoidance. It is a way to protect the learning order.
Update your reference sources when software changes. Blackmagic Design's 21.1 release page and current manual are more trustworthy for version-specific behavior than a tutorial whose version is unclear. A current version does not make every older explanation useless, but it does change the burden of verification.
Keep using older lessons when the concept is stable. Trimming, selecting, organizing, listening, comparing shots, and reviewing exports remain useful even when an icon or label moves. Translate the lesson's idea into the current interface instead of copying its pixels.
Avoid the identity trap. You don't need to call yourself an editor before you practice, and you don't need to know every page before you make work. You are learning when you make a choice, observe the result, and adjust the next choice.
If you use an AI assistant, use it to expose the path rather than hide the path. Ask what a control does, where it lives, what must be selected, what a safe test is, and how to undo the change. Then perform the action and inspect the result yourself.
Use the assistant only after you can state the question. “Teach me Resolve” is too large to guide a useful session. “I need the music to fall under the sentence at 00:18 without changing the rest of the track” is a workable learning request.
Guided practice inside Resolve beats watching courses about Resolve.
What should you do today if you still feel stuck?
Today, create a 30-to-60-second brief, open a clean project, and make the first rough export before you watch another broad beginner tutorial. The export will tell you what to learn next.
Use this compact session:
- Write one sentence describing the viewer and the video's promise.
- Pick a small group of clips and make named bins.
- Create the timeline in the format you intend to deliver.
- Assemble the story with hard cuts and no decorative effects.
- Fix the biggest story problem you can see.
- Make the words understandable and the music supportive.
- Add one simple title only if the viewer needs it.
- Make a basic shot-matching pass.
- Export the file.
- Watch the file and write Keep, Change, and Learn.
If the tutorial's screen looks different, check the version and context before starting another course.
The best way to learn DaVinci Resolve after watching beginner tutorials is to close the lesson, choose a small brief, and practice the whole workflow until the blank timeline becomes a set of decisions you can make. Then repeat with one new constraint.
Frequently asked questions
- What should I do after watching a DaVinci Resolve beginner tutorial?
- Close the tutorial and make a small video from your own or practice footage. Rebuild the workflow from memory, search only for the step that blocks you, then export a finished version before starting another course.
- What is the best way to learn DaVinci Resolve fast after tutorials?
- Use short, complete projects instead of more passive lessons. Repeat the full path from media organization through editing, audio, color, titles, and delivery, increasing the difficulty one constraint at a time.
- Why can I follow a DaVinci Resolve tutorial but not edit alone?
- A tutorial gives you decisions, footage, and timing, while a blank project gives you none of them. Practice by choosing a clear brief, making your own edit, and keeping a list of questions to solve one at a time.
- Is an AI tool useful for learning DaVinci Resolve?
- An AI tool is useful when it helps you locate or understand a control in your open project. It is less useful when it makes the edit for you, because automation can hide the decisions you still need to learn.
- How long does it take to learn DaVinci Resolve after beginner tutorials?
- You can become functional by finishing a few small projects, but there is no honest universal deadline for mastery. Measure progress by independent decisions, finished exports, and fewer repeated mistakes rather than hours watched.
Sources
- DaVinci Resolve Training
- Blackmagic Design Announces DaVinci Resolve 21.1
- DaVinci Resolve 21.1 Manual
- DaVinci Resolve 21 What's New
- DaVinci Resolve 21 New Features Guide
- Introduction to DaVinci Resolve, Full Course for Beginners, Casey Faris
- Making Videos in Resolve 21, Casey Faris transcript
- r/davinciresolve beginner study-plan discussion
- Sottocut, AI assistant editor for DaVinci Resolve
- CutAgent, AI editing workflows for DaVinci Resolve
- Eddie AI product features
- PremiereCopilot Copilot
Learn by doing, not watching
Stop translating tutorials to your timeline.
TryUncle stays beside Resolve on Mac and Windows. When you ask, Uncle sees your screen and points at the exact control you need. No hunting through tabs, timestamps, or mismatched tutorials.
Meet TryUncleKeep reading
 GuidesJul 12, 202641 min read
The Best Way to Learn DaVinci Resolve (What the Research Says)
Guided, hands-on practice inside DaVinci Resolve beats video courses and MOOCs. Here's the learning-science research behind why, and how to apply it.
 GuidesJul 15, 202639 min read
The DaVinci Resolve Learning Roadmap for Beginners
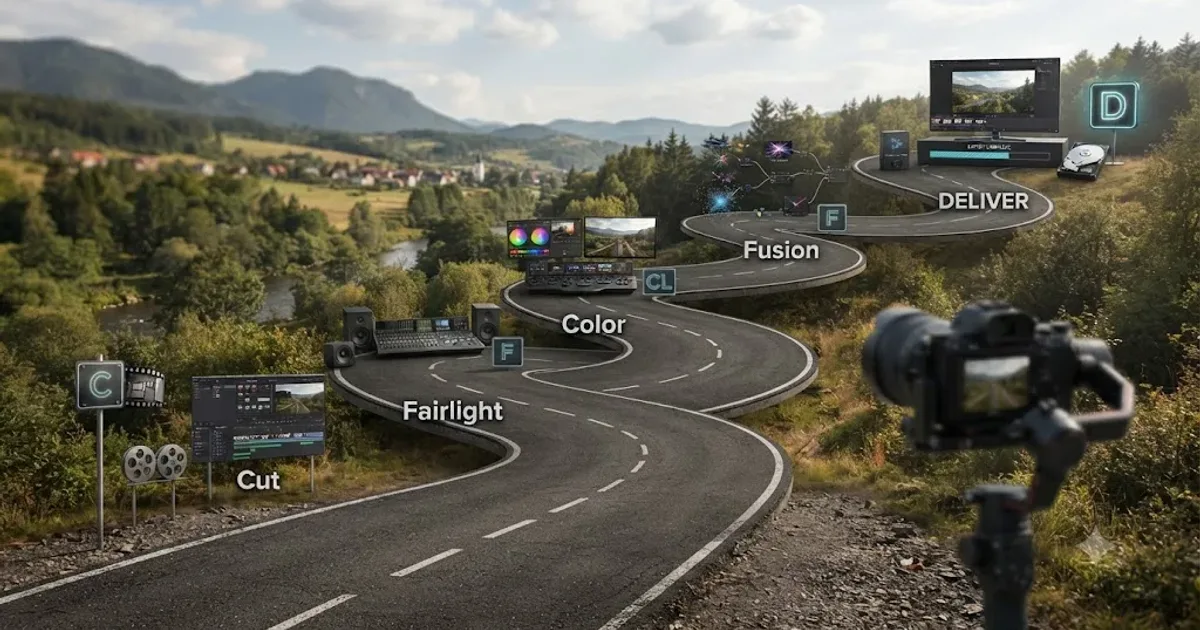
The right order to learn DaVinci Resolve: Cut or Edit, then Fairlight, Color, and Fusion, checked against Blackmagic and Ripple Training's own paths.
 GuidesJul 15, 202640 min read
10 DaVinci Resolve Practice Exercises for Beginners
Ten DaVinci Resolve practice exercises for beginners, each targeting one skill, with real sources and a 14-day plan to string them together.