
Learn / DaVinci Resolveupdated for DaVinci Resolve 21.1 (September 2026)
How to Export a Still Frame as PNG in DaVinci Resolve
Quick answer
To learn how to export a still frame as PNG in DaVinci Resolve, move to the frame, choose File > Export > Current Frame as Still, select PNG, name the file, and click Export. Use the Source Viewer for clip resolution or the Timeline Viewer for timeline resolution.
As of September 2026, the cleanest way to export one frame from DaVinci Resolve is a menu command, not a one-frame video render. The important choice comes before the command: decide whether the Source Viewer or Timeline Viewer contains the image you actually need.
We have taught more than 100,000 students on Udemy, run a 100,000+ member professional video-editing community, and spent 7+ years doing commercial video work. This particular task still catches experienced editors because Resolve has several different kinds of “still,” and each one follows a different path.
How do I export a still frame as PNG in DaVinci Resolve?
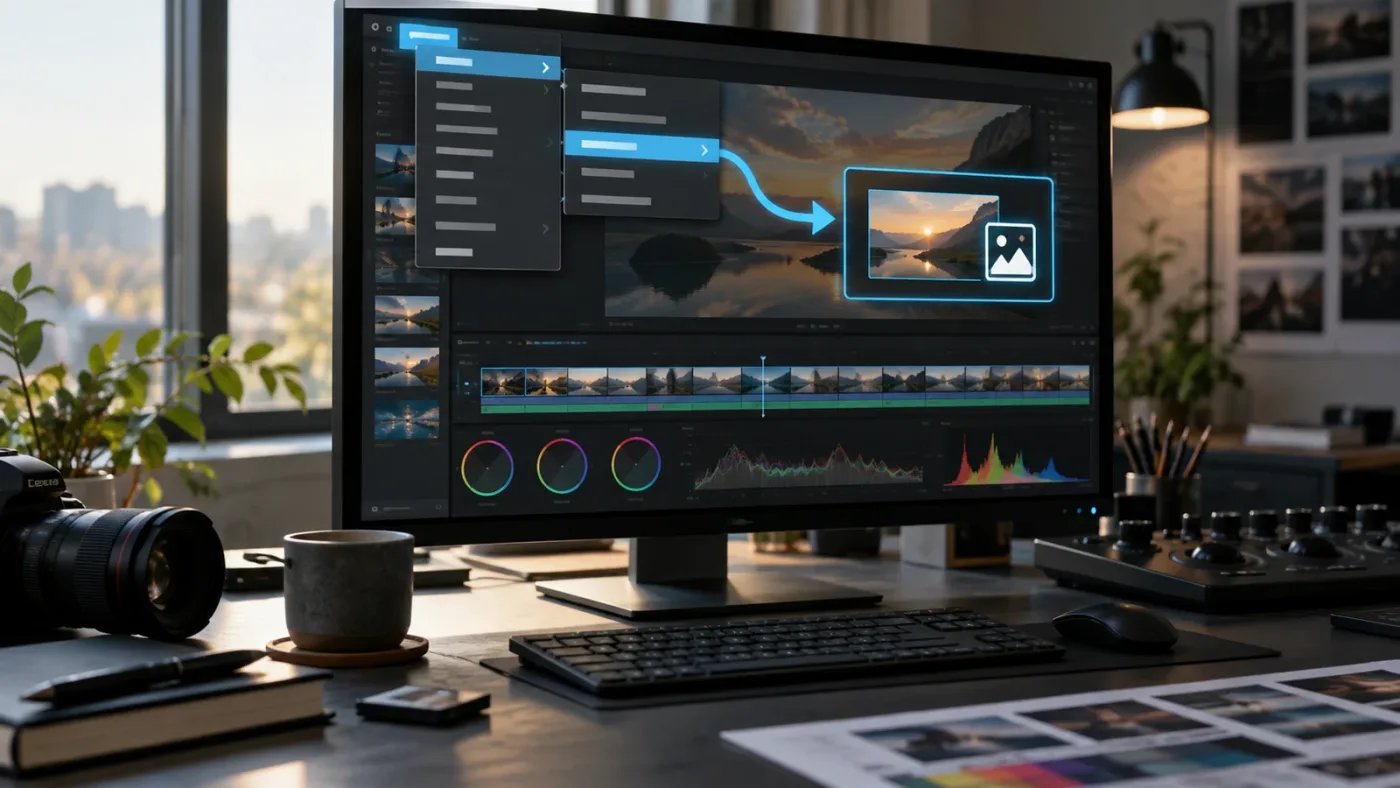
To export a still frame as PNG in DaVinci Resolve 21.1, activate the viewer that contains the desired frame, choose File > Export > Current Frame as Still, choose PNG in the file dialog, name the file, select a destination, and click Export. Blackmagic Design documented this current-frame workflow when it added the feature to the Media, Cut, and Edit viewers in Resolve 18.5, so the command is available well beyond the current release. (Blackmagic Design's 18.5 New Features Guide)
The exact sequence is short. The decisions around it are what prevent a wrong frame, wrong size, or wrong-looking PNG.
- Open the project that contains the source clip or timeline.
- Go to the page that contains the image you want. Use Media for a source clip, or Cut and Edit for a timeline composition.
- Click inside the correct viewer so Resolve knows which viewer is active.
- Move the playhead or viewer position to the frame you want. Do not rely on a thumbnail. Park on the image itself.
- Choose
File > Export > Current Frame as Still. - In the save dialog, enter a descriptive filename such as
interview-hero-frame-0142.png. - Choose PNG as the image format, choose the destination folder, and confirm the export.
- Open the exported file outside Resolve and check the picture, dimensions, color, and any overlays you expected to keep.
The word “current” matters. Resolve exports the frame that belongs to the active viewer, not necessarily the frame you last clicked in another page. If you have a clip open in the Source Viewer and a timeline open in the Timeline Viewer, the active panel decides which frame and which resolution the command uses. A small click in the wrong panel can create a perfectly valid PNG that is not the image you intended.
DaVinci Resolve's Current Frame as Still command is the fastest route from one visible frame to one PNG file.
What should the filename contain?
Use a filename that carries enough context to survive outside the project. A project name, subject, frame number, and optional version are usually enough:
| Situation | Example filename | Why it helps |
|---|---|---|
| One frame for a thumbnail | launch-interview-thumb-0142.png | Identifies the use and frame position |
| Client review still | campaign-hero-v03-00h12m08s.png | Preserves the version and timecode clue |
| Color reference | scene-07-grade-reference-0218.png | Separates a reference still from a final asset |
| Transparent graphic | lower-third-alpha-v02.png | Signals that the file should be checked for transparency |
| Batch of selected moments | podcast-select-0001.png | Makes later sorting predictable |
Do not use a filename that says only still.png if the file will travel through a review process. Resolve can save it correctly, but the name will not tell another person which frame it represents.
Which version of Resolve does this method cover?
DaVinci Resolve 21.1 is the current release context for this guide. Blackmagic Design announced Resolve 21.1 on September 8, 2026, and described it as available for download. The company also lists DaVinci Resolve 21 for Mac, Windows, and Linux on its product pages. (Blackmagic Design's Resolve 21.1 announcement, DaVinci Resolve product page)
The menu path itself was introduced in 18.5. In earlier versions, the Color page Gallery workflow was the familiar way to create and export a still, while later versions added the direct current-frame command to the Media, Cut, and Edit viewers. If a tutorial tells you to switch pages, first check its Resolve version. The tutorial may be describing an older workflow, not a rule you must follow in 21.1.
If you are on Resolve 18.5, 19, 20, or 21, start by looking for the current-frame command. If it is missing, use the Color page Gallery method later in this guide or check whether the active page and viewer support the command in your installed version.
Uncle can point at the exact export control in your own Resolve project while you work if the menu path is hard to find.
Which viewer should I use for a DaVinci Resolve PNG?
Use the Source Viewer when you want a frame at the source clip's resolution, and use the Timeline Viewer when you want the finished timeline composition at the timeline's resolution. The choice also determines whether timeline graphics, titles, and other visible composition elements are present. This distinction is the single most useful way to diagnose a PNG that looks right but has the wrong dimensions.
| Viewer or workflow | Use it when you need | Resolution behavior | What it can include |
|---|---|---|---|
| Media page Source Viewer | A frame from one source clip | The source clip's resolution, according to Blackmagic Forum guidance | The source image as shown in the source viewer |
| Cut page viewer | A frame from a Cut-page timeline view | The active timeline view | The visible timeline composition available in that viewer |
| Edit page Timeline Viewer | A frame from the edited program | The timeline resolution, according to Blackmagic Forum guidance | Visible timeline layers and some displayed overlays |
| Color page Gallery | A graded reference still | Gallery still export follows the still workflow, not the current-frame menu | Grade information can travel with the still export as a companion file |
| Fusion viewer Save Image | A Fusion result or graphic with transparency | The Fusion composition's image output | Fusion output, including an alpha channel when the composition provides one |
| Deliver page PNG render | Several frames or a PNG image sequence | The render settings and timeline output | A rendered sequence, not simply one viewer snapshot |
The Source Viewer is the safer choice when the request is “give me the original camera frame.” The Timeline Viewer is the safer choice when the request is “give me exactly what the audience sees in this edited moment.” Both statements can refer to the same timecode while producing different images.
What is the Source Viewer?
The Source Viewer displays a source clip independently of the assembled timeline. It is useful when you want to inspect a clip, choose a frame before editing, or export a still from the original media. A source export is not automatically a picture of the entire edit. Titles, adjustment layers, transitions, and other timeline-only elements are outside the source clip.
That makes the Source Viewer a good fit for:
- A production still pulled from camera footage.
- A clean frame for a storyboard or shot list.
- A reference image that should match the original clip's dimensions.
- A frame you plan to grade or retouch in another application.
Before exporting, look at the viewer's image and ask a direct question: “Do I want this clip, or do I want the assembled program?” If the answer is the clip, stay in the Source Viewer.
What is the Timeline Viewer?
The Timeline Viewer displays the composition at the playhead position. It is the right choice for a YouTube thumbnail pulled from the edited program, a client review still, a frame that includes a title, or a visual reference for an edit decision. The exported PNG follows the timeline's output dimensions rather than the resolution of whichever source clip happens to be under the playhead.
This is why a 4K source clip can produce a 1920 by 1080 PNG when the active timeline is 1920 by 1080. The source file can be larger than the working canvas. The current-frame export does not turn the timeline into a new 4K canvas just because one source clip contains 4K pixels.
Why can two viewers produce two different PNGs?
Two viewers can show different images because they represent different contexts. The Source Viewer has the source clip. The Timeline Viewer has the edited composition. Even when both are parked near the same moment, their visible layers, scaling, frame size, and color-management context may differ.
A useful test is to export two files with explicit names:
source-frame.pngfrom the Source Viewer.timeline-frame.pngfrom the Timeline Viewer.
Compare their pixel dimensions and visible content. The comparison tells you more than guessing from the file names in Resolve. If the two files are identical, your particular clip and timeline may happen to match. That does not make the workflows interchangeable.
What does Current Frame as Still include in DaVinci Resolve 21.1?
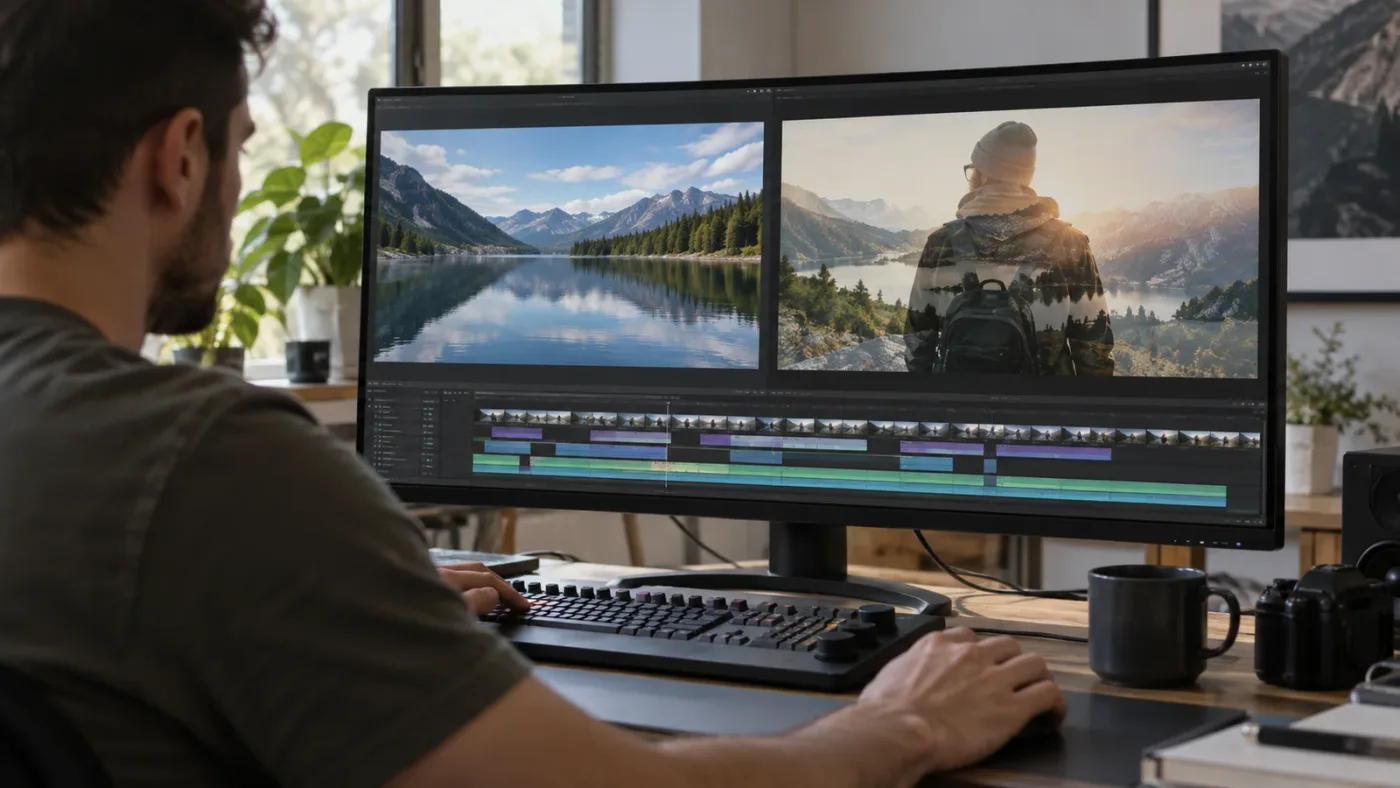
Current Frame as Still exports the image represented by the active viewer at the current position. It is best understood as a viewer-output command. It is not a project archive, not a Color page grade package, and not a guarantee that every on-screen control or temporary overlay becomes part of the file.
The official 18.5 guide describes the action in five plain steps: navigate to the desired frame, choose File > Export > Current Frame as Still, enter the name, enter the format, and click Export. That documentation is about the file created by the command, not about preserving every piece of Resolve metadata. (Blackmagic Design's 18.5 New Features Guide)
Which elements usually matter?
Think in four layers:
- Source pixels. These come from the clip or still image under the viewer.
- Timeline composition. Titles, graphics, transforms, crops, and visible tracks belong to the timeline context.
- Color processing. The exported picture follows the viewer's displayed result, subject to the project and color-management setup.
- Overlays and annotations. Some displayed overlays may be included, while others are controls or metadata views that are not part of the picture.
This model keeps you from expecting a still export to behave like a screenshot. A screenshot records the application window. A current-frame export writes an image rendered from Resolve's viewer context. The PNG does not need to include the surrounding interface, menus, panel borders, or pointer.
Do titles and graphics appear?
If you export from the Edit-page Timeline Viewer, visible timeline elements can appear because they are part of the composition being shown. If you export from the Source Viewer, those timeline elements are not part of the source clip. The right answer depends on the viewer, not on the extension .png.
For a title card, lower third, or finished thumbnail, confirm that the intended video tracks are enabled and visible before exporting. If the graphic is hidden, disabled, outside the current frame, or covered by another layer, the PNG will reflect that state. Resolve will not infer that a hidden layer should be included just because its clip exists somewhere in the timeline.
Does the file include Resolve grading metadata?
The direct current-frame command creates an image file. It is different from exporting a Color page Gallery still, where Resolve may also write a .drx file containing grading metadata. Blackmagic's color-training material specifically demonstrates exporting a frame as PNG for client reference and review, while the older Colorist Reference Manual documents Gallery exports as an image plus a DRX file. (DaVinci Resolve 20 Colorist Guide, Blackmagic's Colorist Reference Manual)
If the person receiving the file only needs to see the picture, send the PNG. If another Resolve user must reproduce or continue the grade, preserve the project or use the Color page still workflow with its grading data. A PNG alone is not a substitute for the project, source media, or grade metadata.
A PNG is the picture of the selected viewer result, while a Gallery still can carry grading information for Resolve work.
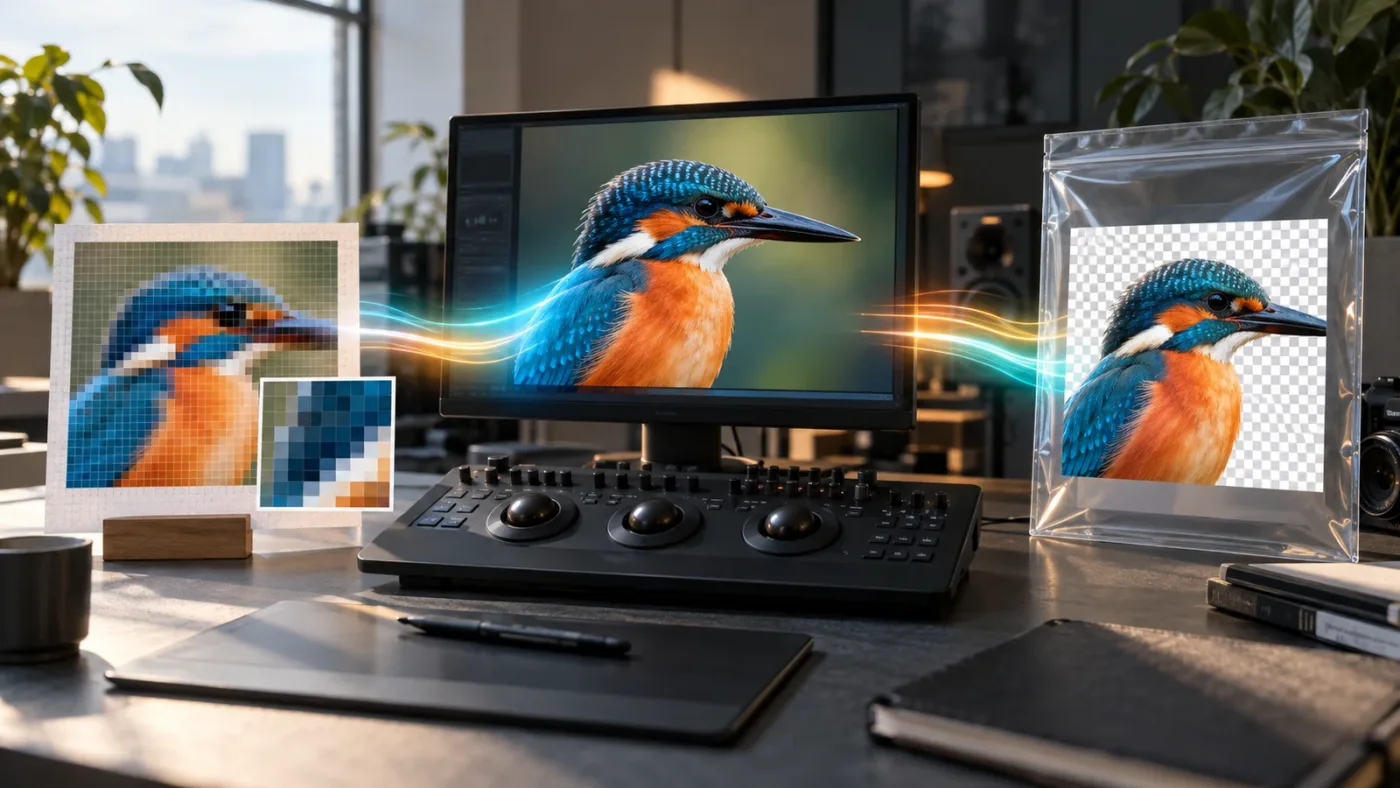
What does PNG itself guarantee?
PNG is a lossless, portable compressed image format defined by the W3C specification. The standard supports truecolor and grayscale images, optional alpha information, and sample depths from 1 to 16 bits. “Lossless” describes the PNG encoding, not every transformation that happened before Resolve wrote the file. A scaled, color-managed, or composited frame can still differ from the original camera data even though the PNG stores its resulting pixels without lossy compression. (W3C PNG Specification, Third Edition)
That distinction matters. Choosing PNG does not restore detail removed by a crop, resize, blur, grade, proxy, or timeline scaling. It preserves the image Resolve sends to the encoder. The format is a good choice when you want clean still graphics, review images, or a file that can carry transparency, but it is not a raw negative.
How do I choose the exact frame before exporting?
Choose the exact frame in the active viewer first, then export without changing focus. The safest method is to use the viewer's timecode, confirm the image at the playhead, and make a one-frame verification after the file is written.
Editors often say “frame” when they mean a moment, but a video has discrete images. A small playhead movement can change a mouth shape, blink, title animation, or action pose. The export command will faithfully preserve the frame you selected, even when the selection was accidental.
What is a reliable selection routine?
Use this five-part routine when precision matters:
- Choose the context. Decide whether the source clip or timeline composition is the deliverable.
- Find the time. Use the viewer and timecode display to get close to the intended moment.
- Inspect the frame. Look for closed eyes, motion blur, clipped titles, transition edges, and unwanted overlays.
- Click the viewer. This keeps the intended viewer active before you open the File menu.
- Export and re-open. Compare the saved PNG with the viewer and record the timecode in your filename or notes.
This is not busywork. It separates a frame-selection problem from an export problem. If the PNG is wrong but the saved file matches the active viewer, Resolve did what you asked. The fix is to choose a better frame and export again, not to change PNG settings.
Should I use a marker?
A marker is useful when you need to return to a chosen moment, especially when you are creating several review stills. A marker label such as hero candidate, client question, or thumbnail option 2 adds human context that a bare frame number cannot provide.
For one still, a marker is optional. For many stills, markers create a repeatable selection list. Resolve forum users have also discussed scripts for grabbing stills at markers, which signals that marker-based batch workflows are useful but may require a separate automation approach rather than a single built-in one-click export. (Blackmagic Forum discussion of marker stills)
Do not confuse a marker with a rendered frame. A marker remembers a position and note inside the project. It does not create a PNG until you export a still or render a sequence.
Can I assign a shortcut?
Yes, the Export > Current Frame as Still action can be mapped in Resolve's Keyboard Customization window, according to a Blackmagic Forum discussion. The menu route remains useful when you are learning because it exposes the command name. A shortcut becomes helpful after you have confirmed which viewer should be active and which folder should receive the image. (Blackmagic Forum shortcut discussion)
Create a shortcut only after you can explain its effect in one sentence: “This exports the current frame from the active supported viewer.” If you cannot say which viewer is active, the shortcut will make the wrong export faster.
How should I document the selected frame?
Write down the timeline name, clip name, timecode, viewer choice, and output dimensions. For example:
Timeline: Client Review v03
Viewer: Timeline Viewer
Timecode: 00:12:08:14
Output: PNG, 1920 x 1080
Purpose: hero image option 2
The note is valuable when a client asks for a revision or when the same source frame appears in multiple timelines. A PNG can show the result, but it cannot tell you which Resolve context produced it unless you preserve that information separately.
Why is my DaVinci Resolve PNG the wrong resolution?
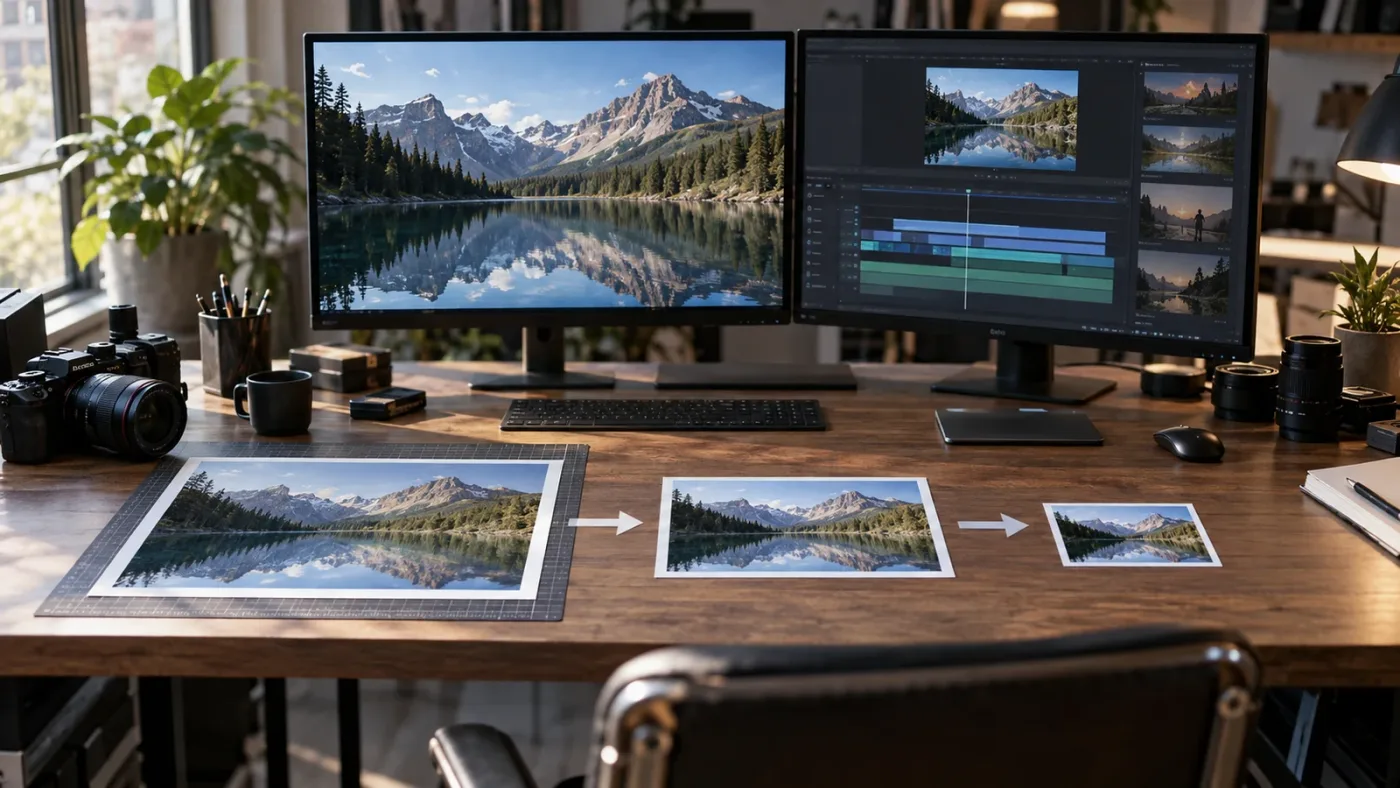
The most common reason is that the export came from the wrong viewer. Source Viewer exports follow the source clip's resolution, while Timeline Viewer exports follow the timeline resolution, according to guidance in the Blackmagic Design Forum. (Blackmagic Forum discussion of current-frame resolution)
Start with the file's actual pixel dimensions. Do not judge resolution by how large the PNG looks in an image viewer. A small image can be displayed large, and a large image can be displayed small.
What should I check first?
Check these in order:
- Which viewer was active? Click inside the intended viewer, then export again.
- Which page was active? Media shows a source clip. Edit shows the timeline composition.
- What are the timeline dimensions? If you need a delivery frame, inspect the timeline settings and output resolution.
- Was the clip already scaled? A high-resolution source can be displayed inside a smaller timeline.
- Did another application rescale the file? Compare the original exported PNG before editing it elsewhere.
If you need the timeline's 1920 by 1080 frame, export from the Timeline Viewer. If you need the camera clip's native dimensions, export from the Source Viewer. Do not change the project resolution just to fix one still unless the project itself is wrong.
What if the Source Viewer always exports a size I did not expect?
The Source Viewer is tied to the source clip, not to a custom still-output size. If a source file has a proxy, a resized version, or unusual dimensions, inspect the clip properties and the file you selected in the Media page. A current-frame export is not a general image-resize dialog.
When you need a specific delivery dimension that neither source nor timeline currently provides, make the decision explicit. You can either export the timeline frame and resize it in a dedicated image tool, or create a timeline with the desired output canvas and export from that timeline. The better choice depends on whether you need a faithful frame or a designed output.
Can I export a 4K PNG from a 1080p timeline?
Not by choosing PNG alone. PNG describes the file format, not the number of pixels. A 1080p timeline viewer produces the timeline's dimensions. To produce a 4K composition, you need a 4K timeline or another workflow that renders the desired canvas, and you must still check how the source scales into that canvas.
This is where people sometimes choose the Deliver page by accident. Deliver gives you more output controls, but it changes the task from “save this viewer frame” to “render this timeline using output settings.” Use the simplest workflow that matches the actual need.
What if the PNG is wider or taller than the video?
Check aspect ratio and pixel dimensions together. A source clip may have a different aspect ratio from the timeline, and Resolve may scale, crop, or letterbox it according to the project settings. If the viewer shows black bars, those bars can become part of a timeline export because they are part of the displayed composition.
If you want the picture without timeline bars, export the source frame or change the timeline composition intentionally before export. Do not crop the PNG blindly until you know whether the bars are part of the client-approved frame.
PNG controls compression behavior, not the resolution, aspect ratio, or color-management context of the exported frame.
Why is my DaVinci Resolve PNG the wrong color?
A PNG can look different from the viewer because the viewer, project color management, display, and image viewer may not interpret color in exactly the same way. The current-frame command saves the viewer result, but it does not make every display application color-managed in the same way.
Treat color as a separate question from export format. Changing JPEG to PNG can avoid additional lossy compression, but it does not automatically solve a color-space mismatch. First establish what the viewer is showing and what the receiving application expects.
What should I compare?
Compare the following without changing several settings at once:
- The frame in the active Resolve viewer.
- The exported PNG opened in a color-managed image application.
- The exported PNG opened in the application where the client will use it.
- The project color-management setup and output color space.
- Whether the display itself is being viewed under a consistent profile.
If the PNG looks wrong only in one application, the application may be interpreting embedded color information differently or may not be color-managed. If it looks wrong everywhere, revisit the Resolve project and output setup before blaming the PNG extension.
Should I export from the Color page for a graded still?
Use the Color page when the point of the image is a grade reference. The Gallery workflow is designed around saving a still for later reference, comparing grades, and exporting stills. The direct current-frame command is more convenient when you want the image that the edit viewer is showing.
The distinction is practical:
| Need | Better workflow | Reason |
|---|---|---|
| One picture of the finished edit | Current Frame as Still | Fast and tied to the active viewer |
| A colorist's reference still | Grab Still, then Gallery export | Keeps the still inside the grade workflow |
| A PNG with a repeatable grade handoff | Gallery export with companion data | The Gallery workflow can include grading metadata |
| A graphic with transparency | Fusion Save Image | Better suited to alpha-aware output |
Blackmagic's Colorist Guide describes exporting a frame in image formats for client reference and review, while older reference material explains that Gallery export can write an image and a DRX file. That is why two PNGs from the same visual moment can serve different professional purposes. (DaVinci Resolve 20 Colorist Guide, Blackmagic's Colorist Reference Manual)
Does a color grade change the PNG?
If the active viewer is showing a graded result, the exported frame is intended to represent that displayed result. But the exact appearance still depends on the page, project setup, output transform, and whether you are exporting the source view or timeline view. A Color page still, an Edit-page current frame, and a Deliver-page render are not automatically interchangeable.
When the grade is for client approval, label the file as a reference rather than implying that it is a source master. A still is a communication tool. It helps someone approve a look, but it does not replace the graded timeline or source media.
What if HDR looks flat or washed out?
Start by identifying where the appearance changed. If it changed inside the Resolve viewer, inspect the project and output settings. If it changed only after opening the PNG, compare the image application and display path. If the receiving platform expects SDR, you may be comparing an HDR viewer result with an SDR display interpretation.
Do not promise that PNG solves HDR delivery. The W3C PNG specification describes color-space information and supports modern image representations, but the receiving application still needs to interpret the data. (W3C PNG Specification, Third Edition)
For an approval still, state the intended viewing context. “Preview from the Resolve viewer” is more honest than “final color proof” unless the color workflow has been controlled end to end.
How do I export a transparent PNG from DaVinci Resolve?
Use a Fusion image-output workflow when transparency is the requirement. A current-frame export from an Edit or Cut viewer is meant to save the visible frame, not to isolate a foreground from its background. In Fusion, the viewer's Save Image path is the more relevant choice for a composition that contains an alpha channel, as discussed in the Blackmagic Forum. (Blackmagic Forum still-frame discussion)
PNG can store alpha information. The W3C specification defines the alpha sample as a pixel's degree of opacity, with zero representing fully transparent and the maximum value representing fully opaque. That describes what the file format can carry. It does not mean every Resolve viewer export will create useful transparent pixels. (W3C PNG Specification, Third Edition)
What is the practical difference?
Imagine a lower third that should sit over another video:
- If you export a current frame from the Edit-page timeline, you may get the lower third already composited over the timeline background.
- If you export the Fusion result with an alpha channel, you can preserve the graphic's transparent areas when the composition is built to output them.
- If you export a source frame, you get the source image, not the finished graphic.
The file extension cannot tell you which of these happened. Open the PNG over a contrasting background or check its alpha channel in an image application that exposes transparency.
How do I check whether alpha survived?
Use a checkerboard or contrasting background in the receiving application. Blackmagic's Editor's Guide describes PNG as a format that can contain an alpha channel and suggests using a checkerboard viewer background to verify transparency when working with graphics. (DaVinci Resolve 20 Editor's Guide)
The test should answer two questions:
- Are the transparent pixels actually present?
- Does the receiving application interpret them correctly?
A white-looking area does not always mean the background is baked in, and a black-looking area does not always mean the alpha is missing. Use a deliberate checkerboard or colored background rather than visual guesswork.
Why does my transparent PNG have dark edges?
Dark or light fringes can appear when semi-transparent pixels were created against a background or when the receiving application interprets premultiplied and non-premultiplied data differently. PNG's standard uses unassociated, or non-premultiplied, alpha. The practical result is that the color values and opacity are represented separately, but a compositing application still has to blend them correctly. (W3C PNG Specification)
Check the graphic over both a dark and light background. If the edge changes dramatically, inspect the Fusion composition, matte, blur, and alpha processing rather than simply exporting again from the Edit page. If the graphic is for a title or lower third, test it in the exact application where it will be used.
Is PNG always the best alpha format?
PNG is a useful choice for a still graphic with transparency, especially when the next application expects a common raster format. It is not automatically the best choice for every production handoff. A graded still, a compositing element, a high-bit-depth image, and a client review picture can have different requirements.
Choose based on the handoff:
- Use PNG for a still graphic or reference image when the recipient supports it.
- Use a Resolve-native still workflow when the grade metadata matters.
- Use the project or a suitable image-sequence format when a sequence, not one image, is required.
- Use a video render when the recipient needs motion.
The best export is the one that preserves the information the next person actually needs.
Should I use Current Frame as Still or the Color page Gallery?
Use Current Frame as Still for one visible frame from the Media, Cut, or Edit viewer. Use the Color page Gallery when you need a grade still that can be compared, organized, or exported with grading information. Both workflows can produce an image, but they answer different questions.
What is a Gallery still?
A Gallery still is a Resolve color-grading reference. It stores a captured still in the Gallery so you can compare looks, copy or apply grades, and manage versions inside the Color page. The older Colorist Reference Manual describes saving an individual still by choosing View > Grab Still, right-clicking the Viewer, or using a control surface's Grab Still control. It also documents selecting one or more Gallery stills and exporting them. (DaVinci Resolve Colorist Reference Manual)
The Gallery is not just a hidden image-export dialog. It is part of the color workflow. That is why a Gallery export may produce a DRX sidecar with grading metadata, while a direct current-frame PNG is simply an image file.
What are the Gallery steps?
For a graded reference still:
- Go to the Color page.
- Position the playhead on the desired frame.
- Right-click the viewer and choose
Grab Still. - Confirm the still appears in the Gallery.
- Right-click the still and choose the export command.
- Select PNG if the receiving application needs a PNG image.
- Keep the accompanying grade data when the handoff requires it.
The exact labels can vary with the Resolve version and page layout, but the conceptual sequence remains capture, organize, export. If your goal is only a thumbnail from the Edit page, those extra steps add no value.
Why might a Gallery export create two files?
Gallery export is designed to carry both the rendered image and grading metadata. The reference manual describes an image file in the selected format plus a DRX file containing grading metadata for each exported still. That second file is useful in a Resolve-to-Resolve workflow and confusing in a simple image handoff. (DaVinci Resolve Colorist Reference Manual)
Do not delete the DRX automatically. Ask what the recipient needs. If they only want a PNG for a slide deck, the PNG is enough. If they want to reproduce a grade, the sidecar may be part of the useful handoff.
Which workflow should a beginner learn first?
Learn Current Frame as Still first if the immediate task is one PNG. It maps directly to the question you asked and works in the viewers added to the current-frame workflow. Learn Gallery stills next if you are building a grading practice, comparing shots, or handing looks to another Resolve user.
The choice is not a contest between a “right” and “wrong” method. It is a choice between a quick image output and a color-reference workflow.
How do I export multiple still frames as PNG files?
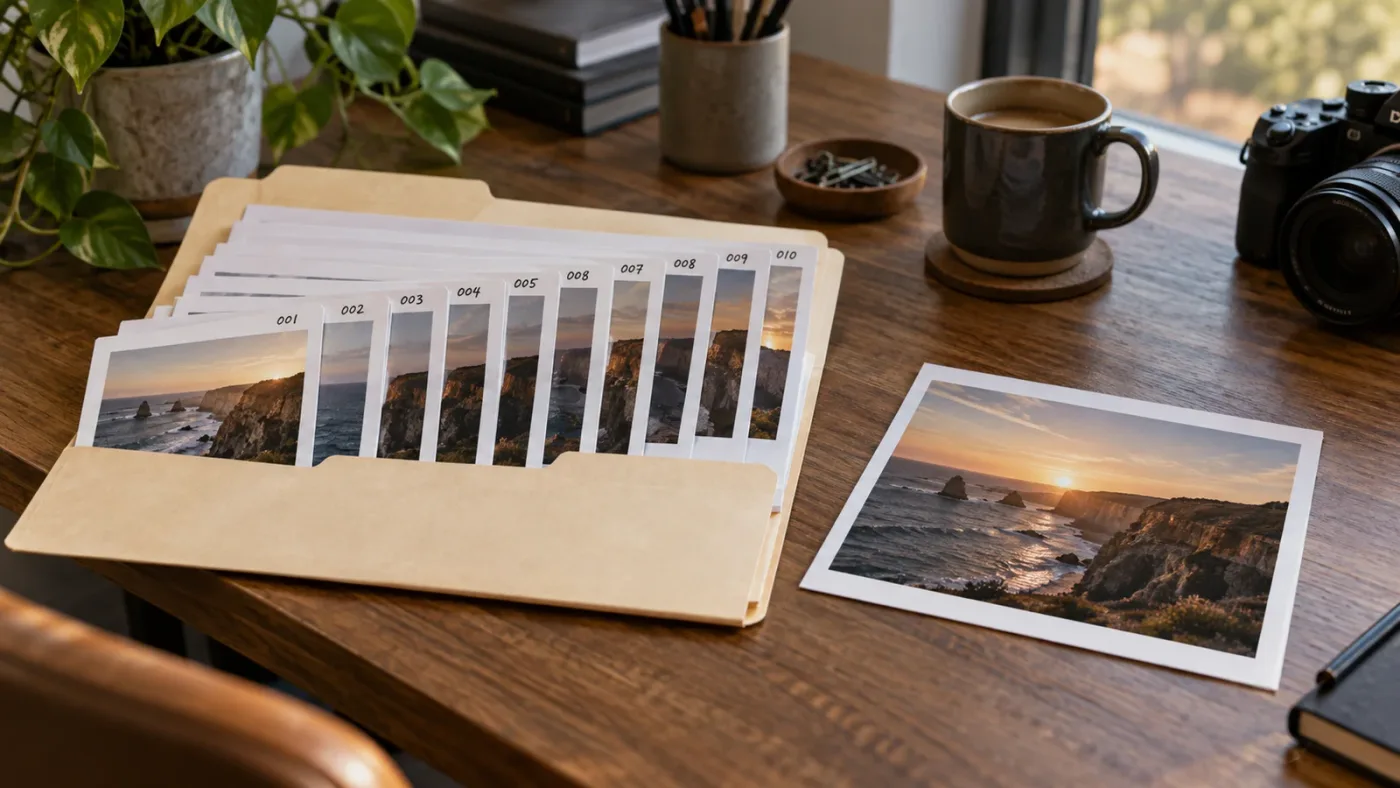
For a small number of selected moments, repeat File > Export > Current Frame as Still from the correct viewer and use a numbered filename. For a large set or regular interval, use a Deliver-page PNG render or a scripting workflow instead of treating one-at-a-time exports as a batch tool.
When is one-at-a-time export best?
Use the direct command for a handful of editorial choices:
- Three thumbnail candidates.
- Five frames for a client review deck.
- A short set of color references.
- A few key moments from an interview.
- One frame from each of several source clips.
The manual pace is a feature here. You inspect each frame, choose the name, and verify the result. A batch process may be faster but can also repeat a bad selection across a folder.
Use a stable naming pattern such as project-scene-frame-0001.png. Keep a simple list of the frame timecodes and their purpose. If a file is replaced, increment the version rather than silently overwriting the old candidate.
When should I use the Deliver page?
Use Deliver when you need a continuous image sequence, a defined output range, or repeatable render settings. A PNG image sequence is not the same as a single still. It creates a series of files, usually with numbered frame names, for animation, compositing, or frame-by-frame processing.
The Deliver workflow is appropriate when the question is “render this range as images.” It is unnecessary when the question is “save the one frame I am looking at.” The distinction saves time and keeps the output folder understandable.
Can I export every marker as a PNG?
Resolve's normal current-frame command does not turn a marker list into a batch folder by itself. Forum discussions describe scripting and marker-based approaches for users who need that workflow, but the simplest built-in operation remains exporting the selected frame at each marker. (Blackmagic Forum shortcut and marker discussion)
If you build a script or use an external tool, test on a copy of the project and a short marker set first. Automation changes the risk profile. A script that is wrong by one frame can produce a folder full of consistently wrong images.
What is the difference between a PNG sequence and a still PNG?
A still PNG is one raster image. A PNG sequence is a set of raster images whose filenames and frame numbers represent motion over time. Resolve can import still images and image sequences as media, and the Editor's Guide discusses PNG files as graphics that can be used in a timeline. (DaVinci Resolve 20 Editor's Guide)
If you later need to bring the files back into Resolve, keep the frames in one folder with consistent numbering. For a deeper import problem, see DaVinci Resolve image sequence missing frames after import.
Do not use a PNG sequence to solve a naming problem for one still. Do not use Current Frame as Still to solve a sequence-render problem. Match the method to the number of images and the next application in the workflow.
One selected frame is a still export; a range of frames is a render or automation problem.
Why is Current Frame as Still greyed out or doing nothing?
Start by making sure a supported viewer is active and that another panel has not taken focus. The feature was introduced for the Media, Cut, and Edit viewers in Resolve 18.5, so a missing command can also indicate an older version or an unsupported page. (Blackmagic Design's 18.5 New Features Guide)
Why is the command missing from the menu?
Check these causes:
- You are on a Resolve version older than 18.5.
- You are on the Color page and expecting the Edit-page command.
- No supported viewer is active.
- A panel with its own focus, such as Fairlight or the Sound Library, is active.
- The viewer has no current frame to export.
If you are on the Color page, use Grab Still and Gallery export. If you are on an older release, the Gallery path may be the available method. If the menu exists but does not open a dialog, click the intended viewer, then click the File menu again.
Why does nothing happen after I choose the command?
A Blackmagic Forum discussion describes a case where the Sound Library had focus and the save dialog did not open until focus moved away. Another participant described the practical issue this way: “What is in focus is essential in DR, not only for this. You won't get the same frame if your source window is in focus or the timeline.” That advice comes from Uli Plank's forum reply and is worth remembering because the active viewer determines the result. (Blackmagic Forum current-frame discussion)
Use this recovery sequence:
- Click the intended viewer.
- Move the playhead one frame, then return to the target frame.
- Confirm the viewer image is updating.
- Open
File > Export > Current Frame as Stillagain. - Choose a local folder where you have write permission.
If the dialog still does not appear, save the project, close any panel that may be intercepting focus, and reopen the project. Do not assume the export failed until you check the destination folder.
Why did Resolve save no file?
Check the destination path, permissions, and whether the filename already exists. Try a simple local folder and a short filename without unusual characters. If the file dialog appears but the file is not where you expect, use the path shown in the dialog rather than searching only the project folder.
A forum thread about current-frame export also shows why symptoms can vary by environment: users have reported behavior that depended on which panel was in focus, while Blackmagic Design support staff asked them to confirm that they were using the Edit-page File - Export - Current Frame as Still command. Treat a forum report as a troubleshooting clue, not a universal bug description. (Blackmagic Forum support discussion)
Why is my still export slow?
One frame can still require Resolve to process complex effects, noise reduction, Fusion compositions, scaling, or color operations. Do not measure the task by the size of the final PNG alone. The work happens before the encoder writes the file.
If a still takes unexpectedly long, test a frame without the most expensive effect, then test the original again. If the simple frame exports quickly and the complex frame does not, the bottleneck is probably the processing path rather than the PNG format. Never disable a client-approved effect in the final export without documenting the change.
What if Fairlight is open?
Fairlight is a different page and focus context. If the current-frame command is unavailable or unresponsive while Fairlight is active, return to Media, Cut, or Edit, activate the relevant viewer, and try again. The direct command is for a viewer frame, not an audio-page snapshot.
The safest pattern is simple: page first, viewer second, frame third, command fourth. Resolve becomes much easier to reason about when those four choices are explicit.
Why are overlays, burn-ins, or subtitles missing from my PNG?
Overlays are not all the same. A data burn-in may be rendered into a current-frame export, while a subtitle track or temporary interface overlay may require a different setting or may not be included. Verify the saved file rather than assuming that everything visible on the monitor is part of the exported image.
Do data burn-ins appear?
A Blackmagic Forum discussion records a practical observation that an Edit-page current-frame export retained visible data burn-ins in Resolve 18.6.4. The same discussion distinguishes that behavior from Gallery stills and Dolby Vision workflows. Treat this as version- and workflow-specific evidence, not a promise that every overlay in every Resolve release will be embedded. (Blackmagic Forum data-burn-in discussion)
Marc Wielage, identified on the forum as a Certified DaVinci Resolve Color Trainer, put the practical rule plainly: “Yes, if you grab the still from the Edit page, it will grab overlays like that.” His sentence is useful because it names the page and the visible result, but it still does not make every subtitle or interface element part of every export. (Blackmagic Forum data-burn-in discussion)
If you need a timecode, clip name, or camera metadata burned into the image, export a test frame first. Open it outside Resolve and confirm the text is present. If it is missing, revisit the viewer or data-burn settings and make the deliverable requirement explicit.
Do subtitles appear?
Do not assume that a subtitle visible in the timeline will be included in a still PNG. A Blackmagic Forum request specifically discusses the absence of subtitles in exported still images and asks for a burn-in subtitle option during Export > Current Frame as Still. That is evidence that subtitle handling is a separate edge case from ordinary viewer output. (Blackmagic Forum subtitle discussion)
For a subtitle-bearing still, test the actual version and page you are using. If the subtitle is essential, create a controlled graphic or burn-in workflow that you can verify visually, then export the frame. A visible subtitle in the interface is not sufficient proof.
What about the playhead, guides, and viewer controls?
Resolve's interface can show controls that are useful for editing but do not belong in the rendered image. A playhead line, selection outline, safe-area guide, or viewer control is not the same as a title or graphic in the timeline. This is one reason a current-frame export is better than a screen capture for a clean image: the output is an image render, not a picture of the application window.
If your client needs the interface itself for a tutorial, use a dedicated screen-recording or screenshot workflow. If the client needs the frame, use the current-frame export and build necessary annotations into the image or add them later in an image tool.
How can I make a review still unambiguous?
Add context outside the image. Use the filename, a review note, or a contact sheet with timecode labels. If the frame must carry context inside the pixels, use a deliberate title or data-burn workflow and test it before exporting the full set.
For a professional review handoff, include:
- The project or sequence name.
- The exact timecode.
- The viewer used.
- The output dimensions.
- The color intent, such as SDR preview or HDR reference.
- Whether overlays and subtitles are intentionally included.
That small record prevents a client from treating a thumbnail candidate as a final master or a graded reference still as a source image.
Visible in Resolve does not always mean embedded in the exported PNG. Verify the file that another person will receive.
What is the best way to learn DaVinci Resolve when the tutorial does not match?
The best way to learn DaVinci Resolve fast is to combine a structured reference with practice inside the version and project you actually use. Blackmagic Design offers official hands-on training materials, while YouTube creators, forums, and on-screen tools solve different parts of the learning problem. (Blackmagic Design training)
This still-frame task is a good example of why a tutorial can feel wrong even when its instructions are technically correct. An older lesson may teach Gallery stills. A current Resolve 21.1 project may offer Current Frame as Still. The interface changed, but the underlying decision stayed the same: source clip, timeline result, grade reference, transparent graphic, or image sequence.
| Learning option | Best for | Trade-off |
|---|---|---|
| Blackmagic Design training | A structured path and official terminology | It cannot see the exact state of your project while you are stuck |
| Casey Faris and other YouTube tutorials | Watching a complete workflow from a recognizable instructor | A video may show a different Resolve version, page layout, or project state |
| Blackmagic Forum or Reddit | Edge cases and unusual errors | Answers depend on context and may describe a different version |
| TryUncle | A plain-language question while Resolve is open | It is a paid on-screen assistant, so it is a complement to free references, not a replacement for practice |
| Sottocut | Local assistant-editor workflows inside an open Resolve project | Its official site lists Apple Silicon, macOS 14+, and Resolve Studio 21 requirements, so it is not a general Windows or Free-version answer |
| Eddie AI | Logging footage, creating rough cuts, and sending edits back to Resolve | It is focused on editing automation and round-tripping, not pointing at the one export control in your current frame |
| CutAgent | Natural-language editing tasks coordinated with Resolve | It is an editing agent for actions such as cuts, multicam, and color workflows, not a narrowly focused still-export lesson |
| PremiereCopilot | Text-to-edit workflows in Adobe Premiere Pro | Its official product is for Premiere Pro, so it is not a direct DaVinci Resolve solution |
The alternatives are not interchangeable. Sottocut describes a local-first assistant editor that can score footage, propose cuts, and verify changes in an open Resolve project. Eddie AI describes a bridge that imports clips or timelines, logs footage, creates rough cuts, and sends edits back to Resolve. CutAgent describes an AI agent that can coordinate Resolve operations, while PremiereCopilot describes native text-to-edit work in Premiere Pro. Those are useful comparisons only if your actual problem is editing automation. (Sottocut, Eddie AI's DaVinci Resolve workflow, CutAgent, PremiereCopilot)
TryUncle is the on-screen assistant for DaVinci Resolve on Mac and Windows. Ask in plain words and Uncle points at the exact control on your screen. That makes it relevant when a tutorial's version does not match your project and you need to keep working inside Resolve rather than leave the timeline to search for another explanation. (TryUncle)
If you are building broader Resolve skills, the best way to learn DaVinci Resolve is to pair a structured lesson with practice in your own project. If you want a familiar visual walkthrough, DaVinci Resolve export settings for YouTube covers a larger Deliver-page decision than this single-frame workflow.
When does an app that helps me while using DaVinci Resolve make sense?
An app that helps while using DaVinci Resolve makes sense when the problem is interface context, not a lack of a general definition. If you know that you need a PNG but cannot find the command, cannot tell whether the Source Viewer or Timeline Viewer is active, or cannot reconcile a tutorial with Resolve 21.1, an on-screen pointer can remove the search step.
It does not remove the need to choose the correct frame or verify the file. You still decide whether the image should be a source frame, timeline composition, color reference, transparent graphic, or sequence. Guidance should shorten the path to a good decision, not make the decision invisible.
Is an AI tool to learn DaVinci Resolve the same as a tutorial?
No. A tutorial explains a workflow in a prepared example. An assistant answers a question in the context of your current screen or project, depending on the product. An editing agent may perform or automate actions. Those are different jobs.
For this specific export, a tutorial can teach the menu path once. Practice teaches you to identify the right viewer. An on-screen assistant can help when the command is hidden by a version difference or the current project state. The strongest learning loop uses each resource for the problem it actually solves.
Which export should I choose for my actual goal?
Choose the workflow by the information the recipient needs, not by the fact that PNG is available in the menu. The decision matrix below turns the common requests into a direct action.
| Your goal | Start here | Export method | Verify |
|---|---|---|---|
| One clean frame from one source clip | Media page | Source Viewer, File > Export > Current Frame as Still, PNG | Source dimensions and frame content |
| One frame from the finished edit | Edit page | Timeline Viewer, current-frame export, PNG | Timeline dimensions, titles, crops, and visible tracks |
| A graded still for review | Color page | Grab Still, Gallery export, PNG if needed | Grade appearance and any DRX sidecar |
| A title or Fusion graphic with alpha | Fusion page | Viewer Save Image, PNG | Transparency over a checkerboard |
| Five hand-picked review moments | Edit or Media | Repeat current-frame export with numbered names | Each timecode and intended viewer |
| Hundreds of frames or a range | Deliver page or automation | PNG image sequence or a tested script | Frame numbering, dimensions, and missing frames |
| A still with subtitles or burn-ins | Edit page with a test setup | Current-frame export after enabling the intended overlay workflow | Open the PNG outside Resolve |
This table also explains when not to use the most obvious button. If you need a Color page grade handoff, Gallery is more appropriate. If you need transparency, Fusion is more appropriate. If you need a sequence, Deliver is more appropriate. The current-frame menu is the right default only for one visible frame from a supported viewer.
What should I do before sending the PNG?
Run this short handoff check:
- Open the file outside Resolve.
- Confirm that the subject is the intended frame.
- Check the pixel dimensions.
- Check the aspect ratio and any bars.
- Check the color in the receiving application.
- Confirm whether titles, graphics, burn-ins, and subtitles should be present.
- If transparency matters, test the alpha channel over a contrasting background.
- Keep the source project and notes if the still is a grade reference.
The check takes less time than explaining later that a client received the source clip instead of the edited timeline, or a composited title instead of a transparent graphic.
What should I read next?
If your next task is a moving deliverable, read How to Export a GIF From DaVinci Resolve. If your still export grew into a sequence problem, use the image-sequence troubleshooting workflow linked earlier. Those are separate workflows, and keeping them separate will make your project folders and handoffs easier to trust.
The direct answer remains simple: activate the viewer you mean, park on the exact frame, choose File > Export > Current Frame as Still, select PNG, and verify the saved file. The quality of the result comes from the viewer choice and the check afterward.
Frequently asked questions
- How do I export a still frame as PNG in DaVinci Resolve?
- Park the playhead on the frame, choose File > Export > Current Frame as Still, select PNG in the save dialog, name the file, choose a folder, and click Export.
- Why is Current Frame as Still greyed out in DaVinci Resolve?
- Make sure a Media, Cut, or Edit viewer is active and that another panel, such as Fairlight or the Sound Library, is not taking focus. The command was introduced for those viewers in Resolve 18.5.
- What resolution does DaVinci Resolve use for a still PNG?
- A Source Viewer export follows the source clip resolution, while a Timeline Viewer export follows the timeline resolution. Choose the viewer that matches the resolution you need.
- Can DaVinci Resolve export a transparent PNG from a still frame?
- A current-frame export is a rendered view, so it is not the right choice for isolating transparent graphics. For a Fusion composition, use the Fusion viewer's Save Image command and choose PNG, then verify the alpha channel.
- Do subtitles and data burn-ins appear in a DaVinci Resolve still PNG?
- The Edit-page current-frame workflow can include visible overlays such as data burn-ins, but subtitles may not be included automatically. Check the exported file instead of assuming every viewer overlay is embedded.
Sources
- DaVinci Resolve 18.5 New Features Guide
- DaVinci Resolve 20 Colorist Guide
- Blackmagic Design announces DaVinci Resolve 21.1
- DaVinci Resolve product page
- DaVinci Resolve current-frame resolution discussion
- Blackmagic Forum discussion of data burn-ins
- Blackmagic Forum discussion of subtitle export
- Blackmagic Forum shortcut discussion
- Blackmagic Forum current-frame workflow
- Blackmagic Forum current-frame support discussion
- DaVinci Resolve 11 Colorist Reference Manual
- DaVinci Resolve 10 Colorist Reference Manual
- PNG Specification, Third Edition
- DaVinci Resolve 20 Editor's Guide
- Blackmagic Design DaVinci Resolve training
- Sottocut for DaVinci Resolve
- Eddie AI DaVinci Resolve workflow
- CutAgent for DaVinci Resolve
- PremiereCopilot
- TryUncle
Learn by doing, not watching
Stop translating tutorials to your timeline.
TryUncle stays beside Resolve on Mac and Windows. When you ask, Uncle sees your screen and points at the exact control you need. No hunting through tabs, timestamps, or mismatched tutorials.
Meet TryUncleKeep reading
 GuidesJul 7, 202632 min read
DaVinci Resolve Export Settings for YouTube (Copy These Exactly)
The exact DaVinci Resolve export settings YouTube recommends: codec, bitrate, resolution, audio, and the Deliver page steps that avoid soft uploads.
 GuidesJul 25, 202634 min read
How to Export a GIF From DaVinci Resolve (Every Version)
The exact DaVinci Resolve steps to export a GIF: the version cutoff, resolution and loop settings, and fixes for oversized or blocky exports.
 FixesJul 30, 202627 min read
DaVinci Resolve Image Sequence Missing Frames After Import
DaVinci Resolve image sequence missing frames after import? Usually a numbering gap or wrong Frame Display Mode, not real data loss. Every fix here.