
Learn / DaVinci Resolveupdated for DaVinci Resolve 21.0.1 (June 2026)
How to Add a Watermark in DaVinci Resolve
Quick answer
Use Workspace > Data Burn-in to import a PNG logo or type custom text, then select that preset on the Deliver page so every export burns it in automatically. For an editable on-canvas mark, drag a transparent PNG onto a video track above your footage and adjust opacity and position in the Inspector. Both work in the free version.
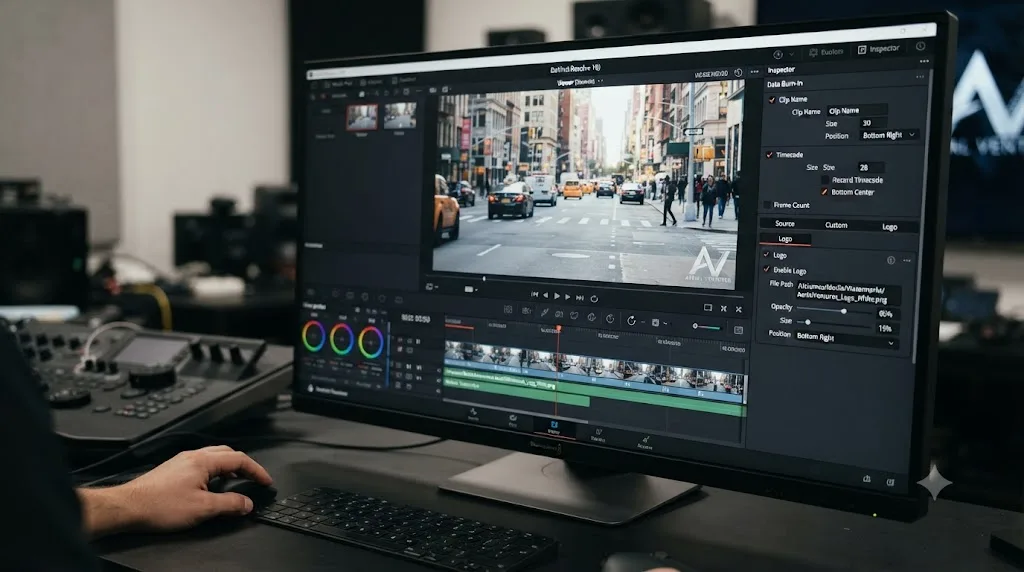
I've watched a rough cut leak before the client ever saw the final grade. It happens fast. Someone forwards a review link, that link forwards again, and by the time you notice, three people you've never met have an unwatermarked copy of your unfinished work. A watermark doesn't stop that outright, but it makes every leaked copy point straight back to you, and it makes an unlicensed reupload obvious at a glance.
DaVinci Resolve gives you two genuinely different ways to do this, and picking the wrong one for the job is how a watermark you thought was permanent ends up trimmed off, nudged out of frame, or missing from half your renders. This guide covers both, plus the animated version, the free-vs-Studio question, the scripting and collaboration angles nobody else covers, and the specific, separate trap where Resolve slaps an unwanted watermark on your export because of a setting that has nothing to do with branding at all.
What's the fastest way to add a watermark in DaVinci Resolve?
Data Burn-in. It's a dedicated panel built for exactly this, and it means you never touch your actual edit to protect it.
Data Burn-in bakes a logo or text mark into every export from a single panel, without adding a clip, a track, or a node to your timeline. That's the detail that separates it from every other method in this guide. A timeline overlay is a real clip sitting on a real track, which means it can get selected, deleted, dragged out of position, or accidentally left off a render if you disable that track. A Data Burn-in mark lives outside the edit entirely, attached instead to the Project or to individual Clips, and it reapplies itself automatically every single time you render, regardless of what happened to your timeline in between.
Blackmagic's own reference manual describes the feature as available "to every page in DaVinci Resolve," which is a small detail with a real consequence: you can check how your watermark looks while you're still color grading on the Color page, not just at the very end on Deliver, per the DaVinci Resolve reference manual's Data Burn-In entry.
Editor Laurence Grayson put the practical benefit plainly in a Frame.io writeup on the tool: "Resolve's Data Burn-In lets you automatically add a watermark or message overlay to your work without having to add unnecessary layers to your edit," per Frame.io's guide to protecting videos with Data Burn-In. That's the whole pitch in one sentence. You're not editing a title into your sequence and hoping nobody deletes it before the final render. You're configuring a render-time stamp that exists independently of the cut.
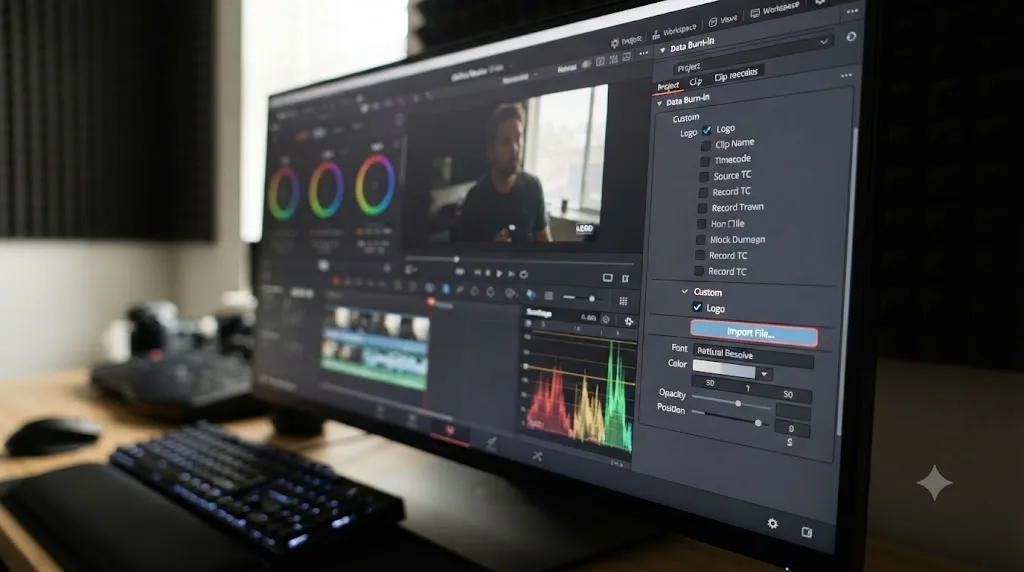
How do you add a logo watermark with Data Burn-in, step by step?
Here's the full procedure, matched to what the reference manual documents.
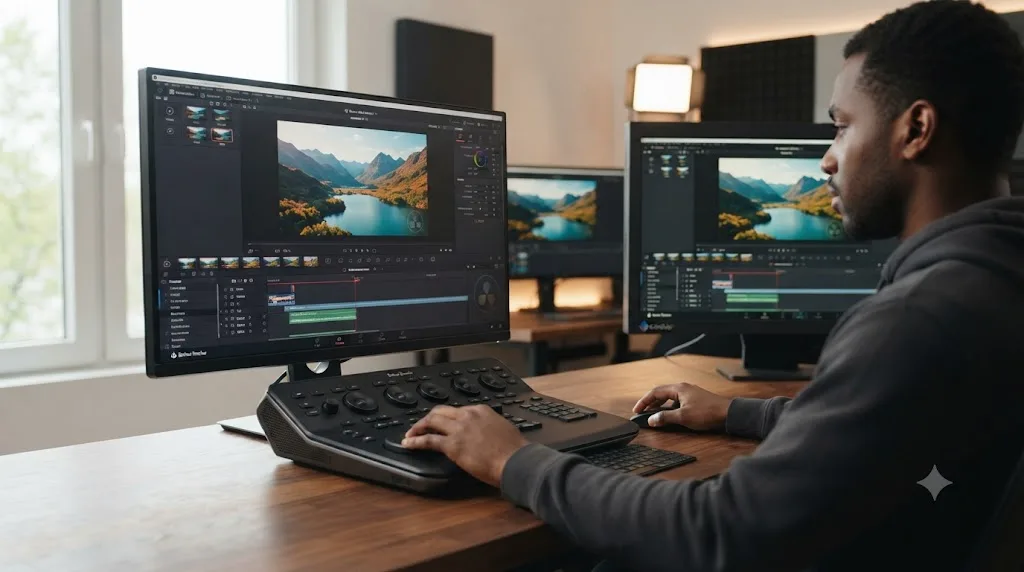
- Build your logo file first. Create it in Photoshop, GIMP, Affinity Photo, or any image editor that can export a PNG with an alpha channel, and save it at the exact pixel dimensions you want it to appear at in your final video.
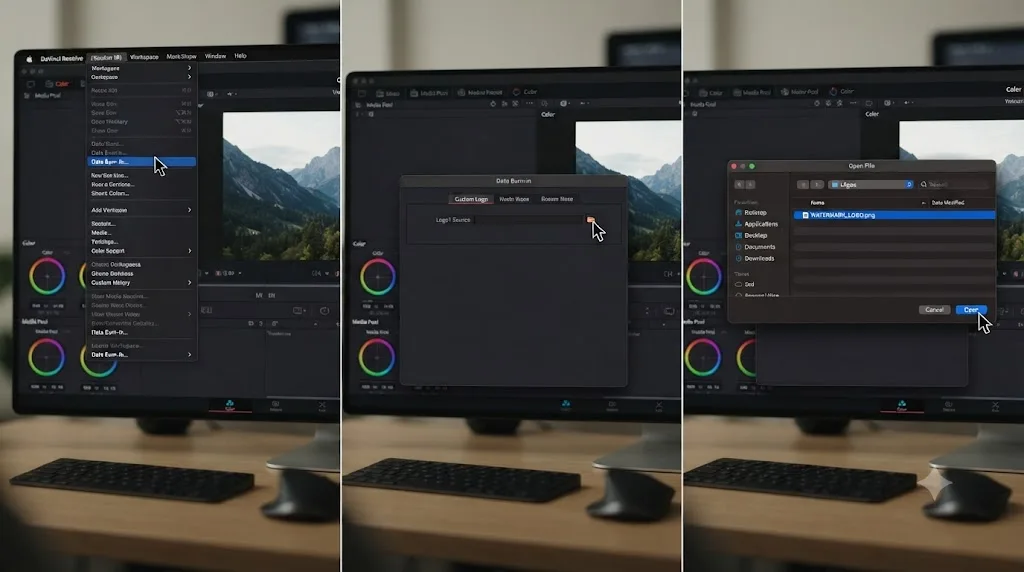
- Open the Data Burn-in panel. Choose Workspace > Data Burn-in from the menu bar. This works from any page, Edit, Color, Fusion, or Deliver.
- Choose Project or Clip mode. Two tabs sit at the top of the panel. Project mode burns the mark in for the entire timeline's duration. Clip mode lets you configure a different mark, or none at all, on a clip-by-clip basis, per the manual's entry on setting up burned-in metadata. You can combine both: a project-wide mark plus a different one on a specific clip.
- Check one of the three Logo fields. The panel gives you Logo1, Logo2, and Logo3, each an independent slot that "lets you superimpose a graphic over the image in a customizable location," per the manual's Data Burn-In Metadata reference. Three slots means you can run a corner logo, a bottom text bar, and a timecode stamp simultaneously without them fighting for the same field.
- Click Import File and select your image. Compatible formats are PNG, TGA, TIF, BMP, and JPG, and alpha channels are supported for transparency, so a PNG with a transparent background keys itself out cleanly with no extra keying step.
- Adjust position, opacity, and duration. Selecting the enabled Logo row exposes its placement controls directly in the panel.
- Save your configuration as a preset, using the three-dot options menu in the panel's top right corner, so you can toggle the exact same watermark on or off across different projects without rebuilding it.
- Apply it at render time. On the Deliver page, the Data Burn-in dropdown under Advanced Settings defaults to "Same as Project," which just uses whatever you configured in the panel. Select your saved preset explicitly if you want a specific project to always render with that mark, regardless of what the panel currently shows.
None of this requires DaVinci Resolve Studio. Data Burn-in, including the logo import fields, ships in the free version, the same version that handles editing, color, Fairlight audio, and Fusion compositing without a license key.
What are Data Burn-in's real limits before you build your graphic?
The single most important limit is one Grayson calls out directly, and it's the one that ruins the most first attempts: "Note that there is no scale option, so your graphic will need to be the correct size before import," per the same Frame.io writeup.
That's worth sitting with for a second. A Data Burn-in logo displays at exactly the pixel dimensions you saved it at, with no in-panel resize control, so getting the size wrong means reopening your image editor rather than dragging a corner handle. Compare that to a timeline overlay, covered next, where the Inspector's Transform tab gives you a live zoom slider. Data Burn-in trades that convenience for reliability: once the size is right, it can't be bumped, dragged, or accidentally rescaled by anyone touching the timeline later.
A few more constraints worth knowing before you build the file:
| Constraint | What it means | Source |
|---|---|---|
| No scale control | Export your PNG at final display size; Resolve won't resize it for you | Frame.io, Laurence Grayson |
| Supported formats | PNG, TGA, TIF, BMP, JPG | DaVinci Resolve reference manual |
| Alpha transparency | Supported, so a logo with a transparent background keys itself out with no extra steps | DaVinci Resolve reference manual |
| Layout stacking | The first enabled metadata item centers near the bottom of the frame above Action Safe; each additional item stacks above the ones already shown | DaVinci Resolve reference manual |
| Three independent logo slots | Logo1, Logo2, and Logo3 can each hold a different graphic simultaneously | DaVinci Resolve reference manual |
That stacking behavior catches people who enable a logo alongside timecode or a custom text field and then wonder why the two overlap or push each other around. Enable one metadata item at a time first, note where it lands, then add the next one and check again, rather than turning on four fields at once and troubleshooting the pile-up afterward. It's also worth understanding why that first item centers above Action Safe specifically: Action Safe and Title Safe are broadcast-delivery conventions marking the zone that survives older TVs' overscan, so Data Burn-in defaults its stack to sit just inside that boundary rather than hard against the frame edge, which is the right call for a timecode stamp but not always for a logo you want tucked into an actual corner.
What resolution, format, and file size should your watermark file actually be?
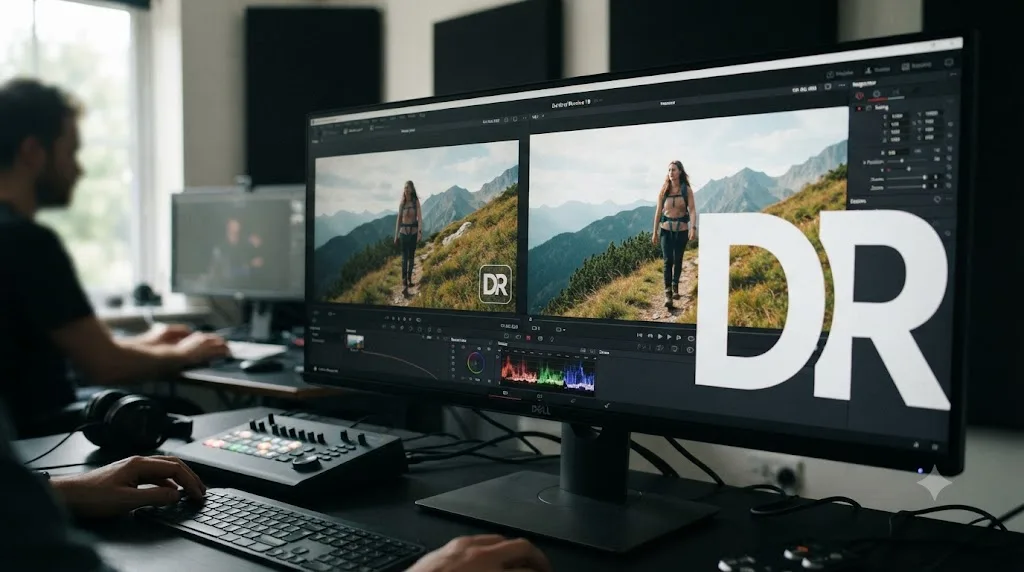
The no-scale-control rule from the last section has a second-order consequence nobody mentions until it bites them: a Data Burn-in logo sized correctly for one delivery resolution is wrong for every other resolution you render from the same project.
Here's why. A PNG saved at 200 pixels wide reads as a modest corner mark on a 1920x1080 export, since it covers about 10% of the frame width. Render that identical file into a 3840x2160 master, and it shrinks to roughly 5% of the frame, a mark half as prominent as the one your client approved. Flip it around, size the logo for the 4K master first, and the same file balloons to nearly 20% of the frame the moment you render a 1080p social cut from the same timeline. Data Burn-in scales with nothing, so a watermark sized for one export resolution looks wrong at every other resolution you render from the same project.
The fix is arithmetic, not a Resolve setting. Decide what percentage of frame width you want the mark to occupy, then build a separate, correctly sized PNG for every resolution you actually deliver at.
| Delivery resolution | Frame width | Logo width for a ~10% corner mark |
|---|---|---|
| 1920 x 1080 (HD) | 1920px | ~190px |
| 2560 x 1440 (QHD) | 2560px | ~256px |
| 3840 x 2160 (UHD) | 3840px | ~384px |
| 4096 x 2160 (DCI 4K) | 4096px | ~410px |
Save each version as its own file, logo-1080.png, logo-4k.png, and so on, and swap the imported file, or the whole preset, before you render whichever resolution you're delivering.
Format and file weight matter less than sizing, but they're worth getting right once. Stick with PNG for anything that needs a transparent background, since it's the only one of Data Burn-in's five supported formats (PNG, TGA, TIF, BMP, JPG) that combines wide compatibility with a clean alpha channel most design tools export correctly by default. JPG doesn't support transparency at all, so it only works for a mark that's meant to sit inside its own opaque box. Keep the file itself small, a few hundred kilobytes up to a couple of megabytes is plenty for a logo or text graphic, since a multi-layered file with unflattened layers or an unnecessarily large canvas just slows down the import dialog for no visual benefit.
How do you add a text watermark instead of a logo?
Everything about the panel works the same way for text as it does for a graphic, you just enable a different field.
- Open Workspace > Data Burn-in.
- In the left-hand list, check Custom Text instead of a Logo field.
- Type your message, a copyright line, a client name, a "PROOF - NOT FOR DISTRIBUTION" stamp, whatever the review copy needs.
- Select the Custom Text row to adjust its font size, position, and background opacity, the same controls the Logo fields expose.
- Combine it with a Logo field if you want both a graphic mark and a text line, remembering the stacking rule above.
Larry Jordan frames the core concept behind either version of the feature the same way: "Burn-in refers to something permanently added to an image, like a title or logo, which cannot be removed later," per his walkthrough of adding a burned-in watermark. That permanence is the point whether you're stamping a logo or a line of text. Once it's rendered into the output file's pixels, there's no menu, no metadata field, and no re-export setting that pulls it back out. Removing it means starting the render over from an unmarked source.
Text has one practical edge over a logo for quick, disposable marks: you don't need an image editor open at all. If you just need "SAMPLE" stamped diagonally across a client proof for one afternoon, typing it directly into Custom Text is faster than exporting a PNG for a mark you'll delete tomorrow.
How do you add a watermark directly on the timeline instead?
Data Burn-in is the right default for delivery, but it's a poor fit while you're still actively designing the mark itself, adjusting its size by eye, animating it, or reacting to notes in real time. For that, put the logo on the timeline as an ordinary clip.
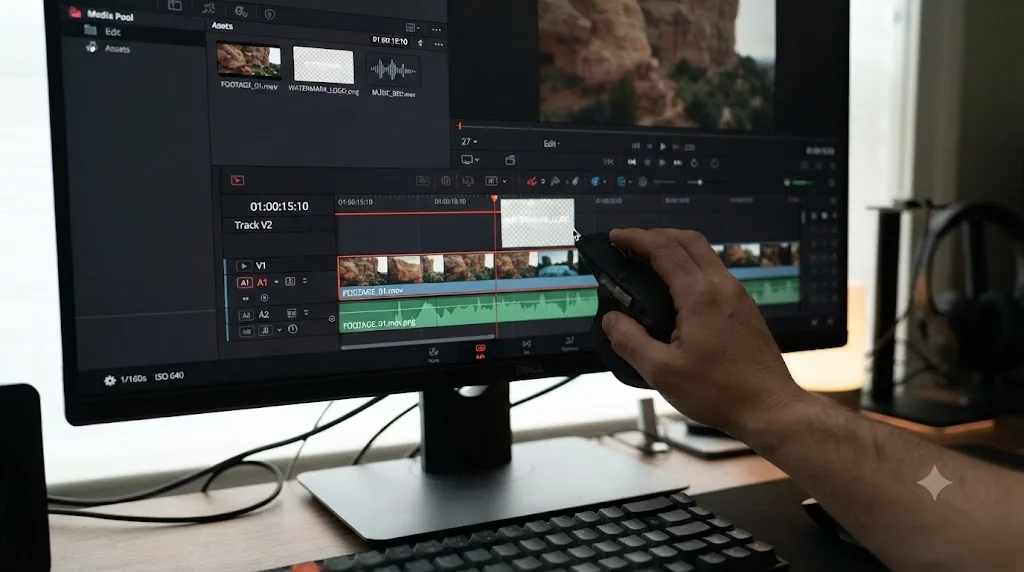
- Import your watermark PNG into the Media Pool, same alpha-transparent file you'd use for Data Burn-in.
- Add a new video track above your main footage, using the track header's plus icon or the timeline right-click menu.
- Drag the PNG onto that new top track, spanning however much of the timeline you want it visible for.
- Select the clip and open the Inspector. Under the Video tab, adjust Composite > Opacity to make it semi-transparent, and use the Transform controls to reposition and resize it.
- Play through your timeline to confirm it doesn't clash with subtitles, lower thirds, or other overlays sharing the frame.
This is genuinely a different tool for a different moment in your workflow. A timeline overlay is a real, visible clip you can select, nudge, resize, and animate directly in the Edit page, while a Data Burn-in mark is invisible in the timeline and only appears in the Viewer and your final render. If a client asks "can you move the logo half an inch left and make it a bit more transparent while I watch," a timeline overlay lets you do that live, watching the change happen, in a way the Data Burn-in panel's more clinical settings interface doesn't match.
The trade-off runs the other direction too. Because it's a real clip on a real track, it's vulnerable to everything a real clip is vulnerable to: getting cut off if the track's disabled for one render, getting trimmed short if you resize the clip without noticing, or getting deleted entirely during a later edit pass when someone's cleaning up unused tracks. None of that touches a Data Burn-in mark, which is exactly why the two methods solve different problems rather than competing for the same one.
How do you keep a timeline watermark visible for the whole video without duplicating it per clip?
The naive approach, dragging a copy of your logo onto every single cut, breaks the moment you insert a new clip in the middle of the sequence and forget to add the watermark to it too. Three better options exist, each suited to a different situation.
Stretch one clip across the entire timeline. Drop the watermark PNG at the very start of its own track, then drag its right edge out to match your timeline's total length. A still image clip in Resolve can extend as long as you need, so one clip, one drag, covers the whole video regardless of how many cuts happen on the tracks underneath it.
Wrap it in a Compound Clip if you need it to move with edits below. Select the stretched watermark clip, right-click, and choose Compound Clip. This gives you one object to trim, retime, or nudge as a unit, useful if you later need to shorten the whole video and want the watermark's duration to follow automatically rather than needing a separate manual trim.
Generate a PowerBin entry if you're reusing the exact same watermark setup across multiple projects. Right-click the finished watermark clip, choose Generate PowerBin, and it becomes a reusable asset you drag into any future timeline in one step, already sized, positioned, and opacity-adjusted the way you left it.
| Approach | Best for | Trade-off |
|---|---|---|
| One stretched clip on its own track | A single project, one watermark, no per-scene changes | Manual re-trim if the timeline's total length changes later |
| Compound Clip | A project where the edit length is still shifting | Adds one more layer of nesting to manage if you need to tweak the logo itself |
| PowerBin asset | The same watermark reused across many future projects | Setup cost up front; pays off only if you'll reuse it |
Whichever you pick, put the watermark on the topmost track in your timeline. Resolve composites video tracks from the bottom up, so a track sitting above every other video track guarantees the watermark renders on top of your footage, titles, and lower thirds instead of getting buried underneath one of them.
How do you remove the background from a logo before using it as a watermark?
The cleanest fix happens before you ever open Resolve: export your logo as a PNG with a transparent background directly from whatever design tool built it, Photoshop, Illustrator, Affinity Designer, Canva, or a free tool like GIMP. Both Data Burn-in and a timeline overlay respect that alpha channel automatically, no extra keying step required.
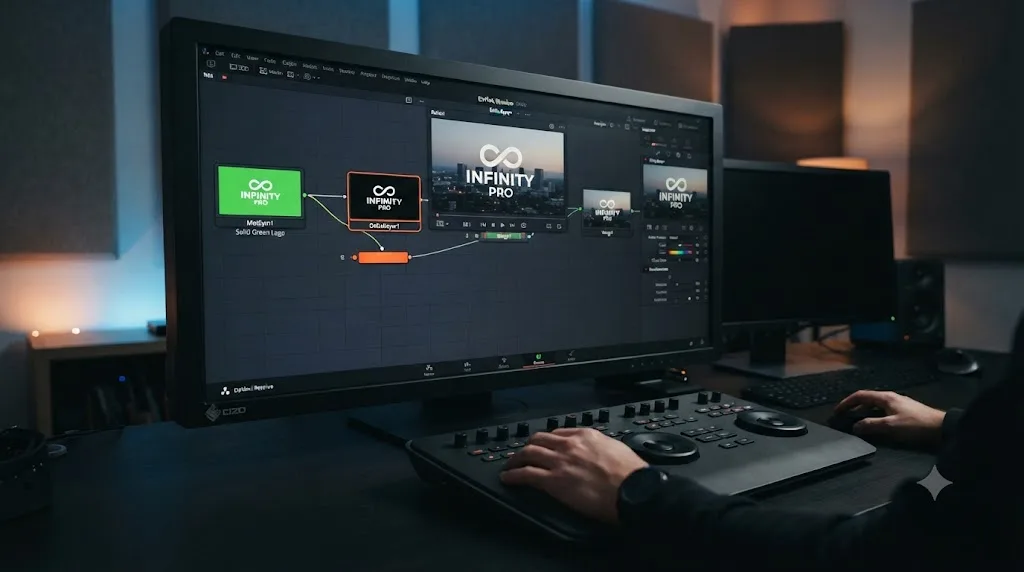
If you only have a version of the logo with a solid-color background baked in, and no source file to re-export, Fusion's Delta Keyer can pull it out, though it's worth knowing what it was actually built for. Fusion's Delta Keyer is designed for green and blue screen keying, not general-purpose logo cleanup, so it works best when the background you're removing is a single, even, saturated color rather than a photo or a gradient, per a workflow walkthrough of the Delta Keyer. A logo shot on a flat green or blue card is a good candidate. A logo scanned off a printed page with shadows and texture in the background is not, and you'll fight the keyer's edge detection more than you save time.
To use it: open the watermark clip in the Fusion page, add a Delta Keyer node between your source and a Merge node's foreground input, and use its eyedropper tool to sample the background color you want removed. The Delta Keyer includes a built-in correction algorithm for handling uneven lighting across that background, which helps if your source photo wasn't shot under perfectly even light.
For anything more complex, a busy or photographic background you need stripped away entirely, that's a masking and rotoscoping job better suited to a dedicated matting pass than a quick keyer, and honestly, re-exporting a clean transparent PNG from the original design file is almost always faster than trying to key one out after the fact.
Data Burn-in or a timeline overlay: which should you actually use?
This is the decision most watermark tutorials skip entirely, and it's the one that actually matters once you've got both methods working. Here's the full comparison.
| Question | Data Burn-in | Timeline overlay |
|---|---|---|
| Can it be accidentally deleted mid-edit? | No, it lives outside the timeline | Yes, it's a real clip on a real track |
| Can you see it while editing on the Edit page timeline? | No, only in the Viewer and final render | Yes, directly in the timeline |
| Can you animate it (fade, move, pulse)? | Not natively; it's a static overlay | Yes, through Fusion keyframes |
| Does it apply automatically to every render? | Yes, once set as the Deliver page's active preset | Only if the track stays enabled and isn't trimmed |
| Can you resize it after import? | No scale control; must re-export the source image | Yes, live, in the Inspector's Transform tab |
| Best suited for | Client review copies, proof-of-concept sends, anything shipping to someone outside your team | In-progress designs, animated brand marks, anything you're still actively adjusting |
If you only take one rule from this table: reach for Data Burn-in the moment a file is about to leave your machine, and reach for a timeline overlay only while you're still building or animating the mark itself. A lot of the scattered, conflicting advice floating around about DaVinci Resolve watermarking comes from tutorials that only ever cover one of these two methods and present it as the only way, when the honest answer is that they solve different problems and most projects end up using both at different stages.
A practical pattern that uses both: build and animate your watermark as a timeline overlay while you're designing it, confirming the size, position, and any fade timing looks right by eye. Once it's locked, export a flattened still frame of that exact composited watermark as a new transparent PNG, then move that finished graphic into Data Burn-in for the actual delivery renders. You get the live, visual design process of a timeline clip and the tamper-resistant reliability of a burn-in for the version that actually ships.
How do you animate a watermark so it fades in, moves, or pulses?
Neither Data Burn-in nor a plain timeline drag gives you real animation out of the box. For that, you go into Fusion, which ships free with every copy of Resolve, not gated behind Studio, per Blackmagic's Fusion product page.
- Select your watermark clip on the timeline and right-click it, choosing Open in Fusion Page.
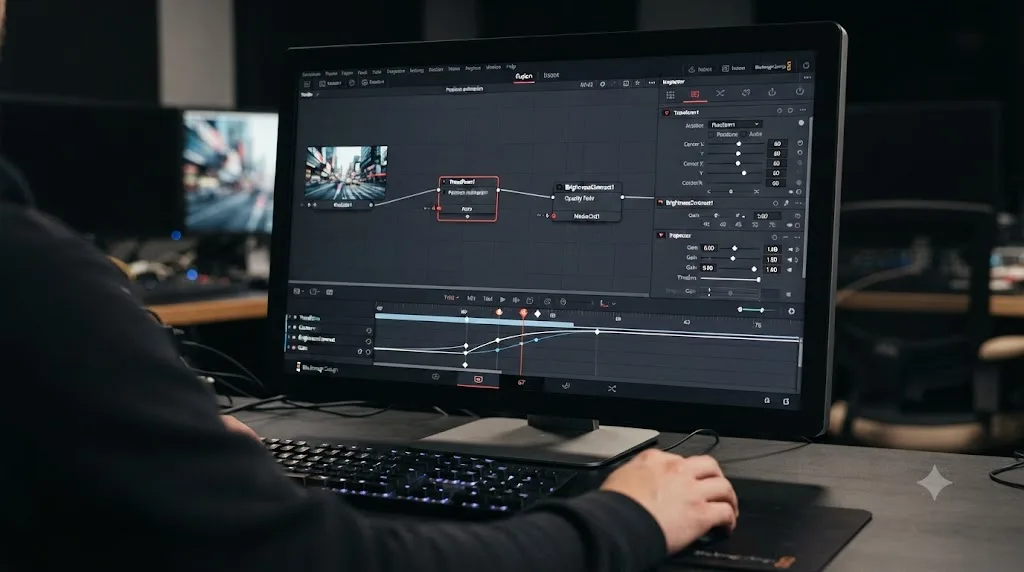
- Add a Transform node between your logo's source and the output Merge. Keyframe its Center parameter to animate position, and its Size parameter to animate scale.
- For a fade in or out, add a BrightnessContrast node and keyframe its Alpha channel Gain slider from 0 to your target opacity over however many frames you want the fade to last, a technique documented in a walkthrough of animating opacity in Fusion. Keep Red, Green, and Blue selected in the node and add Alpha to the selection so only the transparency channel animates, not the color underneath it.
- Alternatively, route your logo and a fully transparent Background node into a Dissolve node's two inputs, and keyframe the Dissolve slider itself to crossfade between "invisible" and "fully visible," which some editors find more intuitive than working through a color channel.
- For a subtle pulse or breathing effect, keyframe the Transform node's Size parameter between two close values on a repeating loop, or apply a Spline or Fusion modifier for a smoother, non-keyframed oscillation.
A watermark that fades in over the first second and fades out before the final second reads as intentional design, while one that snaps on and off at hard cuts reads as an afterthought. That one detail, a half-second ease in either direction, is often the entire difference between a watermark that looks like part of the brand and one that looks like it got bolted on in a hurry.
Once you're happy with the animated result, remember the earlier tip: you can flatten this exact composited, animated watermark into a rendered clip or sequence of frames and feed it into Data Burn-in for final delivery, though a moving mark is naturally a better fit for staying as a timeline overlay since Data Burn-in's fields are built for static graphics and text, not full keyframed animation.
Why does DaVinci Resolve add a watermark you never asked for?
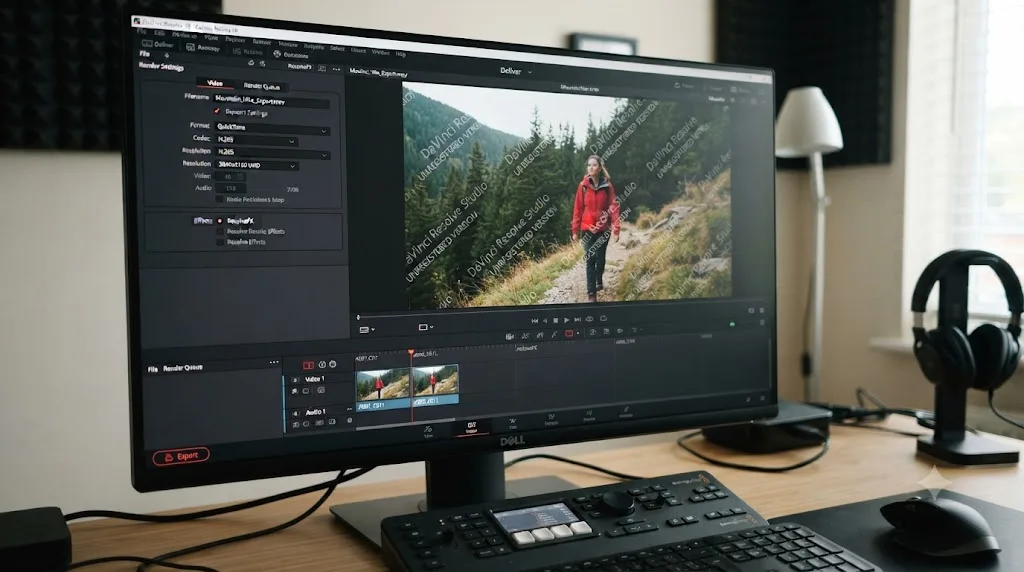
Here's the part of this topic that has nothing to do with branding and trips up a completely different group of people: DaVinci Resolve's free version stamps its own watermark onto your export when you use a feature that's actually gated behind the $295 Studio license, per Blackmagic's DaVinci Resolve Studio product page.
The features that trigger it, according to a breakdown of what separates the free version from Studio and a dedicated guide to removing that watermark, include:
| Trigger | Category |
|---|---|
| Certain Noise Reduction modes | ResolveFX |
| Lens Flare | ResolveFX |
| Certain Motion Blur modes | ResolveFX |
| Super Scale (AI upscaling) | Neural Engine |
| Face Refinement | Neural Engine |
| Certain advanced motion tracking and 3D keying tools | Fusion |
| Exporting above Ultra HD (3840 x 2160) | Resolution limit |
That last row is worth its own attention, because it's the most common way people trip this without touching a single effect. DaVinci Resolve's free version caps export resolution at 3840 x 2160, so a timeline set to DCI 4K, 6K, or 8K renders with a watermark even if nothing else in the project is Studio-exclusive. The free version also caps frame rate at 60fps, per the same breakdown, so a high-frame-rate slow-motion project can hit the same wall from a different direction.
The fix, once you know which trigger you hit, is simple: remove or swap the offending effect for a free OpenFX alternative, or drop your timeline's resolution back to UHD or below, and re-render. Testing your full effects chain on a short render before committing to a long final export catches this in seconds rather than after a multi-hour render finishes with a mark you didn't want anywhere on it.
An unwanted DaVinci Resolve watermark and an intentional one you added yourself look completely different and mean the opposite thing: one is Resolve telling you a paid feature is active, the other is you protecting your own work. Confusing the two, assuming your own watermark setup is somehow malfunctioning when actually a Studio-only effect is the real cause, wastes time chasing the wrong setting. Check your effects chain and export resolution first if a mark shows up that you didn't configure in Data Burn-in or on the timeline yourself.
Does watermarking require DaVinci Resolve Studio at all?
No. Every method covered in this guide, Data Burn-in's logo and text fields, a timeline overlay, Fusion animation on that overlay, and even the Delta Keyer for background removal, works in the completely free version of DaVinci Resolve. Nobody needs to spend $295 just to stamp their own logo on their own export.
Where Studio actually enters the picture is the opposite direction: it's what removes the unwanted watermark covered in the previous section, by unlocking the Noise Reduction modes, Neural Engine tools, and above-UHD resolutions that trigger it in the free version. If you're not using any of those specific features and you're not exporting above 3840 x 2160, the free version never shows you a watermark you didn't explicitly build yourself.
That's a genuinely reassuring answer for anyone who found this page worried that protecting a client review copy meant an unplanned software purchase. It doesn't. Watermarking your own footage in DaVinci Resolve costs nothing beyond the time it takes to build the graphic and click through the Data Burn-in panel once.
Can you automate watermarking across many projects with the DaVinci Resolve scripting API?
Partially, and it's worth knowing exactly where the documented boundary sits before you build a pipeline around it.
DaVinci Resolve ships a scripting API that works with Python or Lua, available in both the free version and Studio, and it's genuinely capable: the render queue is fully scriptable, with functions to add render jobs, start and stop rendering, and poll job status by name, per the DaVinci Resolve scripting API reference. A SetSetting() call can also change most Project Settings fields by passing a setting name and a string value, the same fields you'd otherwise click through in the Project Settings dialog by hand, things like timeline resolution, frame rate, or color science mode.
Here's the boundary. The documented DaVinci Resolve scripting API doesn't list Data Burn-in's logo or text fields among its scriptable settings, so treat "script a brand-new watermark into a project" as unconfirmed rather than assume it works the way SetSetting("timelineResolutionWidth", "3840") reliably does for resolution. Nothing in the public reference maps a settings key to the Data Burn-in panel's Logo1, Logo2, Logo3, or Custom Text fields the way it does for frame rate, color management, or render format, so don't design an unattended pipeline around the assumption that a script can build the mark from scratch.
The realistic automation pattern splits the job in two. Build and save your Data Burn-in preset once, by hand, in the panel, exactly the way this guide has already walked through, and confirm the Deliver page's dropdown is set to apply it automatically. Then use the scripting API for the part that actually is documented: looping through a folder of project files, opening each one, adding a render job, and firing the queue, so a batch of fifty client deliverables all render overnight with whatever Data Burn-in configuration is already saved inside each project. You're not scripting the watermark itself. You're scripting the unattended render around a watermark you already built by hand.
Do Data Burn-in settings carry over in a collaborative, shared-database project?
If your team edits together on a shared Resolve project rather than a single editor working alone, this question matters more than it looks. Here's what's documented and what's a reasonable inference from it, kept deliberately separate.
What's documented: multi-user collaboration in DaVinci Resolve, whether through the free Project Server app, a full PostgreSQL-backed shared database, or a Blackmagic Cloud library, works by having every connected artist open the same underlying project, with a live save system that "constantly saves small and incremental changes to the project's database while working in real time," per Blackmagic's collaboration page. Multi-user collaboration itself requires DaVinci Resolve Studio; the free version doesn't support it at all, the same page confirms, a separate free-versus-Studio line from the export watermark covered earlier in this guide.
What's a reasonable inference, not a directly confirmed fact: Data Burn-in is documented as a setting attached to the Project itself, not to any individual user's local preferences, per the earlier-cited reference manual entry on setting up burned-in metadata. Since a shared, live-saved project keeps that same underlying database in sync for every connected collaborator, a Data Burn-in preset one editor sets up should appear for every other artist working in that same shared project, the same way a change to timeline resolution or color science mode does. This guide hasn't tested that specific scenario directly, so treat it as the logical extension of two documented facts rather than a verified claim.
What definitely stays individual, per Blackmagic's own collaboration documentation: things like cache file locations and per-user monitoring preferences aren't shared, so don't assume every render-adjacent setting behaves identically across a team. If a watermark preset seems to vanish for one collaborator but not another, check whether that person is actually connected to the shared project or is quietly working from a local, disconnected copy, a mismatch covered in the troubleshooting section below.
What goes wrong when you try to watermark a video, and how do you fix it?
Watermark doesn't show up in the final render at all. Check the Deliver page's Data Burn-in dropdown first. If it's set to "None" instead of "Same as Project" or your saved preset, none of your panel configuration reaches the actual output file, no matter how carefully you set it up in the Workspace menu.
Watermark looks correct in the Viewer but is missing from a specific render. This usually means Clip mode has a different, blank configuration active on the specific clip or section you're rendering, overriding your Project-wide settings. Check the Data Burn-in panel's Clip tab for that section of the timeline.
Logo appears at the wrong size or gets cut off at the frame edge. Since Data Burn-in has no scale control, this means the source PNG wasn't exported at the right pixel dimensions in the first place. Go back to your image editor, resize and re-export, then reimport.
Timeline overlay watermark disappeared from one render but not others. Check whether its track got disabled, or whether the clip itself was accidentally trimmed shorter than the section that's missing it, most commonly after someone extended the overall timeline length without extending the watermark clip to match.
Watermark shows up correctly in DaVinci Resolve's preview but not in the exported file, or vice versa. This is rare, but worth a sanity render, a short 5-10 second export, before committing to a long final render, since Viewer preview and actual encoded output occasionally diverge if a render setting like resolution or frame rate doesn't match what the timeline is configured for.
An unexpected watermark appears that you never configured. This is the Studio-license trigger covered above, not a bug in your own watermarking setup. Check your effects chain for Noise Reduction, Lens Flare, Motion Blur, Super Scale, Face Refinement, or advanced Fusion tracking and keying tools, and check your export resolution against the free version's 3840 x 2160 cap.
Logo has a visible box or fringe around its edges instead of a clean transparent background. The source PNG likely doesn't have proper alpha transparency, either it was flattened onto a white or checkered background before export, or the design tool didn't export the alpha channel correctly. Reopen the source file and confirm you're exporting "PNG with transparency," not just "PNG," which some tools treat as two separate options.
Watermark renders correctly when you click Render manually, but a batch job kicked off through a script comes out blank or with the wrong mark. Check that the specific project the script is targeting actually has "Same as Project" or your saved preset selected on its own Deliver page before the script queues it, since a scripted render job inherits whatever Data Burn-in state that project file already has saved rather than accepting a Data Burn-in setting as one of its own parameters.
A watermark preset you set up is missing when a collaborator opens the same project. Confirm that collaborator is actually connected to the shared database or Blackmagic Cloud library and not working from a local copy that got disconnected or duplicated before your change synced, since a disconnected copy stops receiving the live-saved updates the rest of the team sees.
The same watermark preset looks perfectly sized in one delivery resolution and wrong in another. This isn't a bug, it's the fixed-pixel-size behavior covered earlier in this guide: build and swap in a separate, correctly proportioned logo file for each resolution you actually render, rather than expecting one PNG to scale itself across an HD cut and a 4K master.
One habit prevents most of these: render a short test clip with your watermark setup before you commit to a full-length final export. A five-second test costs you thirty seconds. Catching a wrong-sized logo or a missing Deliver page setting after a two-hour render finishes costs you the whole render again.
Does watermarking behave differently on Mac, Windows, or Linux?
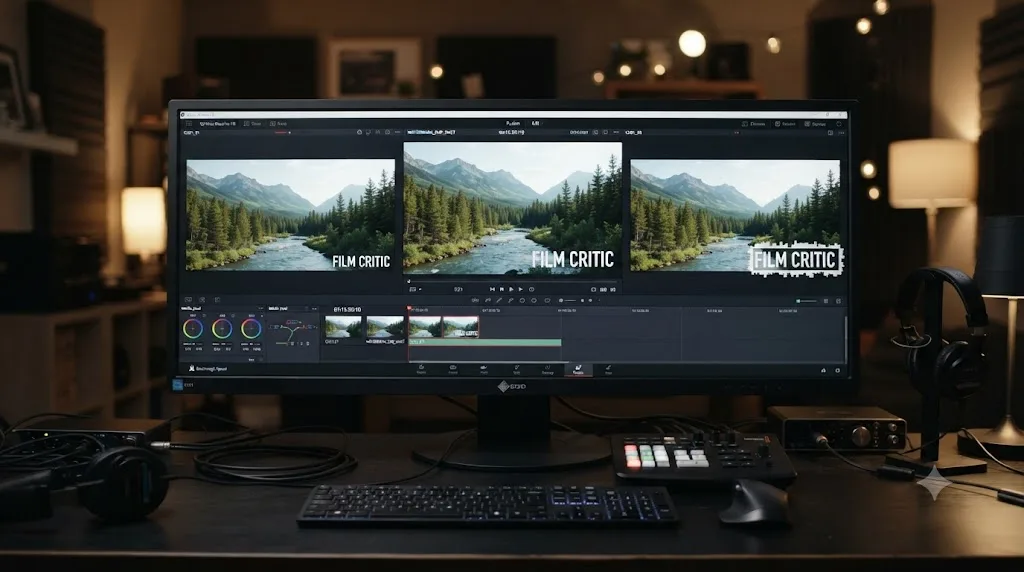
No. The Data Burn-in panel, its Logo and Custom Text fields, the Deliver page's Data Burn-in dropdown, and the timeline overlay method all work identically across every platform DaVinci Resolve runs on. There's no Mac-only or Windows-only menu path for any of this, and no platform-specific keyboard shortcut swap the way some other Resolve features require.
The one place platform can matter indirectly is performance, not functionality. Keyframed Fusion animation on a watermark clip, especially one running alongside a heavy grade or several other Fusion compositions in the same timeline, leans on GPU processing the same way any other Fusion effect does. A lower-powered GPU on either platform will render a preview more slowly during that animation work, but the actual watermark result, once rendered, is pixel-identical regardless of which operating system produced it. The scripting API mentioned above is just as platform-agnostic: a Python or Lua script that queues render jobs or touches project settings runs the same way on a macOS, Windows, or Linux build of Resolve, so a batch-render pipeline built on one platform doesn't need a rewrite to run on another.
Does watermarking behave differently across DaVinci Resolve versions?
Data Burn-in itself is an old, stable feature that's been part of Resolve's Color and Deliver workflow for many versions, well before Resolve 18. The logo import fields, the Project-versus-Clip toggle, and the Deliver page's Data Burn-in dropdown all work the same way across every recent release, including 21.
What has changed more recently is the list of features that trigger the free version's unwanted watermark, since Blackmagic periodically moves capabilities between the free and Studio tiers as new AI-driven tools ship. Super Scale and Face Refinement, both listed earlier as current triggers, are newer additions to that Studio-exclusive list than older ResolveFX like Lens Flare. If you're following an older tutorial or forum thread about the free version's watermark behavior, treat its specific list of trigger features as a snapshot of whichever Resolve version that post was written against, and check Blackmagic's own product comparison for the current version's exact split rather than assuming an old list is still complete.
Everything else in this guide, the Data Burn-in panel's mechanics, the timeline overlay approach, and Fusion's animation nodes, has held steady long enough that a five-year-old tutorial on any of them is still basically accurate today.
A worked example: watermarking a client proof before final approval
Say you've cut a first pass of a commercial and need to send it to the client for notes before the color grade or final sound mix is locked. You want a visible mark that screams "not final" without permanently disfiguring the actual video for anyone who somehow keeps the file.
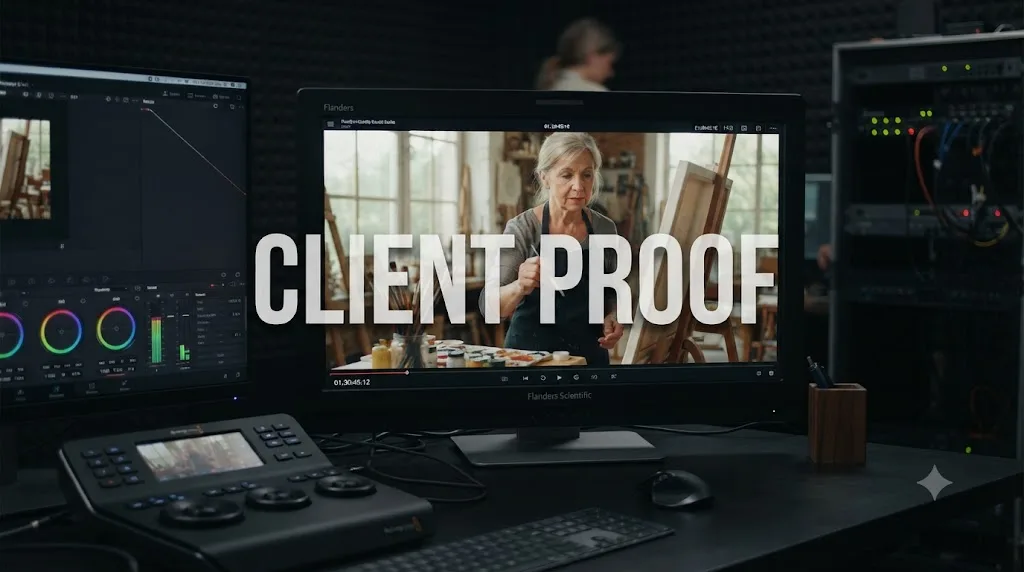
- Type "CLIENT PROOF - NOT FOR DISTRIBUTION" into Data Burn-in's Custom Text field, in Project mode so it covers the whole cut regardless of how many scenes it has.
- Position it dead center, large, and semi-transparent rather than tucked into a corner. A proof watermark is meant to be impossible to ignore or accidentally crop out, unlike a brand logo which should stay unobtrusive.
- Save this configuration as a preset named "Client Proof" so you can toggle it on for review sends and off for the final delivery without rebuilding the text every time.
- Render a five-second test clip first to confirm the text is legible against your specific footage's brightness and doesn't wash out against a bright sky shot or disappear against a dark night scene.
- Render the full review copy with the Client Proof preset selected on the Deliver page.
- Once notes come back and you're ready for the final render, switch the Deliver page's Data Burn-in dropdown to None, or to a separate, permanent brand-logo preset if the finished deliverable should still carry a corner mark, and render clean.
This is the pattern most freelance editors and small studios actually want: an aggressive, unmissable proof mark for anything still in review, swapped out cleanly for either no mark or a subtle brand mark once the piece is locked and approved. Data Burn-in's preset system is what makes that swap a two-click action instead of a re-edit.
A worked example: a permanent brand logo for a public YouTube channel
A different situation, and a different set of priorities: a creator wants a small, permanent logo watermark on every video that goes out publicly, one that reinforces the channel's brand without distracting from the content itself.
- Export the channel logo as a PNG at roughly 8-10% of the frame width, small enough to sit quietly in a corner, with a transparent background and no drop shadow baked in, since a shadow can look muddy once composited over moving footage.
- Import it into Data Burn-in's Logo1 field in Project mode, since it should appear on literally every video from this channel going forward.
- Position it in the bottom right corner, the placement least likely to overlap subtitles, which usually sit lower-center, or a Title Safe zone, which most platforms respect near the frame edges.
- Set opacity to roughly 60-70% rather than fully opaque, so it reads as a subtle brand mark rather than a distracting sticker fighting for attention against the footage.
- Save this exact configuration as a preset named after the channel, and apply it as the default on every future project's Deliver page setup, so a new editor working on the channel doesn't have to rebuild the mark from scratch.
- Confirm the export stays at or below 3840 x 2160, since this creator's channel doesn't currently need higher-than-UHD delivery, and confirm no Studio-exclusive ResolveFX are active elsewhere in the timeline, keeping the whole pipeline inside the free version with no unwanted second watermark riding along.
Same feature, same panel, completely different settings, because a permanent brand mark and a temporary proof stamp are solving genuinely different problems. The proof mark wants to be seen and questioned. The brand mark wants to be present but ignorable, felt more than noticed.
A worked example: watermarking footage for a stock or licensing library
A third scenario, and a genuinely different set of priorities again: you're uploading b-roll or finished clips to a stock footage marketplace or a private licensing library, and the preview copy needs to be effectively unusable to anyone who doesn't pay for the clean version, while still letting a buyer judge the footage's quality, motion, and detail.
This is the one case in this guide where you actually want the watermark to be aggressive and hard to crop out, closer to what stock sites themselves do than either the subtle brand mark or the temporary client proof covered earlier.
- Build a full-frame watermark PNG, not a corner logo. Tile your mark, a diagonal repeating wordmark or logo, across the entire canvas at whatever resolution you're delivering the preview at, since Data Burn-in imports the file exactly as built with no in-panel tiling or repeat option.
- Set opacity high enough that painting or cloning it out is genuinely time-consuming, roughly midway between the barely-there brand mark from the earlier example and the loud, centered client proof stamp, since a preview that's too faint invites exactly the misuse you're trying to prevent.
- Import it into Logo1 in Project mode so it covers every clip in the preview timeline without needing to configure it per file.
- Render the licensing preview with that preset active on the Deliver page, and keep a completely separate, unmarked master file that never gets exported with Data Burn-in turned on.
- Switch the Deliver page's Data Burn-in dropdown to None before rendering the clean master a buyer receives after licensing the clip, the same swap covered in the client proof example, just serving a commercial licensing workflow instead of an internal review one.
- Keep both render presets in the project, named clearly, "Preview - Watermarked" and "Master - Clean," so a future export never accidentally ships the wrong one to the wrong audience.
The mechanics are identical to everything else in this guide, one Logo field, one preset, one Deliver page dropdown. What changes is the intent behind the settings: a brand mark wants to be present but ignorable, a proof mark wants to be seen and questioned, and a licensing watermark wants to be actively annoying to remove, since removing it is exactly the behavior you're trying to make more expensive than just paying for the license.
Is a DaVinci Resolve watermark a real security measure, or just a deterrent?
Worth being honest about this before you rely on it for anything that actually matters legally. Both methods in this guide burn a visible mark into the video's pixels. Neither embeds hidden, forensic, or per-recipient tracking data the way a dedicated tool can.
Frame.io's own Watermark ID feature, mentioned in the same article that covers Resolve's Data Burn-in, works differently: it embeds "your own name, contact info, and IP address" into files distributed through their review platform, per Frame.io's guide, which means a leaked copy can be traced back to the specific person who downloaded it, not just back to your studio in general. Resolve's own watermark tools don't do that. A visible logo or "CLIENT PROOF" text stamped by Data Burn-in deters casual reuse and makes an unauthorized reupload obvious to anyone who sees it, but it's the same mark on every copy you send out, so it can't tell you which specific recipient leaked a given file.
A visible DaVinci Resolve watermark is a deterrent that makes casual misuse obvious, not a forensic tool that traces a leak back to a specific person. If your review workflow genuinely needs per-recipient traceability, that's a job for a platform built around it, layered on top of, not instead of, whatever visible mark you're already burning in with Data Burn-in.
Where do you go from here?
Pick based on where the file is going, not which method feels more familiar. Anything about to leave your machine, a client proof, a public upload, a portfolio sample, gets Data Burn-in, because it can't be accidentally deleted, trimmed, or left off a render the way a timeline clip can. Anything you're still actively designing, sizing by eye, or animating gets built as a timeline overlay first, then optionally flattened into Data Burn-in once it's finished.
And if an unexplained watermark shows up that you never configured in either place, stop troubleshooting your own setup and check your effects chain and export resolution instead. That one's Resolve telling you a Studio-exclusive feature snuck into your timeline, a completely separate problem from the one this guide just walked you through solving.
Once your watermark is locked and your export settings are dialed in, the next stop is making sure the rest of your Deliver page matches what the platform you're uploading to actually wants. Our guide to DaVinci Resolve's export settings for YouTube covers the codec, bitrate, and resolution choices that keep a watermarked export looking as sharp after upload as it did in your Viewer. And if your watermark is a styled text mark rather than a logo, our guide to adding text and titles in DaVinci Resolve covers the Text+ tool's font, shading, and animation controls in more depth than the Data Burn-in panel's simpler text field offers.
If you're mid-project and can't remember which menu holds the Data Burn-in panel, or which Deliver page dropdown actually applies it, TryUncle is an assistant built to watch your actual Resolve window and point directly at the control you need, faster than searching back through a guide like this one for the one setting you half-remember.
Frequently asked questions
- What is the easiest way to add a watermark in DaVinci Resolve?
- Open Workspace > Data Burn-in, check one of the three Logo fields, and import a PNG with a transparent background. Save it as a preset, then pick that preset from the Deliver page's Data Burn-in dropdown before you render. It applies to every export automatically without adding a single clip to your timeline.
- Can I add a watermark for free in DaVinci Resolve, or does it need Studio?
- Both Data Burn-in and a timeline-based image overlay are available in the free version. Neither requires DaVinci Resolve Studio. What does require Studio is exporting above Ultra HD resolution or using certain ResolveFX, and using those in the free version is what triggers an unwanted watermark, a separate issue from the one you're trying to solve.
- Why does my DaVinci Resolve export have a watermark I didn't add?
- You're using a Studio-exclusive feature in the free version. Effects like Super Scale, Face Refinement, some Noise Reduction and Motion Blur modes, and Neural Engine tools are gated behind the paid version, and per multiple teardowns of the free-vs-Studio split, applying one stamps a visible watermark across your export. Exporting above 3840x2160 does the same thing. Remove the effect or downscale the resolution, and the unwanted watermark disappears.
- Should I use Data Burn-in or a timeline overlay to watermark my videos?
- Data Burn-in for anything that ships to a client or public audience, since it can't accidentally get trimmed, nudged, or deleted mid-edit and it applies at render time regardless of what you do to the timeline afterward. A timeline overlay for anything you're still actively designing, since you can see it, keyframe it, and animate it directly in the Edit or Fusion page the way you would any other clip.
- How do I keep a watermark on screen for an entire timeline without dragging it onto every clip?
- Put the watermark image on its own video track above everything else and stretch or extend that single clip so it spans your full timeline length, rather than duplicating it per cut. Alternatively, right-click it and Generate PowerBin, or wrap it in a Compound Clip, so it moves and trims as one object even as the rest of your edit changes underneath it.
- Can I animate a watermark so it fades in, moves, or pulses?
- Yes, through Fusion. Right-click the watermark clip and choose Open in Fusion Page, add a Transform node for position, scale, and rotation keyframes, and use a BrightnessContrast node's Alpha channel gain, or a Merge node's Blend slider, to keyframe opacity for a fade. None of this requires Resolve Studio.
- Does a watermark added in DaVinci Resolve survive re-encoding or cropping on other platforms?
- Only as pixels, not as metadata. Both Data Burn-in and a timeline overlay physically bake the mark into the video frame, so it survives re-encoding by YouTube, Instagram, or any other platform the same way the rest of your footage does. It doesn't survive a hard crop that cuts the corner it sits in, and it isn't a legal or forensic watermark the way an embedded contact-info tool like Frame.io's Watermark ID is.
- Can a script or the DaVinci Resolve API add a watermark automatically across many projects?
- Only partially. The scripting API can loop through project files and fire off render jobs in a batch, since the render queue is fully documented and scriptable, but Data Burn-in's own Logo and Custom Text fields aren't listed among the API's documented settings. The reliable pattern is to build and save your Data Burn-in preset by hand once inside each project, then use the API only to automate the unattended rendering around it, not to create the watermark itself.
Sources
- Blackmagic Design DaVinci Resolve 18.6 Reference Manual: Data Burn-In (mirrored)
- Blackmagic Design DaVinci Resolve 18.6 Reference Manual: Setting Up Burned-In Metadata (mirrored)
- Blackmagic Design DaVinci Resolve 18.6 Reference Manual: Data Burn-In Metadata, Logo Options (mirrored)
- How to Protect Your Videos Using Resolve's Data Burn-In Tool, by Laurence Grayson (Frame.io Blog)
- Add a Burned-In Watermark to DaVinci Resolve Projects, by Larry Jordan
- DaVinci Resolve Data Burn-In (JayAreTV / Justin Robinson)
- In Depth: DaVinci Resolve Studio vs Free, Updated for 21 (Toolfarm)
- How to Remove a Watermark in DaVinci Resolve (Miracamp)
- DaVinci Resolve Studio product page (Blackmagic Design)
- DaVinci Resolve product page (Blackmagic Design)
- DaVinci Resolve - Fusion (Blackmagic Design)
- Keying with Delta Keyer in DaVinci Resolve & Fusion, an Effective Workflow (VFXStudy)
- How to Animate Opacity in Fusion, DaVinci Resolve (Noah Hähnel)
- Insert Watermarks Professionally in DaVinci Resolve (tutkit)
- DaVinci Resolve Scripting API Reference (ResolveDevDoc)
- DaVinci Resolve Collaboration (Blackmagic Design)
Learn by doing, not watching
Stop translating tutorials to your timeline.
TryUncle stays beside Resolve on Mac and Windows. When you ask, Uncle sees your screen and points at the exact control you need. No hunting through tabs, timestamps, or mismatched tutorials.
Meet TryUncleKeep reading
 GuidesJul 7, 202632 min read
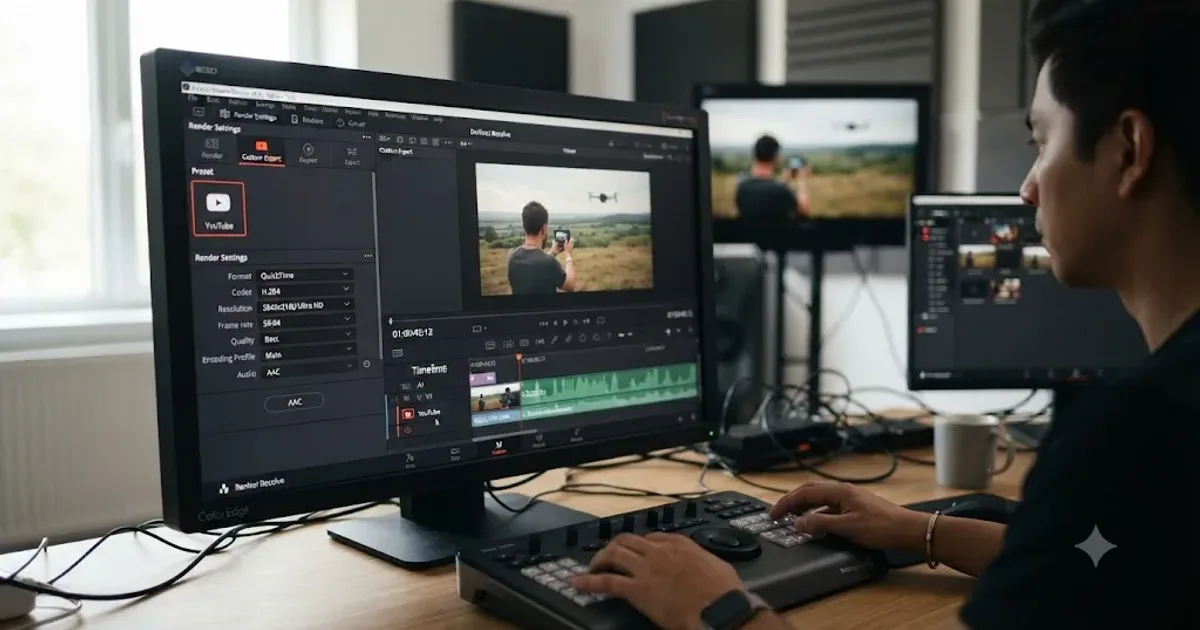
DaVinci Resolve Export Settings for YouTube (Copy These Exactly)
The exact DaVinci Resolve export settings YouTube recommends: codec, bitrate, resolution, audio, and the Deliver page steps that avoid soft uploads.
 GuidesJul 8, 202639 min read
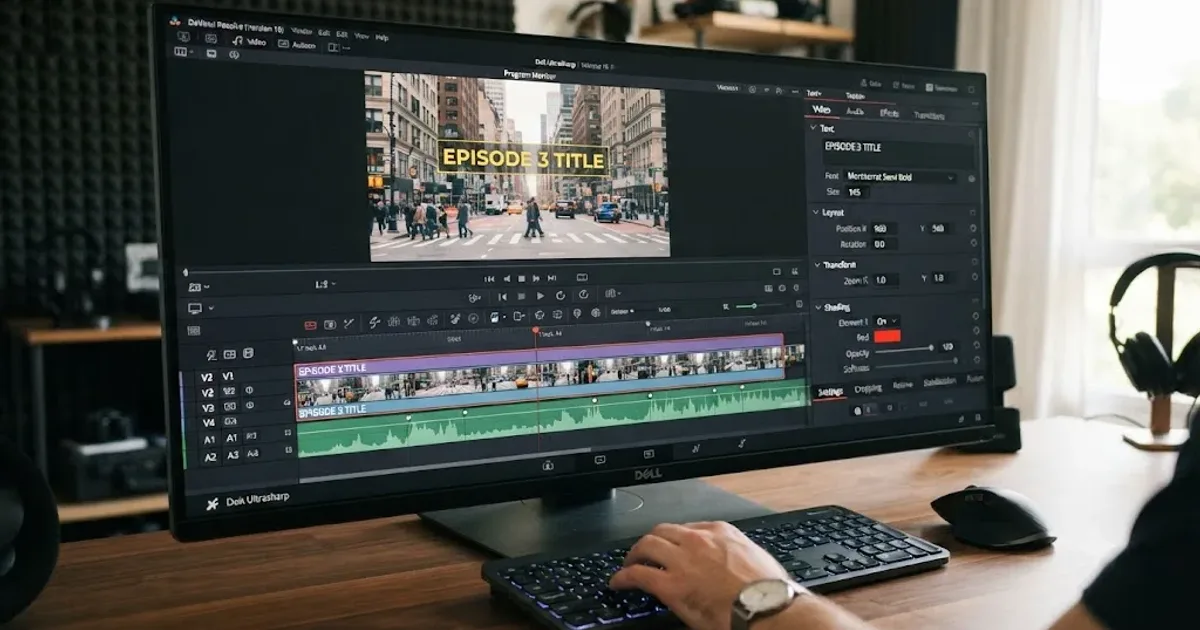
How to Add Text and Titles in DaVinci Resolve
Every way to add text in DaVinci Resolve: Text, Text+, MultiText, and Fusion Titles, plus subtitles, safe area, fonts, and export, for free and Studio.
 FixesOct 10, 202631 min read
DaVinci Resolve Audio Disappears After Reopening Project? Fix It
Fix DaVinci Resolve audio that disappears after reopening a project. Diagnose missing media, moved drives, bins, proxies, timelines, and playback routing.