
Learn / DaVinci Resolveupdated for DaVinci Resolve 21.0.2 (July 2026)
DaVinci Resolve Workflow for UGC Ad Content Creators
Quick answer
A DaVinci Resolve UGC ad workflow bins footage by creator and brand, then fixes mismatched phone audio with Level Matcher and Voice Isolation. Cut the shared body once, swap hooks with Compound Clips, and caption for sound-off viewing. Batch-export 9:16, 4:5, and 16:9 from one render queue for TikTok, Meta, and YouTube.
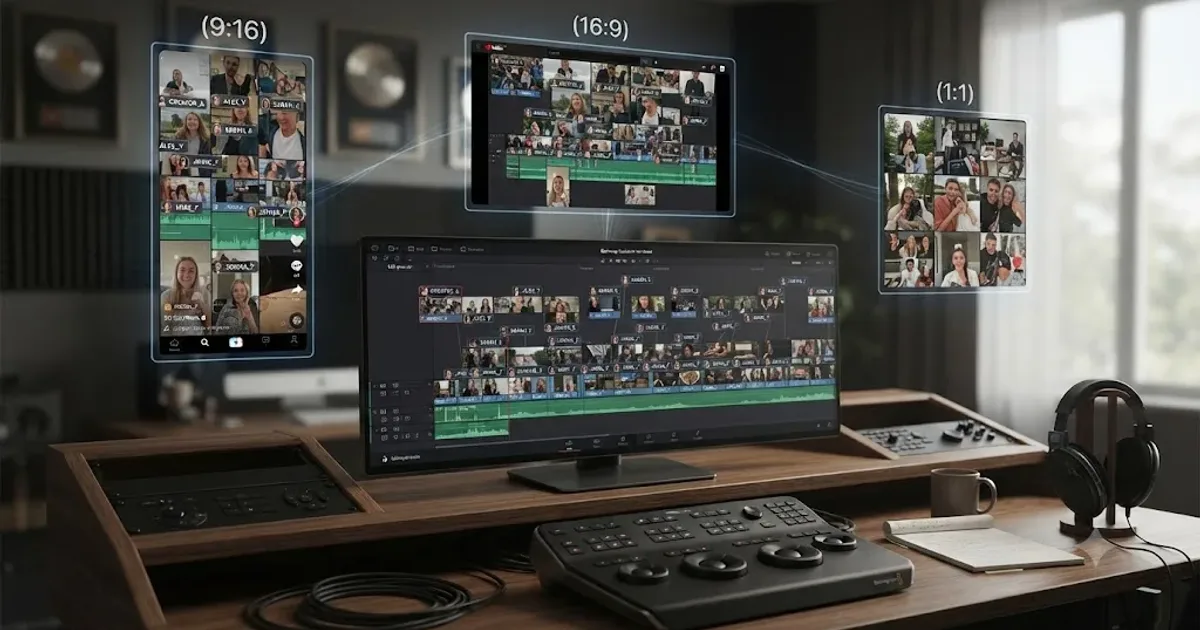
You've got a folder of clips from six different creators, none of whom used the same phone, the same room, or the same energy, and a brand brief that wants three hooks, two aspect ratios, and a disclosure tag by Friday. Nothing about that is a normal edit. It's a coordination problem wearing an editing problem's clothes, and DaVinci Resolve was built for neither footage you didn't shoot nor a deliverable that has to work identically on TikTok, Instagram, and YouTube at once.
This is the workflow that actually handles it. Not a general Resolve tutorial with "UGC" pasted on top, but the specific sequence: bin by creator, fix audio that never matched to begin with, cut the shared body once, swap hooks without re-editing everything downstream, caption for a muted autoplay feed, and export every aspect ratio a platform demands from a single render pass. Every setting below is something Resolve genuinely offers, sourced to Blackmagic's own documentation, official platform help centers, or a named person's real, verifiable statement, not guessed at.
What actually makes UGC ad content different from a normal edit?
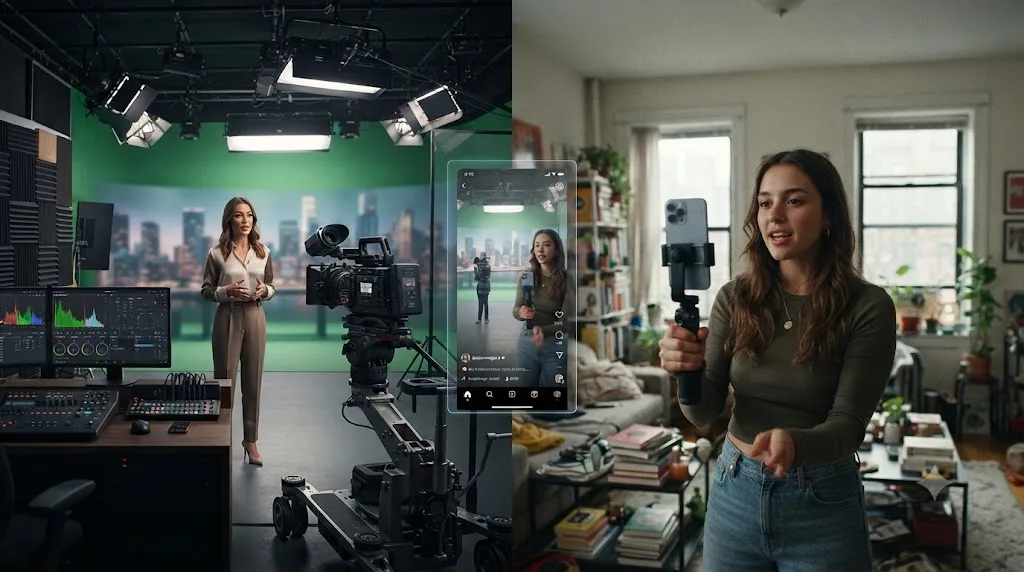
UGC advertising is paid ad creative built to look and sound like an organic post: one person, talking to camera, in a normal room, with production value that reads as unpolished on purpose. The style is the entire strategic bet. A viewer scrolling a feed processes a UGC-style ad differently than a glossy commercial, because it reads first as a person and only second as an advertisement, which is exactly why brands are willing to pay for footage that looks like it cost nothing to make.
That styling choice creates real editing problems a standard project never has. You're not shooting the footage, so you can't fix a bad audio setup after the fact by reshooting. You're not editing one creator's voice, you're editing five or ten, each with a different mic, a different room, a different energy, and the brand expects them to sit in the same ad account without sounding like five different ads. And the brief usually doesn't want one finished video, it wants several hook variants of the same underlying ad, because testing hooks against each other is how UGC ad accounts actually get cheaper over time.
| What changes | Normal creator edit | UGC ad edit |
|---|---|---|
| Whose footage | Your own camera, your own shoot day | Multiple creators' phones, shot without you present |
| Audio consistency | One mic setup, one room | As many mic setups and rooms as creators involved |
| Deliverable count | One finished video | The same ad, several hook variants, several aspect ratios |
| Legal requirement | None specific to the edit | FTC material-connection disclosure |
| Distribution | Posted from your own account | Sometimes run from the creator's account via whitelisting |
A UGC ad only works if it never looks like it was made for advertising in the first place. That single constraint is what pulls every stage of this workflow away from a standard edit, and it's why "just cut it like any other video" is the advice that gets creators in this niche in trouble on their first paid brief.
What does the full eight-stage workflow look like, start to finish?
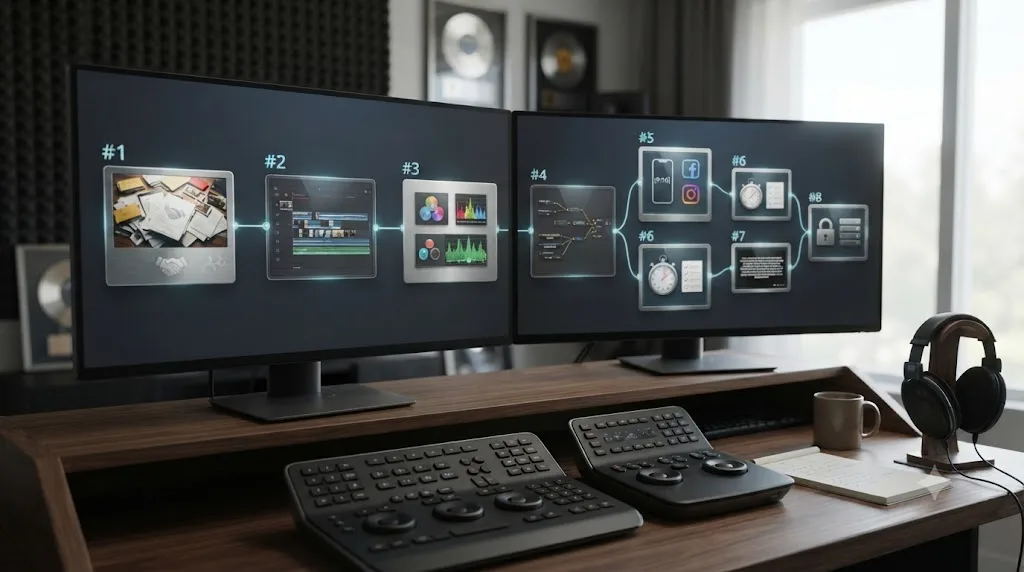
Eight stages, and skipping their order costs you real time later, the same way skipping the order costs a YouTube creator in DaVinci Resolve's YouTube editing workflow. Color grade before your audio is fixed and you're regrading clips you replace once Level Matcher reveals which takes actually usable. Export before captions are locked and you're re-rendering three aspect ratios instead of one.
| Stage | What happens | Why it exists specifically for UGC ads |
|---|---|---|
| 1. Intake and organize | Bin footage by brand, then by creator | You're managing other people's raw files, often several creators per brief |
| 2. Fix mismatched audio | Level Matcher, Voice Isolation, Dialogue Leveler | Every creator recorded on a different phone in a different room |
| 3. Cut the body once | Build the shared middle and CTA as one sequence | Multiple hook variants share this same body |
| 4. Build hook variants | Compound Clip the body, attach different hooks | Testing hooks is the actual reason UGC ad accounts scale |
| 5. Color match | Shot Match brings mismatched cameras toward one look | Ten creators shot on ten different phones and lighting setups |
| 6. Caption | Burn in or export platform captions | Feeds autoplay muted by default |
| 7. Export every aspect ratio | 9:16, 4:5, 16:9 from one Render Queue pass | The same ad usually runs on TikTok, Meta, and YouTube at once |
| 8. Disclose and prep for whitelisting | FTC disclosure, clean watermark-free master | Paid partnership rules apply, and some ads run from the creator's own account |
Two stages here don't exist in a typical creator workflow at all: disclosure and whitelisting prep. Neither is optional once money changed hands for the content, and both get covered in full further down.
How do you organize footage from multiple creators without losing track of who sent what?
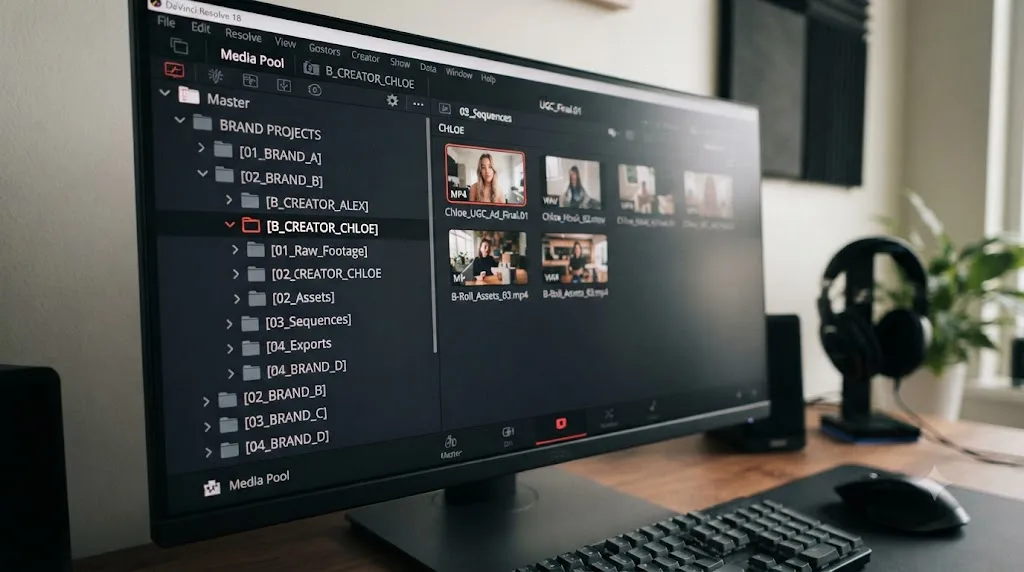
Build the folder structure around the brand first, the creator second, before a single file lands on your drive. A UGC editor juggling three active briefs needs a structure where "which clip came from which creator, for which brand" is answerable in two clicks, not a memory exercise at 11pm the night before delivery.
Inside DaVinci Resolve, mirror that same hierarchy in bins: one top-level bin per brand, with sub-bins per creator inside it, and a dedicated bin for the brand's own supplied assets, logo files, an outro card, a legally required disclosure graphic, anything that doesn't come from a creator at all. Name every clip with a convention that survives getting dragged out of its folder: brand-creator-takenumber, not IMG_4021.mov, since a raw phone export's default filename tells you nothing once it's sitting in a Media Pool next to forty others that look identical.
Keep a Power Bin open for anything reused across every ad you cut for a given brand: the brand's intro bump, its outro card, its logo lower third, its standard CTA end screen. A Power Bin persists across projects in the same database, so a recurring brand asset gets built once and dragged into every new brief afterward instead of rebuilt from scratch each time a new batch of creator footage lands.
If a creator's footage arrives over multiple deliveries, first draft, a reshoot, an extra take requested after review, keep those in dated sub-bins rather than overwriting the original delivery. UGC briefs go through revision rounds more often than a personal project does, and the ability to pull the original take back if a brand prefers it over the reshoot is worth the extra folder.
How do you fix audio when every creator recorded on a different phone in a different room?
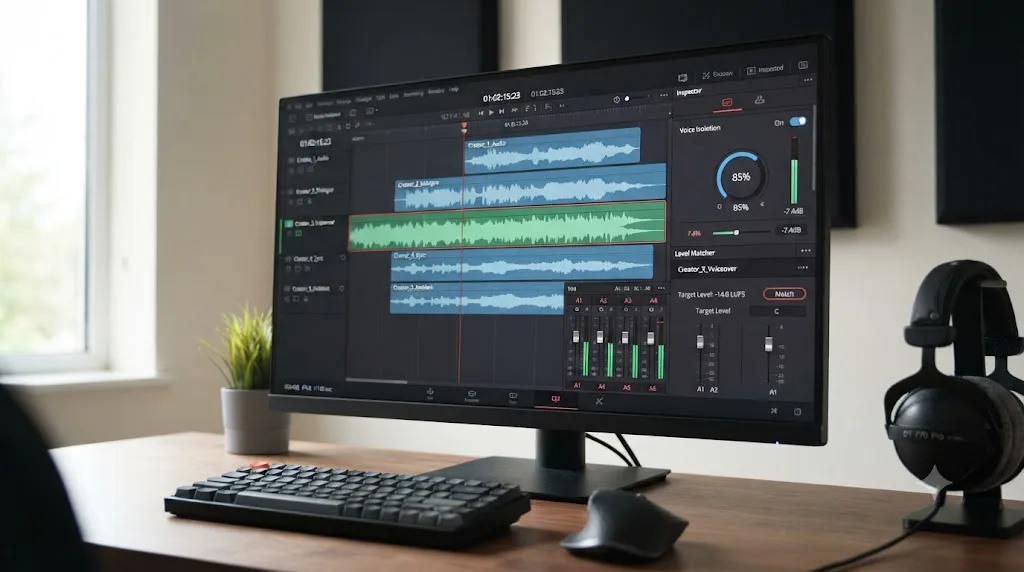
Start with Level Matcher, the tool built specifically for this exact problem. Introduced as part of DaVinci Resolve's Fairlight audio enhancements, Level Matcher analyzes the loudness profile of a reference clip you choose, then applies that same profile to one or several other clips, so a batch of submissions that arrived at wildly different volumes lands at a consistent level without you riding gain manually on each one. Pick your cleanest, most representative creator clip as the reference, apply it across the rest of the batch, and you've solved the single most common UGC audio complaint, one creator's voice blowing out your speakers right after a much quieter one, in one pass instead of clip-by-clip guesswork.
Run Voice Isolation next on anything with inconsistent room tone. It's an AI tool built into Resolve that separates spoken voice from background noise using machine learning, and the version shipped in Resolve 20 specifically improved its separation of dialogue from dense noise along with reduced audio artifacts on heavily processed audio. UGC footage is exactly the use case it was built for: a creator filming in a kitchen with a running dishwasher in the background, a bedroom with street noise leaking through a window, a car with road hum under everything. None of those are your problem to fix on set, since you weren't on set. They're your problem to fix in Fairlight instead.
The Dialogue Leveler, which Blackmagic added to both the free and Studio editions of Resolve back in version 18.1, handles a third, more subtle issue: uneven volume within a single clip, a creator who leans toward their phone for the hook and drifts away from it by the middle of the take. Enable it from the Inspector or the Fairlight mixer's track FX section, start with the "Optimize most sources" preset, and let it smooth that drift automatically rather than manually keyframing gain across a clip you didn't record and can't ask the creator to redo before your deadline.
For finer, per-clip tonal mismatches, a nasally phone mic here, a boomy laptop mic there, the 6-band Clip EQ added alongside Level Matcher gives you more precise tonal control directly at the clip level, matching the same EQ controls available on a full track in the mixer. It's the tool you reach for once Level Matcher and Voice Isolation have handled loudness and noise, and what's left is a clip that's the right volume, clean of background noise, but still sounds tonally off compared to the rest of the batch.
| Problem | Tool | Availability |
|---|---|---|
| Batch of clips at wildly different volumes | Level Matcher | Free and Studio |
| Inconsistent room noise, running appliances, street sound | Voice Isolation | Free and Studio |
| Volume drifting within a single take | Dialogue Leveler | Free and Studio |
| Tonal mismatch between different phone mics | 6-band Clip EQ | Free and Studio |
| Target loudness for the platform you're exporting to | Fairlight Loudness Meter, Target Loudness setting | Free and Studio |
Fifteen creators shooting on fifteen different phones do not produce one consistent soundtrack by accident. Every one of these tools exists to close that gap without you asking a creator you've never met to reshoot a take because their kitchen was too loud.
How do you cut a UGC ad once and still deliver five hook variants?
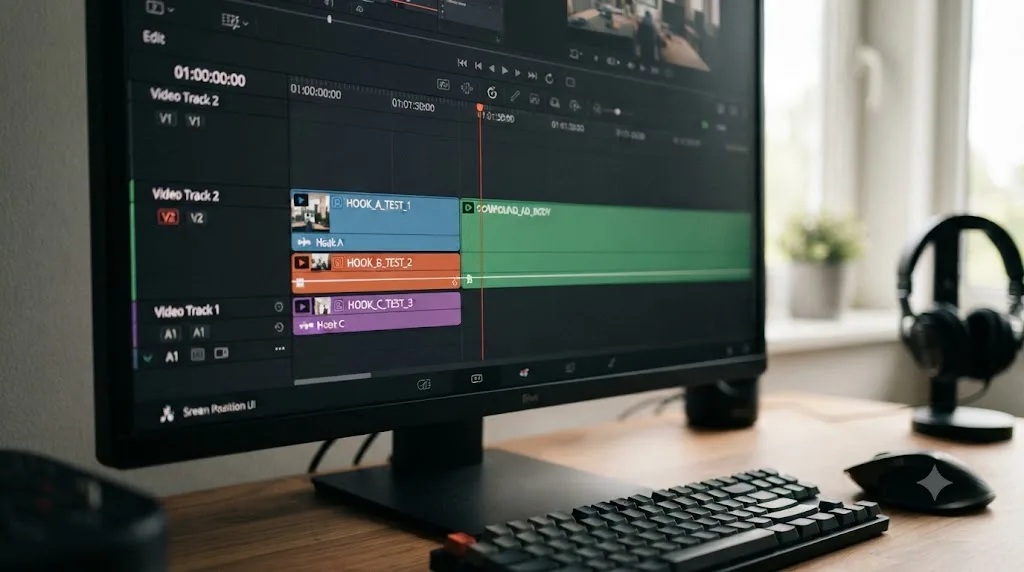
Build the body of the ad first, before you touch a single hook. The body is everything after the opening line, the demonstration, the benefit explanation, the objection handling, the CTA, and it's usually identical across every hook variant a brief asks for. Cutting it once, locking it, and then swapping only the first two to five seconds in front of it is the entire reason hook testing is affordable at the volume brands actually want it.
Once the body is locked, turn it into a Compound Clip. According to Resolve's own reference manual, a Compound Clip packages a series of clips, whether stacked in sequence or layered in parallel, into a single unit in the Timeline, governed by one set of Inspector controls and connected to the rest of your sequence through a single transition. That's exactly the behavior you want here: the body becomes one block you can attach a new hook in front of, over and over, without re-trimming, re-grading, or re-leveling audio on the shared middle section every single time a brand asks for "one more hook, same everything else."
This is the practical shape of hook testing that marketers actually run. Chase Sagum, CMO and co-founder of the skincare brand VIORI, described exactly this cadence in an interview about how his team manages UGC ad creative: "At any given time, we're testing between 30 and 40 different creatives inside our ad accounts. We're constantly weeding through, finding winners and adding budget to those winners." He also named the specific failure mode that makes this workflow necessary in the first place: "When an ad creative works, in our case, it tends to fatigue a little bit quicker than we'd like. We'll see a really good UGC video perform extremely well for like 30 to 60 days before it starts to fizzle out." Thirty to forty live variants at once, cycling out every one to two months, is not a volume a from-scratch edit per hook survives. A locked, compounded body is what makes it possible.
Structure each variant as three distinct segments when you're scripting or reviewing footage for this stage: the Hook, roughly the first one to three seconds, whose only job is earning the next second of attention; the Body, which builds the case; and the CTA, which asks for the action. Keep hooks, bodies, and CTAs as separable units in your bin structure too, tagged clearly, since a brief that wants three hooks times two CTAs isn't asking for six full edits, it's asking for six recombinations of pieces you've already cut.
Cutting the body once and swapping only the hook is the entire reason a hook-testing matrix is affordable. Without a Compound Clip holding that body steady, every "just try a different hook" request turns into a full re-edit, and a 30-to-40-creative testing cadence like VIORI's stops being realistic for a single editor to keep up with.
How do you color match footage from cameras that were never meant to match?
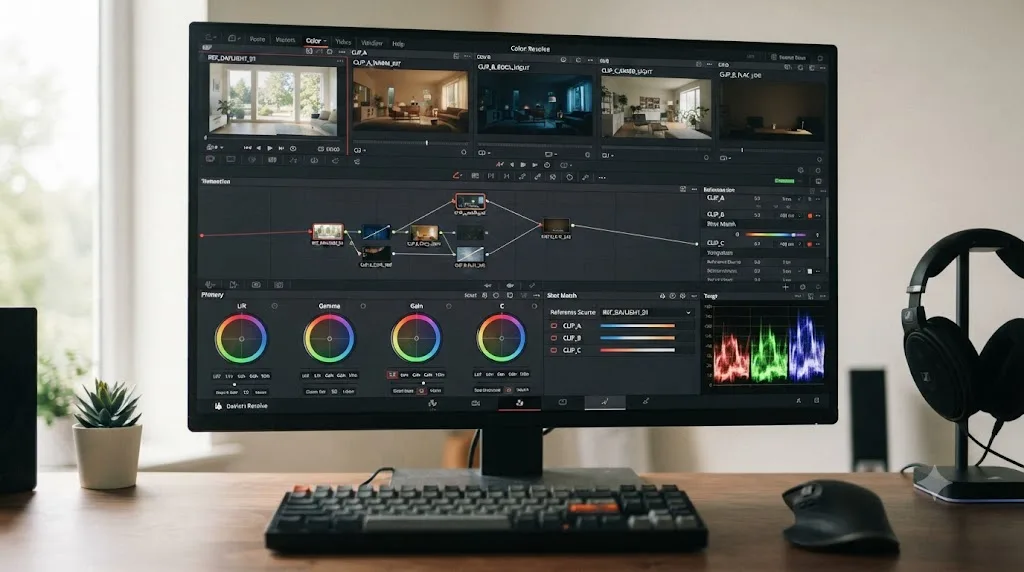
Use Shot Match, a color-page tool available in the free version of Resolve that automatically adjusts a clip's color to bring it toward a reference clip you select. Per colorist Larry Jordan's own walkthrough of the tool, you park on your reference clip, select the clips you want matched, and choose "Shot Match to This Clip" from the Color page's context menu, and Resolve analyzes both images and applies a correction that pulls the target clip's color balance toward the reference automatically.
That's a materially different job than the two-node YouTube color pass covered in our DaVinci Resolve editing workflow for YouTube creators, where every clip comes from the same camera and the same lighting setup already. UGC footage doesn't start from that baseline. One creator filmed by a window in daylight, another under a warm kitchen bulb, a third on a phone with its own aggressive auto white balance fighting you the whole clip. Shot Match won't make ten phones behave like one camera, but it closes enough of the gap that a viewer scrolling past doesn't consciously register "these were shot by different people," which is exactly the effect a UGC ad needs even though the footage genuinely was shot by different people.
Apply Shot Match as a first pass, then do a lighter version of the two-node correction from the standard workflow on top: Node 1 for whatever primary balancing Shot Match didn't fully resolve, Node 2 for a subtle, consistent look across the whole batch, whether that's a brand color cast or just a shared contrast boost. Save that Node 2 look as a PowerGrade once you've built it for a given brand, the same habit that pays off on any recurring client, so the next batch of creator footage for the same brand starts from a look you've already dialed in instead of from zero.
Don't reach for a heavier grade than the ad needs. A UGC ad that looks graded stops looking like UGC, which undercuts the entire format's premise. The goal here is consistency, not a cinematic look, and over-grading a UGC ad is a more common mistake among editors coming from narrative or corporate work than under-grading it.
How do you caption a UGC ad so it works with the sound off?
Assume the sound is off, because on a feed running autoplay, it usually is. That single assumption should decide how you caption every UGC ad you cut, since a hook that depends on the viewer hearing the first word before they decide to keep scrolling has already lost most of its audience before the point registers.
Studio users get this mostly automated through Create Subtitles from Audio, which, per Blackmagic's own reference manual, transcribes a clip's spoken audio directly into an editable subtitle track in roughly the time it takes to play through once or twice. Free-edition editors get there through AutoSubs, an open-source tool that runs Whisper-based transcription models entirely on-device, producing a real, editable caption track with no subscription and no cloud upload of the creator's footage, which also happens to be the more privacy-conscious option if a brand's brief specifies footage can't leave your machine.
Either way, proofread before you export. A caption typo reads worse on a UGC ad than on almost any other format, because the entire pitch of the format is that it looks unedited and effortless, and a visible mistake breaks that illusion in a way it wouldn't on an obviously produced commercial. Budget the same two minutes per clip this costs on any short-form repurposing job, covered in more depth in our comparison of DaVinci Resolve against Opus Clip for short-form repurposing.
A caption typo on a UGC ad reads as a red flag precisely because the format's whole appeal is that it looks unedited. Match your caption style to the platform's own convention too, bold, high-contrast, word-by-word reveal for TikTok-native feel, a cleaner single-line style for a Feed placement where the ad sits next to more polished organic posts. Keep every caption inside the safe zone covered in the export section below, since a caption clipped by a platform's own UI elements defeats the entire point of adding one.
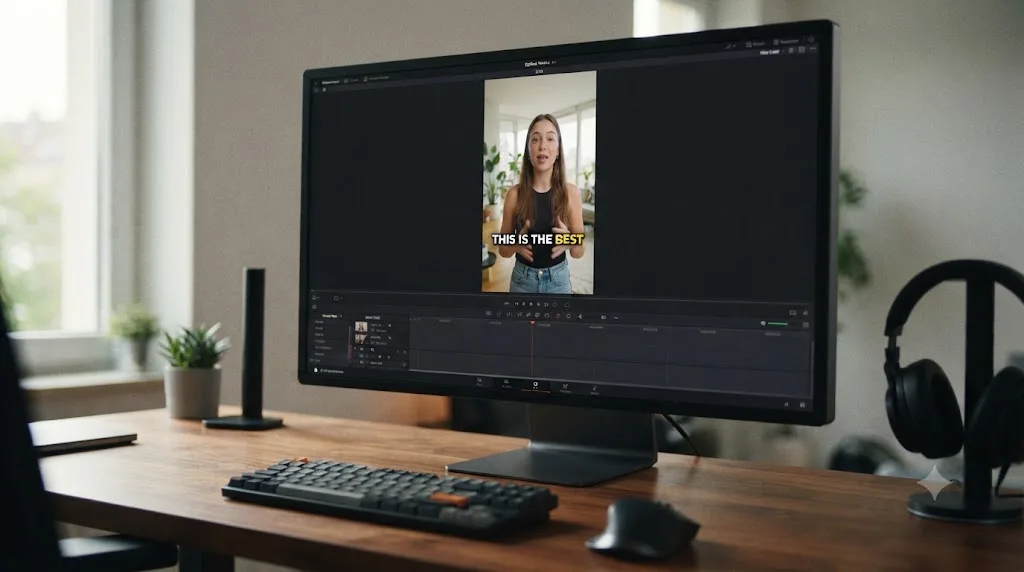
How do you export one ad for TikTok, Instagram, and YouTube without cutting it three times?
Duplicate your finished, captioned timeline into each aspect ratio a brief needs before you touch the Deliver page at all. Most UGC ad briefs need at least a 9:16 vertical for TikTok and Reels or Stories placements, often a 4:5 for Meta's Feed placement, and occasionally a 16:9 for a YouTube in-stream or connected TV placement, and building all three off one already-finished master keeps your cut, your color, and your captions consistent across every version instead of drifting apart if you re-edit each one separately.
| Platform, placement | Aspect ratio | Recommended resolution | Notes |
|---|---|---|---|
| TikTok, In-Feed | 9:16 | 1080x1920 | Up to 10 minutes allowed; 9 to 15 seconds performs best per TikTok's own recommendation |
| Meta, Reels and Stories | 9:16 | 1080x1920 | Reels cap at 90 seconds |
| Meta, Feed | 4:5 | 1080x1350 | Earns more on-screen real estate than square or 9:16 in a Feed placement |
| YouTube, Shorts | 9:16 | 1080x1920 | Counted as a Short if under three minutes, per YouTube's own Help Center |
| YouTube, in-stream | 16:9 | 1920x1080 | Standard horizontal placement |
Reframe each duplicated timeline with Smart Reframe on Studio, which Blackmagic's own reference manual describes as making it easier to reframe material across extreme aspect ratio changes automatically, tracking the subject as it repositions the crop. On the free version, do the same job manually with a Transform effect's Scale Full Frame with Crop setting, adjusting Position until your creator's face and hands stay inside the new frame across the whole clip. Either way, re-check your caption placement after reframing, since a caption safely inside the frame at 16:9 can land squarely under a platform's UI elements once the same footage is cropped to 9:16.
Respect each platform's own safe zone once the crop is set. Meta's own guidance for Stories and Reels ad creative keeps text and logos out of roughly the top 14% and bottom 20 to 35% of the frame, plus a narrow margin on each side, since profile icons, captions, and engagement buttons occupy that space on top of your video. Keep your on-screen text and any brand end card inside the middle band that guidance leaves clear.
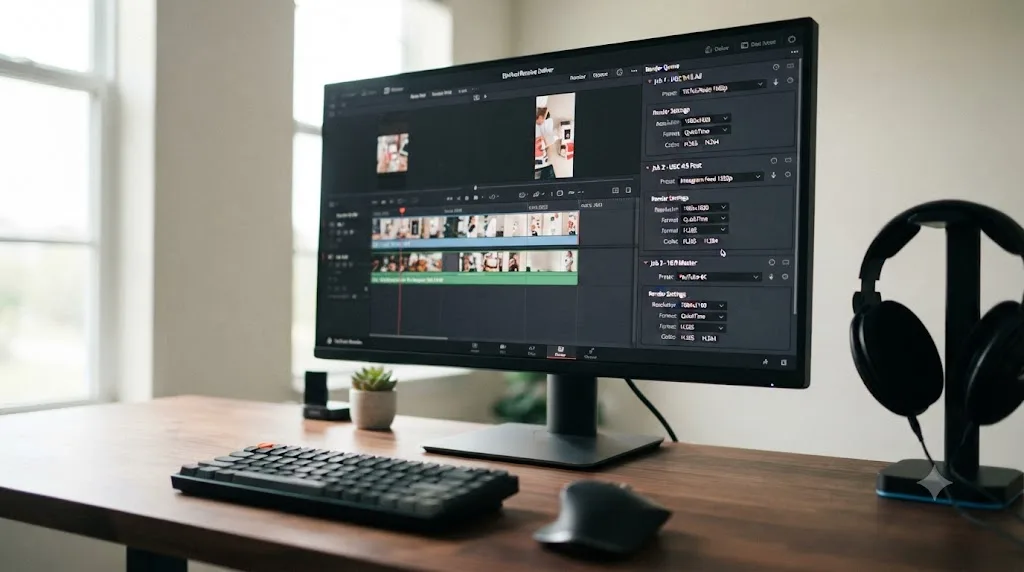
Once every version is cut, add each to the Render Queue with its own preset, one job for the 9:16 TikTok and Reels version, one for the 4:5 Feed version, one for the 16:9 YouTube version, and render all of them in a single pass. Resolve's render queue holds jobs from multiple timelines, and per its own reference manual, even from multiple projects in the same database at once, so this is genuinely one click across every deliverable a brief asks for, not three separate export sessions run back to back. Resolve also supports direct upload to YouTube and TikTok from the Deliver page itself, through Internet Accounts and platform-specific presets, letting you render and publish in the same queued job if the brief calls for you to post rather than just deliver a file.
Fifteen creators shooting on fifteen different phones do not produce one consistent soundtrack by accident, and neither does one edit magically fit three different platforms' safe zones on its own. Both problems get solved the same way in this workflow: once, deliberately, before export, not per-platform on the fly.
Do UGC ads need an FTC disclosure, and where does it actually go?
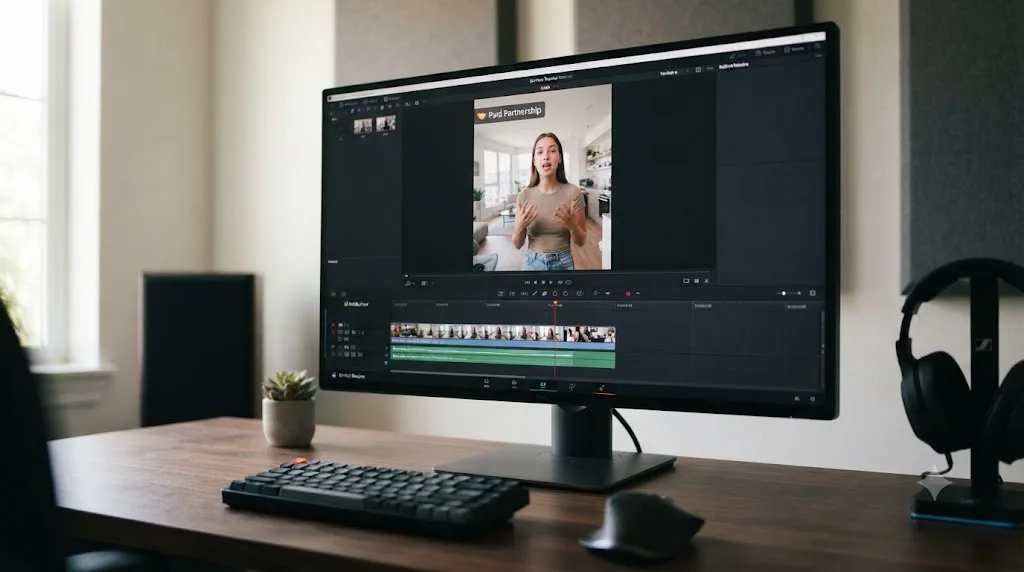
Yes, whenever there's a material connection between the creator and the brand, which the FTC's own guidance defines broadly: payment, free product, a discount, a business relationship, anything that could affect how much weight a viewer gives the endorsement. A UGC ad is, by definition, paid content, so this isn't a gray area worth arguing your way out of. It applies whether the ad runs from the brand's own account or, as covered in the next section, from the creator's account through whitelisting.
The FTC's own resource on this, aimed specifically at influencer-style content, states the disclosure has to be clear and conspicuous, not buried in a bio, not assumed from context, and not satisfied just because the content happens to look native to the platform. A visible #ad, #sponsored, or the platform's own native paid partnership label all satisfy this. Relying on the fact that the ad merely looks organic does not, and the FTC has specifically called out paying someone to produce content that's designed to look like unpaid, organic UGC when it isn't as a compliance risk worth scrutinizing directly, which is precisely the aesthetic this entire workflow is built to achieve.
Practically, in the edit, this means one of two things: burn a disclosure directly into the video, typically as a small on-screen text element in the opening seconds or a persistent lower corner tag, or confirm the brand's own caption and platform labeling covers it before the file ships. If you're the editor and not the one posting, put the disclosure requirement in your delivery notes explicitly rather than assuming the brand's social team will remember to add it, since the legal exposure sits with both the brand and the creator, not with whoever happened to export the file.
A UGC ad only works if it never looks like it was made for advertising in the first place, and that's precisely the tension a disclosure exists to resolve honestly rather than paper over. Building the most convincingly organic-looking ad in the world doesn't make the disclosure requirement optional. It makes it more important, since the format's whole strength is also the thing regulators are watching most closely.
Should the ad run from the brand's account or the creator's, through whitelisting?
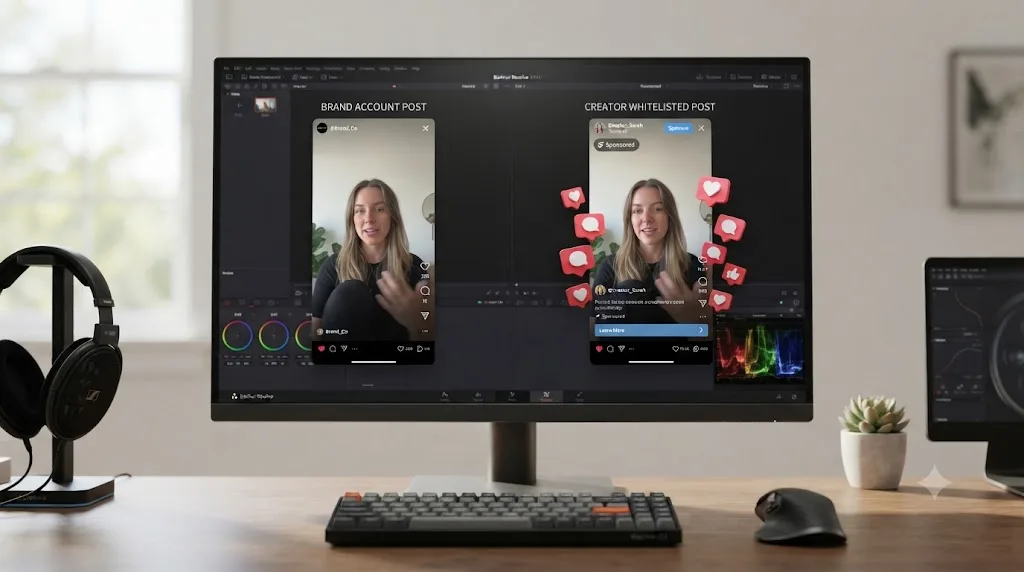
Both happen, and knowing which one your brief expects changes what you deliver at the end of this workflow. Whitelisting, sometimes called allowlisting, and Meta's own Partnership Ads are the mechanism that lets a brand run paid media through a creator's existing account rather than reposting the video from the brand's own handle.
On TikTok, this runs through Spark Ads. Per how the mechanism is described by ad platforms that set these up regularly, the creator posts the video organically to their own account, then shares an authorization code and the post's code with the brand, who uses those to set up and pay for the promoted version inside TikTok Ads Manager. Because the ad stays connected to the original organic post, viewers can like, comment, follow the creator, and visit their profile directly from what's technically a paid placement, all of which stays attached to the creator's real account and real engagement history rather than starting from zero on a brand handle with no prior activity.
Meta runs the equivalent through its Partnership Ads Hub. The brand sends a partnership request to the creator, the creator approves it from their own account settings, and the brand can then run ads through Ads Manager using the creator's content and, depending on settings, their account identity, while still paying for and tracking the campaign from the brand's own side.
What this means for your export: a video meant for whitelisting has to leave your timeline completely clean. No brand watermark burned into the corner, no editing-app logo left on from a stock template, nothing that visually marks it as coming from anywhere other than the creator's own camera roll, since the entire strategic value of whitelisting is that the ad reads as the creator's real, unpaid post right up until someone checks who's actually paying for its reach. If your delivery notes don't specify whitelisting, ask before you burn in a lower-third brand logo that would otherwise need removing and re-rendering later.
Whitelisting only works if the ad never looks like an ad, and the account posting it is a real person's account, not the brand's. That's a stricter version of the same constraint the whole workflow already runs on, and it's worth confirming explicitly with whoever sent the brief rather than assuming which delivery format they need.
Does the music in a UGC ad need its own license, especially if it's getting whitelisted?
Sometimes, and the answer depends on which platform the ad runs on and whether the file is a fresh upload or a whitelisted version of a post that already exists. Get this wrong and a brand can end up with a live ad pulled mid-flight over a rights claim on a song nobody thought twice about.
TikTok requires brand and paid content to use tracks from its Commercial Music Library, a catalog of more than a million pre-cleared sounds searchable inside TikTok's own Creative Center, built specifically so brands don't have to chase down licensing on a track a creator happened to grab from the app's regular sound library. That distinction matters because a sound trending in the ordinary TikTok feed isn't automatically cleared for advertising just because it's popular, searchable, or already used by thousands of creators. The commercial library is a separate, curated set, and it's the one a paid placement is required to pull from.
The clearance only covers the platform it's tied to as well. A Commercial Music Library track is cleared for use inside TikTok. Drop that same track into the same ad running on Meta or YouTube and you need a separate license for those platforms, since TikTok's clearance doesn't travel with the file once it leaves TikTok's own ecosystem.
Here's where it gets specifically tricky for the whitelisting workflow covered above. A Spark Ad promotes the creator's existing organic post directly, not a new file the editor uploads. Whatever music is already baked into that live post is what runs as the ad, and there's no swapping it out after the fact without reposting and losing the post's original engagement history, the very thing that makes whitelisting valuable in the first place. If a brief mentions whitelisting is even a possibility, flag the music question to the creator before they post organically, not after, since a trending song that's fine for an unpaid post can become a liability the moment ad spend sits behind it.
A brand-run ad uploaded fresh through Ads Manager doesn't carry that constraint. Since the editor controls the final export, swapping an uncleared trending track for a Commercial Music Library equivalent, or a straightforward royalty-free track, is a normal part of finishing the file, and it's worth doing as a default step before delivery rather than leaving it to the brand's social team to catch during review.
A trending sound cleared for an unpaid TikTok post is not automatically cleared for the paid version of the same post. That gap is where a surprising number of otherwise well-run UGC ad campaigns run into a music rights problem after launch instead of before it.
DaVinci Resolve or CapCut: which one actually fits a UGC ad editor's workflow?
Both get used in this niche regularly, and the honest answer depends on what a specific brief actually needs rather than which tool is generally "better."
| DaVinci Resolve | CapCut | |
|---|---|---|
| Platform | Windows, macOS, Linux, desktop only | Desktop and mobile, edit on the same phone footage was shot on |
| Audio tools for mismatched mics | Level Matcher, Voice Isolation, Dialogue Leveler, 6-band Clip EQ | Basic volume and noise reduction, no equivalent batch loudness matching |
| Color control | Full node-based grading, Shot Match for cross-camera consistency | Filters and presets, limited node-level control |
| Vertical-native workflow | Retrofit, built for horizontal timelines first | Native, built vertical-first from the start |
| Templates and trending effects | None built in | Extensive, updated constantly to match platform trends |
| Speed on a single simple cutdown | Slower to set up per project | Faster for one quick vertical edit |
| Best for | Managing multiple creators, batch audio fixes, color consistency across mismatched cameras | Fast, simple, single-creator vertical content with trending effects |
CapCut wins outright on a single, simple 30-second cutdown from one creator's footage where the brief just wants trending audio and a template transition applied fast. Its mobile-first design and constantly updated effect library are built for exactly that job, and reaching for Resolve's node-based color page for a video that needs none of that grading depth is genuine overkill.
DaVinci Resolve earns its complexity the moment a brief scales past one creator. Managing loudness across a batch of mismatched submissions, matching color across footage shot on different phones in different rooms, and building a hook-testing matrix off one compounded body are all jobs CapCut has no dedicated tooling for at all. A growing number of editors in this space run a hybrid: CapCut for a same-day single-creator turnaround, Resolve for anything with more than one creator, a real audio problem, or a brand that needs the same master exported cleanly across three aspect ratios.
Where do UGC creator marketplaces fit if you're the one being hired to shoot or edit?
If you're a content creator reading this because brands are starting to pay you for UGC-style ad footage, or you're an editor sourcing raw material for a client, marketplaces like Billo, Insense, and JoinBrands are where a lot of that matching actually happens, and understanding their pricing tells you what a brand is likely paying before your edit even starts.
| Platform | Pricing model | Best fit |
|---|---|---|
| Billo | Flat rate per video, no ongoing subscription | Brands running fast, high-volume creative testing |
| JoinBrands | Creators set their own per-video rate, plus a platform fee of 8 to 15% depending on the brand's plan tier | Mid-market brands wanting rate flexibility and a large creator pool |
| Insense | Subscription starting around $500 a month, plus per-creator payment and a marketplace fee | Brands running larger, ongoing campaigns with influencer amplification alongside pure UGC |
Per JoinBrands' own pricing documentation, a brand on its free tier pays a 15% platform fee on top of whatever a creator sets as their rate, dropping to 8% on its highest paid tier, so the same $60 creator payment can cost a brand anywhere from roughly $65 to $69 depending on which plan they're on. That fee structure is worth knowing if you're a creator negotiating your own rate on one of these platforms, since the number you set isn't necessarily the number the brand ends up paying.
Confirm usage rights before you build a single hook variant, not after. Most marketplace deals grant the brand rights to the raw footage for paid advertising, but the scope and term vary by platform and by the specific agreement a brand negotiated with a creator, and some cover organic posting only, requiring a separate add-on fee before a brand can legally run the footage as a paid ad at all. Ask whoever briefed you whether the usage rights already cover paid placement across every platform in the brief, since finding out mid-edit that a brand only secured rights for TikTok and not Meta means reworking your export list, not just your file names.
None of these platforms touch the editing workflow itself once footage is delivered. A brand sourcing five creators through Billo or JoinBrands still needs someone running the intake-to-export workflow this guide covers, whether that's an in-house editor, a freelancer, or the same UGC creator doing their own post on top of the raw footage they shot.
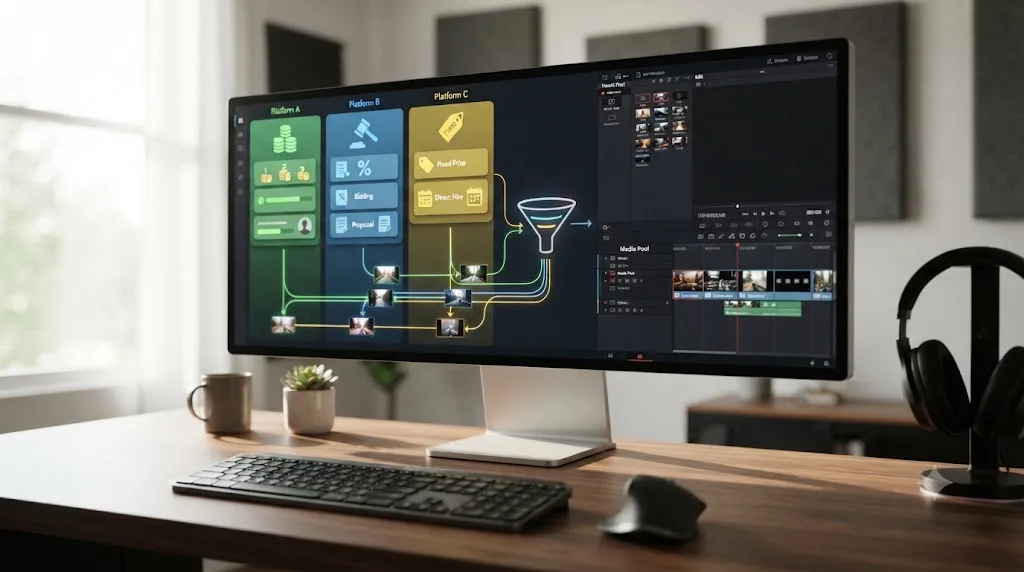
Should you use an AI tool anywhere in this workflow?
Depends entirely on which kind of tool, because "AI tool for DaVinci Resolve" currently covers two genuinely different jobs in this niche, and conflating them wastes a subscription on the wrong bottleneck.
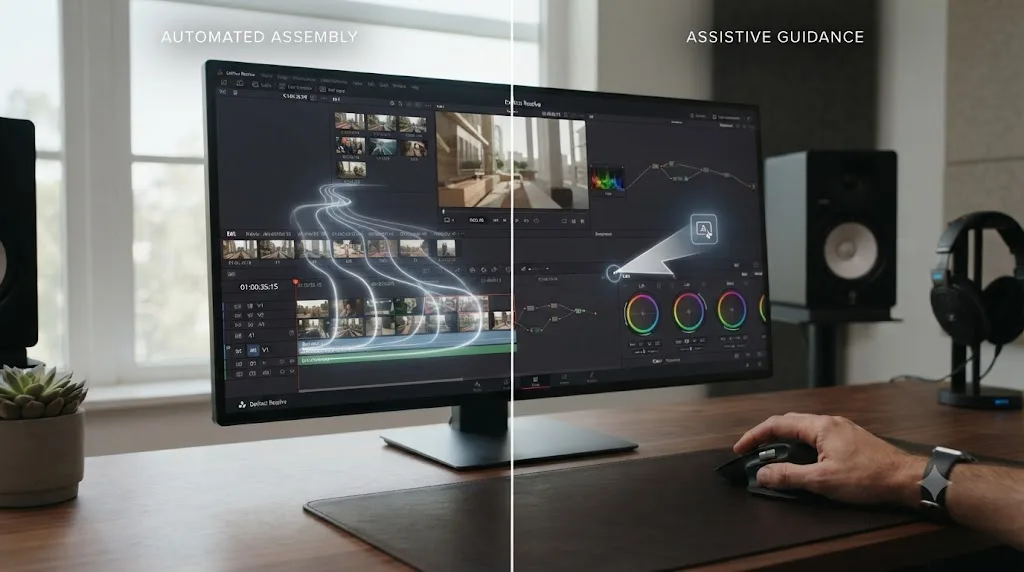
One category executes edits for you from a typed instruction. CutAgent connects to Resolve and turns a natural-language instruction into an actual timeline operation with a review step before anything lands, which is a real time saver on mechanical, repetitive UGC tasks like trimming dead air or assembling a rough string-out from a batch of creator clips. Sottocut runs a similarly agentic flow but requires Resolve Studio 21 and an Apple Silicon Mac specifically. PremiereCopilot is worth naming and immediately ruling out here, since its own pricing page confirms it's built exclusively for Adobe Premiere Pro with no Resolve support at all. Eddie AI bridges into Resolve, Premiere, and Final Cut Pro through an installed extension rather than living natively in any one of them. All four hand the editorial decision to the tool, reviewing its output rather than making the cut yourself, which is a fine tradeoff on a mechanical assembly pass and a worse one on the hook decisions where your judgment about what a viewer will actually stop scrolling for is the entire value you're adding.
The other category doesn't touch your timeline at all. TryUncle is the on-screen assistant for DaVinci Resolve on macOS. Ask in plain words and Uncle points at the exact control on your screen. It watches your project live across the Edit, Color, and Fusion pages, and instead of executing a change, it shows you exactly where the control you're looking for actually lives. Say you're three batches deep into a hook-testing matrix, trying to remember whether Level Matcher's reference-clip selection lives in the Fairlight page's mixer or the Inspector, TryUncle answers that directly, live, on your actual screen, rather than sending you out to search a tutorial mid-edit.
Neither category replaces the two things that still teach this workflow's fundamentals best: Blackmagic's own free training guides, and structured YouTube channels like Casey Faris, whose tutorials remain a solid, well-regarded way to get oriented on a Resolve page you've never used before. Reddit's editing communities are a reasonable place to sanity-check a specific setting against other people who've hit the same problem, though none of these teach the UGC-specific habits this guide covers, since bin-by-creator organization and hook-swapping via Compound Clips are workflow decisions, not app features any tutorial demonstrates by default.
TryUncle isn't free. It's a paid subscription at $39 a month, cancel anytime, macOS only, so check TryUncle for the current rate before deciding it fits your batch-editing workflow. It doesn't cut anything on your timeline, choose a hook for you, or fix mismatched audio on its own, that's still Level Matcher's job. It just removes the seconds you'd otherwise lose hunting a menu mid-batch, while you stay the one making every editorial call.
What does this workflow look like on an actual brief, start to finish?
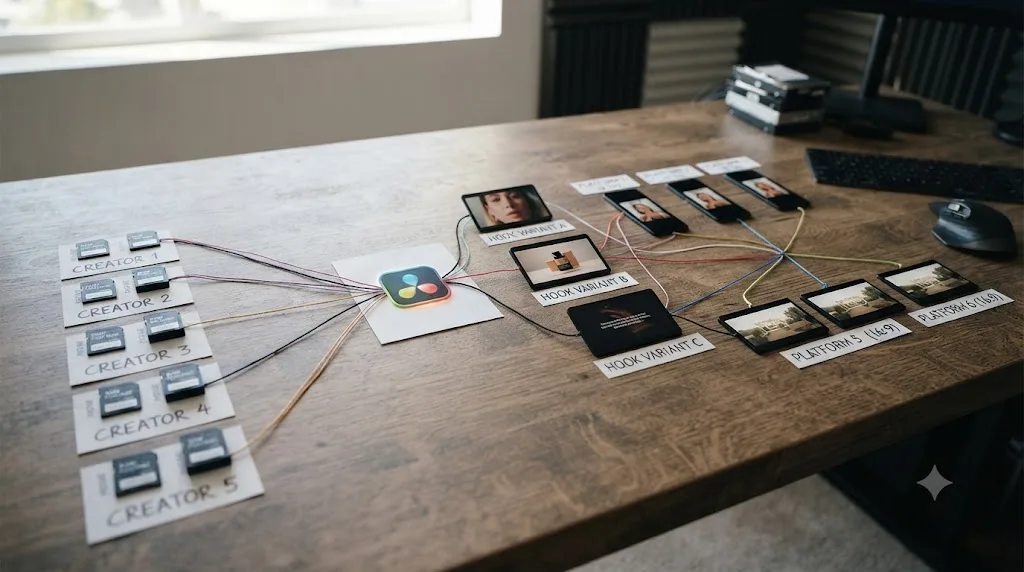
Take a concrete case: a supplement brand sends five creators' raw phone footage, each roughly 60 to 90 seconds, and a brief asking for three hook variants, delivered as 9:16 for TikTok and Reels and 4:5 for Meta Feed, with a disclosure tag and no watermark since the brand plans to whitelist the winning variant through the creator's own TikTok account.
Intake and organize: five sub-bins go in under one brand-level bin, one per creator, named with the brand's shorthand and each creator's first name. The brand's own logo end card and a pre-approved disclosure graphic land in a separate assets bin.
Fix audio: two of the five creators recorded noticeably quieter than the rest. Level Matcher runs against the loudest, cleanest clip as reference, pulling all five toward one consistent volume. One clip has a running air conditioner audible throughout; Voice Isolation cleans it without needing to ask that creator for a reshoot on a deadline that doesn't allow for one.
Cut the body: the strongest creator's demonstration and benefit explanation becomes the shared body, trimmed to 35 seconds, CTA card attached at the end, then compounded into a single clip.
Build hooks: three different creators' opening lines, each a distinct angle, a bold claim, a relatable problem, a direct question, get trimmed to two to three seconds each and attached in front of the same compounded body, producing three full variants without re-touching the body once.
Color match: Shot Match pulls all five creators' footage toward the reference clip's balance, then a light Node 2 warmth pass, saved as a PowerGrade for this brand's next batch, gets applied across all three variants.
Caption: AutoSubs generates a first-pass transcript on the free version, styled bold and word-by-word to match the brand's existing TikTok presence, proofread against each of the three hooks specifically since that's the section most likely to include a name or product term the model transcribes wrong.
Export: each of the three variants gets duplicated into 9:16 and 4:5 versions, six timelines total, all six added to the Render Queue with their own presets, and rendered in a single batch.
Disclosure and whitelisting prep: the disclosure graphic goes into the opening two seconds of each variant, and since the brand is whitelisting through the top-performing creator's account, all six exports are checked frame by frame for any accidental watermark before delivery.
Nothing in this example needed Fusion, Magic Mask, or a complicated node tree. It's the same eight stages as the master workflow above, run against footage that arrived from five people the editor never met. The stages that ate the most real time here weren't the cut itself, they were intake and audio, sorting five creators' deliveries into the right bins and running Level Matcher against a solid reference clip before a single hook got touched. That's the part most editors new to this niche underestimate on their first brief.
What does this look like at a higher volume, across a whole week of briefs?
A solo UGC editor juggling multiple active brands typically can't run every brief's full eight stages back to back without them bleeding into each other, so most experienced editors in this niche batch by stage instead of by brief: a morning block dedicated to intake and organizing every new delivery across every active brand, an afternoon block for audio fixes across all of them, and dedicated cutting sessions per brief once the groundwork is already done. Batching the mechanical stages, intake, audio, color matching, this way means the actual creative decisions, which hook wins, how a CTA lands, happen with a clear head instead of squeezed between file management tasks.
At agency scale, with several editors sharing the workload across many brands and creators at once, the brand-then-creator bin hierarchy from earlier becomes even more load-bearing, since it's what lets a second editor pick up a brief mid-batch without a verbal handoff explaining which clip came from which creator. A shared Power Bin per brand, with that brand's recurring assets already built, cuts the ramp-up time for any editor joining a brief partway through, the same benefit a solo editor gets from building it once, just compounding across a whole team instead of one person's memory.
A written handoff note helps more than it sounds like it should: which reference clip Level Matcher used, which PowerGrade is active for the brand, which hooks are already cut and which are still pending. It costs a few minutes to write and saves the next editor from re-deriving decisions that were already made, especially on a brief with a tight deadline where nobody has time to ask.
Volume changes the math on tooling too. Chase Sagum's 30-to-40 concurrent creative testing cadence, cited earlier, isn't a number one editor hits by working harder on each individual cut. It's a number that requires the Compound Clip and hook-swapping structure from earlier in this guide to already be in place before volume ramps up, since retrofitting that structure onto forty already-finished, non-modular edits after the fact costs far more time than building it in from the first brief.
What hardware and project settings keep this workflow smooth with dozens of 4K phone clips?
A bin full of forty 4K phone clips from a dozen creators stutters on hardware that handles a normal single-camera edit just fine, and the fix is usually a project setting, not a machine upgrade.
Resolve draws a clear line between two similar-sounding tools, and picking the right one matters here. Per Resolve's own reference manual, Optimized Media is managed internally by Resolve, can't be exported, and isn't meant to leave the machine it was generated on, while Proxy Media creates fully portable, independently compressed files linked to your originals through metadata, built specifically to be handed off or moved between systems.
| Optimized Media | Proxy Media | |
|---|---|---|
| Portable across machines | No, stays on the machine that generated it | Yes, travels with the project via metadata |
| Best for | A solo editor working on one machine | Team handoff, agency multi-editor workflow |
| Exportable as its own file | No | Yes |
| Where to generate it | Project Settings, Master Settings tab, Optimized Media and Render Cache section | Same location, different setting |
A solo editor working through one brand's batch on a single laptop gets more benefit from Optimized Media: generate it once from the Media Pool, forget about it, and Resolve swaps it in automatically during playback. An agency team passing a project between two or three editors, the scenario covered just above, should reach for Proxy Media instead, since it travels with the project rather than staying locked to whichever machine generated it.
Whichever one you pick, choose ProRes or DNxHR as the format over H.264 or H.265. Those Long GOP delivery codecs scrub poorly regardless of clip length, the same problem that shows up in the troubleshooting section below, so they're a poor choice even for a short proxy pass.
Don't expect a proxy setting to fix a genuinely underpowered machine. Blackmagic's own published minimum requirements for DaVinci Resolve 20 on macOS call for 8 GB of system memory, 16 GB once Fusion is involved, alongside a Metal-capable GPU on Apple Silicon, and that's a floor for running the software at all, not a comfortable spec for scrubbing through dozens of simultaneous 4K clips while Fairlight runs Level Matcher and Voice Isolation in the background. If a laptop is genuinely struggling even with Optimized Media turned on, the fix is more memory or a newer GPU, not a different workflow.
Optimized Media speeds up playback on the machine that generated it; Proxy Media speeds up playback on whichever machine opens the project next. Picking the wrong one for a solo setup versus a team handoff is a common, avoidable source of a UGC editor's slowest days.
What breaks most often in this workflow, and how do you fix it?
A handful of problems account for most of the lost time in this specific eight-stage sequence, and each one has a known, specific fix rather than a shrug and a restart.
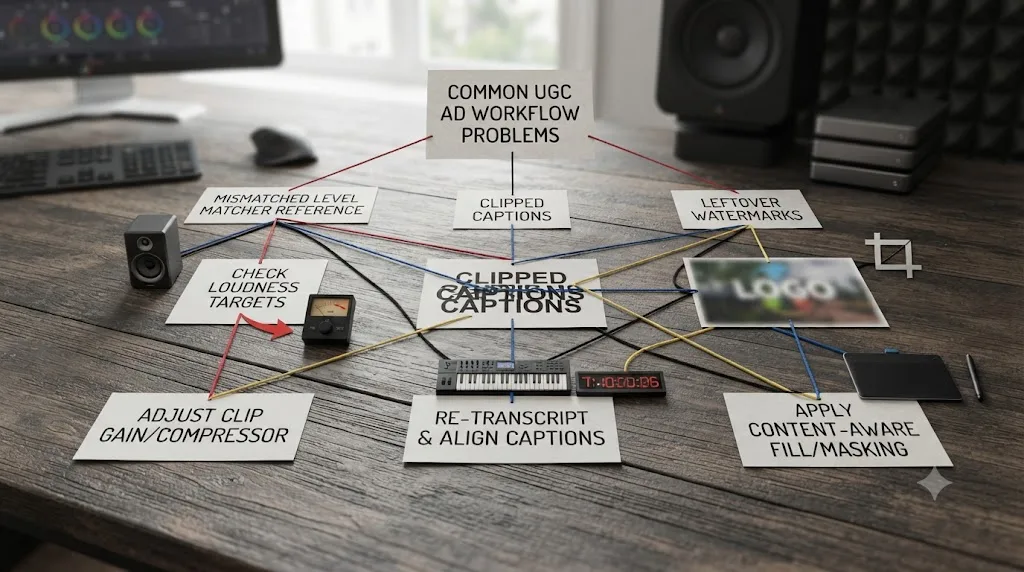
Level Matcher's reference clip makes the batch sound worse, not better. You likely picked a reference clip that was itself poorly recorded, distorted, clipped, or unusually roomy. Re-listen to your reference in isolation before applying it across a batch, and if nothing in the batch is clean enough to use as a reference, correct that one clip manually first with the 6-band Clip EQ, then use it as the reference afterward.
Voice Isolation makes a voice sound processed or robotic. This shows up most on already-clean audio that didn't need the tool in the first place, or on Voice Isolation pushed too aggressively on a genuinely noisy clip. Back off the intensity setting, or skip Voice Isolation entirely on clips clean enough that the Dialogue Leveler alone handles them.
A caption gets clipped by a platform's own interface after reframing. This is almost always a caption positioned correctly in the original aspect ratio, then left untouched after a Smart Reframe or manual crop shifted the effective safe zone. Re-check caption position on every duplicated timeline after reframing, not just once on the master before you duplicated it.
A whitelisted export gets flagged or rejected for a leftover watermark. Check every corner of the frame at full resolution before delivery, not just a quick preview scrub, since a small editing-app watermark from a template or a stock caption tool is easy to miss at reduced preview resolution and immediately visible once a platform's review process catches it.
A creator's raw clip already has a platform watermark or filter burned in. This happens when a creator exports from the TikTok or CapCut app instead of sending the original camera roll file. Ask for the original, unedited file before you build a delivery around a burned-in watermark you can't remove cleanly, since cropping tightly enough to cut a corner watermark out of a vertical phone clip usually crops into the subject's face too. If the original genuinely isn't available, reframing to push the watermark region out of frame is the only real fix, and it may not leave enough room for the caption safe zone from the export section above.
A creator shot horizontal instead of vertical. This happens more than a brief accounts for, especially with creators used to filming standard camera-app video rather than opening TikTok or Reels directly. Center-punch a vertical crop out of the horizontal frame if the subject stays roughly centered and the resolution supports it, since a 4K horizontal clip cropped to a 9:16 slice still delivers a usable 1080-wide vertical image with room to spare. If the subject moves around the frame enough that a static crop clips them, Smart Reframe's tracking behavior handles it on Studio; on the free version, keyframe the Transform effect's Position across the clip by hand. Either way, flag it back to whoever's briefing future creators, since a shot list that specifies "hold the phone vertically" up front costs nothing and saves this fix entirely.
Proxy or Optimized Media generation is taking too long and blocking the edit. Generating both at once across a full batch of forty 4K clips before touching a single cut wastes the exact time this workflow is supposed to save. Queue generation for only the clips you're about to touch first, the reference clip for Level Matcher and whichever creator's footage is becoming the body, and let the rest generate in the background while you start organizing bins instead of waiting on the whole batch up front.
Resolve stutters scrubbing through a bin with dozens of small creator clips. This is the same fix as any 4K playback issue: turn on Proxy or Optimized Media in Project Settings, generate proxies in ProRes rather than H.264 or H.265, since Long GOP compression formats scrub poorly regardless of how short the individual clips are.
A brand asks for a fourth hook after you've already delivered three. Because the body lives as a Compound Clip, this costs you nothing beyond finding or cutting the new hook and attaching it to the same locked body, then re-exporting just that one new variant, not a full re-edit of the whole batch.
What do you do if a brand changes the brief after you've already exported?
This workflow's stage separation is what makes a late brief change survivable instead of a full restart. Resolve keeps each stage's work reasonably independent: the body lives in a Compound Clip, the grade lives in a node graph, the mix lives in Fairlight, and each hook variant is a separate short attachment rather than baked permanently into one master file.
| Change requested after delivery | What's already been done | The least destructive fix |
|---|---|---|
| Brand wants a new hook angle | Body locked, color matched, three hooks already exported | Cut or source the new hook, attach to the same compounded body, re-export only that variant |
| Brand wants a different aspect ratio added | 9:16 and 4:5 already exported | Duplicate the finished master timeline into the new ratio, reframe, add to the Render Queue |
| One creator's clip gets pulled for legal reasons | That creator's footage is in one or more hook or body variants | Rebuild only the variants using that creator's footage; variants using other creators are unaffected |
| Disclosure wording changes brand-wide | Disclosure graphic already burned into every export | Swap the graphic asset and re-render just the affected clips; cut, color, and audio don't need to be touched |
| Brand decides to whitelist after already receiving a watermarked cut | Watermarked version already delivered | Re-export a clean version from the same locked timeline; nothing needs re-cutting, only re-rendering without the watermark layer |
The pattern holds across every row: a change confined to one stage's data, a hook, a graphic, an aspect ratio, usually has a fix confined to that same stage, not a rebuild of everything downstream. The one genuine exception is losing a creator's footage entirely for legal or contractual reasons after their clips are already woven into multiple variants, since that forces you back to rebuilding whichever specific variants depended on that creator, the same way a structural cut change forces a YouTube editor back into the Color page in the standard workflow.
Where do you go from here?
Run this workflow once, start to finish, on a real brief before you try to optimize any single stage of it. The order matters more than any individual tool mentioned here, because it's the order that keeps you from color grading footage you're about to replace once Level Matcher reveals which takes are actually usable, or exporting three aspect ratios before your captions are locked.
Once the sequence feels familiar, the stage worth tightening first is almost always audio, since a batch of mismatched creator clips is the single most common reason a UGC ad reads as unpolished in the wrong way, distracting instead of authentic. Get Level Matcher and Voice Isolation into your default first pass on every new batch, build your first brand's Compound Clip body correctly once, and the hook-testing volume that sounds unmanageable on paper turns into an afternoon of swapping openings in front of work you've already finished.
Frequently asked questions
- What is the best DaVinci Resolve workflow for editing UGC ads?
- Intake and bin every creator's raw clip by brand and creator name first, since UGC ad editing usually means juggling footage from people you've never met rather than your own camera. Then normalize audio with Level Matcher and Voice Isolation, cut the body of the ad once, build hook variants as separate short clips using Compound Clips so you're not re-editing the whole thing per version, caption for sound-off viewing, and batch-export 9:16, 4:5, and 16:9 from one render queue instead of three separate exports.
- How do you keep audio consistent when every UGC creator films with a different phone?
- DaVinci Resolve 20 and 21 added AI Level Matcher, which analyzes a reference clip's loudness profile and applies it to other clips so a batch of creator submissions lands at a consistent volume without manual gain riding on each one. Pair it with Voice Isolation to strip inconsistent room noise and the Dialogue Leveler to smooth uneven mic distance, and a stack of clips that arrived sounding nothing alike plays back as one coherent ad.
- Do you need DaVinci Resolve Studio to edit UGC ads?
- No. Cutting, captioning with a third-party tool like AutoSubs, manual vertical cropping, and Shot Match color matching all run in the free version. Studio adds Smart Reframe's automatic subject tracking for vertical conversion, Create Subtitles from Audio, Magic Mask, and Face Detection, which save time at volume but aren't required to finish a single UGC ad.
- How do you export the same UGC ad for TikTok, Instagram, and YouTube without recutting it three times?
- Duplicate your finished timeline into 9:16, 4:5, and 16:9 versions, use Smart Reframe or a manual crop to reposition the subject in each, then add all three to the Deliver page's Render Queue with their own presets and render them in one batch. Resolve's render queue holds jobs from multiple timelines and even multiple projects at once, so one click renders everything instead of three separate export sessions.
- Do UGC ads need an FTC disclosure?
- Yes, if there's a material connection between the creator and the brand, meaning payment, free product, or a business relationship. The FTC's own guidance says that connection must be disclosed clearly and conspicuously, and it has specifically flagged paying someone to make content look like unpaid UGC when it isn't as a compliance risk. A visible #ad or the platform's native paid partnership label covers it; relying on the fact that the content merely looks organic does not.
- What's the best way to learn DaVinci Resolve fast enough to run a UGC ad workflow on deadline?
- Blackmagic's own free training guides teach the fundamentals, and YouTube channels like Casey Faris go deeper on the Edit and Color pages specifically. Neither one teaches you the UGC-specific parts, mismatched audio, hook-swapping, multi-aspect export, since those are workflow habits, not app features, and the fastest way to actually learn them is running this workflow once on a real brief instead of watching a general tutorial about Resolve.
- Is there an app that helps you while you're using DaVinci Resolve to edit UGC ads?
- Yes. TryUncle is the on-screen assistant for DaVinci Resolve on macOS. Ask in plain words and Uncle points at the exact control on your screen, live, on the Edit, Color, and Fusion pages. It doesn't touch your timeline or pick a hook for you, it just answers where a setting lives the moment you're stuck mid-batch, which is a different job than an editing agent like CutAgent that executes the change for you.
- Is DaVinci Resolve overkill for a simple 30-second UGC ad, should I just use CapCut instead?
- Depends on your volume and what the brief actually needs. CapCut's templates and mobile-first workflow are faster for a single, simple vertical cutdown with trending audio. DaVinci Resolve earns its complexity once you're managing footage from multiple creators, need Level Matcher to fix inconsistent audio across a batch, or need a real color pass so a brand's ad doesn't look like it was shot on ten different cameras, because it was.
Sources
- FTC: Disclosures 101 for Social Media Influencers
- TikTok Ads Manager: Auction In-Feed Video Ads Specifications
- Meta Business Help Center: About text overlays and the Safe Zone for ads in Stories and Reels
- Meta Partnership Ads Hub
- Reshift Media: How to Set up Partnership or Whitelisting Ads on TikTok Using Spark Ads
- Insense: TikTok Whitelisting (Spark Ads): 7-Step Guide for Beginners
- Reshift Media: What is the Difference Between Whitelisting and Partnership Ads?
- JoinStatus: UGC Advertising Q&A: Tips and Insights from Actual Ad Experts (Chase Sagum, CMO & Co-Founder, VIORI)
- Hashmeta: UGC Platforms Comparison, Billo vs Insense vs JoinBrands
- JoinBrands Pricing
- JoinBrands Help Center: Creators, how much can I earn?
- DaVinci Resolve - What's New (Blackmagic Design, Resolve 21)
- Blackmagic Design Announces DaVinci Resolve 20 (official press release, Voice Isolation and voiceover tool)
- DaVinci Resolve Reference Manual: Using the Render Queue (Blackmagic Design, mirrored)
- DaVinci Resolve Reference Manual: Rendering Jobs from Multiple Projects at Once (Blackmagic Design, mirrored)
- DaVinci Resolve Reference Manual: Smart Reframe, Studio Version Only (Blackmagic Design, mirrored)
- DaVinci Resolve Reference Manual: Compound Clips (Blackmagic Design, mirrored)
- DaVinci Resolve Reference Manual: Create Subtitles from Audio, Studio Version Only (Blackmagic Design, mirrored)
- GitHub: tmoroney/auto-subs, on-device subtitle generation for DaVinci Resolve
- Larry Jordan: How to Color Match Clips in DaVinci Resolve 20
- DaVinci Resolve Reference Manual: Using Optimized Media, Proxy Media, and Caching Together (Blackmagic Design, mirrored)
- DaVinci Resolve 20 Minimum System Requirements (Blackmagic Design, official PDF)
- TikTok Commercial Music Library
- DaVinci Resolve Studio product page (Blackmagic Design)
- DaVinci Resolve product page (Blackmagic Design)
- DaVinci Resolve Training (Blackmagic Design)
- CutAgent (product site: features, pricing, FAQ)
- Sottocut (product site)
- PremiereCopilot pricing
- Eddie AI for DaVinci Resolve (native integration workflow page)
- Casey Faris - YouTube channel
- YouTube Help: Understand three-minute YouTube Shorts
- TikTok Support: Camera tools
- TryUncle
- TryUncle FAQ
Learn by doing, not watching
Stop translating tutorials to your timeline.
TryUncle stays beside Resolve on Mac and Windows. When you ask, Uncle sees your screen and points at the exact control you need. No hunting through tabs, timestamps, or mismatched tutorials.
Meet TryUncleKeep reading
 GuidesJul 16, 202635 min read
DaVinci Resolve Editing Workflow for YouTube Creators
The complete DaVinci Resolve workflow for YouTube: project setup, organizing footage, rough cut, audio, color, chapters, and export, in the right order.
 ComparisonsJul 20, 202637 min read
DaVinci Resolve vs Opus Clip for Short-Form Repurposing
DaVinci Resolve edits video. Opus Clip finds and cuts short clips automatically. What each does, what it costs, and which fits your workflow.
 GuidesJul 20, 202636 min read
How to Build a Reel for Instagram From Long-Form Content
Safe zones, covers, trending audio, captions, and cross-posting: how to package a long-form clip into an Instagram Reel after it's cut in DaVinci Resolve.