
Learn / DaVinci Resolveupdated for DaVinci Resolve 21.1 (September 2026)
DaVinci Resolve Insert Edit Overwrites Clip? Fix It
Quick answer
If a DaVinci Resolve insert edit overwrites a clip, you are usually triggering Overwrite rather than Insert. On the Edit page, load the source clip, place the timeline playhead, choose Insert Clip or press F9, and drag to the Timeline Viewer's Insert overlay. Check destination controls, and use Smart Insert on the Cut page.
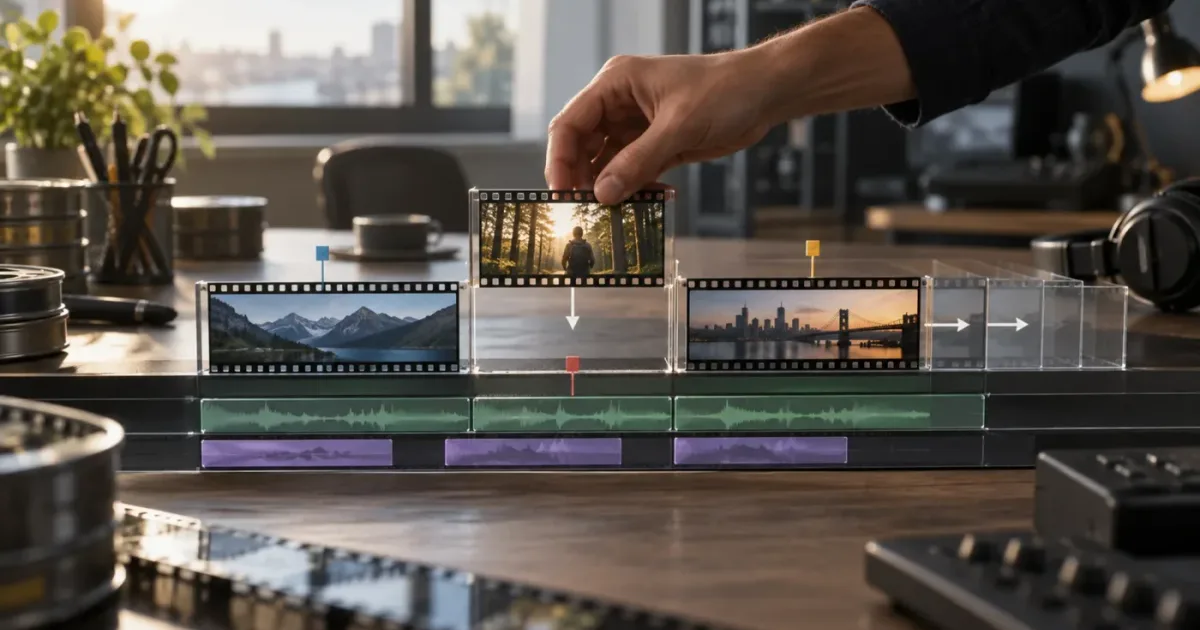
When we see DaVinci Resolve overwriting a clip when you expected an insert, we check the edit command first. The timeline is usually doing exactly what you asked, just not what you meant. We can isolate the problem without changing the clip or rebuilding the timeline.
As of September 2026, Blackmagic’s current product pages identify DaVinci Resolve 21 and point to version 21.1 materials. (Blackmagic Design DaVinci Resolve 21) The insert and overwrite distinction is still simple: Insert makes room. Overwrite covers what is already there. We built and run a 100,000+ member professional video-editing community, and after 7+ years of professional, commercial editing, this is one of the recurring questions we teach people to isolate before they touch anything else.
TryUncle is the on-screen assistant for DaVinci Resolve on Mac and Windows. Ask in plain words, and Uncle points at the exact control on your screen.
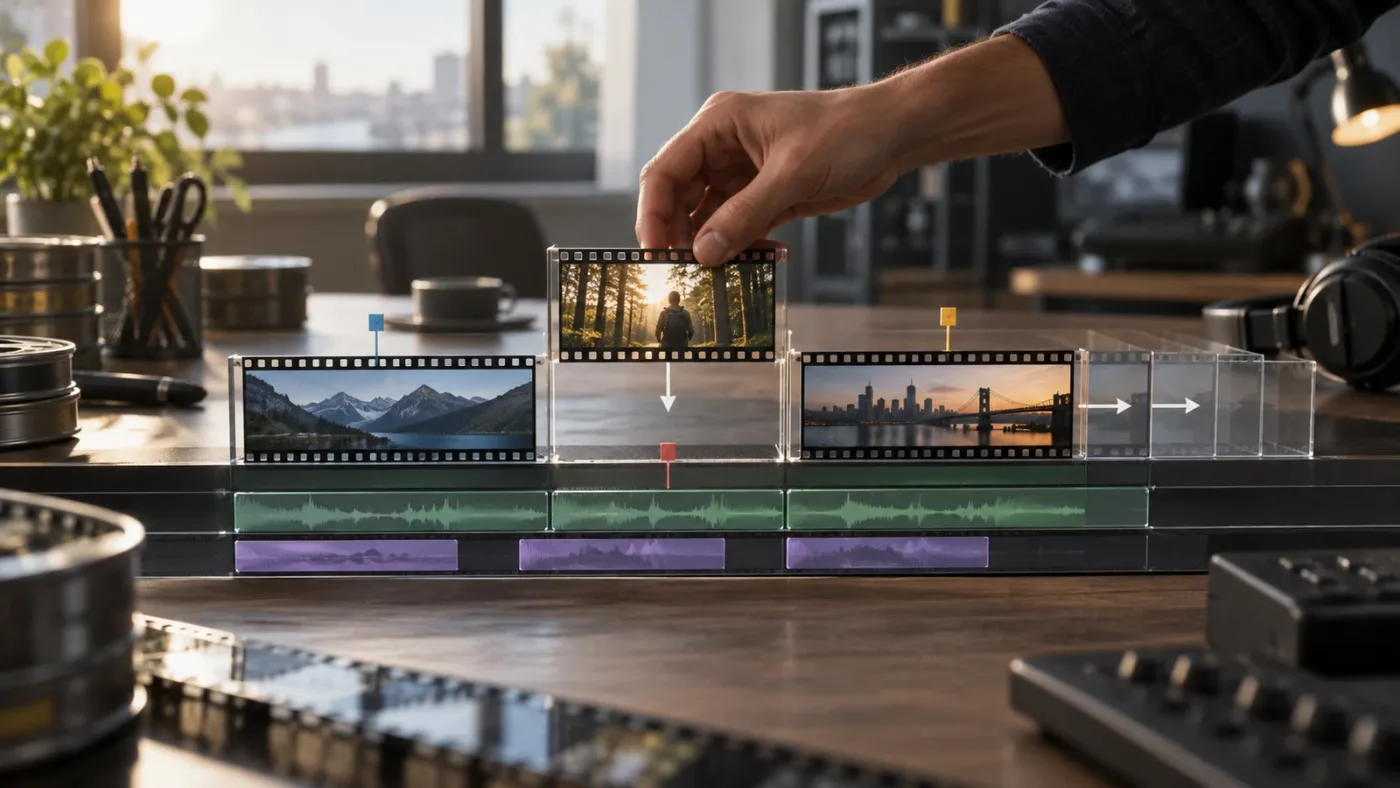
Why is DaVinci Resolve insert edit overwriting a clip?
DaVinci Resolve is overwriting the clip because the edit being triggered is Overwrite, not Insert. The fastest test is to use the named command instead of dragging: open the source clip, put the playhead where the new clip belongs, and press F9 on the Edit page. Blackmagic’s Resolve 20 Editor’s Guide identifies F9 as the shortcut for Insert Clip and F10 as the shortcut for Overwrite Clip. (Blackmagic Design Editor’s Guide)
The two commands produce different timelines:
| Command | Default shortcut | What happens at the playhead | Use it when |
|---|---|---|---|
| Insert Clip | F9 | Resolve splits the existing timeline at the playhead and pushes later media to the right | You want to add a shot without losing the shot already there |
| Overwrite Clip | F10 | The incoming media covers media on the targeted track | You want the new shot to replace the current section |
| Replace Clip | F11 | Resolve replaces a single timeline clip and fits the source to that clip’s duration | You want a one-for-one shot substitution |
| Ripple Overwrite | Shift-F10 | The replacement changes the timeline length when the marked durations differ | You want a replacement that also absorbs the duration difference |
| Place on Top | F12 | The new clip goes on the next upper video track | You want a cutaway, title, graphic, or picture-in-picture layer |
The first row is the answer to the target problem. If the clip must appear between two existing shots and both shots must remain, use Insert. Blackmagic defines Insert as placing a clip at the playhead and pushing everything else down to make room, while Overwrite places the new clip where the playhead is and writes over existing media. (Blackmagic Design Edit page)
DaVinci Resolve uses Insert to make room and Overwrite to cover existing timeline media.
There are four common reasons the result looks wrong:
- You pressed F10, clicked Overwrite Clip, or used a custom keyboard mapping that assigns your expected Insert key to another command.
- You dragged from the Source Viewer to the Timeline Viewer and released while Overwrite was highlighted.
- You used Replace or Ripple Overwrite because the operation sounded like “put this clip here,” even though the intended result was to add a new shot.
- The edit landed on a different targeted track, so you watched one track while Resolve changed another.
The first three change the edit operation. The fourth changes where you see the operation. Fix them in that order. Don’t start by trimming the damaged-looking clip or rebuilding the timeline.
How do I make a real insert edit in DaVinci Resolve?
To make a real insert edit in DaVinci Resolve, use the Edit page’s Insert Clip command or press F9 after setting the source, playhead, and destination tracks. The new media should split the targeted timeline at the playhead and move later content later in time. (Blackmagic Design Beginner’s Guide)
Use this sequence when you need a predictable result:
- Go to the Edit page.
- Double-click the source clip in the Media Pool so it opens in the Source Viewer.
- Set a source In point with I and a source Out point with O if you only want part of the source clip. Blackmagic describes In and Out points as the way to refine the portion of a source clip used in an edit. (Blackmagic Design Edit page overview)
- Move the timeline playhead to the exact frame where the new clip should begin.
- Look at the timeline track headers. Turn on the video destination control for the video track that should receive the clip. Turn on the matching audio destination control if the source audio should come with it.
- Confirm that the source clip is still visible in the Source Viewer and that the timeline playhead is in the correct timeline.
- Click Insert Clip in the timeline toolbar or press F9.
- Play across the edit. The incoming clip should occupy the new space, and the material that was after the playhead should now begin later.
The important detail is that a source In and Out point controls the material coming in. It does not turn an Overwrite edit into an Insert edit. The edit command still decides whether the timeline makes room or covers media.
If you’re editing video and audio together, verify both destination controls before you press F9. If audio is disabled, the video can insert while the audio stays where it was. If the wrong audio destination is active, audio can appear on a different track and make the edit seem broken. The Resolve 20 Editor’s Guide explains that an active destination control sends the corresponding source channel to that timeline track, while a disabled control prevents that channel from being edited. (Blackmagic Design Editor’s Guide)
On macOS, F9 and F10 may be claimed by the operating system or keyboard settings. Blackmagic’s Resolve 20 guide says you may need to enable standard function keys in System Settings or hold Fn with the function key. On Windows, the same shortcuts are normally available as the function keys, but a laptop utility can still intercept them. If the shortcut does nothing, click the toolbar button so you can separate a key problem from an edit-mode problem. (Blackmagic Design Beginner’s Guide)
If the main fix still feels hard to see in your workspace, TryUncle can point at the exact Insert control in your own Resolve project while you work. Use the landing page for current terms.
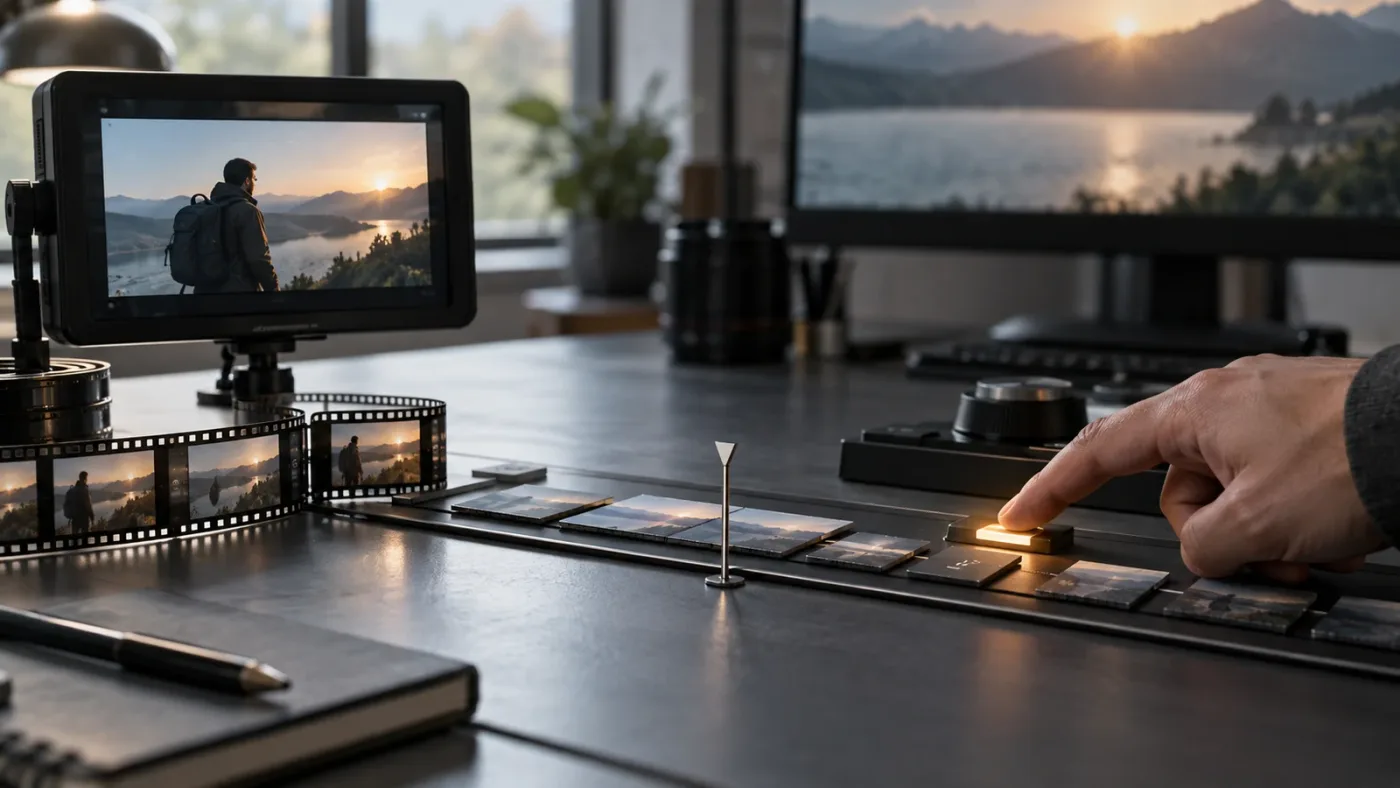
How do I insert a clip without overwriting when dragging it?
When dragging a clip, drag from the Source Viewer to the Timeline Viewer, wait for the edit overlay, move over Insert, and release only when Insert is highlighted. Releasing on the default Overwrite area performs an overwrite, even if your intention was to insert. (Blackmagic Design Beginner’s Guide)
That distinction is easy to miss because the Source Viewer and Timeline Viewer look like neighboring preview windows. They have different jobs. The Source Viewer shows the clip you’re choosing. The Timeline Viewer shows the current edit and the overlay that lets you choose an edit operation. If you drag to the wrong viewer or release before the overlay changes, you can get an overwrite without any warning that feels dramatic enough to catch your eye.
For a clear mental model, read DaVinci Resolve Source Viewer vs Timeline Viewer: The Difference before troubleshooting the drag. The useful question is not “where did I drop the clip?” It’s “which edit function was highlighted when I released it?”
Use the drag workflow like this:
- Open the source clip in the Source Viewer.
- Set the source range if needed.
- Start dragging from the viewer image, not from a timeline clip you’re rearranging.
- Move into the Timeline Viewer on the right.
- Keep holding the mouse button while the edit overlay appears.
- Move the pointer to Insert.
- Wait until Insert is visibly highlighted.
- Release the mouse button.
Blackmagic’s training material describes Overwrite as the default highlighted option in the edit overlay. That explains why an imprecise release can cover an existing clip. The safe habit is to treat the overlay as a menu, not as a drop zone: choose the operation first, then let go. (Blackmagic Design Beginner’s Guide)
The default drag target in the Timeline Viewer can perform Overwrite unless you move to Insert.
If you don’t want to depend on the pointer, press F9. A named command is easier to audit than a release point, especially when the viewer is small or the timeline is zoomed out.
Which DaVinci Resolve shortcut should I use, F9 or F10?
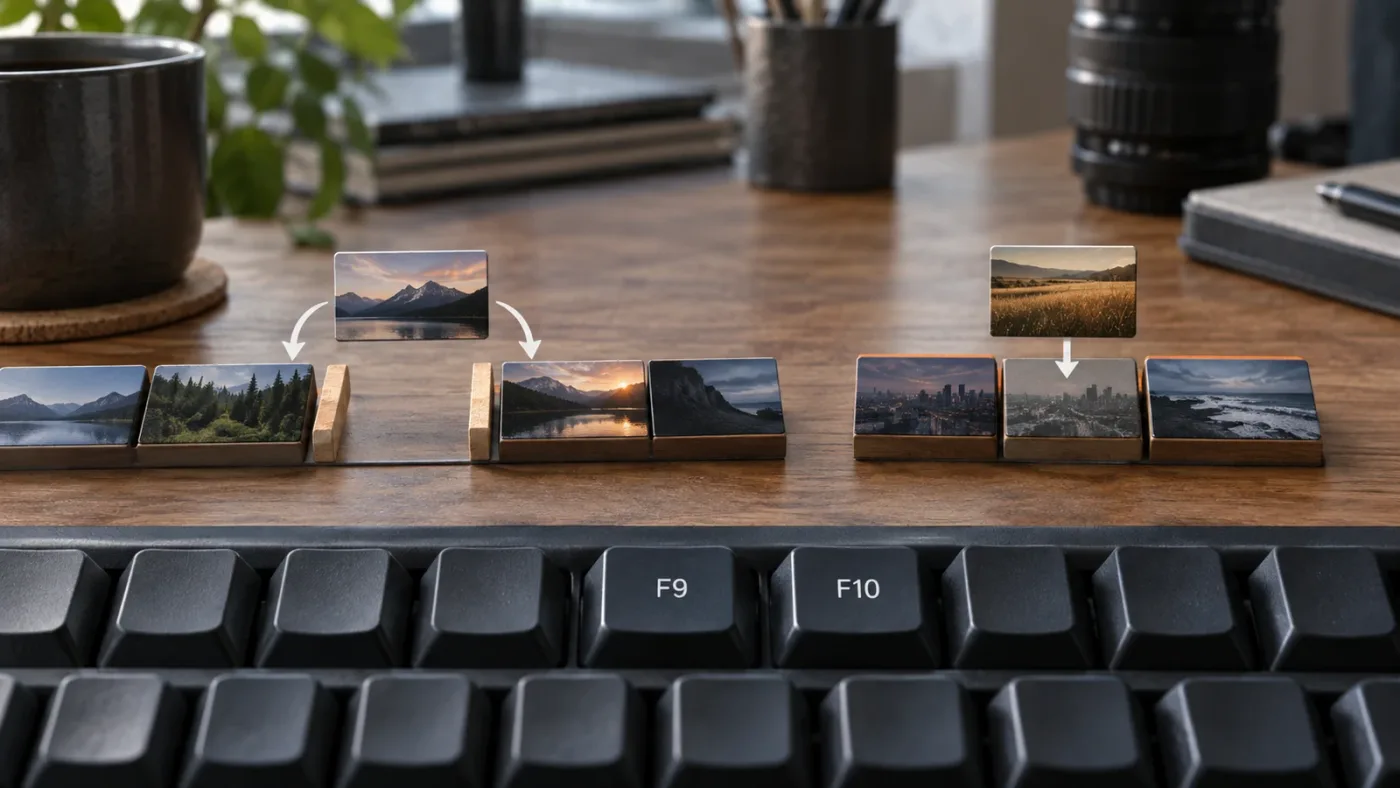
Use F9 when you want to insert and move later content. Use F10 when you want to overwrite existing content. Blackmagic’s Resolve 20 Editor’s Guide documents both shortcuts directly, and its training exercises use F9 for Insert Clip and F10 for Overwrite Clip. (Blackmagic Design Editor’s Guide)
Here’s the shortcut decision in plain language:
| If you want to... | Use this command | Shortcut |
|---|---|---|
| Add a shot before the current shot | Insert Clip | F9 |
| Cover a section with another shot | Overwrite Clip | F10 |
| Replace one shot while preserving the timeline slot | Replace Clip | F11 |
| Replace a marked section with a different duration and move later media | Ripple Overwrite | Shift-F10 |
| Add a graphic or cutaway above the current video | Place on Top | F12 |
| Put a clip after the last timeline edit | Append at End | Shift-F12 |
The distinction between Insert and Overwrite is more useful than memorizing the numbers. If you forget the shortcut, open the Edit menu and read the command name. If the command says Overwrite, the result will be an overwrite. If it says Insert, the result should make room on the targeted tracks.
F9 is the default Insert Clip shortcut, while F10 is the default Overwrite Clip shortcut.
Shortcuts can also be customized. Blackmagic says Resolve lets you change and save keyboard shortcuts, including commands and context-sensitive menu items. That means a tutorial can accurately say “press F9” while your installation behaves differently because you imported another editing preset. Check Keyboard Customization if the toolbar and keyboard disagree. (Blackmagic Design Edit page overview)
On a Mac laptop, test the toolbar before you test the keyboard. If clicking Insert Clip works but F9 does not, you have found a function-key issue. If both do the same unexpected thing, check the command and the destination tracks.
What should I check when only one track looks overwritten?
When only one track looks overwritten, check the destination controls and the source clip’s channels before changing the edit type. Destination controls decide which timeline tracks receive the incoming video and audio, so a correct Insert command can look wrong if you’re watching a different track. (Blackmagic Design Editor’s Guide)
Imagine a source clip with one video channel and two audio channels. Resolve can show separate destination controls for the source channels. If V1 is active and A1 is disabled, F9 can insert the video while leaving the audio out of the operation. If A1 is active but you expected A2, the audio can land somewhere you weren’t watching. Blackmagic’s guide uses the red destination control state to explain that an active control sends the source channel to the matching timeline track, while a gray control disables that destination. (Blackmagic Design Editor’s Guide)
Run this track check before you undo:
- Identify the video track that should move with the inserted clip.
- Confirm its video destination control is active.
- Identify the audio track that should receive the source audio.
- Confirm the matching audio destination control is active.
- Disable audio destination controls if you intentionally want a video-only insert.
- Look above and below the visible timeline area for the track that may have received the edit.
The track controls don’t change F9 into F10. They change where the chosen edit is applied. That matters when the timeline has a base picture on V1, a title on V2, and a cutaway on V3. An insert into one targeted video track can leave other tracks untouched, so the overall timeline may not move in the way you expected from a single-track view.
This is also where linked audio can confuse the diagnosis. A video-only insert is not the same operation as a video-and-audio insert. Decide whether you are adding a complete source clip, a video-only shot, or an audio-only element, then target only the tracks that should change.
A correct Insert command can still look wrong when the destination controls target a different track than the one you’re watching.
What if the replacement clip is longer or shorter than the space?
Use Ripple Overwrite when you are replacing a marked section and the incoming clip has a different duration. Regular Overwrite covers the target area without rippling the rest of the timeline, while Ripple Overwrite changes the surrounding timing to absorb the difference. Blackmagic describes longer Ripple Overwrites as pushing later content and shorter ones as pulling content together so gaps don’t remain. (Blackmagic Design Edit page overview)
This is the branch that causes many false “Insert is broken” diagnoses. You may not actually want an insert. You may want to replace one sentence, reaction, or shot with another take, but keep the new take’s full duration. In that case, use the replacement workflow rather than inserting a new clip before the old one.
On the Edit page, set the timeline In and Out points around the material you want to replace, set the source range, and choose Edit > Ripple Overwrite or press Shift-F10. The Resolve 20 Editor’s Guide uses that exact menu command and shortcut when the marked source and timeline durations differ. (Blackmagic Design Editor’s Guide)
DaVinci Resolve Product Manager Peter Chamberlain gives the menu path plainly when discussing a longer replacement: “the ripple overwrite is in the menu, edit section.” (Blackmagic Forum)
Use this decision:
| Your real goal | Better operation | Why |
|---|---|---|
| Add a new clip and keep the old content | Insert | The old content moves later |
| Replace the current picture for the same slot | Replace | The timeline slot stays tied to the clip being replaced |
| Replace a marked range with a longer or shorter range | Ripple Overwrite | Later timeline content adjusts to the duration difference |
| Cover the current picture without changing later timing | Overwrite | The incoming media covers the targeted track |
Replace is not the same as Insert. Blackmagic describes Replace as substituting a single timeline clip and fitting the source to the duration of the clip being replaced. That makes it useful for swapping a take, but it’s the wrong command if your goal is to add a new shot and preserve the old one. (Blackmagic Design Edit page overview)
Ripple Overwrite is the right choice when replacement duration should change timeline length.
Am I on the Cut page instead of the Edit page?
If you’re on the Cut page, use Smart Insert when you want Resolve to add a clip and ripple the timeline. Smart Insert places the clip at the edit point nearest the playhead, then pushes later content to make room. It does not use the Edit page’s F9 workflow in exactly the same way. (Blackmagic Design Cut page overview)
That nearest-edit behavior matters. On the Edit page, you can place the playhead inside a clip and use Insert Clip at that frame. On the Cut page, the Smart Indicator helps choose a nearby edit point. If Smart Insert appears to put the clip at a cut instead of the frame you expected, the operation may be working as designed.
Cut page Smart Insert uses the nearest edit point, not necessarily the exact playhead frame.
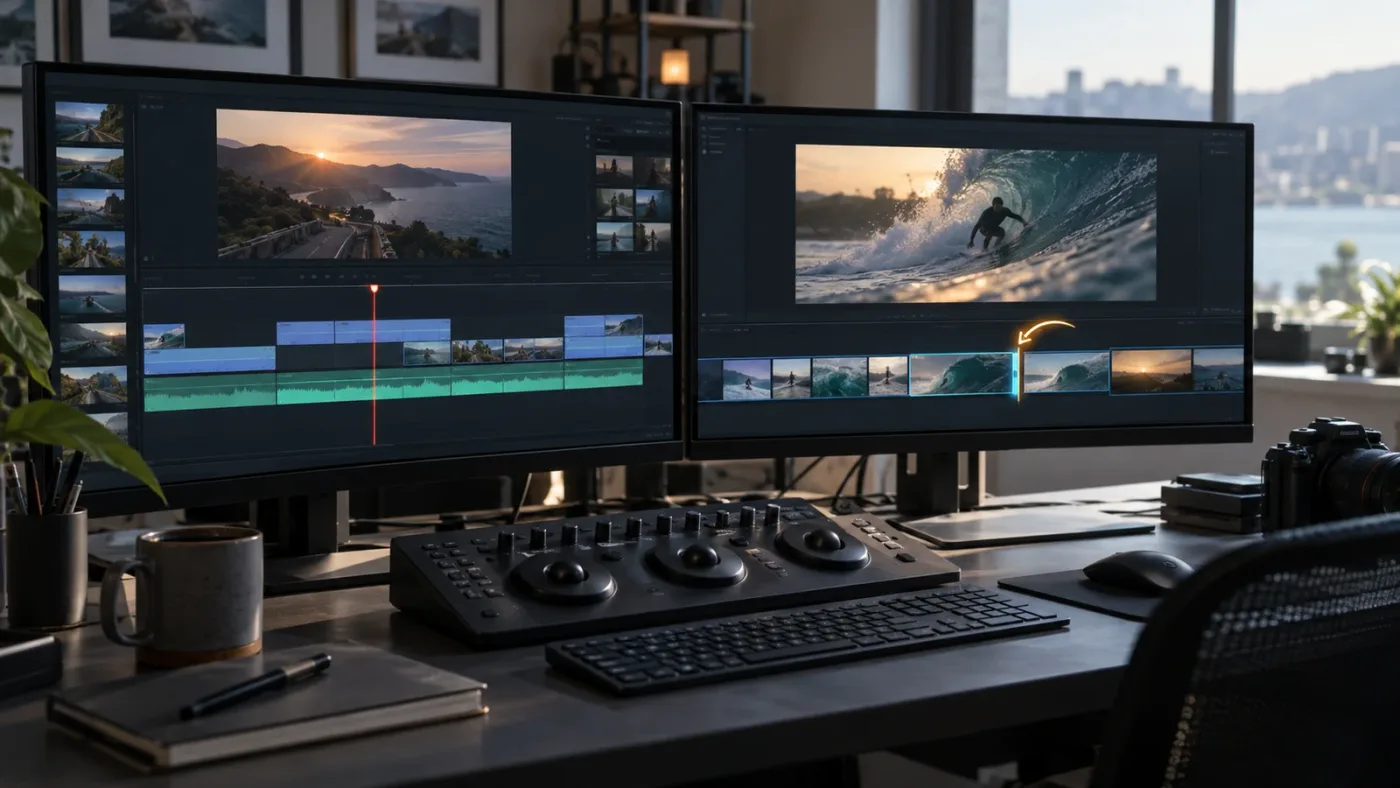
Use the Edit page when you need precise control over the target frame, source range, and destination tracks. Use the Cut page when you want the faster smart-indicator workflow and are comfortable with Resolve choosing the nearest edit point. Blackmagic presents the two pages as different editing environments that can work together, not as two names for the same command. (Blackmagic Design Cut page overview)
How can I verify that the insert did not overwrite anything?
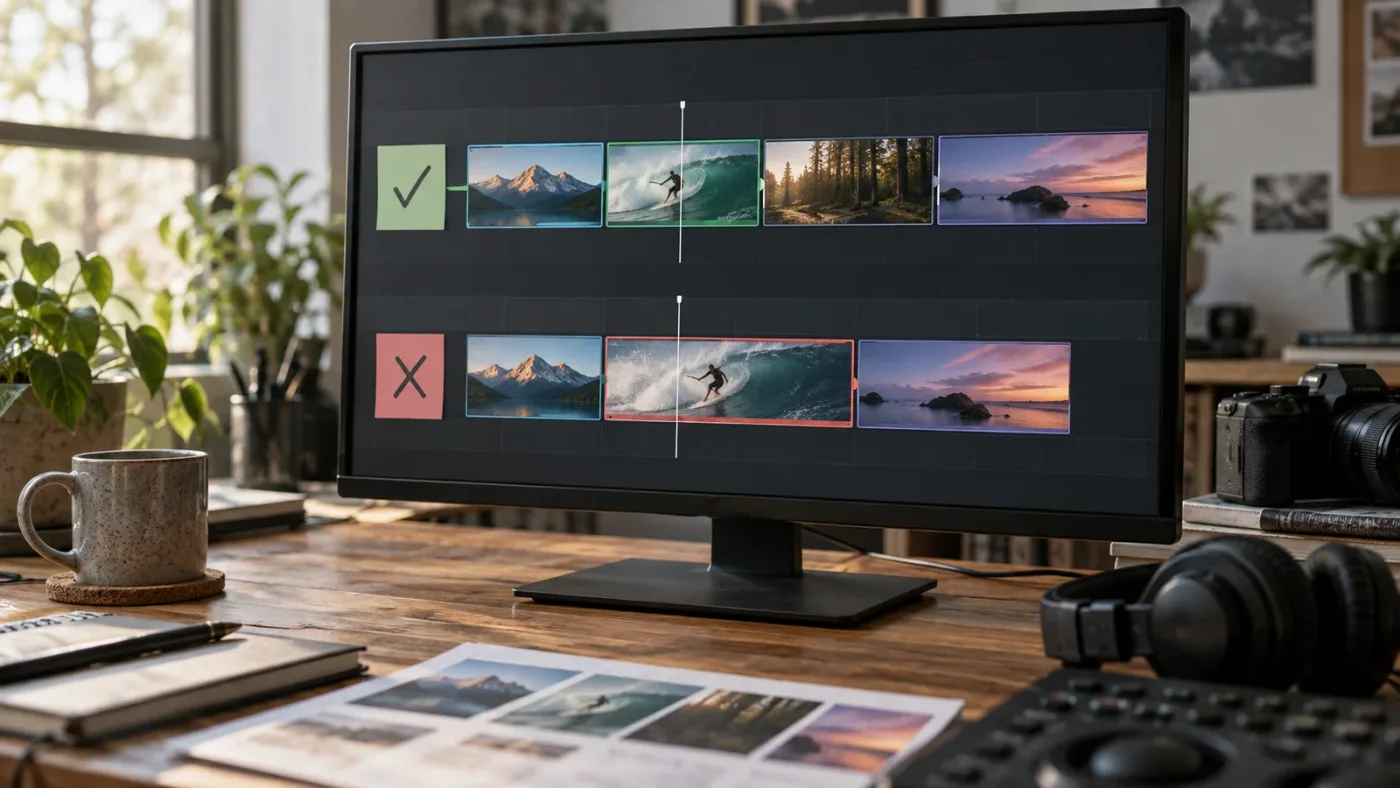
Verify the edit by checking the before-and-after structure around the playhead, not just the frame in the viewer. A successful Insert should leave the old material present, split where the new clip entered, with later timeline content beginning later. Blackmagic’s definition of Insert is explicit about splitting the existing timeline and pushing it to make room. (Blackmagic Design Edit page overview)
Use this small test if the result is ambiguous:
- Before the edit, identify a recognizable frame at the start of the clip that should remain after the new insert.
- Insert the new source with F9.
- Move the playhead just after the incoming clip.
- Look for the recognizable old frame later in the timeline.
- Play through the join and confirm that the old clip continues after the inserted material.
If the old frame has disappeared, undo once with Command-Z on macOS or Ctrl-Z on Windows and repeat the operation from the toolbar. Do not keep experimenting on the same damaged timeline. A short test timeline with three disposable clips is safer than trying five edit modes in a client sequence.
Also check total duration. An Insert should add the incoming duration to the timeline because later material moves to create space. An ordinary Overwrite does not ripple other clips. The official Resolve reference material describes an overwrite as leaving the timeline duration unchanged when the incoming clip covers existing media. (Blackmagic Design Resolve reference material) The version of that manual is old, so use the current Resolve 21 edit overview for the command definitions, but the duration check remains a useful diagnostic question.
The visual test is simple:
| Before | Correct Insert result | Overwrite result |
|---|---|---|
| A, B, C | A, new clip, B, C | A, new clip covering part of B, C stays in place |
| Timeline has a title above V1 | Targeted track and linked channels move according to the destination controls | Only targeted media is covered, while other tracks may stay put |
| Source is longer than the area you’re watching | The new source creates space for its marked range | The existing target media absorbs the incoming range |
This table is a mental model, not a claim about a particular frame rate or project. Your marked source range and track targeting still determine the exact result.
If the timeline looks unchanged but the source clip was added elsewhere, widen the timeline view and inspect every video and audio track. The destination controls can send the edit to a track outside the visible area. If the timeline changes but the duration does not, you probably used Overwrite. If the duration changes and the old material appears later, you used Insert or Ripple Overwrite, so inspect which one matches the intended behavior.
Is an app that helps while using DaVinci Resolve useful for this problem?
An app that helps while using DaVinci Resolve is useful when the remaining problem is locating the correct control, not when the edit decision itself is unclear. Blackmagic’s official free training is the best place for a structured foundation, and Casey Faris is a legitimate YouTube and course option for guided demonstrations. Blackmagic lists project-based training books and lesson resources, while CreativeLive identifies Casey Faris as a creator of DaVinci Resolve tutorials and courses. (Blackmagic Design training, Casey Faris at CreativeLive)
The options solve different problems:
| Resource | Best fit | Honest limitation |
|---|---|---|
| Blackmagic Design training | A free, official curriculum with lessons and project-based practice | It teaches the system broadly, so it won’t see the exact state of your timeline while you work |
| Casey Faris tutorials and courses | A guided explanation from a Resolve educator | A recorded lesson gives you a fixed sequence to follow rather than a live pointer on your project |
| TryUncle | A live answer to “which control do I use on this screen?” | It is a paid assistant and is not a replacement for learning editing judgment |
| Sottocut | Local-first assistant-editor workflows that score footage, propose cuts, and verify writes | Its published requirements focus on Apple Silicon, macOS 14 or later, and DaVinci Resolve Studio 21 |
| CutAgent (cutagent.ai) | Natural-language editing automation in DaVinci Resolve on macOS and Windows | It is built to hand off editing tasks to an agent, not to teach every click as you make it |
| Eddie AI (heyeddie.ai) | Logging, rough cuts, and round-trip work through a DaVinci Resolve bridge | It moves material through an external assistant workflow rather than pointing at the exact Resolve control |
| PremiereCopilot | Text-to-edit automation inside Adobe Premiere Pro | It is a Premiere Pro tool, not a DaVinci Resolve insert-edit solution |
The tool descriptions above come from the products’ own current pages: Sottocut describes a local-first assistant editor inside an open Resolve project, CutAgent describes agentic editing for Resolve 21 on macOS and Windows, Eddie AI describes a Resolve helper extension and round-trip workflow, and PremiereCopilot describes text-to-edit features native to Premiere Pro.
This is also why the phrase “AI tool to learn DaVinci Resolve” needs a qualifier. Sottocut, CutAgent, and Eddie AI can help with assistant-editor or automation work. PremiereCopilot belongs to another NLE. A screen-aware guide belongs in the gap between a course and an automation agent: you ask what you’re seeing, and the answer points to the control you can use yourself.
The best way to learn DaVinci Resolve fast is still to practice a small workflow, make a reversible edit, and name the command that produced it. Start with Blackmagic’s training or a clear Casey Faris lesson. The workflow advice in How to Edit Faster in DaVinci Resolve also belongs after the basic command is clear, because speed comes from repeating a known decision rather than guessing at a shortcut. When your screen stops matching the lesson, ask a precise question such as “Why is my DaVinci Resolve insert edit overwriting a clip?” Then check whether the answer names Insert, F9, the Timeline Viewer overlay, and destination controls. If it doesn’t, it hasn’t solved the actual problem yet.
What is the final fix for “DaVinci Resolve insert edit overwrites clip”?
The final fix is to choose Insert explicitly. On the Edit page, load the source clip, set the playhead, activate the intended destination controls, and click Insert Clip or press F9. If you drag, release only on the Timeline Viewer’s Insert overlay. If you actually need a duration-changing replacement, use Ripple Overwrite instead. (Blackmagic Design Editor’s Guide)
Keep this four-line diagnosis nearby:
- New shot, old shot stays: Insert, F9.
- New shot covers old shot: Overwrite, F10.
- One shot swaps for another: Replace, F11.
- Replacement duration changes the surrounding edit: Ripple Overwrite, Shift-F10.
That’s the whole fix. The name of the command predicts the timeline result. Once you stop treating Insert and Overwrite as two ways to drop a clip, the behavior becomes much easier to control. If the next clip still seems to be pulled into your range, Why Does DaVinci Resolve Include the Next Clip When Marking Out? covers that separate marking problem.
Frequently asked questions
- Why is my DaVinci Resolve insert edit overwriting a clip?
- You are probably using Overwrite, releasing a drag on the Overwrite area, or targeting a different track than the one you are watching. On the Edit page, use Insert Clip or F9 and verify the destination controls.
- How do I insert a clip in DaVinci Resolve without overwriting?
- Load the source clip, set the timeline playhead, activate the intended destination tracks, then click Insert Clip or press F9. When dragging, release on the Timeline Viewer's Insert overlay, not on the default Overwrite area.
- Is F9 or F10 the insert shortcut in DaVinci Resolve?
- F9 is Insert Clip. F10 is Overwrite Clip. On macOS, use the Fn key if your system reserves the function keys for other commands.
- Why does dragging a clip into DaVinci Resolve overwrite the timeline?
- Dragging to the Timeline Viewer exposes several edit choices, and Overwrite is the default highlighted choice in Blackmagic's training material. Move the pointer to Insert before releasing.
- Should I use Insert or Ripple Overwrite when replacing a clip?
- Use Insert to add media and push later timeline content. Use Ripple Overwrite when replacing a marked section with media of a different duration and you want the timeline to adjust.
Sources
- DaVinci Resolve 21 What’s New
- Blackmagic Design DaVinci Resolve Edit page overview
- Blackmagic Design DaVinci Resolve Cut page overview
- The Editor’s Guide to DaVinci Resolve 20
- The Beginner’s Guide to DaVinci Resolve 20
- Blackmagic Design DaVinci Resolve training
- Casey Faris instructor page
- Peter Chamberlain on Ripple Overwrite in the Blackmagic Forum
- DaVinci Resolve Reference Manual, Overwrite Edits
- TryUncle
- Sottocut
- CutAgent
- Eddie AI DaVinci Resolve workflow
- PremiereCopilot Copilot
Learn by doing, not watching
Stop translating tutorials to your timeline.
TryUncle stays beside Resolve on Mac and Windows. When you ask, Uncle sees your screen and points at the exact control you need. No hunting through tabs, timestamps, or mismatched tutorials.
Meet TryUncleKeep reading
 ComparisonsAug 12, 202655 min read
DaVinci Resolve Source Viewer vs Timeline Viewer: The Difference
DaVinci Resolve source viewer vs timeline viewer explained: what each shows, how playheads differ, and when to use Match Frame, I/O points, and Q.
 GuidesJul 15, 202638 min read
How to Edit Faster in DaVinci Resolve: A Workflow Guide
The workflow fixes that actually speed up DaVinci Resolve editing: proxy media, render cache, GPU/decode settings, hardware controllers, batch tools, and where AI helps.
 FixesJul 30, 202627 min read
Why Does DaVinci Resolve Include the Next Clip When Marking Out?
DaVinci Resolve grabs the next clip when you mark out because out points are inclusive and the playhead lands on the wrong frame. Here's the fix.