
Learn / DaVinci Resolveupdated for DaVinci Resolve 21.0.2 (July 2026)
DaVinci Resolve Grade Disappears After Render: The Fix
Quick answer
DaVinci Resolve's grade disappears after render most often because Enable Flat Pass is on in Deliver page Advanced Settings, a LUT is set to Monitor instead of Output, all grades are bypassed globally with Shift+D or Alt+D, or Use Render Cached Images renders a stale cache. Check Flat Pass first; it's the single most common cause.
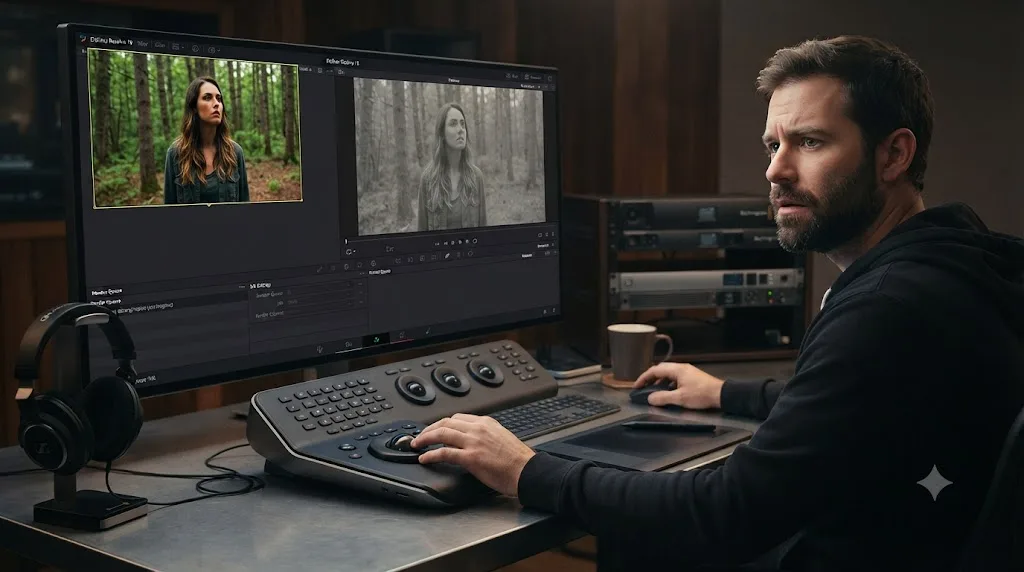
Your Color page looks exactly the way you left it. Every node is where you built it, the scopes read correctly, and scrubbing the timeline shows a fully graded image. You render, open the finished file, and it looks flat. Or grey. Or like raw camera footage that never saw a single node. Nothing in your project changed. The grade you spent hours building is sitting right there in DaVinci Resolve. It just isn't in the file you exported.
After seven years of professional commercial video editing, plus running a 100,000+ member video editing community where this exact question comes up on a recurring basis, we can tell you the pattern is almost always the same: a render-time setting, not a lost grade. This guide walks through every documented cause, in the order worth checking them, so you stop suspecting corruption and start checking the one checkbox that's actually responsible.
Why does my DaVinci Resolve grade disappear after render?
It doesn't actually disappear. DaVinci Resolve separates what the viewer shows you from what a render writes to disk, and several settings sit specifically on that render path without touching your Color page grade at all. The most common one by a wide margin is Enable Flat Pass, a Deliver page setting built to deliberately strip grades for VFX handoffs, followed by a LUT routed to Monitor instead of Output, a global or per-clip bypass left toggled on, and a stale render cache writing an old frame into your export.
None of these delete, reset, or corrupt anything in your project. Your node graph, your Power Windows, your qualifiers, all of it is still there the moment you open the Color page again. What changed is which of several render-time settings decided to leave that grade out of the specific file DaVinci Resolve just wrote.
A DaVinci Resolve grade that vanishes after render is a render-path setting, not a lost or corrupted grade, in essentially every documented case. That distinction matters because it tells you where to look: the Deliver page and its Advanced Settings, not a damaged project file.

Is Enable Flat Pass turning off your grade at render?
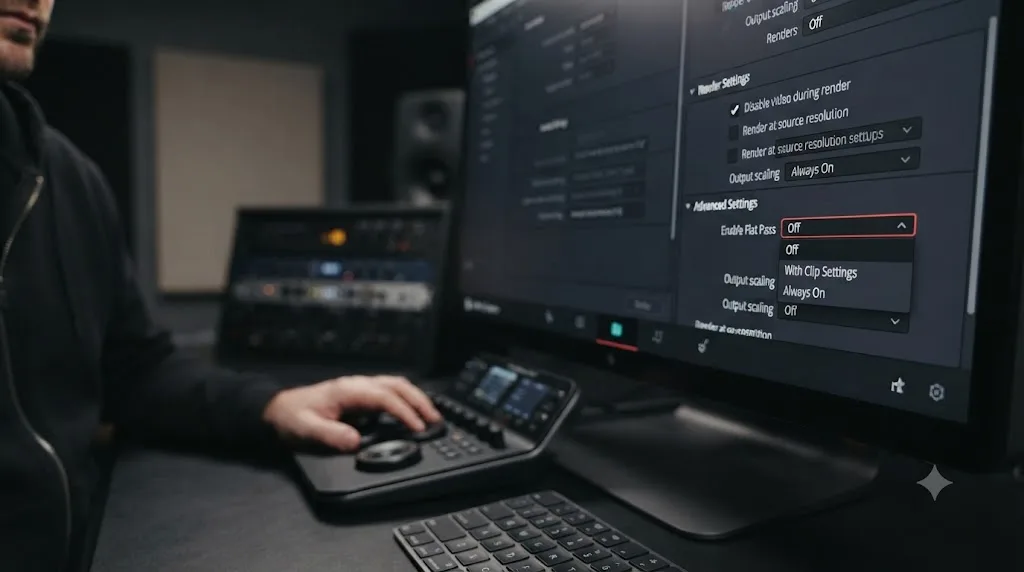
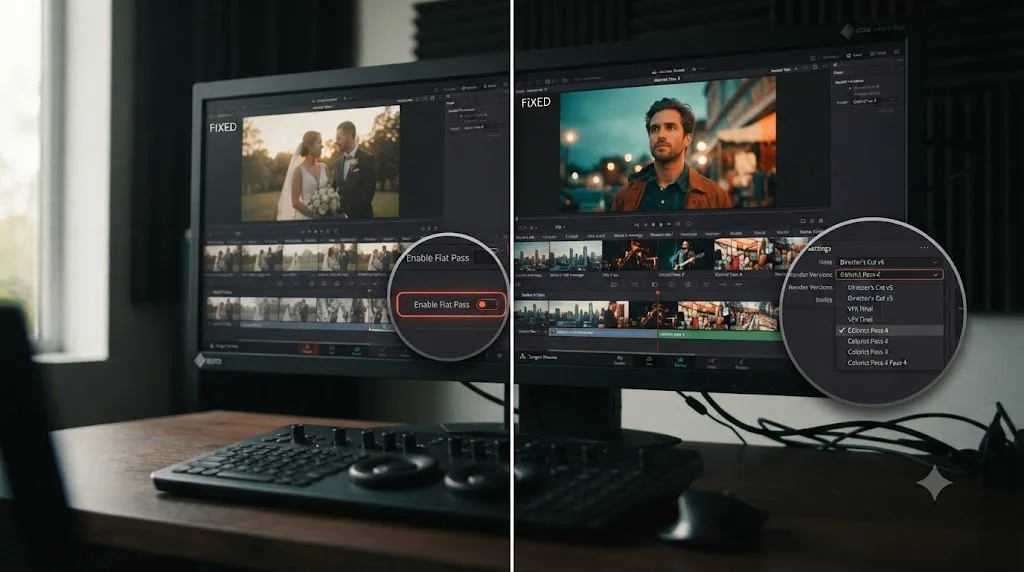
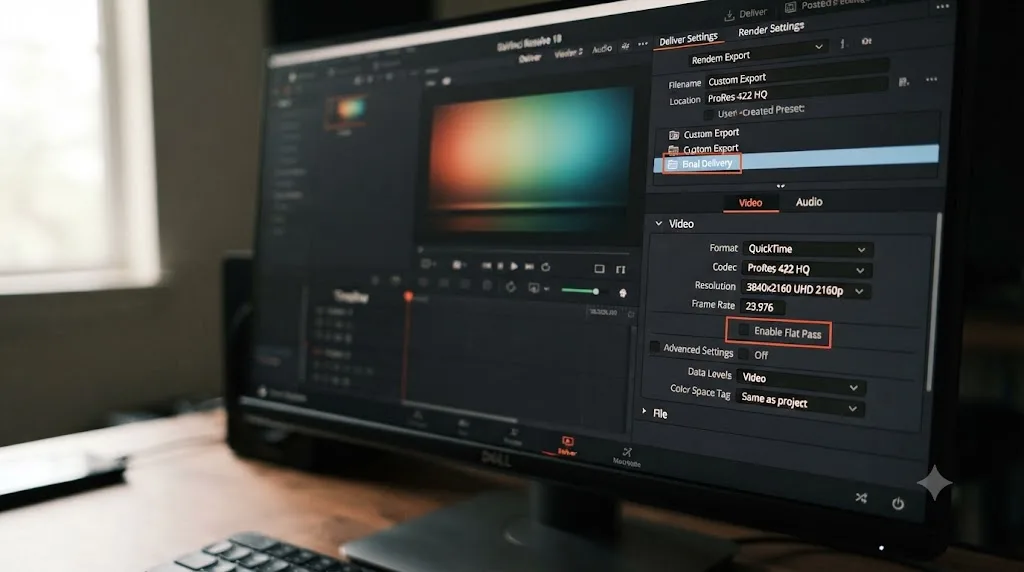
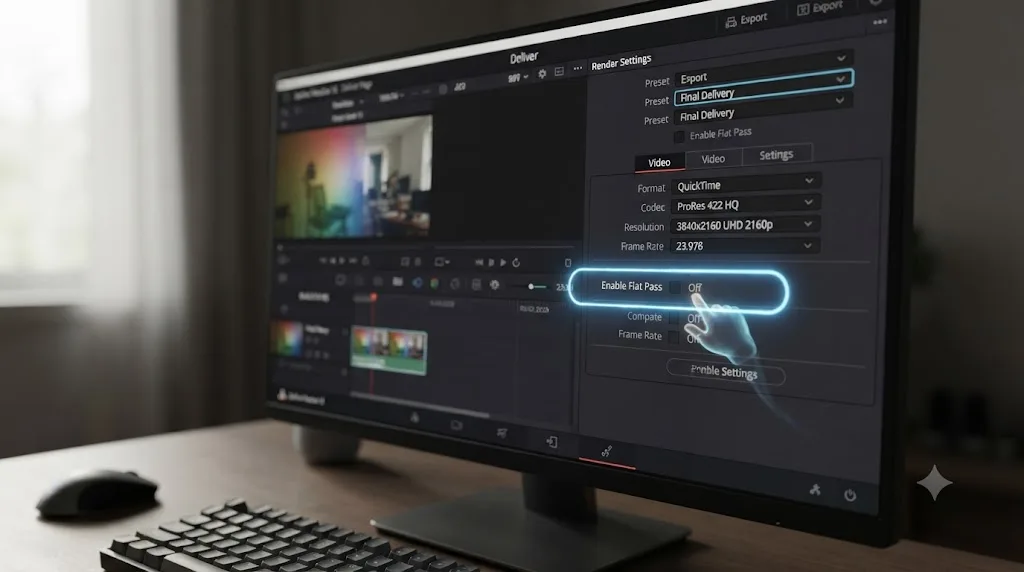
Enable Flat Pass, a checkbox near the bottom of the Video tab in the Deliver page's Advanced Settings, is built specifically to strip a clip's color correction from the rendered output while leaving the project's actual grade untouched. It exists for a real, common workflow: handing ungraded, flat footage to a VFX or compositing vendor who wants to pull their own keys and mattes from raw information rather than your finished look.
The setting has three modes, and the difference between them is exactly what trips people up:
| Enable Flat Pass mode | What it does |
|---|---|
| Off | DaVinci Resolve always applies each clip's grade when rendering |
| With Clip Settings | Checks each version's individual "pass flat" flag, set by right-clicking a clip's thumbnail and choosing Enable Flat Pass under a specific version's submenu |
| Always On | Disables the grade of every clip being rendered, regardless of any per-clip flag |
That table comes straight from the DaVinci Resolve manual's own description of the setting, and the "Always On" behavior is exactly what a lot of grade-disappears reports turn out to be: "When checked, DaVinci Resolve disables the grade of every clip being rendered," in the manual's own words. If a previous export needed a flat pass for VFX, or a template project shipped with this setting already on, every render from that point forward comes out ungraded until someone finds and resets it.
This is documented directly in a Lowepost forum thread where editor Thomas Singh asked how to deliver ungraded shots to VFX. Nicolas Hanson pointed him toward the exact setting, noting it used to be called something else: "It was called 'render with flat pass' in earlier versions but can't find it when I'm looking now," before locating it: "Found it, it's still in the advanced settings." That thread is worth reading in full if you're trying to intentionally strip a grade for a vendor, since the feature is genuinely useful when you mean to use it. The problem only shows up when it's left on by accident.
Enable Flat Pass is a deliberate DaVinci Resolve feature for stripping grades before VFX delivery, and it's also the single most common reason a grade silently disappears from every render on a project. Check Off, With Clip Settings, and Always On in that order, and confirm which one your project is actually set to before assuming anything else is wrong.
Is your LUT applied to Monitor instead of Output?
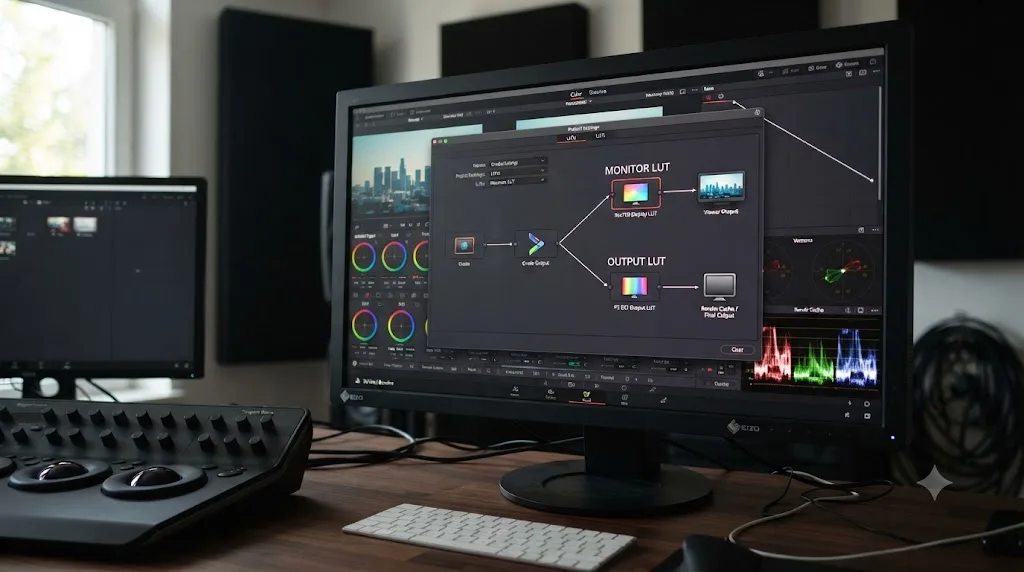
This is the second most common cause, and it's specifically confusing because the viewer keeps looking correct the entire time you're troubleshooting. A LUT (Look Up Table) in DaVinci Resolve can be applied at two different points: to the Monitor, which only changes what you see on screen for reference, or to the Output, which actually bakes that transform into the rendered file. Set it to the wrong one and your viewer shows exactly the look you built while your export writes something else entirely.
A Creative COW forum thread titled "Rendering not adding grades" documents this precisely. Editor Keith Mottram reported that his rendered files lacked color grades despite seeing them applied correctly in the viewer during rendering, with burn-ins rendering fine and everything else looking untouched. Dwaine Maggart, from Blackmagic Design support, initially responded with the assumption most editors start from: "What you see while rendering, is what's being rendered." But after examining Mottram's actual project file, Maggart found the real cause: Mottram "had accidentally set the LUT to display rather than output." Mottram's own summary afterward was blunt and honest: "It was user error, which Dwaine worked out when testing my project."
That exchange matters for two reasons. First, it comes directly from Blackmagic's own support staff diagnosing a real project, not a guess from a forum regular. Second, it directly contradicts the intuitive assumption that "what I see while rendering is what I'm getting," which is true most of the time and false in exactly this one case.
"What you see while rendering, is what's being rendered" is true almost all the time in DaVinci Resolve, and a Monitor-only LUT is the specific, documented exception that breaks it. Check your LUT's routing before you trust the render preview as proof the grade made it into the file.
Here's where to check it: open the LUT panel (usually accessible from the Color page or via Preferences), and confirm any project-wide or clip-level LUT you've applied shows Output, not Monitor, as its target. If you inherited a project or reopened one from a previous session, this is worth checking even if you don't remember applying a LUT yourself.
Did you globally bypass all grades with Shift+D or Alt+D?
DaVinci Resolve gives you three distinct keyboard shortcuts for turning grading off, at three different scopes, and it's easy to hit the wrong one, or forget you hit one at all, hours before you export.
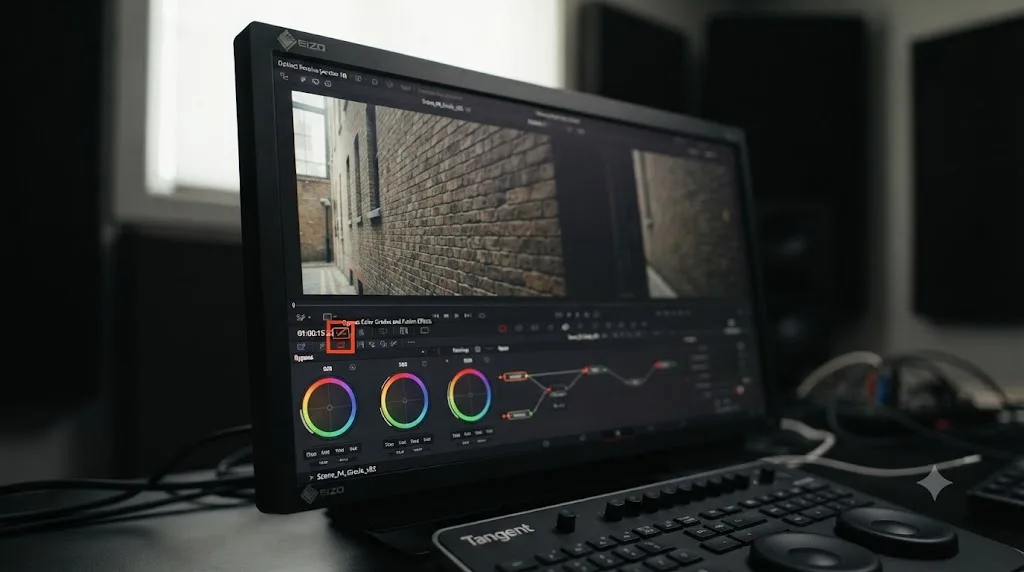
Shift+D toggles the global Bypass Color Grades and Fusion Effects button in the viewer's title bar. FilmActions describes it directly: it "toggles the entire color grade on and off to see the original footage," calling it "the most critical shortcut for judging your own work" precisely because colorists use it constantly for instant before-and-after comparisons. That's exactly the problem. It's meant to be toggled on and off dozens of times a session, which makes it disproportionately likely to get left in the "off" state right before you switch to the Deliver page and hit render.
Alt+D, Option+D on a Mac, disables or re-enables every node on the specific clip currently active, a broader version of the next shortcut.
Ctrl+D, Cmd+D on a Mac, disables or re-enables just the single active node in that clip's node graph.
All three produce the identical visible symptom from the render's point of view: an ungraded image where a graded one should be. The difference is scope, and it's worth checking all three, in order from broadest to narrowest, since a global bypass on the viewer's title bar hides all of them equally.
| Shortcut | Scope | What it disables |
|---|---|---|
| Shift+D | Global, entire timeline | Every clip's color grade and Fusion effects at once |
| Alt+D (Option+D on Mac) | Single clip | All nodes on the currently active clip |
| Ctrl+D (Cmd+D on Mac) | Single node | Just the one active node in that clip's graph |
Shift+D, Alt+D, and Ctrl+D each disable grading at a different scope in DaVinci Resolve, and any one of them left toggled off produces an ungraded render that looks identical to Enable Flat Pass or a Monitor-only LUT from the outside. Glance at the viewer's title bar bypass icon before you render. If it's highlighted, that's your answer.
Is a stale render cache showing you the wrong frame in the export?
Render cache is a slightly different failure mode from everything above, because the setting most people know about lives on the Color page, and the one that actually affects your export lives separately, on the Deliver page.
On the Color page, DaVinci Resolve's Render Cache setting (None, Smart, or User) caches rendered frames to disk so playback stays smooth on effects-heavy timelines. Under normal conditions, a stuck cache entry just shows you a stale frame in the viewer, which you'd notice and fix before ever getting to the Deliver page.
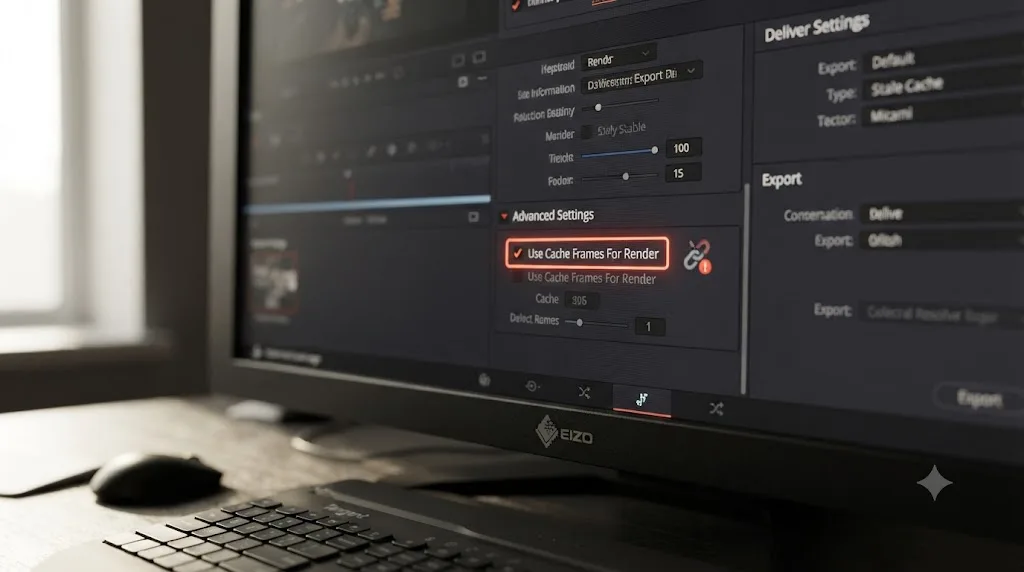
The version that actually reaches your export is the Deliver page's Advanced Settings checkbox, Use Cache Frames For Render (also called Use Render Cached Images). According to the manual, "when this checkbox is turned on, DaVinci Resolve will write media from the cache to the files being output to save time." That's a genuinely useful shortcut on long, effects-heavy timelines you've already reviewed carefully. It becomes a problem the moment the cache is older than your latest grading pass, since DaVinci Resolve will happily write that outdated cached frame straight into your finished file instead of re-rendering the current node graph.
The fix has two parts, and it's worth doing both, not just one:
- On the Color page, set Render Cache to None, confirm the correct graded image reappears, then set it back to Smart or User to force a fresh rebuild.
- On the Deliver page, open Advanced Settings and turn off Use Cache Frames For Render for this export, at least until you're confident the cache reflects your latest grading changes.
Background caching itself is a related, related-but-separate mechanism worth knowing about. DaVinci Resolve's default idle trigger for background caching is five seconds of no interaction, per Project Settings > Master Settings > Optimized Media and Render Cache (source: TourBox Tech; Time in Pixels). That default means a render cache entry can be built and cached automatically well before you've finished a grading pass, which is exactly the kind of timing gap that produces a stale cache reaching your export later.
A stale render cache doesn't erase your grade; it writes an older, cached version of your clip into the export instead of the current one, and it's the only cause on this list where the Color page and the Deliver page each hold half the fix. Check both settings, not just one. If you've never had to hunt down where DaVinci Resolve actually stores that cache on your drive, our guide to finding DaVinci Resolve's cache location on Mac and Windows covers the exact path in two clicks.
Is a color management mismatch washing out your export instead of removing it?
This cause produces a subtly different symptom from everything above it. Rather than an export that looks completely ungraded, a Color Management mismatch usually produces one that looks close but dulled, washed out, or shifted, as if the grade is present but weakened.
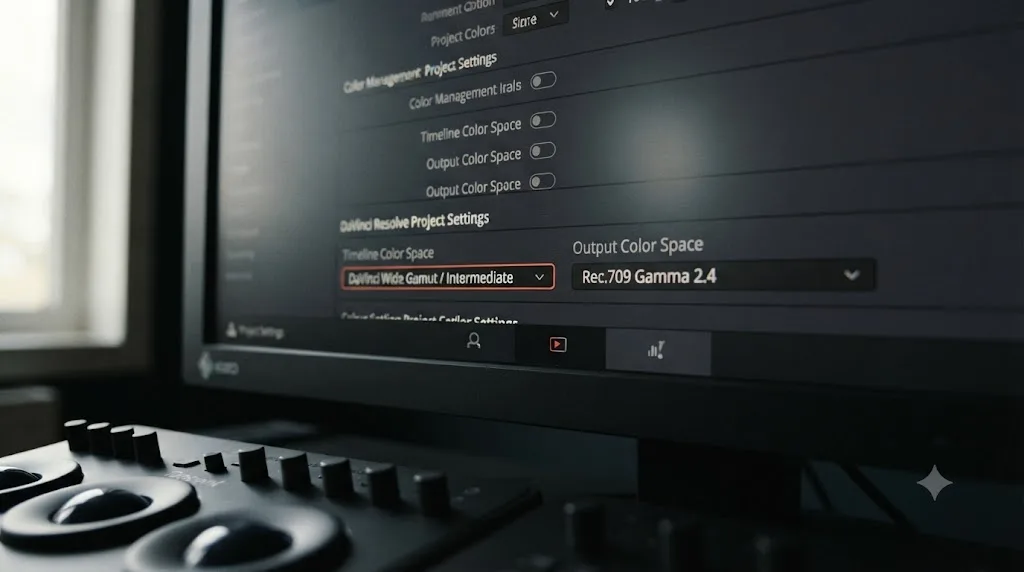
DaVinci Resolve's Color Management settings, found in Project Settings, control the transform between your timeline's working color space and the output color space baked into your rendered file. If those two spaces don't match what you actually intended, especially after switching Color Science modes, changing a Timeline Color Space, or inheriting a project from someone with a different setup, the export can look like your grade partially disappeared even though every node is intact.
Editor Jason Belleci hit exactly this on a Creative COW thread titled "Resolves 12 Renders have no grades." Marc Wielage's first two suggestions were the standard ones: "Check to see if the 'Render Flat Pass' checkbox is on in the Deliver page," and when that didn't fix it, "Uncheck Flat Pass and try again." Neither was the actual cause this time. Belleci eventually traced it himself: "it was because of the output color space that I have set on the color management setting page." Switching to a color-managed workflow and setting the input color space correctly resolved it.
That thread is worth reading precisely because it shows two real, documented causes for the same symptom on the same project, and the first, more common suspect wasn't the one at fault that time. Flat Pass and color management mismatches produce visually different results (one strips the grade entirely, the other dulls it) but both start from "my export doesn't look like my Color page," which is why it's worth ruling out Flat Pass quickly and moving on rather than assuming it's automatically the cause.
A washed-out or dulled export, as opposed to a fully ungraded one, points toward a Color Management mismatch rather than Enable Flat Pass or a bypass toggle. If you're not sure whether your project should be running plain Resolve Color Management or ACES, our comparison of Resolve Color Management versus ACES walks through which one fits a YouTube or corporate delivery versus a VFX-heavy or multi-facility project.
Are Local versus Remote Versions rendering the wrong grade on some clips?
This cause has a distinct signature from the ones above it: it doesn't make your whole export look ungraded. It makes specific clips render ungraded, usually ones that repeat the same source media across your timeline, while everything else renders correctly.
DaVinci Resolve manages a clip's grade through something called a Version, and by default, every clip uses what's called a Local Version. Mixing Light's tutorial on the feature explains the default plainly: "By default, all color grades are Local Versions. This means each clip's Color Page node graph is an independent instance." That independence is exactly the trap. If your timeline has the same source clip appearing five times, grading one instance under Local Versions does nothing to the other four. Each one keeps whatever grade, or lack of one, it already had.
Remote Versions work the opposite way. Once you switch a clip to a Remote Version, every timeline instance sharing that source clip is linked, and Mixing Light describes the payoff directly: "once a source is graded, every instance carries that same color grade. And if you change the color grade elsewhere on the timeline, every instance of that 'Remote Version' is immediately updated."
The practical trap looks like this: you grade the first instance of a repeated shot, assume the rest picked it up automatically because that's how some other NLEs handle repeated clips, and render a project where four out of five instances of that shot come out completely ungraded. Nothing crashed. Nothing corrupted. You were simply on Local Versions the whole time, which is the default, and needed to either copy the grade manually to each instance or switch that clip to a Remote Version before grading it once.
Local Versions, DaVinci Resolve's default grade management mode, keep every timeline instance of a clip independent, which means grading one instance never touches the others, intentionally. If some but not all instances of a repeated shot render ungraded, this is almost certainly why. Our guide on copying a color grade to multiple clips in DaVinci Resolve covers every method, paste, middle-click, Gallery stills, and PowerGrades, for getting a grade onto every instance without switching version modes at all.

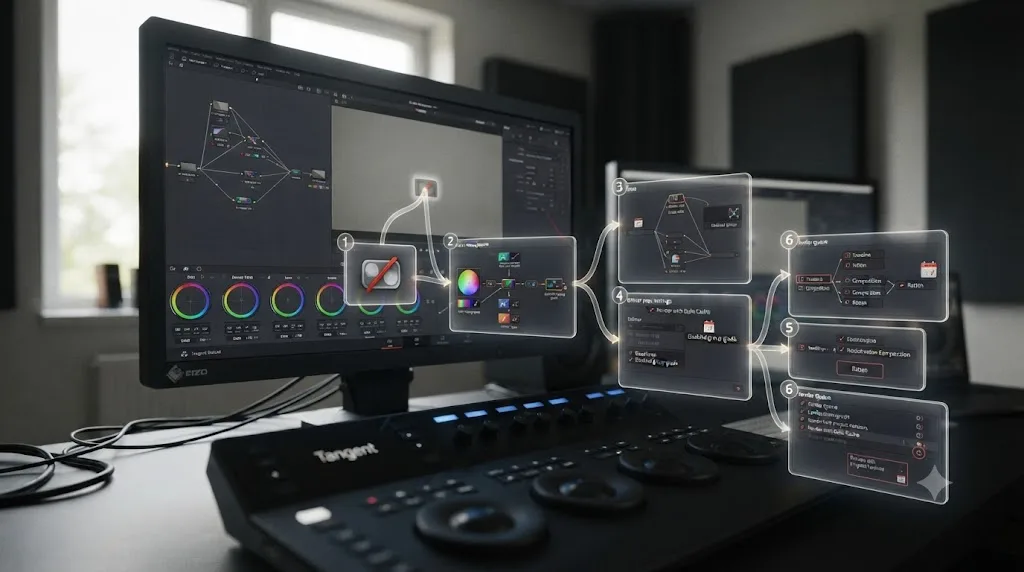
How do you fix a DaVinci Resolve grade disappearing after render, step by step?
Work through this in order. The first three steps take under two minutes combined and catch the large majority of real reports.
- Check Enable Flat Pass in Deliver page Advanced Settings. Confirm it's set to Off, not With Clip Settings or Always On.
- Confirm any LUT is applied to Output, not Monitor. A Monitor-only LUT changes what you see without touching the exported file.
- Check for a global or per-clip bypass. Look at the viewer's title bar for the Bypass Color Grades and Fusion Effects icon (Shift+D), and check whether all nodes (Alt+D) or the single active node (Ctrl+D) are disabled on the clip in question.
- Reset the render cache on the Color page. Set Render Cache to None, confirm the graded image reappears, then set it back to Smart or User.
- Turn off Use Cache Frames For Render if it's enabled. This lives in the Deliver page's own Advanced Settings, separate from the Color page's cache setting.
- Confirm your Color Management output color space. Check Project Settings > Color Management, especially if the export looks dulled or washed out rather than fully flat.
- Check whether you're on Local or Remote Versions. If only some instances of a repeated clip render ungraded, this is almost always the cause.
- Re-render a short test clip before committing to the full export again. A few seconds is enough to confirm the grade actually made it into the file this time.
| Symptom | Likely cause | Where to check |
|---|---|---|
| Entire export looks completely flat, unstylized, raw | Enable Flat Pass set to With Clip Settings or Always On | Deliver page > Advanced Settings > Enable Flat Pass |
| Viewer shows the grade correctly during render, export doesn't have it | LUT set to Monitor instead of Output | LUT panel routing target |
| Every clip on the timeline renders ungraded, viewer also looked ungraded before you rendered | Global bypass active (Shift+D) or per-clip nodes disabled (Alt+D, Ctrl+D) | Viewer title bar bypass icon; node graph on the Color page |
| Export looks dulled, shifted, or washed out rather than fully ungraded | Color Management output color space mismatch | Project Settings > Color Management |
| Export shows an old or lower-quality version of a shot you re-graded recently | Stale render cache written via Use Cache Frames For Render | Deliver page > Advanced Settings > Use Cache Frames For Render |
| Only some instances of a repeated source clip render ungraded | Local Versions, grade applied to one instance only | Right-click the clip, check Versions menu |
This table isn't a replacement for working through the numbered checklist above it. It's a shortcut for guessing which row to try first, based on exactly what your export actually looks like.
If you'd rather have something point directly at the setting causing your specific export instead of working through a checklist from memory, that's exactly what Uncle is built for: it can point at your actual Enable Flat Pass setting or your actual LUT routing, live, on your own project, instead of you re-reading this list mid-deadline.
Does this happen differently with Individual Clips render mode?
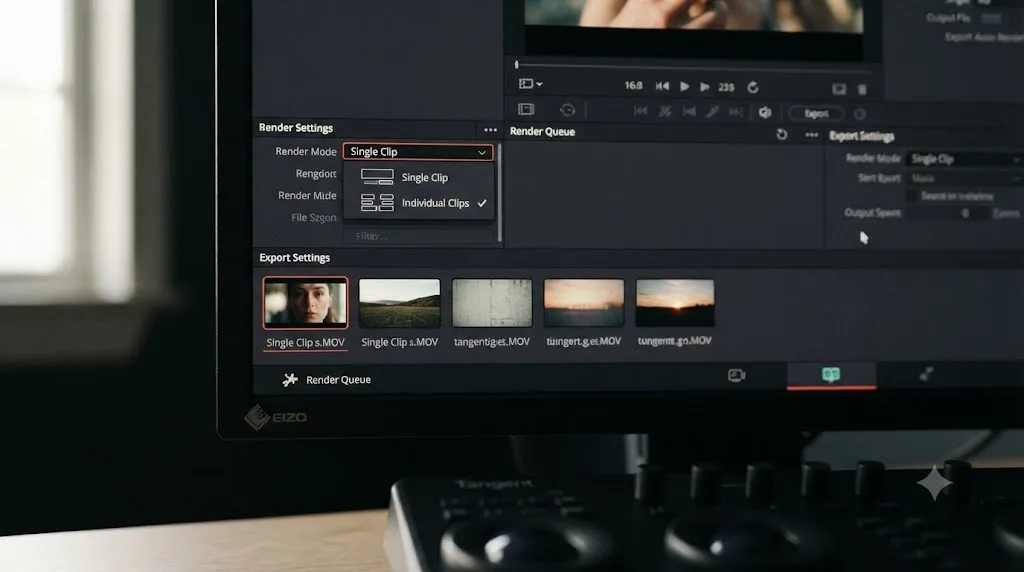
Yes, in one specific way worth knowing about if you export shots individually rather than as one combined file. DaVinci Resolve's Deliver page offers two fundamentally different render modes: Single Clip, where every clip in your session is combined into one output file, and Individual Clips, where each clip on the timeline is rendered as its own separate file.
According to the manual, Individual Clips rendering "means that Resolve will render each individual clip in the timeline as its own file by going back to its source in the media pool and rendering just the piece of that clip that's in the timeline." That "going back to its source" detail is the part worth understanding. Individual Clips render mode still respects whatever grade is applied to that specific timeline instance, whether it's a Local or Remote Version, so a correctly graded clip renders correctly in this mode too. Where it interacts with everything covered above is that Enable Flat Pass, a bypassed node, and a stale cache all apply per clip exactly the same way in Individual Clips mode as they do in Single Clip mode, which means a mixed export, some clips graded correctly and others not, is actually easier to produce with Individual Clips, since a single mis-flagged Enable Flat Pass version or a single Local Version left ungraded only affects that one output file rather than your entire combined export.
Individual Clips render mode doesn't change any of the underlying causes of a missing grade; it just means a single bad setting on one clip produces one bad file instead of contaminating an entire combined export. If you're troubleshooting a batch of individually rendered clips and only some came out wrong, check Enable Flat Pass's per-version flag and each clip's Version status specifically, rather than assuming a single global setting is responsible for all of them.
What does a full worked example look like, start to finish?
Reading a checklist is different from watching it applied. Here are two real-shaped cases, worked through in the order that actually finds the cause fastest.
A wedding editor renders a full 90-minute highlight reel for delivery and opens the file to find it completely flat, every scene, no exceptions. The Color page still shows every grade correctly.
- Deliver page > Advanced Settings > Enable Flat Pass. It's set to Always On, left over from a VFX turnover the studio delivered for a different client three projects ago, since the render preset was reused without checking every setting inside it.
- Setting it to Off and re-rendering a 10-second test clip brings the grade back instantly, confirming the cause before committing to a full 90-minute re-render.
Total time from noticing the problem to confirming the fix: under three minutes, because the very first thing checked was also the actual cause. That's the pattern worth remembering. Enable Flat Pass explains more of these reports than every other cause on this page combined, precisely because render presets and template projects get reused across jobs without anyone auditing every Advanced Settings checkbox each time.
A YouTube creator notices that four of six identical b-roll shots in a montage sequence render ungraded, while the other two look perfect, all six sourced from the same original clip dragged onto the timeline six separate times.
- Enable Flat Pass is confirmed Off, ruling that branch out immediately, since it would affect all six shots equally rather than four of them specifically.
- Right-clicking one of the two correctly graded instances and checking its Versions menu shows it's using a Remote Version, while right-clicking one of the four ungraded instances shows a separate, default Local Version with no grade ever applied to it.
- The fix is switching all six instances to the same Remote Version, or manually copying the grade using Gallery stills, and re-rendering confirms all six shots now carry the grade.
Same starting symptom on the surface, "my grade disappeared," and two completely different underlying causes. That's the reason this guide works through causes roughly in order of frequency rather than offering one universal fix. The first thing to check is the most likely one, not automatically the correct one for every single report.
Does this happen differently on Mac versus Windows?
The underlying mechanisms, Enable Flat Pass, LUT routing, the bypass shortcuts, render cache, Color Management, and Local versus Remote Versions, are identical across Mac, Windows, and Linux, since none of them are operating-system-specific. Nothing about how DaVinci Resolve decides whether to bake a grade into a render depends on which platform you're running.
The one place platform can matter is indirect: where your cache and project files physically live. A cache drive on an external enclosure or a network share behaves the same functionally on either platform, but a slow or unreliable connection to that drive can make a stale-cache scenario, covered above, more likely to occur in the first place, since a slow write is more likely to leave an old cached frame sitting around than a fast local SSD would. That's a storage speed issue, not a platform-specific bug, and it applies equally whether the slow drive is attached to a Mac or a PC.
Keyboard shortcuts carry the expected Mac versus Windows key naming difference and nothing more: Ctrl becomes Cmd, and Alt becomes Option, but Shift+D stays Shift+D on both, and the underlying behavior is identical either way.
Does the free version of DaVinci Resolve behave differently here?
No, and this is worth stating plainly since a lot of troubleshooting guides for Resolve quietly assume a Studio license. Enable Flat Pass, LUT routing, the Shift+D, Alt+D, and Ctrl+D bypass shortcuts, render cache and the Use Cache Frames For Render checkbox, Color Management, and Local versus Remote Versions are all core grading and Deliver page features available in the free edition of DaVinci Resolve, not features locked behind Studio's paywall.
A free-edition editor hitting a grade that vanishes after render works through the exact same checklist, in the exact same order, with the exact same fixes, as a Studio user. The two editions genuinely diverge elsewhere, multi-GPU support, hardware H.264/H.265 encoding on Windows and Linux, advanced noise reduction, and Studio's multi-user Collaboration mode, but none of those features touch how a grade gets baked into an export. If you're on the free version and this problem shows up, don't waste time wondering whether upgrading to Studio would fix it. It won't, because the mechanism this guide covers doesn't distinguish between the two editions at all.
How do you prevent this before your next render?
A handful of habits, done once, cut down how often you ever see this problem again, rather than just how fast you fix it when it happens.
Build a render preset specifically for finished, graded deliverables, with Enable Flat Pass explicitly set to Off and Use Cache Frames For Render explicitly unchecked, and use that preset by default rather than reusing whatever preset a previous project happened to leave configured. If your studio regularly delivers flat passes to VFX vendors, keep that as a clearly separate, clearly labeled preset so the two workflows can't accidentally cross over.
Get in the habit of glancing at the viewer's title bar bypass icon before you switch to the Deliver page, the same two-second check you'd do before calling any edit finished. If you're working with repeated source clips across a timeline, decide upfront whether you want Local or Remote Versions for that specific shot, rather than discovering the answer after a render comes back wrong.
None of these habits eliminate Enable Flat Pass, LUT routing, or Versions, since those are DaVinci Resolve features working exactly as designed, not bugs waiting to be patched. What they remove is the accidental, inherited state, a leftover checkbox, a forgotten toggle, a version you never meant to leave independent, that turns a working feature into a confusing surprise on delivery day.
Once your grade is confirmed present and your file is out the door, our guide on DaVinci Resolve not responding after render covers the separate, related situation where the app freezes right after export instead of finishing the file with the wrong grade.
Is there a faster way to find the exact setting mid-deadline?
Most of what fixes this problem lives in menus you wouldn't guess on a first look: a flat pass dropdown buried at the bottom of Advanced Settings, a LUT routing toggle that looks identical whether it's pointed at Monitor or Output, a Versions submenu that only shows up when you right-click exactly the right spot on a clip's thumbnail. Knowing what to check, which this guide covers in full, is half the problem. Finding the actual control on your actual screen, in your actual project, while a client is waiting on a delivery, is the other half.
TryUncle is the on-screen assistant for DaVinci Resolve on macOS. Ask in plain words and Uncle points at the exact control on your screen, live, inside the project you're already working in, whether that's the Enable Flat Pass dropdown, your LUT's Output routing, or the Versions menu on a specific clip.
It's worth naming the other AI tools built around DaVinci Resolve honestly, since the category has grown and the jobs involved are genuinely different. CutAgent, Sottocut, and PremiereCopilot all execute edits directly from a typed instruction, which is useful once you already know Resolve well enough to review the result, but none of them are built to diagnose a rendering setting on a project you've already graded. Eddie AI answers questions about your project from a chat window, without necessarily showing you where the relevant setting lives on your own screen.
| Tool | What it does | Touches your timeline? | Helps with a missing grade after render by... |
|---|---|---|---|
| CutAgent | Executes cuts from a typed instruction | Yes | Not built for this; automates assembly, not export diagnostics |
| Sottocut | Automates specific editing tasks | Yes | Not built for this; reduces hands-on trim time |
| PremiereCopilot | Automates specific editing tasks | Yes | Not built for this; reduces hands-on trim time |
| Eddie AI | Answers questions in a chat window | No | Explaining concepts, not showing where a specific checkbox lives |
| TryUncle | Watches your screen and points at controls | No | Finding the Enable Flat Pass, LUT routing, or Versions setting live, on your own screen |
Guided practice inside Resolve beats hunting through Advanced Settings on a deadline, because a checklist tells you what to check while a pointed assistant shows you exactly where it lives on your specific screen. That's a meaningfully different job than any tool built to edit for you.
To be straightforward about cost: TryUncle is a paid subscription at $39 a month, cancel anytime, macOS only, per TryUncle. It won't fix your grade by itself and it isn't a substitute for the diagnostic steps above. It's for the moment right after a bad render when you know something is wrong and just can't find where DaVinci Resolve put the setting that fixes it.
If you're staring at a flat, ungraded export on your own timeline right now, Uncle can point at the exact Enable Flat Pass dropdown on your own Deliver page while you work, instead of you re-checking this list from memory.
The verdict
A grade that disappears after a DaVinci Resolve render is a render-path setting almost every single time, not lost work, a corrupted project, or a rendering bug. Work through the fast checks first: Enable Flat Pass in Deliver page Advanced Settings, a LUT set to Monitor instead of Output, a global or per-clip bypass left toggled on with Shift+D, Alt+D, or Ctrl+D, and a stale render cache reaching the export through Use Cache Frames For Render. Those four account for the overwhelming majority of real reports, and Enable Flat Pass alone explains more of them than everything else combined.
Color Management mismatches and Local versus Remote Versions produce related but visually distinct symptoms, a dulled export instead of a flat one, or a partial rather than total loss of the grade, and they're worth knowing to tell apart from the four causes above rather than assuming every missing grade looks the same. None of this is DaVinci Resolve losing your work. It's a small number of specific, documented settings, each one useful in the workflow it was built for, doing exactly what it was configured to do.
Get familiar with where the Flat Pass dropdown, your LUT's routing target, and the bypass icon live, and the next time an export comes back wrong, you'll know which one to check first instead of wondering whether to start the grade over from scratch.
Frequently asked questions
- Why does my DaVinci Resolve grade disappear after render?
- The single most common cause is Enable Flat Pass, a checkbox at the bottom of the Deliver page's Advanced Settings, set to With Clip Settings or Always On. It deliberately strips the grade for VFX turnovers, and if it's left on from a previous export or a template project, every render comes out ungraded even though the Color page looks perfect. Check it before anything else.
- How do I turn off Enable Flat Pass in DaVinci Resolve?
- Open the Deliver page, scroll to the bottom of the render settings on the right, expand Advanced Settings, and find Enable Flat Pass near the bottom of the Video tab. Set it to Off. With Clip Settings only strips clips individually flagged that way, and Always On strips every clip regardless of its own flag, so Off is the setting you want for a normal graded export.
- Why does DaVinci Resolve show my grade in the viewer but not in the export?
- Because the viewer and the render can read from different sources. A LUT applied to Monitor only affects what you see on screen, not the file DaVinci Resolve writes. A stale render cache can show you a correct preview while writing an old cached frame to disk. And Enable Flat Pass strips the grade specifically at render time, which is exactly why the Color page still looks graded while the export doesn't.
- What's the difference between Shift+D and Alt+D in DaVinci Resolve?
- Shift+D is the global Bypass Color Grades and Fusion Effects toggle in the viewer's title bar; it turns every grade and Fusion effect on the timeline off or on at once, for quick before-and-after comparisons (source: FilmActions). Alt+D, or Option+D on Mac, disables or enables every node on the specific clip you're viewing, while Ctrl+D, or Cmd+D on Mac, does the same for just the one active node. All three can leave a render looking ungraded if left toggled off by accident.
- Does render cache affect whether my grade shows up in the final export?
- It can, through the Use Cache Frames For Render checkbox in the Deliver page's Advanced Settings. If that box is on and DaVinci Resolve has a stale or lower-quality cached version of a clip sitting on disk, it writes that cached frame straight into your export instead of re-rendering the current grade. Turning Render Cache to None, confirming the correct image, then rebuilding the cache clears it.
- Can Local versus Remote Versions cause the wrong grade to render?
- Yes, specifically when multiple timeline instances share one source clip. Local Versions, the default, keep each instance's grade independent, so grading one instance never touches the others (source: Mixing Light). If you expected a grade to carry across repeated clips automatically, and it's rendering ungraded on some of them, you're on Local Versions and need to copy the grade manually or switch that clip to Remote Versions.
- Is this different on the free version of DaVinci Resolve?
- No. Enable Flat Pass, LUT routing, the Shift+D and Alt+D bypass shortcuts, render cache, and Local versus Remote Versions are all core grading and Deliver page features, not Studio-exclusive ones. A free-edition user hitting a grade that vanishes after render works through the exact same checklist as a Studio user, with the same fixes.
Sources
- Rendering not adding grades (Creative COW forum, quoting Blackmagic Design support)
- How to Fix Color Grading Not Applying in DaVinci Resolve, cutsio
- Render graded clips without grade in Davinci Resolve (Lowepost forum)
- Resolves 12 Renders have no grades (Creative COW forum)
- DaVinci Resolve Manual - All Other Render Settings for Output / Enable Flat Pass (Blackmagic Design, mirrored)
- DaVinci Resolve Manual - Bypass Color Grades and Fusion (Blackmagic Design, mirrored)
- DaVinci Resolve Manual - Turning Grades and/or Fusion Effects Off (Blackmagic Design, mirrored)
- DaVinci Resolve Manual - Resetting Nodes (Blackmagic Design, mirrored)
- DaVinci Resolve Manual - Manually Controlling the Cache (Blackmagic Design, mirrored)
- DaVinci Resolve Manual - Individual Clips (Blackmagic Design, mirrored)
- DaVinci Resolve Manual - Single Clip vs. Individual Clips (Blackmagic Design, mirrored)
- Accelerate Your Workflow with Resolve's Remote And Local Grades, Mixing Light
- Bypass All Grades Shortcut in DaVinci Resolve, FilmActions
- How to Render Cache in DaVinci Resolve, TourBox Tech
- All You Need to Know About Caching in DaVinci Resolve 12, Time in Pixels
- CutAgent (product site: features, pricing, FAQ)
- Sottocut (product site: features, pricing, platform requirements)
- PremiereCopilot pricing
- Eddie AI for DaVinci Resolve (native integration workflow page)
- TryUncle
Learn by doing, not watching
Stop translating tutorials to your timeline.
TryUncle stays beside Resolve on Mac and Windows. When you ask, Uncle sees your screen and points at the exact control you need. No hunting through tabs, timestamps, or mismatched tutorials.
Meet TryUncleKeep reading
 FixesJul 25, 202629 min read
DaVinci Resolve Not Responding After Render: The Real Fix
DaVinci Resolve not responding after render is almost never a crash. It's background caching, a database write, a GPU driver reset, or a plugin. Here's how to tell them apart.
 ComparisonsJul 12, 202630 min read
Resolve Color Management vs. ACES: Which Should You Use?
DaVinci Resolve Color Management and ACES both fix scene-referred color, but they solve different problems. Here's which one fits your project.
 GuidesJul 8, 202639 min read
How to Copy a Color Grade to Multiple Clips in DaVinci Resolve
Every way to copy a DaVinci Resolve color grade to multiple clips: copy/paste, middle-click, Gallery stills, PowerGrades, Color Groups, and more.