
Learn / DaVinci Resolveupdated for DaVinci Resolve 21.1 (September 2026)
DaVinci Resolve Export ProRes 4444 Alpha: Exact Steps
Quick answer
In DaVinci Resolve, open Deliver, choose QuickTime and Apple ProRes 4444, then enable Export Alpha. Use Single Clip for one transparent movie of the timeline, or Individual Clips for separate source clips. Choose straight or premultiplied alpha to match the receiving app, render a short test, and composite it over a contrasting background to verify transparency.

I’d treat a ProRes 4444 alpha export as a handoff, not just a codec choice. The file can render successfully and still arrive with a black background or ugly edges if the timeline, alpha setting, or receiving app disagrees about transparency.
As of October 2026, the current DaVinci Resolve release listed by Blackmagic Design is 21.1. The steps below focus on the Deliver page controls that matter, then show how to check the result before you send it.
How do I export ProRes 4444 with alpha in DaVinci Resolve?
To export a transparent ProRes 4444 movie, choose QuickTime and Apple ProRes 4444 on the Deliver page, turn on Export Alpha, set the alpha mode your next application expects, and render. Use Single Clip for one movie of the timeline or Individual Clips for separate rendered clips.
Blackmagic’s Resolve 17 feature guide documents alpha export in Single Clip mode when the selected codec supports alpha. It describes the same essential sequence: select Single Clip, choose an alpha-capable codec, enable Export Alpha, and choose an alpha mode if the codec offers one. The Resolve 20 codec list documents Apple ProRes encoding and alpha export for supported container combinations on macOS and Windows. Resolve’s menus can vary with version, operating system, and selected format, so use the appearance of Export Alpha as your practical confirmation that the current combination exposes an alpha export option.
- Open the project and select the timeline you want to deliver.
- Go to Deliver.
- Choose Custom Export or the equivalent custom render settings.
- Set the format to QuickTime.
- Choose Apple ProRes as the codec family, then ProRes 4444 as the codec.
- Select Single Clip if the handoff should be one continuous movie. Select Individual Clips if you need each timeline clip rendered separately.
- In the video settings, enable Export Alpha.
- Set Alpha Mode to straight or premultiplied according to the receiving application’s requirements.
- Set the filename, destination, resolution, frame rate, and render range.
- Add the job to the render queue and render a short section first.
The menu label might be shortened or arranged differently in a later point release. The important distinction is that the format is QuickTime, the codec is ProRes 4444 rather than a ProRes 422 option, and Export Alpha is actually enabled. Choosing a codec that can hold alpha does not, by itself, prove that your render includes a useful transparent channel.
For a transparent title over a moving image, Single Clip is usually the straightforward choice: the timeline’s composite becomes one movie with its alpha. For a package of separately delivered graphics, render clips individually only when that is what the receiving workflow needs. Single Clip and Individual Clips are different delivery modes, not quality settings.
A ProRes 4444 codec selection does not guarantee that the rendered movie contains the transparency you intended.
If you need to deliver a specific clip with its source alpha, Individual Clips may be appropriate. Resolve’s documented workflow supports alpha export for individual clips when the source or grade supplies alpha and the selected output format supports it. That is different from asking Resolve to preserve every timeline composite as a separate source clip. For a finished timeline overlay, render the timeline as a single clip unless the person receiving the work specifically requests separate elements.
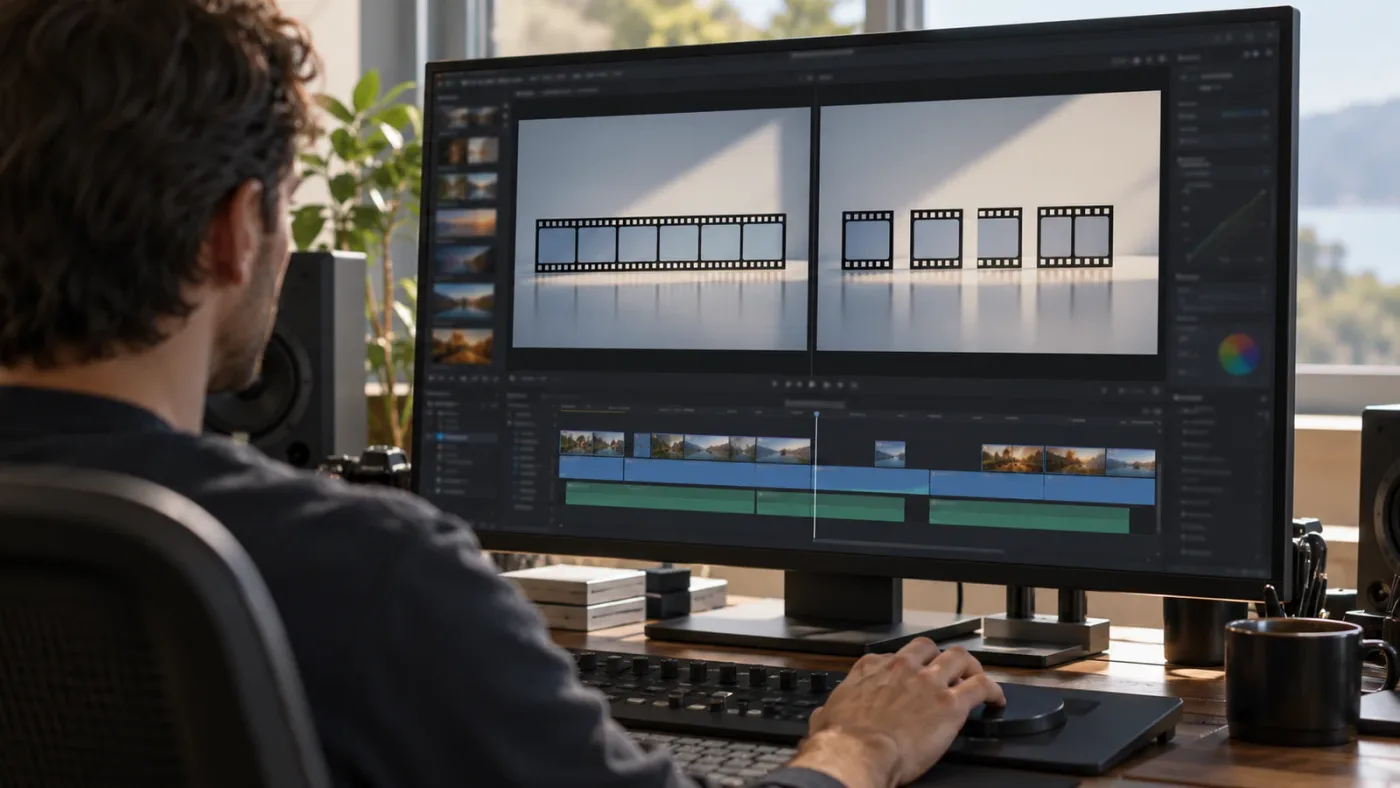
If you’re stuck on which control to click, TryUncle is the on-screen assistant for DaVinci Resolve on Mac and Windows - ask in plain words and Uncle points at the exact control on your screen.
Why does my ProRes 4444 export have a black background?
A black-looking export does not automatically mean the file has no alpha channel. Check the render’s Export Alpha setting, make sure the timeline actually contains transparent pixels, and inspect the movie over a separate background instead of trusting a viewer that may display transparency as black.
There are several different things people describe as “the background is black.” The image may have been rendered with opaque black pixels. The alpha may be present but interpreted incorrectly. Or the player may simply be showing transparent areas against black. These require different fixes, so test the movie in a way that separates them.
Start with the render settings:
- Is the format QuickTime and the codec ProRes 4444?
- Was Export Alpha enabled for this render job?
- Did the render range include the part of the timeline that contains the transparent section?
- Did you queue a different job before making the alpha setting change?
- Did Resolve finish the render without an error?
Then inspect the timeline. A checkerboard in a viewer can be a useful visual clue, but it’s not a substitute for checking the final file. Confirm that the region behind your title, logo, or keyed subject is genuinely transparent in the composite. If you have put a solid-color clip on a lower video track, the final timeline composite includes that background. Exporting alpha will not remove a background that is part of the image you’ve built.
For a simple title overlay, hide or remove the background layer from the exported composite, then check the title over different colors in the viewer. If the title is visible over the timeline’s checkerboard or transparency display, render a short test range and reimport it above a contrasting background clip. A bright magenta or green test layer makes opaque black pixels easy to spot; a neutral gray layer can make subtle edge contamination easier to judge. These are diagnostic backgrounds, not required delivery colors.
Also check the track and effect structure. A Fusion composition, title, keyed clip, or nested timeline can look transparent in one viewer while an upstream generator or background node supplies a full-frame image. If the final timeline includes that image, the alpha export faithfully carries an opaque result. In Fusion, check the output of the final composite, not only the transparency of one upstream node. On the Color page, a key connected to an alpha output may be relevant when you’re building a key there. The important question is whether the finished timeline has the matte you want at the point of export.
A useful diagnostic is to export a tiny range that includes three visual states: fully transparent, fully opaque, and a soft or partially transparent edge. If the fully transparent section appears black over the test background, investigate whether the channel is missing or the background was included. If the solid section is partly see-through, check the matte and alpha interpretation. If only the edge looks wrong, move on to straight-versus-premultiplied checks.
Do not judge alpha in a conventional video player alone. A player may composite against black, may ignore transparency, or may not expose how it is interpreting the file. Reimporting into Resolve can be a first check, but compositing the render over a known background is stronger: it tests the output in the context where alpha is meant to be used.
A common mistake is to put the finished graphic over black to “see the transparency,” then render that composite. Black is just another color. If you need empty pixels, the lower layer must be absent or transparent in the exported composite. A black background that is baked into the RGB image is not transformed into transparency by checking Export Alpha.
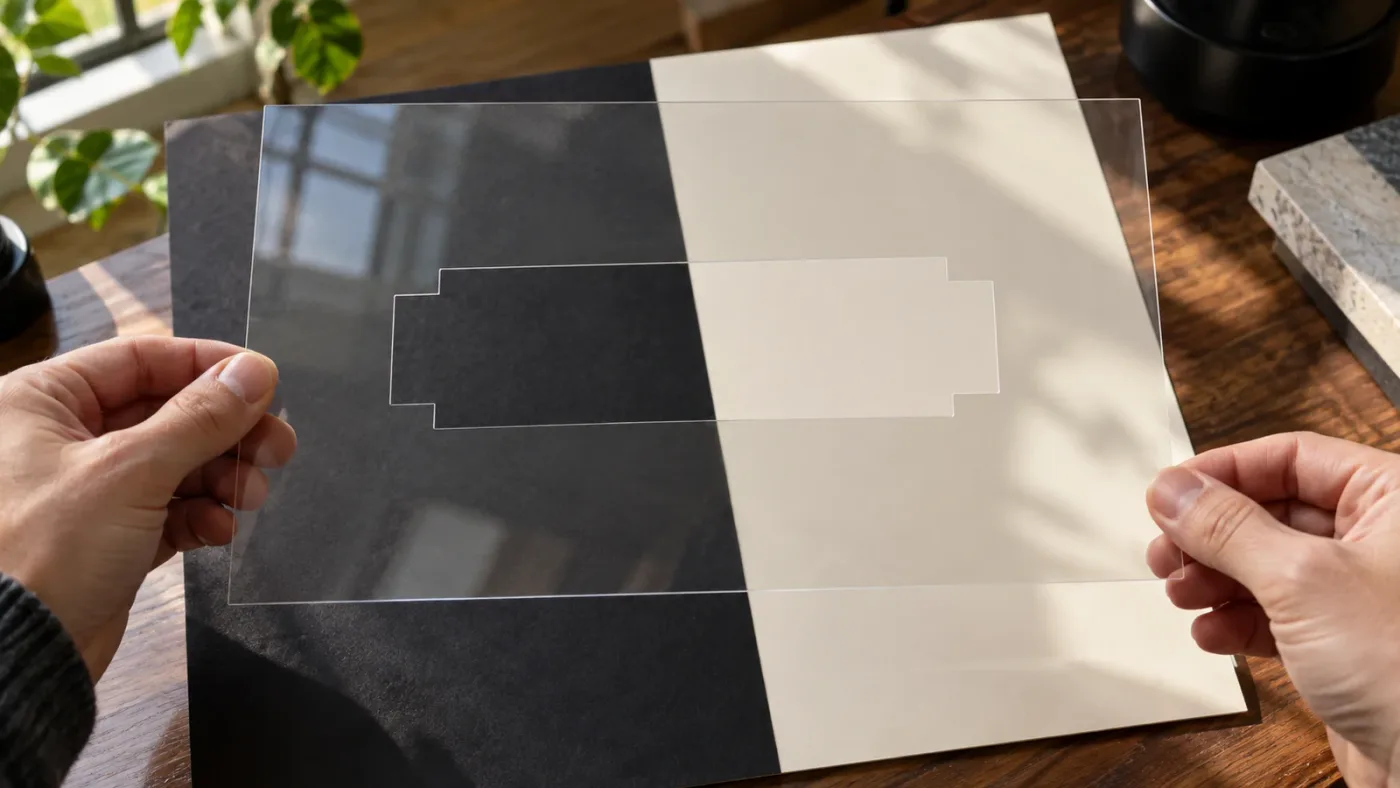
A transparent region is empty image data with an alpha value, not a patch of black pixels.
What do straight and premultiplied alpha mean?
Straight alpha stores the color and opacity values separately, while premultiplied alpha stores color already multiplied by opacity. Neither mode is universally better; the right choice is the one the receiving application expects.
The alpha channel describes how much of the foreground should cover the background at each pixel. Fully opaque pixels cover the background; fully transparent pixels reveal it; values between those extremes create partial coverage, such as antialiased lettering or a soft edge. Apple’s ProRes white paper describes alpha as the value used to blend a pixel with the corresponding background pixel, and says ProRes 4444 and 4444 XQ encode alpha values losslessly up to 16 bits. That describes the codec’s alpha data, not whether a particular export has the right matte or alpha interpretation.
In straight, or unassociated, alpha, the stored color is independent of the alpha value. In premultiplied, or associated, alpha, the color has already been multiplied by its opacity. If an application expects one convention but reads the other, semitransparent edge pixels can look too dark, too bright, or fringed. The opaque center of a logo may look fine while the problem appears only around antialiased text, smoke, motion blur, or a feathered mask.
| Alpha mode | What the file represents | A useful clue when compositing | Common mismatch symptom |
|---|---|---|---|
| Straight | RGB color is stored separately from opacity | The receiving app is set to straight or unassociated alpha | A viewer expecting premultiplied alpha can show a light or colored fringe |
| Premultiplied | RGB is already multiplied by opacity | The receiving app is set to premultiplied or associated alpha | A viewer expecting straight alpha can show dark edges or halos |
| Unknown or mismatched | The file’s stored values and the app’s interpretation disagree | Try the other interpretation in the receiving application before rerendering | Edge problems change when you switch how the app interprets alpha |
Use the alpha mode requested in the handoff specification. If no one has specified it, ask the recipient which convention their compositor expects. If you can’t get an answer, render a short test in each mode and compare the same edge in the target application, not in a player that may treat both modes the same way. Keep the rest of the export settings identical so the test isolates the alpha interpretation.
This distinction matters most around partial opacity. Solid interior pixels have alpha near fully opaque, so the color can look correct under either interpretation. Fully transparent pixels reveal the background, so their stored RGB can matter less to the visible result. The edge pixels sit between those cases. That’s why a logo may appear correct at a glance but develop a dark outline when it is placed over footage.
If the receiving app has a clip attribute, interpret-footage setting, or alpha-channel control, check its current interpretation before rerendering. Reinterpreting the existing file is often a useful test. It doesn’t change the underlying encoded pixels, but it can reveal whether the problem is the output itself or the way the next application composites it.
Heather Hay, a colorist and editor writing for Frame.io, gives a concise operational reminder: “However, regardless of which of these presets (or custom settings) you choose to render in, you’ll need to check the Export Alpha box.” Her article also recommends checking the render before final delivery. The reminder is useful because choosing an alpha-capable codec and actually enabling alpha are separate steps.

The alpha mode must match the receiving application, especially around soft edges.
Should I choose ProRes 4444 or ProRes 4444 XQ?
Choose ProRes 4444 for most graphics, titles, and compositing handoffs that need alpha. Choose ProRes 4444 XQ when the workflow specifically calls for its higher data rate and extra headroom for demanding high-dynamic-range material.
Both ProRes 4444 and ProRes 4444 XQ can carry an alpha channel. Apple describes ProRes 4444 as a high-quality option for storing and exchanging motion graphics and composites, with a mathematically lossless alpha channel up to 16 bits. Apple describes XQ as its higher-quality 4:4:4:4 option for high-dynamic-range sources and lists a higher target data rate than standard 4444 at the same 1920 by 1080, 29.97 fps reference point.
That does not mean every transparent graphic needs XQ. A lower third, logo animation, or title overlay may not benefit from an XQ file if the source is ordinary graphics and the receiving application only needs a standard alpha-capable master. XQ can increase storage and transfer requirements. Use it because the image and delivery requirements call for it, not because the name sounds like a universal quality upgrade.
| Decision | ProRes 4444 | ProRes 4444 XQ |
|---|---|---|
| Needs an alpha channel | Supported | Supported |
| Typical motion-graphics exchange | A sensible default when the receiving app accepts it | Usually more than a basic graphic handoff needs |
| Higher data-rate, HDR-oriented work | May be sufficient depending on the source and specification | Apple positions XQ for high-quality 4:4:4:4 sources and demanding HDR work |
| File size and transfer | Lower than XQ at the same reference dimensions and frame rate | Higher data rate; allow more storage and transfer time |
| Recipient’s delivery specification | Use when specified or accepted | Use when specifically required or justified by the source and workflow |
Apple’s published data-rate table is useful for planning, but it is not a promise of the exact file size you’ll get. The table gives target rates for reference image dimensions and frame rates, and Apple notes that actual rates vary with dimensions, frame rate, codec variant, and image content. Alpha also has data associated with it. A moving, detailed image and a mostly flat graphic don’t necessarily encode to identical file sizes.
As one reference point, Apple lists approximately 330 Mb/s for ProRes 4444 and approximately 500 Mb/s for ProRes 4444 XQ at 1920 by 1080 and 29.97 fps for 4:4:4 sources. Those are target data rates, not guaranteed output measurements for a particular Resolve project. A 4K export, a different frame rate, XQ, and image detail all affect the result. For a file-size estimate or a storage handoff, use the correct dimensions and frame rate in Apple’s table, then leave room for variation.
If your receiver has given you a codec specification, follow it. If the spec says “ProRes 4444 with alpha,” don’t silently substitute XQ unless they approve it. If it says XQ, don’t assume standard 4444 is interchangeable just because both can store alpha. Ask whether they need the specific codec profile, bit depth, color encoding, or simply an alpha-capable QuickTime file.
If the delivery only needs a transparent still or a short graphic, an image sequence might be simpler than a movie in some workflows. Blackmagic’s supported-format list includes PNG and TIFF alpha-capable export options. An image sequence can be useful when the next application expects individual frames or when you need to inspect frames separately, but it creates a folder of files and requires the recipient to preserve the sequence and frame order. For a single editable overlay movie, ProRes 4444 is often the more convenient handoff.
For a ProRes 4444 export without transparency, don’t choose 4444 simply because it sounds like the highest-quality option. Apple notes that 422 HQ is a 4:2:2 codec and 4444 is intended for 4:4:4:4 workflows; the extra alpha capability is unnecessary if your delivery has no transparency requirement. Choosing the codec that matches the job can avoid oversized files and confusing downstream expectations.
Does DaVinci Resolve export ProRes 4444 alpha on Windows?
Blackmagic Design’s Resolve 20 supported-codec document lists Apple ProRes encoding on Windows, including ProRes 4444, and lists 4444 alpha exports for supported container combinations. Since codec support can depend on the Resolve release and selected format, confirm that Export Alpha appears in your own render settings before you commit to a full export.
This is a point where old tutorials can mislead. Some were made before Blackmagic added or changed ProRes support on Windows, and some discuss importing or decoding a ProRes file rather than exporting one. Those are different capabilities. The Resolve 20 supported-codec list separates operating-system tables and lists Apple ProRes encoding for Windows. It also lists 4444 in the alpha-export column for the supported container entries. Treat that as evidence for the documented Resolve 20 combinations, not a guarantee that every container, codec profile, and point release exposes every option.
If you are on Windows and the option is absent, check the selected format and codec first. Make sure you’re not on a ProRes 422 variant, a container that doesn’t expose the documented alpha option, or a render preset that selected a different codec than you intended. Return to custom settings, pick QuickTime and ProRes 4444, then check the video controls again. If Export Alpha still isn’t available, don’t render the whole timeline expecting an alpha channel to appear afterward.
The distinction between Mac and Windows also matters for transferring a project between workstations. The QuickTime ProRes file is the media handoff; it is not a complete Resolve project. The recipient may need the correct playback support in their operating system and application, but that is separate from whether Resolve encoded alpha into the file. Confirm the receiving version and operating system if this is a paid or time-sensitive delivery.
The receiving application matters, too. Apple’s documentation explains ProRes alpha support and its own encoding and decoding APIs, but a Windows application may implement its own ProRes import behavior. If an app imports the movie but shows black, test the same file in a known alpha-aware compositor or reimport it into Resolve over a background. Then check that app’s interpretation setting. Don’t assume that the operating system or file extension alone proves the alpha will display correctly.
If an older Windows tutorial says ProRes 4444 alpha export is impossible, compare its publication date and Resolve version with the current Blackmagic codec documentation. If a newer workflow still does not show the option, rely on the menu in your installed version rather than on an old screenshot. Resolve 21.1 is the version listed by Blackmagic Design Support as of October 2026; the manual and support pages are the right places to check when the app’s current controls differ from an older guide.
Why is Export Alpha missing or greyed out?
Export Alpha can be absent when the selected container or codec does not expose alpha export, or when a different render mode or preset is active. Select an alpha-capable output combination first, then check whether the control appears in the video settings.
Use this order. It avoids chasing a checkbox that the current codec combination cannot offer.
- Check the format. Choose QuickTime if that is the intended container for your ProRes handoff.
- Check the codec. Select Apple ProRes 4444 or 4444 XQ, not ProRes 422, 422 HQ, 422 LT, or 422 Proxy. Apple identifies 4444 and 4444 XQ as the ProRes family members that support alpha.
- Check the render mode. Decide whether the job is Single Clip or Individual Clips. Those options represent different outputs and may affect which alpha you intend to render.
- Look again in the video settings. When the selected output supports alpha, the Export Alpha checkbox should be available for that combination. If it is missing, check the installed version’s codec list and support manual rather than assuming the option is hidden somewhere else.
- Check the preset. A saved preset can carry a different format, codec, or mode than its name suggests. Compare the actual settings with the intended QuickTime and ProRes 4444 combination.
- Check the export range. A render that contains only an opaque portion of the timeline won’t show the transparent section you expected, even if the alpha option was enabled.
Blackmagic’s Resolve 17 guide says the Export Alpha checkbox appears when the selected codec supports an alpha channel, and that the option will not appear for a codec that does not. Although it is an older version guide, this is the relevant behavior to check against the controls in your installed version; the current codec support list tells you which combinations are documented for Resolve 20.
Don’t confuse alpha export with the Alpha Output node on the Color page. They answer related but different questions. Export Alpha tells Resolve to include the channel in the output file when the selected format supports it. A Color page alpha output is one way to route a key from a node graph into the timeline’s output. If your grade depends on a key output, check that routing. If your transparency is built by a title or Fusion composition, verify its final output and the timeline composite instead.
The same principle applies inside Fusion: an alpha-capable codec can store the output channel, but it cannot invent a matte that your composition doesn’t produce. Inspect the final Merge and MediaOut path. If the composition’s final image is opaque, turning on Export Alpha faithfully exports an opaque result. If the final output has a transparent region, a short render can show whether that region survives the Deliver page.
Be careful with “Render in Place” advice. That is not the same task as exporting a timeline from Deliver. A codec available in Deliver may not appear in a different render feature, and the available options can vary by version. For a delivery file, use the Deliver page and check its controls.
If you are producing separate clips, remember that one timeline-wide composite and a set of separate clip files don’t mean the same thing. A lower track may be needed to create the final look but would make each rendered clip behave differently from a single composite. Choose the output mode based on what the recipient will put into the next application, then verify a representative file before rendering every shot.
How do I verify the alpha channel before delivery?
Render a short test and composite the resulting movie over a contrasting background in an application that reads alpha. Check a fully transparent area, an opaque area, and a soft edge; those three checks reveal more than looking at the file in a player.
Use a small test range that includes the hardest part of your graphic. For a title, include thin lettering and antialiased curves. For a keyed subject, include hair, motion, or a feathered edge. For a logo animation, include the fade-in and fade-out. A section that contains only solid, fully opaque pixels can’t tell you much about the quality of the matte.
A practical check looks like this:
- Render a short range using the exact final format, codec, alpha checkbox, and alpha mode.
- Import the rendered movie into Resolve or the application that will receive the file.
- Put a brightly colored background clip beneath it.
- Scrub through the transparent beginning, the visible section, and the transition or fade.
- Repeat with a light and a dark background if edge contamination is hard to see.
- Confirm the matte moves with the subject or graphic and doesn’t pop, disappear, or leave a halo.
- If edges are wrong, try the other alpha interpretation in the receiving app before rerendering.
A simple background test separates three common results. If the background clip shows through correctly, the file is carrying useful transparency. If solid black blocks the background, the render may be opaque or the player may be ignoring alpha. If only the edges look wrong, investigate alpha interpretation and the matte itself.
Do not use file size as proof of alpha. A movie can have a large file with no useful transparency, or a smaller one with an alpha channel. The codec setting and a compositing check provide better evidence. Apple’s ProRes documentation says alpha is encoded losslessly in ProRes 4444 and XQ, but lossless encoding preserves the alpha values Resolve supplied; it does not guarantee those values describe the visual result you wanted.
You can also inspect metadata in a media tool that reports the video stream’s pixel format or alpha presence, but don’t treat one label as the final visual check. Different applications may expose channel information differently, and metadata cannot tell you whether your matte has a fringe, whether the edge looks right over the intended background, or whether the receiving app interprets the alpha mode correctly. Visual compositing remains the useful final test.
If the receiver is another editor or compositor, ask them to confirm the file over a test background before the delivery deadline. Send the intended alpha mode, frame rate, resolution, and render range with the file. Those are part of a dependable handoff, especially when the graphic must line up with a separate plate or timeline.
For a larger deliverable, check more than one point in the range. Inspect a frame near the start, one where the graphic is fully visible, and one near the end. If you have a long fade or complex motion, scrub the transition rather than sampling only one still frame. A correct first frame does not prove the alpha stayed correct through the whole animation.
Keep the short test file until the recipient confirms the setup. It makes a useful reference if the full render later appears different. If the test fails, change one variable at a time: alpha mode, timeline composite, or render settings. Changing the codec, color management, resolution, and alpha mode all at once can make it harder to identify what fixed the issue.

A short composite test is stronger evidence than a successful render notification.
What settings should I confirm in a ProRes 4444 handoff?
A dependable handoff states the codec, container, alpha mode, render mode, frame rate, resolution, and range. Confirm those details with the receiving editor before a long render or final delivery.
| Handoff item | What to confirm | Why it matters |
|---|---|---|
| Container | QuickTime, if that is the agreed format | The container and codec are separate choices |
| Codec | ProRes 4444 or ProRes 4444 XQ, as specified | ProRes 422 variants do not provide the same alpha capability |
| Alpha | Export Alpha enabled | A capable codec may still be rendered without the channel |
| Alpha mode | Straight or premultiplied, as requested | A mismatch can change edge appearance |
| Render mode | Single Clip or Individual Clips | Determines whether you send one timeline composite or separate outputs |
| Frame rate | Match the timeline or delivery specification | A mismatch can affect timing in the receiving project |
| Resolution | Match the project or approved delivery dimensions | Resizing can change edge detail and the required file size |
| Range | Entire timeline or agreed in/out range | A wrong range can omit handles, graphics, or frames |
| Audio | Include only if needed for the handoff | An overlay may not need audio, but a composite may |
| Filename and destination | Use a clear name and a delivery folder | Helps prevent a test render from being mistaken for the final master |
For transparency work, the render range deserves more attention than it often gets. An overlay might need handles before and after the visible action so the next editor can trim it. A logo animation may begin at timeline zero, while a title meant to align with a longer scene may use a defined start frame. Agree on whether handles are included and how the recipient will align the file.
Frame rate is also not merely a cosmetic setting. If the exported graphic and the plate have different frame rates, their timing may not line up as expected. Keep the export aligned with the timeline or the recipient’s specification, and confirm the project’s frame rate before rendering. If you need help choosing a platform-specific delivery preset for a finished video rather than a transparent overlay, see DaVinci Resolve export settings for YouTube.
Resolution should match what the receiving job needs. A graphic made for a 1920 by 1080 sequence might be delivered at that size, while a 4K timeline could require a larger canvas to preserve its placement and detail. Don’t resize simply because a smaller file is convenient: confirm whether the next editor expects the graphic at full timeline dimensions or as a cropped element. The file’s alpha channel does not define its placement or its intended canvas.
Audio needs a decision too. A title animation or logo overlay may not need an audio track. A rendered composite that includes sound may. Leaving the audio choice implicit can lead to a silent file where sound was expected, or a needless audio stream in a graphics-only handoff. Resolve’s export controls let you configure audio separately from video, so make that choice deliberately.
Name the file so the recipient can distinguish a test from an approved final. For example, a worked-example filename might include the project, graphic, codec, and alpha mode. That is a naming suggestion, not an observed result or a required industry standard. Avoid labels such as “final-final” that hide which version or settings the file contains.
Finally, confirm the intended color and data-level handling if the recipient has specified it. This guide is about transparency, not color-management setup, and a correct alpha channel doesn’t guarantee matching color between applications. If the image looks different after transfer, diagnose the color pipeline separately from the alpha matte. A file can have correct transparency and still need a color-space or levels review.
When should I use another alpha-capable format?
Use another format when the receiving application, delivery specification, or workflow requires it. ProRes 4444 is a strong movie handoff option, but an image sequence or another alpha-capable codec may fit better when the next step calls for frames, a different platform, or a specific house format.
Blackmagic’s Resolve 20 codec list documents multiple alpha-capable export paths, including ProRes 4444, DNxHR 444, GoPro CineForm, PNG, and TIFF in their listed combinations. A codec’s availability and alpha support depend on the container and operating system; check the table for the platform you use instead of assuming every format supports every feature everywhere.
| If the next step needs... | Consider... | Check before sending |
|---|---|---|
| One transparent movie for an editing or compositing handoff | QuickTime ProRes 4444 | Export Alpha, alpha mode, and the recipient’s ProRes support |
| A high-dynamic-range 4:4:4:4 movie specifically requested by the recipient | QuickTime ProRes 4444 XQ | Whether the recipient needs XQ and has room for the larger data rate |
| Separate frames that can be handled or inspected one by one | PNG or TIFF sequence | Frame numbering, folder completeness, resolution, and alpha handling |
| A Windows handoff using another supported codec | A listed alternative such as DNxHR 444 or GoPro CineForm, if accepted | Exact bit depth, container, alpha interpretation, and the recipient’s decoder |
| A delivery that does not require transparency | A suitable non-alpha delivery codec | Whether quality, color, and destination requirements are met |
An image sequence is useful when each frame needs independent processing or when a downstream compositor expects frames rather than a movie. But it creates a sequence that can be broken by missing files, inconsistent names, or sorting errors. The recipient needs the complete folder and the correct frame rate or sequence interpretation. A QuickTime movie keeps the animation in one file, which can make a simple overlay easier to hand off.
DNxHR 444 can be worth considering when the recipient’s workflow is built around DNxHR or the platform-specific ProRes option is unavailable. GoPro CineForm is another alternative shown in Blackmagic’s supported-codec documentation. These are not automatic drop-in replacements: confirm the exact profile and alpha behavior with the person receiving the file. Do not substitute because a tutorial says one is “better” without checking the delivery specification.
If you need a smaller file for a web upload or social post, an alpha master may not be the right distribution file. Many common delivery presets are intended for playback rather than transparent compositing. Keep a high-quality alpha-capable master for the editing handoff, then make a separate flattened copy for the destination that does not need transparency. For a conventional upload where file size is the issue, this DaVinci Resolve guide to oversized exports covers the separate delivery decision.
If the recipient requests a logo or watermark that should remain visible but not editable, clarify whether they need a flattened deliverable or an alpha overlay. Those are different outputs. A flattened render bakes the graphic into the image; an alpha movie keeps it on a layer that can be composited. If the graphic is a watermark you are placing in the final video, this guide to adding a watermark in DaVinci Resolve covers that workflow.
Don't infer support from the extension alone. A .mov suffix tells you the container family, not whether the file contains alpha, which alpha mode it uses, or whether a particular player will display it. Likewise, seeing “4444” in a preset name doesn’t prove that Export Alpha was checked. The delivered file and the recipient’s composite test are what matter.
What is the safest final check before I send the file?
The safest final check is to reimport the rendered movie into an alpha-aware application, composite it over a contrasting background, and confirm the transparency and edges at the points that matter. Then send the recipient the settings they need to interpret the file correctly.
A render can finish without errors while the wrong range, matte, or alpha mode is still in the file. Keep a compact checklist with the job:
- The codec is the agreed ProRes 4444 profile.
- The container is the agreed format.
- Export Alpha was enabled for the queued render.
- Straight or premultiplied alpha matches the receiving application.
- The transparent area reveals a test background.
- Soft edges look clean over both dark and light backgrounds.
- The resolution, frame rate, and range match the handoff.
- The recipient knows whether the file is a single composite or separate clips.
For an important handoff, ask the recipient to confirm the short test before you render the complete duration. That small check can catch an interpretation mismatch while it is still easy to change. Then render the full file using the approved settings and keep the test and final outputs clearly separated.
The right alpha export is the one the receiving application can composite as intended.
Sources
- DaVinci Resolve 21.1 Reference Manual and support resources
- DaVinci Resolve 20 Supported Formats and Codecs
- DaVinci Resolve 17 New Features Guide
- Apple ProRes white paper
- About Apple ProRes, Apple Support
- Recording video in Apple ProRes, Apple Developer Documentation
- AVAssetReaderTrackOutput, Apple Developer Documentation
- Export with Alpha Transparency from Resolve, Heather Hay, Frame.io
- DaVinci Resolve 21 New Features Guide
Frequently asked questions
- How do I export ProRes 4444 with alpha in DaVinci Resolve?
- On the Deliver page, choose QuickTime as the format and Apple ProRes 4444 as the codec, enable Export Alpha, set the alpha mode to match the receiving application, and render. Reimport the file over a contrasting background to check that transparency survived.
- Why is my ProRes 4444 export showing a black background?
- A black background can mean the render has no usable alpha, the timeline actually contains black pixels instead of transparency, or the viewer is displaying transparency as black. Check Export Alpha, test the file over a background in a compositing application, and inspect the alpha mode if the edges look wrong.
- Does DaVinci Resolve export ProRes 4444 alpha on Windows?
- Blackmagic Design's Resolve 20 codec list documents Apple ProRes encoding and alpha export on Windows for supported QuickTime and MKV combinations. On your installed version, confirm that Export Alpha appears for the selected codec and container before rendering.
- Should I choose straight or premultiplied alpha?
- Use the alpha mode requested by the application receiving the file. Straight alpha stores color independently of opacity; premultiplied alpha stores color already multiplied by opacity. A mismatch can produce dark or bright fringes around soft edges.
- Should I use ProRes 4444 or ProRes 4444 XQ?
- Choose ProRes 4444 for most transparent graphics and compositing handoffs. Choose ProRes 4444 XQ when the project specifically needs its higher data rate and high-dynamic-range headroom; it still requires a compatible workflow and will produce a larger file.
Sources
- DaVinci Resolve 21.1 Reference Manual, available from Blackmagic Design Support
- DaVinci Resolve 20 Supported Formats and Codecs
- DaVinci Resolve 17 New Features Guide, alpha export in Single Clip mode
- Apple ProRes white paper
- About Apple ProRes, Apple Support
- Recording video in Apple ProRes, Apple Developer Documentation
- AVAssetReaderTrackOutput, Apple Developer Documentation
- Export with Alpha Transparency from Resolve, Heather Hay, Frame.io
- DaVinci Resolve 21 New Features Guide, Blackmagic Design
Learn by doing, not watching
Stop translating tutorials to your timeline.
TryUncle stays beside Resolve on Mac and Windows. When you ask, Uncle sees your screen and points at the exact control you need. No hunting through tabs, timestamps, or mismatched tutorials.
Meet TryUncleKeep reading
 GuidesJul 7, 202632 min read
DaVinci Resolve Export Settings for YouTube (Copy These Exactly)
The exact DaVinci Resolve export settings YouTube recommends: codec, bitrate, resolution, audio, and the Deliver page steps that avoid soft uploads.
 FixesJul 23, 202625 min read
DaVinci Resolve Export File Size Too Large? Here's the Fix
Why a DaVinci Resolve export balloons past your source footage, and the exact Quality, codec, and bitrate settings that shrink it without hurting quality.
 GuidesJul 9, 202636 min read
How to Add a Watermark in DaVinci Resolve
How to add a watermark in DaVinci Resolve: Data Burn-in, timeline overlays, and why free exports sometimes show one you didn't add.