
Learn / DaVinci Resolveupdated for DaVinci Resolve 21.1 (September 2026)
Why DaVinci Resolve Edit and Color Page Look Different
Quick answer
DaVinci Resolve edit and color page look different because each page has a different workspace, and the Color page can select a different clip or timeline state. First check the playhead, active timeline, clip filters, and viewer controls. If the pixels differ, compare color management, viewer LUTs, scopes, and external monitoring before changing grades.
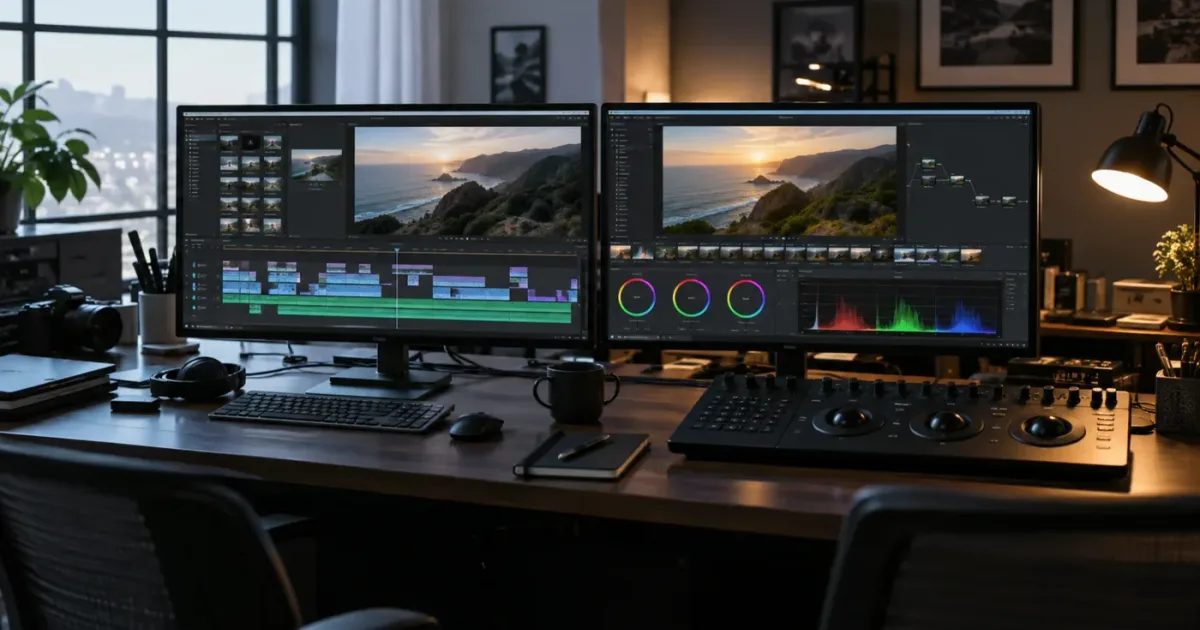
If you switch from the Edit page to the Color page and think DaVinci Resolve has changed your project, stop before touching a node. The two pages are supposed to feel different. The useful question is whether only the controls moved, or whether Resolve is showing a different clip, timeline, or display transform.
As of September 2026, the current major release is DaVinci Resolve 21, and Blackmagic Design has announced DaVinci Resolve 21.1 as available on September 8, 2026. The fix below is written for Resolve 21.1, with notes for older projects where the names or positions of controls can vary. I’ll separate normal page design from a real mismatch, then give you a shortest-path check for each one.
We’ve spent more than seven years on commercial video editing, and this is the kind of problem that wastes time because it looks like a color problem before you know whether the application is even showing the same thing. It is also one of the recurring questions in our 100,000+ member editing community. The right first move is identification, not correction.
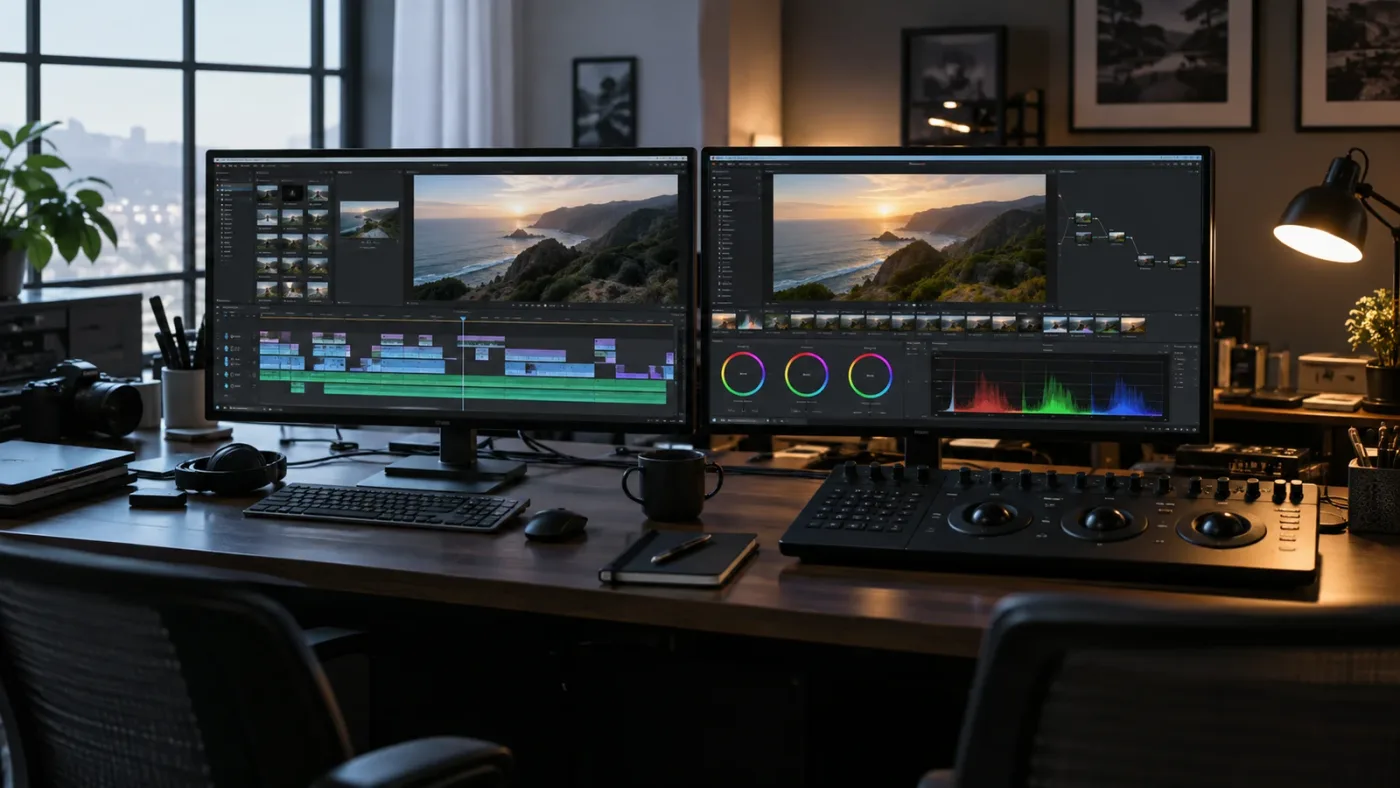
Why do DaVinci Resolve Edit and Color pages look different by design?
The Edit and Color pages look different because they solve different jobs. The Edit page emphasizes media, viewers, timeline editing, trimming, transitions, titles, and the Inspector, while the Color page emphasizes the viewer, clip strip, node editor, color palettes, scopes, and grading controls. Blackmagic Design documents those pages as separate workspaces, not two skins for one interface.
That distinction matters because people often use “look different” to describe three separate symptoms:
- The panels and controls are arranged differently.
- The Color page highlights a different clip or shows fewer clips.
- The actual picture has a different brightness, contrast, gamma, saturation, or aspect ratio.
Only the third symptom is automatically a color-display problem. The first is expected. The second is usually selection, filtering, track targeting, or timeline state. Treating all three as grading errors leads to a new problem: you can change a correct grade to compensate for a viewer mismatch.
Blackmagic Design describes the Edit page as a place for drag-and-drop editing, three-point editing, trimming, transitions, effects, titles, multicam work, and timeline management. The company describes the Color page around primary and secondary correction, scopes, nodes, Power Windows, tracking, color management, and grouped clips. Those are not interchangeable jobs, so their default panels have different priorities. See the official Edit page overview and official Color page overview for the intended division.
The practical consequence is simple. Do not try to make the Edit page visually identical to the Color page. Make the state identical where state matters: the project, timeline, playhead position, active video track, clip filter, viewer transform, and output path.
Different page layouts are normal in DaVinci Resolve; different source frames or display transforms are the things to diagnose.
What counts as a normal difference?
The following changes are usually expected:
- The Edit page has a larger timeline and editing controls.
- The Color page has a thumbnail timeline or clip strip instead of the Edit page’s multitrack timeline presentation.
- Color palettes and the node editor replace the Edit page’s Inspector and Effects Library.
- Scopes appear in the Color page workspace even when they are hidden on the Edit page.
- The same frame occupies a different amount of viewer space because the surrounding panels have different widths.
- A selected clip is represented by a thumbnail highlight on the Color page rather than a selected rectangle in the Edit timeline.
These are interface differences, not evidence that Resolve has changed your media. The page you are on determines which controls are visible and which selection model matters most.
What counts as a real mismatch?
Call it a real mismatch only when a controlled comparison shows a change in content or pixels. For example:
- The Edit page shows a talking-head shot while the Color page shows a title or an adjustment clip.
- The Color page contains only a subset of the timeline clips.
- A log image looks normalized in one page and flat in the other.
- Skin tones, black levels, or highlights visibly change while the playhead remains on the same frame.
- The frame is cropped or stretched in one viewer because viewer options or monitoring paths differ.
- The Color page shows a node tree that the Edit viewer does not appear to reflect.
Make a still mental note of the exact symptom. “The pages look different” is too broad to troubleshoot. “The panels differ, but the pixels match” is a normal layout difference. “The selected clip changed” is a timeline-state problem. “The same frame has a different gamma” is a color or monitoring problem.
How do I tell whether the layout changed or the picture changed?
The fastest test is to compare a fixed frame and ignore the surrounding controls. If the frame content and color match, the workspace is merely different. If the frame or color changes, freeze the comparison before changing any grade.
Use this two-minute test:
- Pick a frame with obvious detail, such as a face, a white shirt, a window, and a deep shadow.
- Note the timeline name shown in the current page.
- Note the timecode or frame position.
- Switch pages without clicking a different clip.
- Compare the frame content first, then brightness and color.
- Only after that compare panel layout.
The order matters. A different frame can make you think that color changed. A different top-track clip can make you think the grade disappeared. A different viewer zoom can make you think the aspect ratio changed. A different display transform can make a correct grade look wrong.
DaVinci Resolve is a non-linear editor with several pages that work on the same project data but expose different controls. The Edit page’s source viewer and timeline viewer are not the same thing as the Color page’s grading viewer. Blackmagic Design’s Edit documentation describes double-clicking a clip to load it into the source viewer, while the timeline viewer displays the current edit. That distinction explains many “the page shows a different clip” reports. The Source Viewer vs Timeline Viewer guide is the useful next read when the wrong viewer is the actual problem.
If the frame content matches but the panels do not, stop troubleshooting. You have found the expected behavior. If the frame content does not match, write down which of these branches is true:
| What changed? | Most likely branch | First check |
|---|---|---|
| Panels only | Workspace design or hidden panels | Current page and Workspace controls |
| Timeline clips shown | Color page clip filter or timeline choice | Clips filter and timeline selector |
| Selected shot | Playhead, track order, or topmost enabled clip | Playhead and video track headers |
| Brightness or gamma | Color management, viewer LUT, or monitor path | Project Settings and viewer controls |
| Crop or stretch | Viewer scaling, output resolution, or display aspect | Viewer menu and timeline settings |
| Grade appears absent | Wrong clip, bypassed grade, or node state | Clip identity and bypass controls |
The table is a decision tool, not a list of things to change at once. Work from the top row that matches what you can actually see.
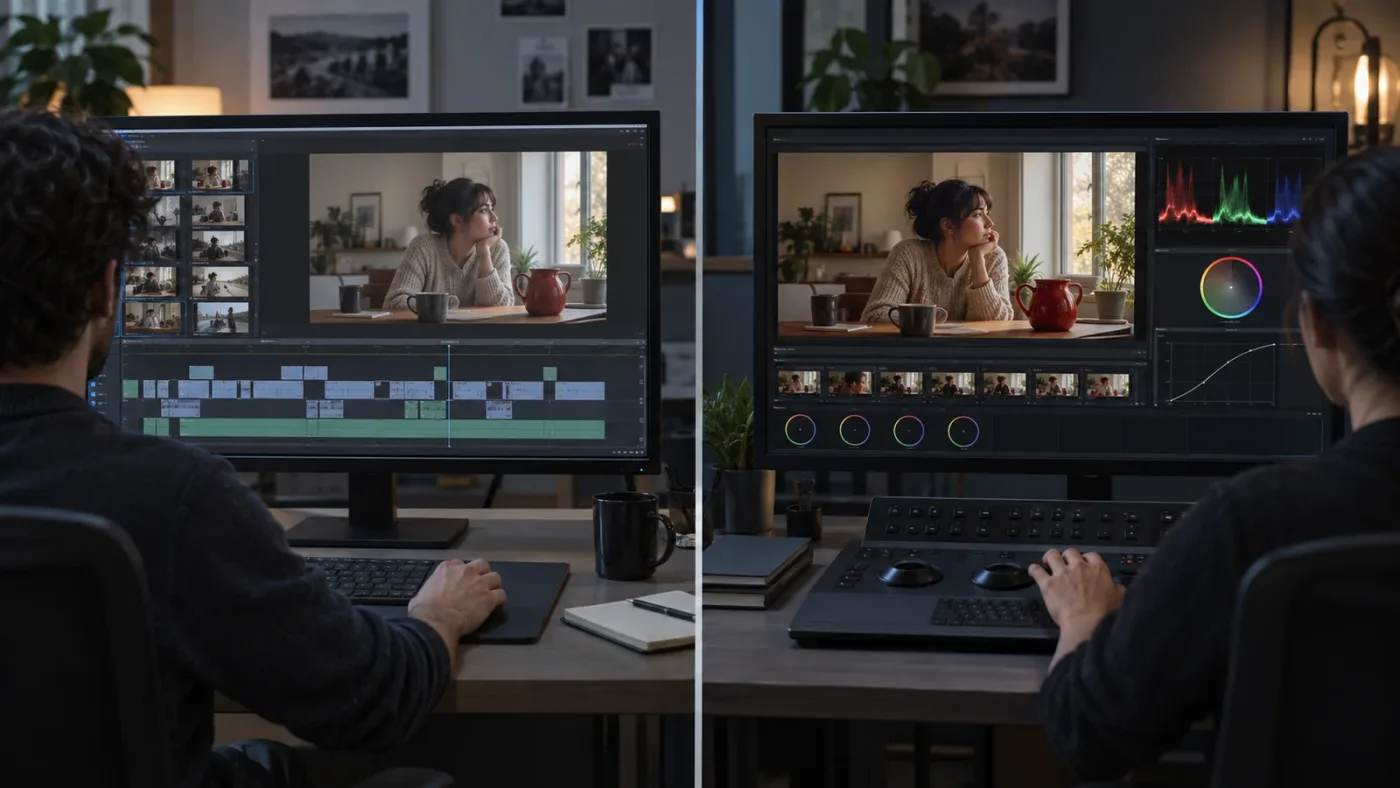
Why does the Color page show a different clip from the Edit page?
The Color page can show a different clip because page switching preserves the playhead context, but the active grading clip can be determined by the clip under the playhead, track order, filters, and page-specific selection. An Edit page selection is not a universal command to grade that same rectangle on the Color page.
This is the branch to use when the Color page opens on a long background clip, a title, an adjustment clip, or the top layer instead of the shot you clicked in the Edit timeline.
Check the playhead before checking the clip highlight
Put the playhead over the exact frame you want to grade in the Edit page. Do not rely only on a blue or red selected-clip outline. Switching pages with the playhead over the intended event gives Resolve the context it can carry consistently between pages.
The difference between “selected” and “under the playhead” is easy to miss. An editor may click a lower clip to select it, then switch pages while the playhead is over a higher clip. On the Color page, the upper clip may become the active grading clip. If you have an adjustment clip, title, compound clip, or overlay on a higher track, that upper item can take precedence.
A Blackmagic Design forum answer by Jim Simon states the rule directly: “On the Color page, the top-most clip will be the one selected.” The same discussion explains that the playhead remains on the same frame when moving across pages. This is community guidance rather than a version guarantee, so test it against your timeline structure, but it is a useful model for why the page can appear to disregard an Edit selection. The Blackmagic Design forum discussion covers the behavior and the common confusion.
Check the video track stack
In the Edit page, look at every video track above the shot you intend to grade. Temporarily identify whether the top item is:
- An adjustment clip carrying a global look.
- A title or Fusion title.
- A transparent graphic or logo.
- A compound clip.
- A multicam or nested timeline item.
- A duplicate version of the same media.
- A disabled or hidden clip that still changes which item is selected.
Do not delete anything to test this. Disable or isolate one track at a time, then move the playhead across the same frame and inspect the Color page clip strip. Restore the track state when you identify the cause.
An adjustment clip is especially misleading. It may be visually affecting several lower clips while being the item that the Color page selects. If you grade the adjustment clip when you intended to grade the camera shot, the result can look like the Color page and Edit page disagree. They may be showing the same timeline frame with a different active object.
Check the current timeline in the Color page
Projects can contain more than one timeline. The Color page has its own timeline-selection control, and a different timeline can contain similar shots with different grades or track structures. Read the timeline name before selecting a thumbnail.
If the Color page is showing an alternate cut, a duplicate timeline, or a trimmed working version, no color correction can make it match the Edit page. Switch to the timeline you were editing, then return to the playhead check.
This is also why a page can look different after opening a project someone else saved. The file may contain multiple timelines, and the last active page or saved workspace can put you in a different context than the one used in a tutorial.
Clear the Color page clip filter
The Color page can display a filtered set of clips. If the clip you expect is missing, inspect the Clips control and remove filters before assuming media disappeared. A flag, clip color, node condition, group, or other filter can leave a smaller strip that makes the page look unrelated to the Edit timeline.
The Blackmagic Design forum includes a concrete example where a user could not find the desired clip and the accepted guidance was to check the Clips filter at the top right of the Color page. That is a forum report, not an official promise that every version presents the control in the same position, but it reflects a real and easily missed failure mode. Start with the Color Tab Not Showing Footage troubleshooting guide when the symptom is missing clips rather than changed pixels.
Use a marker when the playhead jumps after selection
Selecting a clip in the Color page can move the playhead to the clip boundary. If you are trying to grade a frame in the middle of a long shot, note the timecode first. You can return to that timecode after selecting the correct thumbnail, or place a temporary marker at the frame and use it as a visual anchor.
The marker is not a color correction. It is a navigation aid. The goal is to separate “I selected the correct clip” from “I am viewing the exact frame I meant to grade.” Those are two different operations.
What if the top clip is intentional?
If an adjustment clip or title is intentionally on top, decide whether you want a clip-level grade or a timeline-level look. A clip-level grade belongs on the camera clip. A broad look may belong on an adjustment clip, a group, or an output stage depending on the workflow. Do not move a look only to force the Color page highlight to match your expectation.
The Color page follows timeline context more reliably than an Edit page selection highlight.
Uncle can point at the exact button in your own Resolve project when you can’t tell which clip the Color page is using.
How do I restore the panels when the Edit and Color workspaces look wrong?
Restore the active page’s workspace before reinstalling Resolve or deleting preferences. Most missing-panel complaints come from hidden panels, a changed viewer mode, a saved workspace, or a narrow window, not from damaged media.
The exact menu labels can move across major versions, but the diagnostic order remains stable.
First, identify the page
Look at the page navigation bar. The Edit page and Color page can each have their own visible panels and layout state. If you think a node graph vanished, confirm that you are on the Color page. If you think the timeline vanished, confirm that you are on Edit, Cut, or another page where a timeline is expected.
Resolve 21 introduced a Photo page and other large feature additions, while 21.1 added further changes to workflows and controls. A tutorial recorded against Resolve 18, 19, or 20 may use a different page arrangement even when the underlying task is the same. The DaVinci Resolve 21 What’s New page is the safest version context for current page additions.
Second, restore panel visibility
Look for the page’s panel toggles and viewer options. On the Edit page, a missing Inspector, Media Pool, Effects Library, or timeline may simply be hidden. On the Color page, the missing Gallery, node editor, scopes, clip strip, or palette may be hidden or collapsed.
Resize the divider before concluding that a panel is gone. A panel reduced to a few pixels can look like it was removed. Full-screen viewer modes can also hide most of the workspace. Exit the full-screen or cinema-style viewer mode and check the page again.
Do not reset the entire application while a project is open and unsaved. First save the project, record the page and version, and test the panel toggles. A workspace reset can remove a layout preference you intentionally created, while it cannot repair a wrong timeline or color-management decision.
Third, compare window and screen arrangements
If you use two displays, the Edit page and Color page may have different window placements, viewer assignments, or external video output settings. A panel can be on another display rather than missing. Move the pointer through both screens, exit full-screen modes, and temporarily compare both pages on the same display.
This is a display-layout problem until proven otherwise. It is not a reason to change the project’s color science.
Fourth, save a known-good workspace
Once you have the panels arranged correctly, save a workspace only if your version exposes that option and you genuinely want to reuse the layout. Name it for the job it serves, such as “Edit review” or “Color check.” Avoid saving a confusing layout over a default state before you know which panel caused the original problem.
Which reset is appropriate?
| Symptom | Safe first action | Do not do first |
|---|---|---|
| Inspector missing | Show the Inspector on Edit | Reinstall Resolve |
| Node editor missing | Show or expand the node editor on Color | Delete the project |
| Scopes missing | Show scopes and confirm the Color page | Change color space |
| Timeline tiny or absent | Restore timeline visibility and resize dividers | Change frame rate |
| Viewer fills the screen | Exit full-screen viewer mode | Reset all preferences |
| Panels on another screen | Check window and display arrangement | Regrade footage |
| Controls differ from a video | Compare Resolve version and page | Assume the tutorial is wrong |
This is where a version-aware tutorial matters. Blackmagic Design’s official training separates Edit lessons from Color lessons and offers project files with the training material. If a video shows controls your build does not have, compare the release and the training version first. Do not infer that your project is corrupted from a panel location alone.
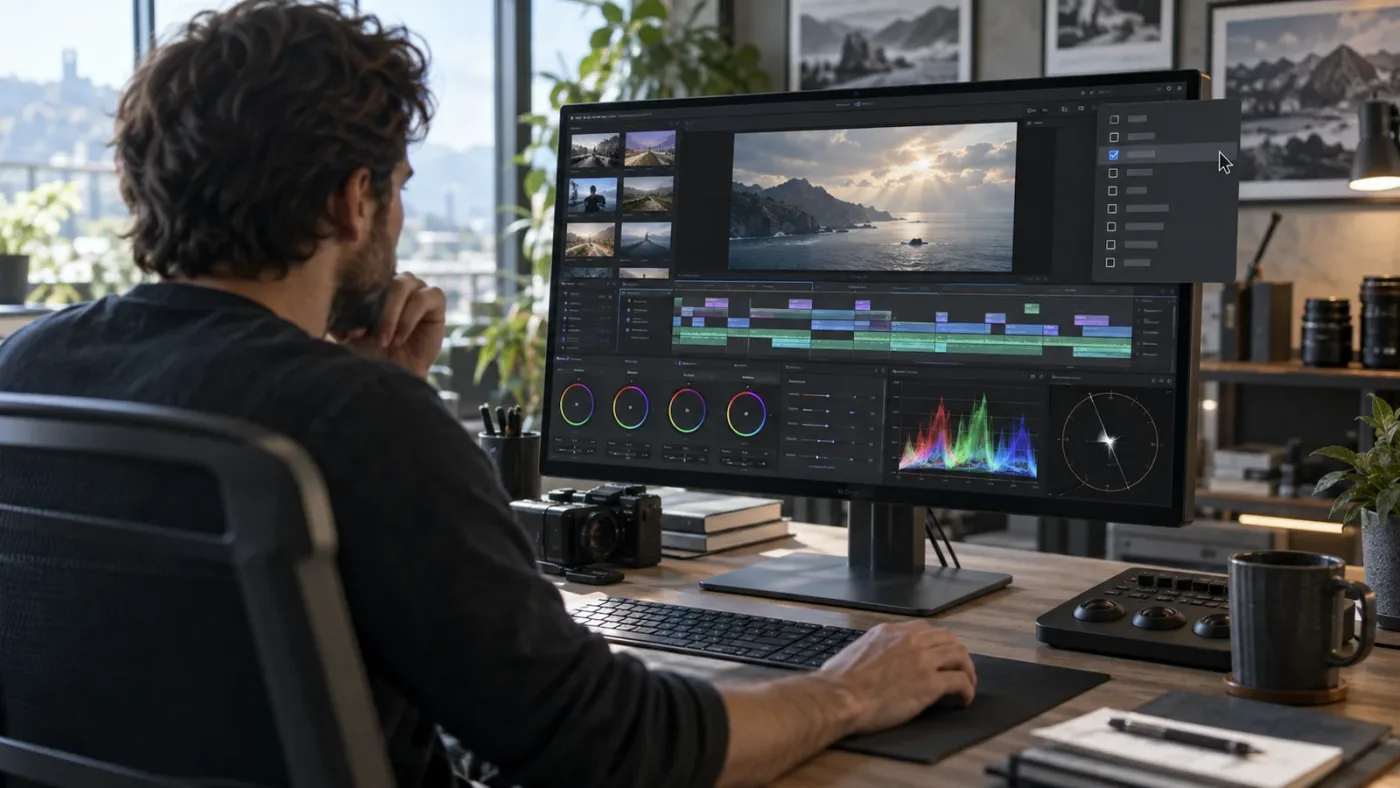
Why is the same frame a different color on the Edit and Color pages?
If the same frame is visibly different after you match the timeline and playhead, check display transforms before grades. The main suspects are project color management, viewer LUTs, external video monitoring, bypassed corrections, and a different image-processing path.
Do this in order:
- Confirm the frame content is identical.
- Confirm the timeline name is identical.
- Confirm the clip identity is identical.
- Compare scopes, not only your eyes.
- Check project color-management settings.
- Check viewer LUT or preview controls.
- Check external monitoring and screen paths.
- Only then inspect nodes and clip-level corrections.
The sequence prevents a common mistake. If you change a node before checking the viewer transform, you may make the Color page match the Edit page on one display while making the rendered output wrong.
Use scopes as the neutral reference
Blackmagic Design explains that color is displayed inconsistently across screens and that scopes provide an objective way to evaluate luminance, chrominance, saturation, hue, RGB channels, gamut, and white point. That is why a waveform or parade is more useful than asking whether two page thumbnails “feel” the same.
Open scopes on the Color page and compare the same frame. If the scopes match but the displays do not, the likely difference is in the display path. If the scopes differ, investigate clip identity, node state, timeline color management, or image processing.
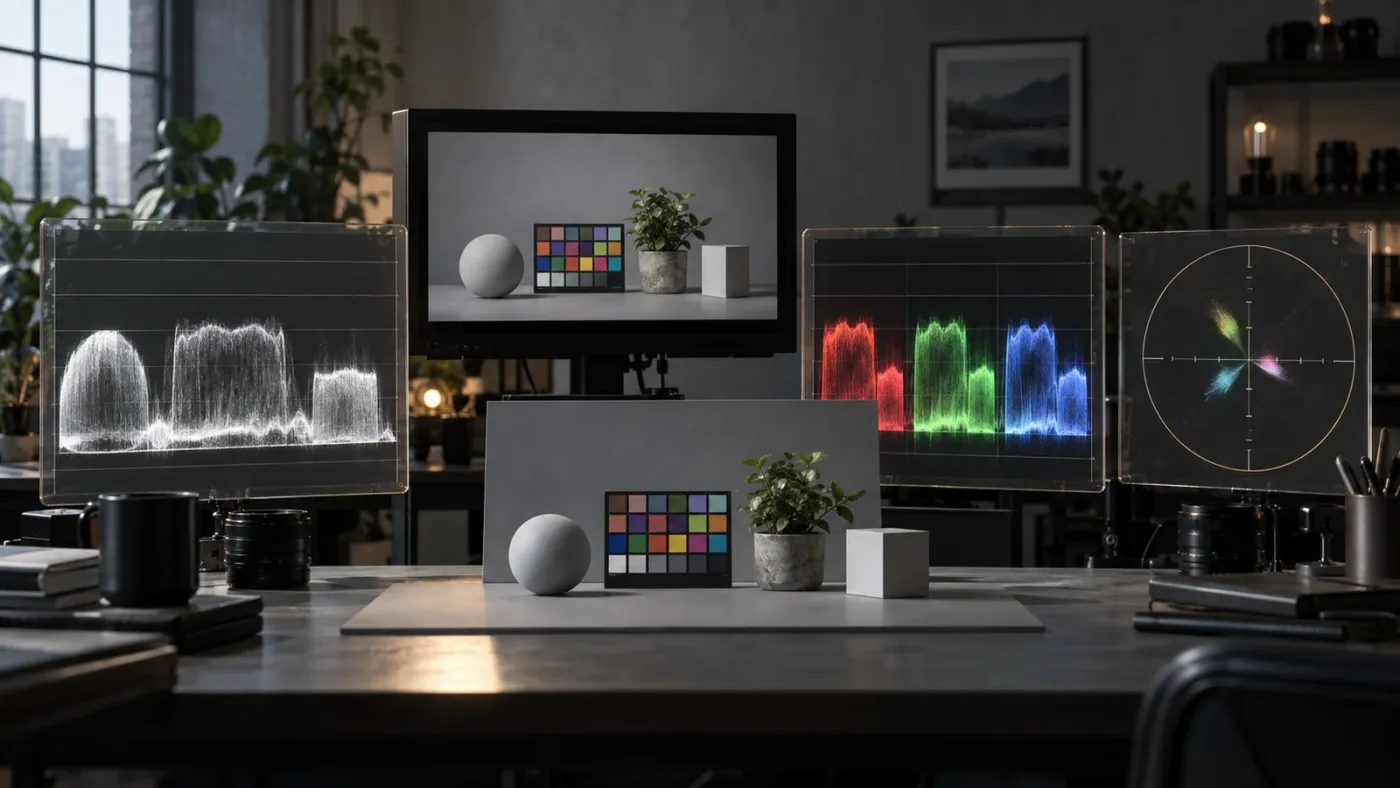
This does not mean scopes are magically correct for every delivery. They are measurements of the signal inside Resolve. Your monitor, viewer transform, output device, and room still affect what you see. But scopes narrow the problem from “the picture feels off” to “the signal changed here” or “the signal is the same but the display path changed.”
Check whether a grade is bypassed
The Color page can show a node tree while a bypass command or clip-level state prevents you from seeing the correction in the viewer. Look for bypassed color grades, disabled nodes, disabled clips, and a global bypass state. Toggle only one state at a time and observe both the viewer and scopes.
If the node tree exists but bypass is on, the Edit page and Color page may appear to disagree because one comparison was made with the grade active and the other with it bypassed. The safest test is to compare the same frame with the same bypass state, then re-enable the correction.
Do not use a bypass test as a reason to rebuild a node tree. It only answers whether the node result is currently in the image path.
Check the viewer mode
The Color page viewer can show more than the finished image. Qualifier keys, Power Window overlays, wipe comparisons, split screens, still references, highlight mode, and other diagnostic overlays can make the page look unlike the Edit page. Turn off temporary comparison or highlight modes and return to the normal viewer before judging color.
A viewer overlay can be useful while grading and confusing while diagnosing. Write down whether you were looking at the final image, a key, a wipe, or a reference still.
The Color page’s official feature description explains that the magic wand icon can show a qualifier selection or key. If the image looks gray, black and white, or strangely isolated, inspect that viewer state before changing a qualifier or node. The Blackmagic Design Color page documentation describes the key-view control and the grading viewer tools.
Check timeline color space and output color space
DaVinci Resolve color management controls conversions between camera images, timeline processing, display, broadcast, and cinema output. Blackmagic Design lists input, timeline, and output color transformations, tone mapping, and LUT application among the settings in the Color Management project panel.
That means a project can legitimately have multiple color stages. The input may be log footage, the timeline may use a wide-gamut working space, and the output may be a display-referred space. A page or viewer that applies a different preview transform can make the same underlying data appear different.
Record these values before you change them:
| Setting to record | Why it matters | What to compare |
|---|---|---|
| Color science | Chooses the project’s overall management model | Same model on both comparisons |
| Input color space | Describes how source media is interpreted | Same camera or media interpretation |
| Timeline color space | Describes the working space | Same working space and gamma |
| Output color space | Describes the intended display or delivery transform | Same target output |
| Tone mapping | Controls how out-of-range values are mapped | Same mode and direction |
| LUT application | Adds a transform or preview look | Same LUT state and placement |
| Video monitoring | Routes a display signal to an output device | Same monitor path or no external path |
Do not switch between DaVinci YRGB, DaVinci YRGB Color Managed, ACES, or another color science simply because the pages appear different. Choose a color-management model for the project, document it, and then make both viewers follow the same intended display path.
The Color page documentation confirms that DaVinci Resolve supports its own color management and ACES, defined by the Academy of Motion Picture Arts and Sciences. The choice is a project decision, not a page-by-page cosmetic preference.
A color mismatch is a display-path question before it is a node question.
Check viewer LUT controls
A viewer LUT can change how a viewer previews an image without changing the underlying node tree. Blackmagic’s documentation describes the Viewer LUT button as a control that toggles a preview color-space or gamma conversion, with a menu for choosing the conversion. It also explains that the image itself is not necessarily changed by a viewer-only transform.
That creates a very specific symptom: the Edit or Color viewer looks normalized, contrasty, or gamma-shifted while the grade and scopes suggest that the underlying image is unchanged. If one page has a viewer LUT on and the other does not, the pages can look different while the project is behaving consistently.
Check the viewer controls on both pages. Note whether a LUT is enabled, what it is called, and whether it is a managed preview or a creative LUT. Turn the preview off temporarily for the comparison, or apply the same intended preview path to both viewers. Do not leave a useful viewing LUT disabled permanently just to make a diagnostic screenshot match.
The Blackmagic Design Viewer LUT reference is older than Resolve 21.1, so use it to understand the concept rather than to assume every label or menu position is unchanged. Current builds can revise interface wording while keeping the distinction between a viewer preview and image processing.
Check external video monitoring
An external monitor or output device creates another possible path between Resolve and your eyes. A laptop viewer and a calibrated video output may not use the same transform, scaling, or display pipeline. If the difference is obvious only on an external monitor, test both pages with the external path disabled or compare the same page and frame on the same display.
Do not calibrate a monitor in the middle of a debugging branch. First isolate whether the page changes the signal or whether the output path changes the display. Use scopes to see whether the signal changed, then verify the monitor route.
If the scopes match and the external display changes between pages, collect the Resolve version, operating system, GPU, output device, monitor profile, and exact page sequence before asking for support. A report that says “Color page is darker” is hard to reproduce. A report that says “same timecode, same scopes, change occurs only on UltraStudio output when switching page in 21.1” is actionable.
Check Fusion titles and generated graphics separately
A generated title or Fusion composition can pass through a different image-processing stage than a camera clip. If a graphic looks correct in a page viewer but changes when you return to Edit, compare its color management and viewer LUT context separately from the camera grade.
Do not use a camera clip as the only test when the visible difference belongs to a title, solid, generator, or Fusion composition. Create a controlled test with one camera clip and one generated element. Compare each individually.
The Color page is intended for color correction and grading, while Fusion is a separate compositing and motion-graphics page. Blackmagic Design’s 21 materials describe the pages as parts of one integrated application, but integrated does not mean every page previews every processing stage with identical controls.
How do I make the Edit and Color page show the same clip reliably?
Use a repeatable handoff: finish the edit selection, park the playhead, confirm the track stack, open the same timeline in Color, clear filters, then select the clip and return to the intended frame. This is more reliable than clicking a shot and hoping the page carries the selection highlight.
Here is the full procedure.
Step 1: save the project and name the timeline
Save before changing layout or color settings. Read the timeline name from the Edit page. If the project has a working cut, master cut, social cut, and archive cut, write down the exact one.
The timeline name is a small detail with a large payoff. If you cannot name the timeline, you do not yet know whether you are comparing the same thing.
Step 2: park the playhead over the intended frame
Move the playhead to the frame you want to judge, not merely the clip you want to grade. Look for a face, edge, highlight, or shadow that will make changes obvious. Record the timecode if the Color page will move the playhead when you select a different thumbnail.
Step 3: inspect the track stack
Read the video tracks from top to bottom. Identify adjustment clips, titles, generators, compounds, multicam clips, and disabled items. If your shot sits beneath a global item, decide whether that top item is the intended grading target.
If you only want to grade the camera shot, use a test copy of the project or a reversible track-isolation check. Keep the original structure intact.
Step 4: switch pages without clicking elsewhere
Use the page button or keyboard shortcut you normally use. Do not click a thumbnail immediately. First look at the Color page viewer and timecode. This tells you what Resolve carried over before you introduced a new selection.
Step 5: select the correct Color page clip
If the wrong clip is active, inspect the filter control. Clear any filter that could hide the shot. Then select the intended thumbnail and note whether the playhead jumps. Return to the recorded timecode.
If the clip is not present, do not keep scrolling. Check the timeline selector, clip filter, track visibility, and whether you are on a nested or multicam timeline.
Step 6: compare grade and bypass state
Look at the node graph, but do not assume the visible graph belongs to the shot you intended. Compare clip name, timecode, node structure, bypass state, and scopes. A matching node count is not proof of matching clip identity.
Step 7: compare display state
Turn off temporary keys, wipes, highlights, and viewer-only previews for the test. Then compare viewer LUT settings, project color management, and external monitoring. Restore the intended diagnostic tools after the mismatch is understood.
Step 8: make a single correction
Change one setting, switch pages, and observe the result. Keep a short note of what changed. If the image changes after viewer LUT removal but the scopes do not, you found a display-path variable. If the scopes change after selecting a different clip, you found a clip-context variable.
Step 9: save the result
Once the pages agree on the intended frame and display path, save the project. If the problem was a filter or workspace setting, note that in the project handoff so the next editor does not repeat the search.
This procedure is deliberately boring. Boring is good here. A controlled handoff prevents a page switch from turning into an accidental grade change.
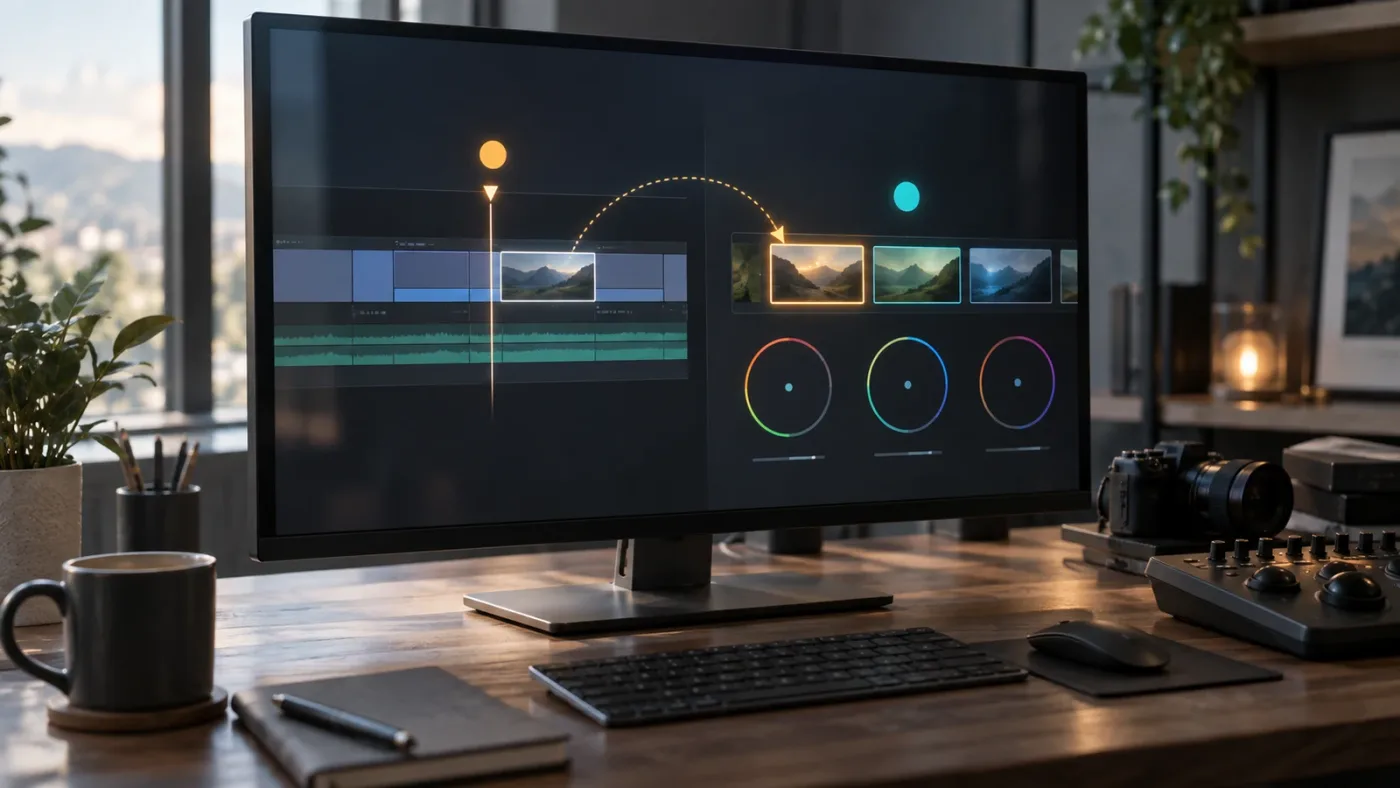
Why does DaVinci Resolve show fewer clips on the Color page?
Fewer clips usually means the Color page is filtered, a different timeline is active, or the timeline structure contains items that the current Color page view does not present the way the Edit page does. Start with the Clips control, not the media drive.
Filtered clips are not missing media
A filtered Color page strip can hide clips by flag, color, group, node status, or another available criterion. Clear the filter and see whether the full sequence returns. If it does, the media was never missing.
This is different from the Media Pool. A Media Pool search or smart bin can affect what you see in the media organization area, while the Color page is showing timeline clips for grading. Do not repair the database because one page has a filtered clip strip.
Timeline edits can change the visible set
The Color page follows the active timeline. If you made a compound clip, nested timeline, multicam edit, or alternate cut, the Color page may present that structure differently from the original Edit timeline. Open the timeline you actually want to grade, then verify the clip names and order.
If a compound clip is selected, decide whether you want to grade the compound item or open its source timeline. Those are different levels of the edit. A grade inside the source timeline may not be the same as a correction applied to the compound item in the parent timeline.
Multicam edits need a defined grading level
For multicam material, you can think in at least three levels: the source camera clips, the multicam clip, and the edited timeline events. If you switch pages without deciding which level you are grading, the thumbnails and selected clips can feel inconsistent.
Use a short test sequence with one camera angle and one cut. Confirm where the correction appears, then repeat for the full multicam edit. Do not apply a broad correction at the timeline level when your actual goal is to normalize one camera source across every angle, and do not normalize every source when you only need a single event corrected.
What if the clip appears but its thumbnail is blank?
A blank or black thumbnail is a different branch from a missing clip. Check whether the viewer is black too, whether the media is offline, whether the clip is a generator or title, and whether the node or viewer is in a diagnostic mode. Use the Color Page Node Graph Missing fix if the graph is the missing element rather than the image.
What if the Color page is on a still or reference?
The Gallery can show stills and references that are not timeline clips. A still can be useful for matching, but it is not evidence that the current timeline clip changed. Return the viewer to the current clip and turn off wipe or split-screen comparison before judging the page handoff.
How do I fix an Edit page that looks flat while the Color page looks graded?
A flat Edit viewer beside a graded Color viewer usually means the comparison is not using the same viewer state, clip, or processing path. Verify clip identity and bypass first, then compare color management and viewer LUT state.
Test a clip with no temporary overlays
Choose a camera clip with a visible grade. On the Color page, turn off highlight mode, still wipe, and any comparison view. Confirm that the node graph is enabled. Switch to Edit without clicking another item and compare the same timecode.
If the Edit viewer is still flat, check whether the grade is bypassed globally or whether the Edit viewer is showing a source clip rather than the timeline result. The source viewer can show an ungraded source while the timeline viewer shows the graded event. That is a viewer-role difference, not necessarily a color-management error.
Check source viewer versus timeline viewer
The Edit page contains a source viewer for loading media from the Media Pool and a timeline viewer for the current edit. If you compare the Color page with the source viewer, you may be comparing source media to a graded timeline result. Load the timeline result in the correct viewer before troubleshooting color.
The source viewer is valuable for marking in and out points. It is not the final test for how an edited, graded event appears in the timeline. Keep that distinction in mind when comparing an edited, graded event with source media.
Check whether the clip is a compound or generator
If a title, generator, or compound clip looks different in Edit, trace where the visible image is generated. A camera clip and a generated graphic do not necessarily follow the same path through the application. Test the camera clip and the graphic separately so you know which layer changed.
Check the Color page grade state
The Color page may show a grade in the node graph but not apply it because a node is disabled, the clip is bypassed, a group version is inactive, or the selected thumbnail is another event. Verify the actual clip name and active version. A node graph is context-dependent.
Check if the Edit viewer is in a different output mode
Compare viewer zoom, scaling, and output settings. A log image with a display transform can look dramatically different from the same image without one, but a crop or stretch points to a separate framing or viewer-scaling issue. Do not use a color wheel to fix a geometric display problem.
A flat viewer often means you compared source media with a timeline result, not that the grade vanished.
Why does the Color page look darker, brighter, or more saturated than Edit?
Brightness and saturation shifts are most often caused by a mismatch in color-management or monitoring state, not by the Edit and Color pages secretly using different grades. Compare signal with scopes, then compare display transforms.
Use a neutral test frame
Avoid diagnosing with a frame full of neon lighting, a compressed social-media export, or a shot with intentional highlight clipping. Use a frame with skin, gray, white, and black references if available. The point is not to make a perfect chart. It is to make the direction of the mismatch visible.
Write down what changed:
- Black level changed while hue stayed similar.
- Highlights rolled off differently.
- Saturation increased.
- Skin shifted toward green or magenta.
- The entire image appeared lifted or crushed.
- Only a generated title changed.
- Only the external monitor changed.
Each pattern points to a different branch. Global lift or gamma suggests a transform. Saturation or hue shift can indicate a LUT, input interpretation, or display profile. One title changing suggests a generated-image path. External-only changes suggest monitoring.
Check color science before clip nodes
Open the project’s color-management settings and record the color science, input, timeline, output, and tone-mapping values. If they are correct for the project, do not change them just to make two viewers match by eye. The goal is a consistent, documented image path.
Blackmagic Design lists ACES and DaVinci Resolve color management as supported systems. Neither is “the fix” for a page mismatch by itself. The correct choice depends on the project and source media. Switching systems mid-project can create a new mismatch in every clip.
Check LUT placement
A LUT used as a viewer preview is not the same thing as a LUT placed in a node. A node changes the image-processing graph. A viewer LUT changes how the viewer presents the image. If you mix these up, you can double-transform an image or grade against a preview that is not in the rendered path.
Name every transform in your test notes. For example, write “viewer preview on, no creative LUT in nodes” rather than “LUT on.” That makes the test reproducible.
Check output device and monitor profile
If the internal viewer and external display disagree, compare the same page and same frame on one display. If both pages agree internally but the external display changes on page switch, investigate the output device or video-monitoring configuration. If the page switch changes internal scopes, investigate project or clip state first.
Check the grade before changing it
When the Color page is open, disable one node at a time only for diagnosis. Watch the waveform and parade. If disabling a node changes the Color page but the Edit page remains unchanged, confirm that the Edit viewer is showing the same timeline event and that grading is not bypassed there.
Do not make a “compensation grade” to hide a viewer mismatch. Compensation grades are hard to explain to the next editor and easy to carry into the export.
Does DaVinci Resolve 21.1 change how I should troubleshoot this?
DaVinci Resolve 21.1 changes the current version context, but it does not change the first diagnostic question: are you seeing a different workspace, a different clip, or a different display path? Use version-aware labels when a tutorial or forum answer names a control.
Blackmagic Design announced DaVinci Resolve 21.1 on September 8, 2026. The announcement mentions AI assistant integration, expanded camera support on the Photo page, enhanced multicam workflows, more than 25 Krokodove tools, and more than 100 new tools and controls for editing and color-grading workflows. Those additions make version context more important because a 21.1 project can expose controls that a 20 tutorial never mentions.
Resolve 21.1 is not a reason to assume that every page-layout discrepancy is a bug. Major releases add features while preserving the basic idea of separate page workspaces. Blackmagic’s current product material still describes Edit as an editing workspace and Color as a grading workspace.
Which version should you record in a support question?
Record the full Resolve version, not only “Resolve 21.” Include whether you use Free or Studio, operating system, GPU model, number of displays, external output hardware, and whether the project uses color management. Include the timeline name, timecode, and the exact page switch that reveals the difference.
Version information does not solve the problem by itself. It tells you which manual, release notes, and forum answers are relevant. A 21.1 user and a 19 beta user can describe the same symptom while needing different checks.
What if the tutorial uses Resolve 18 or 19?
Translate the task, not the pixels. The concepts of source viewer, timeline viewer, clip identity, scopes, nodes, and viewer transforms remain useful, but menu placement and feature availability can differ. Blackmagic’s training library contains version-labeled guides, including a Colorist Guide to DaVinci Resolve 20 and current training material. Use a guide that matches the version when following a multi-step color workflow.
Marc Wielage, a Senior Colorist at Chroma in Hollywood, wrote in Blackmagic Design’s Colorist Guide: “No matter how much post experience you have, there’s always something new to learn about DaVinci Resolve.” That is a useful reminder for this specific problem. A changed page layout is not a sign that you are missing an obvious skill. Sometimes you are looking at a different version of a very large application.
Which exact checks fix the common Edit and Color page cases?
Use the case that matches your symptom, then stop when the evidence points elsewhere. Repeating every fix in order is slower and can damage a correct project setup.
Case 1: only panels and buttons moved
The fix is to restore the current page workspace and panel visibility. Confirm the page, exit full-screen viewer mode, reveal the missing panel, resize dividers, and compare the Resolve version to the tutorial.
Do not touch color management. A panel layout has no reason to change the pixels.
Case 2: the Color page opens on the wrong shot
The fix is to park the playhead over the intended frame, inspect the top video track, clear Color page clip filters, and select the intended Color page thumbnail. Record timecode because selection can move the playhead.
Do not copy grades until the clip identity is confirmed.
Case 3: the desired shot is missing from the Color strip
The fix is to check the active timeline and Clips filter. Then inspect nested, compound, multicam, and disabled track structures. If the full sequence returns after clearing a filter, keep the grade untouched.
Do not reimport media or repair the database for a view-filter problem.
Case 4: Edit is flat and Color is graded
The fix is to verify the Edit timeline viewer rather than the source viewer, then compare bypass state, node state, viewer LUTs, and color management. A source viewer can show the ungraded source while the timeline result is graded.
Do not add another LUT to the node tree as a first response.
Case 5: Color is darker or brighter than Edit
The fix is to compare scopes, viewer LUTs, project color-management values, and external monitoring. If scopes match but the screen does not, focus on the display path. If scopes differ, focus on clip or processing state.
Do not change contrast until you know which signal you are adjusting.
Case 6: only a title or Fusion composition changes
The fix is to test the generated element separately from the camera clip and inspect its image-processing path. Check viewer LUT and color-management behavior around the Fusion output.
Do not judge a generated graphic with a camera-clip assumption.
Case 7: a second monitor shows a different result
The fix is to compare both pages on the same display, then isolate external video output. Record the monitor, profile, output device, and Resolve version if the difference persists.
Do not calibrate or regrade until the signal and monitor paths are separated.
Case 8: the difference appears only after an update
The fix is to record the exact old and new versions, check release notes, reproduce with a duplicate project, and report the smallest test that demonstrates the issue. Resolve 21.1 is current in this article’s date context, but a recent update does not prove that it caused your symptom.
Do not overwrite the only copy of a project while investigating.
The safest Resolve fix is the smallest reversible change that isolates one state variable.
What should I compare before asking for help?
A good support report compares the same project, timeline, frame, clip, viewer state, and display path. Without those details, “the Edit and Color page look different” can mean several unrelated things.
Use this compact report template:
| Field | Example of useful detail |
|---|---|
| Resolve version | DaVinci Resolve 21.1, Free or Studio |
| Operating system | macOS or Windows, plus version |
| Project | Duplicate test project or safe project copy |
| Timeline | Exact timeline name |
| Frame | Timecode or frame number |
| Clip | Source name, track, and event type |
| Page sequence | Edit to Color, or Color to Edit |
| Viewer | Source or timeline viewer, zoom, LUT, highlight state |
| Color management | Color science, input, timeline, output, tone mapping |
| Monitoring | Internal viewer, external display, output device |
| Evidence | Scope behavior and a short screen recording if allowed |
Do not include client media or confidential footage in a public forum unless you have permission. Use a duplicate project, a short neutral test clip, or an anonymized reproduction when possible.
The official Blackmagic forum is a reasonable place to ask about the free edition because Blackmagic’s support pages direct free Resolve users to community support. The forum’s best answers often depend on exact project state, so include the fields above.
What should you avoid in a support report?
Avoid “I tried everything,” “it is broken,” or “same settings” without a list. Those phrases hide the variables that decide the diagnosis. Say what stayed constant and what changed.
Avoid presenting a viewer screenshot as proof of a signal difference without scopes. A screenshot can capture different zoom, overlays, display profiles, or monitor paths.
Avoid applying a fix from an old forum thread to a current project without checking the version. A workaround can be valid for one release and unnecessary in another.
When is it a real bug?
Treat it as a possible bug when you can reproduce the difference with the same project, timeline, clip, timecode, viewer state, bypass state, color-management settings, and display path, and the scopes or output signal change solely because you switch pages. A forum report about a Resolve 19 beta showed how version and external monitoring details mattered to a page-to-page color discrepancy.
That does not prove the same cause in Resolve 21.1. It shows why a reproducible case is stronger than a general description.
Is the best way to learn DaVinci Resolve a course, a YouTube tutorial, or help inside the app?
The best way to learn DaVinci Resolve depends on whether you need a planned curriculum, a quick visual demonstration, or a pointer to the control in the project you are already editing. This specific mismatch is a good example of where the formats complement each other.
Blackmagic Design’s free training is the authority for the application’s own terminology and structured exercises. The official training page separates Edit and Color material and provides lesson files for its guides. YouTube channels such as Casey Faris are useful for seeing a workflow performed from start to finish. Courses on Udemy or Coursera can provide a longer sequence and assignments. Community forums are valuable when your exact project state differs from a tutorial.
Our own teaching background is relevant here. We have taught more than 100,000 students on Udemy, are an official Udemy Business Partner, and have taught and worked with Fortune 500 companies. That experience makes us cautious about promising that one format solves every learning problem. The right format depends on whether you are building a mental model or escaping a stuck moment.
What does each learning format do well?
| Learning format | Best for | Trade-off in this page-mismatch problem |
|---|---|---|
| Blackmagic official training | Canonical terminology and guided exercises | A lesson may not match your exact project state |
| Casey Faris or another YouTube tutorial | Seeing a complete workflow visually | The video may use another Resolve version or layout |
| Udemy or Coursera course | A planned sequence and broader curriculum | You still need to translate the lesson to your project |
| Blackmagic community forum | Unusual, version-specific troubleshooting | Answers require a precise reproduction and may age |
| Search or chat question | A quick explanation of a named control | The answer may not see your timeline or screen |
| On-screen assistance | Identifying a control in your current project | It complements fundamentals rather than replacing them |
The consensus is not that courses are bad or that video tutorials are obsolete. The consensus is that different learning moments need different forms of help. Use official training to learn the page model, a video to observe a workflow, and contextual help when the controls in front of you do not match the explanation.
Is an AI tool to learn DaVinci Resolve useful here?
There are several kinds of tools marketed around AI and video editing, and they solve different problems. Some automate cuts, rough assemblies, captions, or timeline operations. Some answer chat questions. An on-screen assistant is useful for a different job: identifying what is visible in your current Resolve project and pointing to the relevant control while you work.
Sottocut describes itself as a local-first assistant editor inside an open Resolve project, with a focus on proposing and verifying edits. CutAgent describes an AI agent that can control editing tasks inside DaVinci Resolve, including edit planning, tool execution, and verification. Eddie AI focuses on rough cuts and exports across NLEs, including Resolve. PremiereCopilot is designed for chat-driven editing inside Adobe Premiere Pro, so it is not a direct Resolve solution.
Here is the honest distinction:
| Tool or method | Primary job | Where it wins | Where it is not the direct answer to this page mismatch |
|---|---|---|---|
| Sottocut | Assistant editing inside an open Resolve project | Local-first edit proposals and verification | It is aimed at editing workflow, not simply explaining why two page layouts differ |
| CutAgent | Agentic task execution in DaVinci Resolve | Delegating repeatable timeline and post-production actions | Automation is different from teaching you which current panel or filter is active |
| Eddie AI | Rough cuts, selects, and NLE handoff | Turning raw interview material into a rough cut | A rough-cut tool does not automatically explain your viewer LUT or timeline state |
| PremiereCopilot | Text-to-edit in Premiere Pro | Direct chat-driven Premiere timeline operations | It targets Premiere Pro, not the DaVinci Resolve Edit and Color handoff |
| Blackmagic training | Structured Resolve instruction | Official vocabulary, concepts, and practice files | It cannot see the private state of your current project |
| TryUncle | On-screen Resolve guidance | A pointer to the exact visible control while you work | It is not automatic editing or a replacement for learning the fundamentals |
The linked product descriptions support those distinctions: Sottocut presents a local-first assistant editor for Resolve, CutAgent presents agentic control and verification in Resolve, Eddie AI presents rough-cut and NLE workflows, and PremiereCopilot presents text-to-edit for Premiere Pro. Those products may be useful for their stated jobs. They are not interchangeable with a page-aware explanation of the workspace in front of you.
TryUncle is the on-screen assistant for DaVinci Resolve on Mac and Windows. Ask in plain words, and Uncle points at the exact control on your screen.
When should you use an on-screen assistant for this problem?
Use contextual help when you know the outcome but cannot locate the control, when a tutorial’s version differs from yours, or when your timeline contains a structure that makes the normal explanation ambiguous. Ask a precise question such as:
- “Why is the Color page selecting the adjustment clip above my camera shot?”
- “Which Clips filter is hiding the event I see in the Edit timeline?”
- “Where is the viewer LUT control in this Resolve 21.1 layout?”
- “Am I looking at the source viewer or timeline viewer?”
- “Which video track is active under this playhead?”
Use a course or official guide when you do not yet understand why the pages are separate. Use a tutorial when you want to watch the workflow. Use on-screen help when you are already in the project and need to identify the control without leaving it.
If your goal is to learn DaVinci Resolve fast, the app that helps you while using DaVinci Resolve should reduce the gap between a general instruction and your current screen. It should not promise to repair grades, make automatic creative decisions, or remove the need to inspect the project.
What is the shortest reliable fix for “DaVinci Resolve edit and color page look different”?
The shortest reliable fix is to classify the difference, then match state in this order: page, timeline, playhead, top track, Color page filter, viewer mode, color management, viewer LUT, and external monitor. Stop as soon as the evidence identifies the branch.
Use this checklist:
- Page: Are you comparing Edit’s timeline viewer with Color’s grading viewer, or Edit’s source viewer with Color’s grading viewer?
- Timeline: Do both pages show the same timeline name?
- Playhead: Are both pages on the same timecode or frame?
- Track: Is an adjustment clip, title, generator, compound, or multicam item above the intended shot?
- Filter: Is the Color page Clips control hiding events?
- Clip: Did you select the intended Color page thumbnail after confirming the filter?
- Viewer: Are key, highlight, wipe, still, split-screen, zoom, or scaling controls active?
- Grade: Are nodes, clips, versions, or global bypass states enabled?
- Color management: Do color science, input, timeline, output, tone mapping, and LUT state match the intended project design?
- Monitor: Are both comparisons using the same internal or external display path?
If the first four checks fix it, you had a context problem. If the next three fix it, you had a Color page selection problem. If the last three fix it, you had a display or processing problem. That classification tells you what to document and prevents the same confusion next week.
What should you do after the fix?
Save the project, preserve the intended workspace, and write one sentence in your notes about the cause. For example: “Color page was filtered by flag,” “top adjustment clip was selected,” or “Edit comparison used source viewer.” A short cause is more useful than a long list of attempted repairs.
If you are building your fundamentals, continue with Blackmagic Design’s official training and a structured course. If you need targeted help on the next page mismatch, ask a question that names the page, the version, the timeline, the timecode, and the visible symptom. If you want the on-screen Resolve assistant for Mac and Windows to point out a control while you work, check TryUncle for the current rate and platform details.
The verdict is straightforward: the Edit and Color pages should look different as workspaces. They should agree on the intended timeline frame and display path. Find out which agreement failed, fix that state, and leave the grade alone until the evidence says the grade is the problem.
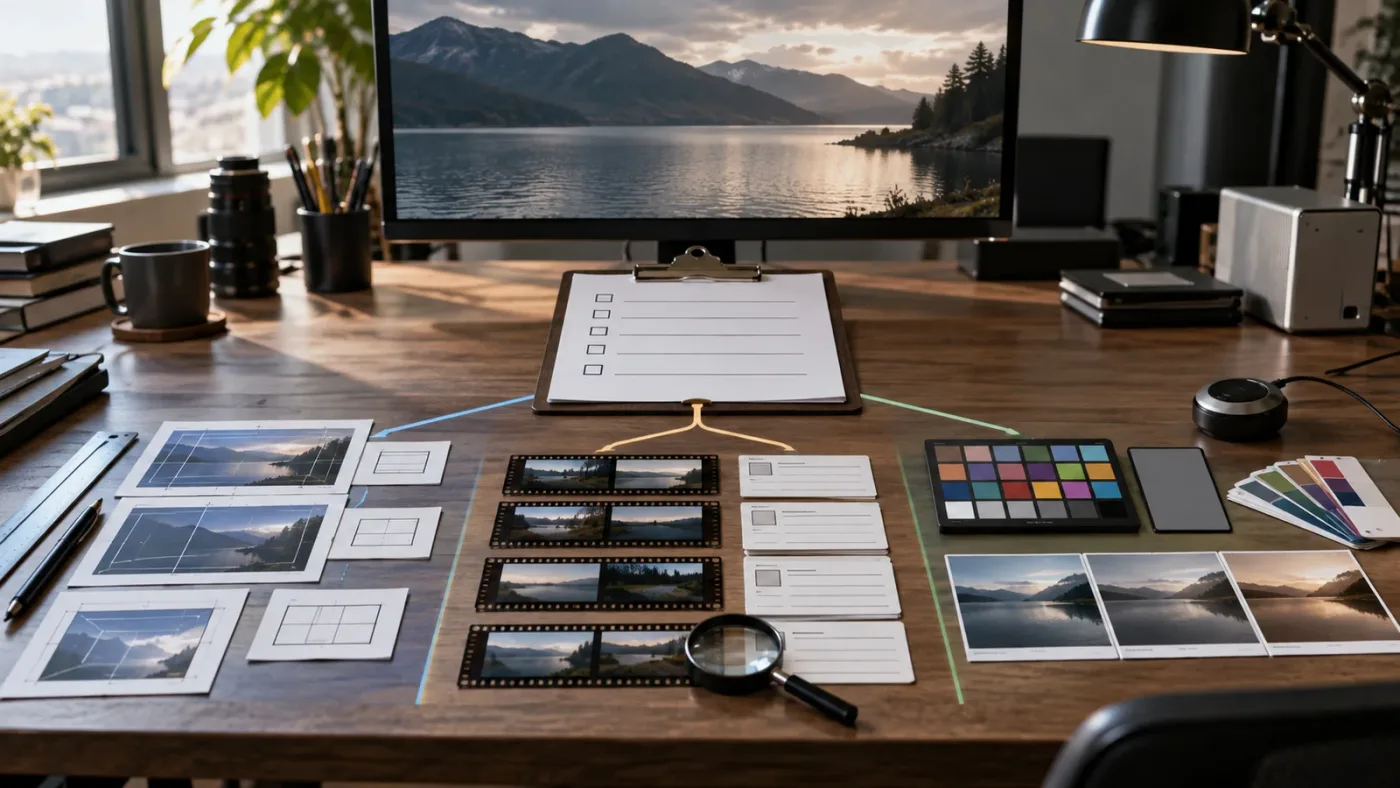
Frequently asked questions
- Why does DaVinci Resolve edit and color page look different?
- The Edit and Color pages use different layouts by design. If the image itself changes, check the active timeline, topmost clip under the playhead, Color page clip filters, viewer LUTs, project color management, and external monitoring before changing a grade.
- How do I make the Edit and Color page show the same clip?
- Open the same timeline, place the playhead over the intended clip, make sure the clip is not hidden by a Color page filter, and check the topmost enabled video track. Resolve carries the playhead position between pages, but page selection can follow the top clip rather than your Edit page selection.
- Why is the color different between the Edit page and Color page?
- Compare viewer LUT buttons, project color-management settings, timeline and output color space, external video monitoring, and bypassed grades. A viewer can be displaying a preview transform while the node tree remains unchanged, so do not rebuild the grade until those display paths match.
- How do I reset the DaVinci Resolve workspace when pages look wrong?
- Use the current page's workspace and panel visibility controls first, then restore the standard layout from the Workspace menu if a panel is missing. Reset only after checking that you did not switch to a different timeline, viewer mode, or saved layout.
- What is the best way to learn DaVinci Resolve when a tutorial does not match my page?
- Identify the Resolve version, page, workspace layout, selected timeline, and viewer mode before following the steps. Blackmagic Design's free training explains Edit and Color as separate workflows, while a screen-aware assistant can point to the control in your own project when labels or panels do not match.
Sources
- DaVinci Resolve 21.1 announcement
- Blackmagic Design DaVinci Resolve support
- DaVinci Resolve Edit page overview
- DaVinci Resolve Color page overview
- DaVinci Resolve 21 What’s New
- DaVinci Resolve 21 New Features Guide
- Blackmagic Design DaVinci Resolve training
- The Colorist Guide to DaVinci Resolve 18
- Blackmagic Design forum: Keep selected clip when switching to the Color page
- Blackmagic Design forum: Edit Tab to Color Tab selected clips
- Blackmagic Design DaVinci Resolve community forum
- Viewer LUT controls in the DaVinci Resolve New Features Guide
- Sottocut for DaVinci Resolve
- CutAgent for DaVinci Resolve
- Eddie AI video editor
- PremiereCopilot for Adobe Premiere Pro
Learn by doing, not watching
Stop translating tutorials to your timeline.
TryUncle stays beside Resolve on Mac and Windows. When you ask, Uncle sees your screen and points at the exact control you need. No hunting through tabs, timestamps, or mismatched tutorials.
Meet TryUncleKeep reading
 GuidesJul 8, 202633 min read
DaVinci Resolve Color Tab Not Showing Footage: Every Fix
Why DaVinci Resolve's Color page shows an empty timeline instead of your footage, and the exact filter, track, timeline, and cache fixes that solve it.
 FixesJul 18, 202629 min read
DaVinci Resolve Color Wheels Greyed Out: The Fix
Why DaVinci Resolve's color wheels turn grey and stop responding, and the exact fix: the right clip, the right palette tab, and an enabled node.
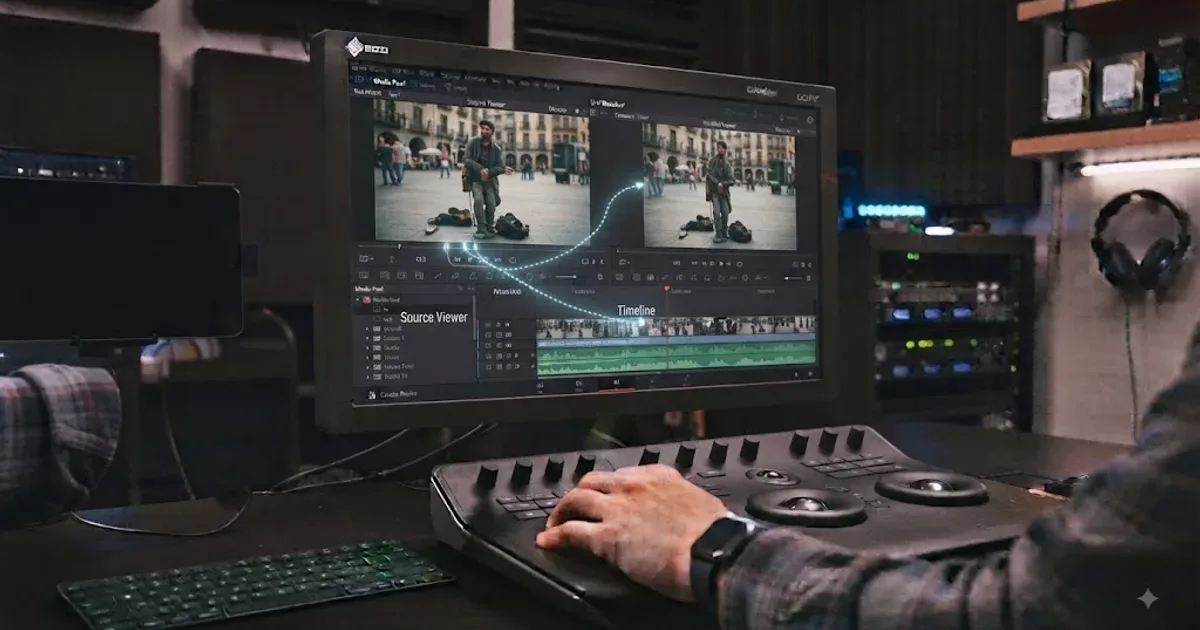 ComparisonsAug 12, 202655 min read
DaVinci Resolve Source Viewer vs Timeline Viewer: The Difference
DaVinci Resolve source viewer vs timeline viewer explained: what each shows, how playheads differ, and when to use Match Frame, I/O points, and Q.