
Learn / DaVinci Resolveupdated for DaVinci Resolve 21.1 (September 2026)
DaVinci Resolve Clips Not Snapping to Playhead? Fix It
Quick answer
If DaVinci Resolve clips are not snapping to the playhead, turn on timeline snapping with the magnet icon or N, then drag the clip edge in the Edit page. If it still misses, check that you are moving a clip or trim edge, not the playhead, and inspect whether the apparent miss is an outpoint or marker boundary.
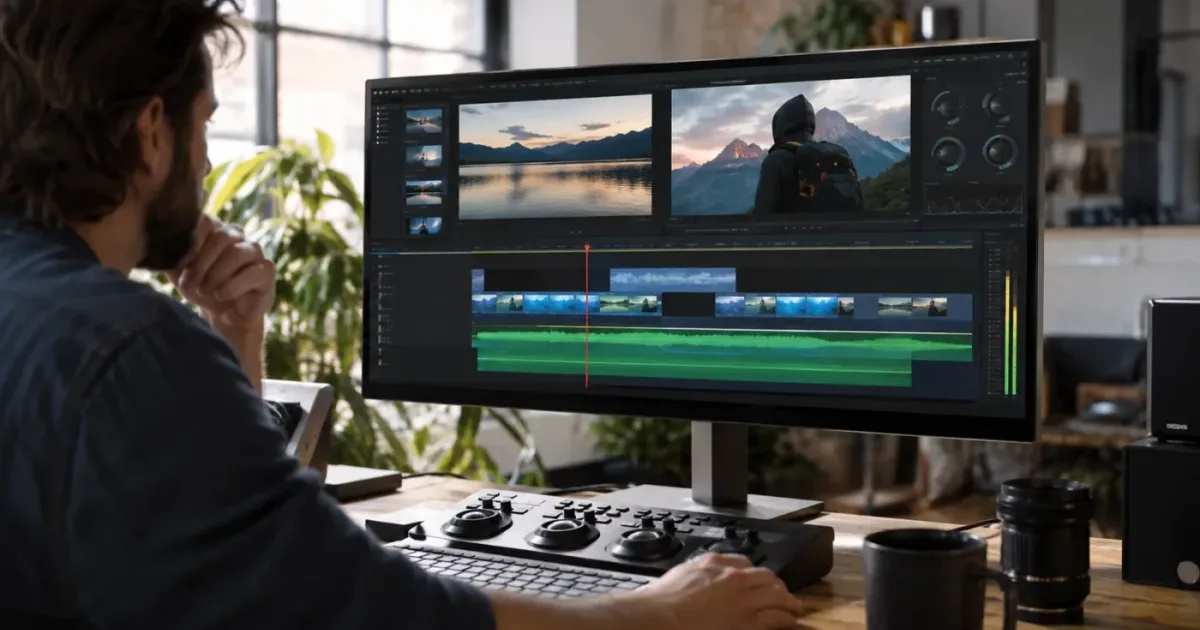
DaVinci Resolve clips not snapping to the playhead usually means the magnet is off, the wrong object is being moved, or a one-frame boundary is being mistaken for a failed snap. I’ll separate those cases so you can get back to the edit quickly.
This guide is current as of September 2026 and uses DaVinci Resolve 21.1, the release listed by Blackmagic Design’s Support Center. After seven years of professional, commercial video editing, and after teaching more than 100,000 students on Udemy as an official Udemy Business Partner, we’ve learned that this problem needs a short diagnosis before it needs another tutorial.
TryUncle is the on-screen assistant for DaVinci Resolve on Mac and Windows. Ask in plain words and Uncle points at the exact control on your screen.
Why are DaVinci Resolve clips not snapping to the playhead?
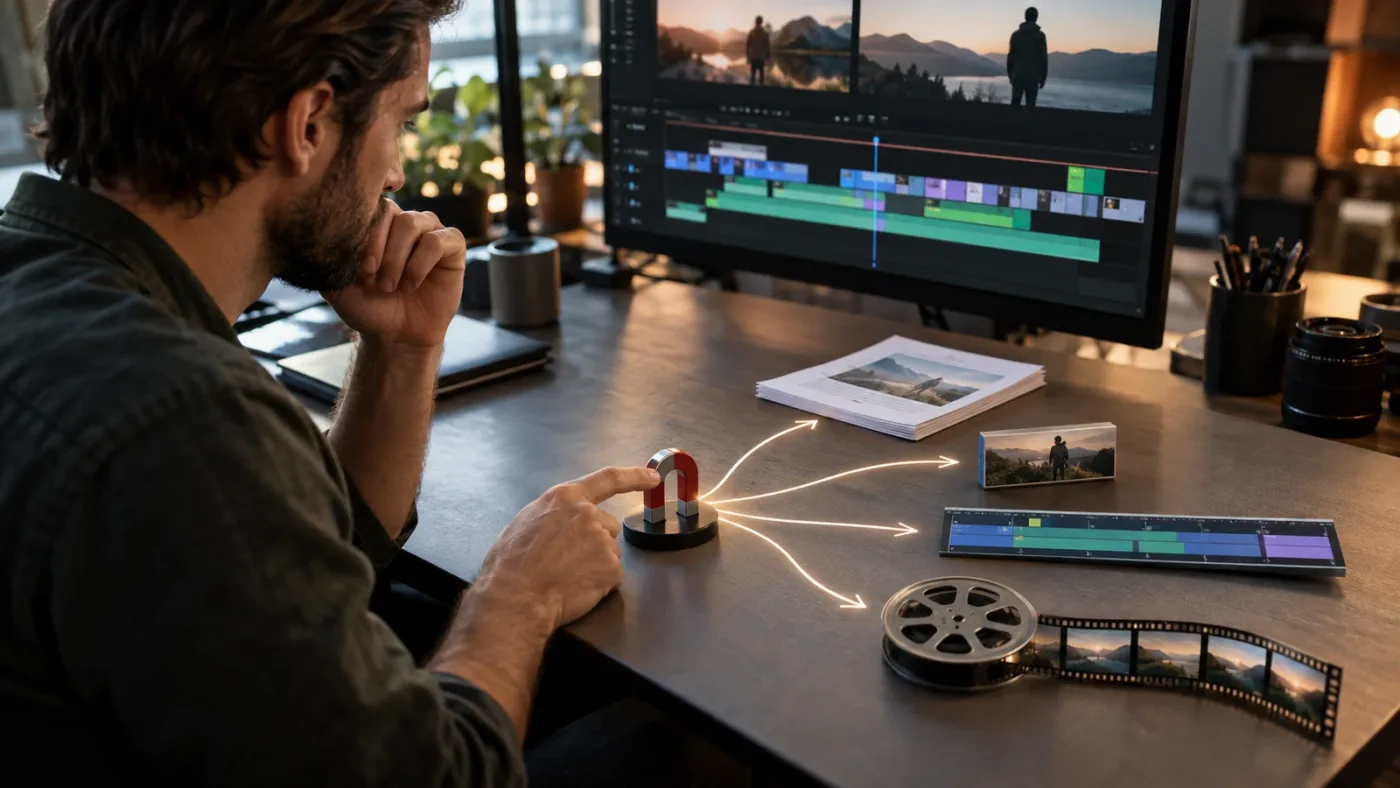
DaVinci Resolve clips usually fail to snap because timeline snapping is disabled, the drag is happening on the wrong page, or the thing being moved is not a clip edge that can snap to the playhead. Start with the magnet icon and the N shortcut, then test a simple clip-edge trim in the Edit page.
The word “snapping” hides several different actions. You might be doing one of these:
- dragging a clip body toward the playhead
- trimming a clip head or tail to the playhead
- moving the playhead toward a clip edge
- moving a marker or duration marker near an edit point
- moving an audio object in Fairlight
Those actions look similar on the timeline, but they are not identical. A clip edge can be pulled to a playhead position. The playhead itself can also respond to nearby edit points. A marker can sit on a frame boundary that looks one frame away from an outpoint. Fairlight has its own navigation behavior.
A clip can miss the playhead because snapping is off, the wrong timeline page is active, or the visible line represents a different frame boundary.
For a fast first test, open the Edit page, place the playhead in an obvious gap, and click the magnet icon above the timeline. Drag the head of a clip toward the playhead. If the clip edge jumps into place, the core snapping system works and the original action was the problem. If nothing changes, continue with the checks below.
DaVinci Resolve’s current release line mainly matters for the surrounding interface, not for the basic first fix. Blackmagic Design lists DaVinci Resolve 21.1 as the September 2026 update, with DaVinci Resolve 21 released earlier in 2026. The official product pages list the Edit page as the place for professional timeline editing, while the 20 Editor’s Guide documents the magnet and N workflow used for this diagnosis.
How do I turn snapping back on in DaVinci Resolve?
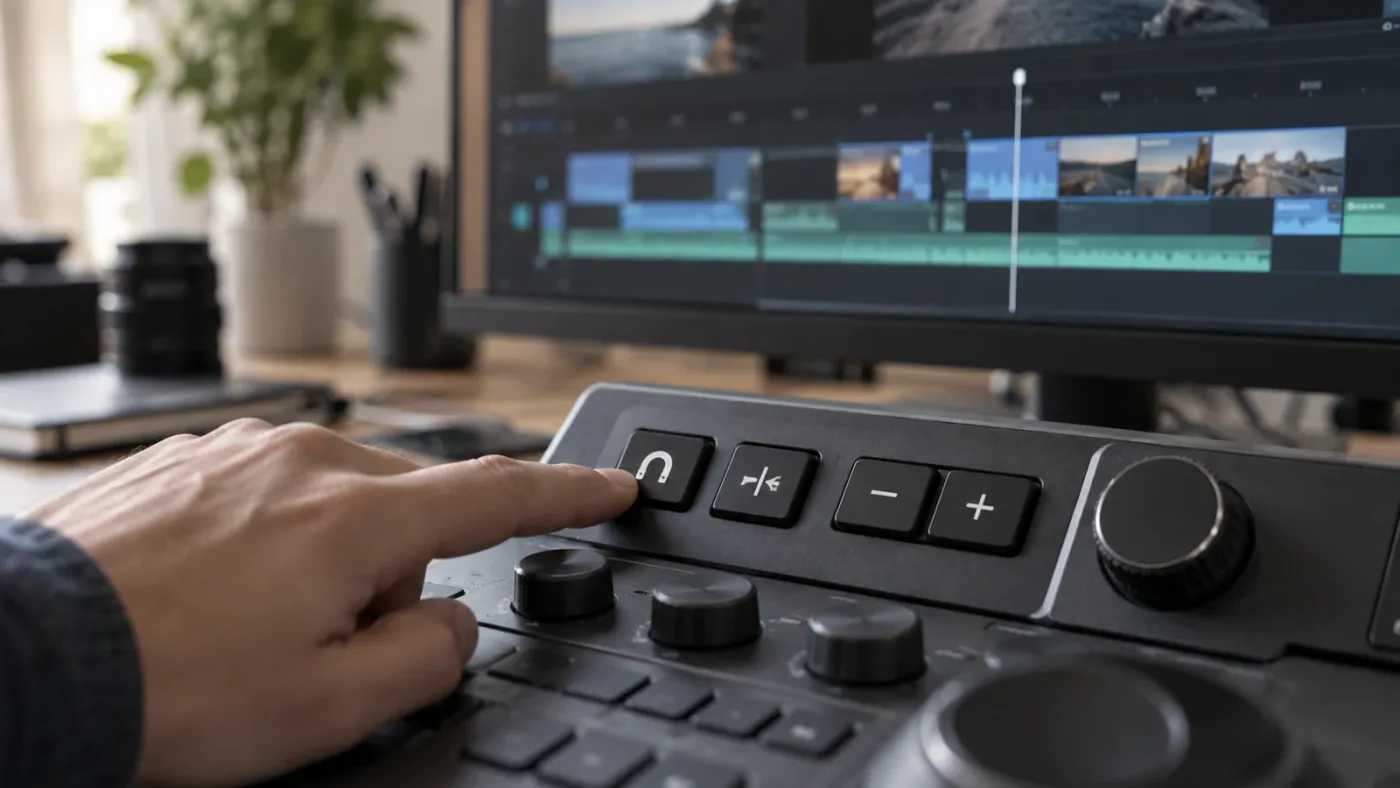
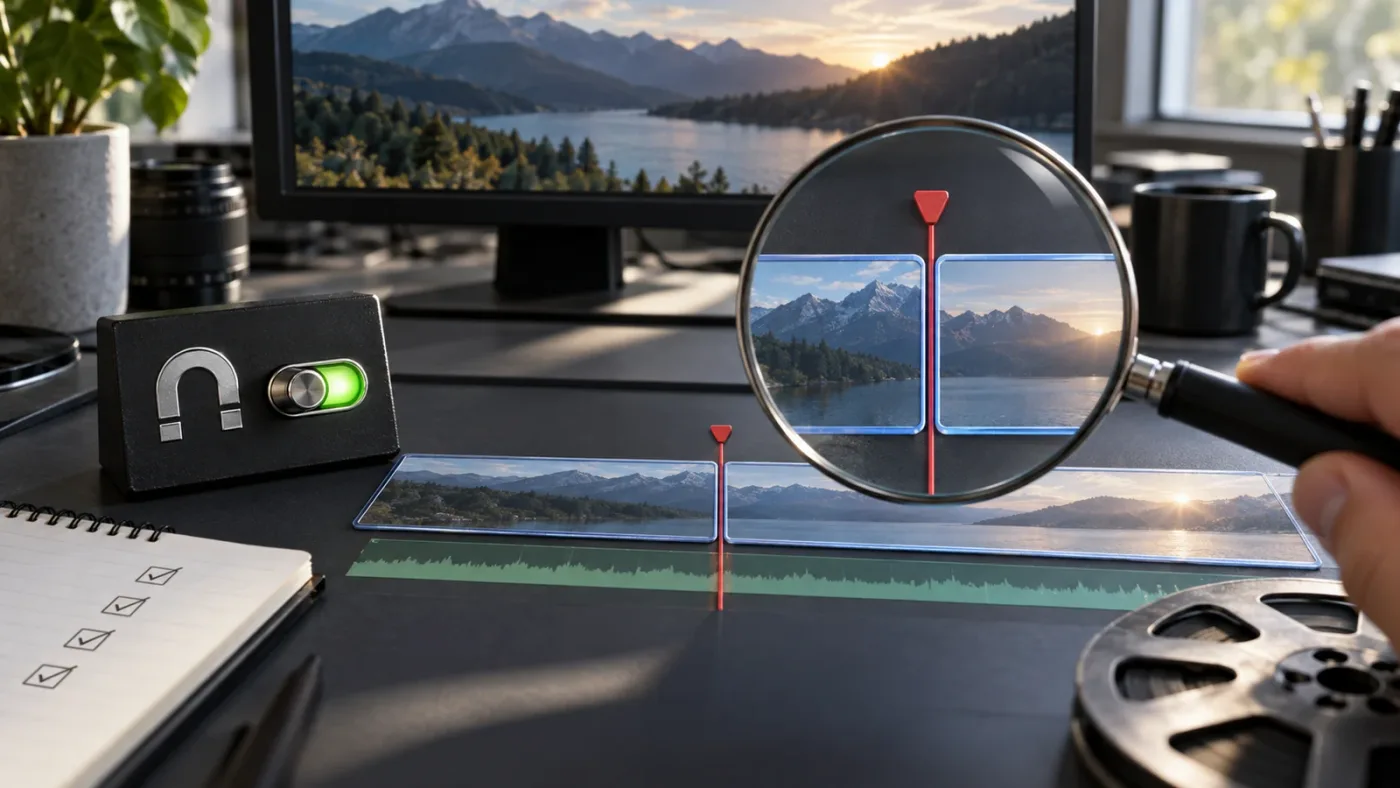
Click the magnet icon above the timeline or press N before dragging the clip. In Blackmagic Design’s Editor’s Guide, N enables or disables the timeline snapping function, and the guide also describes pressing N while moving a clip as a temporary override.
Use this exact sequence:
- Go to the Edit page.
- Click inside the timeline so it has focus.
- Locate the magnet icon in the timeline toolbar.
- Click the magnet if it is not highlighted.
- Put the playhead on the intended frame.
- Move the pointer over the head or tail of the clip until the trim cursor appears.
- Drag the clip edge toward the playhead.
- Release when the edge locks to the playhead.
The icon is the best first check because it removes keyboard focus from the diagnosis. If the N key does nothing, the timeline may not have focus, another field may be active, or the shortcut may be interpreted during a drag in a way you did not expect. Toggle the magnet before starting the drag. That simple order avoids one of the confusing states reported in Blackmagic’s forum, where users saw different behavior when pressing N while dragging clips from the Media Pool.
The official guide gives N a second use. If snapping is enabled but you need to place a clip by eye for a moment, press N while moving it. If snapping is disabled but you need one precise alignment, press N during the move. The guide says snapping returns to its earlier state when you release the mouse. That is useful when a single edit needs a deliberate offset.
Here is the compact reference:
| Action | Control to use | What it tells you |
|---|---|---|
| Turn timeline snapping on or off | Magnet icon or N | The timeline’s snapping state has changed |
| Temporarily override the state during a drag | Hold or press N while moving, as documented in the Editor’s Guide | You can make one deliberate snap or one deliberate free move |
| Enter Trim Edit mode | T or the Trim Edit button | The pointer changes to a contextual trim tool |
| Fit the whole timeline onscreen | Shift-Z | A wider view helps you see gaps and edit relationships |
| Snap the Fairlight playhead to the pointer in Resolve 21 | C | Fairlight has a page-specific playhead navigation command |
The shortcut table does not mean all five commands perform the same kind of snapping. N controls timeline snapping. T changes the edit mode. Shift-Z changes the view. C is the Resolve 21 Fairlight command for moving the playhead to the pointer. Keeping those categories separate prevents a lot of random key pressing.
The official DaVinci Resolve 20 Editor’s Guide is the clearest primary source for N. Blackmagic’s keyboard reference also describes the Speed Editor snap control, but that hardware control is not the same as the keyboard shortcut on a normal desktop keyboard.
Why does DaVinci Resolve still miss the playhead after I press N?
If DaVinci Resolve still misses the playhead after you press N, confirm that you are dragging a clip or edit edge in the Edit page and that the target is a real timeline object. Pressing N cannot make the playhead itself behave like a clip edge, and it cannot change a marker’s frame semantics.
Are you moving the clip or the playhead?
This is the quickest distinction. If you grab the red playhead handle and drag it, you are moving the playhead. If you grab the left or right edge of a clip and drag it, you are trimming the clip. The question “why is my clip not snapping to the playhead?” often turns into “why does my playhead keep snapping to a clip?” after a few attempts.
For a trim, place the playhead first, then move the clip edge. For a playhead move, use the timeline ruler or playhead area and expect different behavior. Do not use the playhead’s movement as proof that clip snapping is broken.
Are you dragging the clip body instead of its edge?
Dragging the body changes the clip’s position. Dragging the edge changes the clip’s duration. Both can interact with snapping, but they create different results when other clips occupy the destination. If the clip body is selected and you are trying to align its first frame, make sure the clip is actually being moved as a whole. If you want the first frame to meet the playhead, move the clip body until its left edge reaches the playhead or trim the left edge if the clip is already in the right general area.
The official Beginner’s Guide shows the simpler trim test: put the playhead at the desired position, click the beginning of a clip, and drag until it snaps to the playhead. It also identifies T as Trim Edit Mode. That is a better diagnostic than dragging an entire multitrack selection through a crowded timeline.
Is the timeline focused when you press N?
Keyboard focus is easy to lose. A text field, Inspector value, Media Pool search field, or viewer can receive the keystroke instead. Click an empty part of the timeline, press N, and then look at the magnet. If the icon changes, the shortcut reached the timeline.
If the magnet does not change, click it directly. This is not a glamorous fix. It is a useful experiment. When the mouse control works and the shortcut does not, the problem is focus or shortcut handling, not snapping geometry.
Are you dragging from the Media Pool?
Dragging a new clip from the Media Pool into the timeline adds another variable. If the clip does not land where expected, place it first, then move it inside the timeline with snapping already enabled. A Blackmagic forum thread describes reports of N not behaving as expected during a Media Pool drag in specific Resolve versions. Treat that as a version-specific interaction, not evidence that Resolve has no snapping feature.
Are you trying to snap across an unavailable track?
A target can be visually close and still be the wrong editing target. Check whether the destination track is locked, disabled, hidden, or not the track you intended to edit. Also check whether the clip is linked to audio on another track. A linked clip can make a trim appear to involve two edges at once, while an unlinked selection can move only one part.
Use a stripped-down test if you are unsure. Duplicate the timeline or save a new version, select one short video clip, keep one video track unlocked, enable the magnet, and drag only the clip head. Add back audio and other tracks one at a time once it works.
The fastest reliable fix is to verify the magnet, move the clip edge in the Edit page, and inspect the result at frame-level zoom.
If you are still stuck on the exact control, Uncle can point at the snapping button in your own Resolve project while you work.
How do I trim a clip exactly to the playhead?
To trim a clip exactly to the playhead, place the playhead first, enable snapping, enter Trim Edit mode if needed, and drag the correct clip edge toward the playhead until it locks. The Edit page is the right place for this clip-to-playhead workflow.
The reliable version of the procedure is deliberately boring:
- Make a duplicate timeline or confirm that you can undo.
- Move the playhead to the intended cut.
- Press
Nor click the magnet so snapping is on. - Press
Tif you want contextual Trim Edit mode. - Move over the clip head or tail, not the middle of the clip.
- Drag toward the playhead.
- Watch for the clip edge to lock.
- Release, then scrub one or two frames around the edit.
Trim Edit mode is useful because it changes the pointer based on where it sits over the clip. The Editor’s Guide describes it as contextual. That means the same clip can show a trim, slip, or other trim cursor depending on the pointer’s vertical position and horizontal location. If you see a slip icon, you are not trimming the edge you think you are trimming. Move to the upper or lower part of the clip and wait for the edge cursor.
The trim type also matters. A selection drag can move a clip, a ripple trim can move later clips, a roll trim changes the boundary between adjacent clips, and a slip changes source frames without moving the clip. These are editing decisions, not four ways to force the same snap.
For the specific goal of lining a clip head up with a playhead in open space, use a single clip and a simple trim or move. Once you understand which edge you are grabbing, return to the real timeline. The more tracks and linked objects you include in the first test, the harder it is to tell whether snapping failed or another edit mode did exactly what it was designed to do.
The official Edit page description emphasizes context-sensitive trimming, and Blackmagic’s training material shows the standard trim-to-playhead exercise. Those are stronger than a shortcut list because they define the object being moved.
If the clip appears close but not exact, press Shift-Z to fit the timeline, then zoom back into the edit around the playhead. A wide overview is good for finding gaps. It is not good for judging a one-frame boundary.
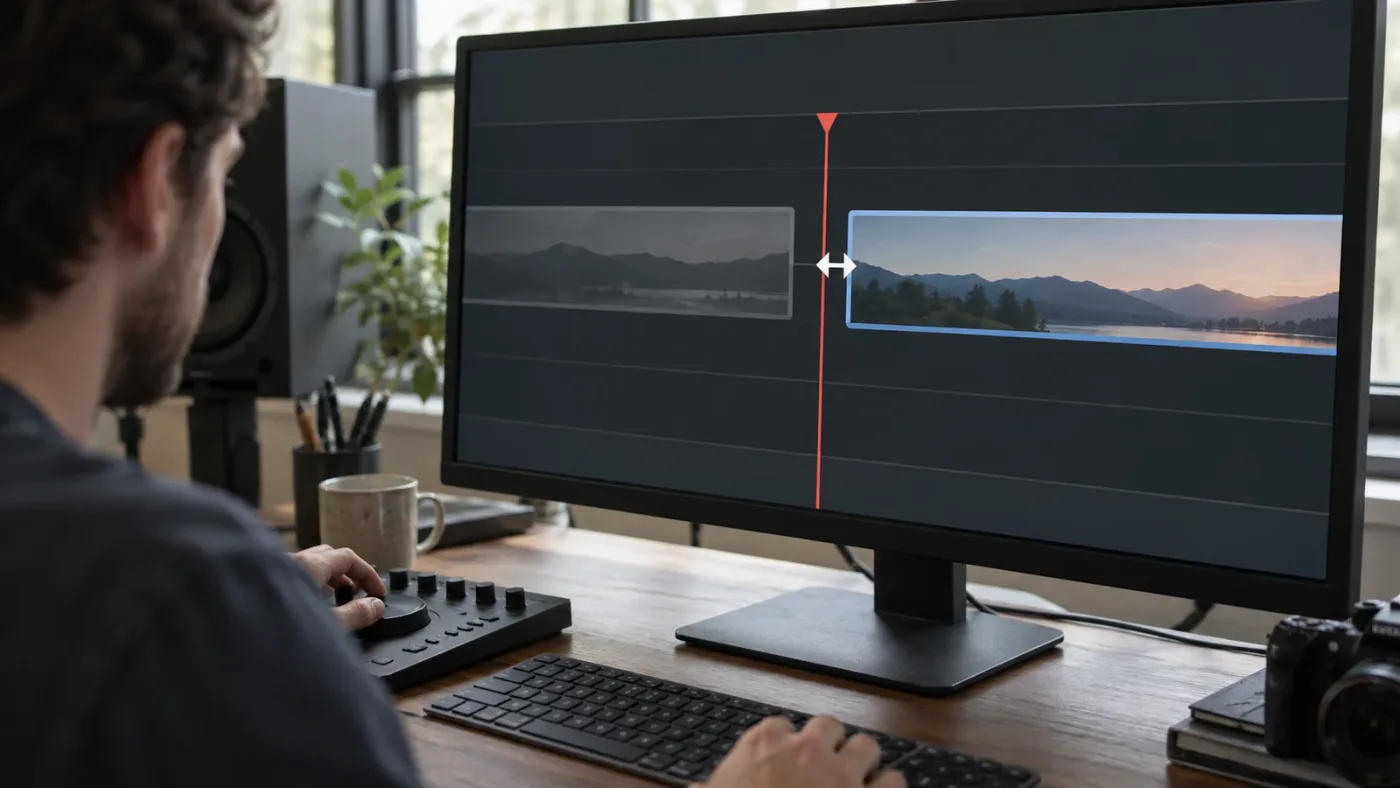
Is the one-frame difference a snapping problem or an outpoint problem?
If a marker and an outpoint look one frame apart, the difference may be normal Resolve frame-boundary behavior rather than a failed snap. Zoom in, identify whether you are comparing an inpoint, outpoint, marker, or clip edge, and judge the actual edit result instead of the apparent line alone.
This is the edge case that creates the most false reports. A marker identifies a selected frame. An outpoint defines the end of a selected range. Those concepts can appear on neighboring boundaries because the outpoint must include the last frame in the range.
Peter Chamberlain, identified in the Blackmagic Design forum as a DaVinci Resolve Product Manager, explained this directly in a thread about timeline snapping, in/out points, and duration markers: “This is as designed.” His fuller explanation says that markers are placed on the exact frame selected, while an outpoint is placed at the end of that frame so the last frame plays. That is a frame convention, not an admission that the magnet missed.
This distinction matters in practical edits:
| What you are comparing | What may look wrong | What to check |
|---|---|---|
| Clip head and playhead | The clip lands beside the line | Confirm the head is the selected trim edge and zoom in |
| Clip tail and playhead | The tail appears to end one frame before or after | Check whether the target is an outpoint boundary |
| Marker and outpoint | Marker and range end do not share the same vertical line | Remember that the outpoint includes the selected final frame |
| Duration marker and clip end | A duration region seems short by one frame | Keep snapping on and compare the actual frame range |
| Audio waveform and video cut | Sound appears to extend beyond the picture | Check whether the edit is a deliberate J-cut or L-cut |
The cited Blackmagic forum thread also reports that a duration marker only snapped to a clip end when snapping remained on. Markers have their own handles and modes, so do not use a clip edge as the expectation for a duration-marker drag.
Here is a simple verification method. Turn on the video track output only if you need a cleaner view, zoom into the edit, move the playhead one frame backward and one frame forward, and watch which frame is displayed. Then check whether the clip’s first or last visible frame is the one you intended. If the picture and timing are correct, the line you were comparing may have been a range boundary rather than a clip boundary.
Do not “fix” a normal outpoint by adding or removing a frame without checking the result. In a dialogue edit, that can change the last spoken frame. In a music edit, it can shift the cut against the beat. In a multicam edit, it can move the intended camera change.
A one-frame difference between an outpoint and a marker can be normal Resolve behavior, not a broken magnet.
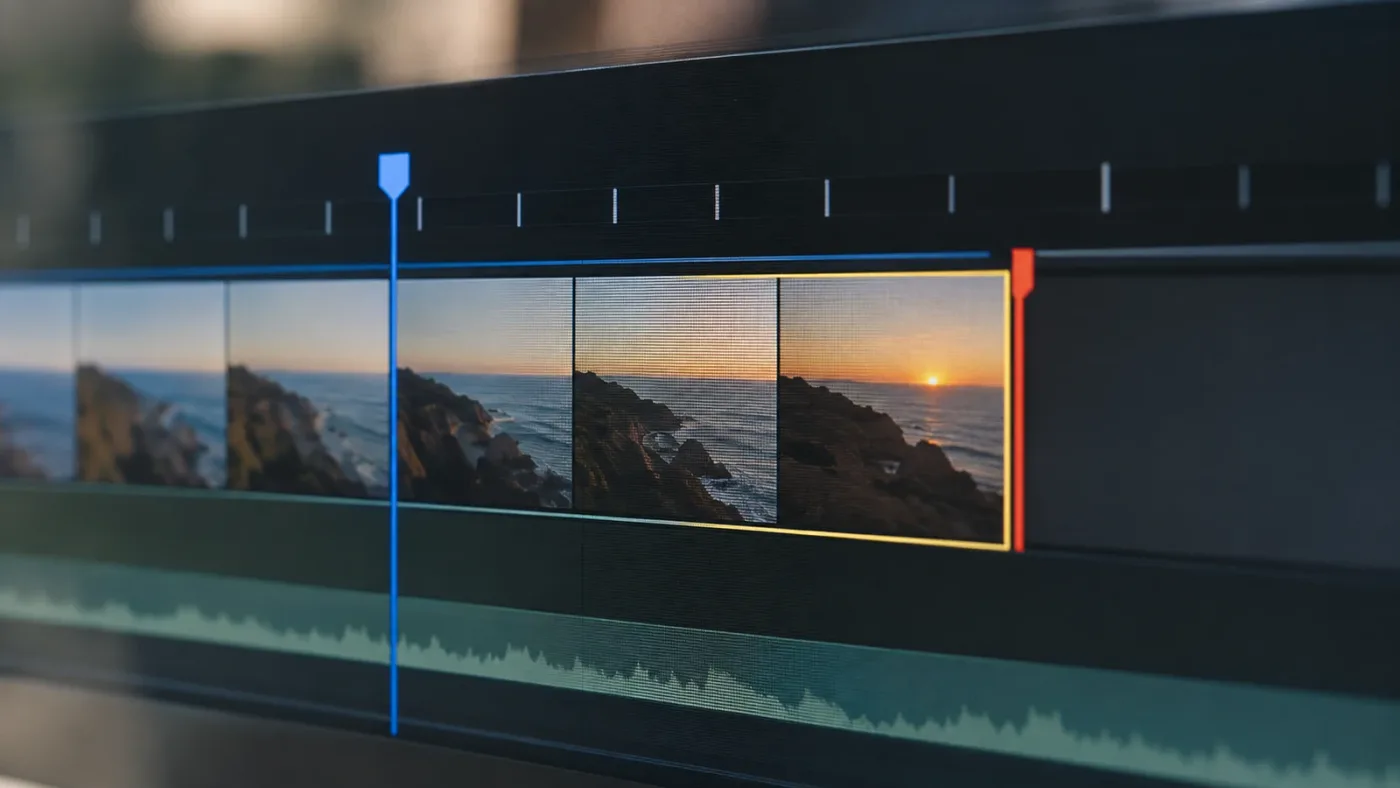
Does DaVinci Resolve snap clips to the playhead in Fairlight?
Fairlight does not use every Edit-page interaction in the same way. For DaVinci Resolve 21, Blackmagic’s New Features Guide documents C as a command that instantly snaps the Fairlight playhead to the pointer, while the Edit page’s N control is the main timeline-snapping check for clip and trim work.
If you are editing audio and the phrase “snap to playhead” means “move the playhead to the exact point under my mouse,” try this in Fairlight:
- Move the pointer over the desired position in the Fairlight timeline.
- Press
C. - Confirm that the playhead moved to the pointer.
- Use the audio clip edge or edit tool for the actual trim.
That is a different direction of travel from trimming a clip edge to a playhead. In one action, the playhead moves to the pointer. In the other, the clip edge moves to the playhead. Naming the direction makes the fix much easier to remember.
The Resolve 21 guide calls this a Fairlight improvement and compares it with the Edit page. It is especially helpful on long audio timelines where dragging the playhead to a precise location is slow. It does not turn C into a universal clip-snapping shortcut, and it does not replace the magnet when you are moving a clip object.
If your problem involves linked production audio and picture, decide which of these jobs you want:
- align the video clip head to a known picture cut
- align the audio clip to a dialogue or waveform event
- move the playhead to the pointer
- preserve a deliberate J-cut or L-cut
Each answer can be correct. A video edge and an audio edge may intentionally not share the same position. The absence of a shared vertical line is not automatically a snapping error.
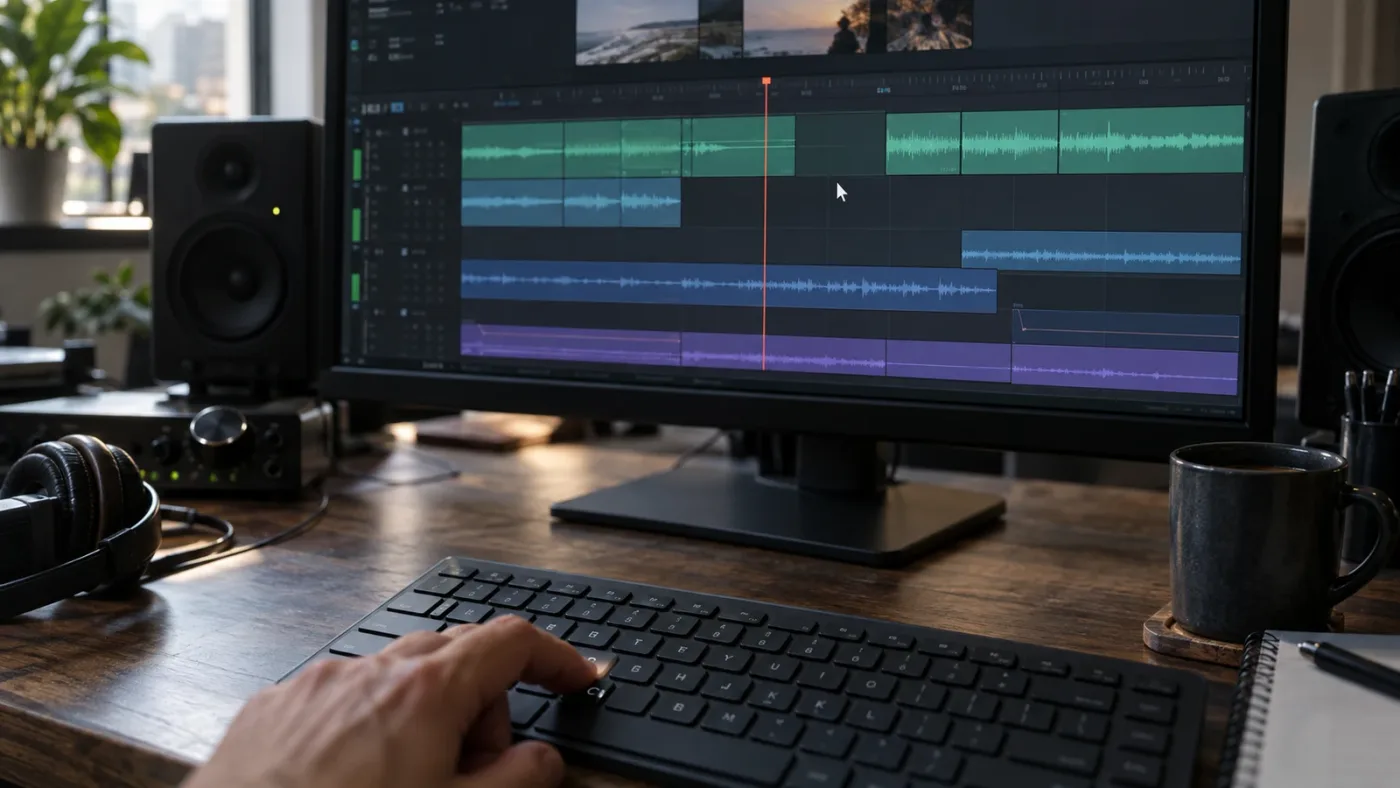
Which Resolve page should I use when clips will not snap?
Use the Edit page for the clearest clip-to-playhead diagnosis, the Cut page for its faster editorial tools, and Fairlight when the object you need to align is audio. Start on Edit because it exposes the magnet, trim mode, clip edges, and playhead relationship most directly.
DaVinci Resolve has several pages because each page emphasizes a different kind of work. The current Blackmagic product description presents Edit as a professional editing environment, while the official training guides separate Cut and Fairlight workflows. A page change can therefore change what a control means without changing your project.
Use this decision matrix:
| Your actual goal | Best first page | First control to check | Why |
|---|---|---|---|
| Trim a video clip head to the playhead | Edit | Magnet, then T | The clip edge and trim cursor are easy to inspect |
| Move a video clip as a whole | Edit or Cut | Magnet and selection mode | You need the clip body, not the trim edge |
| Move the playhead to the mouse position in audio | Fairlight | C in Resolve 21 | The command is documented for Fairlight playhead navigation |
| Make a quick assembly from source material | Cut | Cut-page editing tools | The page favors speed and broad editorial operations |
| Diagnose a suspicious one-frame mismatch | Edit | Zoom and boundary inspection | The frame relationship is easier to see |
If the Edit page works but the Cut page does not behave as expected, the snapping system may not be the only variable. If Fairlight behaves differently, that is not a reason to keep pressing N and hope it becomes an audio navigation command. Switch to the command associated with the page and the direction of the operation.
Snapping is a timeline relationship, not a guarantee that every visible line is a valid target.
Older tutorials can mislead you here. DaVinci Resolve 21 added the C Fairlight behavior, while older guides may only mention the magnet and N.
What should I do if snapping works in a new timeline but not my real project?
If snapping works in a simple test timeline but not the real project, the project likely adds a track, lock, link, selection, marker, or edit-mode variable that changes the result. Reproduce the edit in a copy of the project and remove variables until the failing condition is isolated.
Use this branch order:
- Save a new project version or duplicate the timeline.
- Check that the destination track is unlocked and enabled.
- Check whether Linked Selection is on when linked video and audio should move together.
- Deselect other clips and try one clip only.
- Turn off unusual trim or dynamic modes and return to Selection or Trim Edit mode.
- Hide or mute unrelated tracks only if they make the timeline hard to inspect.
- Move the playhead and clip edge at a closer zoom.
- Test the same operation before and after pressing
N.
A dense timeline can make a correct snap look wrong. For example, the clip edge may align to a cut on another track while the playhead remains nearby. A linked audio item may also extend beyond the video edge by design. A selected group may move as a unit, so the edge you are watching is not the edge Resolve is using as the drag target.
Do not immediately rebuild the timeline or reinstall Resolve. Those are high-cost responses to a problem that the magnet, focus, page, and object checks can usually classify. If the problem survives a minimal test in the same Resolve version, record the exact page, version number, shortcut, source of the clip, and object under the pointer before asking for help. “It does not snap” is not enough detail to separate a setting from a bug.
As of the September 2026 Resolve 21.1 release, Blackmagic’s support pages list Resolve 21.1 and the 21.0.x updates separately from Resolve 20.3.3. If a behavior changes after an update, note the exact build rather than writing only “Resolve 21.” Version numbers matter when a forum report describes a behavior from 18.6.5 or 20.0 and you are using 21.1.
Is there an app that helps while I use DaVinci Resolve?
There are two different categories here: tools that automate or execute edits, and an on-screen assistant that points to the control you need while you make the edit yourself. TryUncle is relevant to the second job, while Sottocut, PremiereCopilot, heyeddie.ai, and cutagent.ai describe different automation, editing, or assistant workflows on their own sites.
That distinction matters for this problem. An editing agent can potentially move, trim, or assemble clips from an instruction. That may save time when you already know the desired result. It does not necessarily teach you why the magnet is off, whether you are dragging the wrong edge, or whether an outpoint is one frame away by design.
The honest comparison is narrow:
| Resource or tool | Best fit for this snapping problem | Trade-off |
|---|---|---|
| Blackmagic Design guides | Learning the documented magnet, N, T, and C controls | You still have to map general instructions onto your timeline |
| YouTube or a course | Seeing a complete workflow and practicing the broader Edit page | The instructor cannot see your current project |
| Sottocut | A local-first assistant editor that proposes or verifies editing work, according to its product page | It is aimed at editing assistance, not simply pointing at the magnet |
| PremiereCopilot | Text-to-edit workflows inside Adobe Premiere Pro, according to its product page | It is for Premiere Pro, not a DaVinci Resolve snapping fix |
| heyeddie.ai | Rough-cut and assistant-editor workflows that can round-trip to NLEs, according to its product page | It addresses larger editing tasks, not necessarily a live control explanation |
| cutagent.ai | Natural-language editing workflows for DaVinci Resolve, according to its product page | It is built to execute or coordinate editing tasks, while this fix is about learning the control |
| TryUncle | Asking about the open Resolve screen and getting the relevant control pointed out while you work | It does not decide your cut or replace the act of editing |
The consensus resources still matter. Blackmagic Design’s free training and official manuals are the right foundation for learning how Resolve is designed. YouTube channels and paid courses can be useful when you want a complete project workflow. The best way to learn DaVinci Resolve fast is usually a mix of a structured lesson and immediate practice in your own timeline, not a choice between every resource as if only one can be useful.
If you are asking for an AI tool to learn DaVinci Resolve, or an app that helps you while using DaVinci Resolve, choose based on the action you want. Choose an editing automation tool when you want software to carry out a repeatable edit. Choose an on-screen assistant when you are stuck on a control and want to understand the next click. TryUncle is paid, with founder pricing of $29.99 per month under the current offer, so check TryUncle for the current rate and platform details.
What is the shortest fix for DaVinci Resolve clips not snapping to playhead?
The shortest fix is: open Edit, click the magnet, press N if needed, move the clip edge rather than the playhead, and zoom in before judging a one-frame difference. That sequence handles the common setting error and the common frame-boundary false alarm.
Use this final checklist:
- The title bar or support page confirms which Resolve version you use.
- The timeline has focus when you press
N. - The magnet icon is visibly enabled before the drag.
- You are on the Edit page for the first test.
- You are moving the clip body or a clip edge, not the playhead by mistake.
- The target track is unlocked and enabled.
- Linked audio is either intentionally linked or intentionally separate.
- You are not comparing a marker with an outpoint as though they were identical.
- You have zoomed in enough to inspect the intended frame.
- You scrub across the edit after releasing the mouse.
If the simple one-clip test works, reintroduce your real timeline’s tracks and modes one at a time. If it fails in Resolve 21.1, click the magnet directly, record the exact action, and check current Blackmagic support material before changing anything else.
When you want to learn the wider workflow, the sibling guide on how to edit faster in DaVinci Resolve covers the surrounding habits, and the DaVinci Resolve keyboard shortcuts guide gives you a broader shortcut reference. If the issue is not the setting but the interface in front of you, how TryUncle works explains the screen-to-answer loop without changing your timeline for you.
The magnet is a small control, but it only becomes useful when you know what is supposed to move. Set the target with the playhead, enable snapping, move the correct clip edge, and treat one-frame boundary differences as evidence to inspect, not proof of failure.
A successful snap aligns the intended edit object, not necessarily every linked object on every track.
Frequently asked questions
- Why are my DaVinci Resolve clips not snapping to the playhead?
- Turn on timeline snapping with the magnet icon or N, and drag the clip edge or clip body in the Edit page. If that does not work, check whether you are in Fairlight, moving the playhead itself, or comparing a marker with an outpoint that uses a different frame boundary.
- How do I turn snapping back on in DaVinci Resolve?
- Click the magnet icon above the timeline or press N. The DaVinci Resolve Editor's Guide documents N as the shortcut for enabling or disabling timeline snapping.
- Why does DaVinci Resolve still miss the playhead after I press N?
- Pressing N only helps when the timeline is receiving the keyboard shortcut and the object you are dragging supports snapping. Toggle the magnet before you begin the drag, use the Edit page, and check whether you are trimming a clip edge rather than moving the playhead.
- Does DaVinci Resolve snap clips to the playhead in Fairlight?
- Fairlight and Edit do not behave identically. In DaVinci Resolve 21, the Fairlight New Features Guide documents C for snapping the playhead to the pointer, while the Edit page uses timeline snapping for clip and edit operations.
Sources
- Blackmagic Design Support Center
- DaVinci Resolve 20 Editor's Guide
- DaVinci Resolve 21 New Features Guide
- DaVinci Resolve Keyboard
- DaVinci Resolve Edit Page
- Blackmagic Design Forum: Timeline snapping, in/out points and duration markers
- Blackmagic Design Forum: Bugs, individual clips and snapping
- TryUncle
- Sottocut
- PremiereCopilot
- Eddie AI
- CutAgent
Learn by doing, not watching
Stop translating tutorials to your timeline.
TryUncle stays beside Resolve on Mac and Windows. When you ask, Uncle sees your screen and points at the exact control you need. No hunting through tabs, timestamps, or mismatched tutorials.
Meet TryUncleKeep reading
 GuidesJul 15, 202638 min read
How to Edit Faster in DaVinci Resolve: A Workflow Guide
The workflow fixes that actually speed up DaVinci Resolve editing: proxy media, render cache, GPU/decode settings, hardware controllers, batch tools, and where AI helps.
 GuidesJul 20, 202638 min read
DaVinci Resolve Keyboard Shortcuts Every Colorist Should Know
Every keyboard shortcut a DaVinci Resolve colorist needs: node commands, bypass and compare keys, gallery stills, and how to customize your own layout.
 GuidesJul 13, 202635 min read
How Does TryUncle Work? Inside the Screen-to-Answer Loop
A step-by-step technical walkthrough of how TryUncle's Uncle reads your DaVinci Resolve screen, reasons in the cloud, and points at the exact control.