
Learn / DaVinci Resolveupdated for DaVinci Resolve 21.1 (September 2026)
DaVinci Resolve Clip Markers vs Timeline Markers
Quick answer
A clip marker belongs to source media or a particular clip instance in a timeline; a timeline marker belongs to a position on the timeline ruler. Use a clip marker for a note that should stay associated with footage, and a timeline marker for an edit-wide cue such as a chapter, music hit, or review point. Before pressing M, check what is selected.
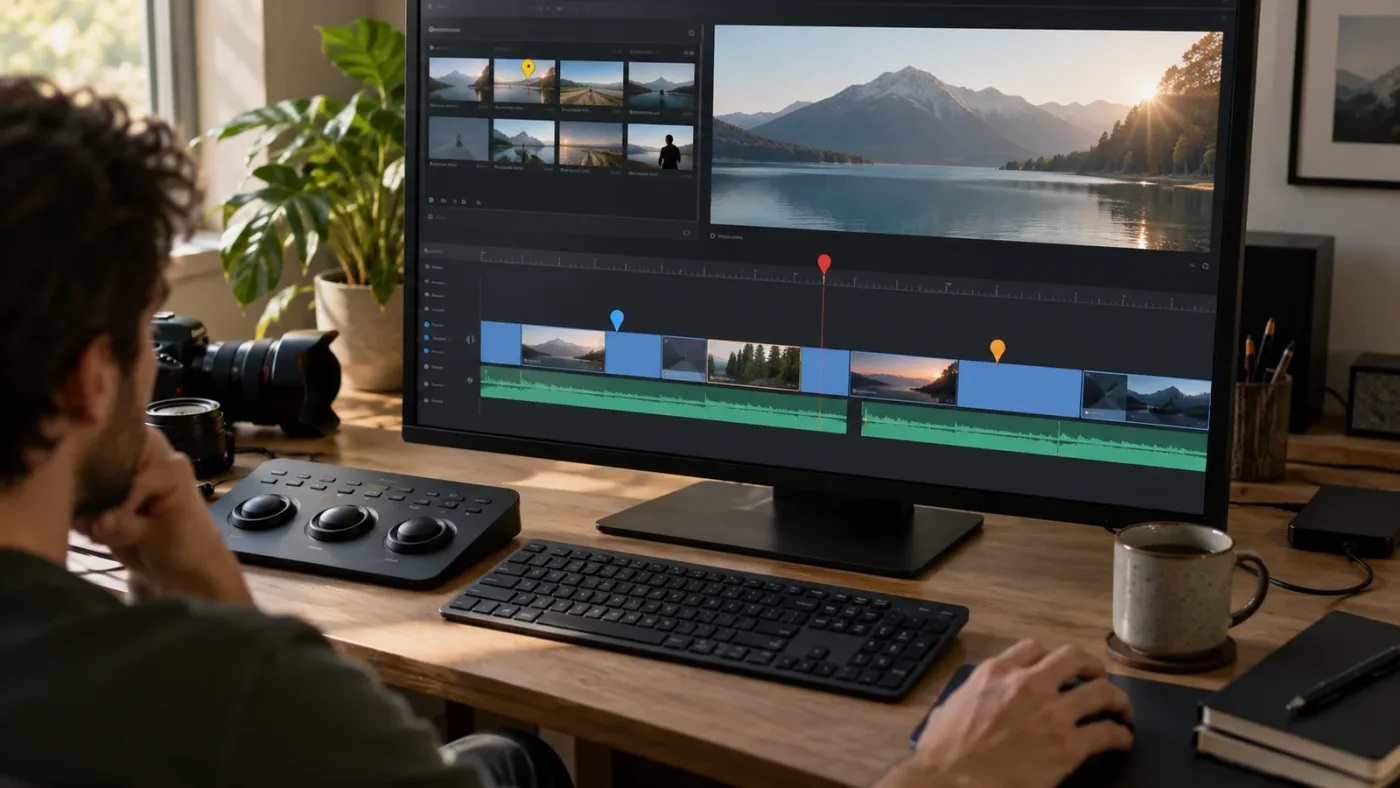
I use markers for two different jobs: remembering something about footage, and remembering something about the edit as a whole. Confuse those jobs and a marker can seem to vanish when you move a clip, or sit in the wrong place after a trim.
This guide is based on DaVinci Resolve 21.1, listed by Blackmagic Design as the manual available on September 8, 2026. The basic distinction is simple, but marker placement depends on selection, and several workflows use more than one kind of marker.
What is the difference between DaVinci Resolve clip markers and timeline markers?
A clip marker is attached to a clip or source-media item; a timeline marker is attached to a position on the timeline ruler. Use a clip marker when the note belongs to footage, and a timeline marker when the note belongs to a moment in the edit.
That distinction answers most “which marker should I use?” questions. Imagine a shot of someone opening a door. “The door opens here” describes the shot. “Music change” describes the edit at the time that event occurs. The first note belongs with the footage; the second belongs with the arrangement.
There are three practical locations to keep straight:
| Marker location | What it belongs to | A useful example | Where to check |
|---|---|---|---|
| Source clip marker | A source item in the Media Pool | “Clean laugh at this source frame” | The source clip and its viewer |
| Timeline clip marker | One instance of a clip in a particular timeline | “Cut away before the camera bump” | The selected timeline clip |
| Timeline marker | A time position on the timeline ruler | “Chapter 2 starts here” | The ruler above the tracks |
Blackmagic's reference manual describes markers on source clips, clips in a timeline, and the timeline ruler as distinct places to mark a frame. That distinction matters because “clip marker” by itself can be ambiguous. Ask whether the marker belongs to the original source or to one edited instance. (Blackmagic Design's DaVinci Resolve reference manual)
A clip marker describes footage; a timeline marker describes a moment in the edit.
A marker’s color, name, or note doesn't change what it is attached to. A red marker on a clip is still a clip marker. A red marker on the ruler is still a timeline marker. Color can help you scan or organize notes, but it doesn't convert one type into another. For color conventions, see DaVinci Resolve timeline marker color meaning.
Markers also aren't the same as flags or clip colors. A marker calls attention to a frame or span. A flag or clip color can identify the clip as a whole. Blackmagic's reference manual discusses these as separate tools for identifying clips and moments. If your note applies to the entire take, such as “soft focus throughout,” a clip-level label, flag, or metadata note may fit better. If it applies to an exact point, use a marker.
Try this simple test: if the footage moves, should the note move with it? If yes, a marker attached to the source or clip instance is a strong starting point. If the note belongs at a particular time in the edit, use the ruler. If you need to find the note whenever you return to the original media, consider marking the source.
There isn't one universal marker for every note. “The speaker turns away” may describe an event in the source. “Use the reaction shot here” describes one edit choice. “Add a lower third at 00:42” describes the program timeline. The words may sound similar, but the note's owner changes the marker choice.
Which marker should I use for an edit, a source clip, or a review note?
Choose a marker's location by asking what should remain true if you rearrange the edit. Source clip markers fit discoveries in original footage; timeline clip markers fit comments about one edit instance; timeline markers fit edit-wide timing notes.
One source file can appear several times in the same timeline. You might use a shot at the start, repeat it in a montage, and use a short section in a recap. If a note applies to the original material wherever you consult that source, a source marker can help. If the note applies only to the montage use, put it on that timeline instance. If the note refers to program timing rather than the image, use the ruler.
| Your note means... | Best starting point | Why |
|---|---|---|
| “The useful reaction is at this source frame” | Source clip marker | It records a discovery about the original media |
| “This use of the shot needs a tighter in-point” | Timeline clip marker | It belongs to this edited occurrence |
| “The sponsor card starts here in the finished video” | Timeline marker | The cue refers to a time in the edit |
| “The whole camera take has a focus issue” | Flag, clip color, or metadata | The note describes the whole clip, not one frame |
| “The music should hit at the next cut” | Timeline marker | The cue is about timing across the edit |
| “Remove this version of the shot” | Timeline clip marker or review note | The instruction applies to a particular edit choice |
A review note needs enough context to be useful later. “Fix this” is hard to act on two days later. “Reduce the room tone before the first word” tells an editor what to inspect. Use the marker name or note to describe the desired change, not only what appears in the image. If several people share the project, write so another editor can understand the request without asking what “this” refers to.
A practical check is to finish the sentence, “This marker belongs to…” If the honest answer is “the camera take,” mark the source. If it's “this use of the shot,” mark the timeline clip. If it's “the start of the next section,” mark the ruler. This wording helps when a client comment refers to something visible on screen but the actual requested change concerns the overall edit.
For example, a reviewer might say, “The close-up feels late.” That could mean at least two things. They may want the close-up itself trimmed earlier, which is a note about that clip instance. Or they may want the whole sequence to reach its emotional beat earlier, which is a program-timing note. Rewrite the comment into a specific action before choosing the marker.
Blackmagic Cloud presentations have their own marker-and-comment workflow. Blackmagic says presentation markers can carry comments and annotations, allow replies, and be marked complete. Those collaborative comments are useful for feedback, but they are a separate workflow from choosing whether a standard Resolve marker belongs to a clip or the ruler. (Blackmagic Cloud's Adding Markers guide)
If collaborators need review notes with replies and completion status, use the presentation tools available to your team. If you're just marking a frame inside a timeline, use the appropriate Resolve marker location. For a repeatable review process, see how to organize client feedback and revision rounds in DaVinci Resolve.
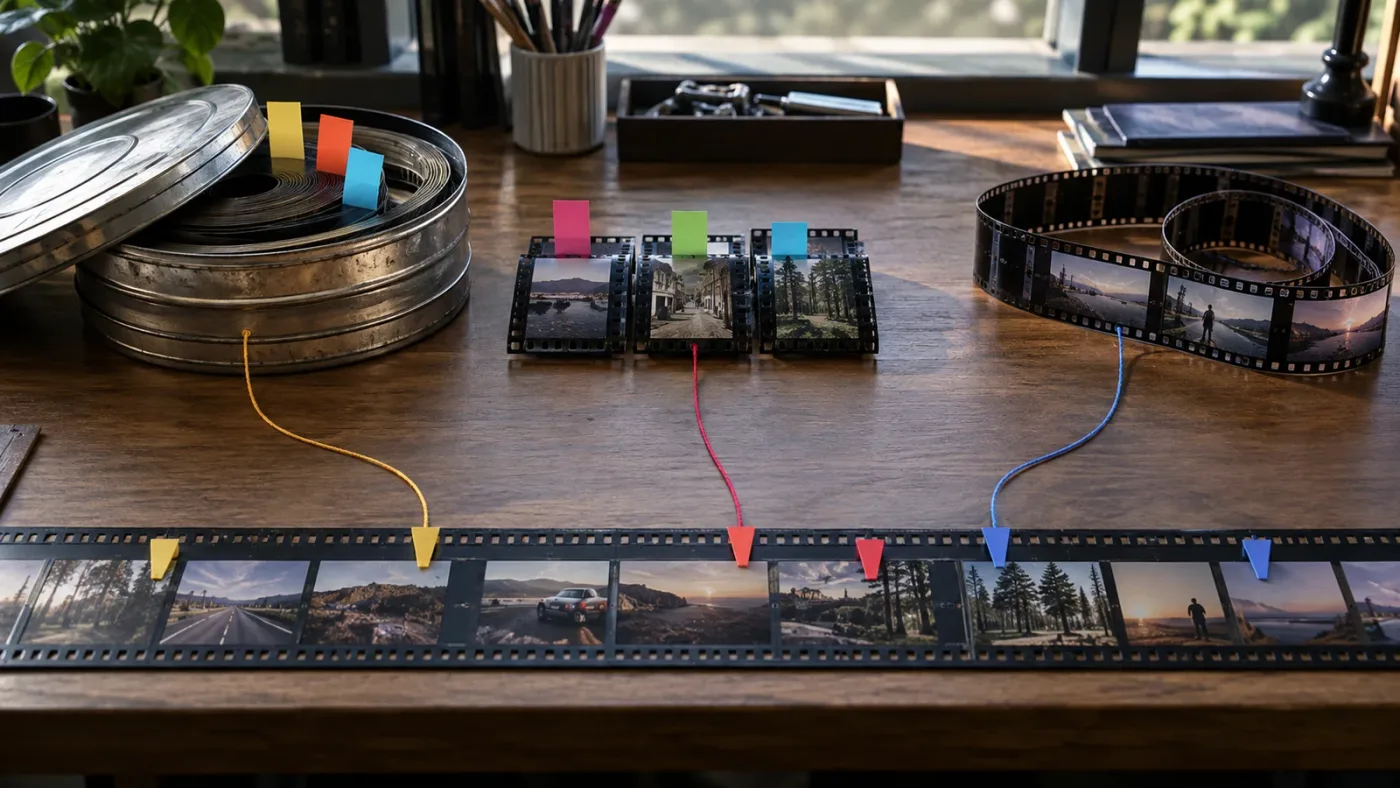
How do I add a clip marker or a timeline marker with M?
In the Edit timeline, marker placement depends on the selected object: with a clip selected, Add Marker can place a clip marker; with no clip selected, it places a timeline marker. Move the playhead first, then check what is selected before pressing M.
This is the key to the common “I pressed M, but it went to the wrong place” problem. M adds a marker, but the selected clip affects its destination. Blackmagic's older reference manual documents the same core distinction: deselect clips to mark the timeline ruler; select a clip to mark it. The modern Resolve 21.1 manual is available through Blackmagic Design's official manual page.
Try this deliberate sequence in the Edit page:
- Put the playhead on the frame you want to annotate.
- Decide whether the note belongs to a clip or the timeline.
- For a clip marker, select the intended timeline clip. For a timeline marker, click empty space or otherwise clear the clip selection.
- Press M or click the Add Marker control.
- Check the marker's visible position. A clip marker appears on the clip; a timeline marker appears on the ruler above the tracks.
- If the marker needs a name or note, open its marker dialog and enter a description you'll recognize later.
- Recheck the target after entering the note. The marker's position and the text in its dialog answer different questions.
Selection can be easy to miss when video and audio are linked, when several tracks overlap, or when the playhead sits over a stack of clips. Selecting the video clip may not select the music clip beneath it. If the marker belongs to a particular sound event, make sure the audio clip is the target. If you want an edit-wide cue, clear clip selections rather than trusting that the playhead alone decides the destination.
Don't confuse the playhead with the selection. The playhead shows the time where a marker is being added; selection helps determine what receives it. Moving the playhead over a clip doesn't necessarily mean you've selected that clip. Conversely, a clip can remain selected when the playhead is elsewhere. Check both before using the shortcut.
If you use keyboard shortcuts frequently, make a small test before a critical session. Put the playhead over an unimportant point, select a clip, press M, and inspect the result. Undo, clear the selection, press M again, and compare. This is a simple way to learn the distinction in your own workspace without risking an important marker set. It is a suggested check, not a claim of hands-on testing for every Resolve layout or version.
On the Cut page, Fairlight page, or another workspace, controls may be presented differently. The general principle is to inspect the active target and the marker's location rather than assume M always means “timeline marker.” When in doubt, use the visible marker control and check where the new marker appears.
A timeline marker and a clip marker can exist at the same timeline time. That can be useful if each has a distinct job. A source marker might identify a usable laugh, while a timeline marker at the placed occurrence says “hold on the reaction for review.” But don't create both automatically. Duplicate notes can become inconsistent when the edit changes.
Before pressing M, decide whether the selected clip or the timeline ruler should own the note.
If the marker appears in an unexpected location, pause before deleting it. Identify whether it's attached to the ruler, a timeline clip, or a source clip. Then keep it if it contains useful information, or remove the correct marker after confirming its type.
If selection state is confusing, TryUncle can guide you through the marker task on screen on Mac or Windows. Uncle gives guidance one step at a time; you remain in control of the editing actions.
Why did my marker move when I moved a clip?
A marker attached to a clip instance moves with that clip; a timeline marker belongs to a ruler position unless an edit operation or marker-rippling setting changes that position. The marker's location, not its color or note, explains the difference.
This behavior is useful when you intend it. A clip marker that says “camera shake starts” should remain associated with the footage if you move that clip earlier or later. A timeline marker that says “new section begins” can identify a program time even if the clip beneath it changes.
But the result can surprise you when you didn't mean to create a clip marker. Perhaps you had a clip selected without noticing, pressed M, and then moved the clip. The marker came along because it was attached to that clip. The fix isn't to keep dragging the marker until it looks right. First decide which marker type expresses the note, then recreate or reposition the correct type.
A useful check is to select the marker in the Marker Index or marker list and inspect its associated clip or time. Resolve's older reference manual describes the Edit Index as a way to review marker details, including notes and source or record timecode. The exact panel names and presentation can differ by version and page, so use the current workspace's marker list as a locator rather than assuming every entry belongs to the ruler.
If you don't know which type you made, a small, undoable test can help: move the clip a short distance, observe whether the marker moves with it, then undo. Don't do this casually in a complex sequence with uncertain undo history. In a busy project, inspect the marker in the index or on the ruler and clip instead.
Blackmagic Design trainer Marc Wielage gave a concise distinction in a Blackmagic forum reply: “You can lock a marker to the timeline on the Edit page (as opposed to the clip itself).” The comment was part of a discussion about whether a marker should be tied to the timeline or the clip. It captures the choice, but it isn't a guarantee about every trim or retime operation. (Marc Wielage on the Blackmagic Design forum)
There is a second behavior that can look like a marker moving unexpectedly: timeline marker rippling. Resolve has a Timeline > Ripple Timeline Markers option. Blackmagic's reference manual describes it as controlling whether timeline markers to the right of a ripple edit, trim, or ripple delete shift along with the affected timeline. If a ruler marker shifts after a ripple operation, check that menu option before concluding that the marker was attached to a clip. (Blackmagic Design's reference manual)
If the note must follow a particular shot, attach it to the clip; if it must identify program time, attach it to the ruler.
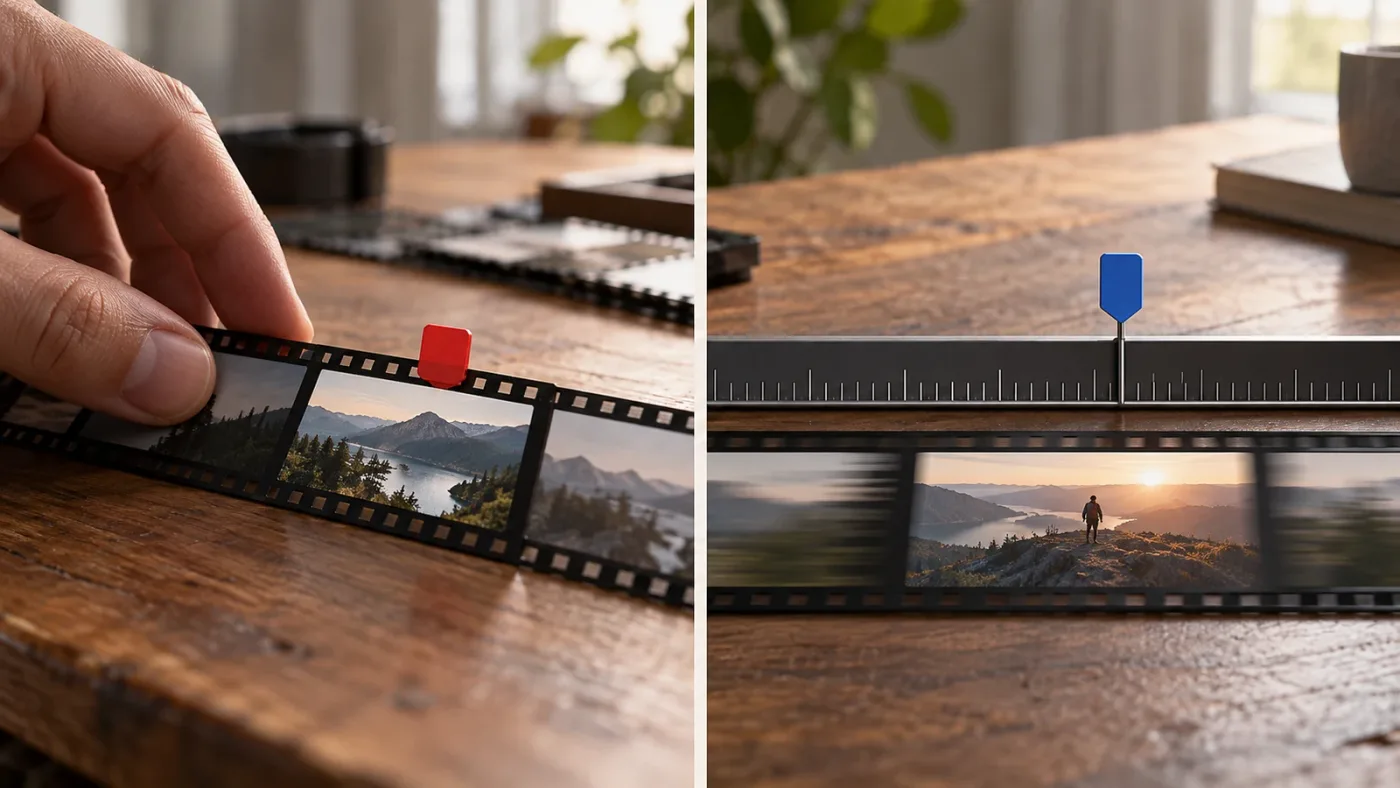
What happens to markers when I trim, ripple, split, or retime a clip?
A marker's result depends on whether the edit changes the marked clip, the timeline position, or the source-relative location. Clip markers are associated with clip content or an instance; timeline markers are associated with ruler time and may respond to ripple behavior.
A trim changes the visible boundaries of a clip. If you trim away the portion containing a clip marker, that marker may no longer be visible in the used range of that timeline instance. That doesn't prove the source marker was erased. If the note was created on the source item, inspect that source in the Media Pool or viewer. If it was created on the timeline instance, inspect that instance and its remaining range.
A practical example: your source clip contains a marker on a frame where the interviewee laughs. You set the timeline in-point after the laugh. When you inspect the edited timeline clip, the marker may not be visible within the portion you used, because the marked source moment was excluded. The source event and the timeline edit are different contexts. Don't move the note just to make an icon appear inside the trimmed shot; first decide whether it still helps the edit.
A split creates two timeline pieces from one continuous stretch of footage. After the split, ask which piece contains the frame described by the marker. A source note about the original footage may still be useful outside that current edit. A note about a particular edit choice might belong only on the piece that needs work. A broad note about the full take might be clearer as clip metadata or a flag, rather than duplicated across both pieces.
A ripple delete is different from a regular delete. It closes a gap and shifts later timeline material. Clip markers move with their attached timeline clips when those clips move. Ruler markers can shift according to the Ripple Timeline Markers setting. If you need to preserve the relationship between markers and sections, check the setting before making a large ripple change, then review the markers afterward.
A non-ripple delete can leave a gap instead of moving downstream material. In that case, a timeline marker's relationship to its time position may remain different from the relationship it would have had after a ripple delete. This is one reason “I deleted a clip” isn't enough information to predict what a marker will do. Ask whether the timeline closed the gap, whether the marker was on the ruler or clip, and whether ripple marker behavior was enabled.
Retime changes deserve particular caution. If a marker records an event tied to a source frame, changing playback speed can change where that event appears in timeline time. Don't assume a marker is a frame-accurate retime anchor unless the current Resolve manual documents that behavior for the operation you're using. After changing speed, scrub to the event and inspect the marker's relationship to it. When precise timing matters, verify against the viewer and timecode instead of relying on a tiny glyph.
Resolve 21 adds an important precision option. Blackmagic's New Features Guide says markers and duration markers can start and end between frames, for both clip and timeline markers. The guide describes the update as part of Edit timeline improvements for audio workflows, and notes that precise subframe audio adjustments require zooming in closely. This changes the placement precision available; it doesn't erase the distinction between a clip-attached and ruler-attached marker. (DaVinci Resolve 21 New Features Guide)
A duration marker is useful when the note describes a span rather than a single instant. “Check the noisy section from here through the pause” needs a start and end. “The first word begins here” usually needs a point. If you create a duration marker, label its range clearly so another editor doesn't mistake it for a single-frame cue.
Before relying on a complicated operation, test it in a duplicate timeline or a disposable section:
- Add one clip marker to a clip.
- Add one timeline marker to the ruler.
- Note their names and positions.
- Perform the same trim, ripple, split, or retime operation you plan to use.
- Inspect both marker types and the ripple setting.
- Undo the test or return to the untouched timeline.
This is a worked example for checking behavior, not a report of observed results across all timeline configurations. It helps reveal whether the operation you chose matches the relationship your notes need.
| Operation | Clip marker: what to inspect | Timeline marker: what to inspect |
|---|---|---|
| Move a clip | Does the marker remain with the intended clip instance? | Did the ruler marker stay at its timeline time? |
| Trim an in-point | Is the marked source event still inside the used range? | Does the marker still identify the intended program time? |
| Split a clip | Which resulting segment contains the marked event? | Did the split alter the time of the cue? |
| Ripple delete | Did the marker move with its clip? | Is Timeline > Ripple Timeline Markers enabled? |
| Change speed | Does the marker still identify the intended source event? | Does the cue still land at the intended program time? |
| Duplicate or reuse a shot | Is the note source-wide or specific to this occurrence? | Is a separate edit cue needed for the new placement? |
The table isn't a promise that every edit behaves identically on every page or in every context. It's a checklist for finding the relationship that matters. If an edit changes the source content, timeline arrangement, and playback speed at once, inspect the markers individually.
Why can't I see the marker I just added?
A marker may be present but hidden by the current zoom, track height, or view, or it may belong to a different object than the one you're inspecting. Check the ruler and clip separately, then use the Marker Index or marker list to identify its location.
When a marker seems missing, follow this order:
- Check the ruler and the clip body separately. A timeline marker is on the ruler; a clip marker is attached to a clip. Looking in only one place can make the other type seem absent.
- Check the active timeline and page. A source marker belongs to media, not just to the sequence currently open. If you created the marker while another timeline or source was active, you may be inspecting the wrong context.
- Check track height and zoom. Blackmagic's Resolve 21 New Features Guide says markers on shorter Edit-page tracks reduce in size rather than simply disappearing. Enlarge the track or zoom in if the icon is difficult to spot. (DaVinci Resolve 21 New Features Guide)
- Open the marker list or index. Look at the marker's name and associated clip or timeline context. The list can help distinguish a marker that's hard to see from one attached somewhere else.
- Check the viewer and playhead. A timeline marker may be visible on the ruler while its note or overlay isn't displayed in the viewer at the current position.
- Inspect the source clip. A marker placed on a source item won't necessarily appear as a ruler marker in your current timeline.
Resolve displays markers in different places depending on their location and the page. The viewer, timeline ruler, timeline clip, Source Viewer, and marker index answer different questions. If a marker appears in the index but not where expected, that is a clue about its type or location, not proof that the marker is corrupted.
Small track height is an easy source of confusion. Resolve 21 changes the display size of markers on shorter Edit-page tracks. Zooming in or increasing track height can make inspection easier, but don't use the visible icon as your only test. Check the marker list and selected object too.
Also check the playhead and selection separately. Perhaps you pressed M while a clip was selected, then looked only at the ruler. Or you cleared the selection and expected a clip marker to appear on the clip. In both cases, the marker may be where Resolve was instructed to put it, even if that's not where you expected.
A helpful diagnostic is to write down four things before trying again: the active page, active timeline or source, selected clip or clips, and where the marker appears. If those details are clear, you can usually identify whether the problem is visibility, selection, or the wrong active timeline.
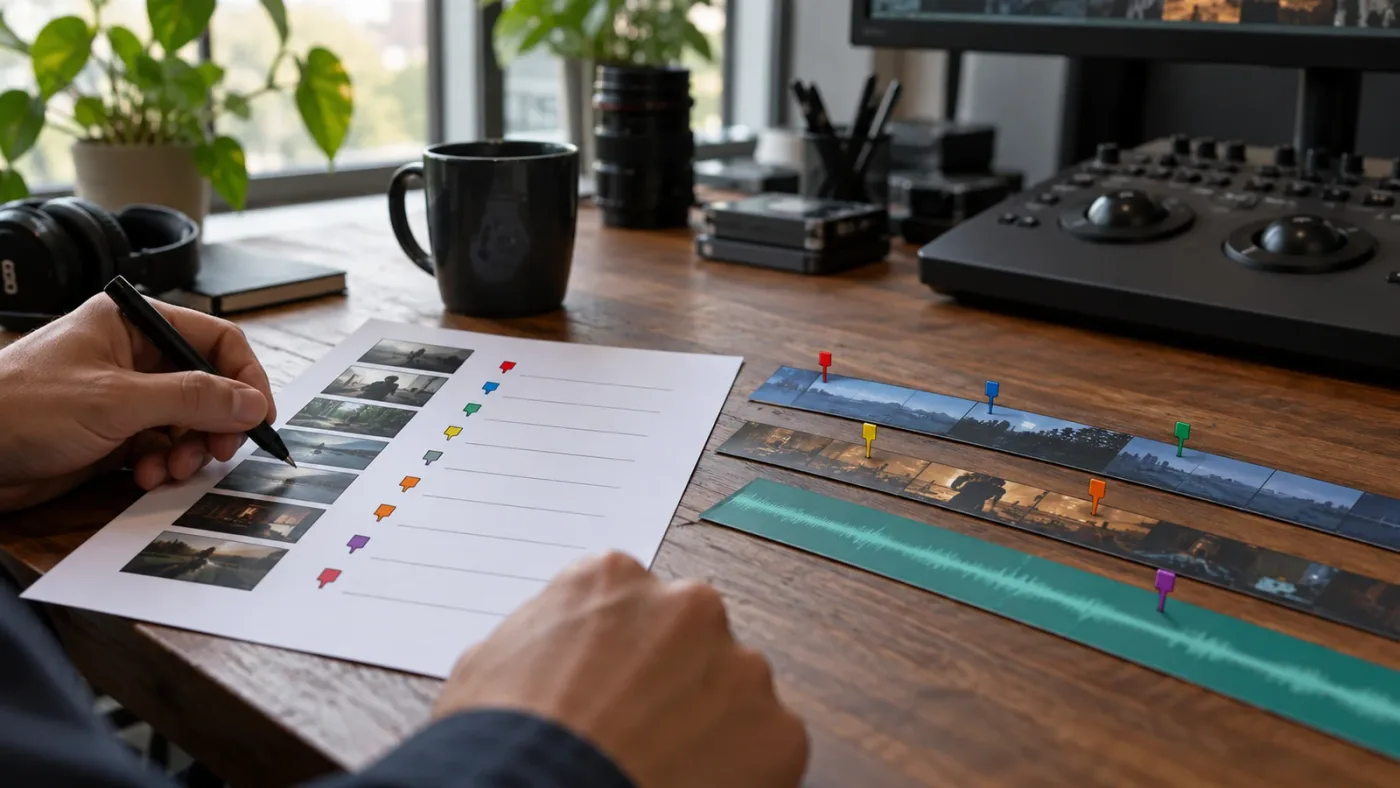
How do I edit, rename, move, or delete the right marker?
Select the marker you intend to change, open its marker dialog or index entry, and verify its location before editing or deleting it. A nearby marker can belong to a different clip or to the ruler, even when both appear at the same timeline time.
For routine edits, use the marker itself or the marker list. Change its name or note so the purpose is clear. If your project uses color categories, keep the color consistent with the meaning assigned to that color. Color is a label, not a marker type.
Before deleting a marker, ask whether its note is useful elsewhere. If you remove one timeline clip instance, a source marker may still be valuable because another occurrence of the source remains. Conversely, a timeline marker may be obsolete if the edit has changed and the cue no longer exists. Avoid a broad “clear all” command until you've confirmed its scope. One misplaced command can remove information you meant to keep.
Resolve 21 adds marker options to Paste Attributes and Remove Attributes. Blackmagic's New Features Guide lists clip color, markers, and flags among the parameters that can be selected for those commands. This may be useful when copying or removing attributes, but check the selected parameters before applying them. A marker that makes sense on one clip may be misleading on another clip with different content or a different role. (DaVinci Resolve 21 New Features Guide)
If you have many markers, don't rely on memory or color alone. Use descriptive labels, a consistent naming scheme, and the Marker Index to review them. For example, a team might use short prefixes such as “EDIT,” “AUDIO,” or “CLIENT,” followed by a plain-language action. That's a suggested organizational convention, not a built-in Resolve requirement.
When repositioning a marker, first distinguish dragging a clip marker from moving a timeline marker. A clip marker's position relates to the clip or source it's attached to. A ruler marker is placed on the timeline. After moving either one, scrub the result and check its relationship to the intended frame or program time. Don't infer the marker's meaning from where its icon lands alone.
If you need to change marker type, don't assume dragging it will convert it. A safer repair is to make a new marker of the desired type at the correct location, copy the note, verify the replacement, and then remove the old marker. The extra check is worth it when the note contains a client instruction or a production detail you can't reconstruct.
For a long marker list, make changes in a deliberate order:
- Search or scan for the note you want to change.
- Confirm the active timeline and marker location.
- Edit the name, note, color, or duration as needed.
- Check whether the marker is attached to a source, a timeline clip, or the ruler.
- Remove only the specific marker you intended to remove.
- Reopen the list and confirm the remaining notes are still present.
This avoids a common mistake: removing every marker associated with a clip when you only meant to remove one stale timeline cue. The purpose of the note and the marker's owner both matter.
Can I use markers for chapters, music hits, and review notes?
Yes. Timeline markers work well for edit-wide cues such as chapters and music hits; clip markers work well for notes about a frame or a particular use of footage. Match the marker to the thing you expect to remain attached after edits.
For a chapter cue, place a timeline marker at the start of the section and give it a clear name. Don't assume that every marker automatically becomes chapter metadata in every export format. Check the current Deliver-page options and documentation for the exact delivery you need. A marker can be a useful editing cue even when your export workflow handles chapter information separately.
For a music hit, a timeline marker can identify the intended beat or transition point. If the note instead refers to a transient in the music source, mark the source clip or use the audio tools that fit the task. DaVinci Resolve 21's subframe marker support can help when a cue needs finer placement than a whole video frame, particularly in audio workflows. The New Features Guide says both clip and timeline markers can start and end between frames. (DaVinci Resolve 21 New Features Guide)
For review comments, write an action and reason. “Cut to close-up before the second answer” is more useful than “bad.” A timeline clip marker can keep the note tied to a particular shot in the edit. A ruler marker can communicate a program-level instruction such as “review pacing from here.” If collaborators need replies, annotations, or completion status, Blackmagic Cloud presentations provide a separate feedback workflow. (Blackmagic Cloud's Presentations guide)
For a rough cut with many source discoveries, use source markers while reviewing clips, then use timeline markers for edit decisions. This keeps “what's in the footage” separate from “what should happen in this version.” If the editorial decision changes, you can update the timeline note without rewriting the underlying source observation.
Consider an interview with three recorded takes. A source marker might identify “strong answer, second take.” After you place that take into the sequence, a timeline clip marker might say “tighten pause before response.” A ruler marker could label “topic change” at the point where the next section begins. Each note points to a different thing, even though all three relate to the same scene.
For a short social video, the same rule applies. Mark the original source moment where the best reaction occurs. On the timeline clip, note “trim first two beats” if the placed shot starts too early. On the ruler, mark the start of the end card or a music transition. The exact words are an authored example, not a result from a tested project.
For a multicamera interview, a note about a moment in the original recording may be source-oriented, while “switch to camera two at this answer” describes an edit choice. A marker on the timeline ruler can then indicate the start of a new discussion section. If the same source is used in multiple cuts, the distinction prevents an edit-specific note from being mistaken for a universal note about the source.
| Workflow need | Marker approach | Example label |
|---|---|---|
| Find a usable moment during source review | Source clip marker | “Clean laugh after answer” |
| Flag an issue in one edited occurrence | Timeline clip marker | “Remove camera bump here” |
| Mark a section boundary | Timeline marker | “Chapter: setup” |
| Show a note covers a range | Duration marker | “Review room tone through pause” |
| Record a broad issue with an entire take | Clip label, flag, or metadata | “Focus soft throughout” |
These are examples of a naming and placement method, not a required Resolve convention. Adapt them to the project and keep the labels understandable to the next person who opens it.
What should I do if I added the wrong type of marker?
If you added the wrong marker type, keep the useful note, create the correct marker at the intended location, verify it, and then remove the mistaken one. Resolve's marker placement depends on selection, so correct the selection before repeating the command.
Use this repair checklist:
- Find the original. Look on the ruler, on the timeline clip, and in the marker list.
- Read the note. Preserve the text if it contains useful information.
- Choose the right owner. Decide whether the note belongs to the source, one timeline instance, or the timeline position.
- Set the playhead. Move it to the frame where the replacement belongs.
- Set selection. Select the target clip for a clip marker; clear clip selection for a timeline marker.
- Create and inspect the replacement. Confirm its location and note.
- Remove the original only after checking. Avoid a broad “clear all” operation unless you've confirmed its scope.
If you want to move a timeline marker to a clip, or a clip marker to the ruler, don't assume dragging will convert its type. Create a new marker of the desired type at the correct location, copy the note, and delete the old one only after checking the replacement. This makes the destination explicit.
Start with the relationship, not the icon. For a source-frame note, open the source and place the marker there. For a note about a specific edit occurrence, select that instance in the timeline. For a program cue, clear the selection and mark the ruler. Then inspect the result in the Marker Index or marker list.
If the replacement appears at the wrong time, check the playhead before trying again. If it appears on the wrong clip, check the selection. If it seems to be missing, check the active timeline or source and consult the marker list. These are separate failure branches, and each points to a different corrective action.
If something still looks wrong, record the Resolve version, page, active timeline, selected track or clip, and marker location before asking for help. A short screen recording or a clear description of the selection state can help someone distinguish a placement problem from a visibility problem. Share only project details you're comfortable sharing.
Which workflow keeps markers useful in a long project?
Use source markers for footage discoveries, timeline clip markers for local edit notes, and ruler markers for program-wide structure. Give each marker a concise label, then review the marker list before delivery or handoff.
A practical marker system doesn't need dozens of colors. Too many categories make color harder to remember. Decide what each color means for your project, write that convention in a shared note, and use names for the actual instruction. If your team already has a color system, follow it rather than inventing another one.
A naming pattern can help when several people work in the same project. One simple format is category: action: “AUDIO: remove click,” “EDIT: shorten pause,” or “CLIENT: confirm title.” Keep the visible name short, then add detail in the notes field where available. This is a suggested workflow, not a prescribed Resolve standard.
At a handoff, scan for unresolved notes. Ask which markers are reminders, which are complete, and which describe source material that should remain available for later cuts. Don't leave ambiguous notes such as “fix” or “check” without an owner or next action. A note that made sense while editing may be meaningless to the next person.
Markers aren't a substitute for a revision record or a complete client approval process. They help locate and describe moments inside a project. Pair them with the review method your team has agreed to use. If your workflow uses subclips to organize selected ranges, the guide to creating subclips in DaVinci Resolve can help you keep selects separate from timeline notes.
Before handing off a project, do a short marker audit:
- Open the correct timeline.
- Review the marker index or list.
- Confirm source notes still belong with their media.
- Confirm timeline clip notes point to the intended instances.
- Confirm ruler markers still identify useful program times.
- Check the ripple-marker setting if the timeline has changed through ripple edits.
- Rename or remove stale notes.
- Save the project and, if needed, share the naming convention with collaborators.
A handoff audit also catches notes that have become misleading. A marker saying “choose this shot” may no longer make sense after the shot has been replaced. A source note saying “best reaction” may still be useful even after the current edit changes. Keep the first only if it still describes a current edit decision; keep the second if it remains a useful fact about the source.
The key is to separate the note's meaning from its visual appearance. A color doesn't tell the next editor whether the marker is source-based or timeline-based. Its location and wording do.
Should I choose a clip marker or a timeline marker?
Choose a clip marker when the note should stay associated with footage; choose a timeline marker when the note should refer to a time in the edit. If you're unsure, ask: “Does this describe the source, this clip instance, or program time?”
For example, “best line in interview” describes the source. “Cut this shot two frames earlier” describes an edit instance. “Chapter title begins” describes program timing. That wording test often prevents misplaced markers.
DaVinci Resolve 21.1 is the version context for this guide. Blackmagic's Resolve 21 documentation adds subframe marker movement and marker options in Paste Attributes and Remove Attributes. Those changes expand precision and editing choices without changing the basic distinction between clip-attached and ruler-attached markers. For version-specific controls, consult the current Blackmagic Design manual and support page.
The best marker system is the one that remains understandable after the cut changes. Use clip markers for facts about footage, timeline markers for edit-wide timing, and names that tell the next editor what matters.
Frequently asked questions
- Do clip markers move when I move a clip in DaVinci Resolve?
- A marker attached to a timeline clip instance moves with that clip when you reposition the clip. A timeline marker belongs to the ruler position instead. Ripple edits can move timeline markers when Timeline > Ripple Timeline Markers is enabled.
- How do I add a marker to the timeline instead of a clip in DaVinci Resolve?
- Move the playhead to the intended time and clear the clip selection before pressing M or clicking Add Marker. If a timeline clip is selected, the marker can be added to that clip instead.
- What is the difference between source clip markers and timeline clip markers?
- A source clip marker is attached to the source item in the Media Pool. A timeline clip marker belongs to one instance of that source in a particular edit. Use a source marker for a discovery about the media, and a timeline clip marker for a note about that edit occurrence.
- Can clip markers and timeline markers appear in the Marker Index?
- Resolve's marker list or index can show markers from different locations. Check the marker's associated clip or timeline context before editing or clearing it, rather than assuming that every entry belongs to the ruler.
- Can a marker last longer than one frame in DaVinci Resolve 21?
- Yes. Blackmagic Design's DaVinci Resolve 21 New Features Guide says markers and duration markers can start and end between frames, including both clip and timeline markers.
Sources
Learn by doing, not watching
Stop translating tutorials to your timeline.
TryUncle stays beside Resolve on Mac and Windows. When you ask, Uncle sees your screen and points at the exact control you need. No hunting through tabs, timestamps, or mismatched tutorials.
Meet TryUncleKeep reading
 GuidesJul 18, 202619 min read
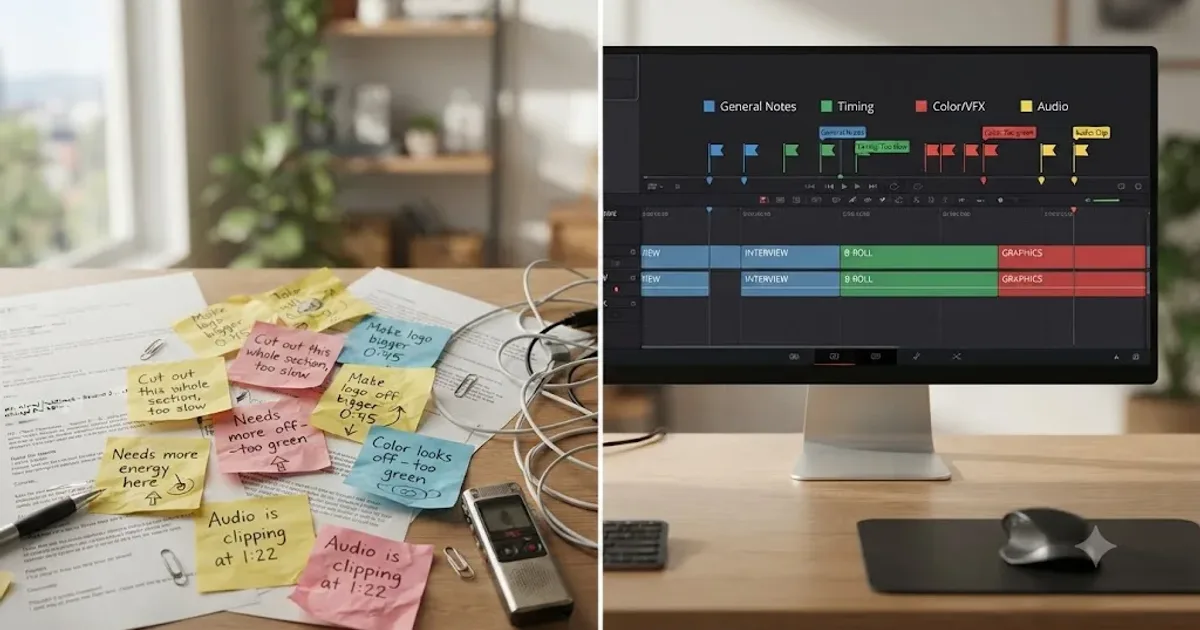
DaVinci Resolve Timeline Marker Color Meaning: The Real Answer
DaVinci Resolve doesn't assign meaning to marker colors. Here's the default, the full 16-color list, real editor conventions, and how to build your own.
 GuidesJul 20, 202638 min read
Organize Client Feedback and Revision Rounds in DaVinci Resolve
How to organize client feedback and revision rounds in DaVinci Resolve: round limits, DaVinci Resolve Presentations, marker conventions, and timeline versioning.
 GuidesOct 5, 202636 min read
How to Create Subclips in DaVinci Resolve
Learn how to create, name, organize, edit, and troubleshoot subclips in DaVinci Resolve 21, including Source Viewer, Media Pool, and timeline workflows.